merkava74
Sr Member
This is turning out amazing...would you consider commissions if someone where to send you a blank helmet?
Thanks warren! I'm honoured, but I'm not sure if I am "commission" quality! As I said, this helmet is my interpretation, and is definitely far from replicating the screen-used one. I just tried to follow as much as I can.
nice build so far,
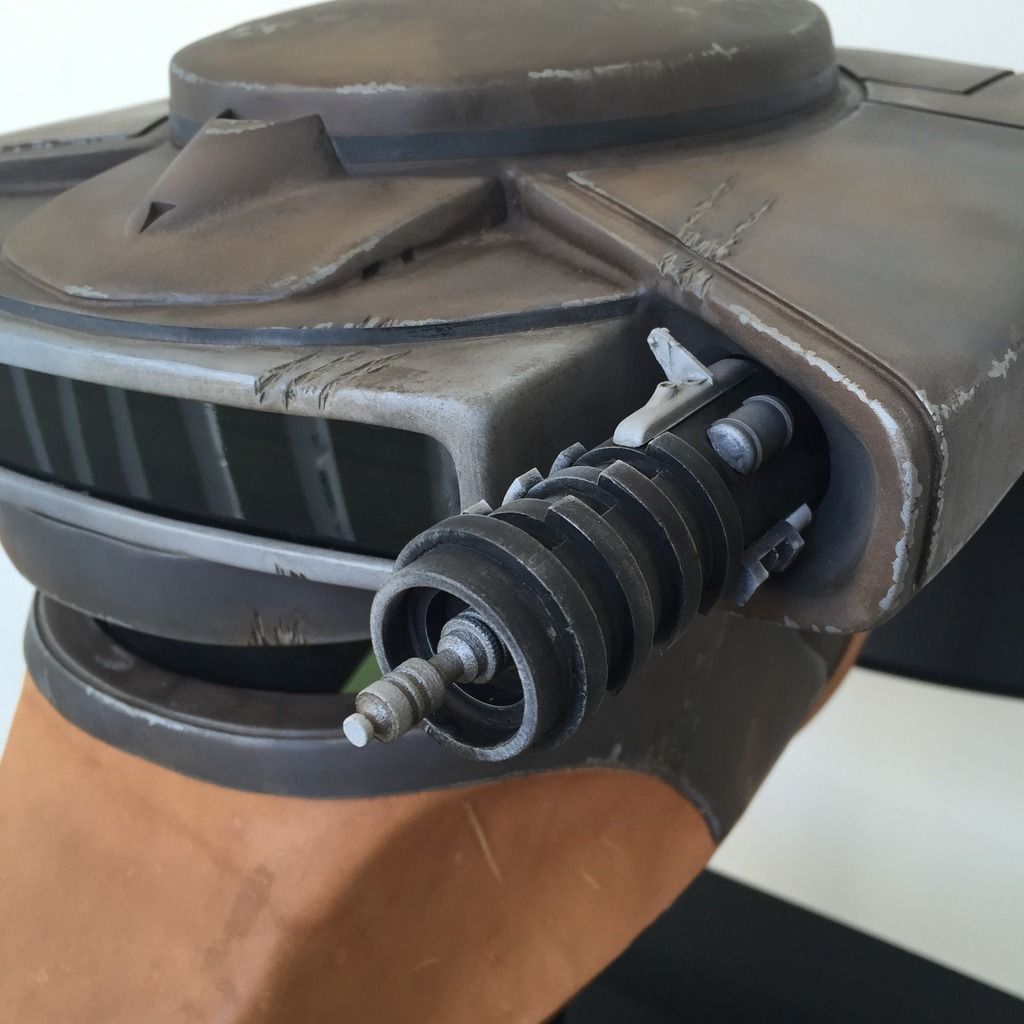
are these parts below a found part or a scratch built fan copy?
http://img.photobucket.com/albums/v689/zorg-industries/found_zpszl3rscud.jpg
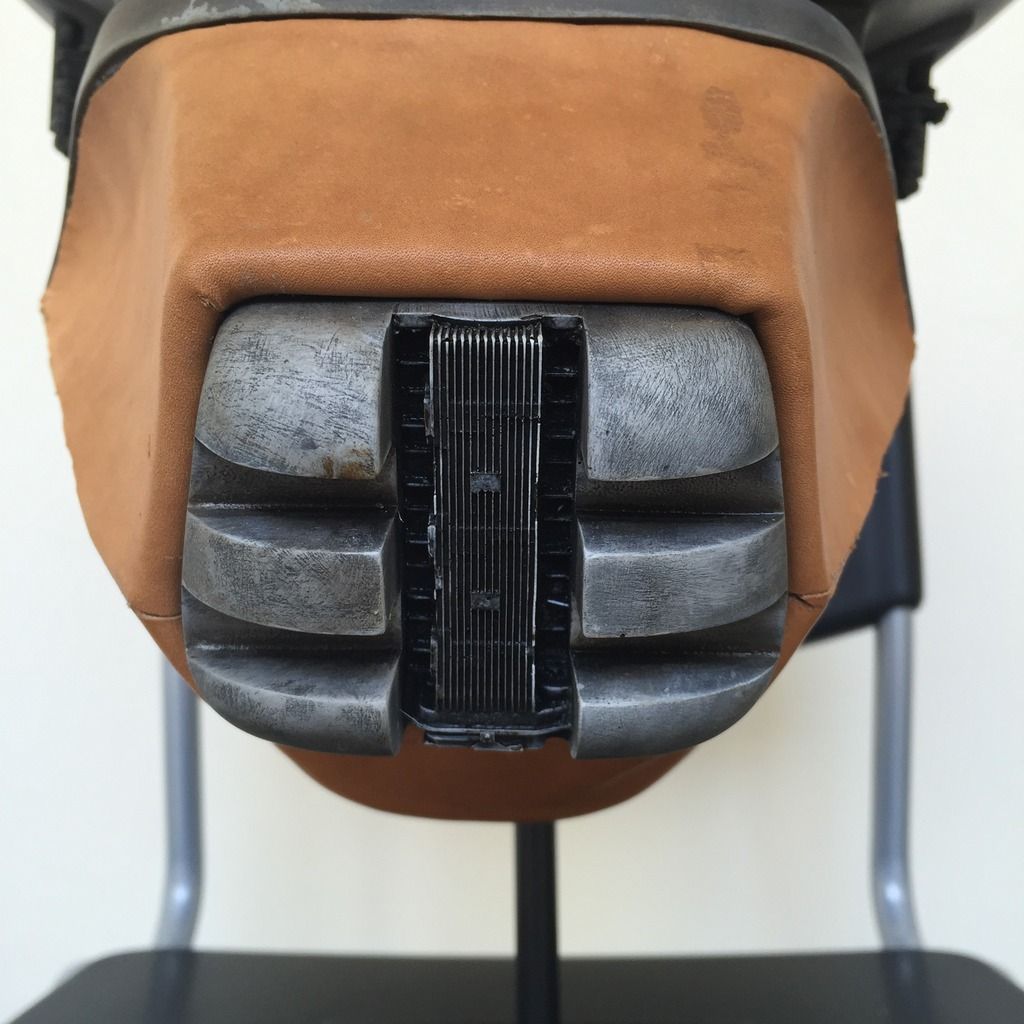
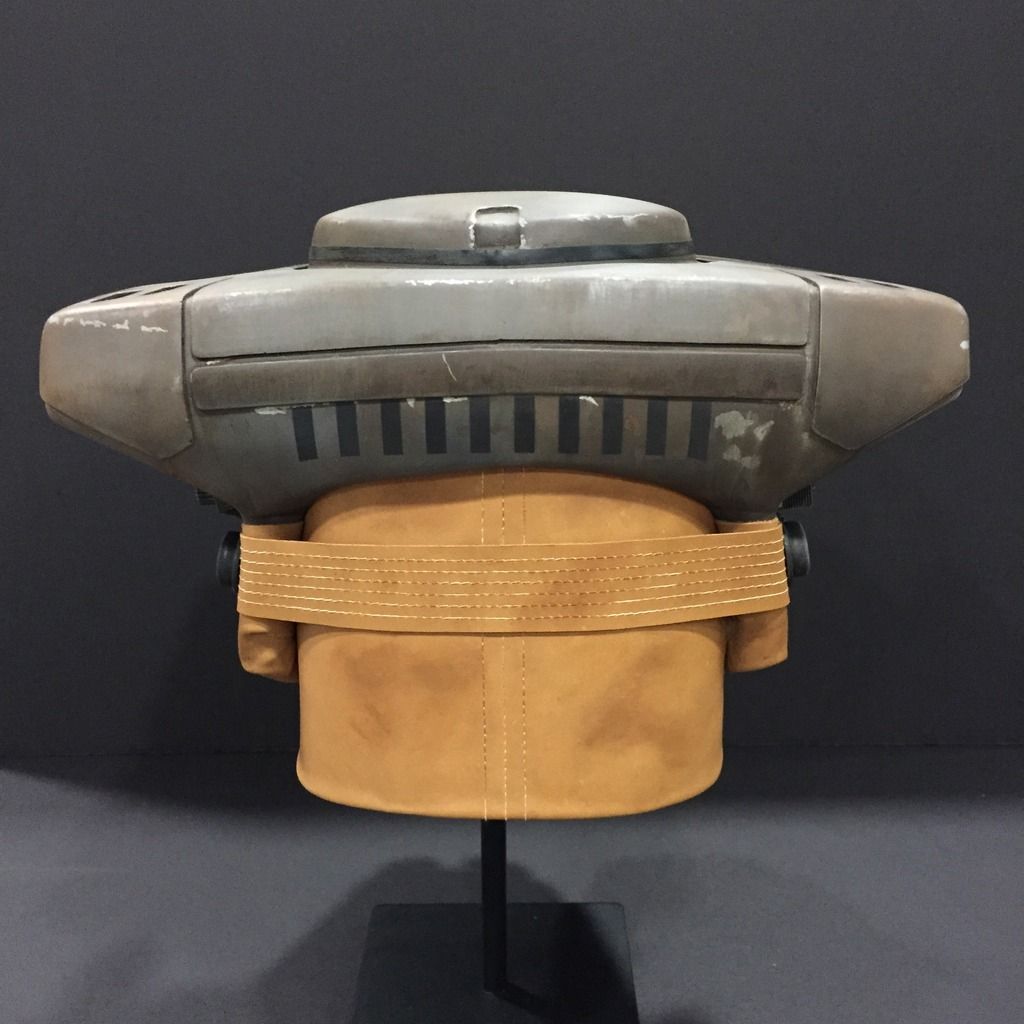
also i don't know if you will care but the 3 stitches at the back look like 2 stitches with the 2 pieces joining together forming that "3rd" stitch in the middle.
http://img.photobucket.com/albums/v689/zorg-industries/stiches_zpswswq8px5.jpg
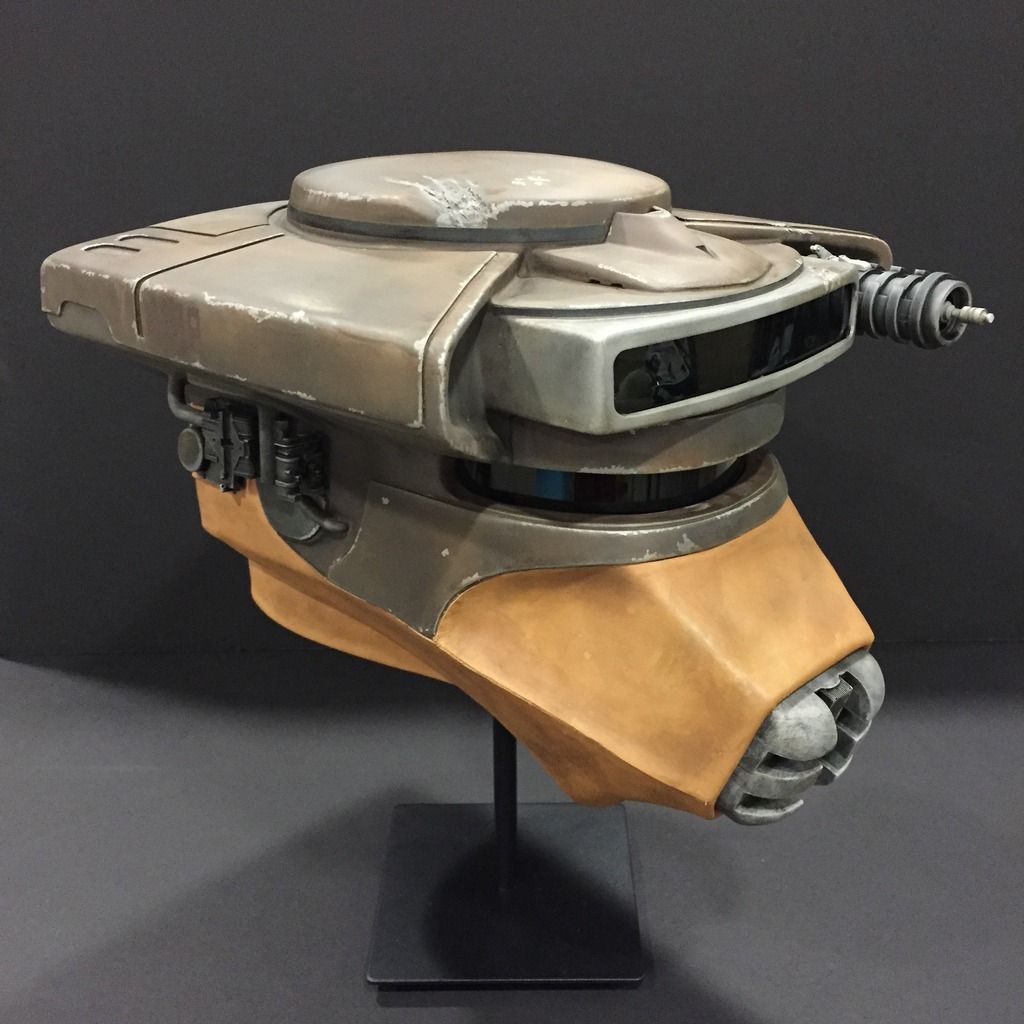
Zorg, from Todd's thread, he mentioned that "The leather strap greeblies and the scope are both scratch built. We are almost there Steveo!
Todd"
You're right about the 3rd stitch... damn... I got caught... Lol.. actually I tried to replicate that, but due to my leather being too thin, I had to fold it over and glue it down, which resulted in the center seam being way too thick. So I decided to cheat on this part.
")
Looking great man! That's correct Zorg. This back leather piece is actually two pieces. They should be placed face to face and sewn together with a bit of clearance. Then they should be separated and the clearance layers folded back so that the seam is now holding two folded ends together. Hit this with a mallet to flatten it out and then stitch each flap down next to the original seam to give you the three lines.
The first diagram shows stacking the two panels and sewing them together (red line)
The second is a profile of the same thing.
The third shows folding the ends back and separating the two halves, then sewing the ends down (yellow line)
Thanks for the detailed explanation, Trent! Good to clarify here for future readers to follow your way if they intend to replicate this part accurately!
- - - Updated - - -
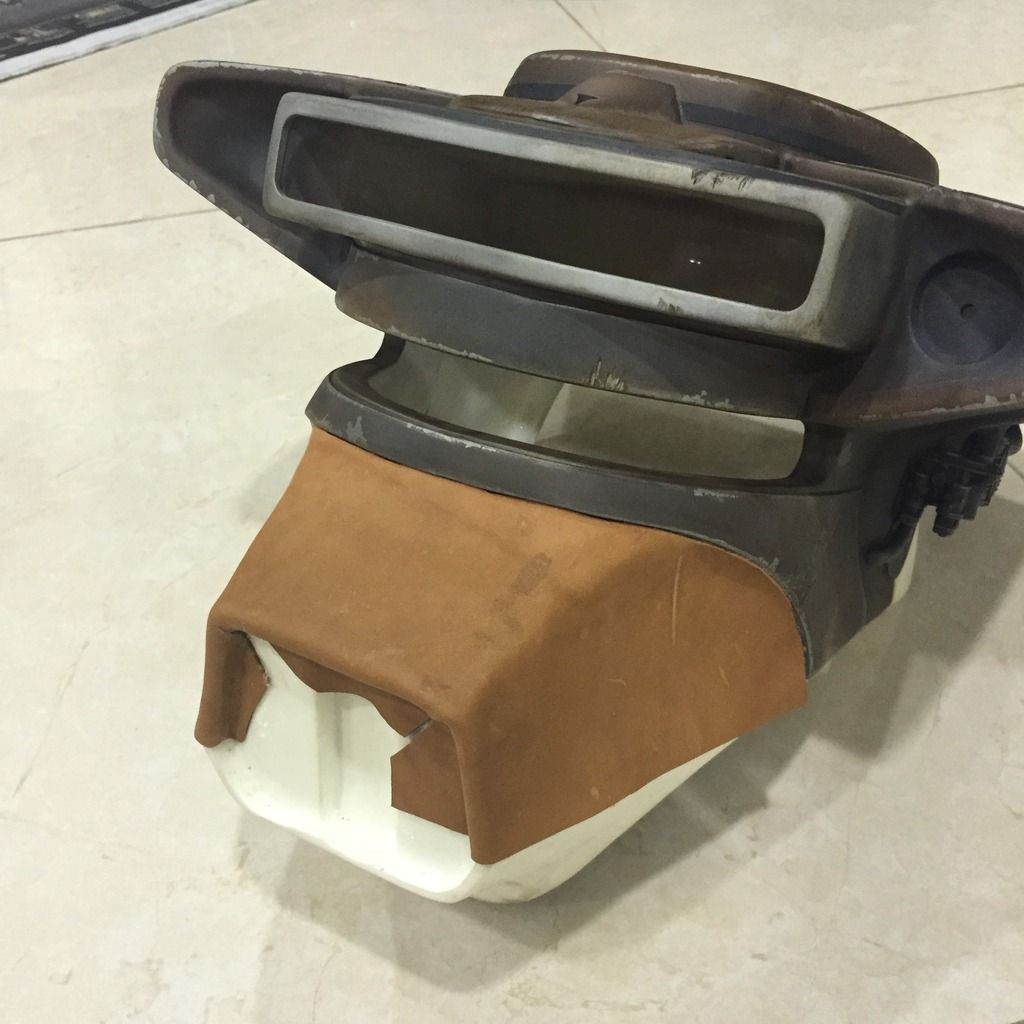
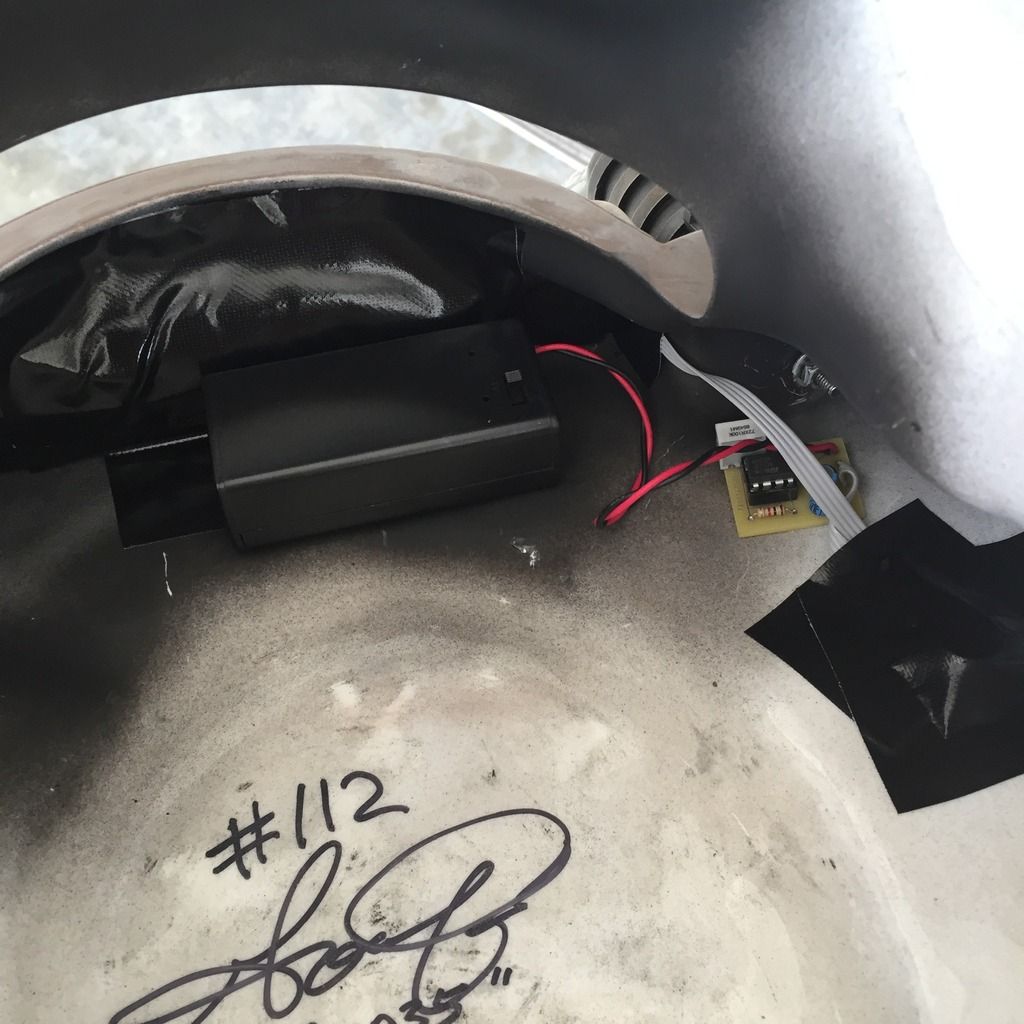
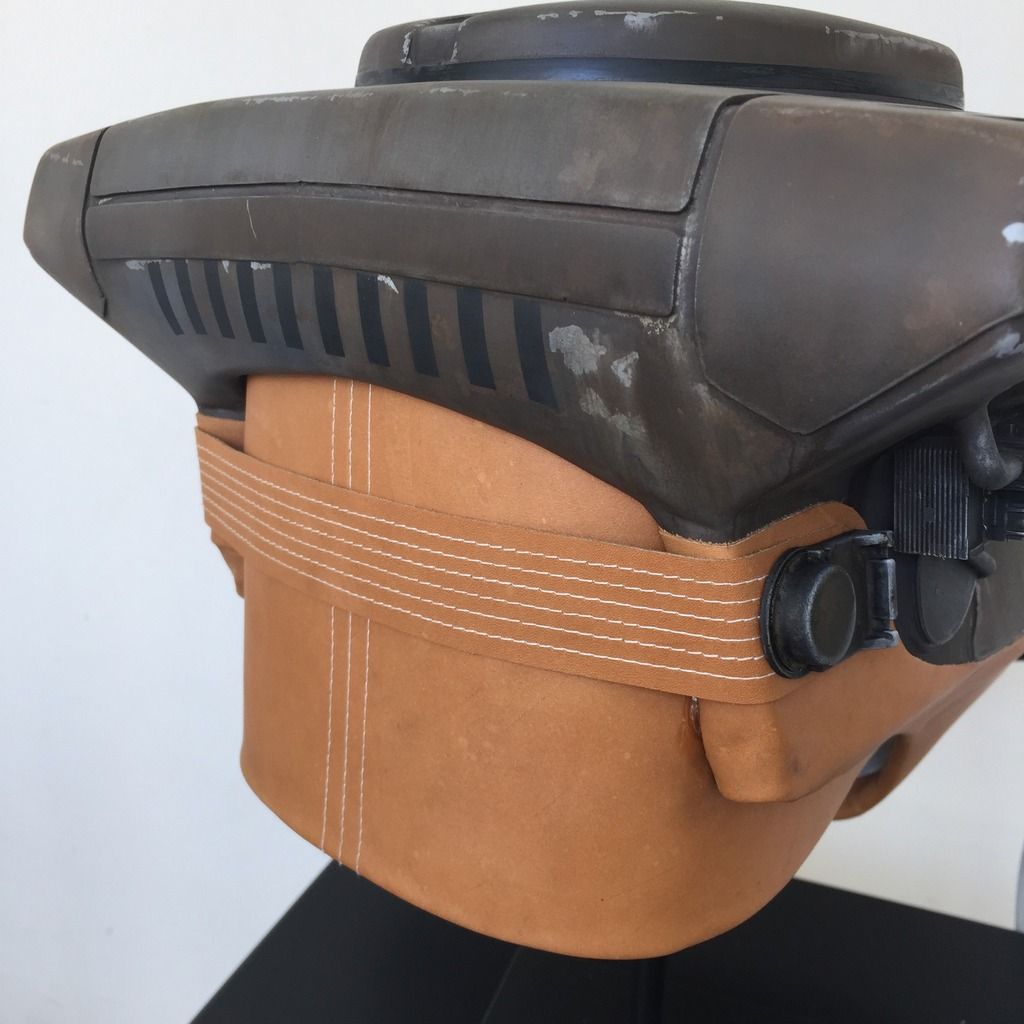
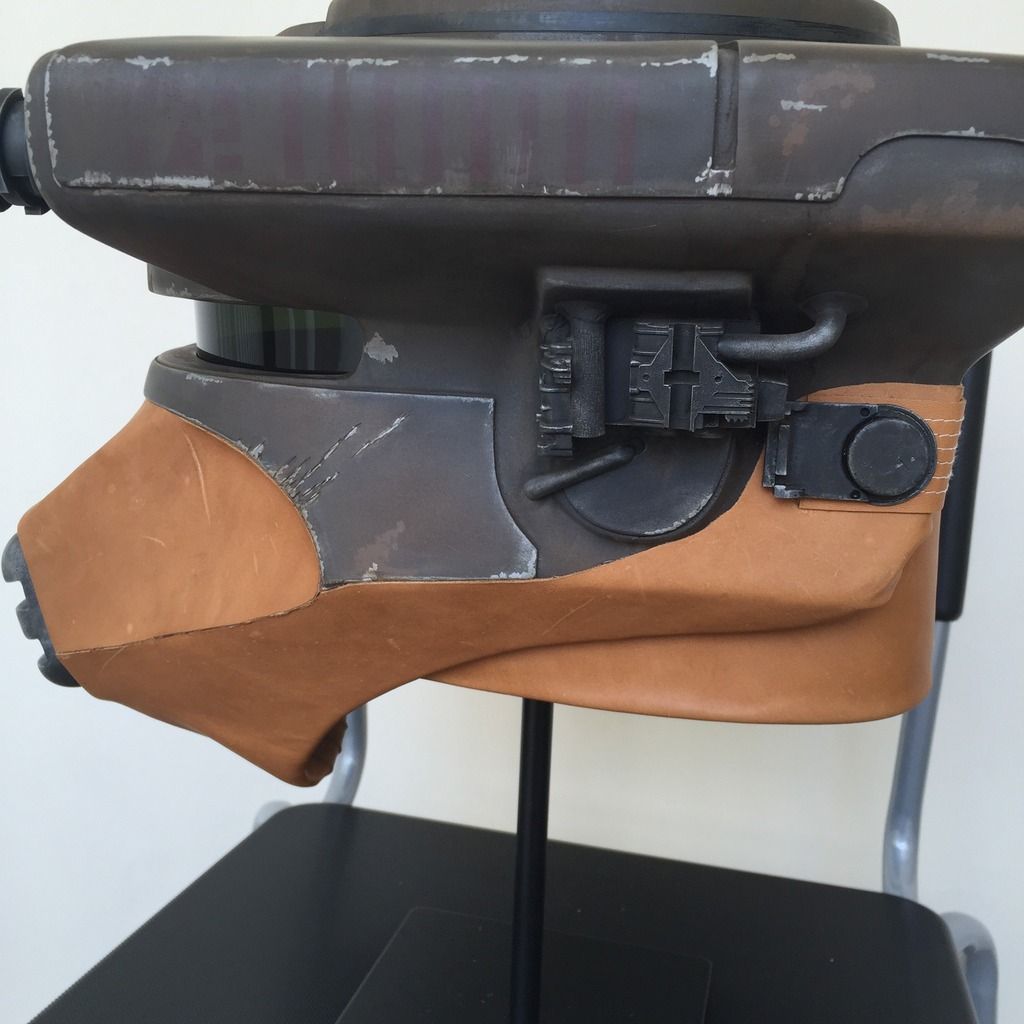
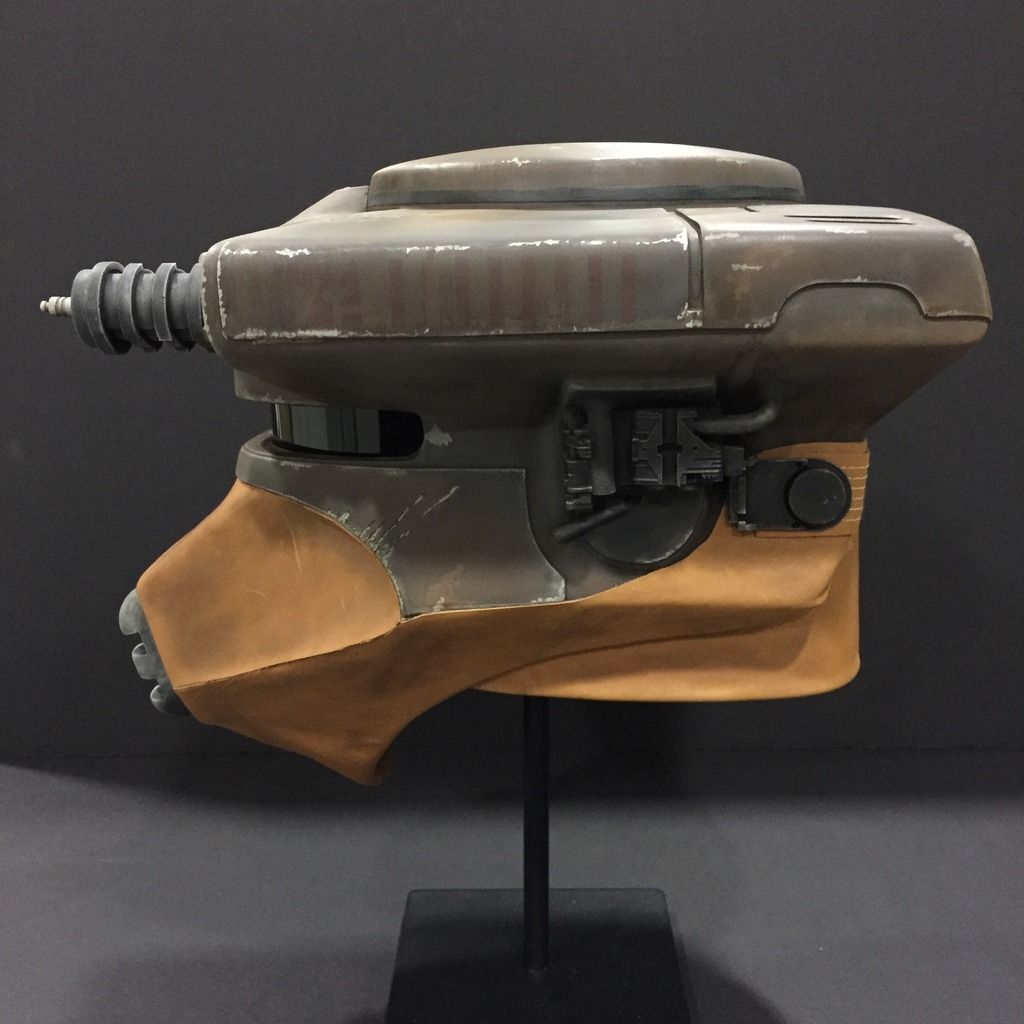
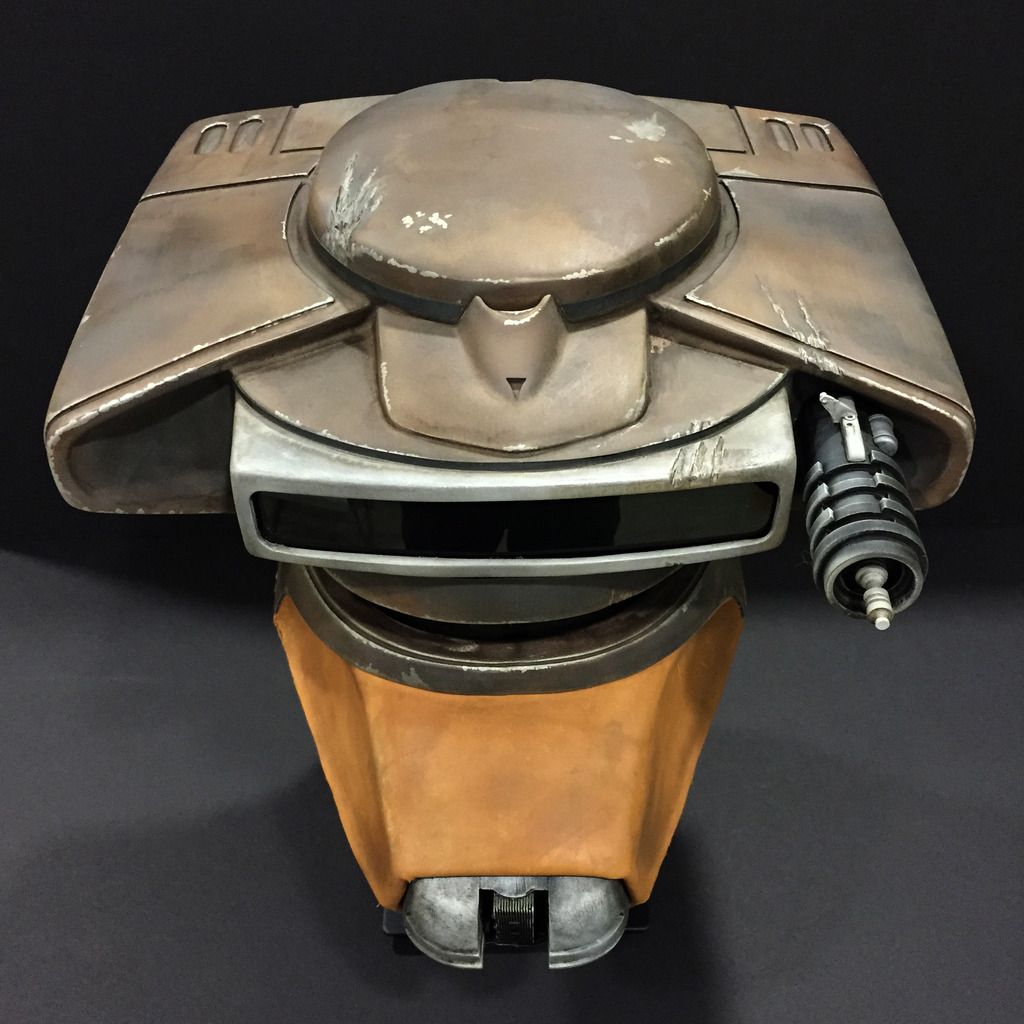
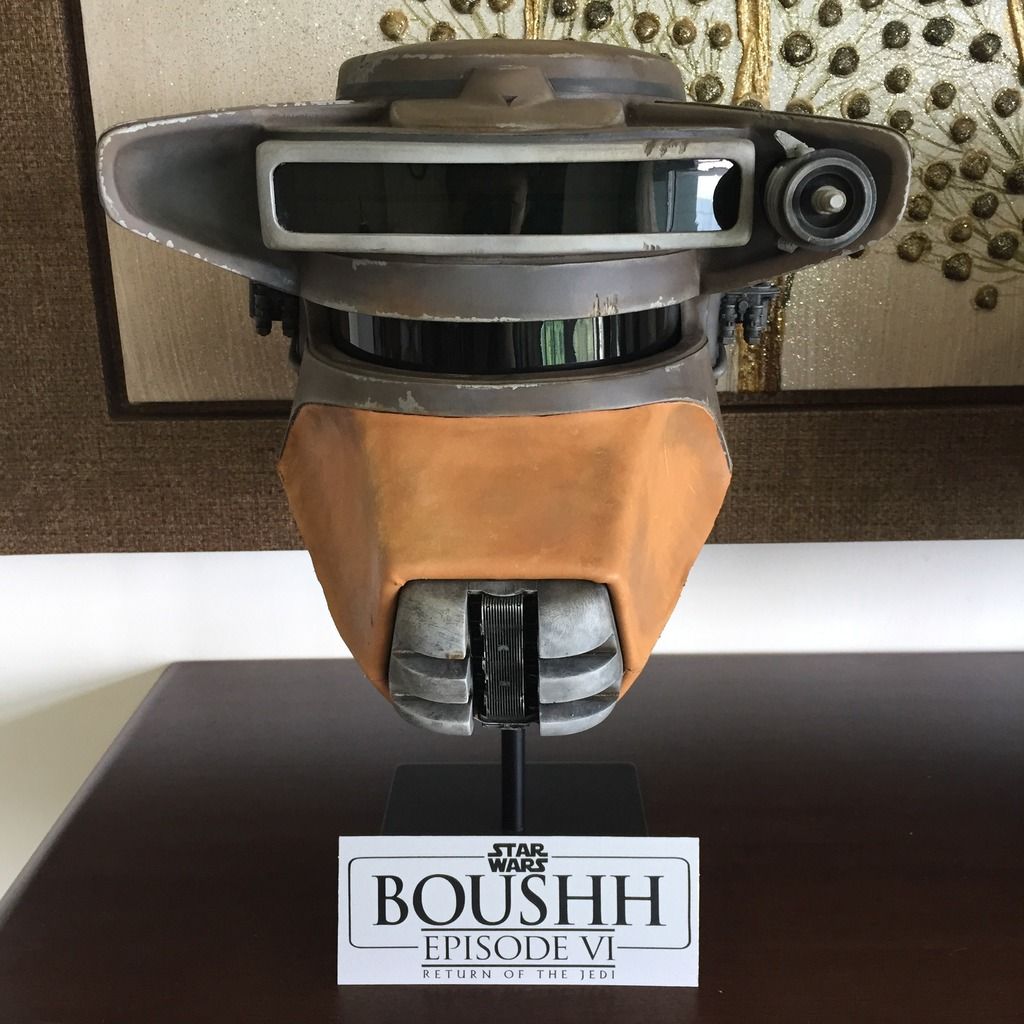
So I spent the whole of last night fixing on the leather on the helmet. Wow... it was difficult! Getting the leather aligned both at the edges of the face, sides and ears, as well as to each other, folding into the snout without creases, and finally tucking it under the whole helmet without creases (I failed here).... I have declared it the most difficult part of the build! :facepalm
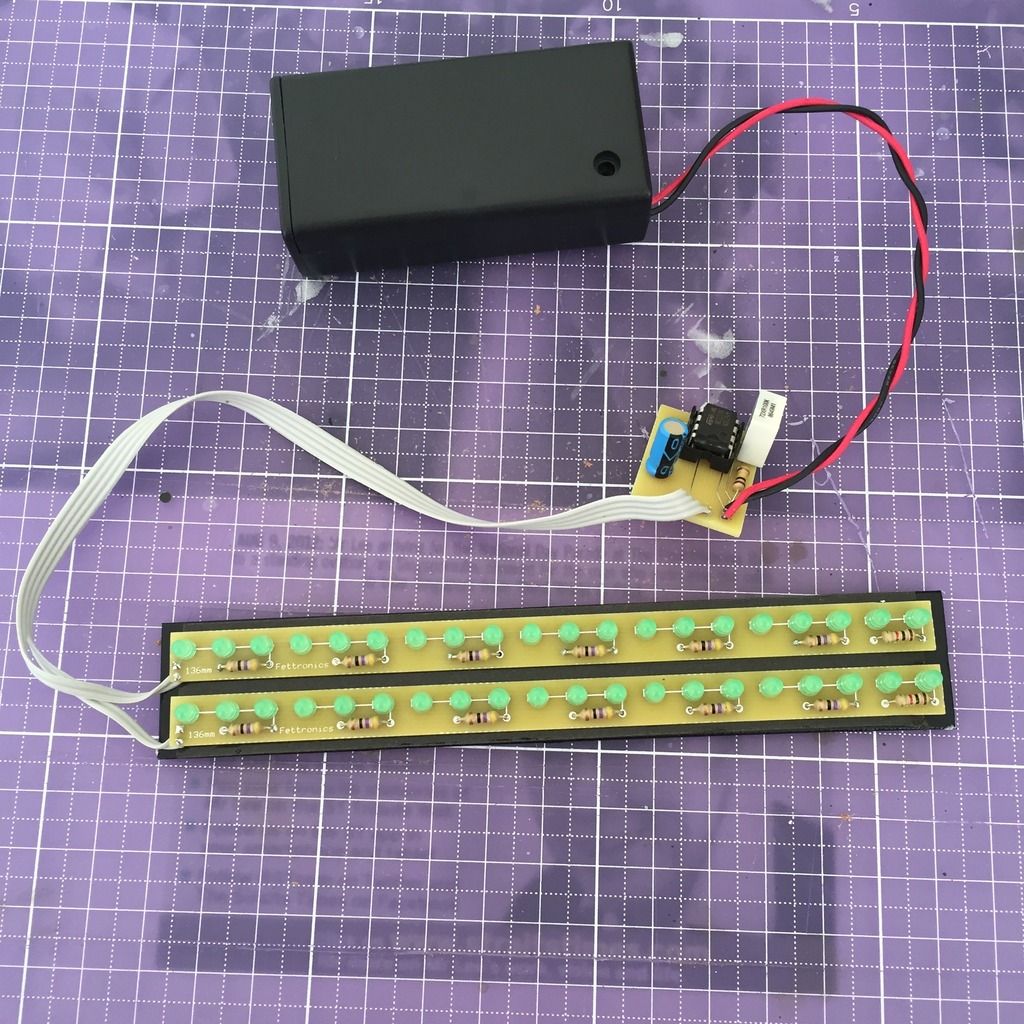
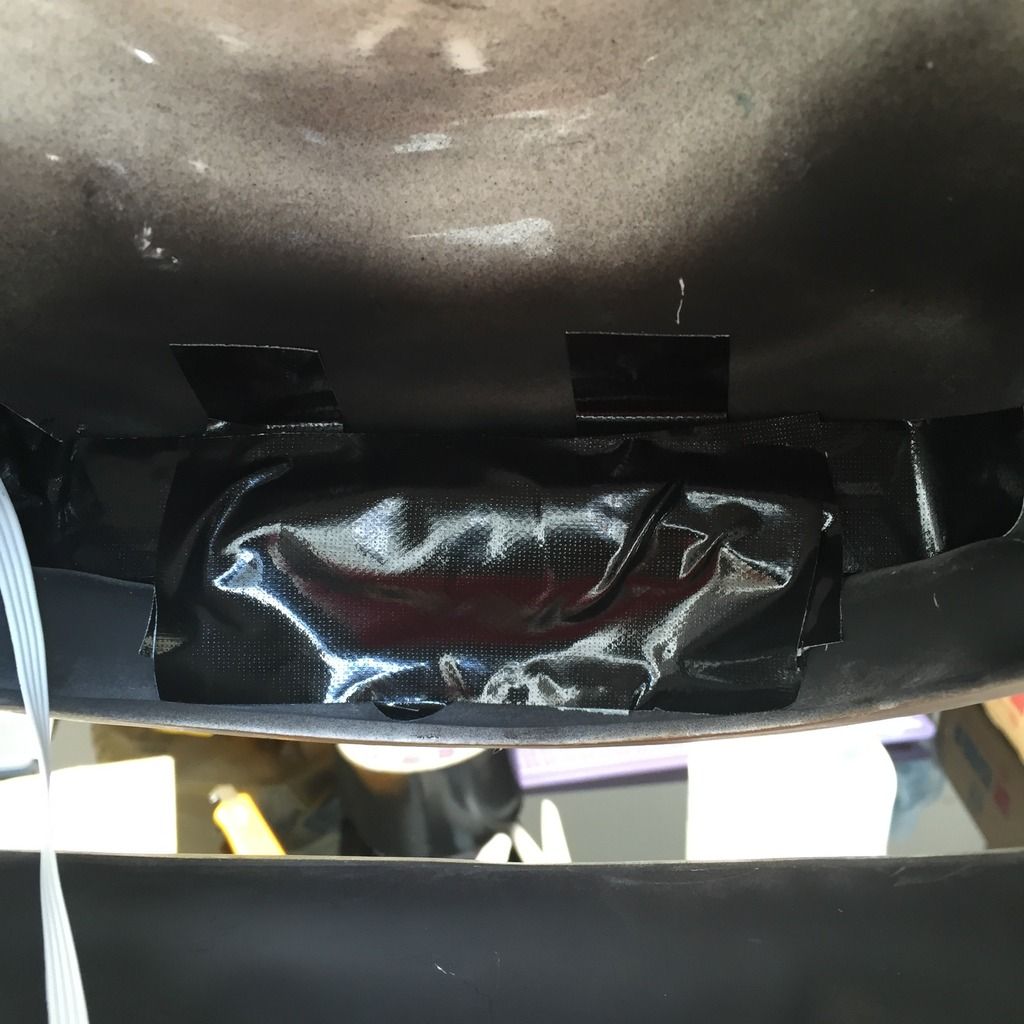
Here's the completed leather before weathering minus the black flap and leather strap at the back. I will install those last as I need the space to get into the helmet and install the visors and lights kit.