Re: Another 1/2 studio scale 1701 TOS - Pic Heavy Update
trooper
man your doing some darn fine work there.
Thanks trooper! Thought I saw you're waiting for one of steve's 1/2 SS 1701. I've had the pleasure of using a couple of his parts on this build. If they're any representation of the rest of the kit, all I can say is start getting excited!
IEDBOUNTYHUNTER
Looking good. Keep it coming. waiting for more.
Thanks IED! At your request Here are more pics. I'm still getting used to being able to show off progressive build shots. A lot of the work I've done in the past, I can't even show. Too many non-disclosure agreements have been signed. I'll just say Di$ney.
Gamera68
wow, such a HUGE project :O
It must be over 6 feet long, since the studio model was around 11-12 feet in length, IIRC.
I can not wait until she's all finished.
And I thought the 1/1000 scale was a lot of work, LOL.
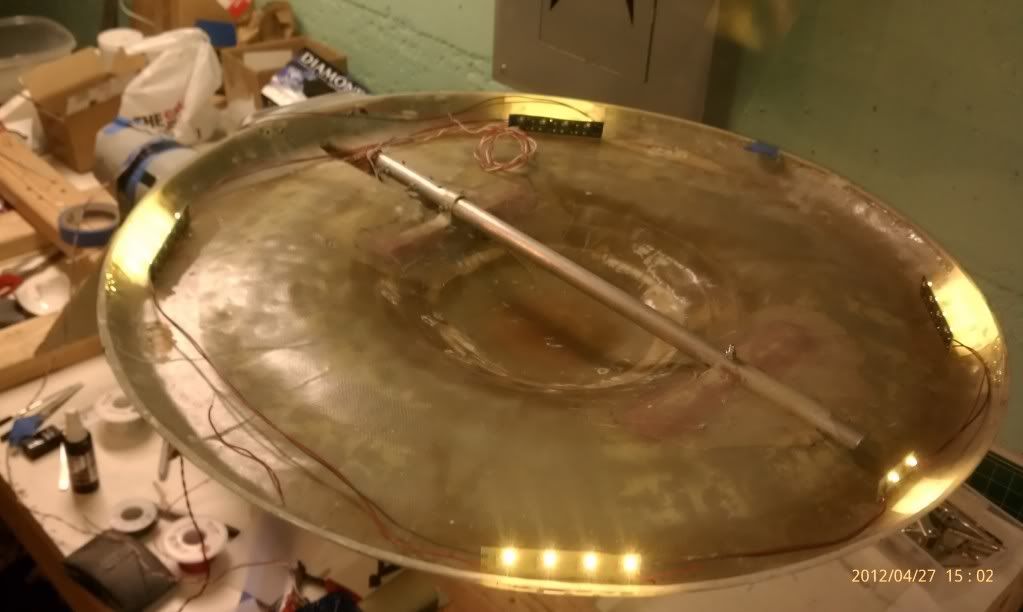
Thanks Gamera! She's a big'n, weighing in at just under 6'.
KUROK
To take on a kit like this and do such a good job, I believe you should get builder of the year award! Your patience is amazing!!!!
WoW... Thanks Kurok! Belive me I didn't start out patient with this. After the first month of working on it & discovering all of it's eccentricities, I had to resign myself to a full re-design & the slow & thoughtful road.
trekriffic
Well I have to admire your sticktoitouvness. Remarkably nice job so far.
Thanks trekriffic! It's been a mission.
On to the art show!
I'll try to post at least every 2 days from here out. As the end is approaching, I have a pretty good plan on where it's going. So, more build time, less pulling out of hair & pacing. I hope.....
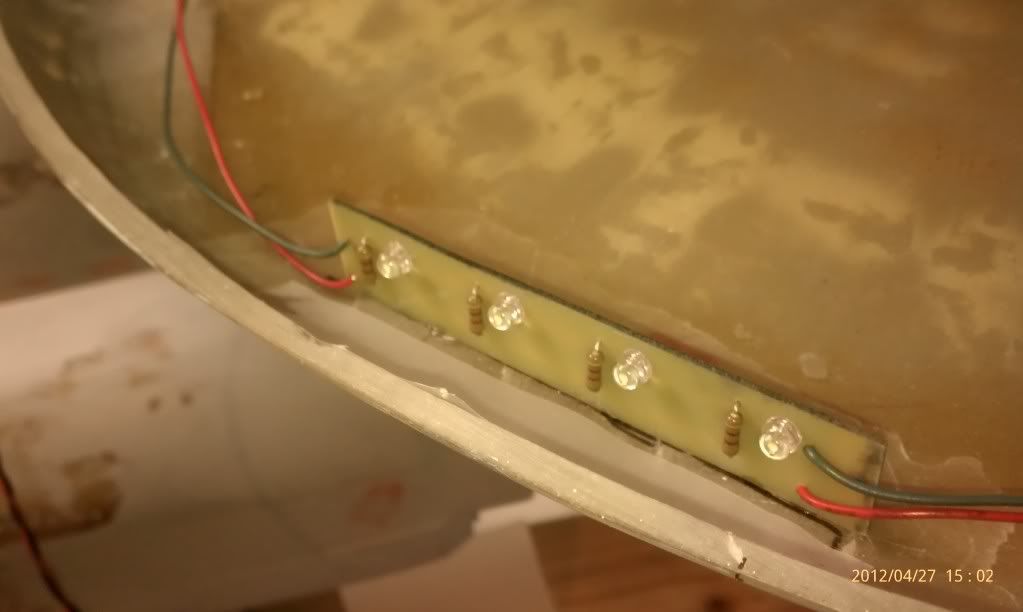
I'll also try to write more captions & explanations of what I'm up to.
Thanks again all, for the wonderful words of encouragement.
Enjoy!
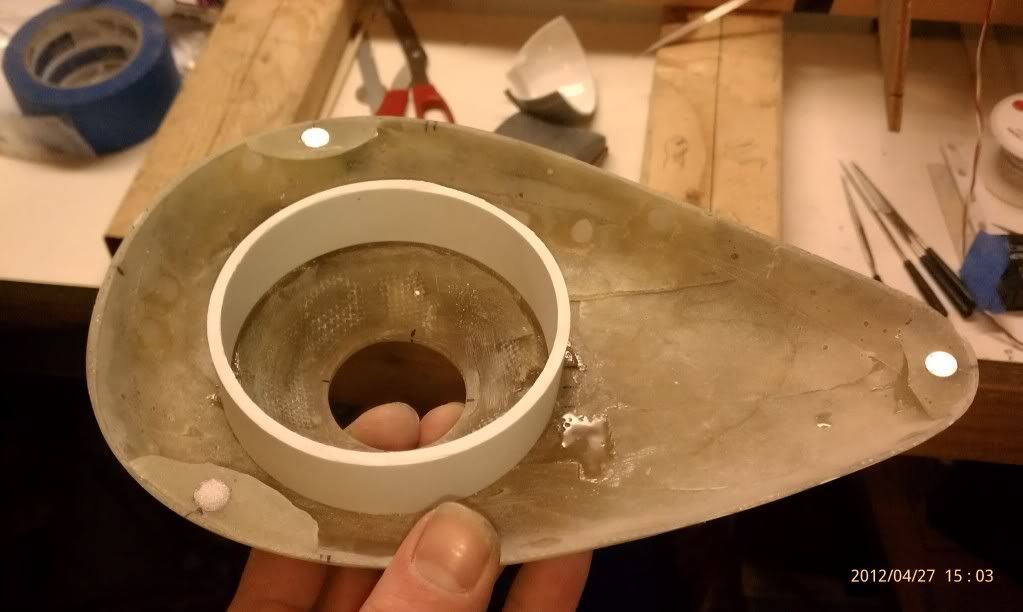
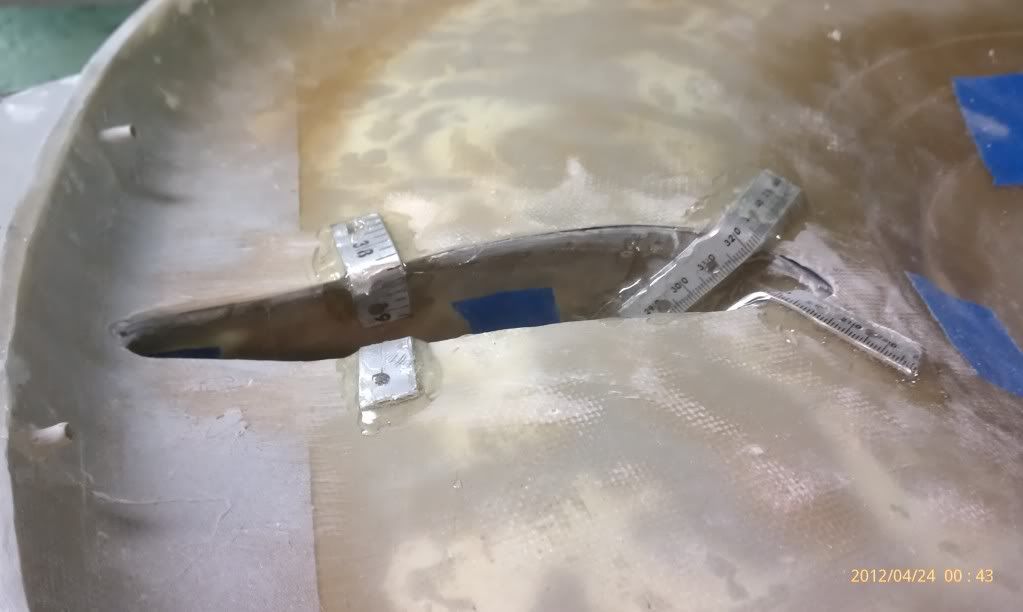
when ever there is a structural load bearing seam, it's a good idea to epoxy some aluminum tabs in place. They increase rigidity substantially & help prevent separation, if there is excessive stress on the joint. The holes in the tabs allow for epoxy to flow behind the tab & help prevent internal slippage.
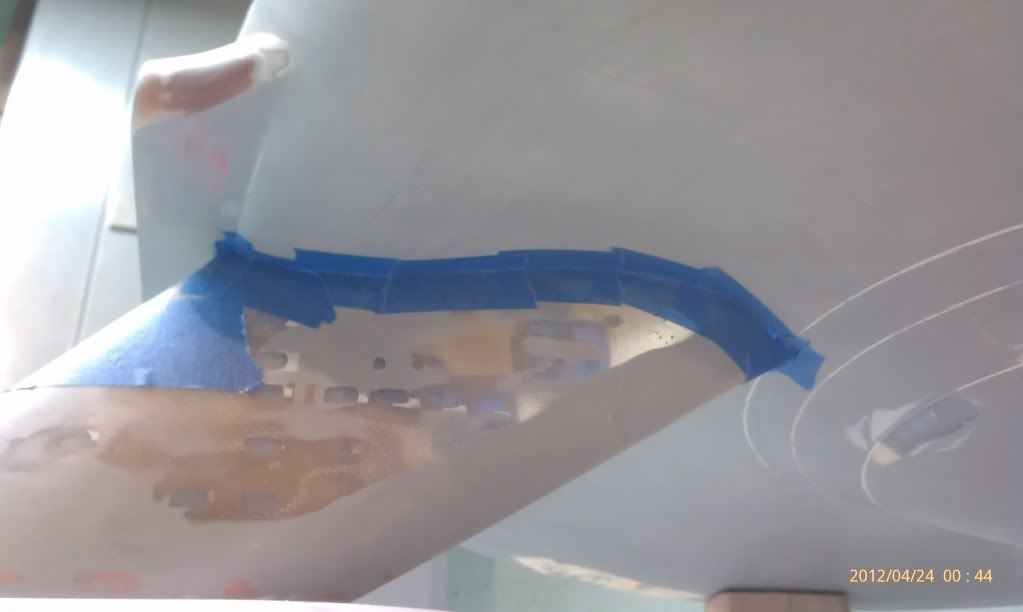
I'm a huge fan of blue tape, so many uses. There was a pretty decent gap between the neck & saucer. I use the tape to prevent seepage of epoxy on the body & as a shoring type mold. If it isn't pushed into the gap you wind up with a nice contoured fill that only requires a little flush sanding
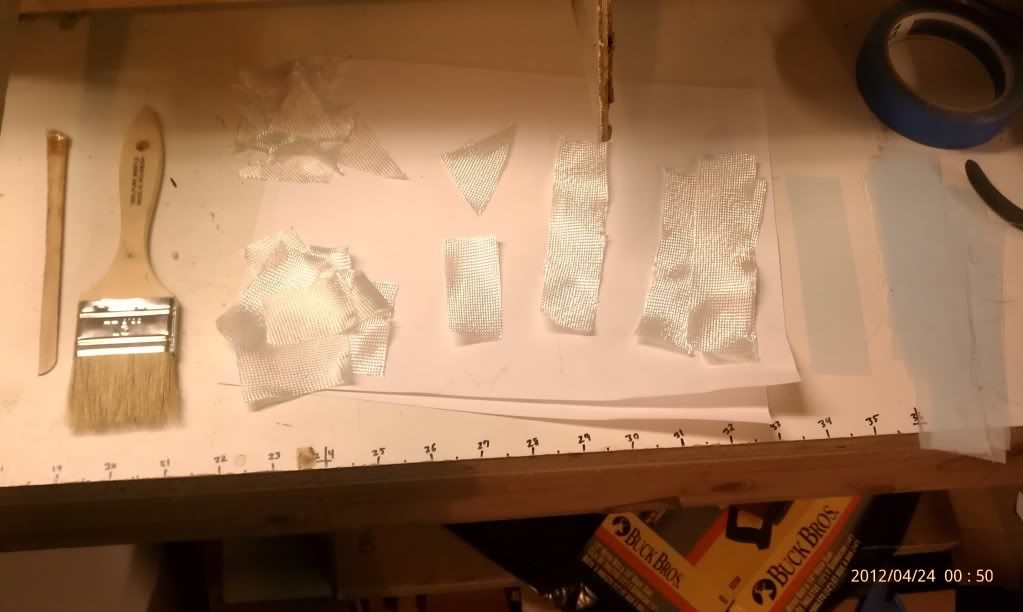
Ah, the materials for a layup. When doing layups around sharp angles, I prefer using smaller strips of FG & triangle shapes. Also when cutting the FG, cut the pieces off axis. As you lay FG on the seam, the weave should look like X's not +'s. It will conform to the edge or contour better & make a much stronger structure.
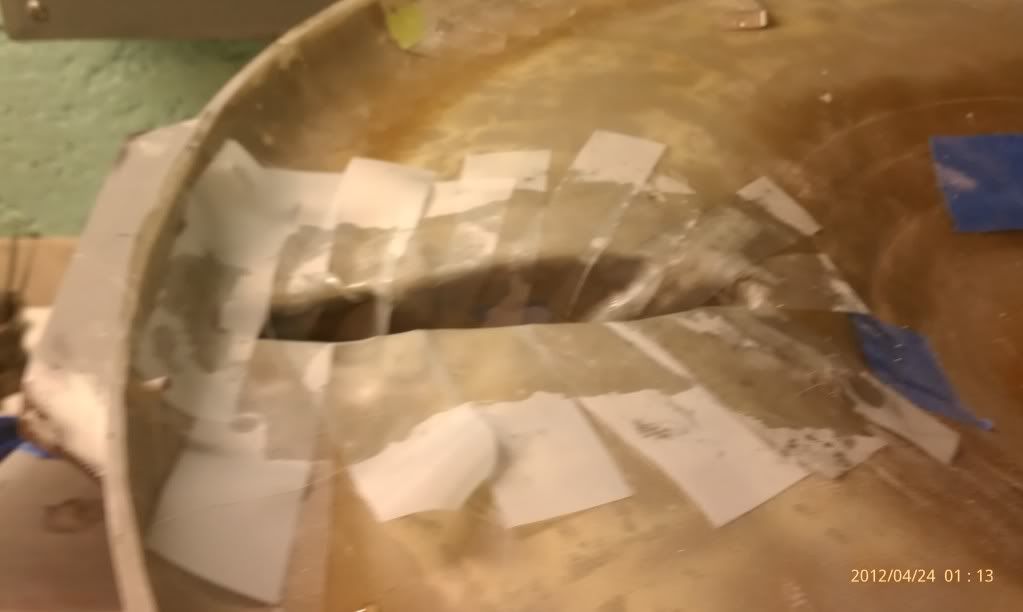
Finally I add peel-ply. It is a polyester cloth with releasing agent. This is great stuff, similar to vacuum bagging it helps remove air from under layups & helps hold epoxy in place while setting. Also when removed provides a rough surface if you need to do another layup on top of the first. No extra sanding required.
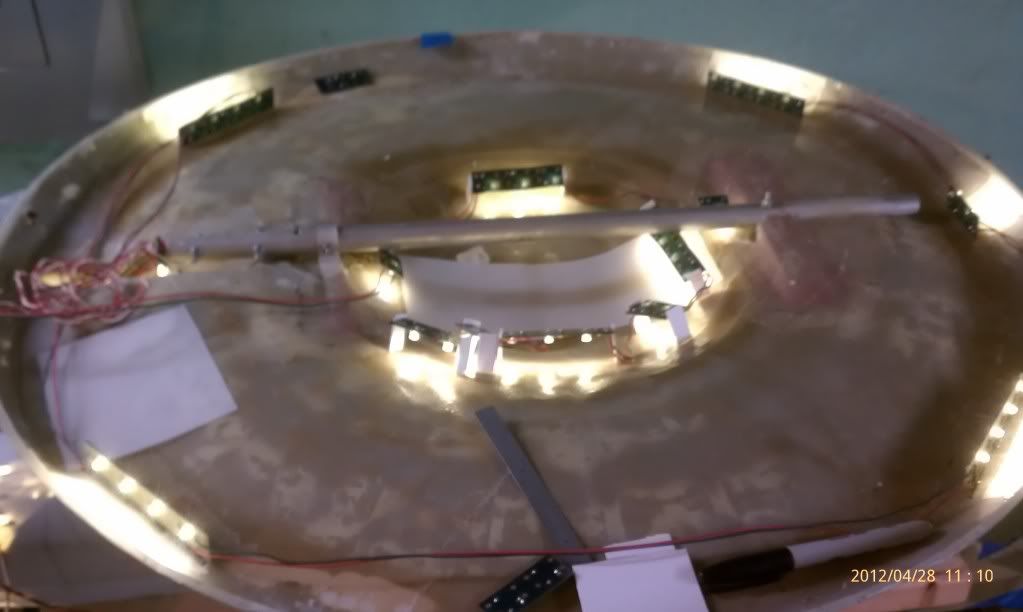
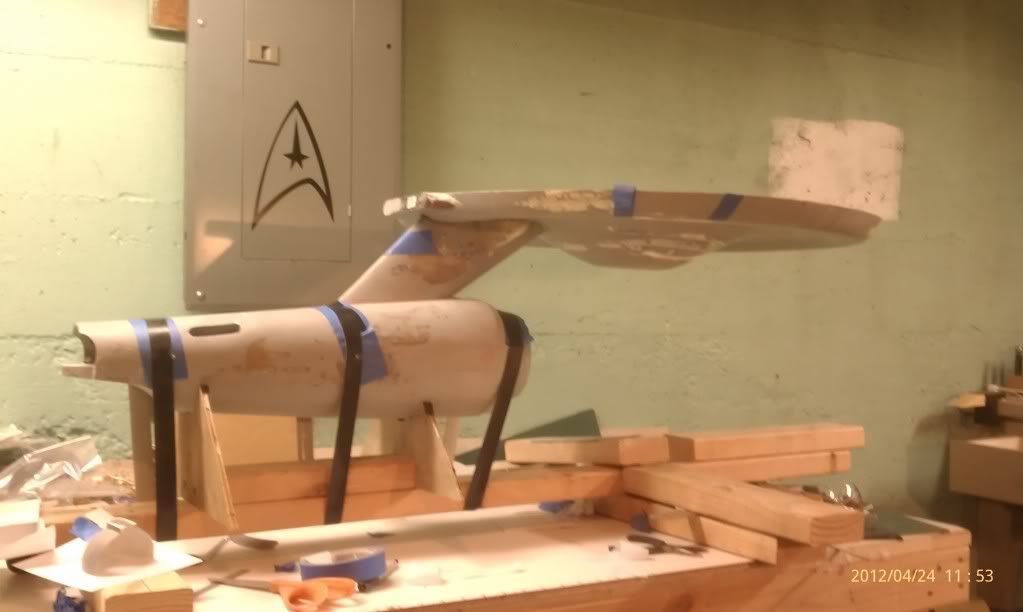
Here she is supported by her own structure! I will still be adding an aluminum support for more strength & rigidity.
")