AMT Romulan BOP/ TOS

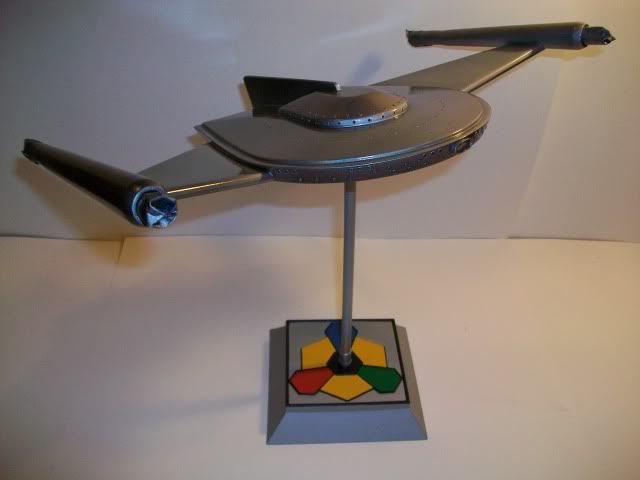
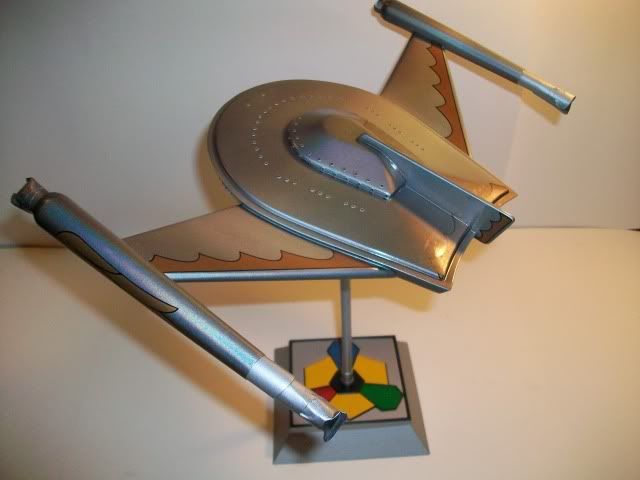
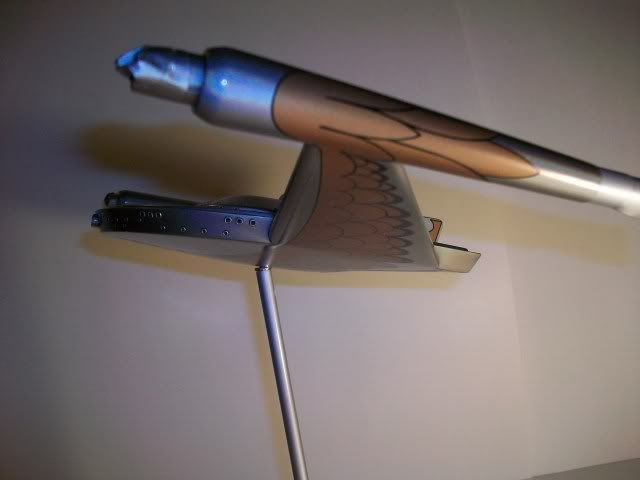
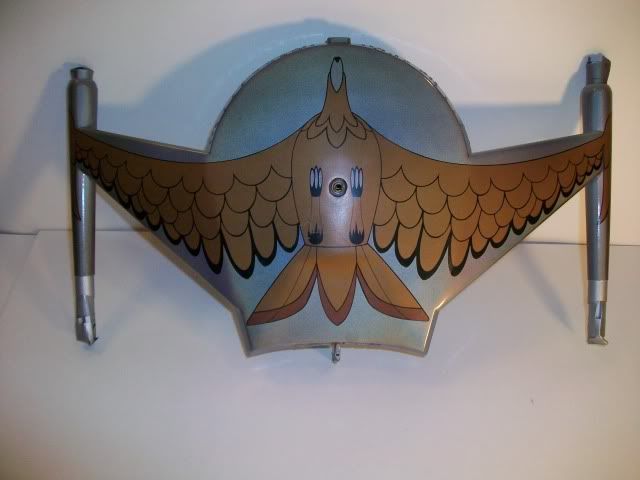
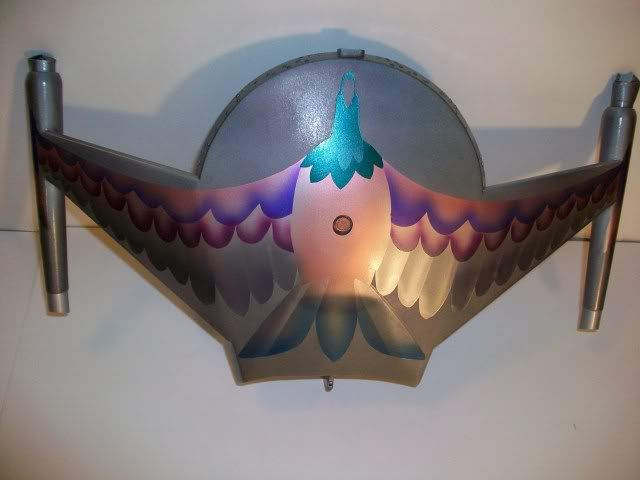
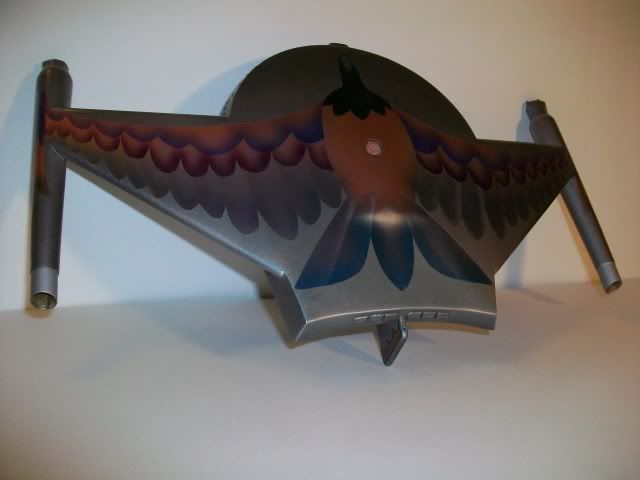
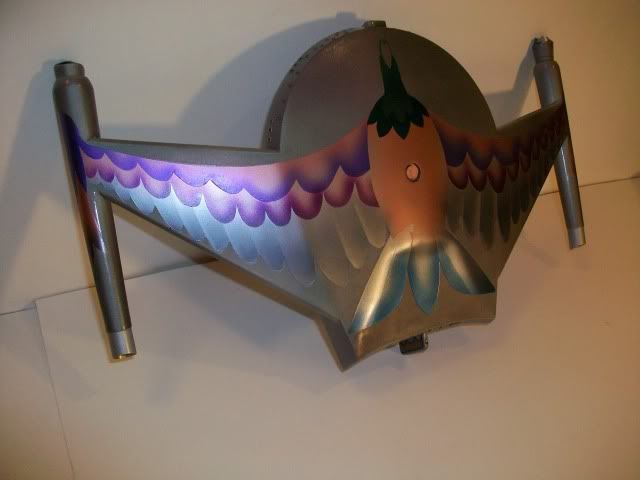
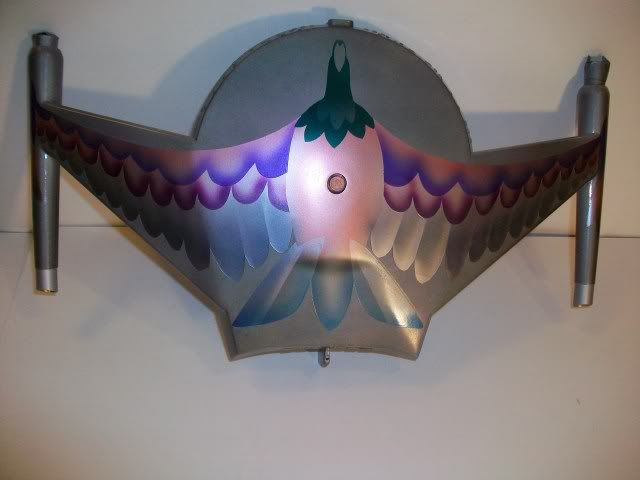
I thought your build looked really clean, and at least according to these last photos, there's proof. Prismatic finishes, reflective finishes... if the base isn't really smooth and clean, it shows more in them than in any other finish you can add. Well, again, just so happy, honored, pickled tink that you've decided to send this test build along to me, since you won't have room for it once you get to the real one.

And your generous offer of financial compensation exceeded what I had hoped to expect!:lol

I thank you for your kind words and observations once again.:cool
 
Darth, That is a great build you have achieved. I always thought of the Romulan BOP as a boring ship with not much going for it, but you have changed my mind. Excellent detailing and craftsmanship. I also like the prismatic paint as well. Is it the same kind of paint that they use on TVR sport cars?

Respect.
 
Great build!

I really like that paint. It reminds me of heated titanium, like you would see on some high end, overpriced auto exhaust systems.
 
The switch was located upon a shelf beneath the hinged panel and a spring was put in place to keep that panel up and snug even when the switch is depressed. Simple is always best.

100_1374.jpg

100_1375.jpg
 
Sorry Gents,
I posted before seeing the updated posts. Thanks for your comments and while it could remind you of "blued chrome" such as an exhaust tip it actually does much more. As for the "the TVR"- I have no clue what they even look like???
There's many shades/hues within it and mimics those little hologram security stickers pretty well. Cool stuff and leave it to Alclad to develop and release it.:cool
Thanks for your kind words and I appreciate those who drop in and interact.
 
Here's the base colors which will be cleaned up and then the clear coats with pearls and flip/flops will be shot.

100_1377.jpg

100_1376.jpg


The upper surface "silver" is aluminum while the sides are "steel" although you can't really tell from the lighting. I'll use different pearls to accentuate that further.
 
I wound up just putting a "satin" clear coat over the base. I reconsidered the pearls and flip/flops I had planned and decided not to "detract" from the model itself with too flashy of a base.
As I start to finalize wiring within the base I snapped a pic just to show the combo of the BOP mounted upon the stand.

100_1385.jpg

100_1380.jpg


Hope you like it.
 
And your generous offer of financial compensation exceeded what I had hoped to expect!:lol

I thank you for your kind words and observations once again.:cool


Touche, good sir... touche.

Excellent to see her on the base.
 
^^^
Great to see you still checking in Clerval.:cool

Just a written update:

I'm in the process of applying the decals. I had been worried about their possible age. They are the JT Graphics "replacements" but aren't brand new. However, so far, they are working well all things considered. They are made with a thin carrier which aides in them blending in but when they are as large as this that can cause it's own issues. Nothing insurmountable so far but I will keep my fingers crossed until done!:confused
 
Did some trimming and refitting of the bird caused by the mods to the hull of course.
Now it's on and just awaits cleanup and a nice clear coat.

100_1386.jpg

100_1396.jpg

100_1399.jpg
 
Without the bird painted on, it's a sleek, elegant ship. With the bird, it's still sleek, still elegant, but now... somehow it becomes bada$$. Maybe it's the Roman and Germanic associations with the eagle, but it adds that air of imperial majesty that the TOS Romulans had.
 
Beautiful work! You really took this model to the extreme.:thumbsup

May I make a small suggestion? The steel color on the base kind of takes away from the ship/Romulan emblem. Perhaps black on the sides of the base and center rod would make the Bird of Prey "POP" (but that's just one opinion:wacko).

Can't wait to see it lit up.
 
Well,
When we last tuned in the BOP was nearing completion after receiving it's decals. Only a nice clearcoat and we'd be off to the final steps.
THEN, it happened.

The BIRD BLEW UP!

Despite JT Graphics own instructions that Testors lacquer clear was recommended- it BLEW UP!

Initially I carefully wetsanded the small "puckered" areas and even touched them up with a color match, rewetsanded and carefully cleared. It actually turned out as nearly invisible fixes to the problem. But of course, a couple of areas required more sanding than they could support and eventual cut through occurred again.

Not anxious to simply risk repeating it all over again- I broke out the frisket material and started cutting away.

Here's the new bird before it's clearcoating which shouldn't be a problem- it's all in lacquer now and I can account for that. So while not yet trimmed out- here's the current state without shine.

000_0007.jpg

000_0006.jpg

000_0005.jpg

000_0003.jpg

000_0002.jpg

000_0001.jpg


It's all done with pearls, shading and overlays so the hue is highly dependent upon the angle and light source and of course will improve once cleared.
 
Back
Top