AlmightyKarl's Iron Man Build

almightykarl

New Member
Hello everyone at the RPF. My name is Karl and I'm glad to have found this community. I am about to embark on my first pep build and I'm both very excited, and very nervous. I have now watched many tutorials and read through quite a few threads, some of which the builds are done, and some that are not. It has been very valuable and helped me make quite a few decisions as far as my build goes. I am a novice at this... I am artistically inclined and have done sculpting, casting and other 3D mediums before, so I'm confident it will turn out well, but i may be slower at it. I'm trying not to ramble, excuse me if I do.

So I've chosen to make a Mark IV suit, and I have decided that it will be very in depth.

Motorized face plate.
LED Light eyes (the mesh fabric method)
LED Arc Reactor (Chest)
LED Flight Stabalizers (Palms)
Motorized Missile Launcher (Forearm)
Motorized Flaps on Back
Motorized Flaps on Legs

So now that you're all thinking I'm insane for this as a first build. Here are some area's I am looking for input right off the bat.

I have seen the motorized mask often, but am unsure the preferred method for controlling it without it being obvious. I don't know if it's a button in the finger somewhere, or something else. I was unable to find this in any of the builds I read. (That goes for the next few questions as well)
My main concern is how do I independantly control all my gadgets without having a giant obvious set of buttons and/or switches?

As I said, I'm making a Mark IV. The files I have, as well as others I've looked at, seem to be MIV/MVI together. I'm okay with this. I know the difference is mostly in the Chest but in my files, the Mark IV has a Brace and Chest piece... but everything else is Mark VI. Now my main concern is does the MIV Chest and the MVI back line up together? What have other people done? or are my files and googling abilities not up to par?
(I do like the flaps on the back of the MVI better so hopefully they do mesh up)

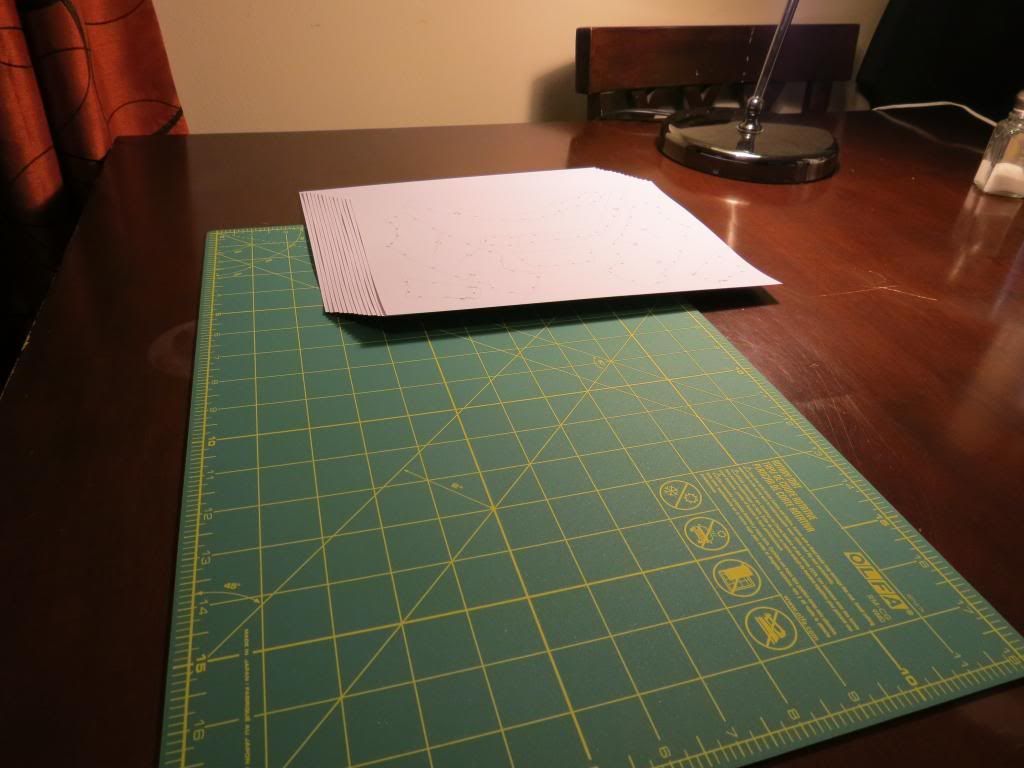
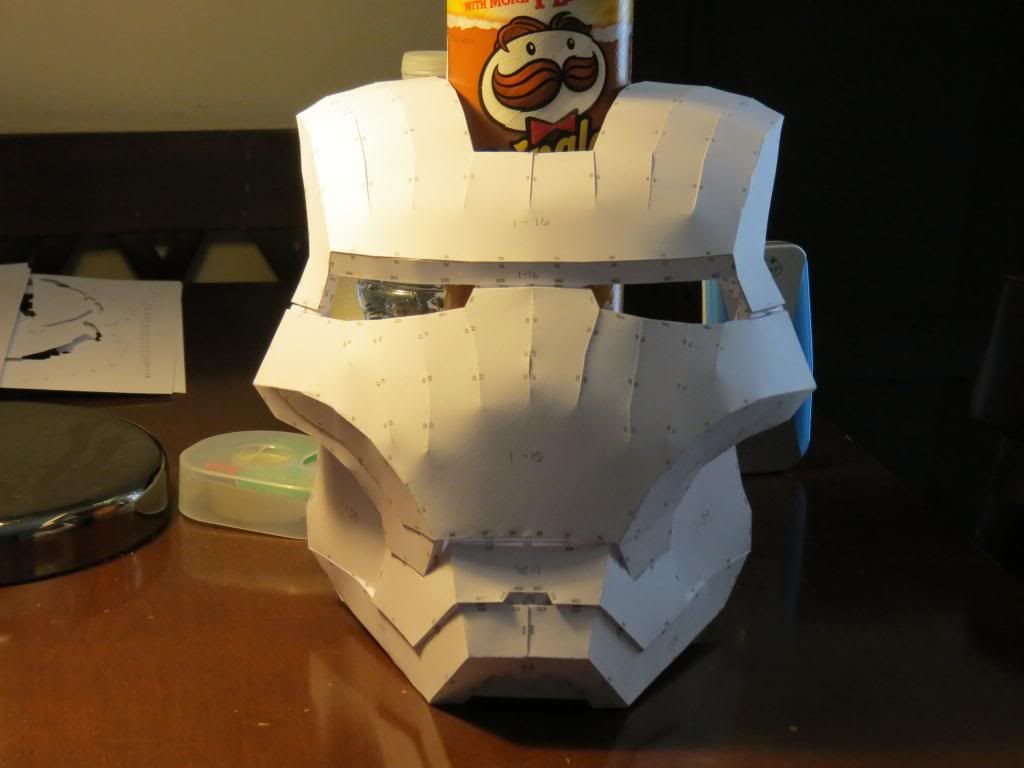
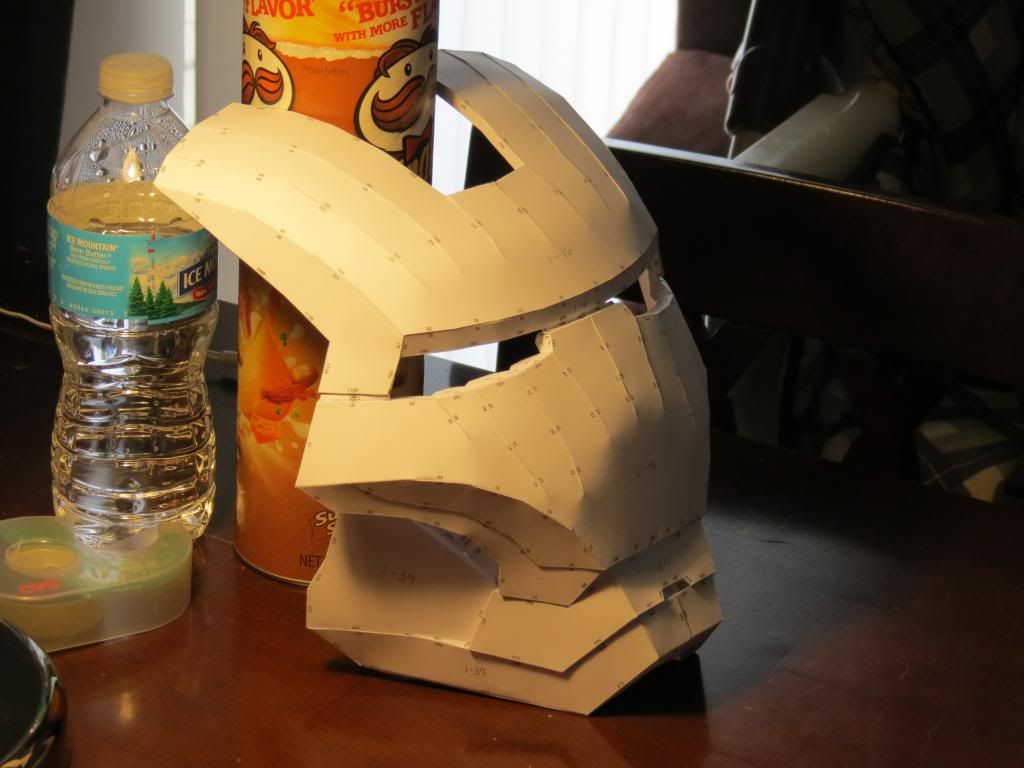
Alrighty... If you'll excuse me, I'm about to start cutting and assembling my helmet in cardstock... I've already made one in 20lb paper just for size. I will be checking in with pics as I go. I hope to learn a lot from you folks, and I hope I can give any helpful pointers to those after me. There's few things better than learning from someone ELSES mistakes.
 
Word of warning. Don't start with the helm. Unless your very very well versed in pep, it will warp and be crooked when you resin it, forcing you to start over.

The Mk 4/6 is all the same except the brace, chest plate and color pattern. All other pieces are interchangeable.

Start small, like the forarm, something that you can use to judge size and develop building skills.

Also build off of at least 70 pound paper, else it will be too flimsy (remember, you are soaking this stuff in resin.)

As for the electronics, I know some who have put the buttons inside the tips of their fingers, other have gone nuts with arduino and put in gyroscoptic devices so when they do a certain move, the program reacts to it. Search will be your friend here, as you can read up on their builds.

I'm building the MK 3 out of pep now, so I know the feeling of having to kinda jump in there, but trust me, no one is grading on how you got to the deep end.

Good luck in the build, I hope it goes well.
 
as a first time poster, i was terrified by my first reply ever to my first post ever starting with "Word of warning. Don't..." Immediate thought was, great, one post and I've done something wrong, this is an Admin yelling at me, and I'll be promptly removed from the best resource I could find. Thank goodie goodness that's not the case ^_^

I appreciate your input. I however am bull headed and will be going ahead with the helmet first. If it looks awful, I'll go make some other parts, but I'm far too geeked right now to do anything but the helm.

I did get 110lb cardstock for the print, and the 20lb one was just for size, but did illuminate some troubled areas. I'm glad I did it.

So to confirm though, the MIV chest should fit to the MVI back? They were in the same .zip file so I have to assume so. I don't remember exactly where I got it so don't bother asking. When I get searching it's a crapshoot if I retain 10% of it.
 
Lol sorry to scare you.

I know how you feel about being bull headed. I'm the same way myself.

Note, I find jumping to the thicker cardstock is actually a bit nicer for testing stuff out, as for me its easier to work it (it keeps its shape better, takes a fold fairly easily.)

and yes, the Mk 4 chest will meet up with the mk 6 back (like I said before, they are interchangeable.)
 
Couldn't help but notice already 250 or so views, sorry to all those just looking for pics. I'll be getting them up as I go. I did spend 3 hours last night on just the chin of the helmet so far. It's looking really good. Precision cutting is paying off while gluing. I just match up a corner then glue one tab at a time very carefully, it's going slow, but well.

Side Note: I hate whomever decided to make a mountain and valley fold about 2mm away from each other on a 5mm wide peace.
 
Well Holidays have been crazy with inlaws commin out of the wood work. However I'm off to a pretty good start on my Helmet. I've managed to turn


THIS

prints_zps577f79d6.jpg


Into THIS

frontface_zps485f8336.jpg


It only been able to work on it every other day for the last week and a half or so between christmas, new years, and all the family. I'm quite happy so far though. Here's a side view.

sideface2_zps939ebbf3.jpg


I hope to have the pep model done shortly. I did however decide i should make a smaller part to practice the resin/fiberglass process on before doing so to the helmet. I hate when good advice sinks in and makes me not do whatever the heck I want. :(
 
I think you need to use thicker card board or add some strengthening bars at the rear of the face plate to prevent warping. Your helm seems to wide at the cheeks.
 
I think you need to use thicker card board or add some strengthening bars at the rear of the face plate to prevent warping. Your helm seems to wide at the cheeks.

Without the rear of the helmet to line up to there's no sense trying to position it with braces... once the whole thing is done I'll have somewhere to line it up and attach it. 110lb is plenty heavy I'm sure. There's just nothing there right now to give it shape... it's a WIP
 
Last edited:
Word of warning. Don't start with the helm. Unless your very very well versed in pep, it will warp and be crooked when you resin it, forcing you to start over.

The Mk 4/6 is all the same except the brace, chest plate and color pattern. All other pieces are interchangeable.

Start small, like the forarm, something that you can use to judge size and develop building skills.

Also build off of at least 70 pound paper, else it will be too flimsy (remember, you are soaking this stuff in resin.)

As for the electronics, I know some who have put the buttons inside the tips of their fingers, other have gone nuts with arduino and put in gyroscoptic devices so when they do a certain move, the program reacts to it. Search will be your friend here, as you can read up on their builds.

I'm building the MK 3 out of pep now, so I know the feeling of having to kinda jump in there, but trust me, no one is grading on how you got to the deep end.

Good luck in the build, I hope it goes well.

Im with you...DO NOT START with the helmet. I'd start with the chest. But thats just me. Good luck bro and welcome! :thumbsup
 
Alrighty, I'm quite a bit further on my build although on average, I don't have tons of time to work on it. I have some every day but I most of my progress has been in a weekend or two. ANYWHO...

I was very happy with my pep work on my helmet:
RK2q5Wa.jpg


I have already fiberglassed the inside, and I made this a couple weekends ago:
9CJxmF6.gif


I will say, with all the stuff I had gotten to start fiberglass, I underestimated how quickly brushes add up :/ but alas I've found some cheap-o brushes on ebay so hopefully when they show up I can do some more, up to bat is the chest and back pieces. I'm waiting until they're both pepped to make sure they line up how I want. I'm trying to have different parts in different phases of the process so if there's ever a particular thing I don't want to do, I can still make headway.

I have started some work on the unibeam... I ordered some LED's online, and I'll say I'm very happy with them. I have better picks and will show you what I used more specifically when it's finished. I'm not the type to keep secrets, anything I figure out will be free knowledge. This is the first pic I took of it. It amuses me more than anything. Stay tuned for specifics.

N0cA1MY.jpg


I have also pepped the chest piece:

sMhRKCw.jpg


I've started on the back, but not enough worth taking a shot of. Well, that's what I've got. Like I said, I'm happy to share anything I know so if you have questions please ask. I'm not saying I know much, but if you see something you like, say so.
 
This thread is more than 11 years old.

Your message may be considered spam for the following reasons:

  1. This thread hasn't been active in some time. A new post in this thread might not contribute constructively to this discussion after so long.
If you wish to reply despite these issues, check the box below before replying.
Be aware that malicious compliance may result in more severe penalties.
Back
Top