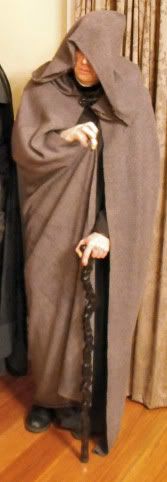
Hey look everyone!!, its Gandalf!!!!......:lol
To be honest, when I was making that cloak, I thought I could change the clasp out with the leaf clasp and have a perfect Fellowship cloak...
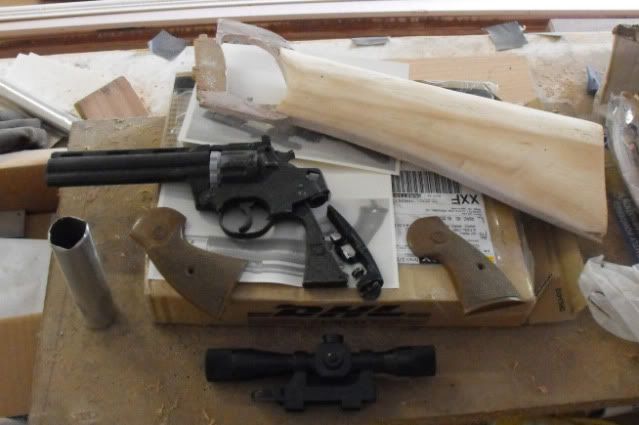
Now, on to Boba Fett:
So, I had the helmet, a Mystery Helmet being finished by marsattack for me:
As I said before, I thought... "How hard can it be to put together the rest". :wacko
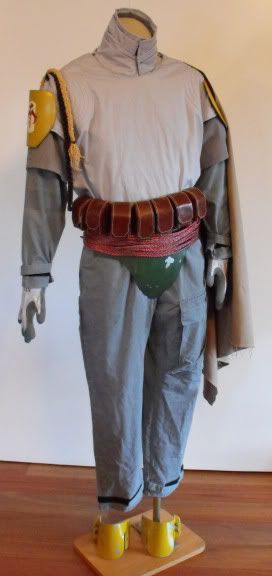
I started working out this outfit inside-to-out, from top to bottom. So first, the jumpsuit... I found this great set of overalls at one of my favorite second hand shops for about $8:
I unpicked the reflective bands and extra pockets (I left the thigh pocket just incase I didn't have time to add accurate ones). The result was this:
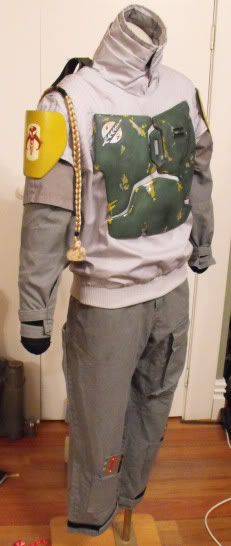
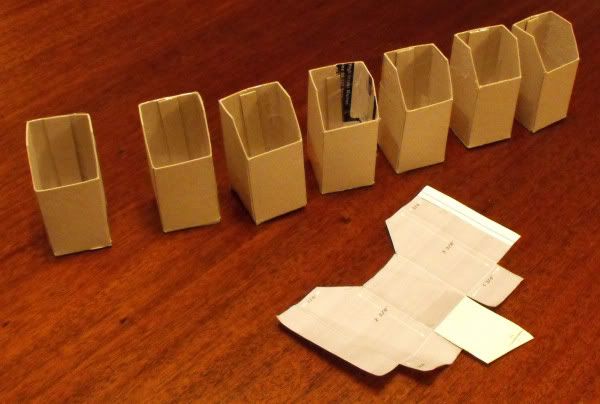
The next thing I thought I could do was the leather pouch belt. I had plenty of spare brown leather sitting around and I decided I wanted to make the pouches functional. So, first I made a bunch of cardboard boxes:
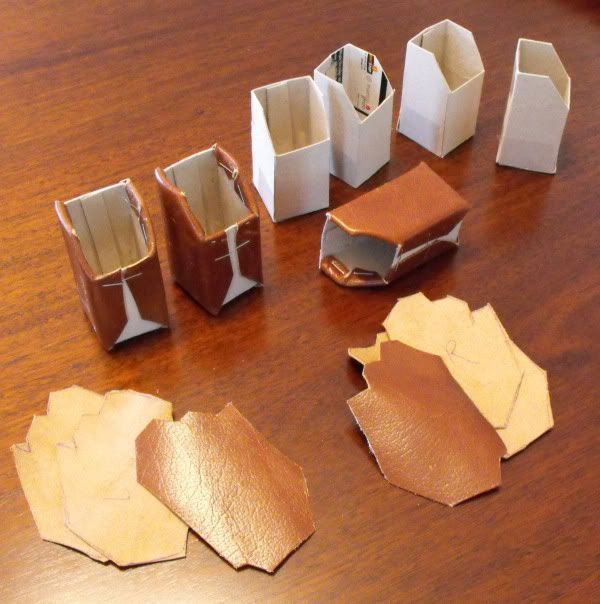
Then I began covering them in leather. To save time, I made a template, and simply glued-and-stapled the pieces to the side of the boxes:
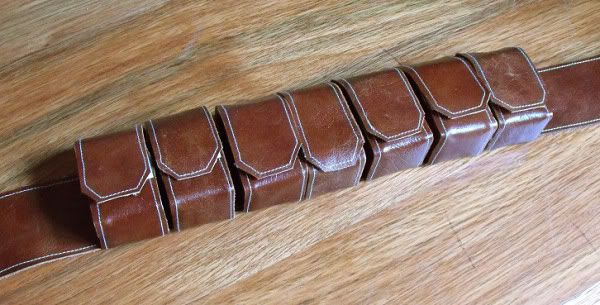
Then I cut long leather pieces, added the white stitching and sewed velcro pieces to them. Again, I glued-and-stapled these to my cardboard boxes:
I slid these onto my quickly-made leather "belt" (which was just another long strip of leather with the white stitching added). The end result:
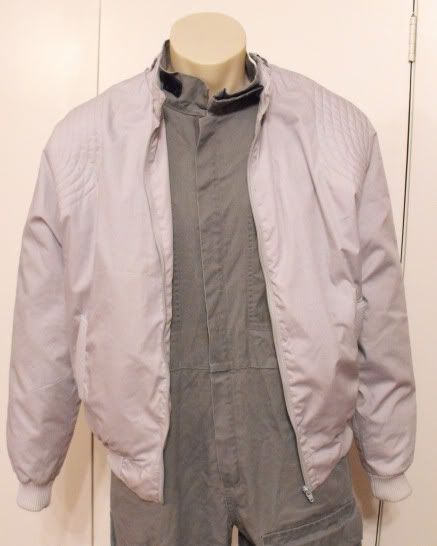
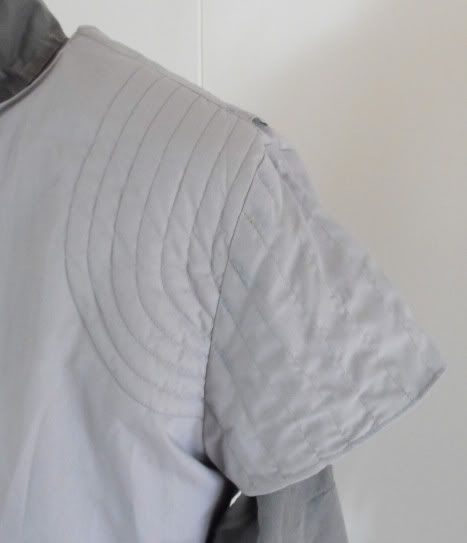
I found a cheap 80s style light grey windbreaker at another shop for about $3:
I put it on backwards, trimmed the neck, cut off the sleeves and added stitching to the new short sleeves:
There was some extra decorative stitching on this jacket. Instead of worrying about unpicking it all, I just lined up the stitching on the sleeve to make it look like it was meant to be there. Inaccurate, but I think it fits well enough:
More to come...
Kind regards,
Magnoli


")