1/72 moonraker 747

My plan for the windows seems to be working - this was just a quick test of a decal to outline each window (final window frames will be silver). I've since repainted the blue stripe since I had a masking tape malfunction...

dsc_2927_2.jpg


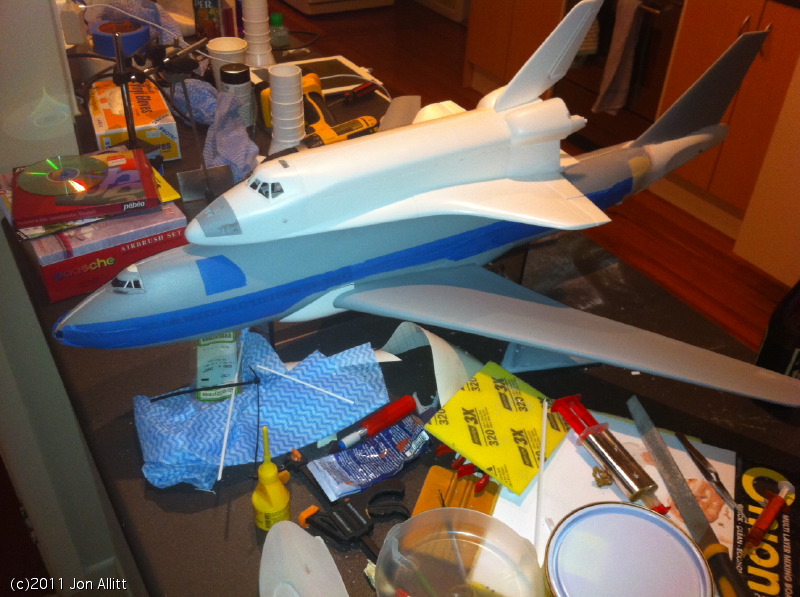
I've actually blacked out most of the windows from the inside (I should take another pic from the outside since you can see the white inner window frame through the clear acrylic)

dsc_2929.jpg


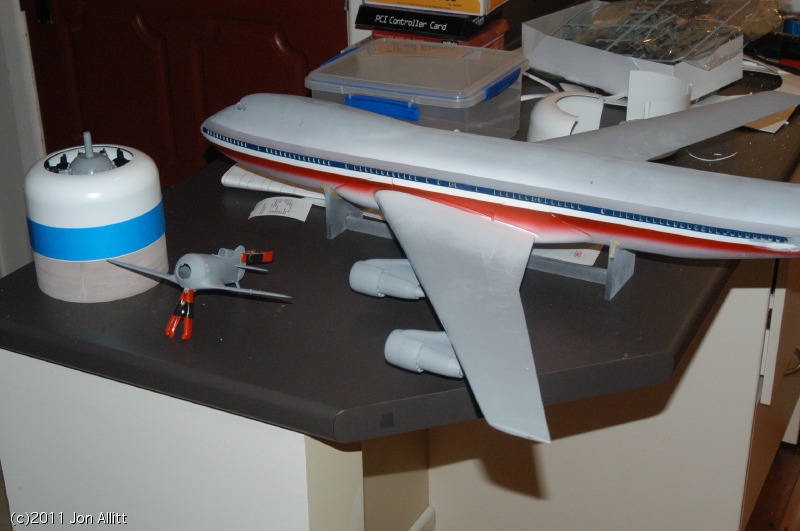
Last night I epoxied all the windows in permanently and did a final test fit of everything prior to sealing it up...

dsc_2935.jpg


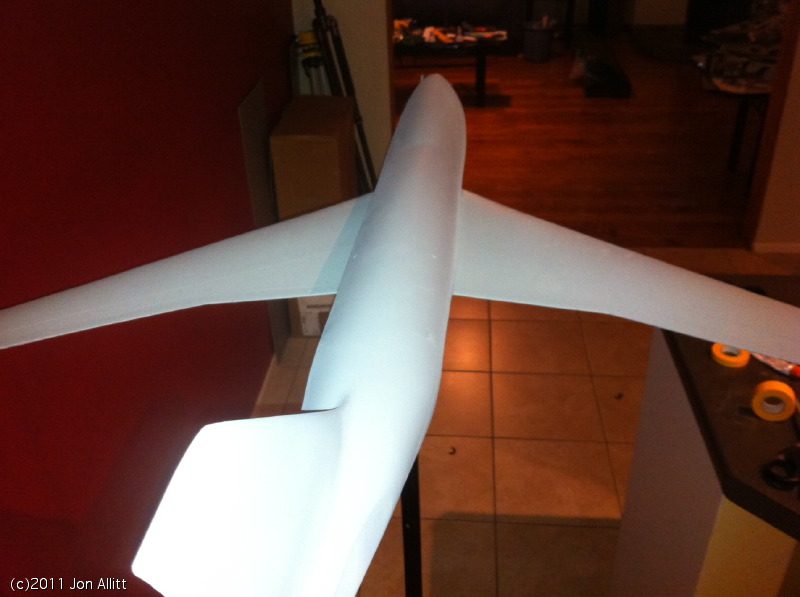
I could probably start gluing this up now - but there's a slight kink at the starboard wing tip which I want to straighten out before gluing the wings in - which means I can't glue the tail since I want to make sure the wings and tail are all aligned correctly.
 
Bit of an update...

test assembled to figure out the centre of gravity and added a 5/8" tube as a mounting point. This slips over the spigot on light stand.

dsc_2946.jpg


Chopped up the engines to add an opening for the fan exhausts.

photo_4.jpg

Got the wings smooth and added some detail with computer cut vinyl. I'll scribe around the flaps and air brakes.
photo_6.jpg


Next pic doesn't look that interesting but I finally sealed up the fuselage halves and permanently attached the tail section. Still need to fill the seams and prime.

photo_7.jpg

Wings are still removable but at some point I'll need to epoxy them in so I can finish off the bulge in the fuselage. That's a monogram shuttle from the full stack kit on the back - if I paint this one up with no number it'll match the one in the film - then #5 can go on the launch stack...
 
Cant wait to see the finished product ! I have both those kits in 1/144 . I wanted the 747 to be Air Force One but cant come up with any decals.
 
It's basically waiting for me to finish painting.

I got the fuselage halves sealed up and the wings permanently attached:

photo_8.jpg


painted the white and red stripes - this means I just need to mask off the 3 stripes while painting the silver.

photo_10.jpg


But then I got sidetracked by the engines. Using the vacformed kit parts would have required some guesswork and a lot of luck to get them all on the correct angles (and they weren't particularly round)

So I made new engines. The front fan/intake section was CNC milled from acrylic and the rear part was turned on a lathe.

photo_13.jpg


which left the problem of the pylons. Since the wings aren't perfectly symmetrical (due to the vacformyness of them) I took a 3D scan of the wings then drew up pylons in CAD to exactly match the contours on the bottom. Then milled the pylons from acrylic. This means that all 4 engines are mounted on the correct angle - with the trust aiming slightly downwards (and they're also toed-in by a few of degrees when viewed from the top).

dsc_3024.jpg


Was planning to paint over the xmas/new year break but I Munsoned my ankle so that limited my mobility a bit :unsure Hoping to get it painted while it's still summer down here...
 
Most excellent! Every modeler should have access to a lathe or a CNC milling machine. ;)

BTW, what is with the big cowl sitting next to that little Gee Bee there?
 
There was a 1:100 scale Space Shuttle Model out there somewhere. Perhaps your 1:100 747 could be used in a similar project.

Tamiya makes a 1/100 Space Shuttle and I've seen a few models where it was combined with a Nitto/Entex/Doyusha (all the same mold) 1/100 747-100/200 to do 747 carrier aircraft with shuttles on their back. The struts naturally and extra vertical fins on the stabs have to be scratchbuilt, but it is indeed doable. Doing a real shuttle naturally involves having to make a tailcone for the orbiter. But, Moonraker doesn't have those concerns.
 
Back
Top