INVAR
Sr Member
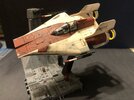
Having become obsessed with the quality and fun of building the Bandai Star Wars Kits (and needing a sabbatical from the Zvezda Star Destroyer) - I bought almost all of the Bandai Kits except the PG Falcon. So I have a stack of them still sealed in a box and awaiting my grubby fingers to pop them open. The A-Wing is my next build after I finished Vader's TIE Advanced.
Since I am a fan of the ILM model shop, I always prefer to come as close to the original filming model as possible in my Star Wars builds. The Bandai A-wing however, is the wrong scale with the included pilot at 1/72. That would not do. Not for me. I liked the way the ILM filming model looked. To solve that particular problem, and because I like the idea of a much smaller fighter for that ship - what I needed was a 1/48 pilot to give it the same "scale" as the ILM filming model.
I did not want to spend funds on a Shapeways 3D printed pilot, as I needed funds to be spent on lighting. Soooo..... on to scour kits to find a suitable 1/48 pilot, whereupon my skills at carving and shaping styrene to turn 1980's Air Force Pilots into Star Wars A-Wing pilots was put to the test.... and I failed..... miserably.
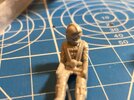
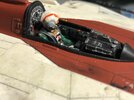
Upon which after some despair and blood loss in left fingertips due to some X-acto blade slippage whilst carving said styrene to shape a helmet that was fantasy - I happened to glance over at my extra Bandai 1/48 Snowspeeder kit - and lo and behold - there be TWO pilots in there - and my extra kit only needed Zev to pilot it. Whilst they not be proper A-wing helmeted pilots - by Jorg Sacul! they are in Star Wars pilot suits - and who is to say that someone from Rogue Squadron wouldn't have jumped into the cockpit to go chase some TIE Interceptors?

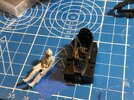
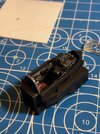
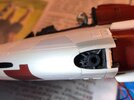
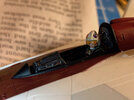
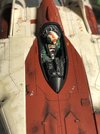
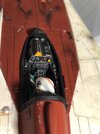
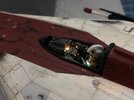
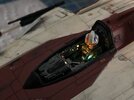
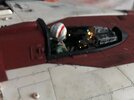
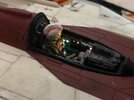
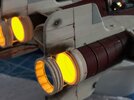
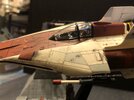
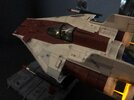
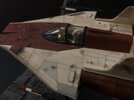
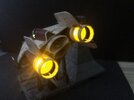
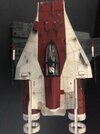
So I had a 1/48 pilot figure, and I decided that in solidarity with the filming model that he needed to be looking to the Left, so I performed some minor surgery to get him to do so. And then I set forth the task of the build. I definitely wanted to light this kit - as Bandai graciously included clear parts in the engines for such a feat, and I also decided to wire up the cockpit for lights as well. The original ILM model had a single yellow bulb under the knees of their pilot - and I thought I would upgrade that since I was using a Rogue Squadron pilot anyway and I could not duplicate the ILM filming model exactly.
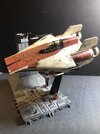
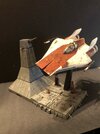
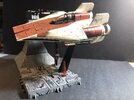
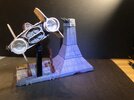
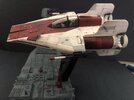
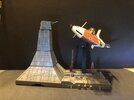
And so, over many months - I slaved away on the build and inserted the fiber and wiring to light it - and when I got the ship done, I looked at the base and thought about what I was going to do with that. I had seen some fantastic bases being done here on the board - but since I have yet so many other kits to get to and the Zvezda is crying at me with abandonment issues - I decided to simply use the base and gun tower it came with and just enhance it with some added greeblies.
I initially attempted to drill out holes in the gun turret tower for some green LED strobe lighting - and nearly destroyed the tiny left gun making the mistake to using a low powered mini drill with .03 mm bit. The heat softened the plastic and the gun twisted around the bit. Shoulda just suffered hand cramps using the pin vice for that - but live and learn I guess. So, I decided to forego the strobing LEDs in the tower. Bummer. But it is what it is.
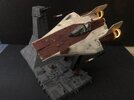
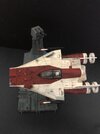
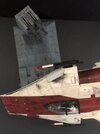
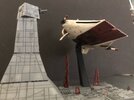
I added some additional greeblies on the base to illustrate that this was DS II, and so some metal brass ship parts and styrene bits were used to create the under construction red girders as seen in the film. And so, I am relatively okay with how this turned out. Not my best - but it is not half bad - and it is a HUUUGE improvement over the MPC A-wing kit I built back in 1983. By far. Onto the next kit - unless the cries from the Zvezda convince me to go back into panel line stenciling hell.
Since I am a fan of the ILM model shop, I always prefer to come as close to the original filming model as possible in my Star Wars builds. The Bandai A-wing however, is the wrong scale with the included pilot at 1/72. That would not do. Not for me. I liked the way the ILM filming model looked. To solve that particular problem, and because I like the idea of a much smaller fighter for that ship - what I needed was a 1/48 pilot to give it the same "scale" as the ILM filming model.
I did not want to spend funds on a Shapeways 3D printed pilot, as I needed funds to be spent on lighting. Soooo..... on to scour kits to find a suitable 1/48 pilot, whereupon my skills at carving and shaping styrene to turn 1980's Air Force Pilots into Star Wars A-Wing pilots was put to the test.... and I failed..... miserably.
Upon which after some despair and blood loss in left fingertips due to some X-acto blade slippage whilst carving said styrene to shape a helmet that was fantasy - I happened to glance over at my extra Bandai 1/48 Snowspeeder kit - and lo and behold - there be TWO pilots in there - and my extra kit only needed Zev to pilot it. Whilst they not be proper A-wing helmeted pilots - by Jorg Sacul! they are in Star Wars pilot suits - and who is to say that someone from Rogue Squadron wouldn't have jumped into the cockpit to go chase some TIE Interceptors?
So I had a 1/48 pilot figure, and I decided that in solidarity with the filming model that he needed to be looking to the Left, so I performed some minor surgery to get him to do so. And then I set forth the task of the build. I definitely wanted to light this kit - as Bandai graciously included clear parts in the engines for such a feat, and I also decided to wire up the cockpit for lights as well. The original ILM model had a single yellow bulb under the knees of their pilot - and I thought I would upgrade that since I was using a Rogue Squadron pilot anyway and I could not duplicate the ILM filming model exactly.
And so, over many months - I slaved away on the build and inserted the fiber and wiring to light it - and when I got the ship done, I looked at the base and thought about what I was going to do with that. I had seen some fantastic bases being done here on the board - but since I have yet so many other kits to get to and the Zvezda is crying at me with abandonment issues - I decided to simply use the base and gun tower it came with and just enhance it with some added greeblies.
I initially attempted to drill out holes in the gun turret tower for some green LED strobe lighting - and nearly destroyed the tiny left gun making the mistake to using a low powered mini drill with .03 mm bit. The heat softened the plastic and the gun twisted around the bit. Shoulda just suffered hand cramps using the pin vice for that - but live and learn I guess. So, I decided to forego the strobing LEDs in the tower. Bummer. But it is what it is.
I added some additional greeblies on the base to illustrate that this was DS II, and so some metal brass ship parts and styrene bits were used to create the under construction red girders as seen in the film. And so, I am relatively okay with how this turned out. Not my best - but it is not half bad - and it is a HUUUGE improvement over the MPC A-wing kit I built back in 1983. By far. Onto the next kit - unless the cries from the Zvezda convince me to go back into panel line stenciling hell.


