You are using an out of date browser. It may not display this or other websites correctly.
You should upgrade or use an alternative browser.
You should upgrade or use an alternative browser.
1:1 R2-T0 / R2-G2 Astromech
- Thread starter MonsieurTox
- Start date
MonsieurTox
Master Member
That's amazing work! can't wait to see more.I definitely have to check into rub'n buff .wow! something else I'm learning.wonderful build.....Is rub'n buff hard to work with? sorry If that's a nooby question.....
Thanks !
Well that was the first I was using rub'n buff. If you dont do the same mistake as I did at the beginning -using too much stuff-, it's very easy to apply (but very messy
") ).
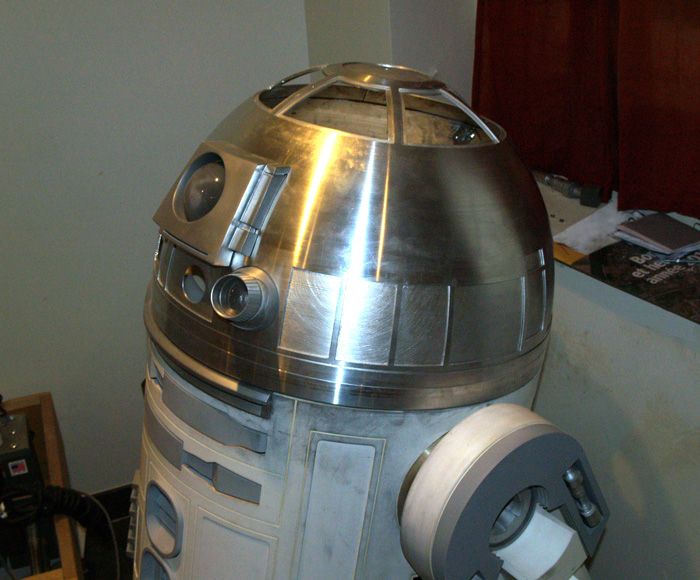
).The key is to use very few of the past to get a very thin layer once rubbed and buffed with the palm of your hand. Buff it to warm the wax. The more you buff and warm it, the more polished and tougher the finish will be !
Then you can use scoth brite pad to add spine lines for a machined look or sand it like I did to get a sanded/rough aluminium look, like I did.
MonsieurTox
Master Member
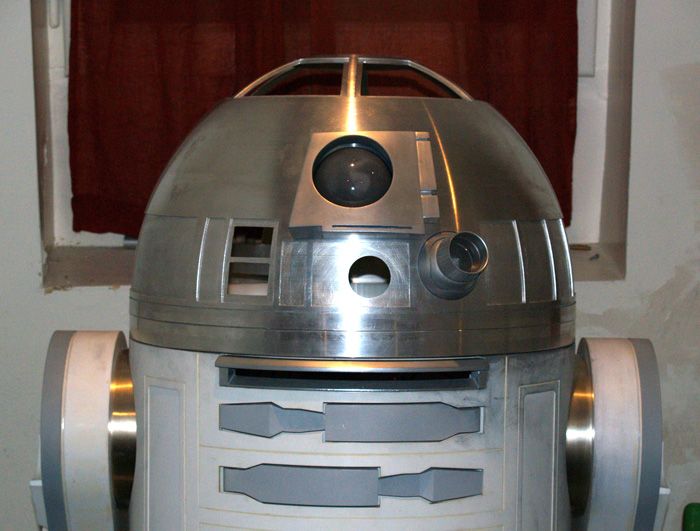
Wait - so the dome is painted and not aluminum?
It's not really painted (it's wax, not paint) but yeah the dome is styrene and every part on it is resin, no aluminium here !
This is the same dome you can see in my pics above when it was painted with aluminium paint (not very convaincing !).
MonsieurTox
Master Member
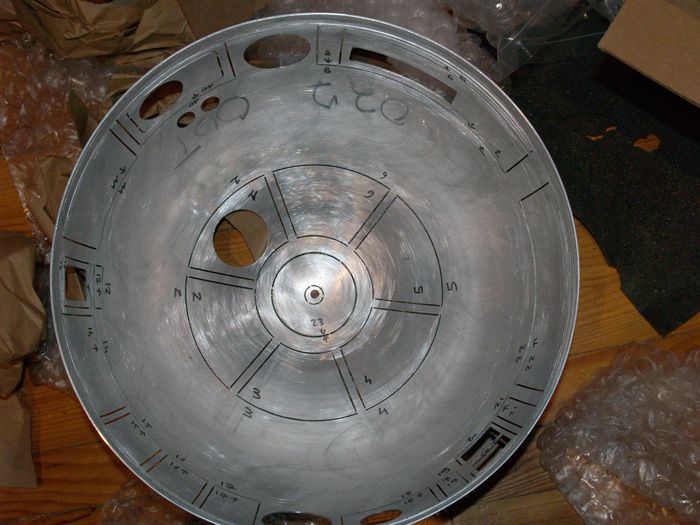
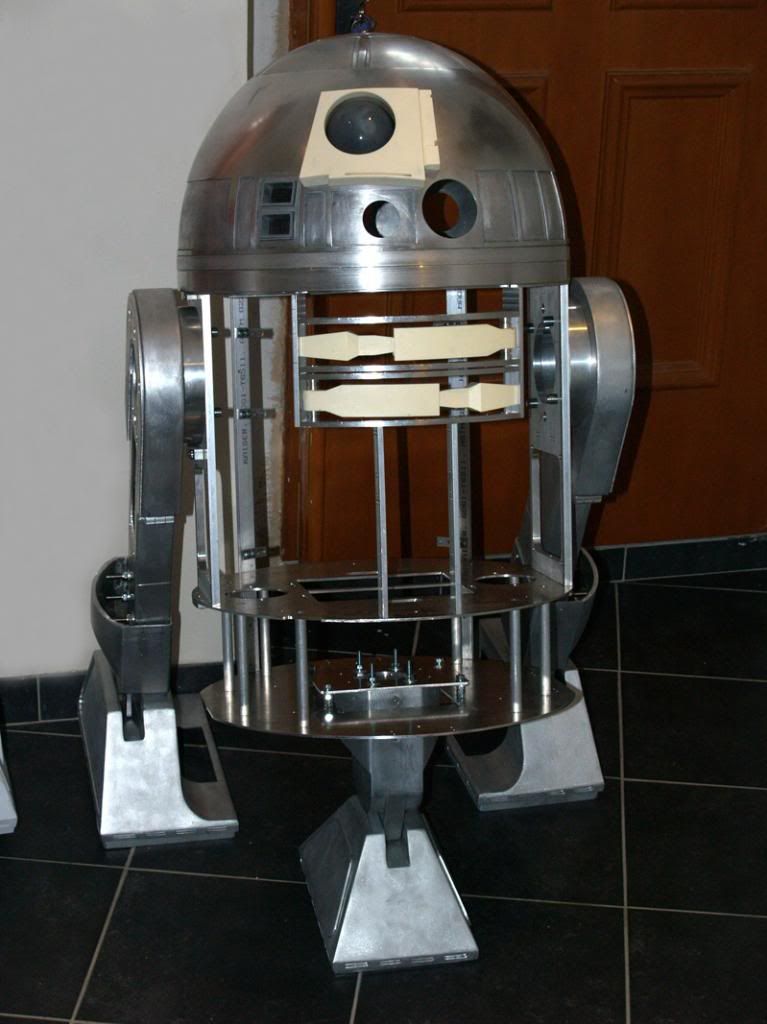
I havent built the drive system yet but you can get an idea of how it looks on its feet :
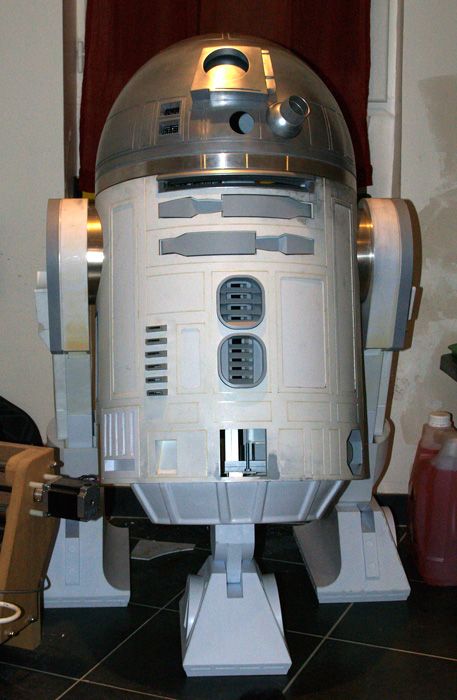
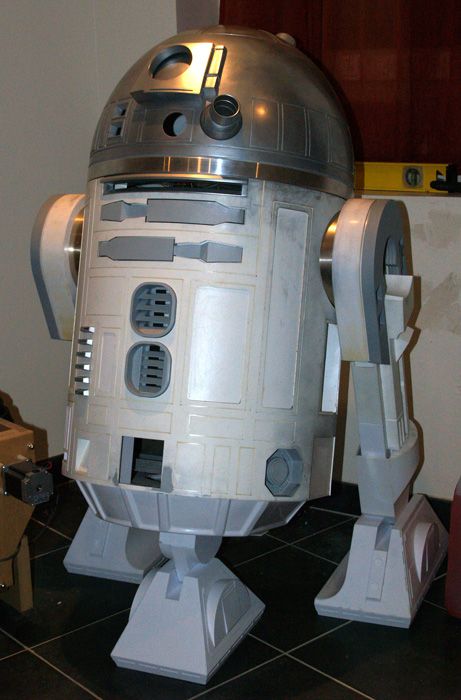
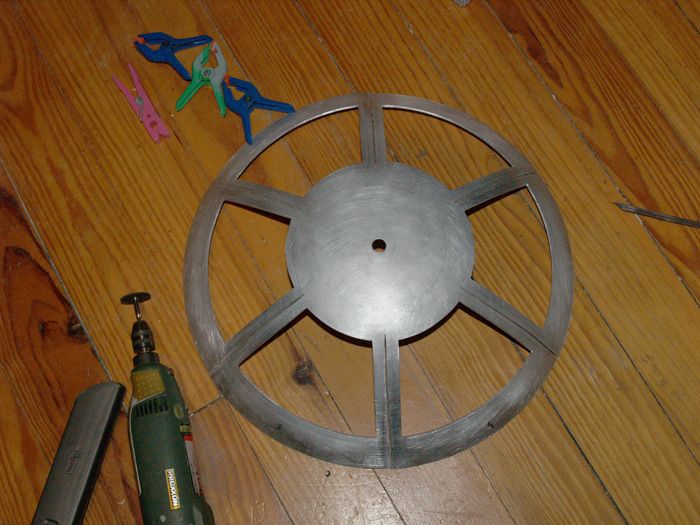
With the 300mm aluminium base ring :
Yeah there's a difference between the alu ring and the dome but I can live with that, with some weathering it should be OK and the ring is always a bit more shiny than the dome !
With the 300mm aluminium base ring :
Yeah there's a difference between the alu ring and the dome but I can live with that, with some weathering it should be OK and the ring is always a bit more shiny than the dome !
MonsieurTox
Master Member
Thank you
MonsieurTox
Master Member
Thank you guys
Some updates !
My styrene R2 is now R/C and move perfectly around the house.
With the 300mm aluminium base ring :
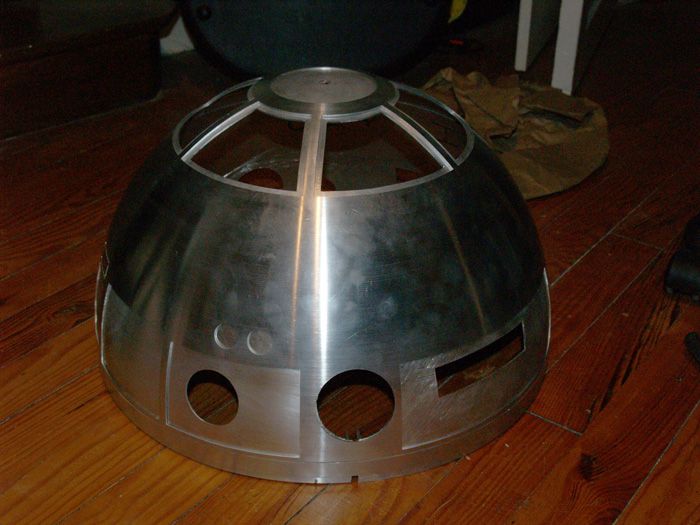
I cut all the pie panels (yeah I know even the holo one) and the top of the inner dome :
Glued the outer and top inner together using silicon, I no longer have gaps between the outer and inner :

Cutouts on the inner dome :
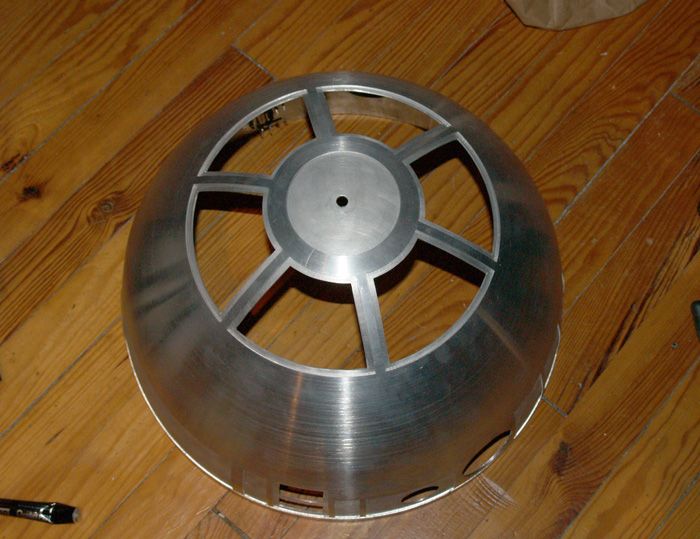
I used the idea from other members here (thank you !) to remove the gap at the bottom. Mu spacer brackets are not really nice but they work :
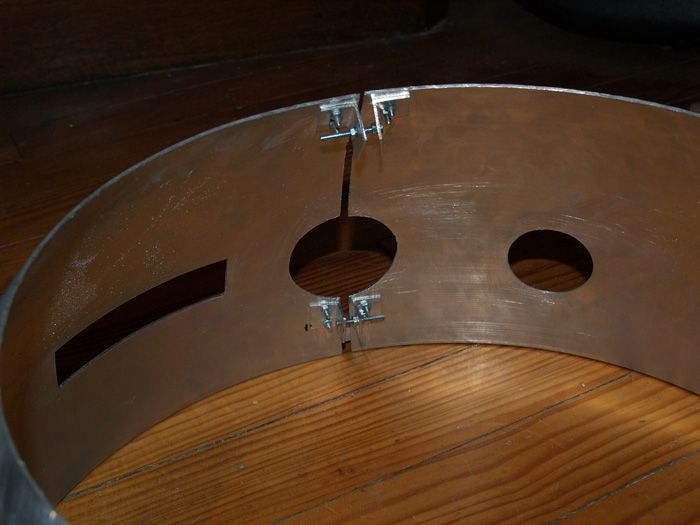
The other side:
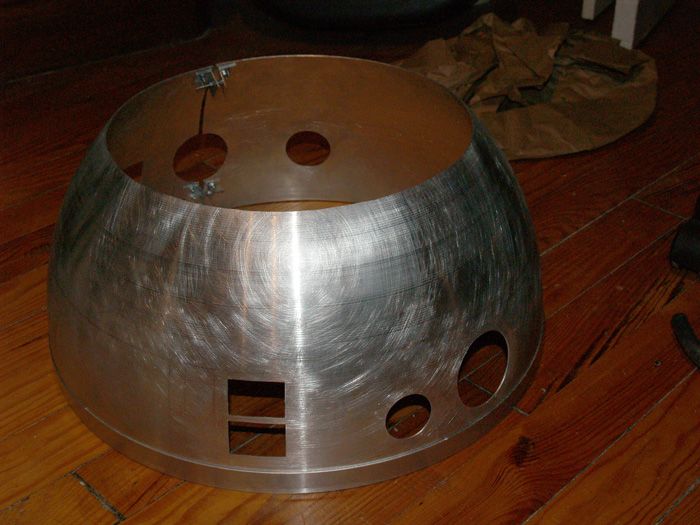
With the outer dome :
Some pics of the dome fitted on the body :
Then I changed my mind and decided to build a second droid, all aluminium !
So I repainted my styrene dome :

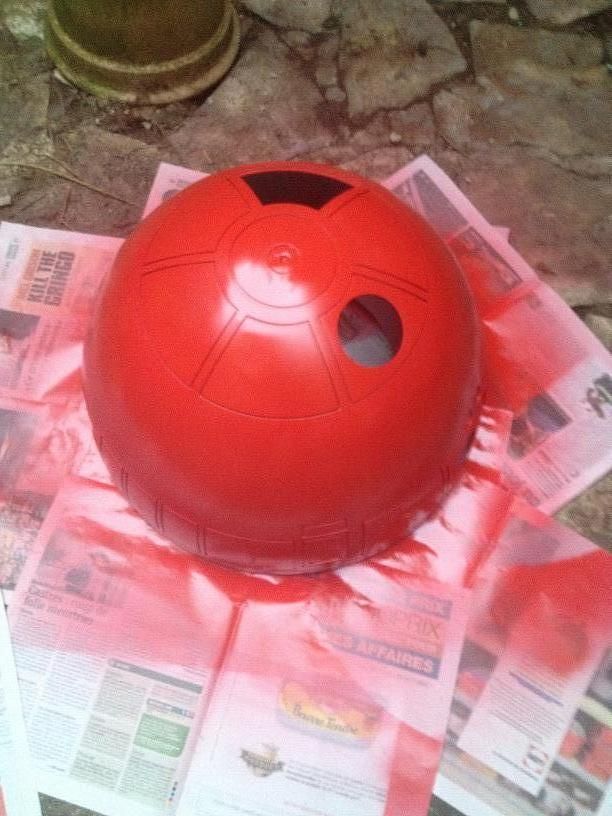
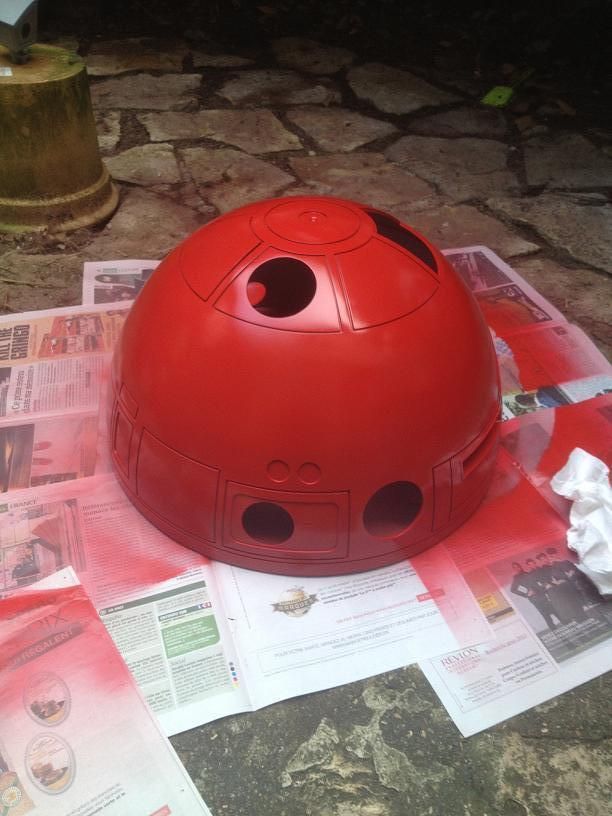
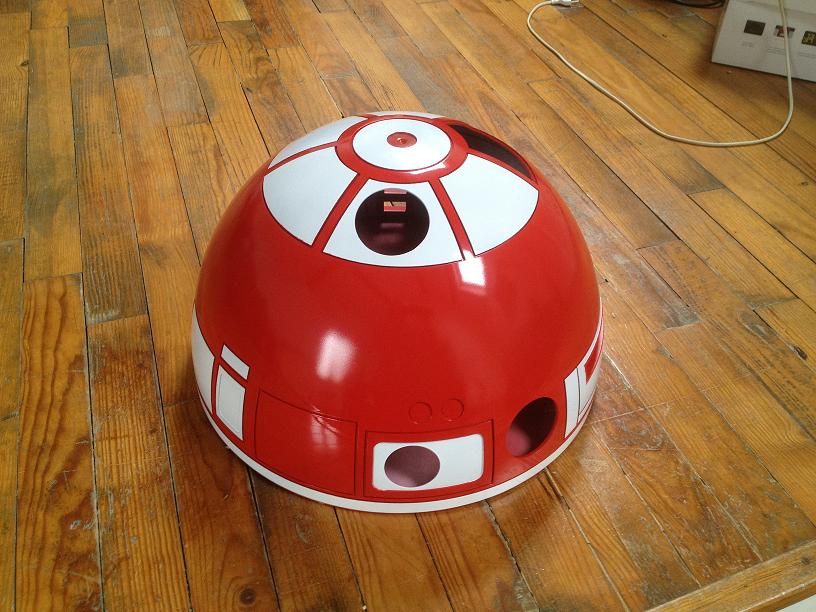
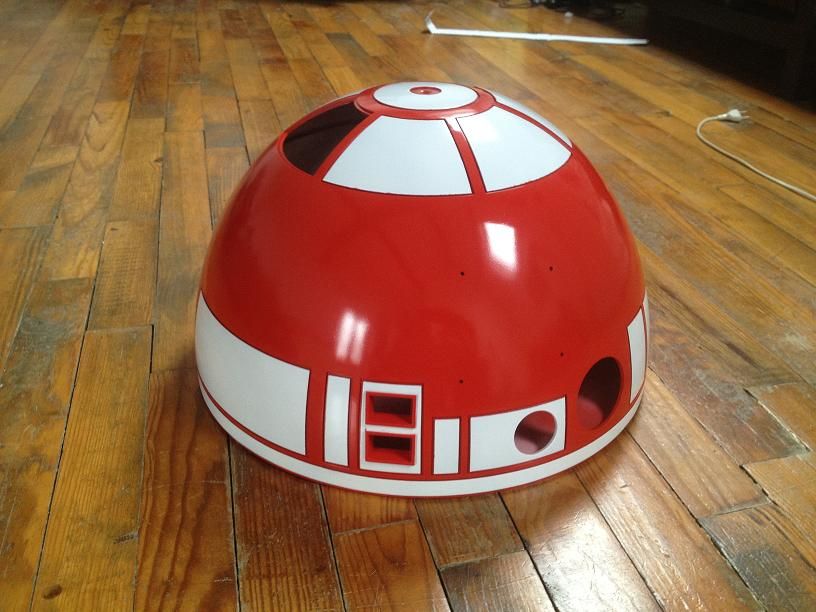
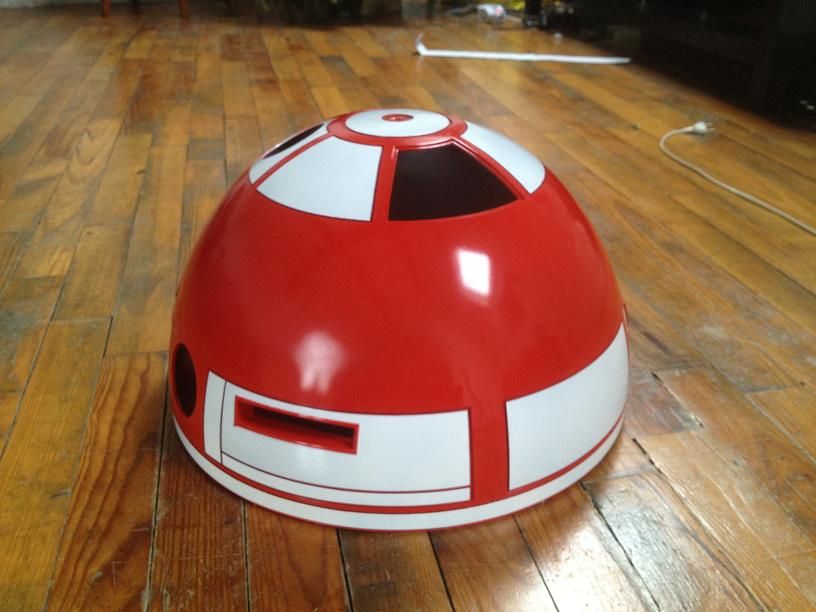
But I changed my mind once again and the styrene droid will be gray,white and black, R2-Q2 as seen in the Tantive corridors of ANH opening !

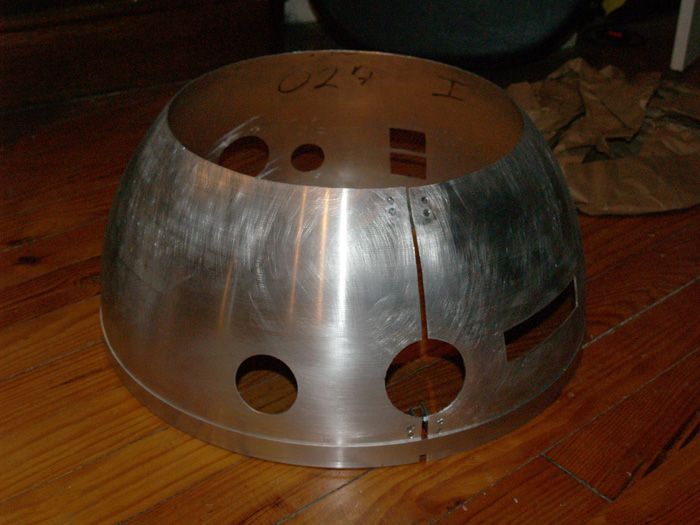
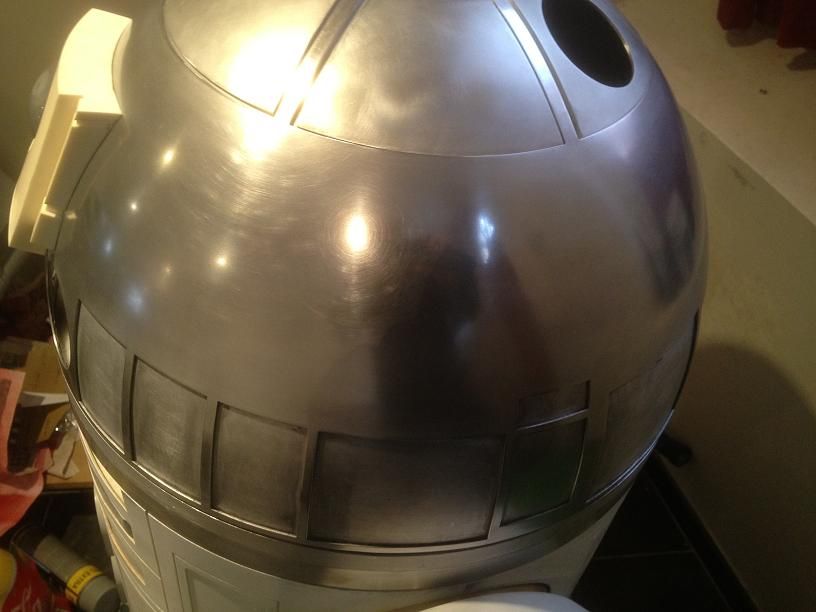
I sanded the spine lines of my aluminium dome :
My aluminium R2 has begun ! It will be R2-D2 of course
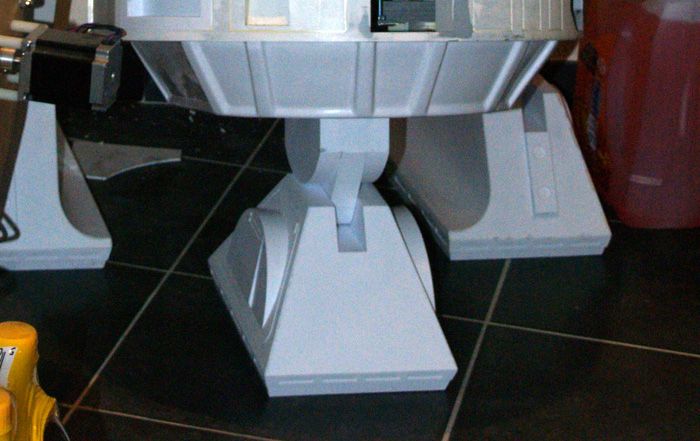
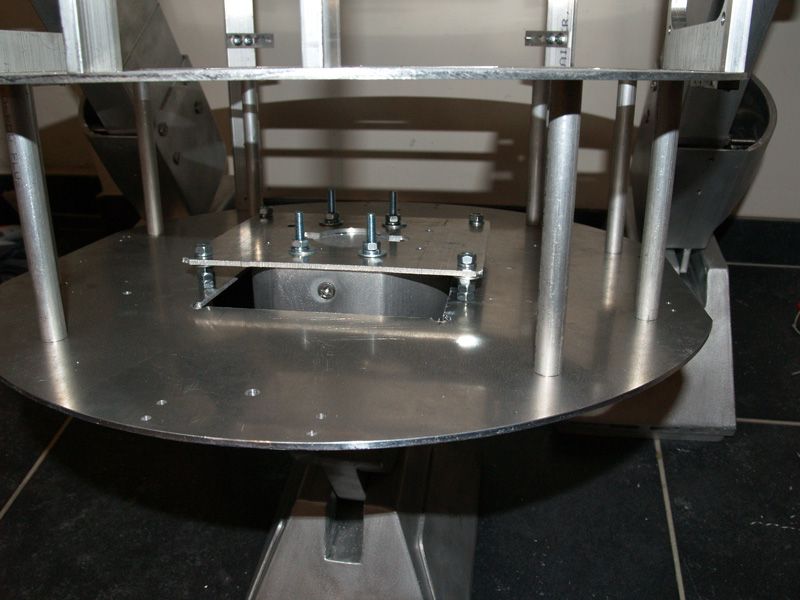
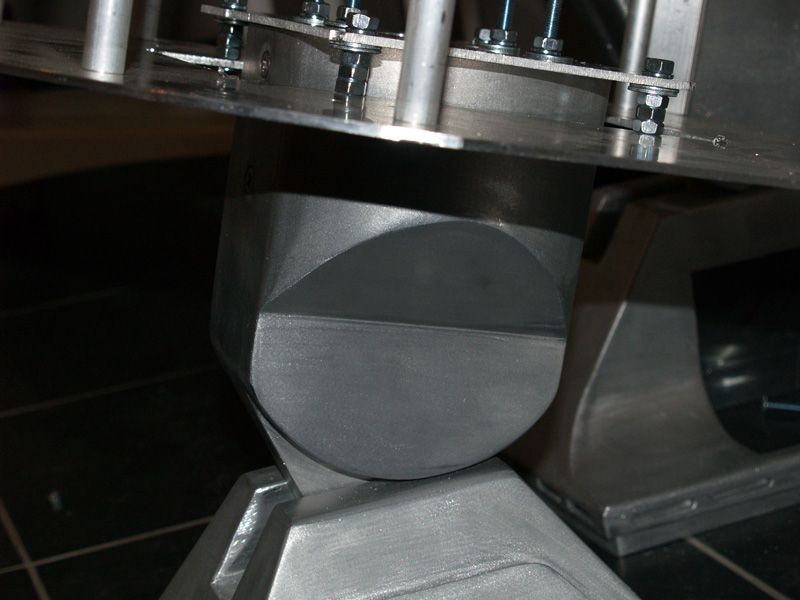
I have an old Com-B frame, I needed to cut the base plate to get the center leg going into the body to get the correct angle.
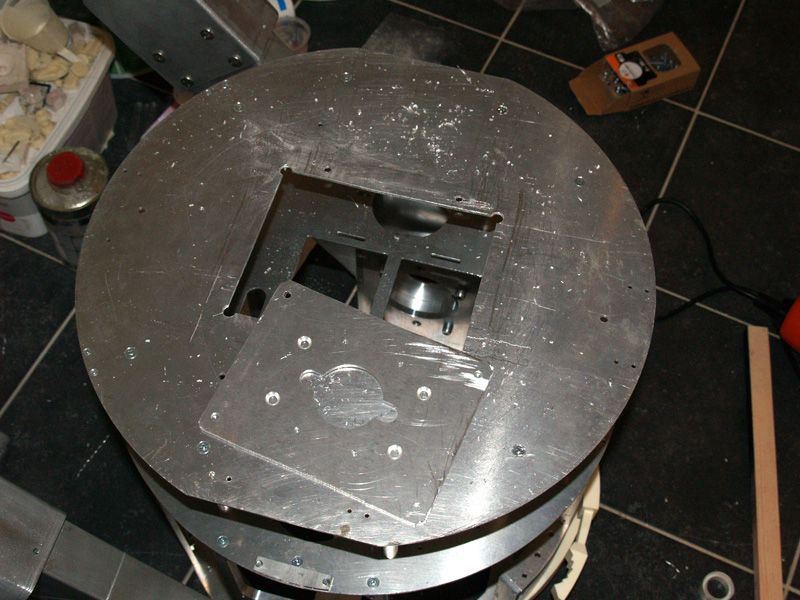
Result :
The legs, ankles, feet are custom alu parts made available by a french builder. I will modify the center foot because the hatch is not flush with the foot shell and not tall enough.

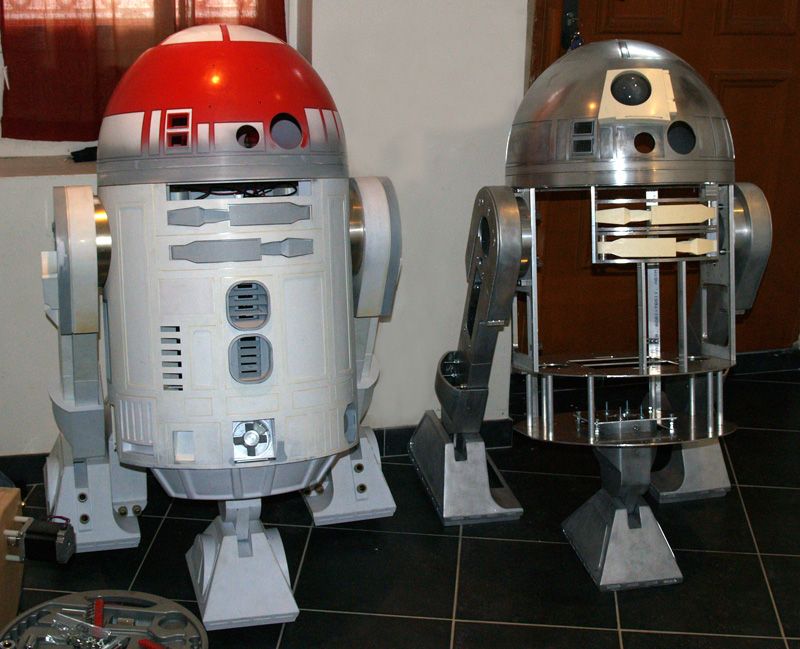
Family pic
I wanted to put my alu ankle cylinders unfortunatly I do not have US hardware, anyone knows which screws I need ?

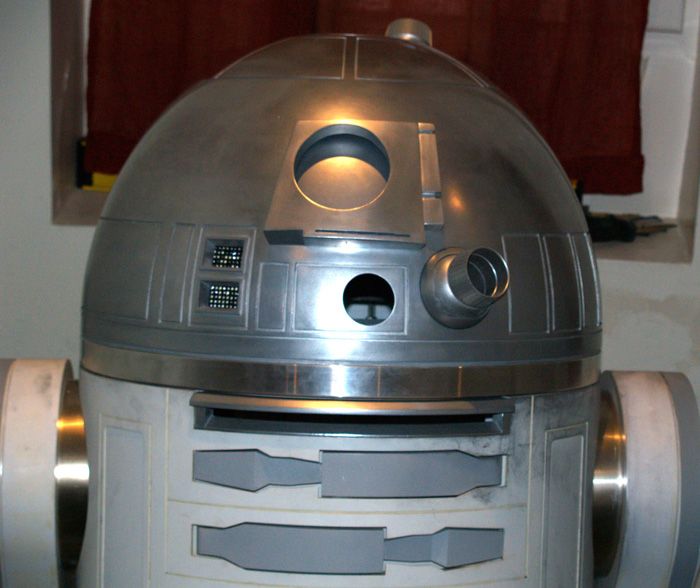
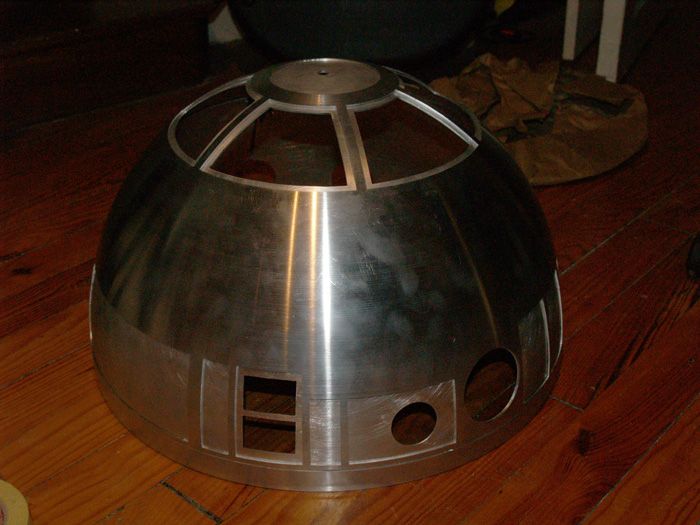
I reworked my styrene dome.
No more rounded edge at the top of the dome base ring. It's now sharp !
I drilled and put the horseshoe shims on :
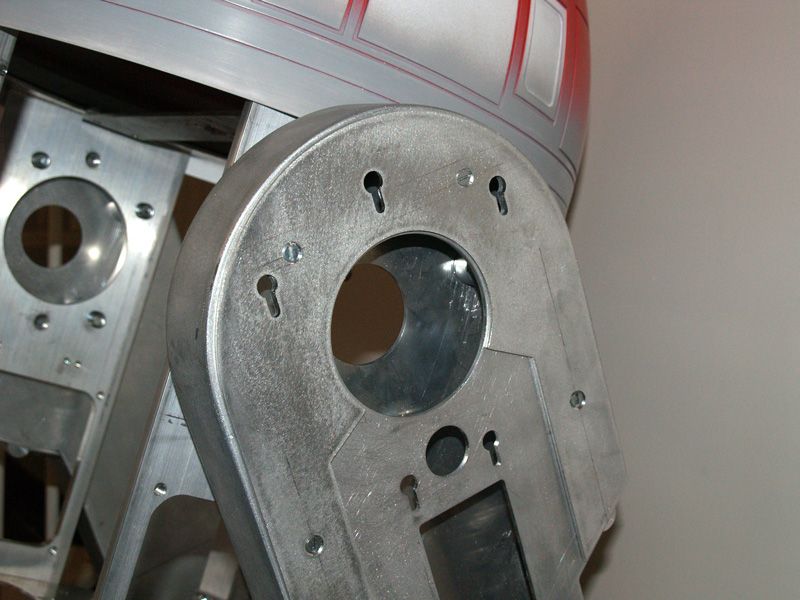
Under should details in place :
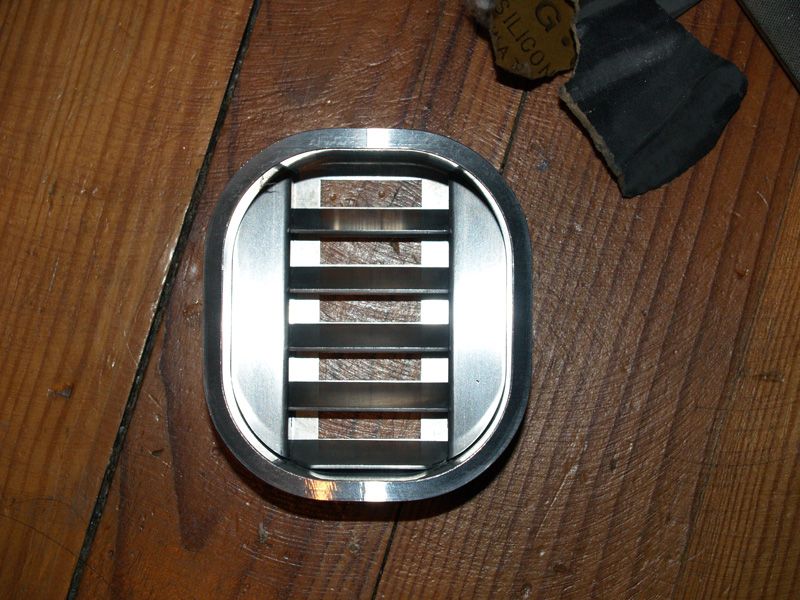
Today I built the center vents and internals from BobC, awesome parts !
I sanded, filed and roughly polised all the parts.
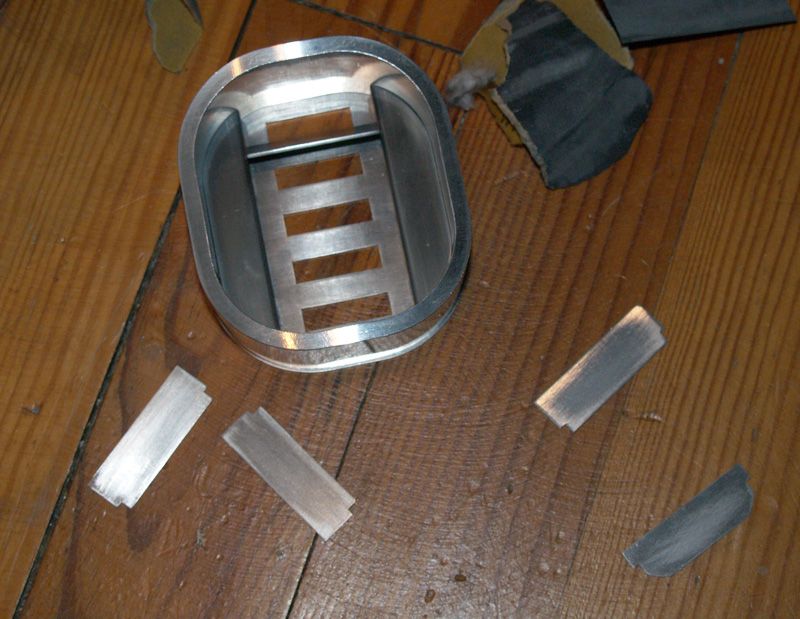
The inserts of the bottom vent need some serious filing.
Done :
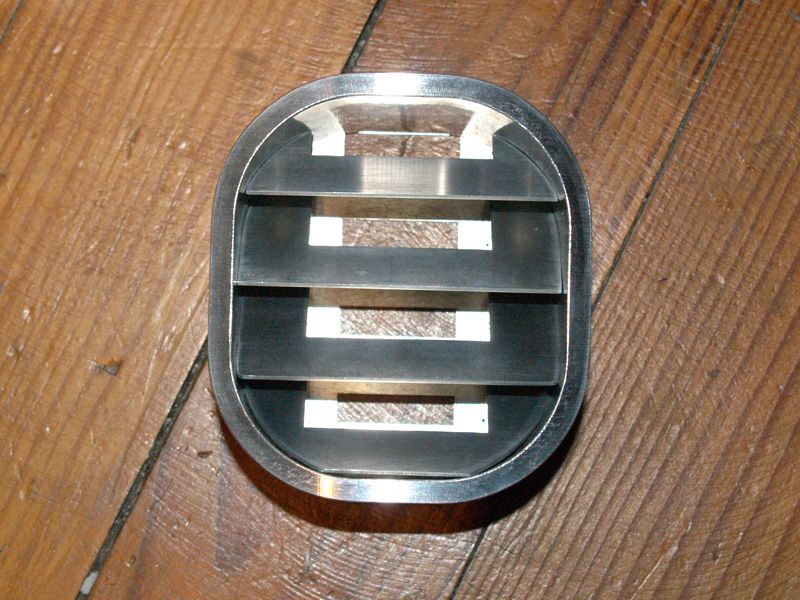
Upper vent, easier and faster to build :

Done :
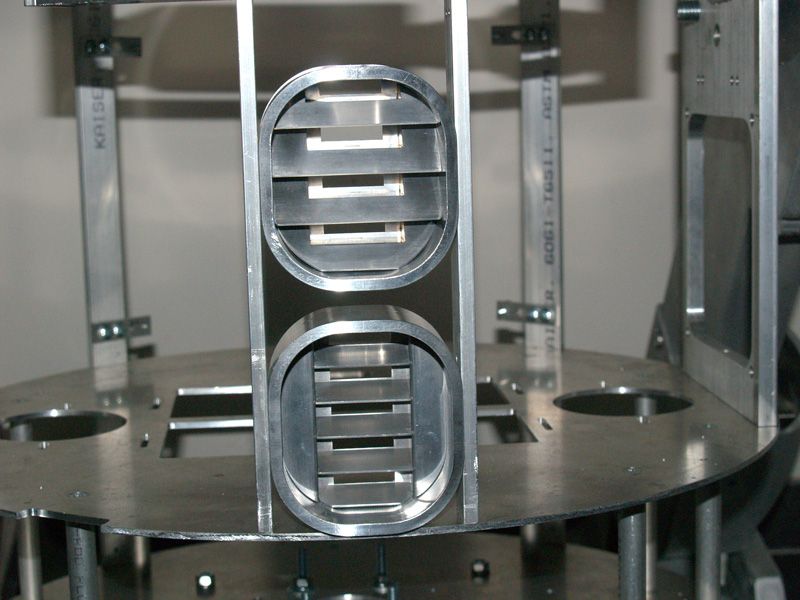
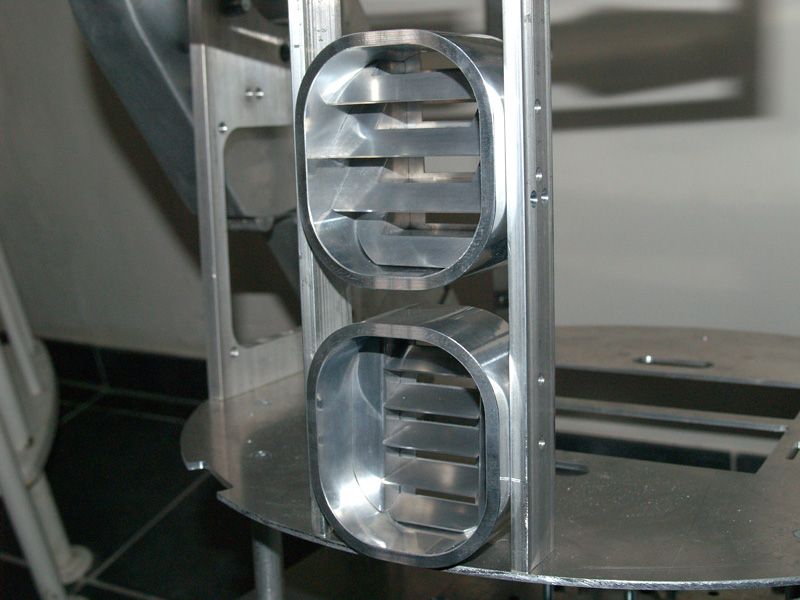
In place :
Thanks for looking !
Some updates !
My styrene R2 is now R/C and move perfectly around the house.
With the 300mm aluminium base ring :
I cut all the pie panels (yeah I know even the holo one
) and the top of the inner dome :
Glued the outer and top inner together using silicon, I no longer have gaps between the outer and inner :
Cutouts on the inner dome :
I used the idea from other members here (thank you !) to remove the gap at the bottom. Mu spacer brackets are not really nice but they work :
The other side:
With the outer dome :
Some pics of the dome fitted on the body :
Then I changed my mind and decided to build a second droid, all aluminium !
So I repainted my styrene dome :
But I changed my mind once again and the styrene droid will be gray,white and black, R2-Q2 as seen in the Tantive corridors of ANH opening !
I sanded the spine lines of my aluminium dome :
My aluminium R2 has begun ! It will be R2-D2 of course
I have an old Com-B frame, I needed to cut the base plate to get the center leg going into the body to get the correct angle.

Result :


The legs, ankles, feet are custom alu parts made available by a french builder.
I will modify the center foot because the hatch is not flush with the foot shell and not tall enough.
Family pic


I wanted to put my alu ankle cylinders unfortunatly I do not have US hardware, anyone knows which screws I need ?

I reworked my styrene dome.
No more rounded edge at the top of the dome base ring. It's now sharp !
I drilled and put the horseshoe shims on :

Under should details in place :

Today I built the center vents and internals from BobC, awesome parts !
I sanded, filed and roughly polised all the parts.

The inserts of the bottom vent need some serious filing.
Done :

Upper vent, easier and faster to build :

Done :

In place :


Thanks for looking !
ywingfighter
Sr Member
Oh wow,what a very great and fantastic work! I wish I was as talented as you1
MonsieurTox
Master Member
Thank you guys
MonsieurTox
Master Member
Thanks !
Some old pics of the neutronik connector. I did this some months ago but never posted the pics :

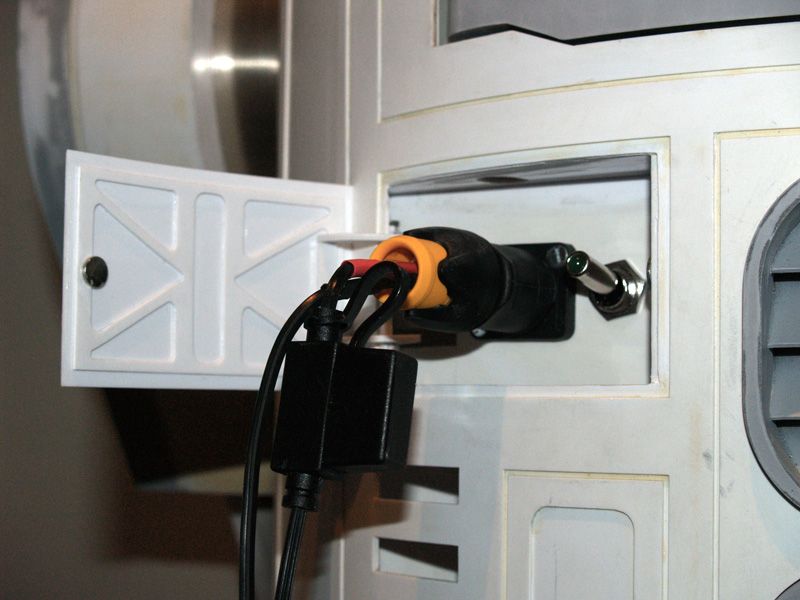
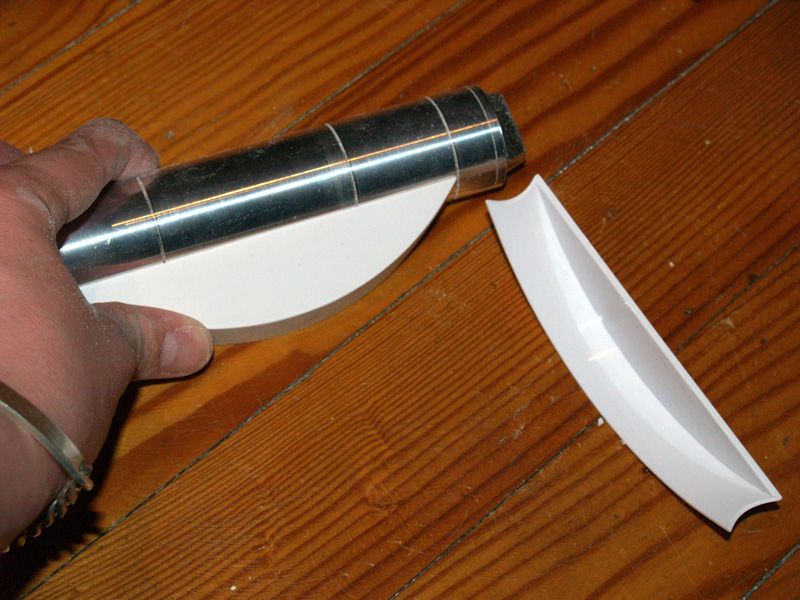
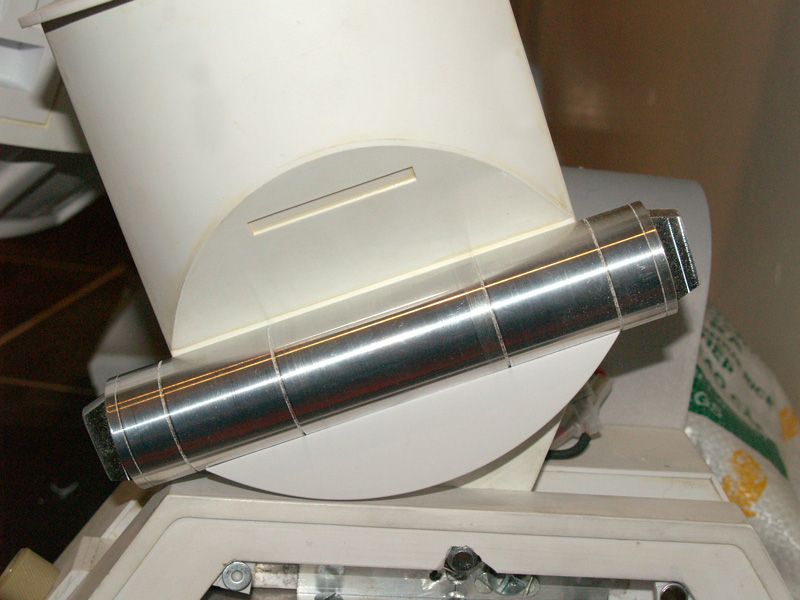
My latest modification : the LDP. I was not happy with my LDP which had 2 vertical struts on both side, I wanted a built in/fully integrated LDP just like the originals.
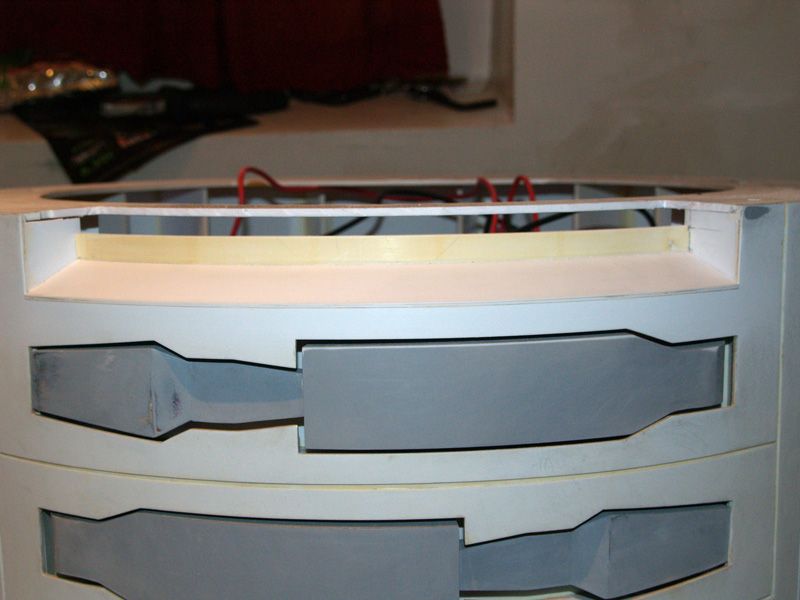
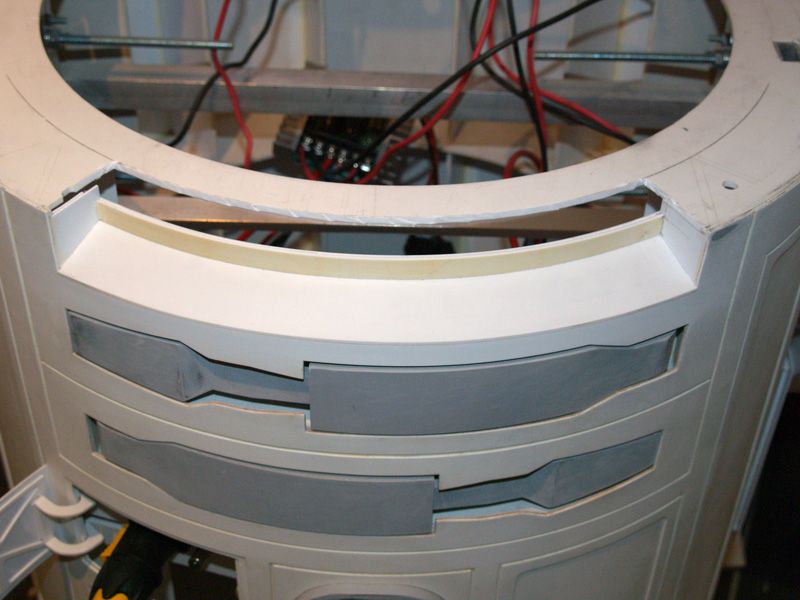

There were several kind of LDP used on the original droids, the only main difference was the upper lip. Sometimes it is square and flat, sometimes beveled, I chose the beveled option.

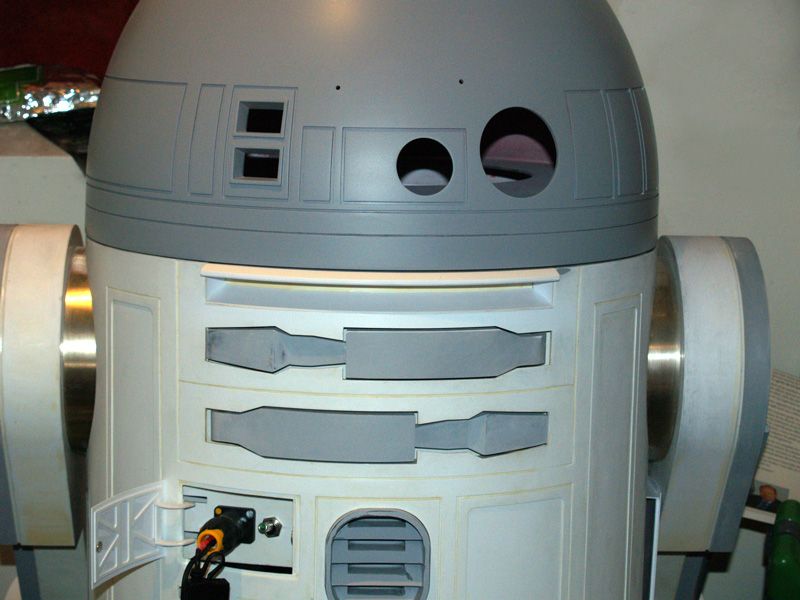
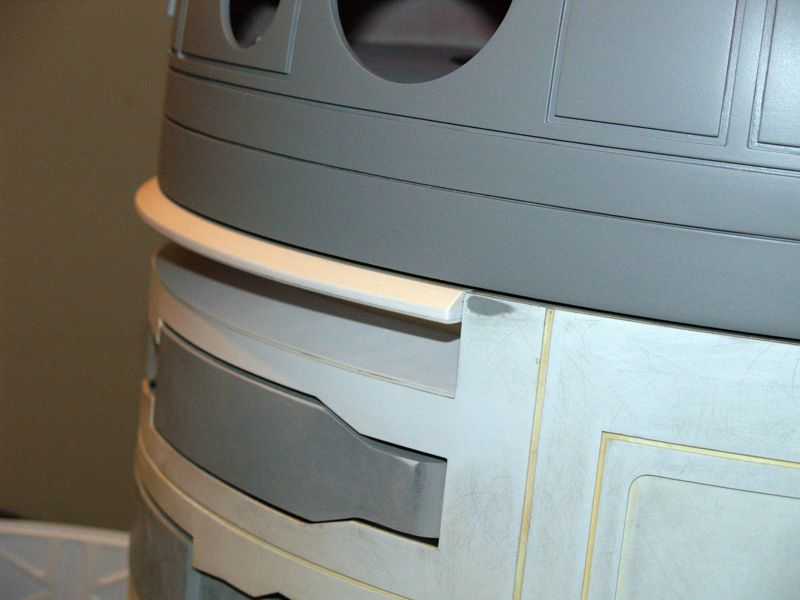
You can also noticed I workedthe lower base ring of my styrene dome. I wasnt happy with the look of the rounder upper edge (due to the vacforming process), now I have a lower ring with a straight sharp edge !
Hope you like !
Some old pics of the neutronik connector. I did this some months ago but never posted the pics :


My latest modification : the LDP. I was not happy with my LDP which had 2 vertical struts on both side, I wanted a built in/fully integrated LDP just like the originals.


There were several kind of LDP used on the original droids, the only main difference was the upper lip. Sometimes it is square and flat, sometimes beveled, I chose the beveled option.


You can also noticed I workedthe lower base ring of my styrene dome. I wasnt happy with the look of the rounder upper edge (due to the vacforming process), now I have a lower ring with a straight sharp edge !
Hope you like !
Those close ups pics are wonderful! Smooth lines! AMAZING job so far
MonsieurTox
Master Member
Thank you for your support guys !
MonsieurTox
Master Member
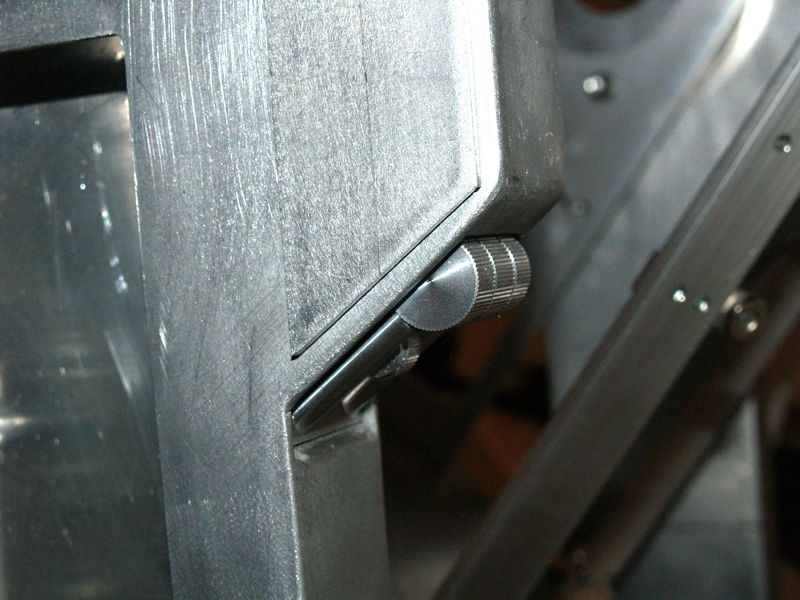
Today I've built the ankle cylinder holders. I have some resin ones but they are on my aluminium droid and I was lazy to disassemble the legs and ankles to remove them (they will be replaced with aluminium holders on my alu droid).
The aluminium ankle cylinder is just here for the pics, I will use resin ones on my styrene droid.
(they will be replaced with aluminium holders on my alu droid).
The aluminium ankle cylinder is just here for the pics, I will use resin ones on my styrene droid.
MonsieurTox
Master Member
Glued in place :
Light coat of primer on the LDP :


Light coat of primer on the LDP :

Similar threads
- Replies
- 6
- Views
- 743
- Replies
- 1
- Views
- 1,139