Thanks guys!:thumbsup
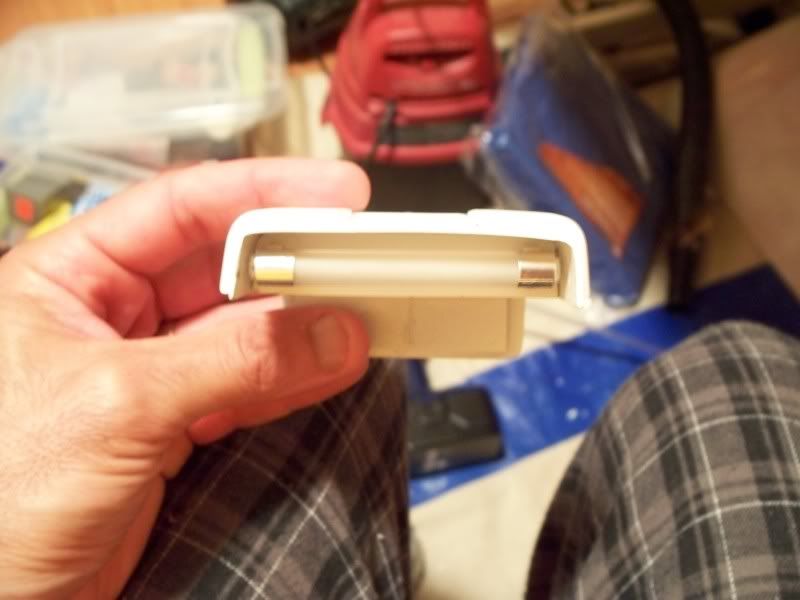
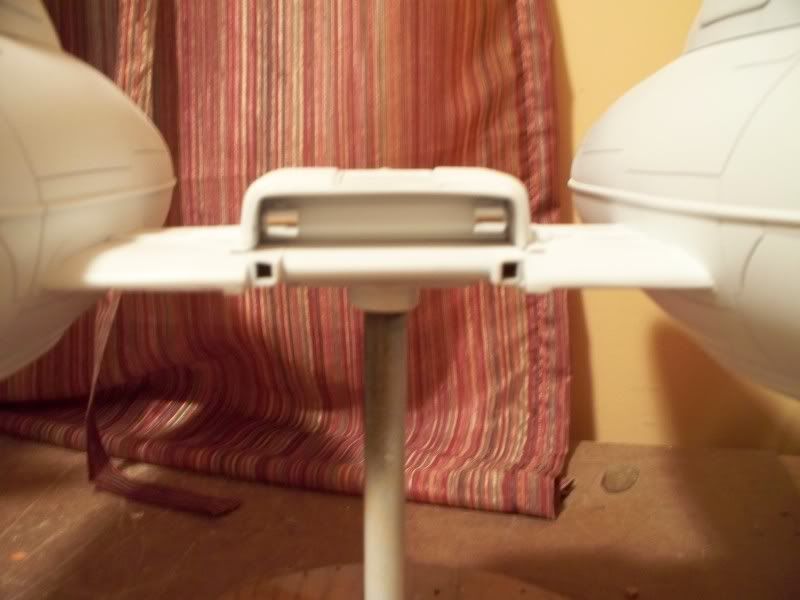
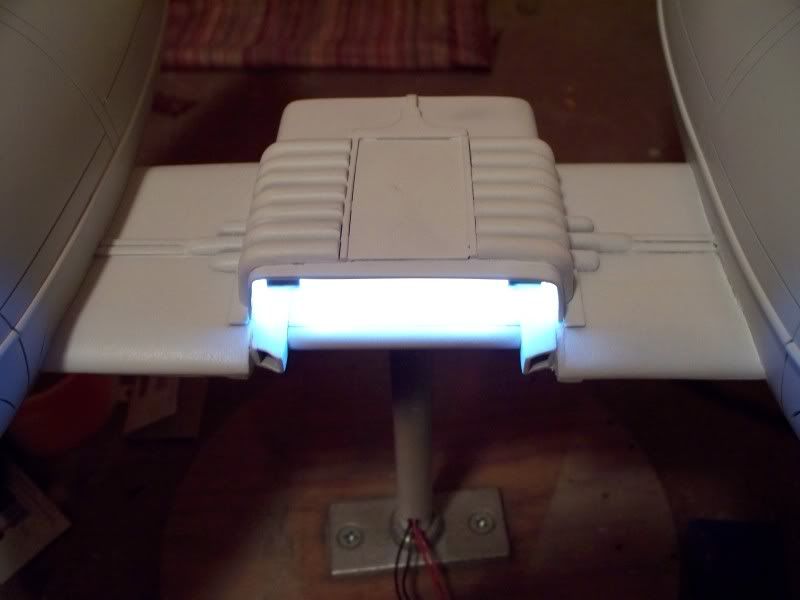
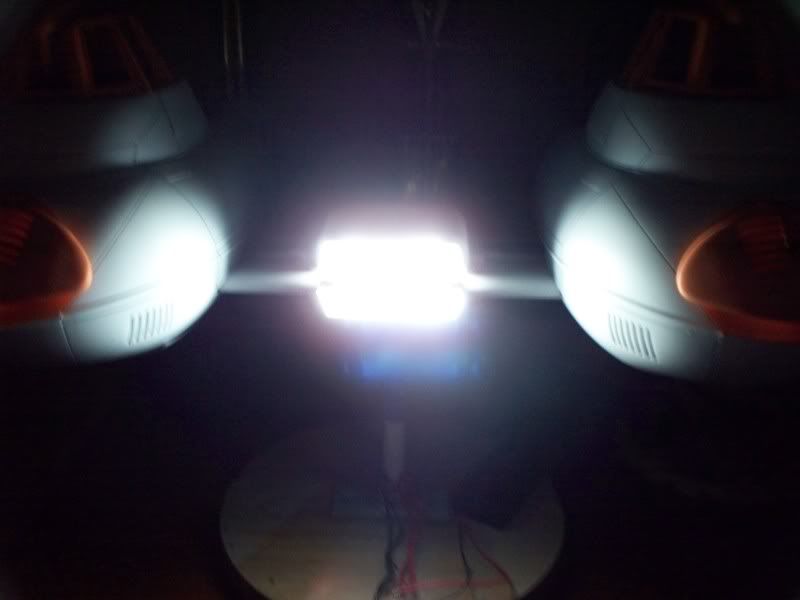
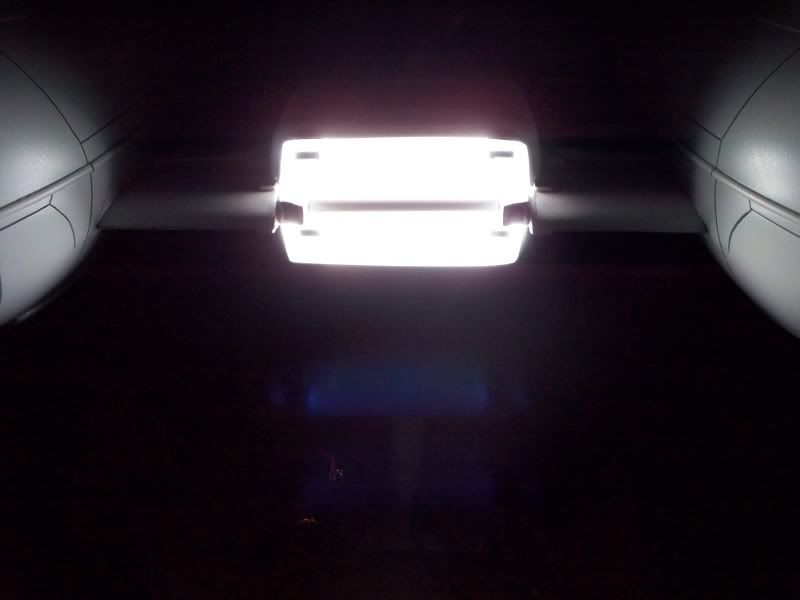
Well one set of lights down one to go!
Should have the lightning finished tomorrow.
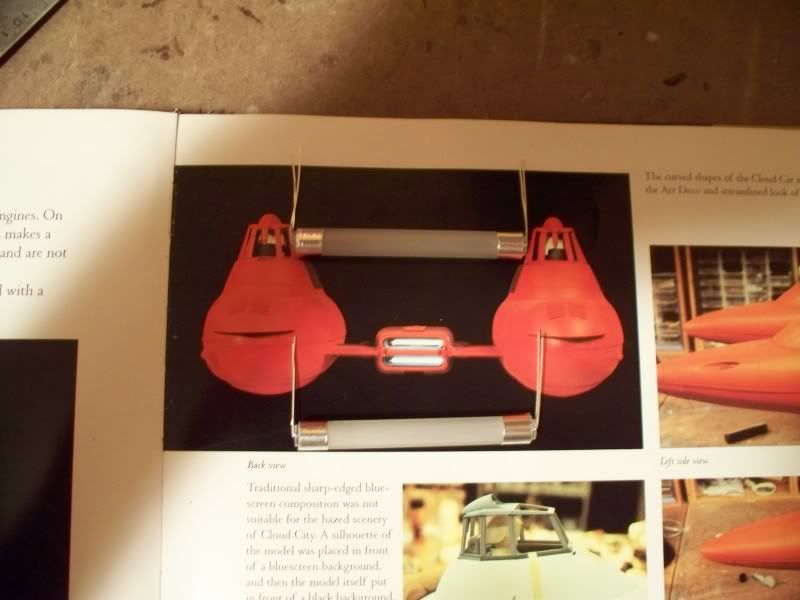
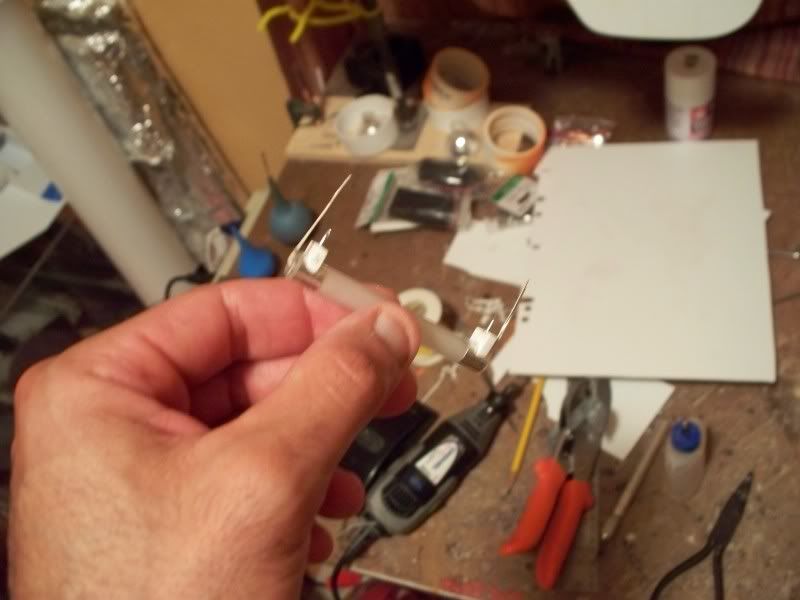
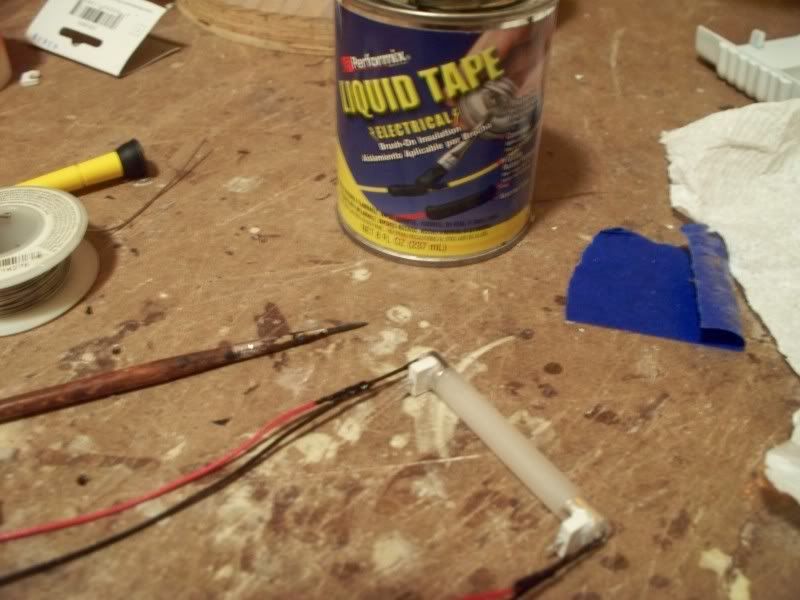
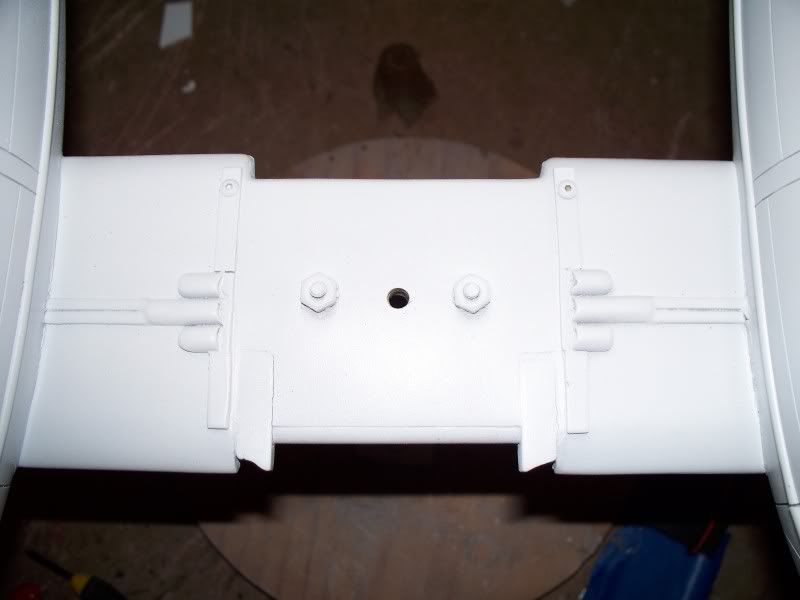
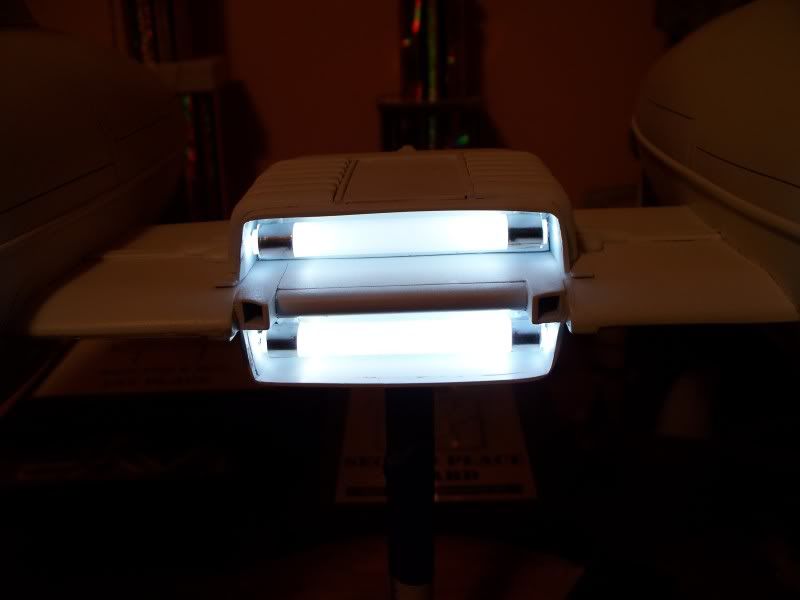
I took some 3mm styrene and cut the profile of the tube out of
it. Next I pinned it in on the back side so it could sit secure in
the bulkhead that's inside the cover.I used two one on each end
just to make sure they fit level and secure.
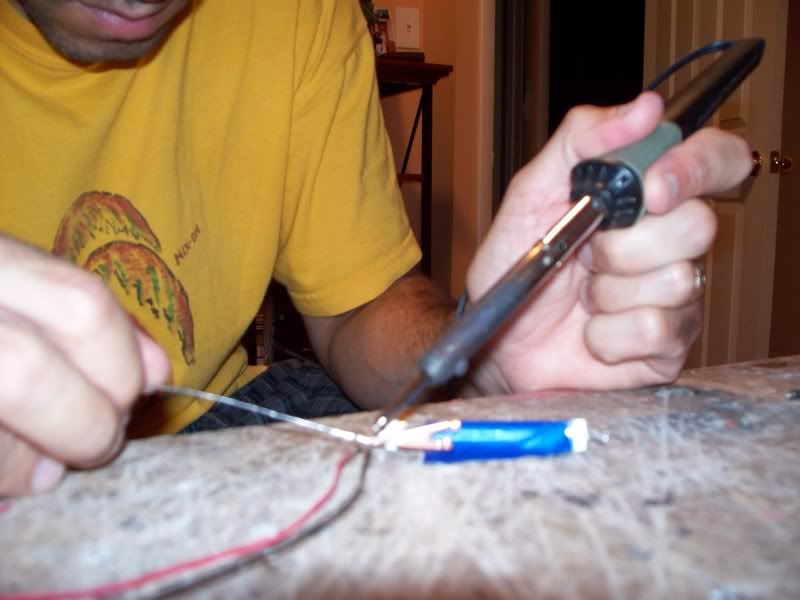
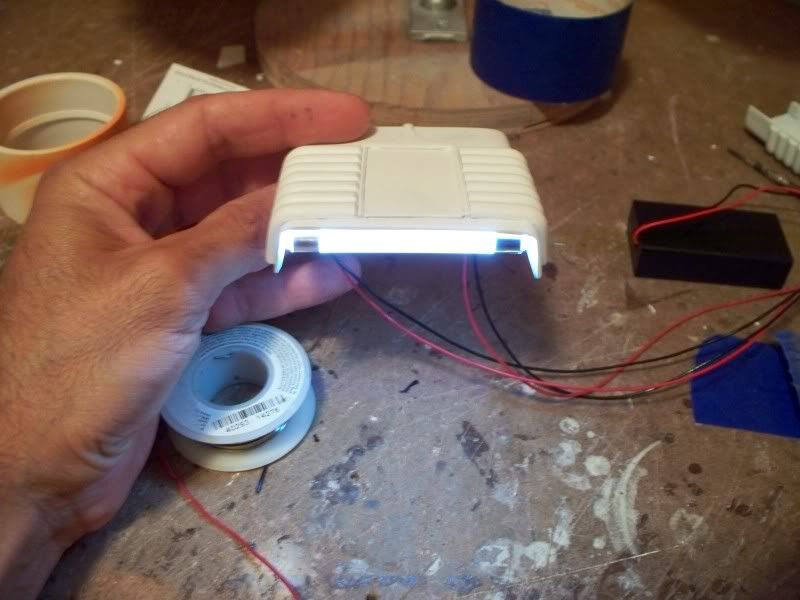
It's a tight fit I had to drill holes for the leads coming off the
LED's and for the pins coming out of the supports. Because I didn't
want to risk shorting the LED's out from the leads touching I used
some "liqued Tape" I got from Micro Mark. You can use a brush and paint right on dries quick to a rubberized coating, plus it insulates the wiring and leads coming off the LED's.
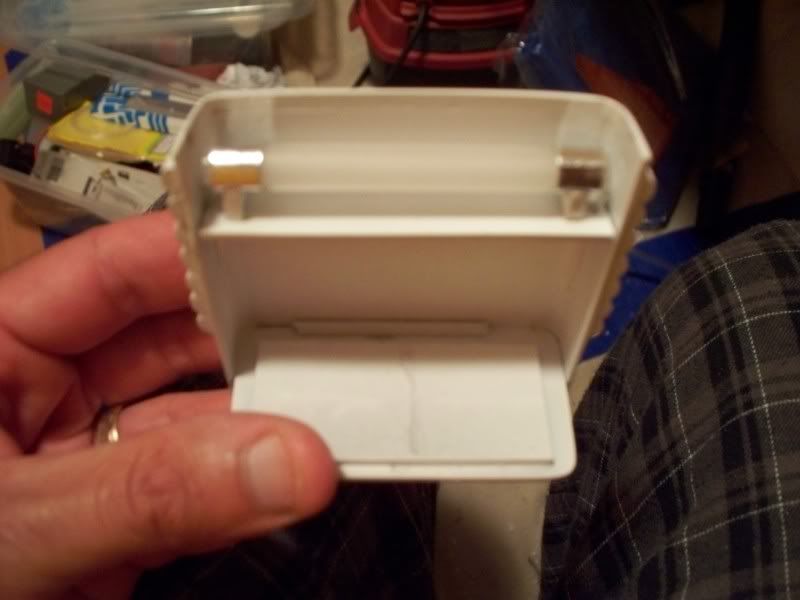
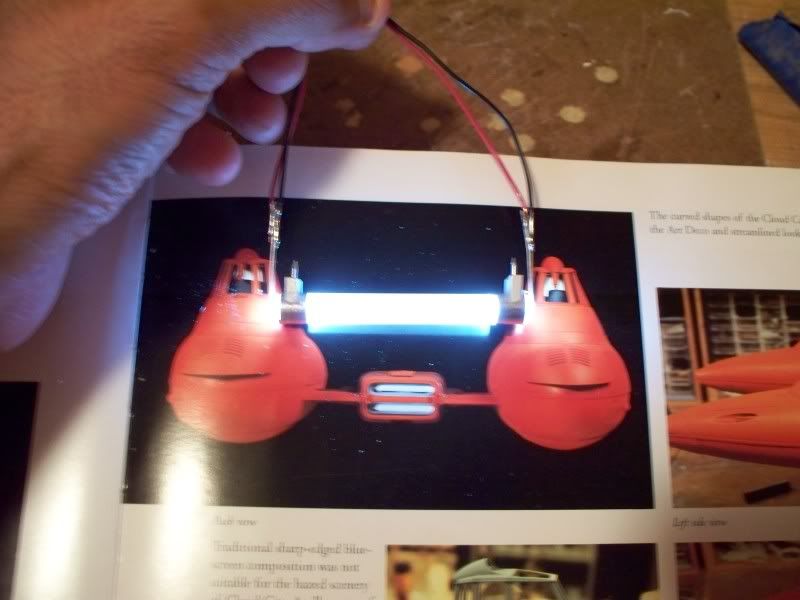
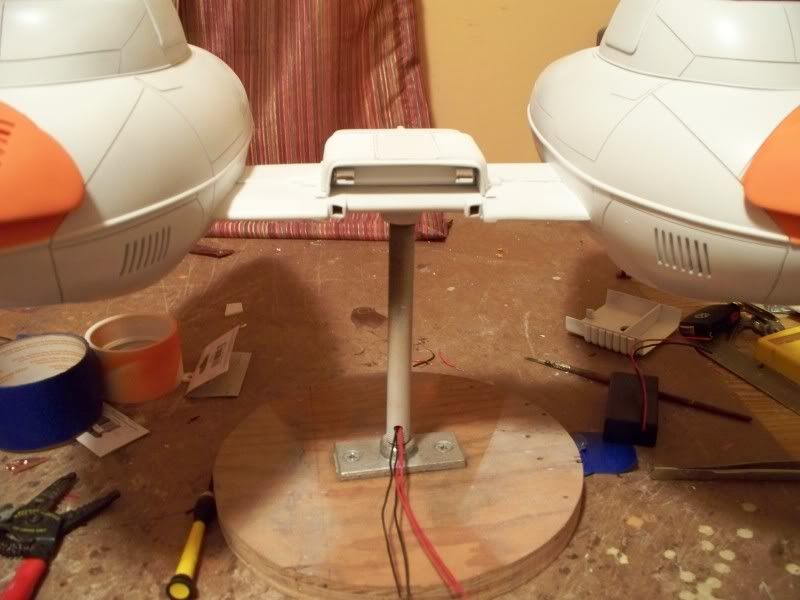
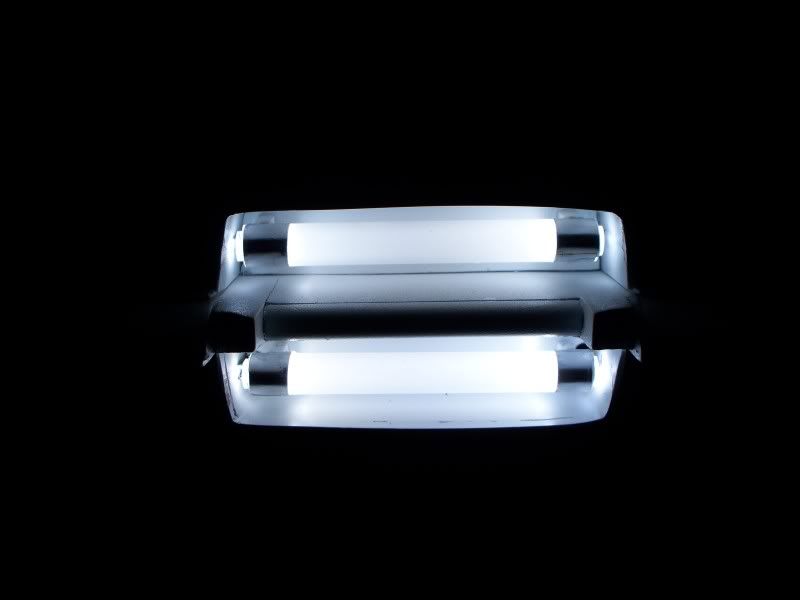
I decided to run the LED's on 3v as they are rated for this, so
no need for resistors.Two LEd's per 3v so if I can get at least 4 to 5 hrs running time out of them I will be fine with this.The light is for effect,
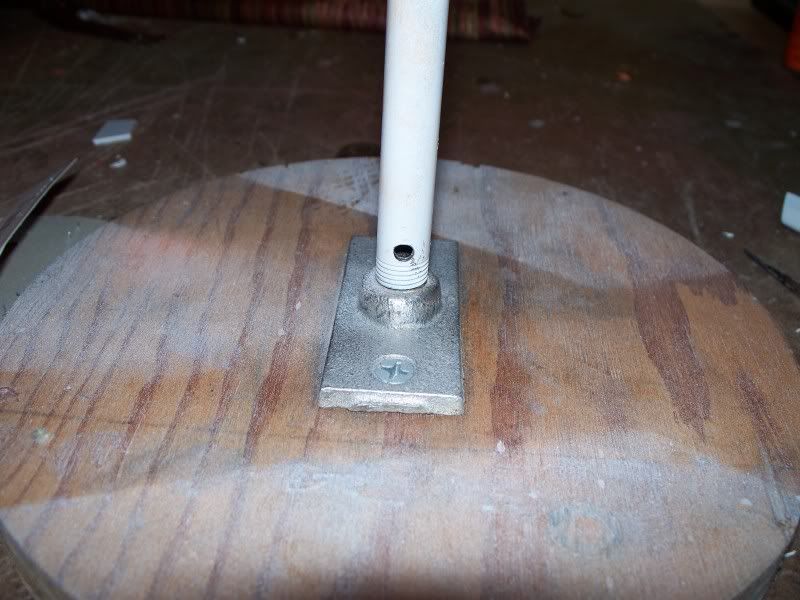
and the longest I will run them is for shows, since the batteries will be easy to replace during a show I am not worried. Everything will be at the bottom of the base so it's just a matter of lifting the cover and changing them out.
http://i8.photobucket.com/albums/a40/3dimensionalmanagement/Studio%20scalecloud%20car/100_1190.jpg[/IMG
[IMG]http://i8.photobucket.com/albums/a40/3dimensionalmanagement/Studio%20scalecloud%20car/100_1195.jpg
 thumbsup, but I know what your saying because I have heard more than a few people say the same thing!!