Remember waaay back there was a group project to put together a tutorial on a scratch built ROTJ saber?
Well I don't! Cuz I hadn't fallen into the prop replicating world just yet... but I understand that it MAY have started here...
When I first started looking into saber builds, I found this tutorial... this incomplete tutorial...
Darth Vader's ROTJ Lightsaber Tutorial: Main Page
I've wanted to test out this build for a while, figuring this would be a fun, cheep thing to do with my spare time... but the tutorial is incomplete... the control box is never fully explained.
Now I'm planning on building a scratch graflex type base, but I'm kind of stuck on the best way to do the control box and the clamp band...
If anyone from those days knows of this project, or built this hardware saber, I'd like to hear some ideas for it...
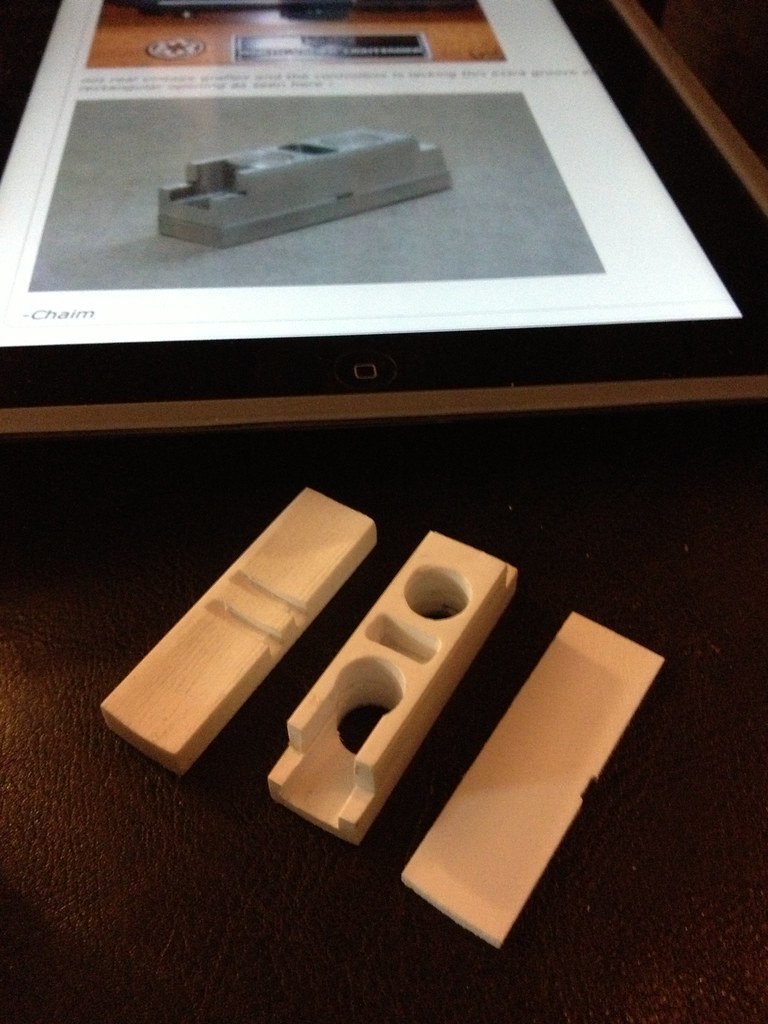
at this point I'm thinking of just cutting some sink pipe for the band, slicing down the side to split it and wrap it around... then just glueing a styrene modeled control box on. While I may get a decent look out of that, it seemed that the tutorial was going somewhere that probably was a lot neater/cleaner.
thoughts?
Thanks!
Well I don't! Cuz I hadn't fallen into the prop replicating world just yet... but I understand that it MAY have started here...
When I first started looking into saber builds, I found this tutorial... this incomplete tutorial...
Darth Vader's ROTJ Lightsaber Tutorial: Main Page
I've wanted to test out this build for a while, figuring this would be a fun, cheep thing to do with my spare time... but the tutorial is incomplete... the control box is never fully explained.
Now I'm planning on building a scratch graflex type base, but I'm kind of stuck on the best way to do the control box and the clamp band...
If anyone from those days knows of this project, or built this hardware saber, I'd like to hear some ideas for it...
at this point I'm thinking of just cutting some sink pipe for the band, slicing down the side to split it and wrap it around... then just glueing a styrene modeled control box on. While I may get a decent look out of that, it seemed that the tutorial was going somewhere that probably was a lot neater/cleaner.
thoughts?
Thanks!
Last edited:


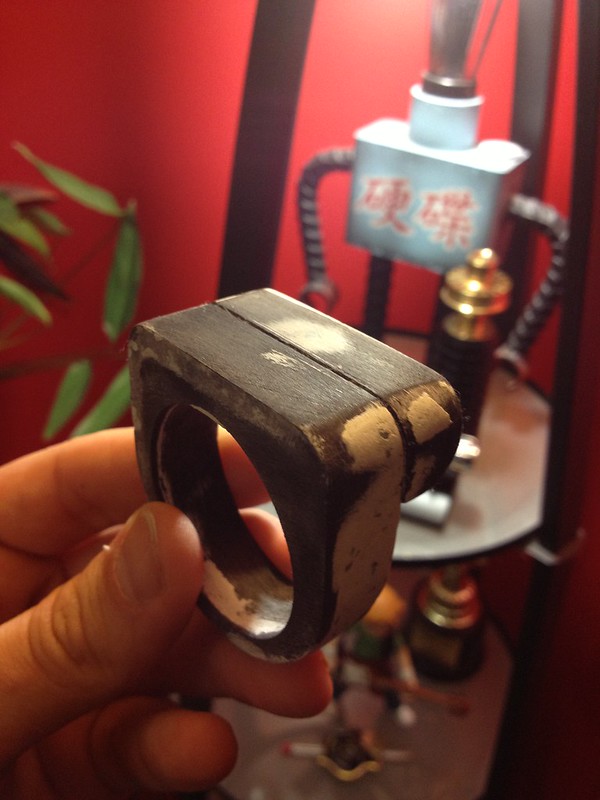
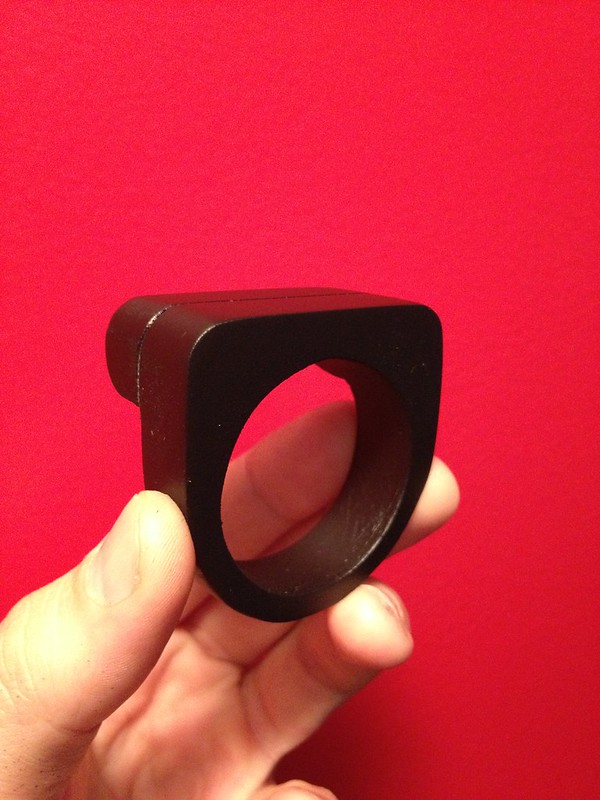
") They don't seem to carry those things anymore. The right type of hitch cover thing seems to be tricky to find. I've seen some made from a hard rubber (blech!). I haven't glued mine on yet, cuz I want to pull a mold. It took more fiddling with to get to work than I thought, and also since the hitch cover is harder to find, I though it'd be nice to have some others available. Still haven't molded it yet, though.... :facepalm
They don't seem to carry those things anymore. The right type of hitch cover thing seems to be tricky to find. I've seen some made from a hard rubber (blech!). I haven't glued mine on yet, cuz I want to pull a mold. It took more fiddling with to get to work than I thought, and also since the hitch cover is harder to find, I though it'd be nice to have some others available. Still haven't molded it yet, though.... :facepalm


.jpg")

.jpg")
.jpg")