indiefilmgeek
Sr Member
As we continue to work on the Steampunk Ironman helmet I decided to do a little work on Thrain's war hammer.
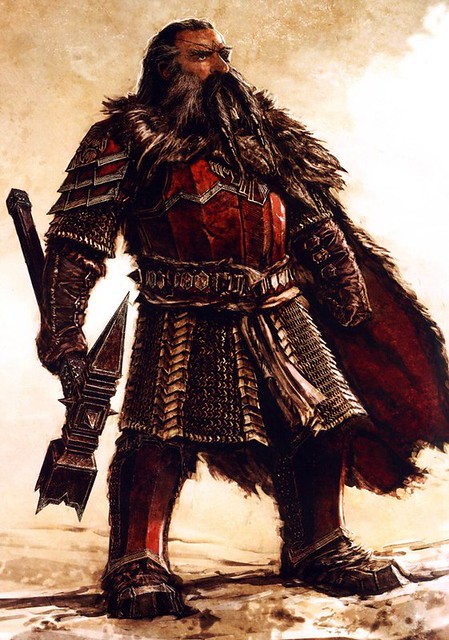
I was very inspired when I saw Thrain's costume and weapon design in the Hobbit art book, and I honestly think this might end up being a costume I'd build for myself (which would be the very first costume I've built for myself since high school). :eek
REFERENCE:
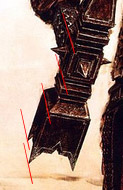
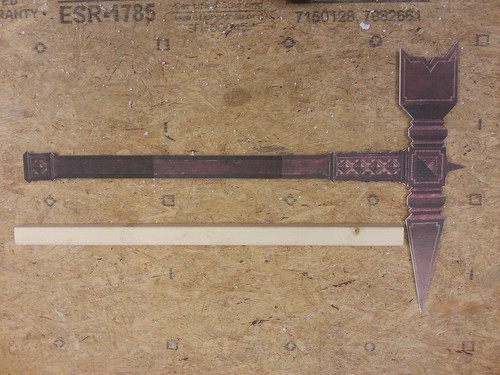
Regarding his hammer (which is sometimes referred to as an 'axe'... though I'm not sure why), they included a pretty good art sketch. And with a bit of photo work, I was able to get this reference picture:

BUILD MATERIALS:
Now let's talk materials... Since this is not for reproduction and just for me, I wanted it to LAST and I wanted it to have some weight. So, I decided to attempt to build the hammer of wood. It would be easier to make it out of foam with a wooden handle (and I'll default to that if I completely fail to pull off the wood version), but there is something 'substantial' about the weight and feel of a solid wood piece like this.
SCALE:
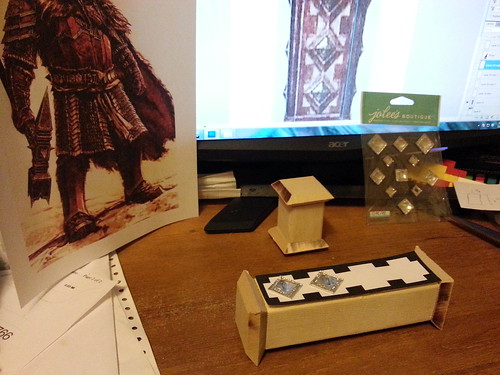
I used the above image of Thrain and the image below (production pic) to try and gauge what size the hammer would need to be if Thrain was my height.
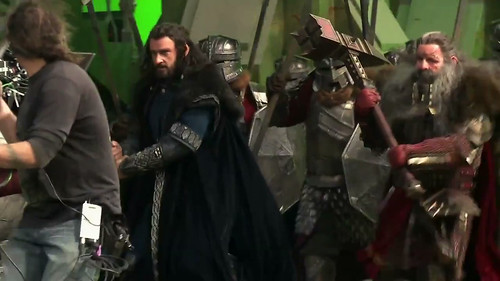
I used those calculations to make a full-scale 'flat' version of the hammer for me have as a reference.
TOOLS:
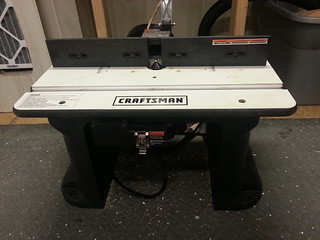
In addition to my scroll saw, chop saw and a variety of other power tools, I lacked a couple necessary piece to create this hammer. One of them was a table router - which I picked up for less than $100 on Craigslist (including a set of bits).
BUILD PROCESS:
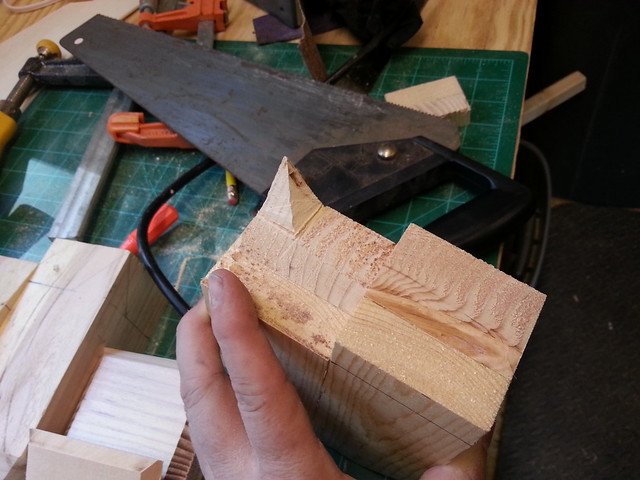
Router in place, I started cutting our the handle and other pieces and then slicing 45 degree angles off of them.
Handle cut to size...
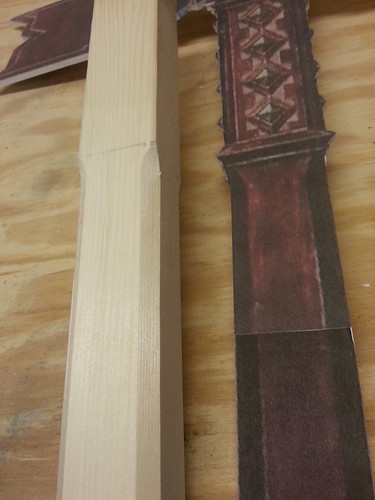
Edges cut to match the reference...

Testing the size and shape of the hammer head pieces after using the router to created the 45 degree edges...

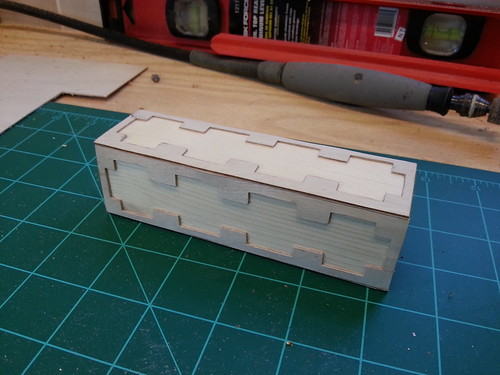
I cut the handle into three pieces so I could put a set of angle-cut pieces in between (thus creating the look from the original).
To get the inlay look of the reference, I decided to cut out a thin piece of wood and glue it to the handle. This would give the look of a carved out section, without the work of actually carving it out! :cool
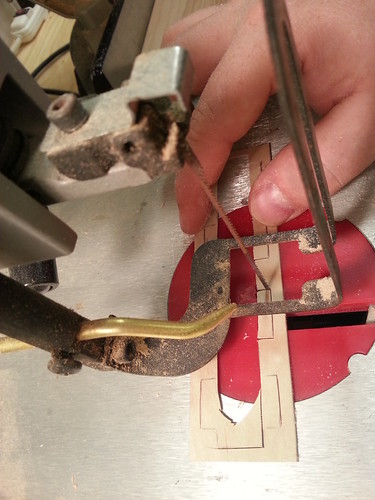
Cutting out the design in the thin wood...

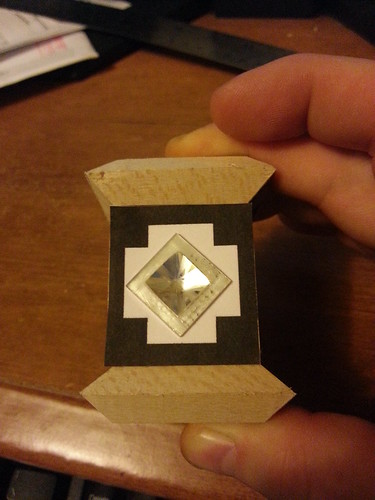
Placing the veneer on the handle sections and placing some temp gems inside the inlays.
Same process for the pummel section...
Once the veneer was glued on the pieces, I measured the spaces again and ordered myself some metal studs...

Studs and Spikes... my new favorite online shop! :lol

Then I just about burnt up my 8" chop saw by trying to cut this beautiful wood block into a spike! Much sanding will need to be done, but the rough shape is definitely there.
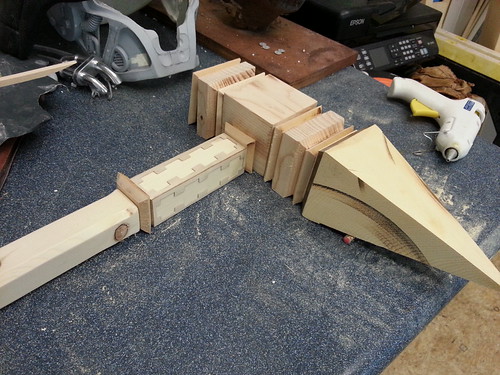
...another picture of the hammer pieces laid out together...
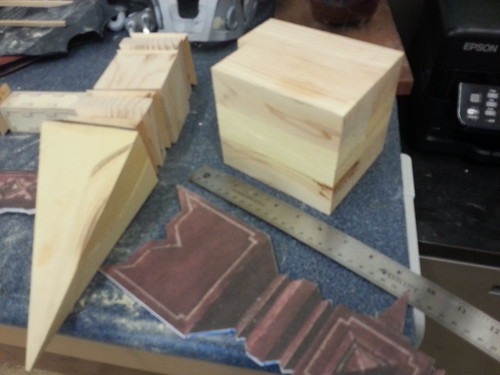
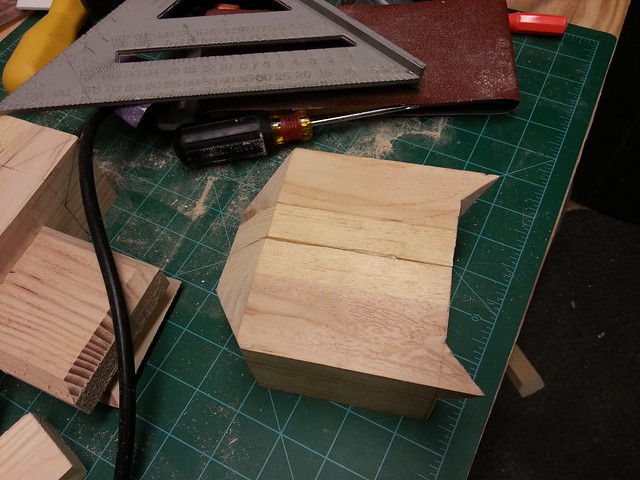
This weekend, I finally got some big blocks of wood glued together and then cut into roughly the size and shape of the hammer's business end. That thing is MASSIVE!
NOTE: I've decided to make that part in four quadrants. So, that block you see there is all four pieces stacked up together.

Then I again used my trusty (and slightly burnt-smelling) chop saw to cut the angled edges for these blocks.

...and here is the hammer head roughly held into position... yah! :behave
*****
That's where I'm at with this project so far... I'll be tying to figure out the angle cuts and all for that massive hammer head this week, so expect an update when I get a chance!
Take Care!
I was very inspired when I saw Thrain's costume and weapon design in the Hobbit art book, and I honestly think this might end up being a costume I'd build for myself (which would be the very first costume I've built for myself since high school). :eek
REFERENCE:
Regarding his hammer (which is sometimes referred to as an 'axe'... though I'm not sure why), they included a pretty good art sketch. And with a bit of photo work, I was able to get this reference picture:
BUILD MATERIALS:
Now let's talk materials... Since this is not for reproduction and just for me, I wanted it to LAST and I wanted it to have some weight. So, I decided to attempt to build the hammer of wood. It would be easier to make it out of foam with a wooden handle (and I'll default to that if I completely fail to pull off the wood version), but there is something 'substantial' about the weight and feel of a solid wood piece like this.
SCALE:
I used the above image of Thrain and the image below (production pic) to try and gauge what size the hammer would need to be if Thrain was my height.
I used those calculations to make a full-scale 'flat' version of the hammer for me have as a reference.
TOOLS:
In addition to my scroll saw, chop saw and a variety of other power tools, I lacked a couple necessary piece to create this hammer. One of them was a table router - which I picked up for less than $100 on Craigslist (including a set of bits).
BUILD PROCESS:
Router in place, I started cutting our the handle and other pieces and then slicing 45 degree angles off of them.
Handle cut to size...
Edges cut to match the reference...
Testing the size and shape of the hammer head pieces after using the router to created the 45 degree edges...
I cut the handle into three pieces so I could put a set of angle-cut pieces in between (thus creating the look from the original).
To get the inlay look of the reference, I decided to cut out a thin piece of wood and glue it to the handle. This would give the look of a carved out section, without the work of actually carving it out! :cool
Cutting out the design in the thin wood...
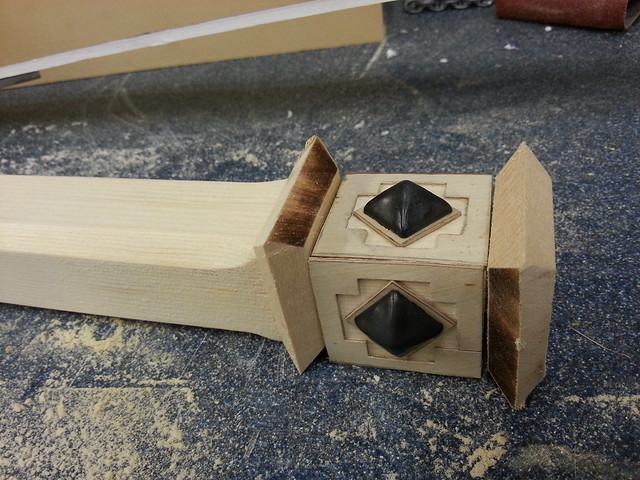
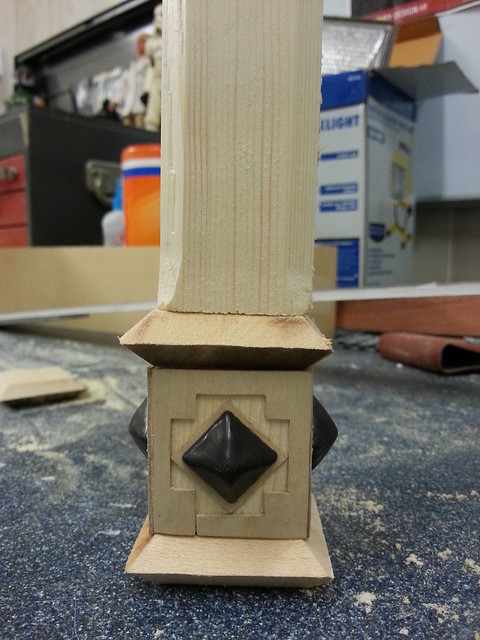
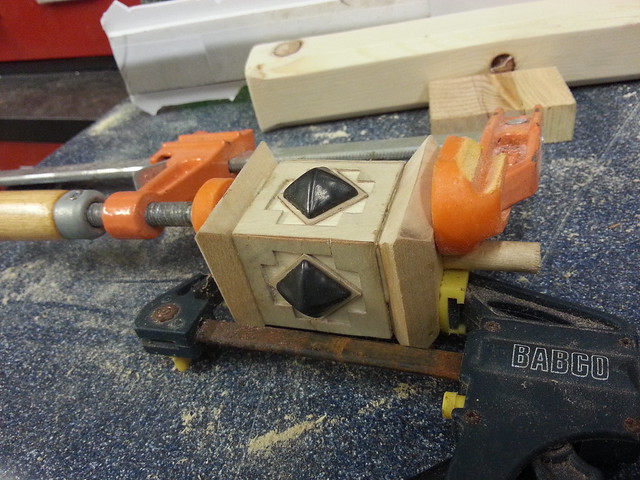
Placing the veneer on the handle sections and placing some temp gems inside the inlays.
Same process for the pummel section...
Once the veneer was glued on the pieces, I measured the spaces again and ordered myself some metal studs...
Studs and Spikes... my new favorite online shop! :lol
Then I just about burnt up my 8" chop saw by trying to cut this beautiful wood block into a spike! Much sanding will need to be done, but the rough shape is definitely there.
...another picture of the hammer pieces laid out together...
This weekend, I finally got some big blocks of wood glued together and then cut into roughly the size and shape of the hammer's business end. That thing is MASSIVE!
NOTE: I've decided to make that part in four quadrants. So, that block you see there is all four pieces stacked up together.
Then I again used my trusty (and slightly burnt-smelling) chop saw to cut the angled edges for these blocks.
...and here is the hammer head roughly held into position... yah! :behave
*****
That's where I'm at with this project so far... I'll be tying to figure out the angle cuts and all for that massive hammer head this week, so expect an update when I get a chance!
Take Care!
Last edited: