Bandit-Jedi
Sr Member
Post up your progress on your own build and give any helpful information that might aid others in their own kit builds.


Looking awesome!


Very well done Bandit!
")

Thanks for all of the great info and detail. I received my kits today and I am starting to work on them.
This is my first kit ever. I am just taking my time being extra careful. What kind of battery pack are you using? I figured I was going to use a 23A Battery but I am not sure if I can get the battery back to fit.
Taking your time is a good idea. Whenever anything is rushed, something usually happens that you don't want to happen.
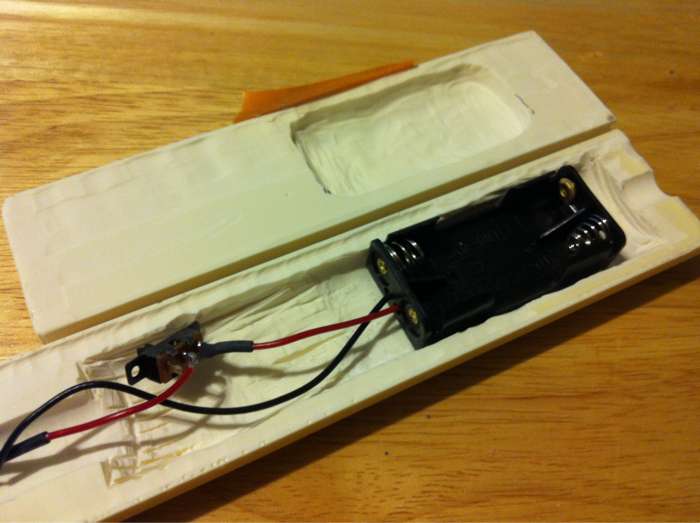
It's a AAA two-battery holder. This one came from ArtFunk as part of the included electronics kit.
I did find myself trimming the edges along the bottom of the holder to fit better inside the handle.

Final update on my Kit #1 build
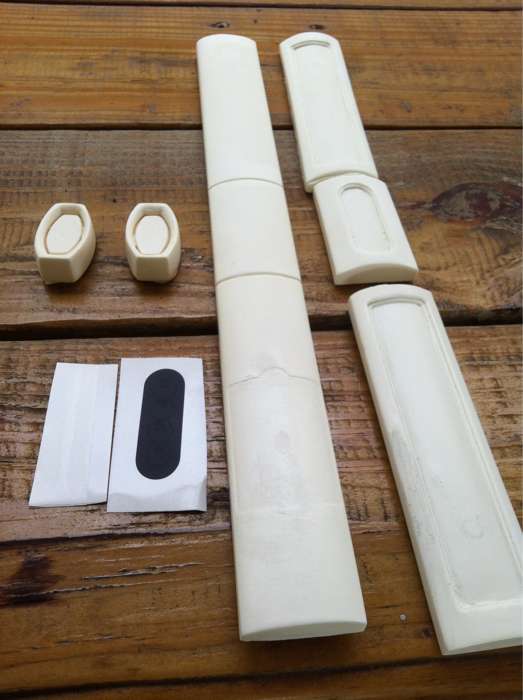
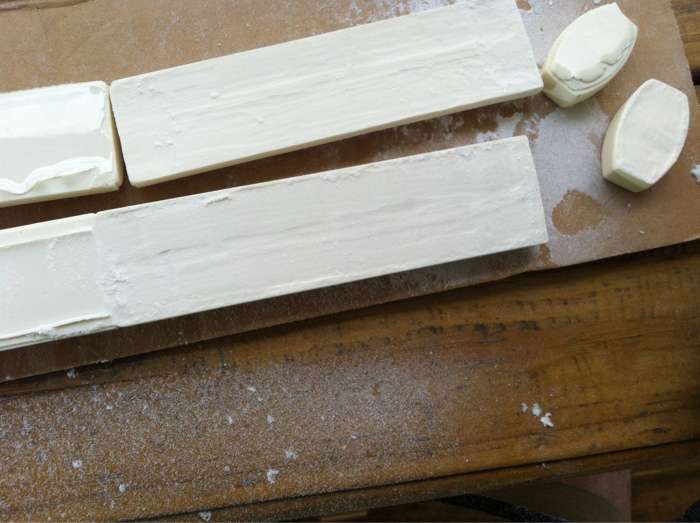
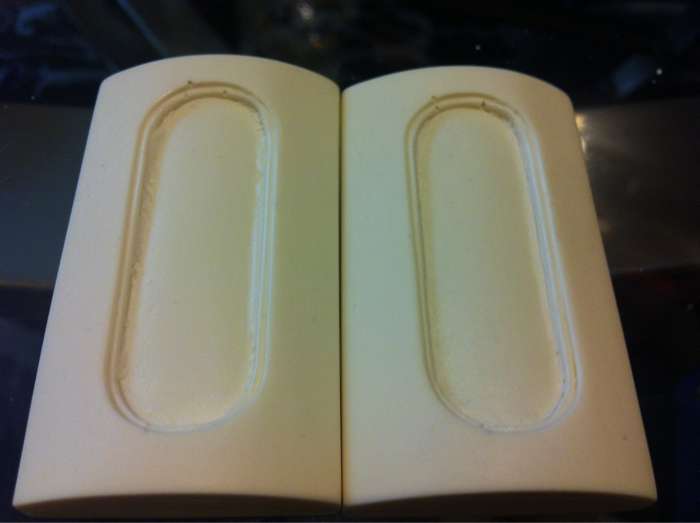
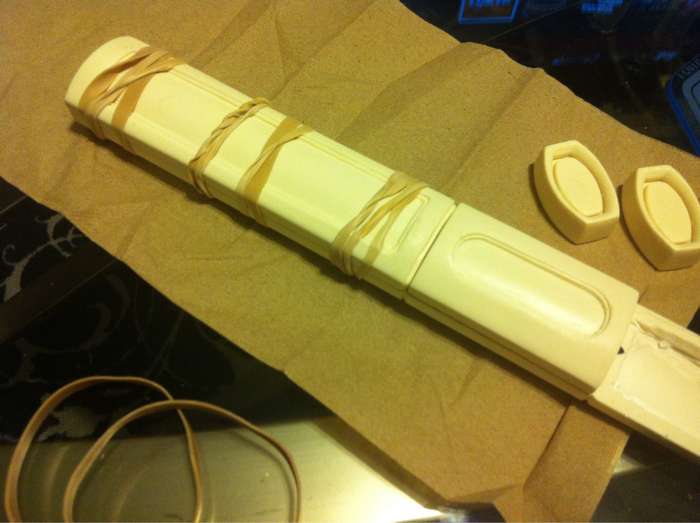
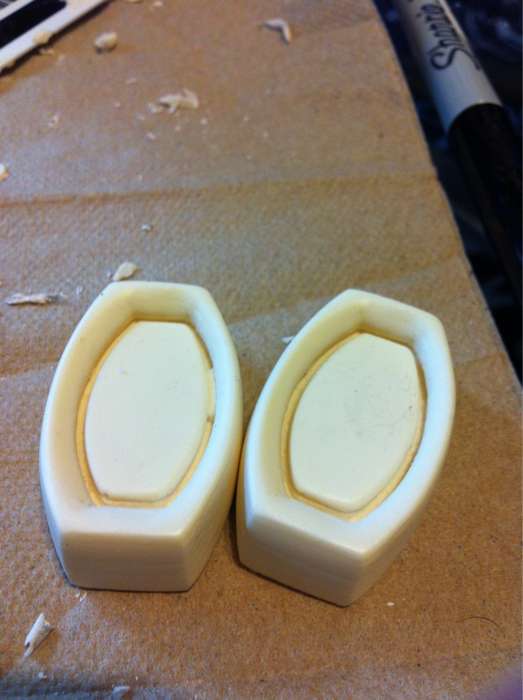
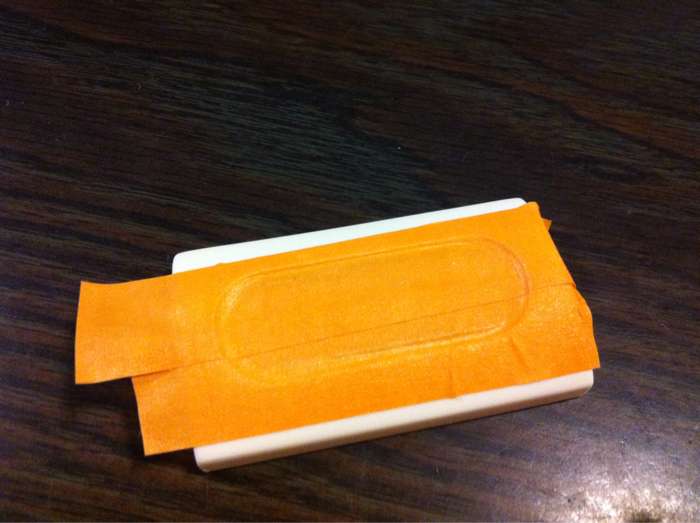
Endcaps painted and ready to go on. A step I forgot to mention when I painted the main body and endcaps was to mask off the "attaching" surface of each to allow for whatever adhesive is used to adhere the best. This pic shows the bare resin that was covered with the masking.
http://imageshack.us/a/img15/4782/rxa1.jpg
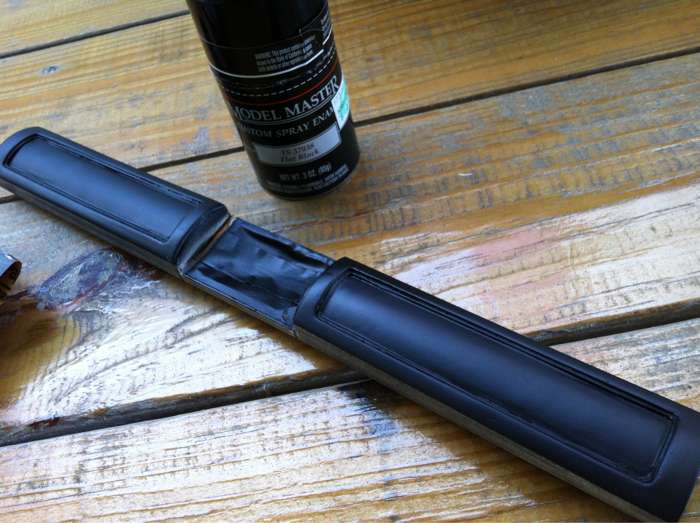
So I glued on the End Caps and let that set for 24 hours before the next step, which would end up being the last step with many little steps as a part of it.
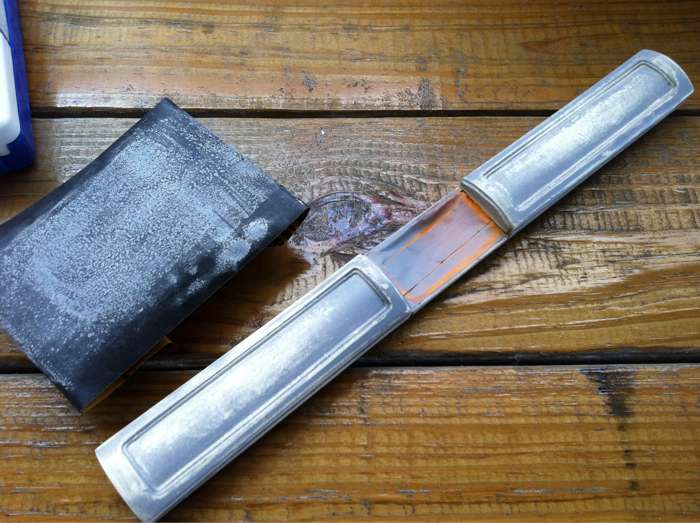
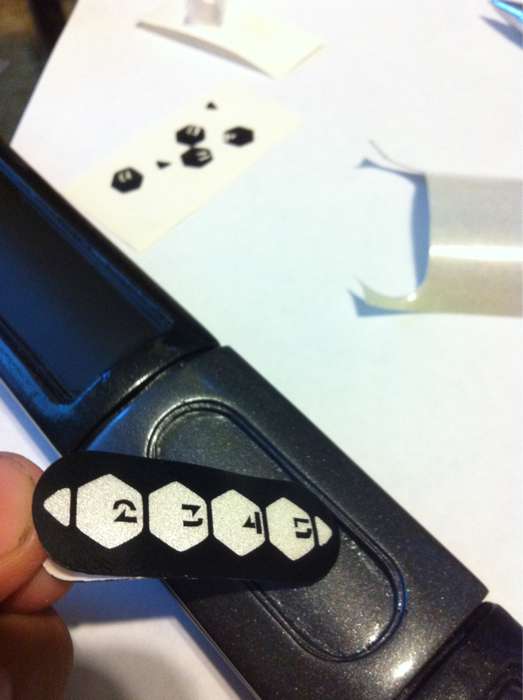
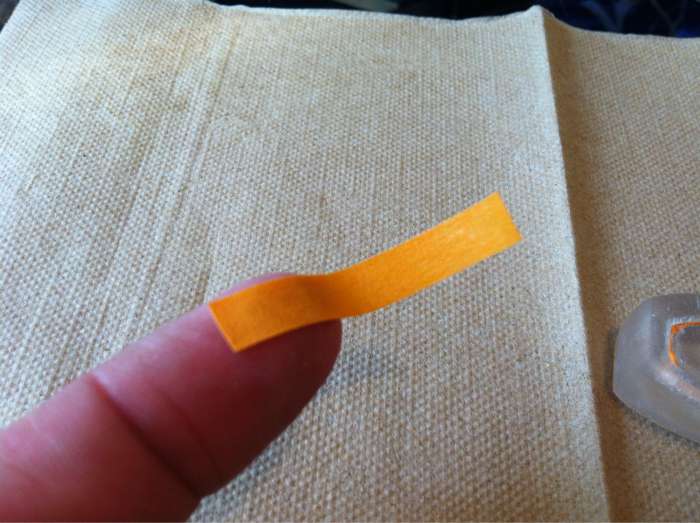
The first being the reflective backing for the Control Panel label. I used the method of a piece of paper placed over the label then traced the outline with a pen. After that just a matter of laying the paper over the reflective tape and tracing the pen along the black line on the paper to make an impression on the tape. That way I just used scissors to cut along the impression to get the same size as the label.
http://imageshack.us/a/img692/4097/k4mv.jpg
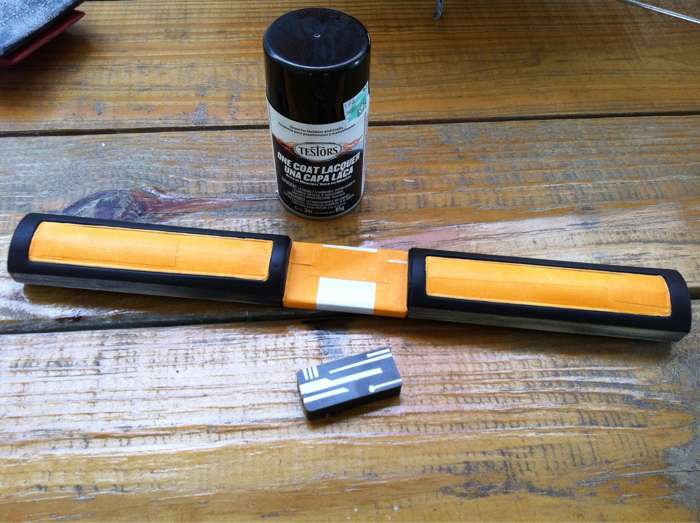
Then layed down the clear transfer tape across the black label (I opted not to remove the parts of the black decal that were supposed to be removed before putting the transfer tape on, but it can be done either way) and removed the black label and transfer tape from the decal backer.
http://imageshack.us/a/img507/526/b35q.jpg
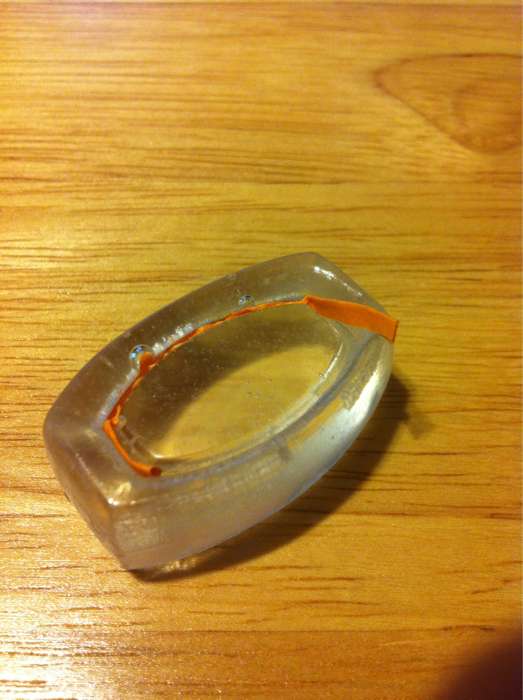
Then I just layed the decal down onto the reflective side of the piece I cut earlier. It made the entire decal easier to handle. Removed the Transfer tape and then bent the decal to raised the edges along the cuts to remove the parts of the decal that were not needed. I used the tip of an Xacto knife to help raise the tiny edges. Once that was done, it was ready to lay down!
http://imageshack.us/a/img825/870/4mda.jpg
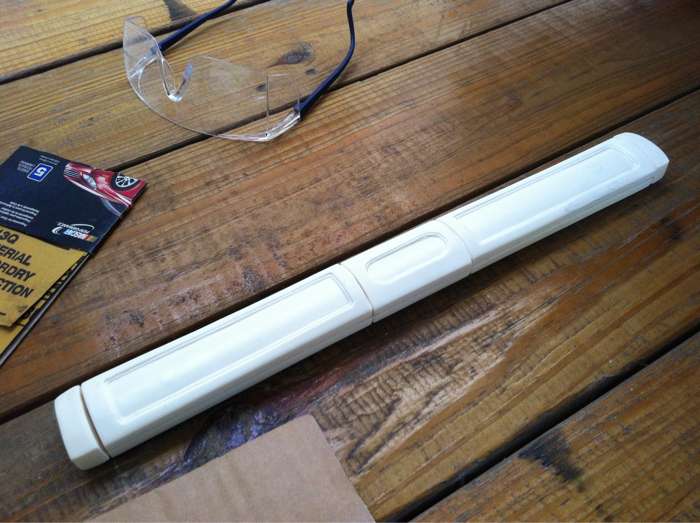
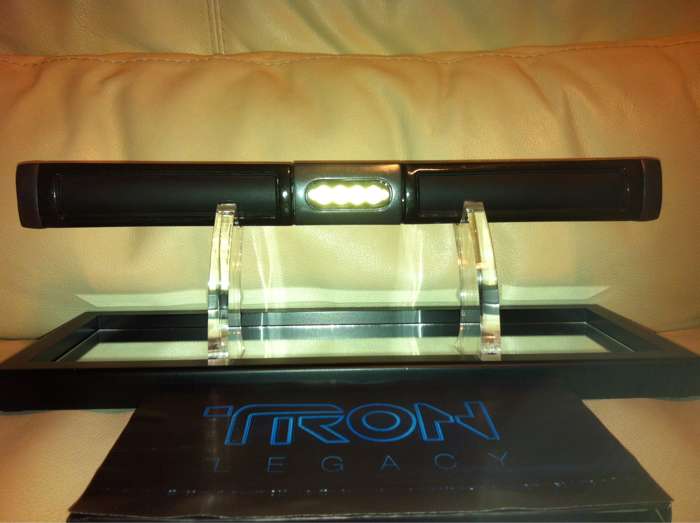
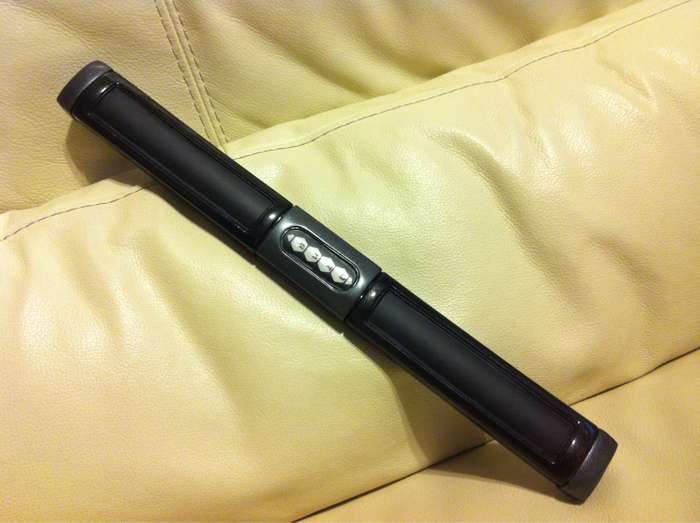
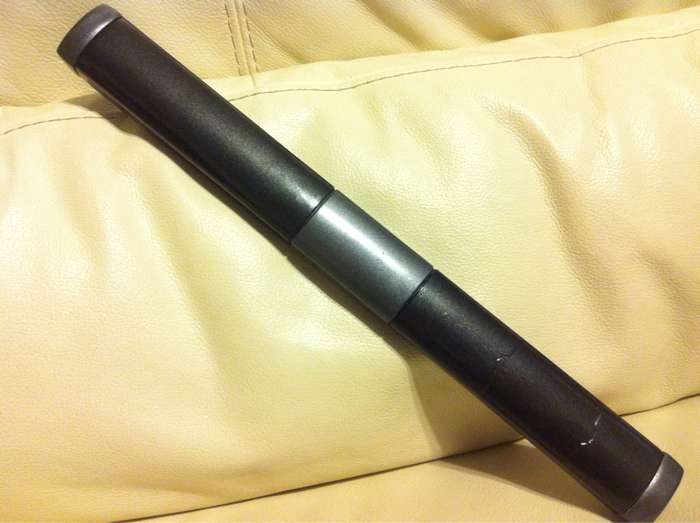
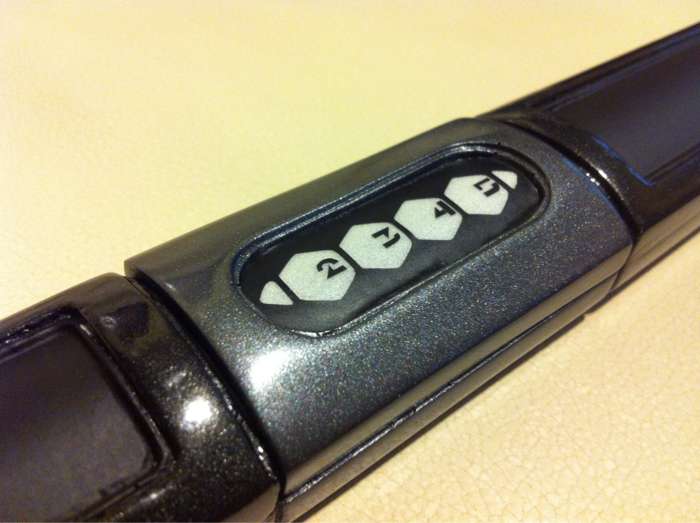
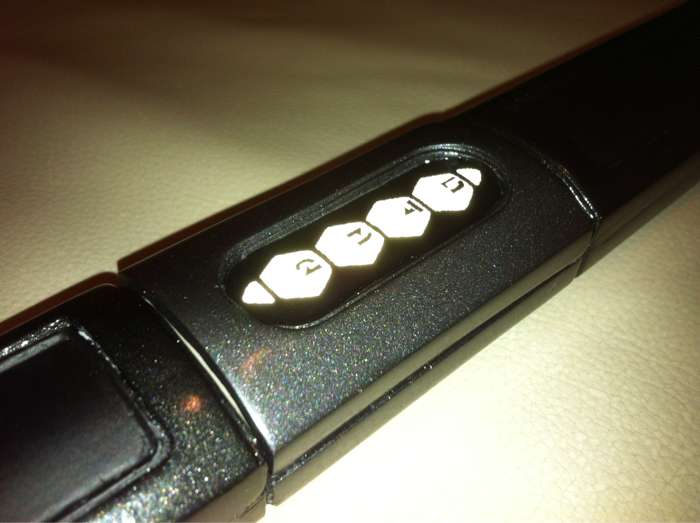
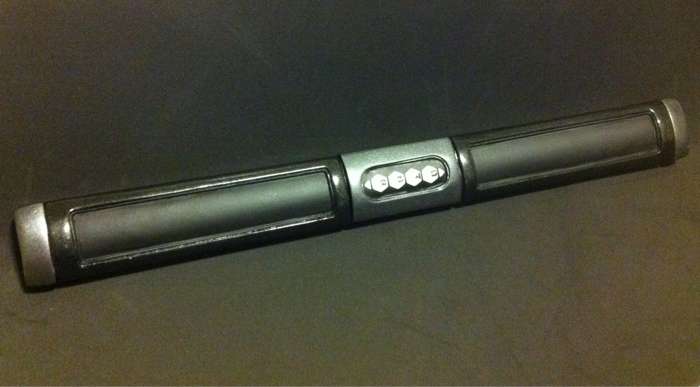
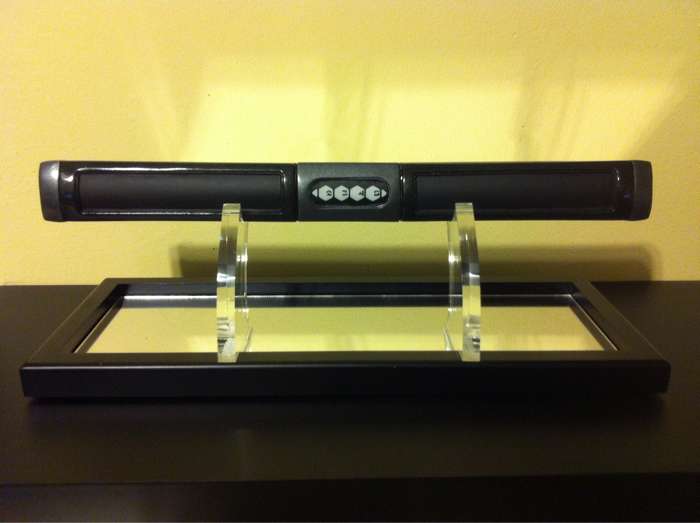
The Finished "Stunt" Baton
http://imageshack.us/a/img855/9648/d0zu.jpg
http://imageshack.us/a/img51/6184/9rhy.jpg
http://imageshack.us/a/img842/7443/z1dr.jpg
http://imageshack.us/a/img850/5456/5kn2.jpg
http://imageshack.us/a/img826/570/ww52.jpg
http://imageshack.us/a/img824/4504/xjrk.jpg
http://imageshack.us/a/img43/2294/ysfc.jpg
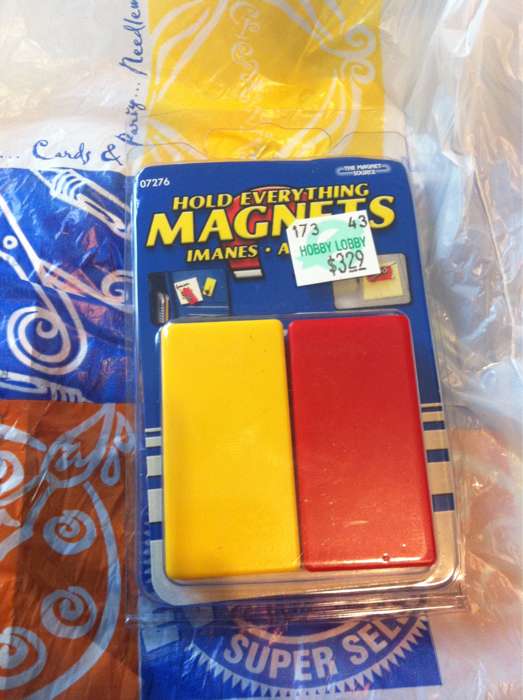
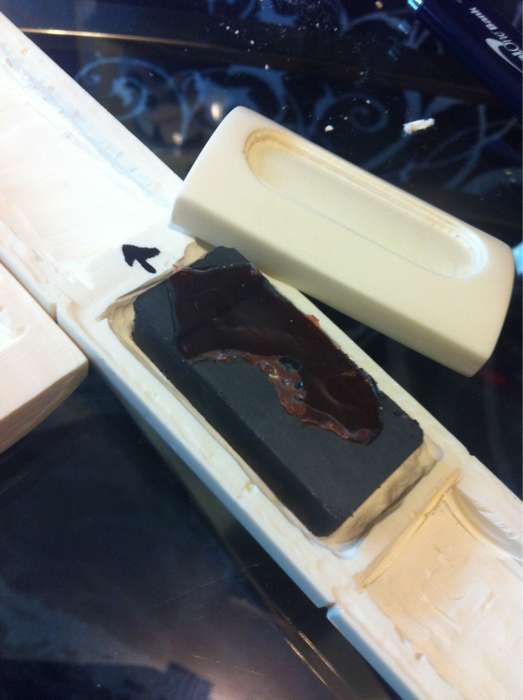
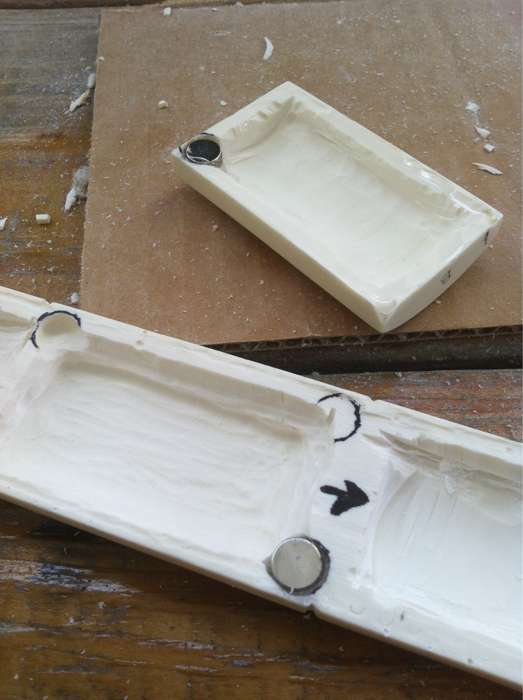
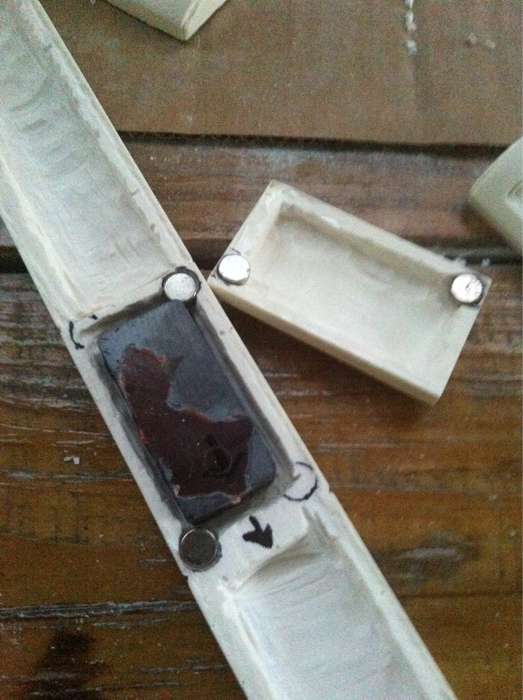
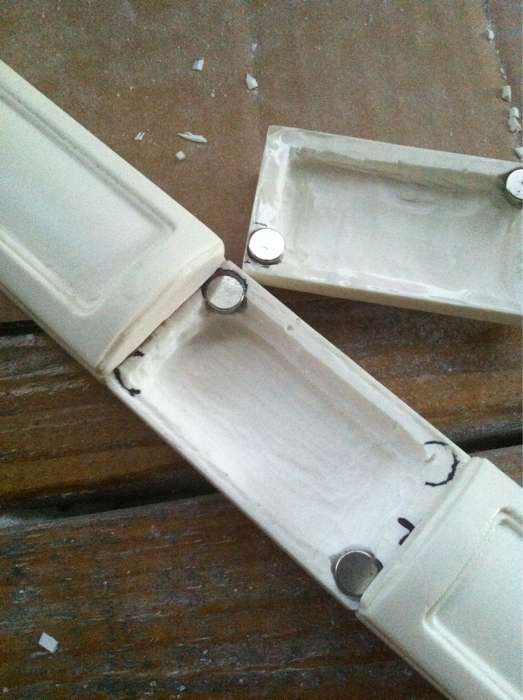
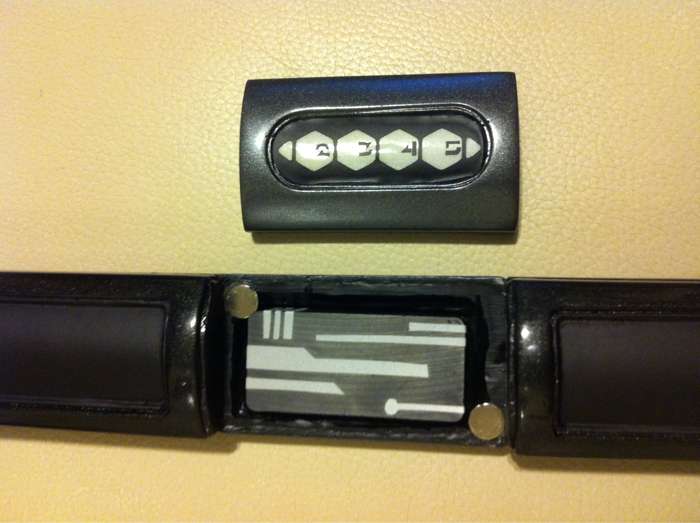
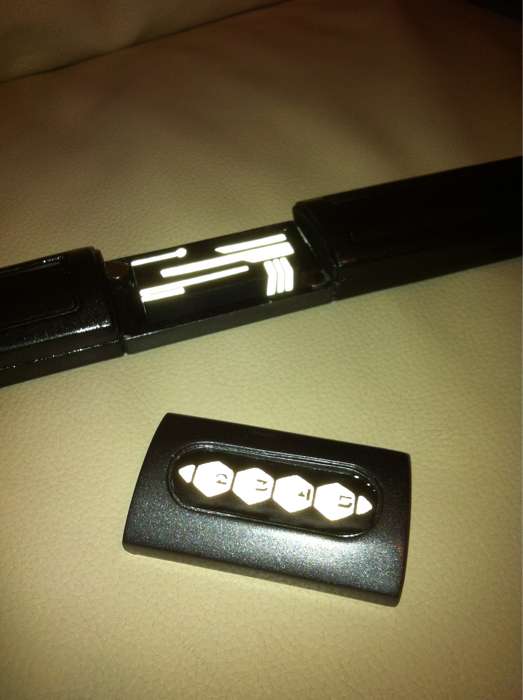
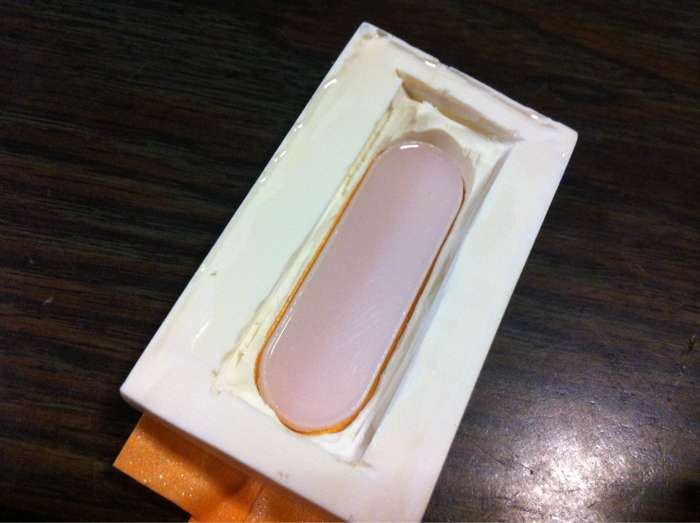
Control Panel removed with internal magnet
http://imageshack.us/a/img842/3090/v0c4.jpg
http://imageshack.us/a/img850/3228/kgd.jpg
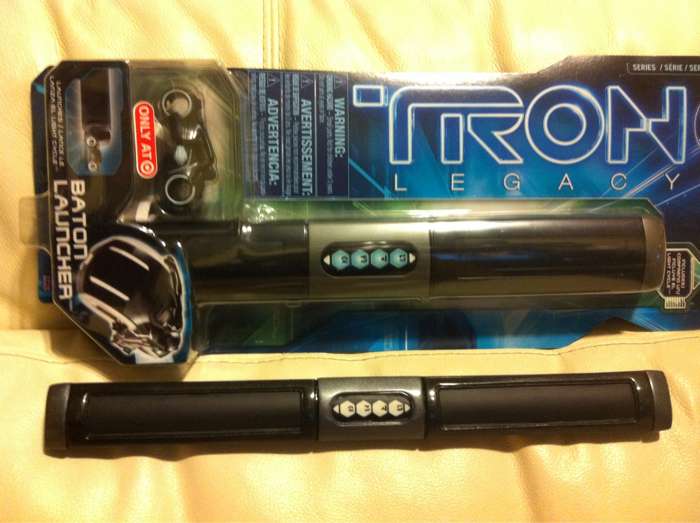
The Screen Used Baton pic that I based the paint scheme on
View attachment 197866
Thanks go out to the masterful ArtFunk for supplying us Programs with an awesome kit to work with. Grazie!!
Bandit great job, really well done


