1:1 Millennium Falcon Cockpit Replica - Group Build

Hi Gang,

More updates! And this time in a positive direction!

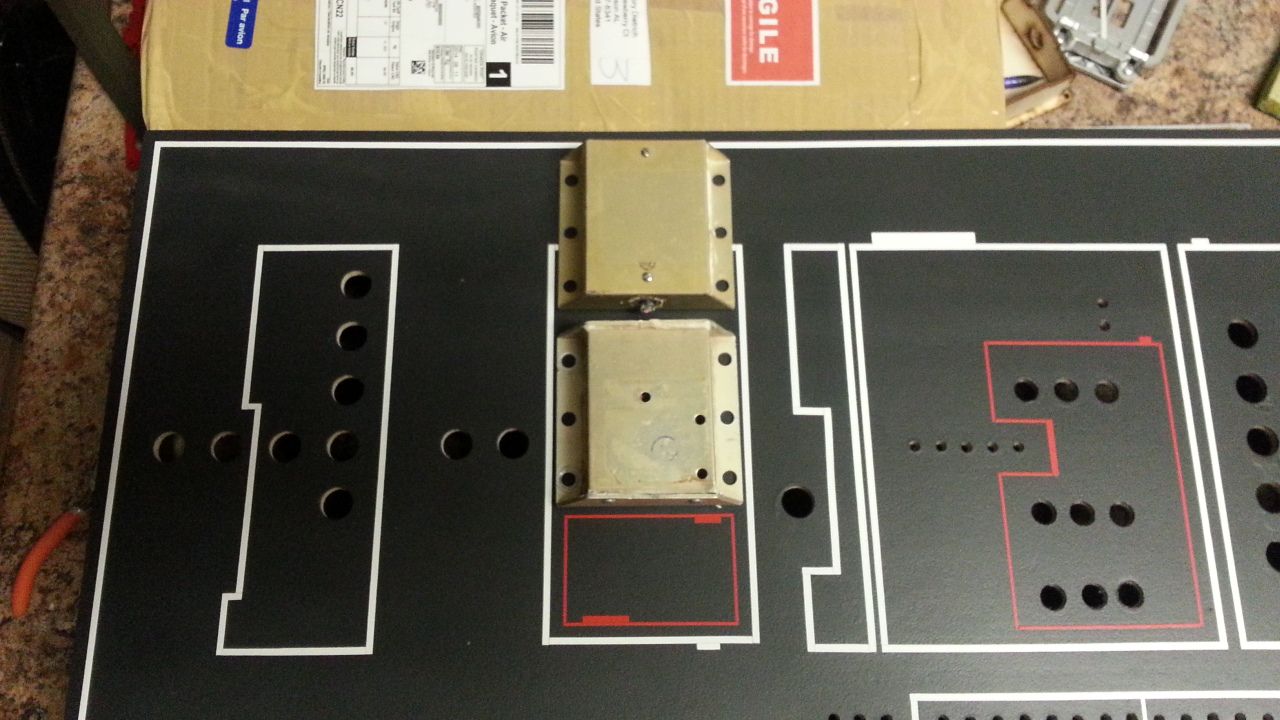
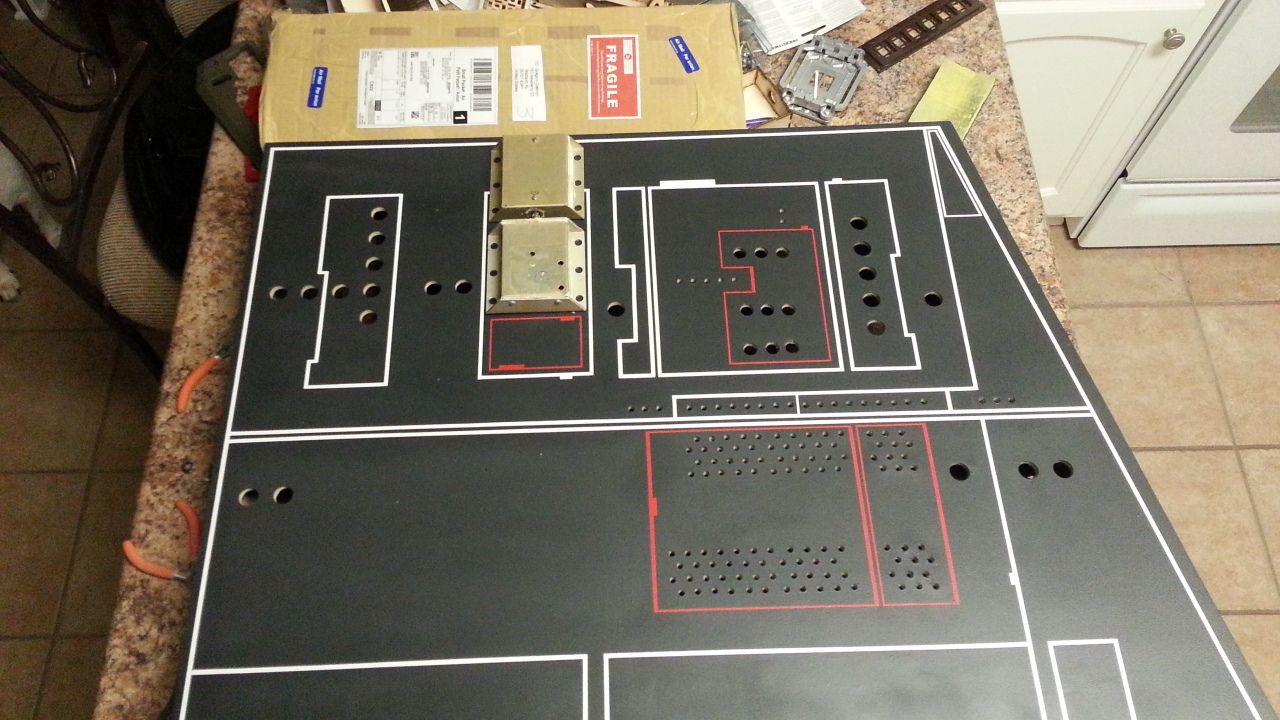
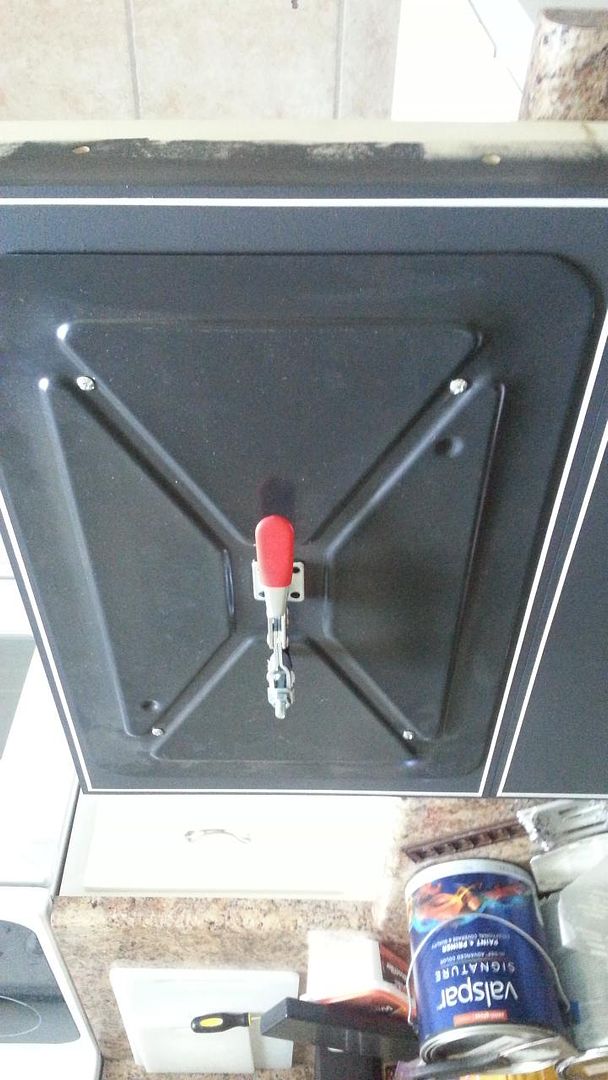
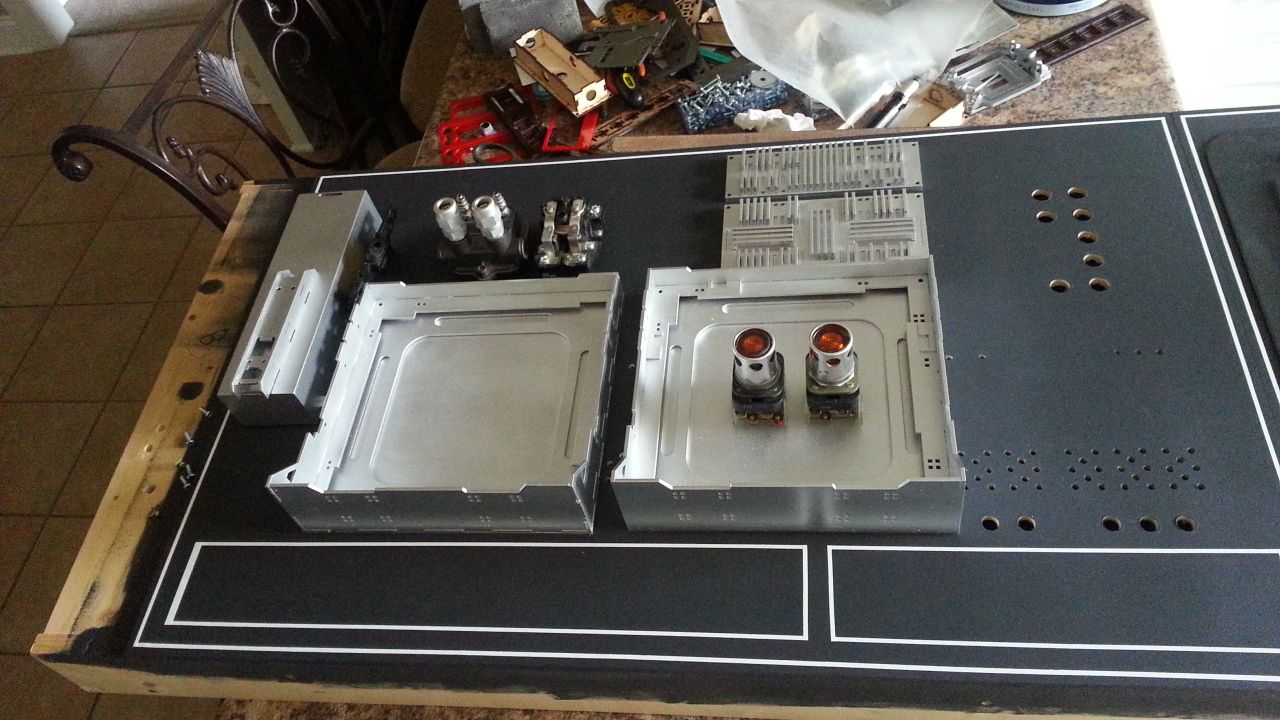
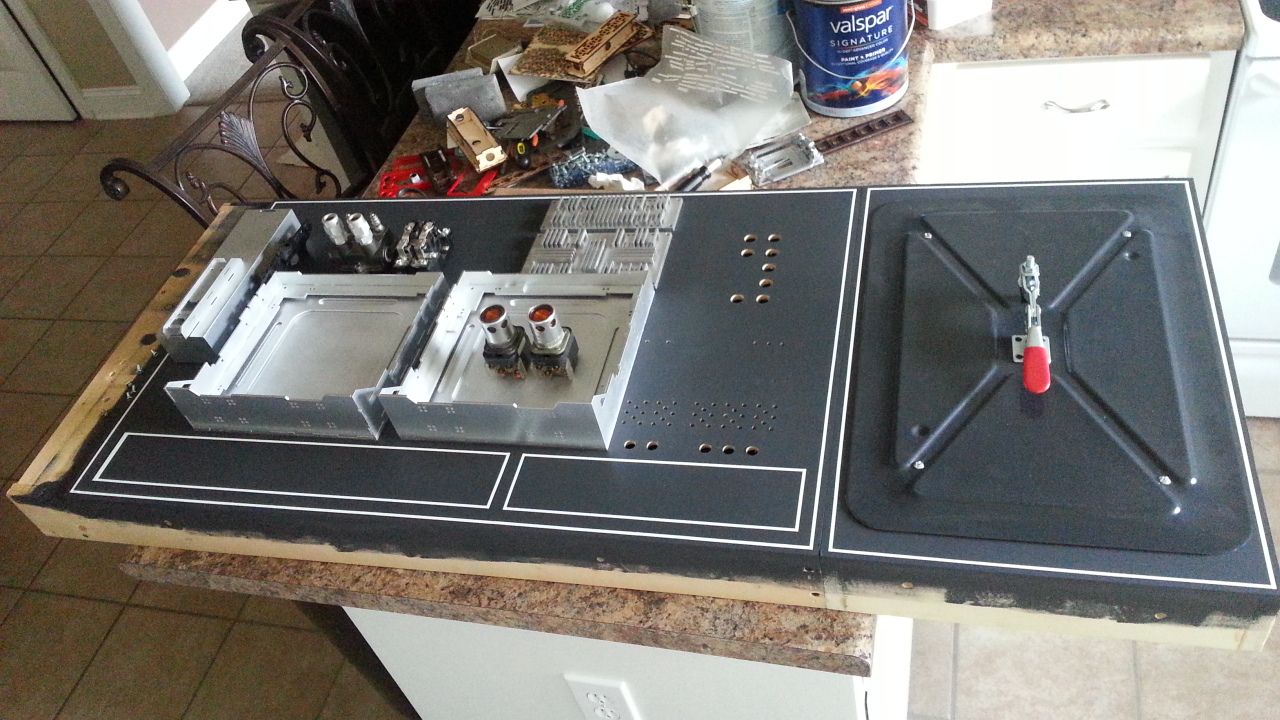
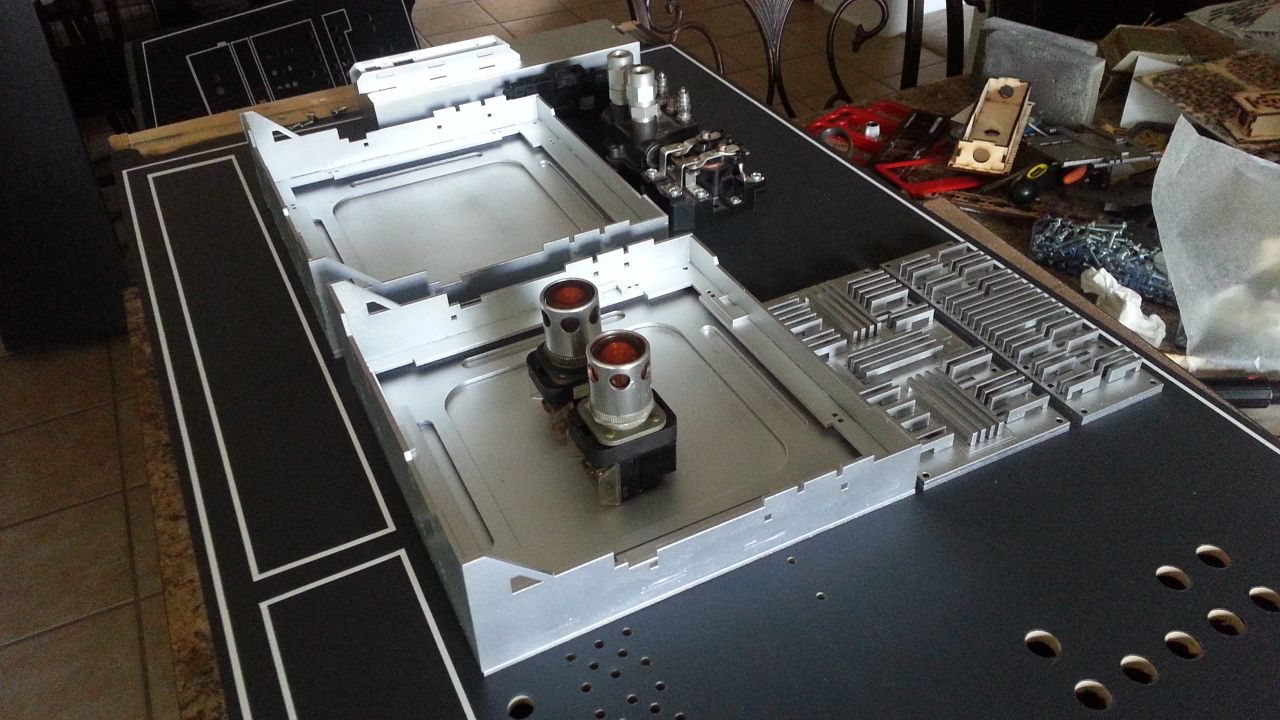
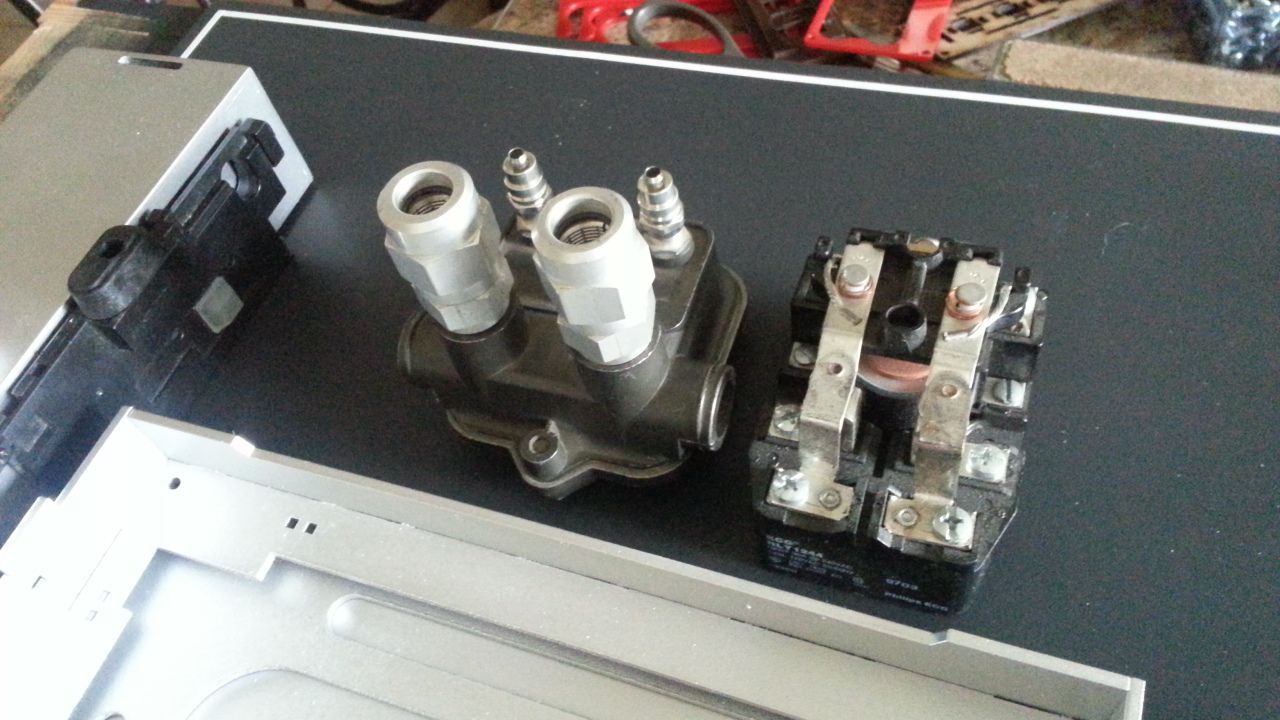
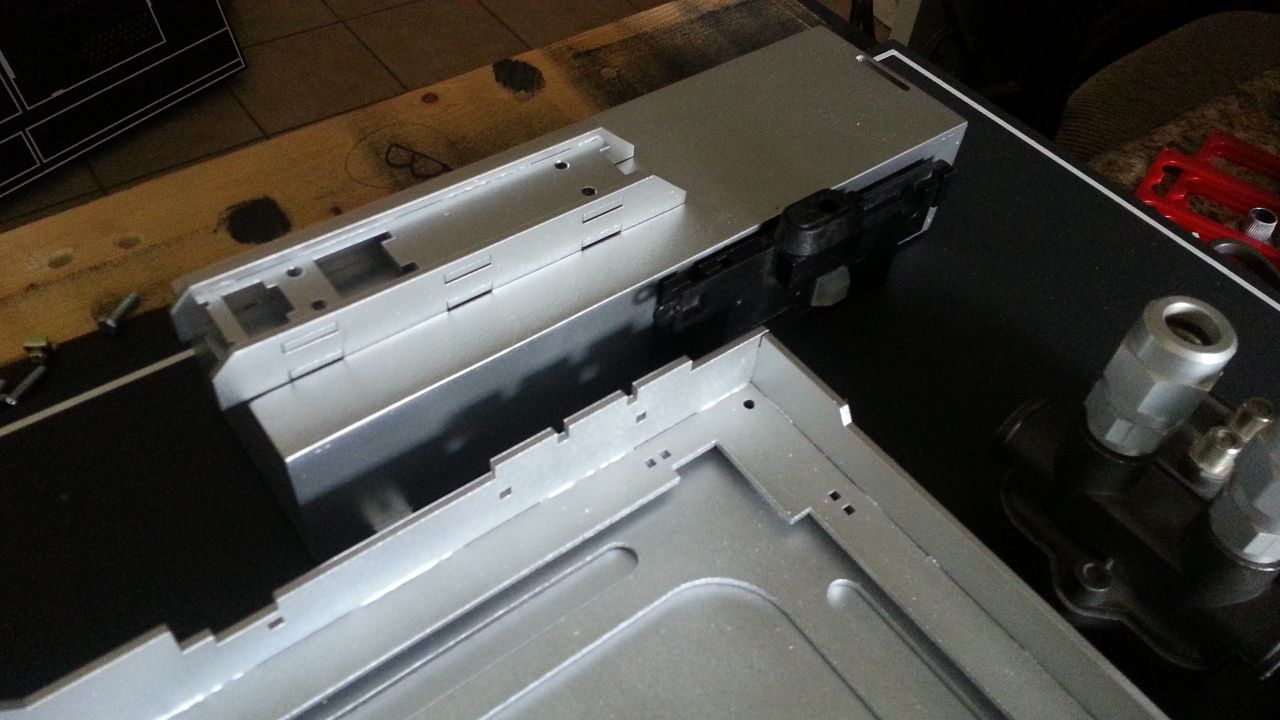
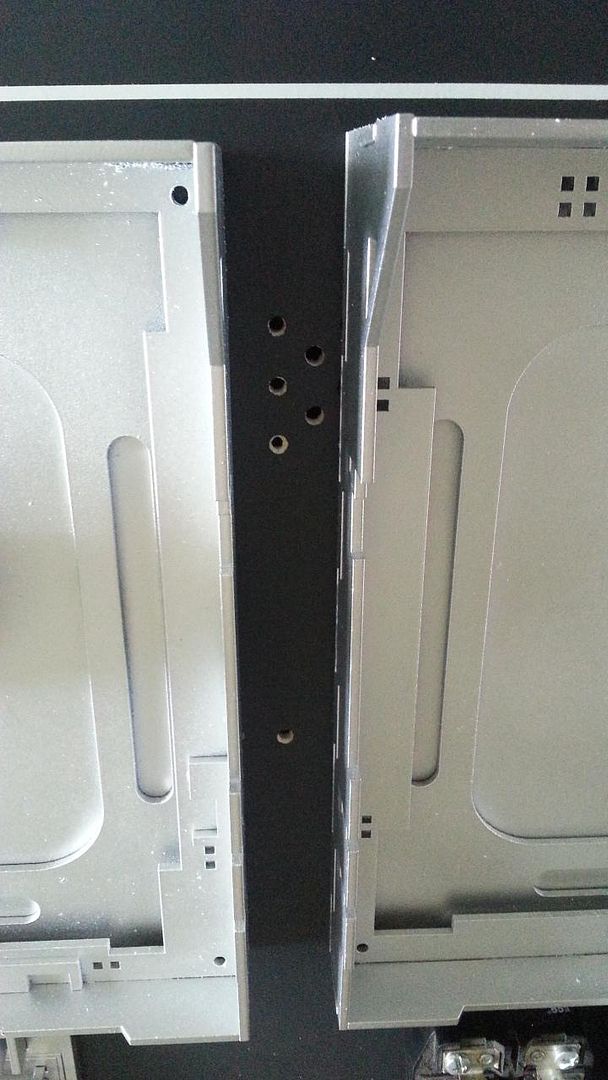
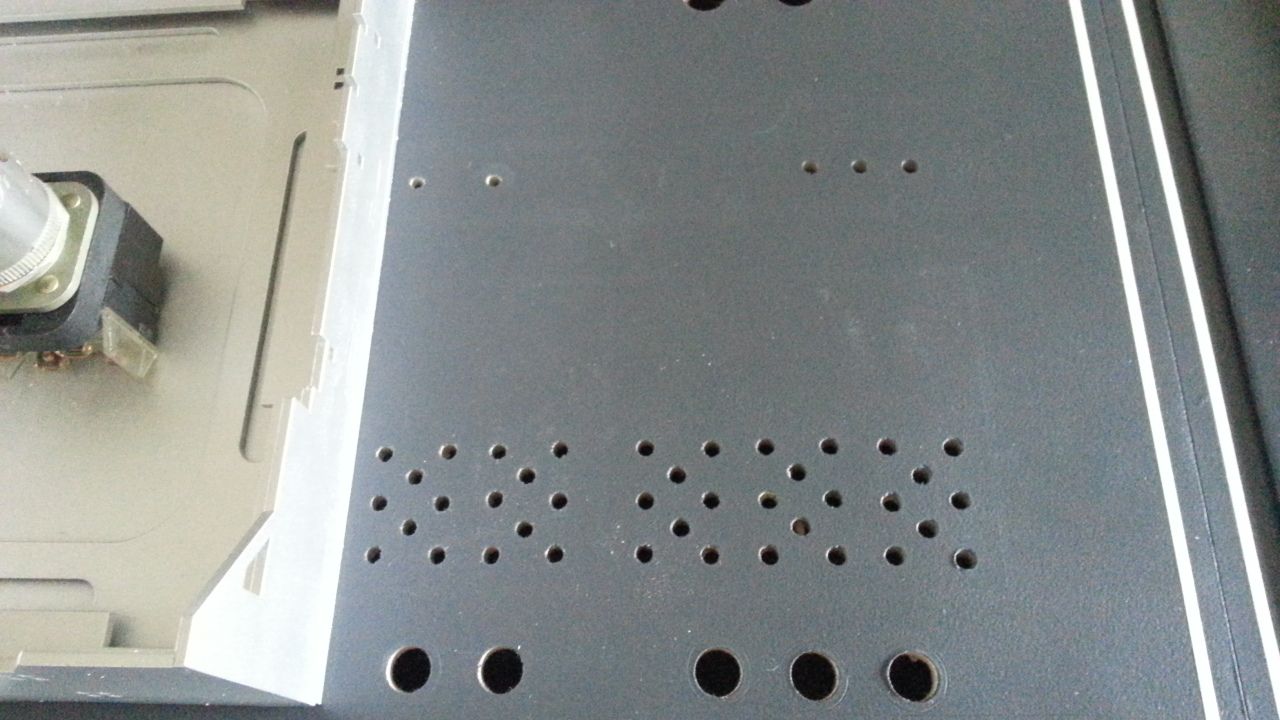
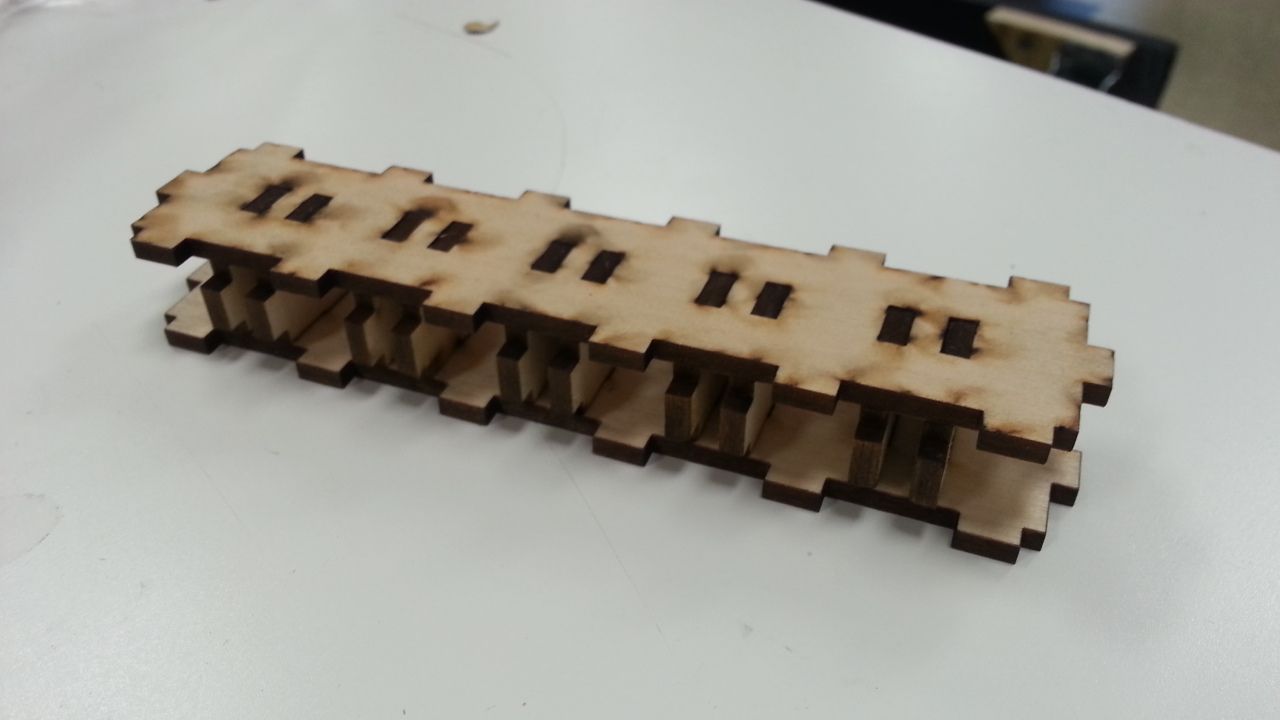
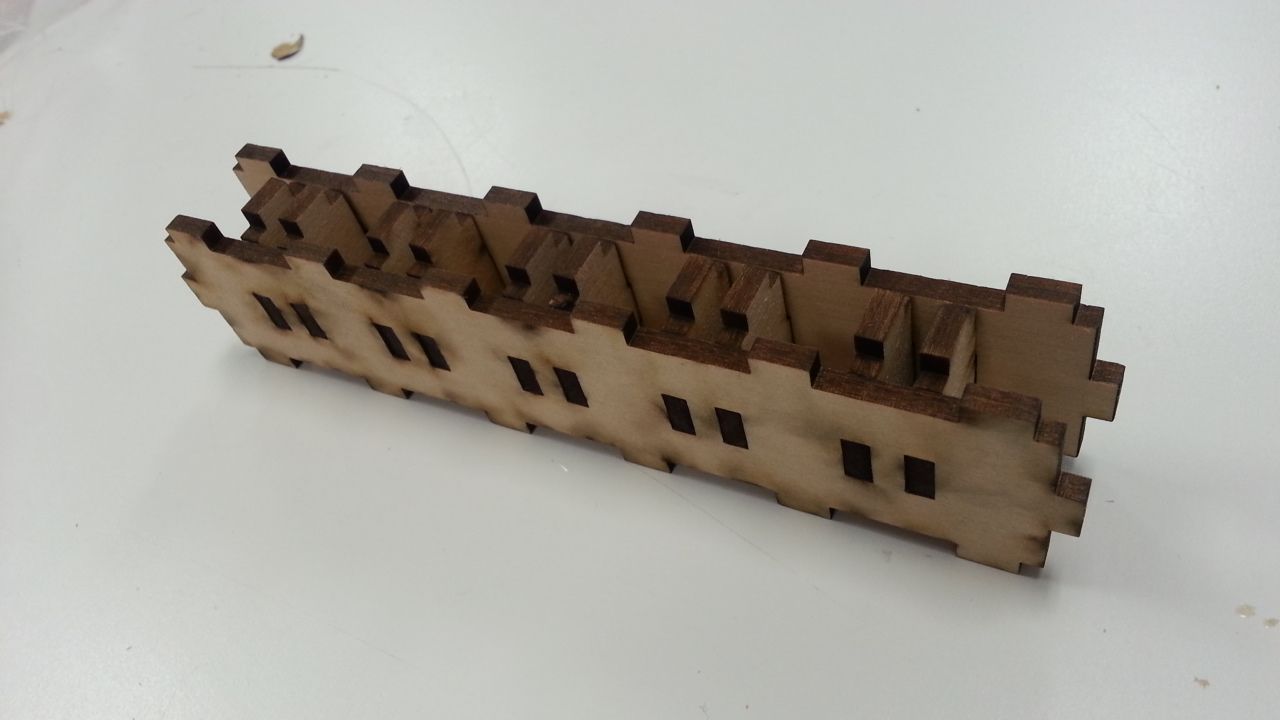
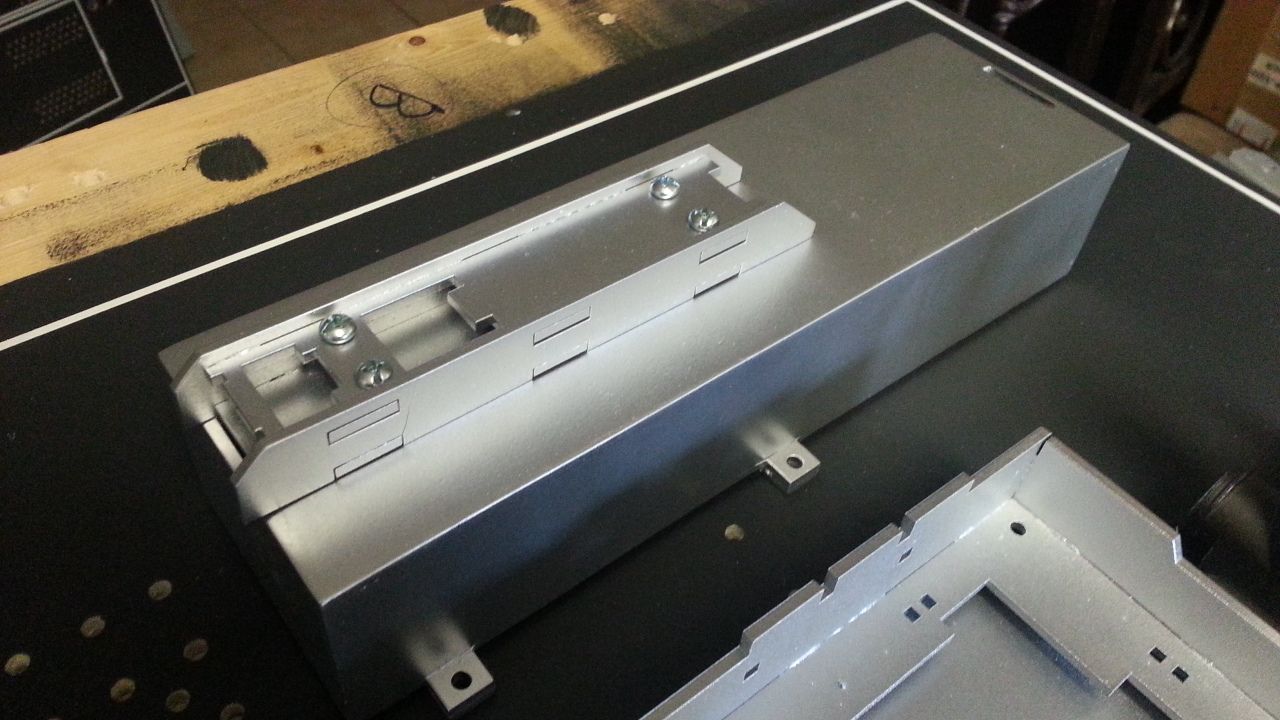
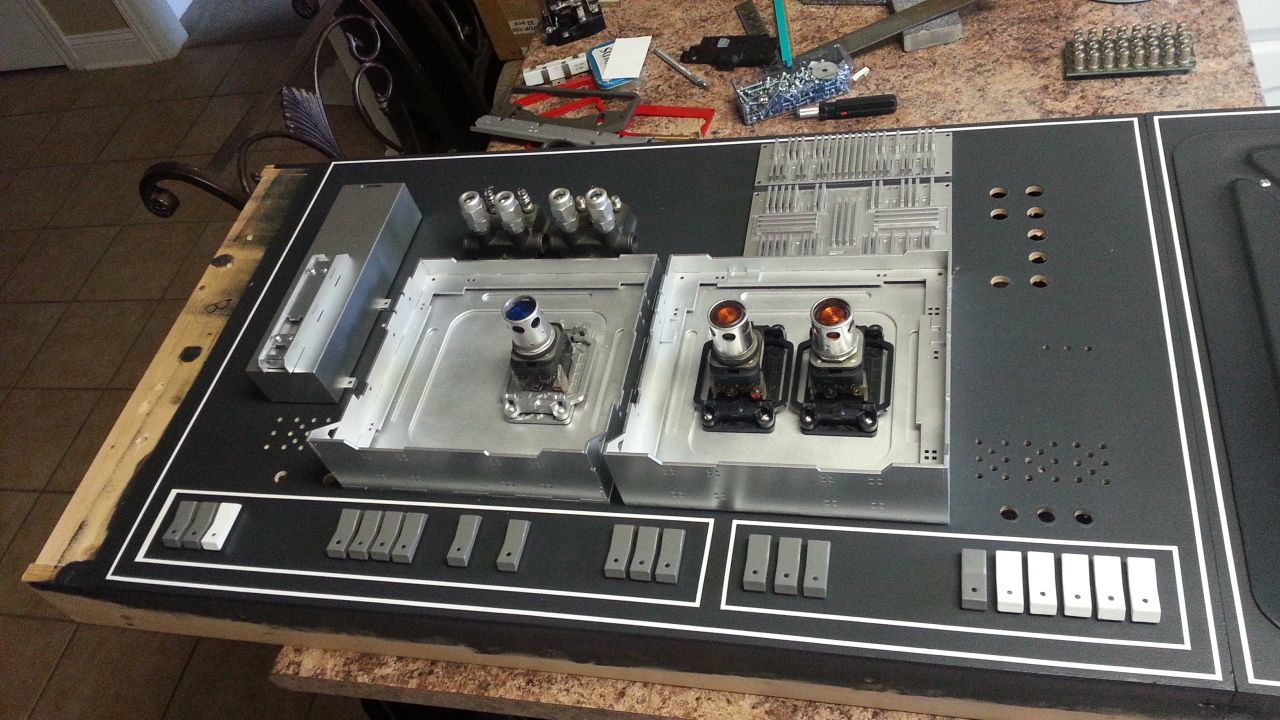
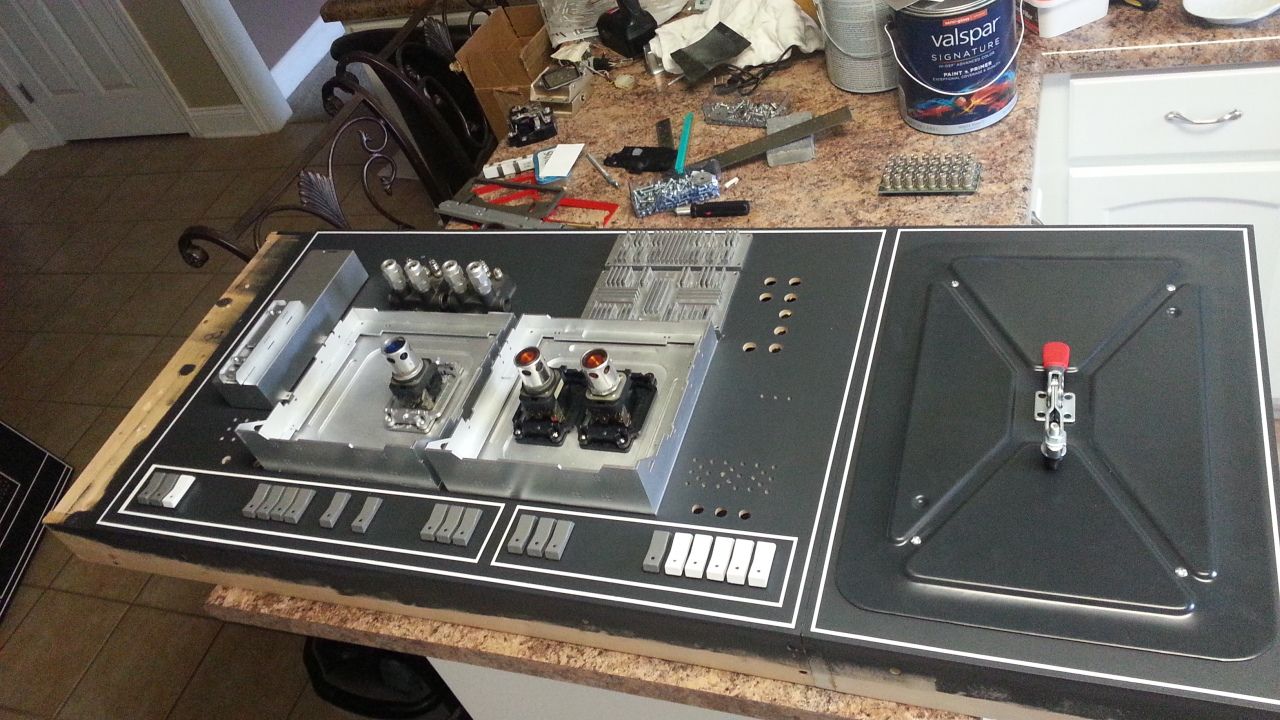
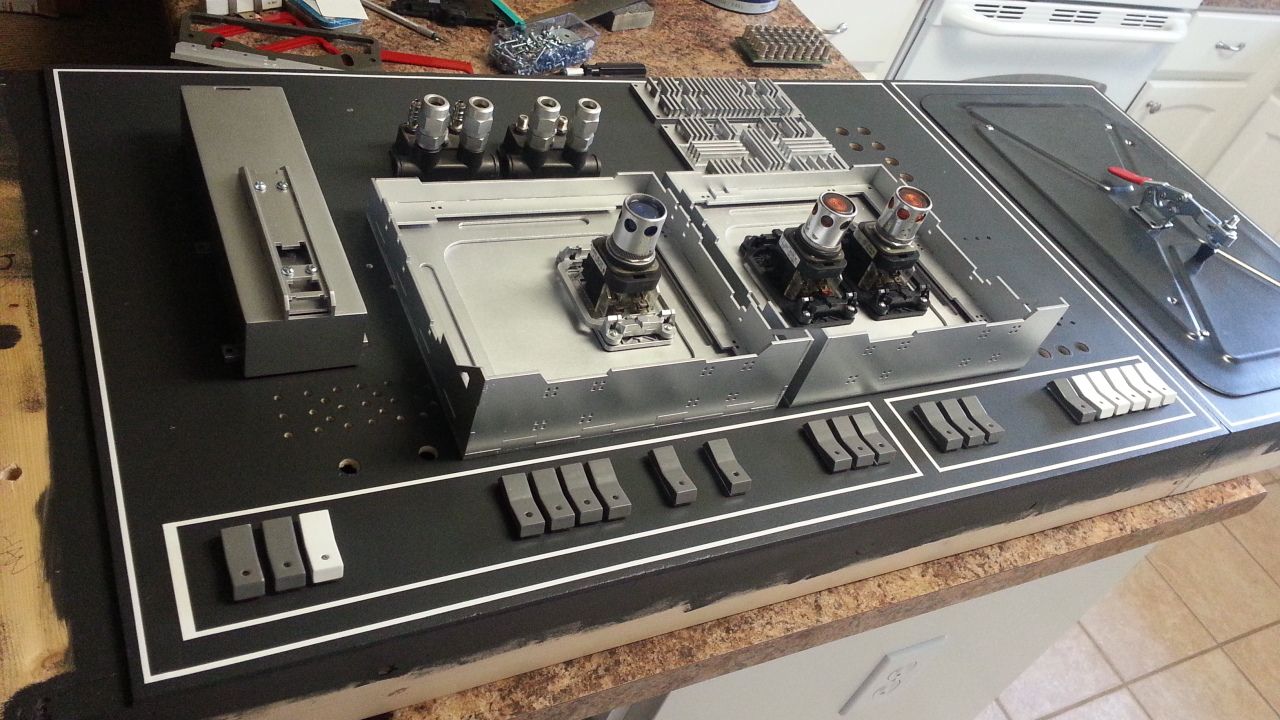
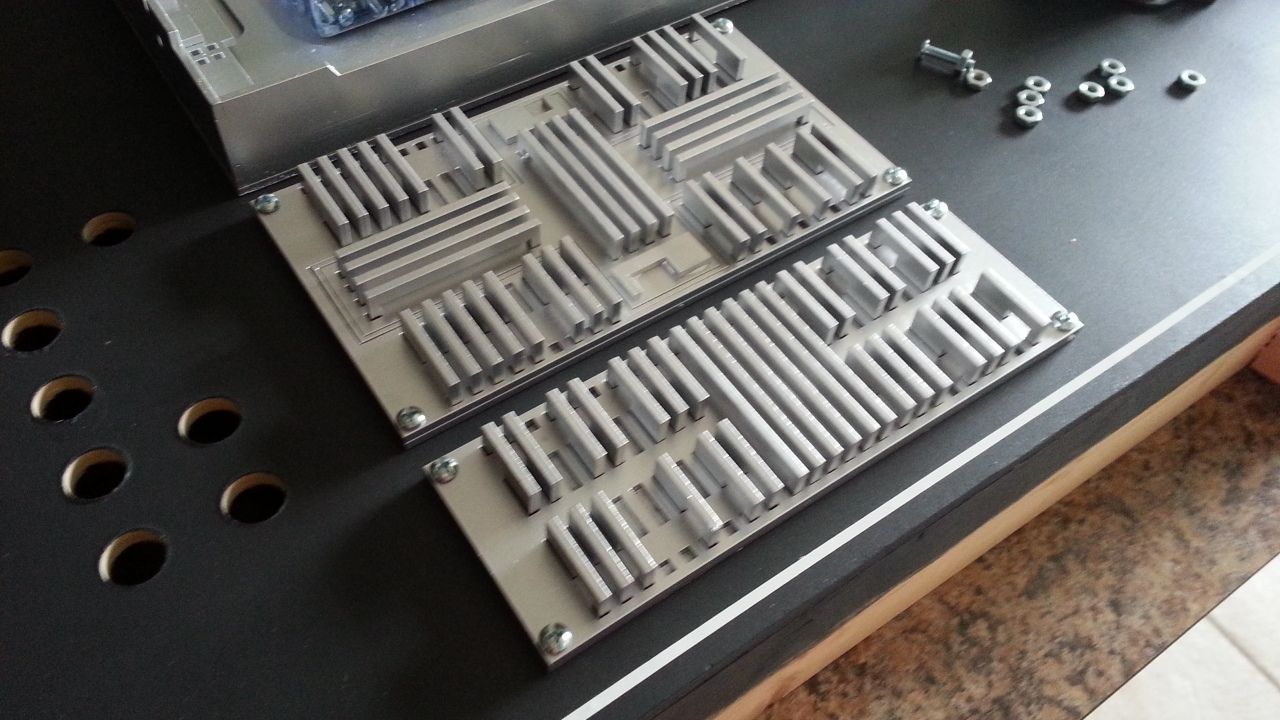
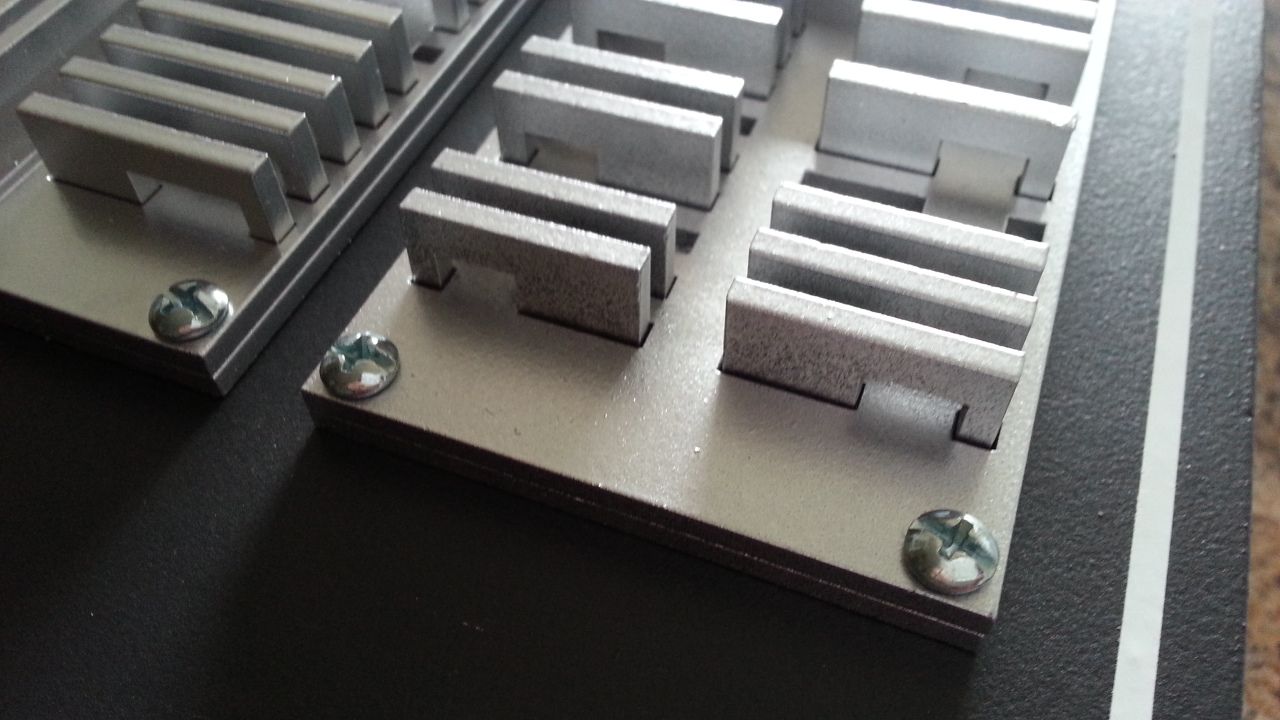
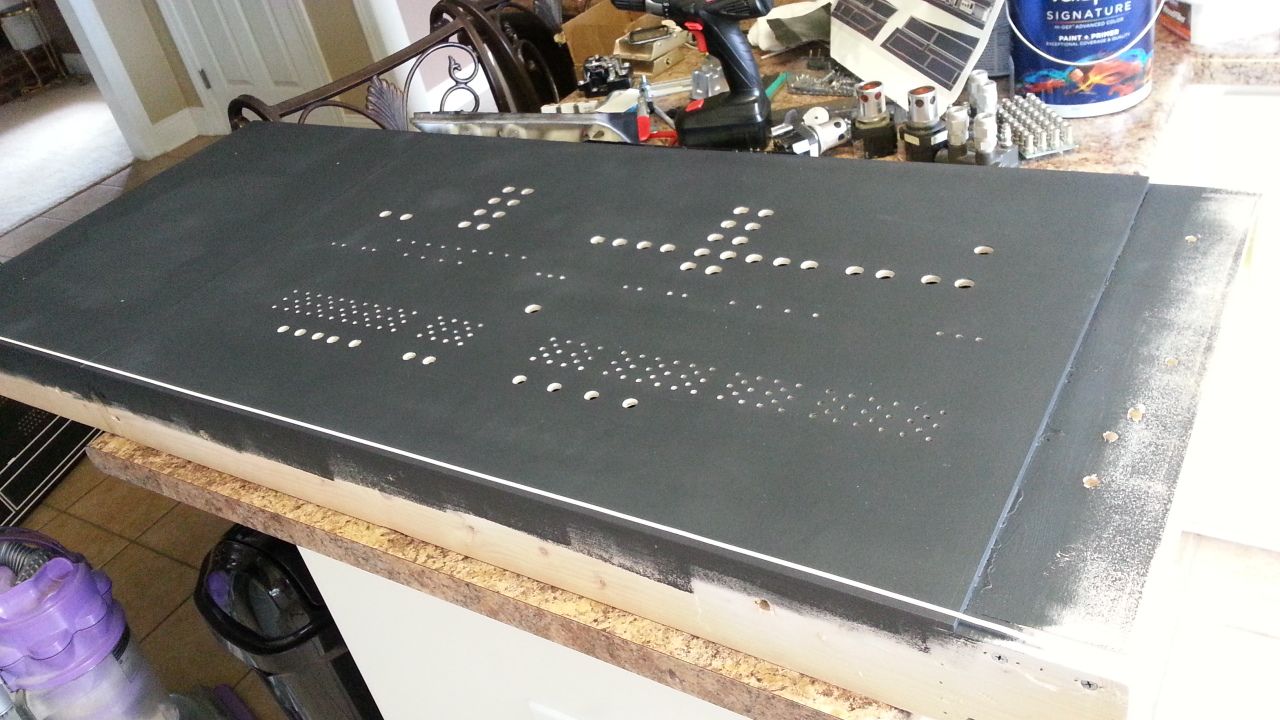
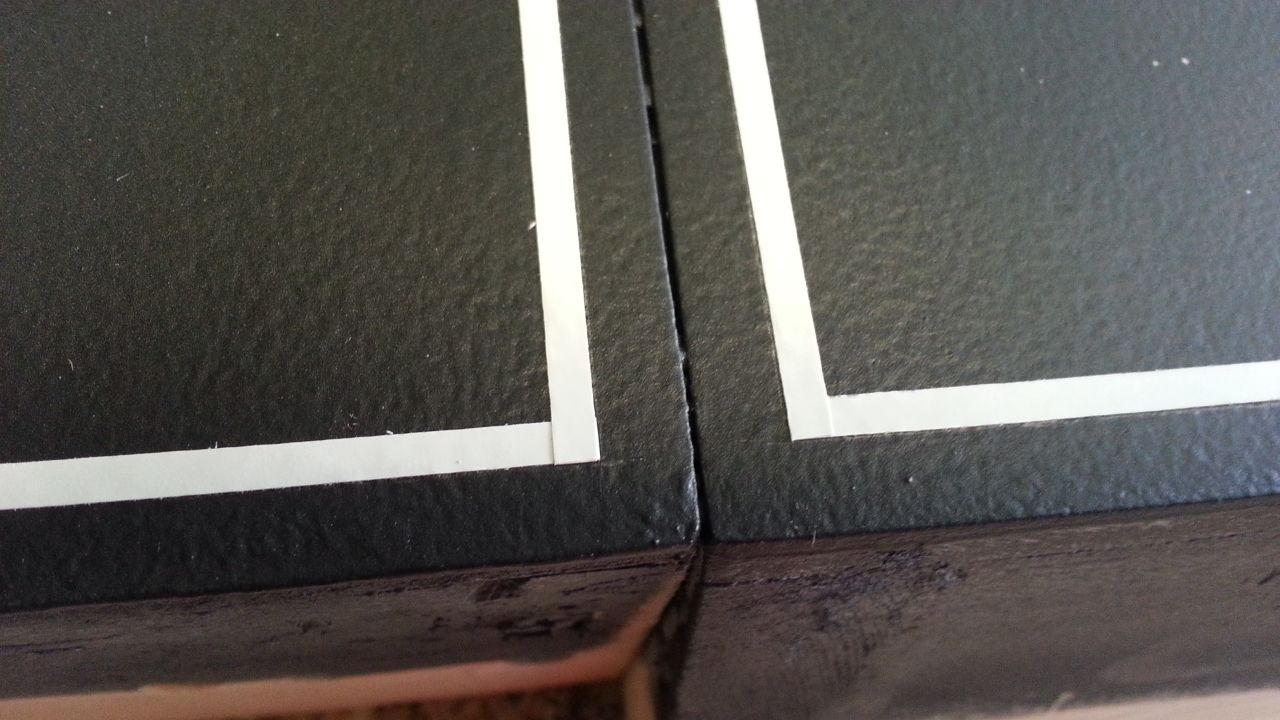
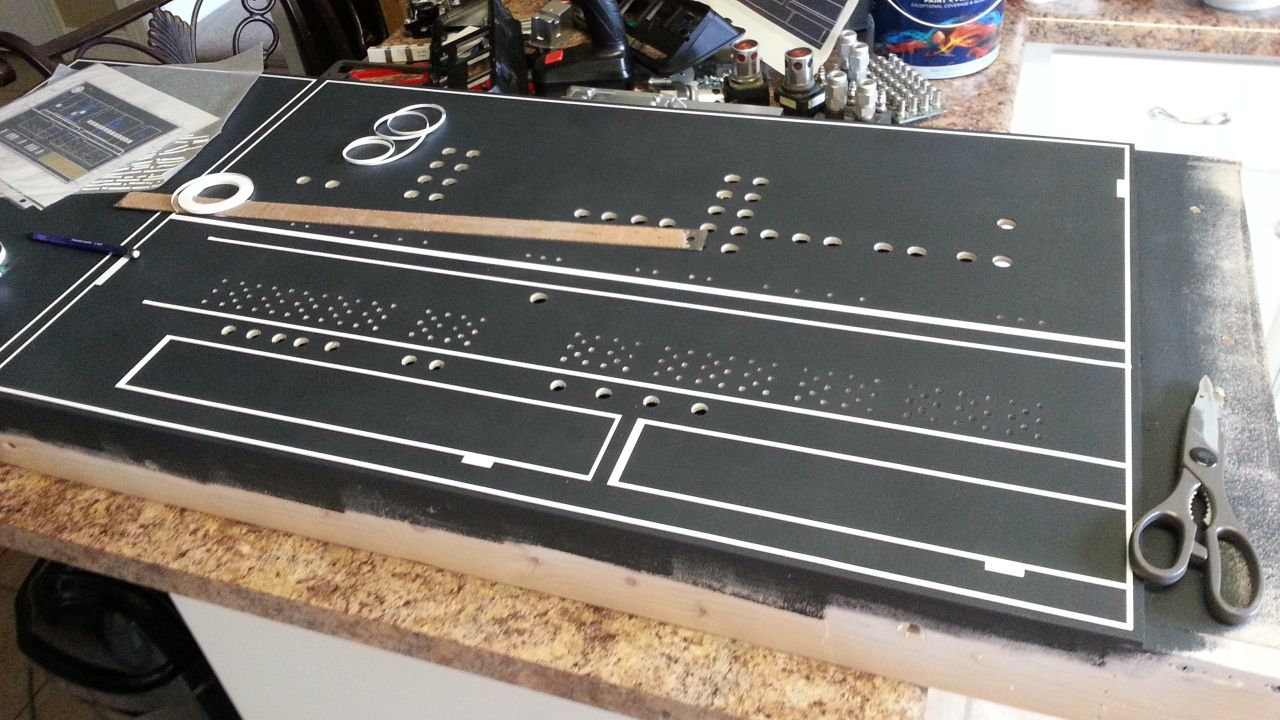
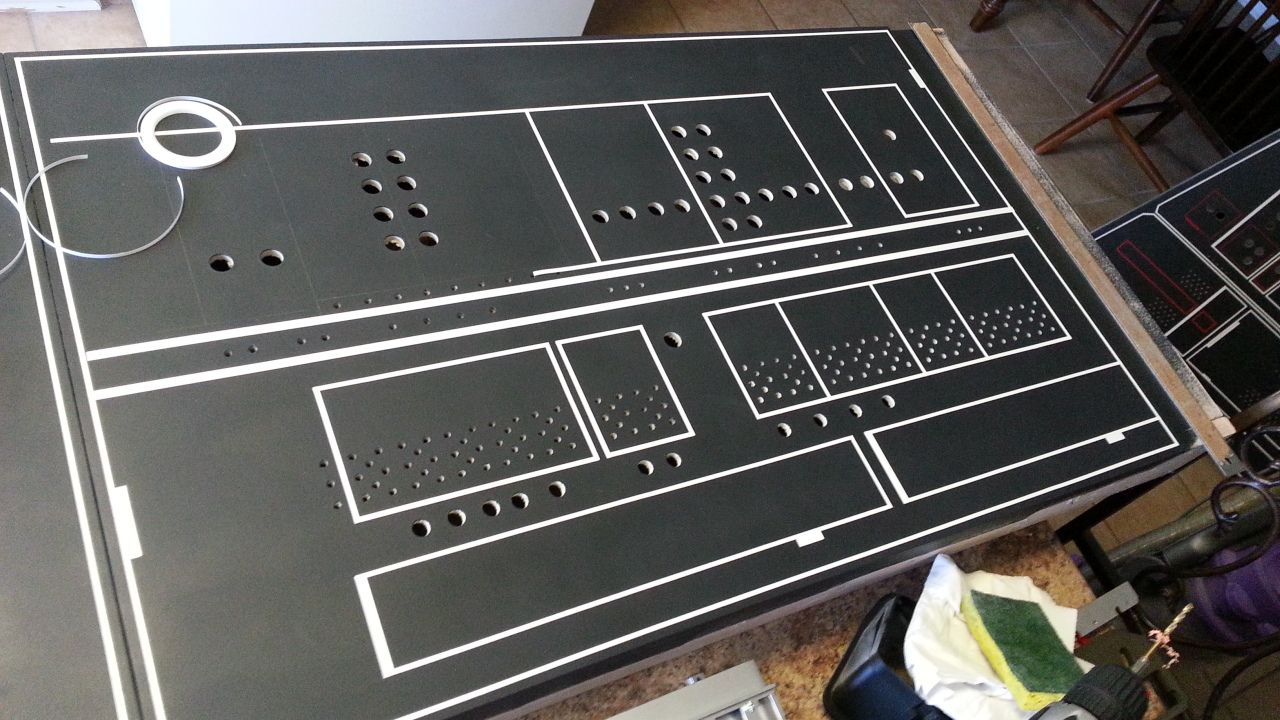
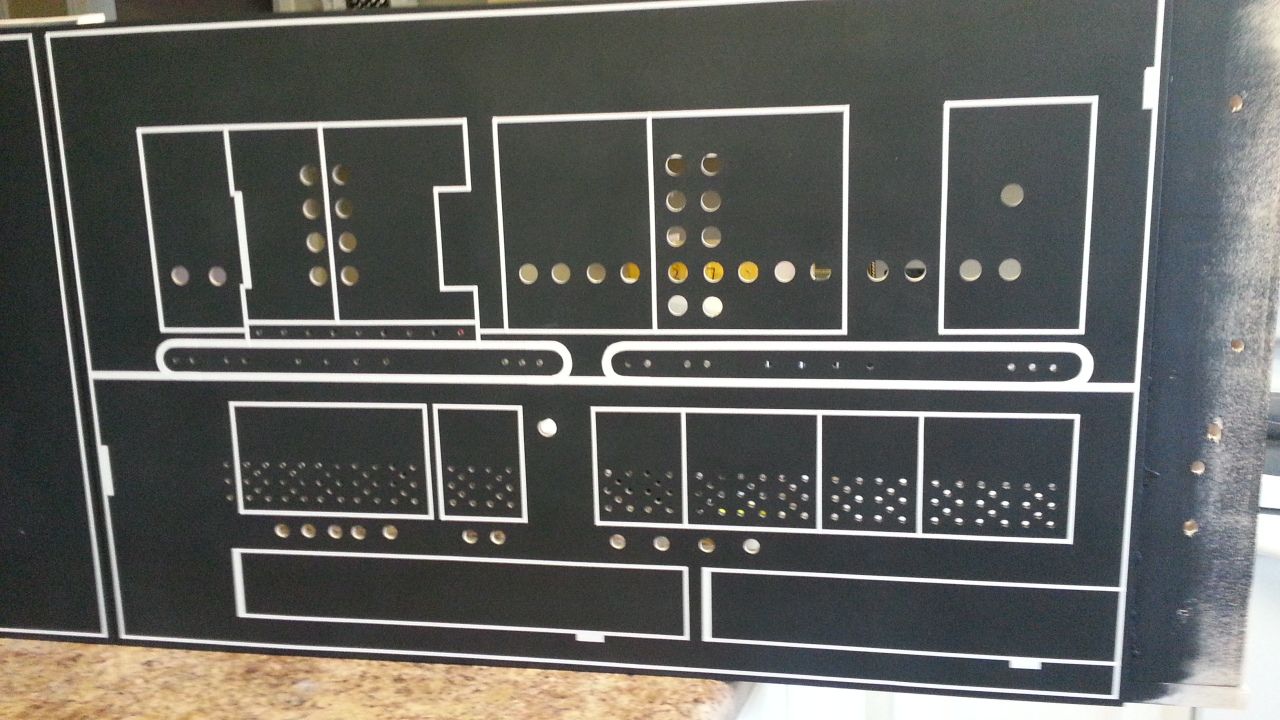
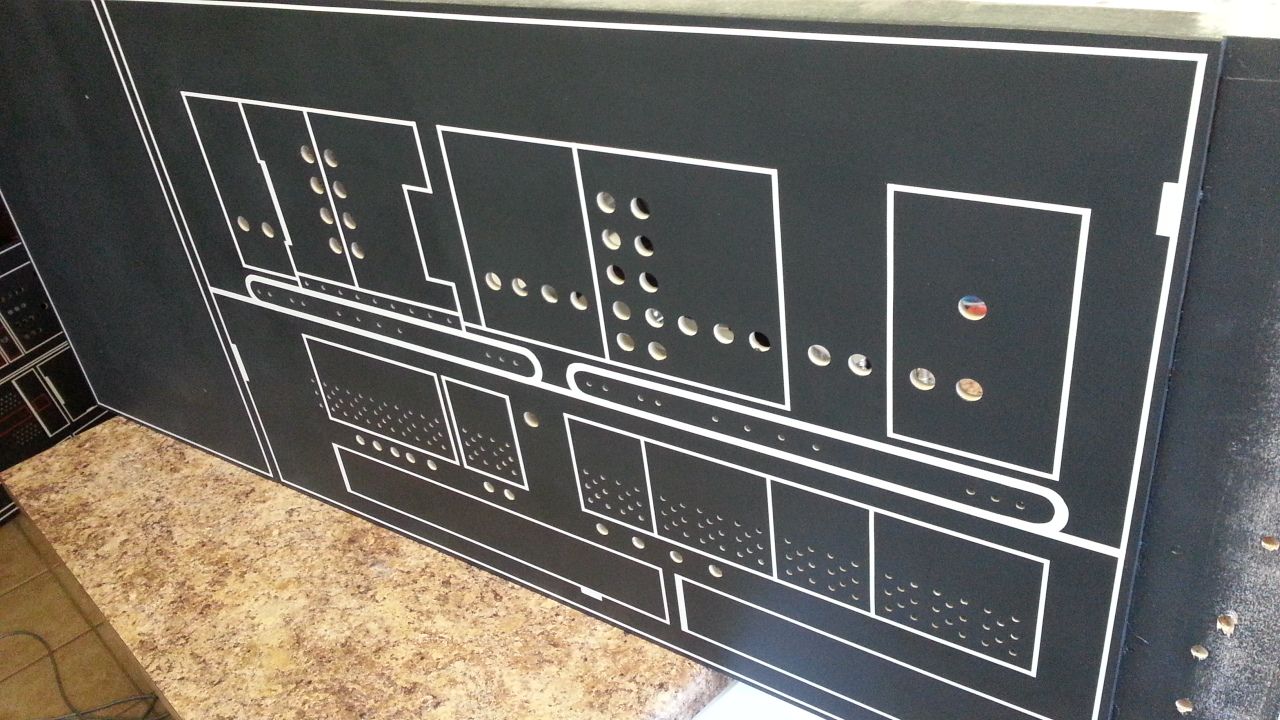
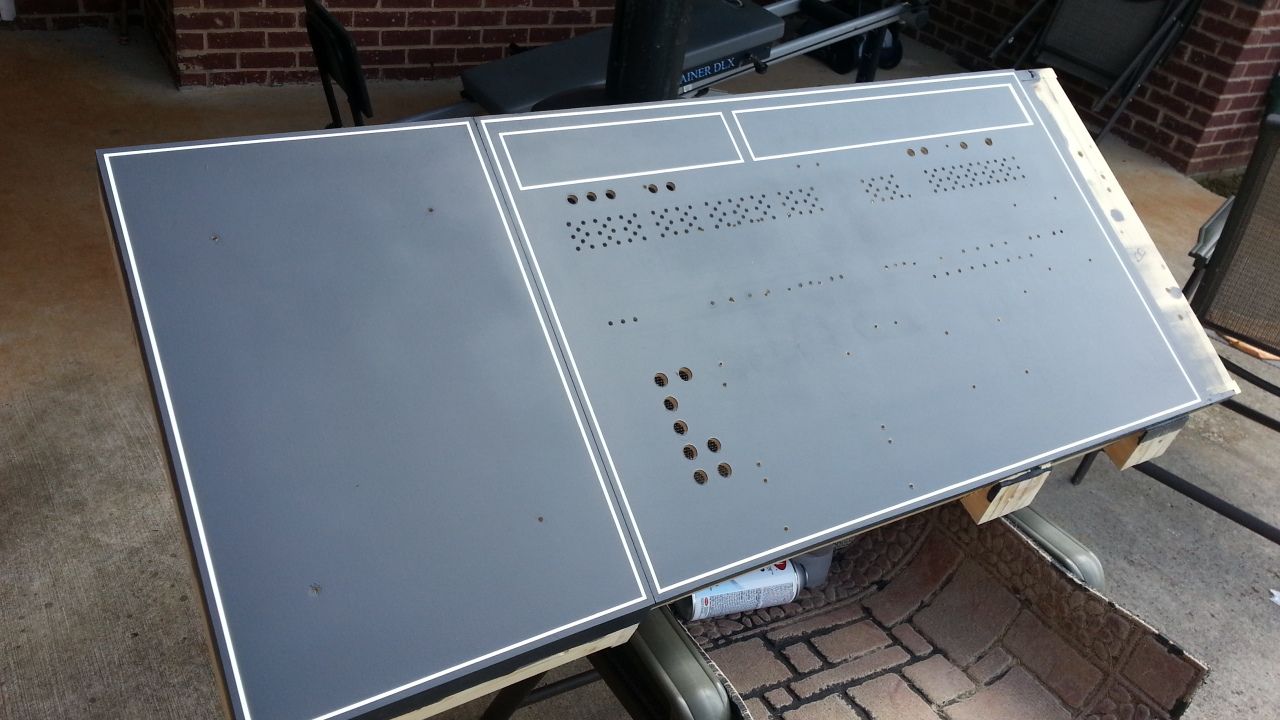
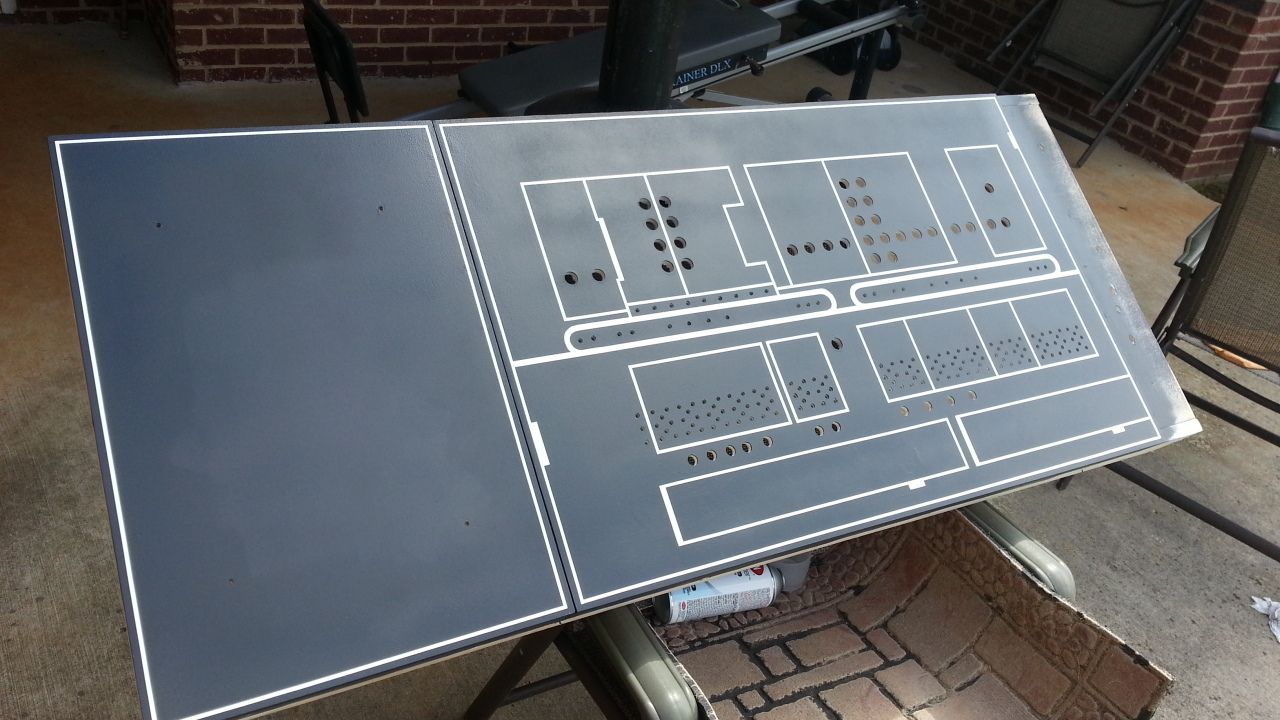
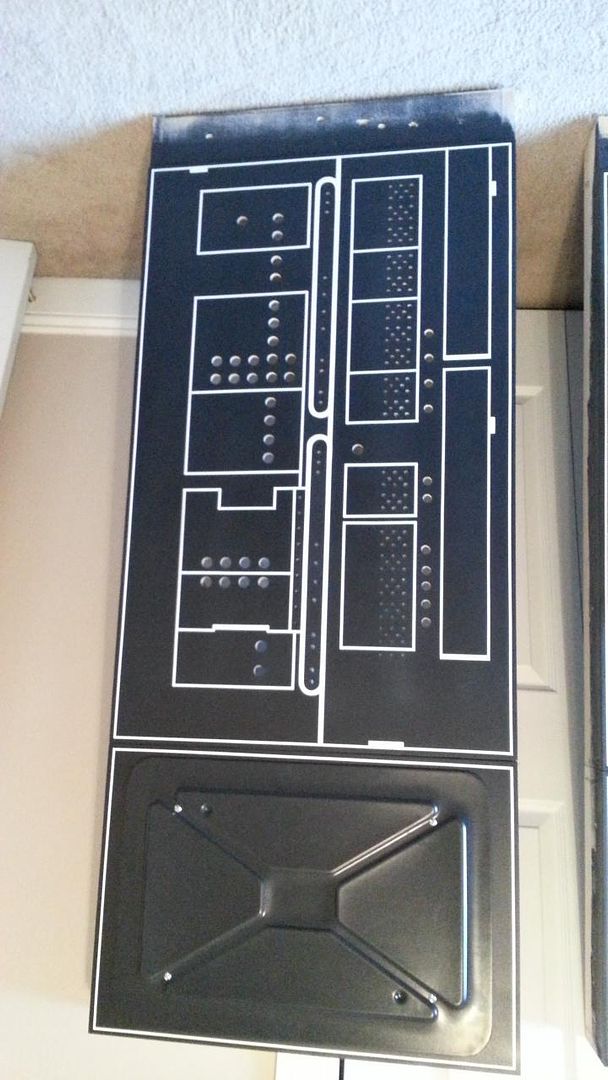
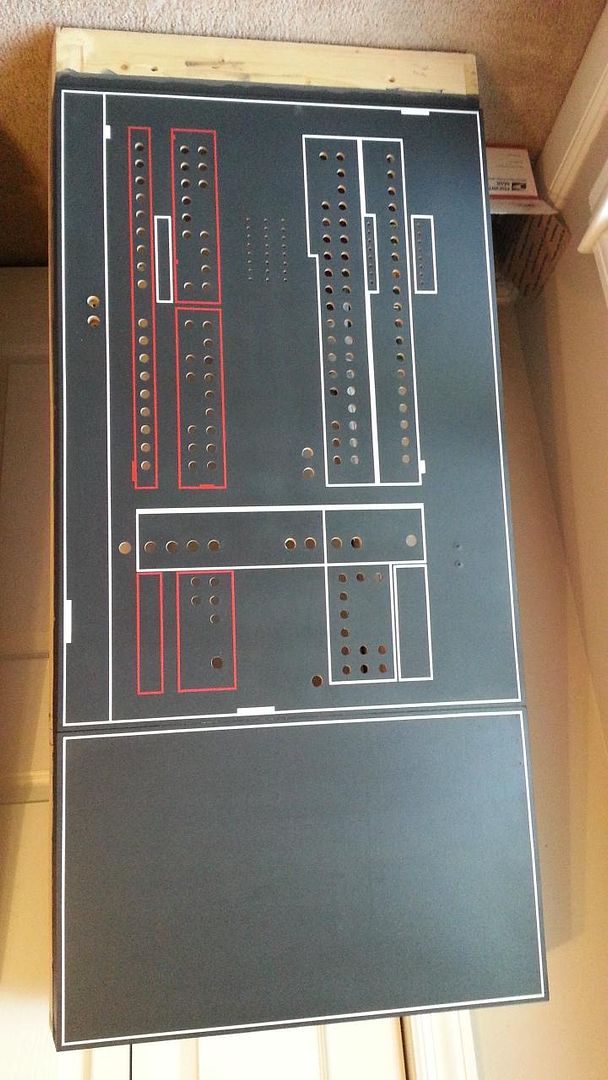
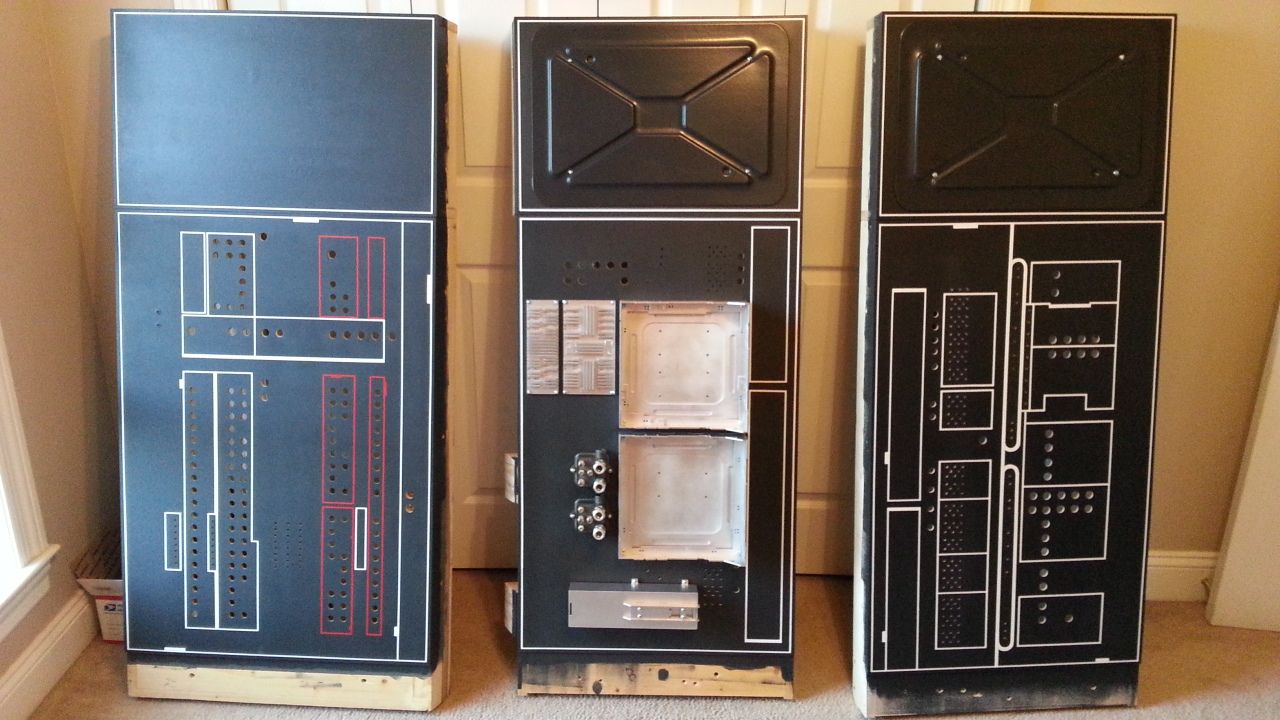
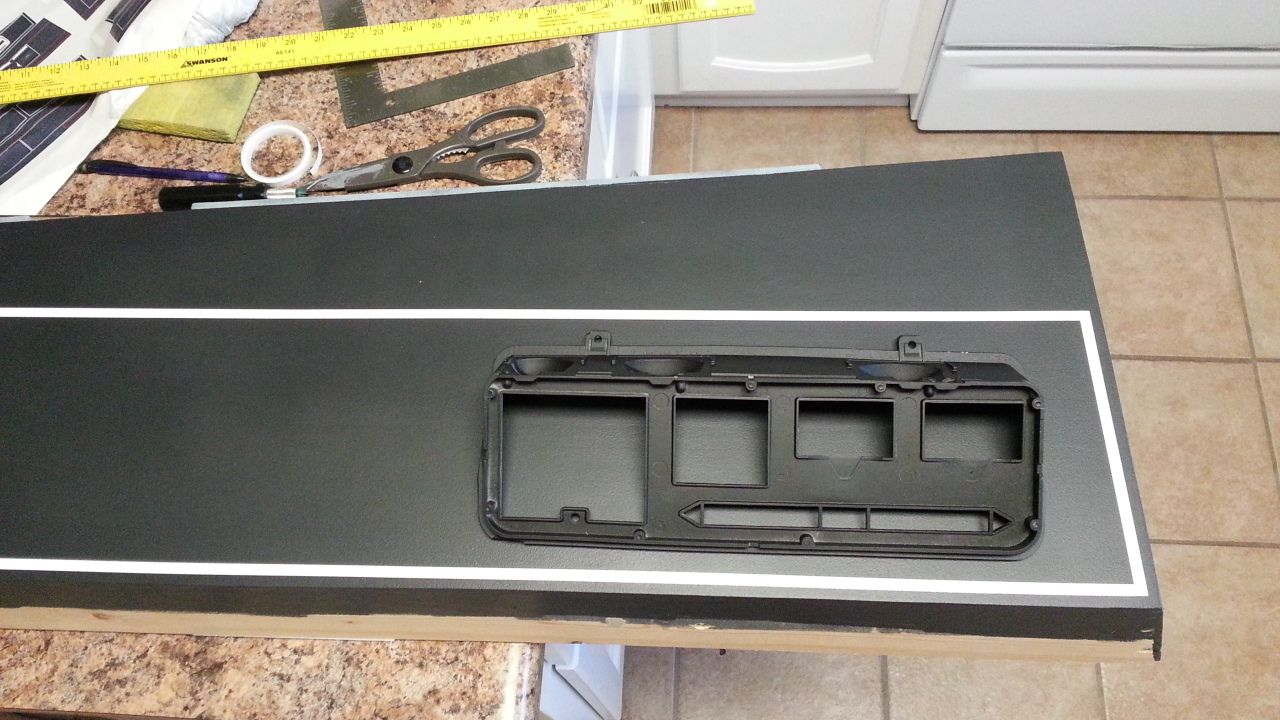
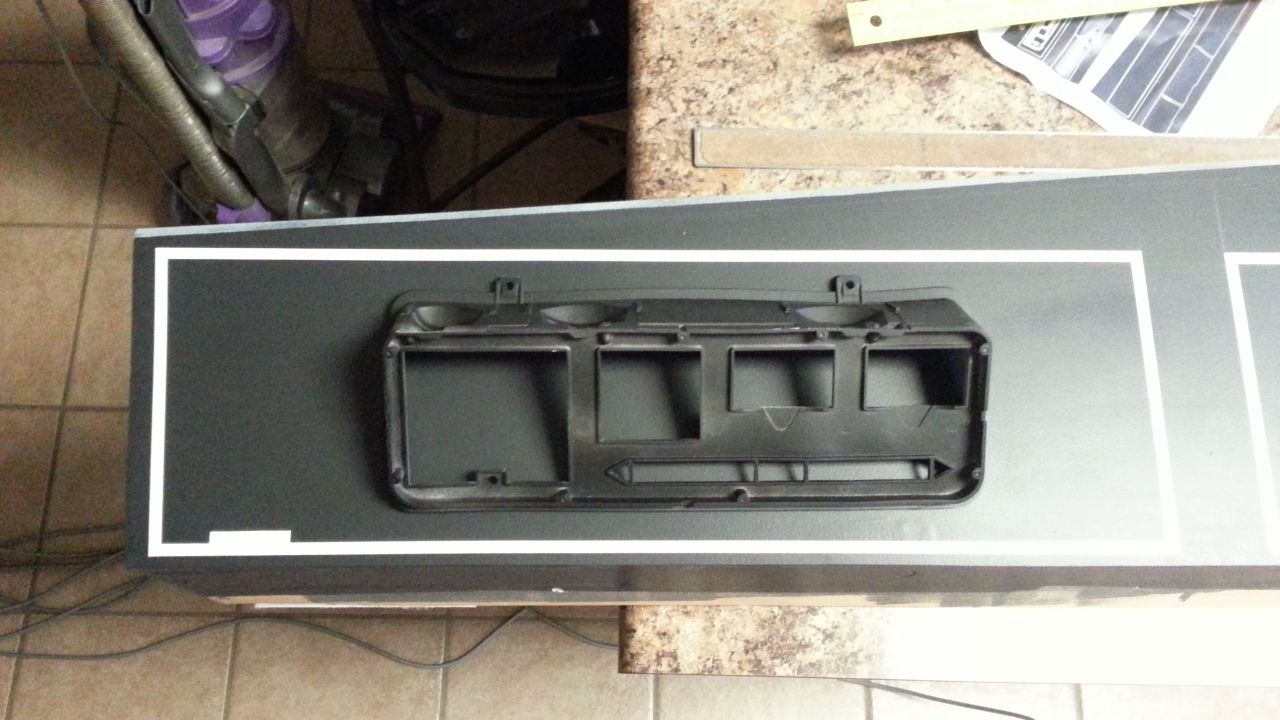
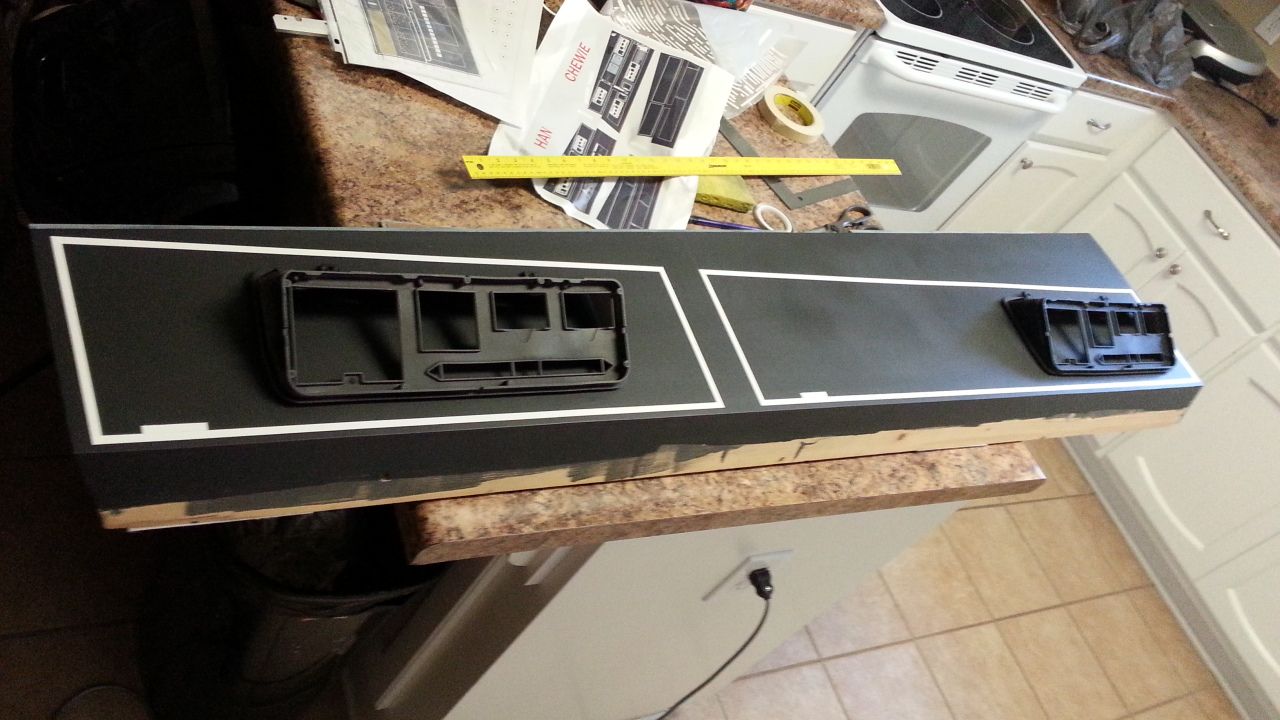
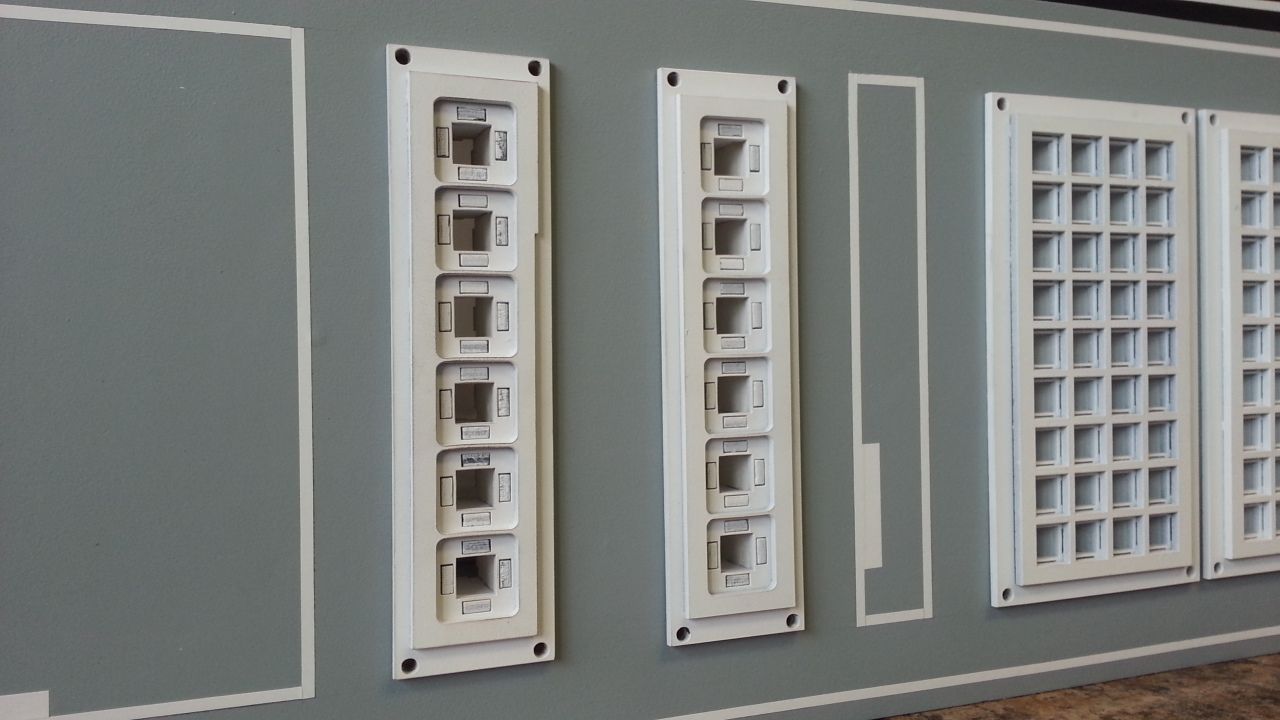
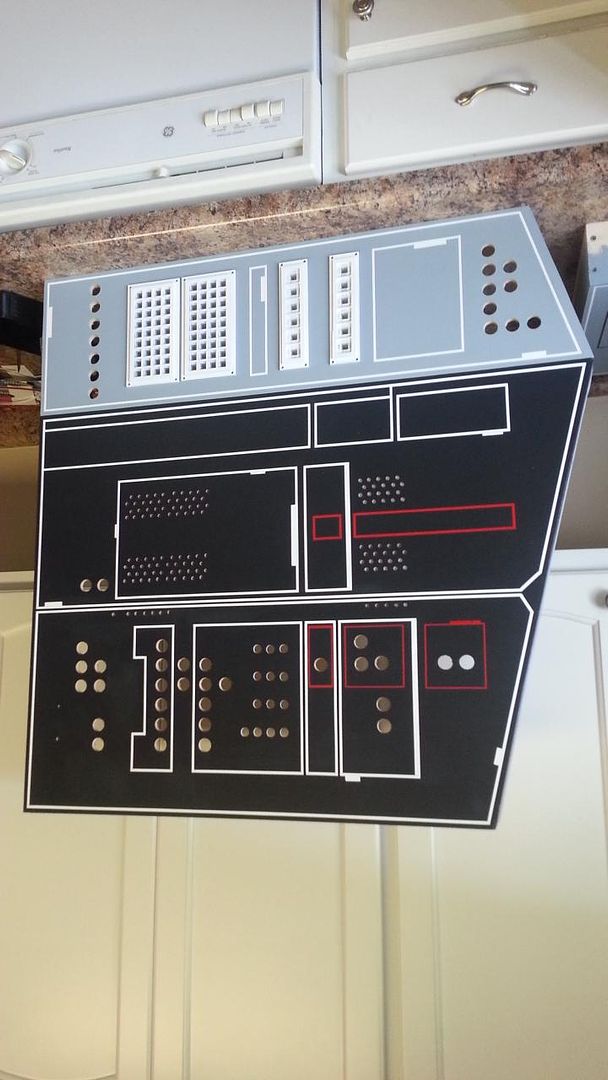
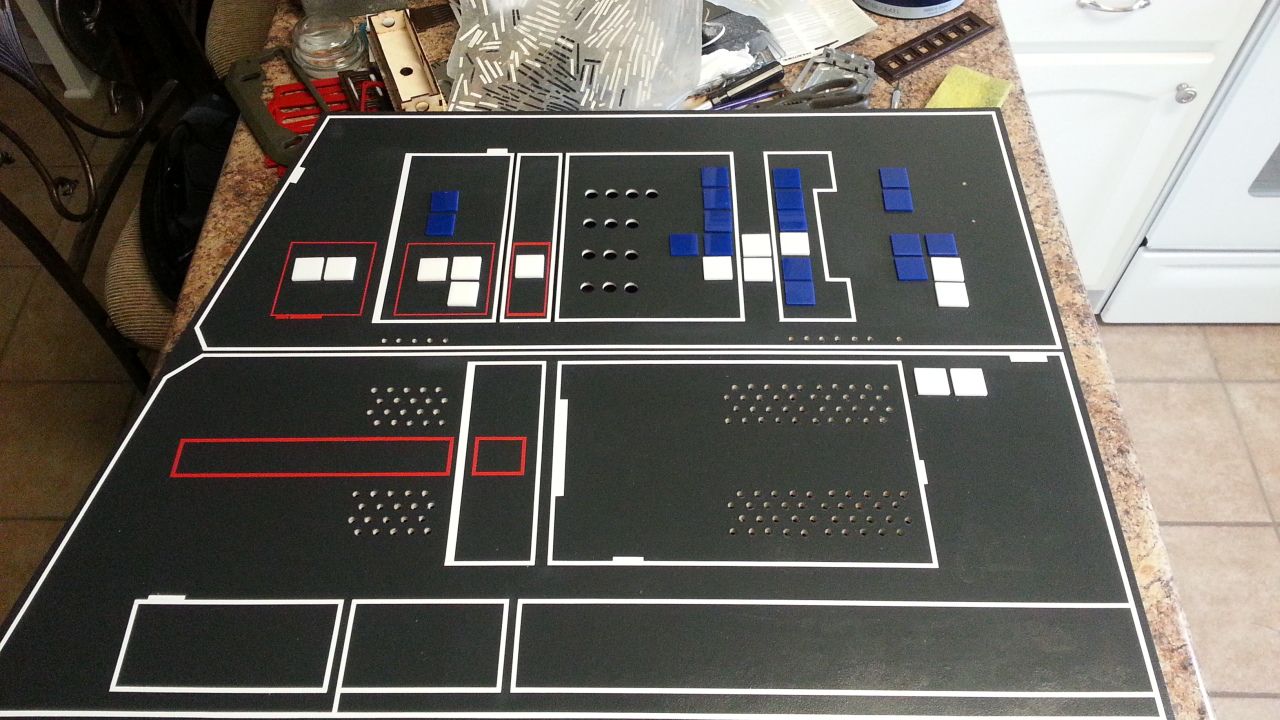
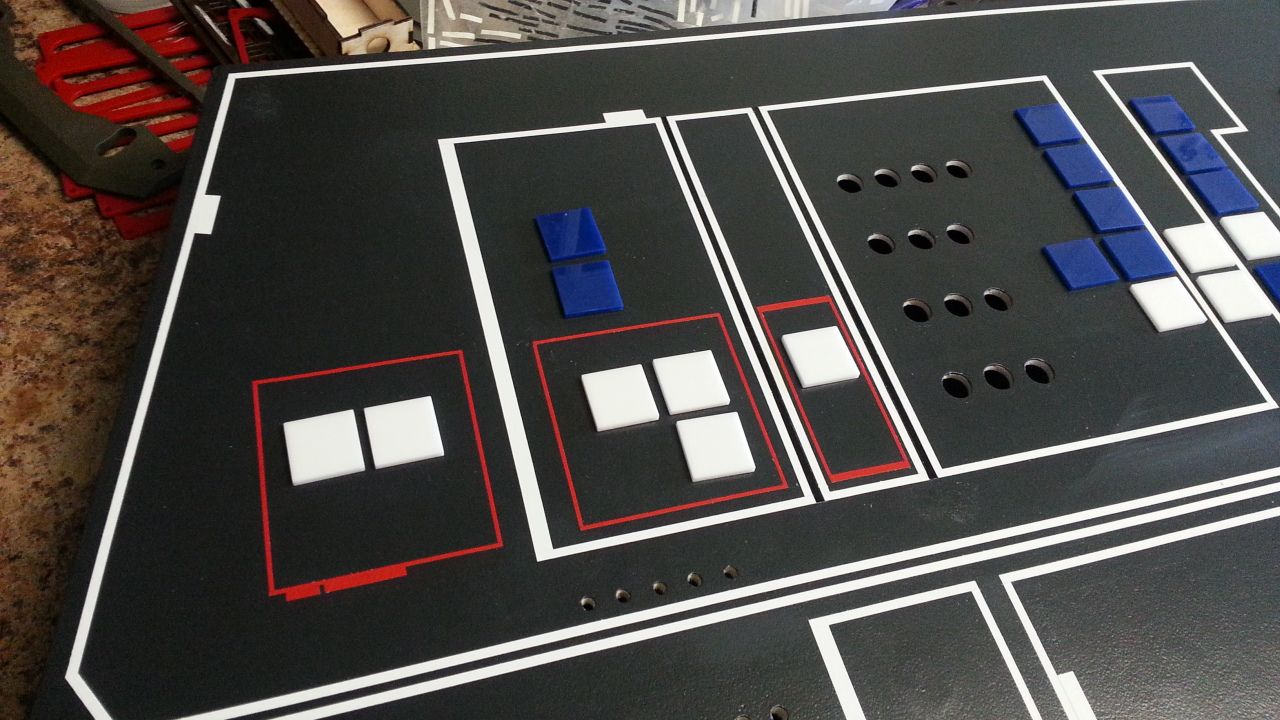
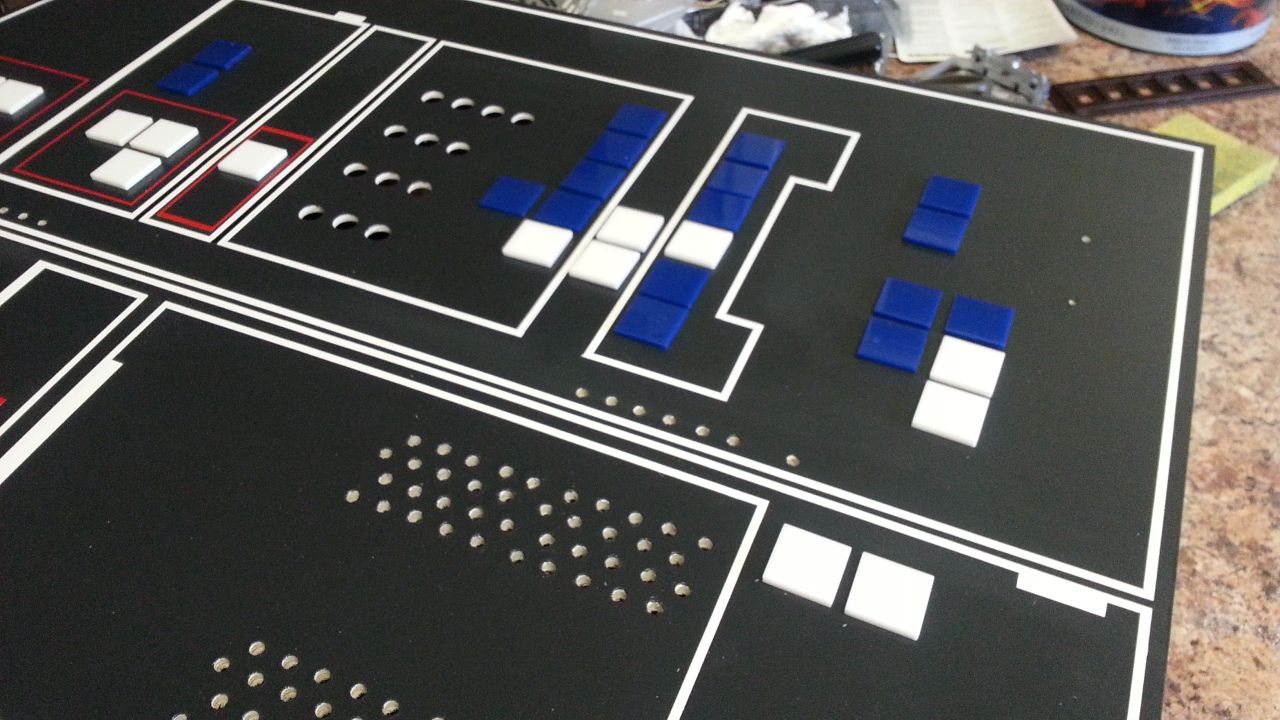
Finally finished this panel
20140818_163448_zps838247af.jpg


20140818_163455_zps5be6b5c1.jpg


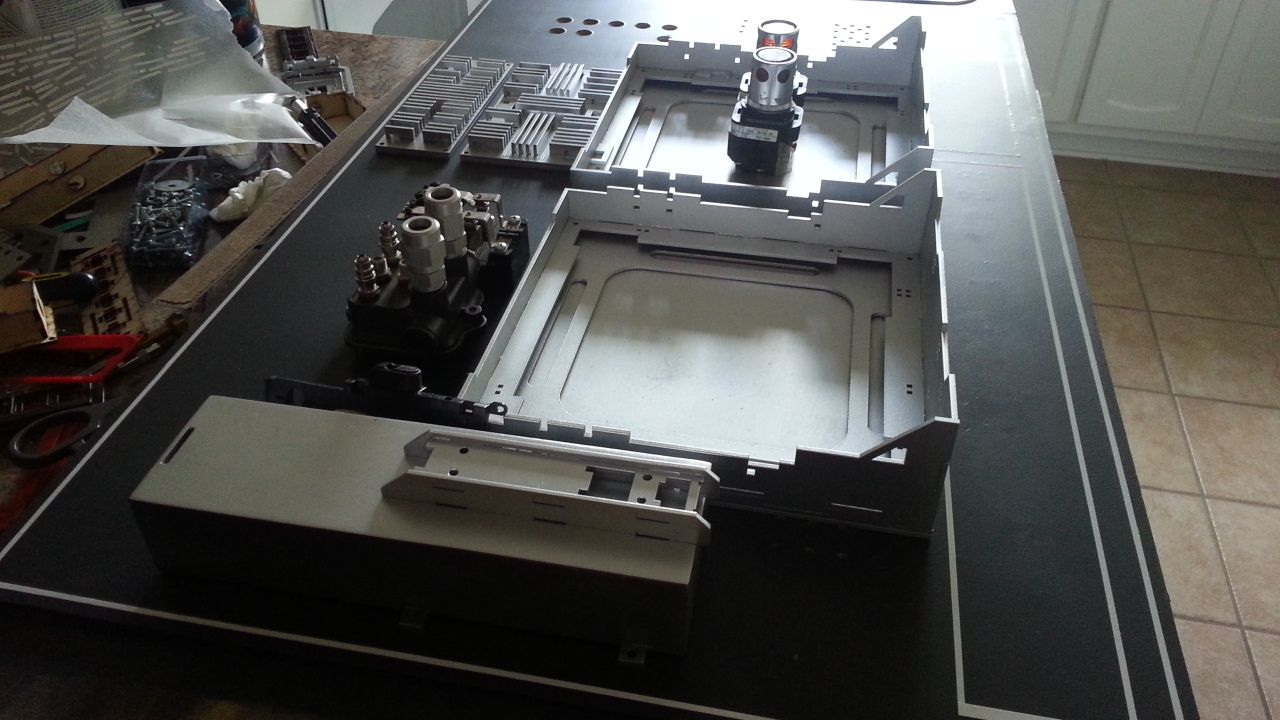
All that left is a layer of clear satin before the greeblies and LEDs
20140818_175956_zps57df0262.jpg


20140818_180002_zps782c02f5.jpg


20140818_180005_zps7cb489b6.jpg


20140818_180013_zpse115b88f.jpg


20140818_180035_zps5f57a6b9.jpg


20140818_180047_zpsb6d9a8f8.jpg


20140818_180056_zps17ca342c.jpg


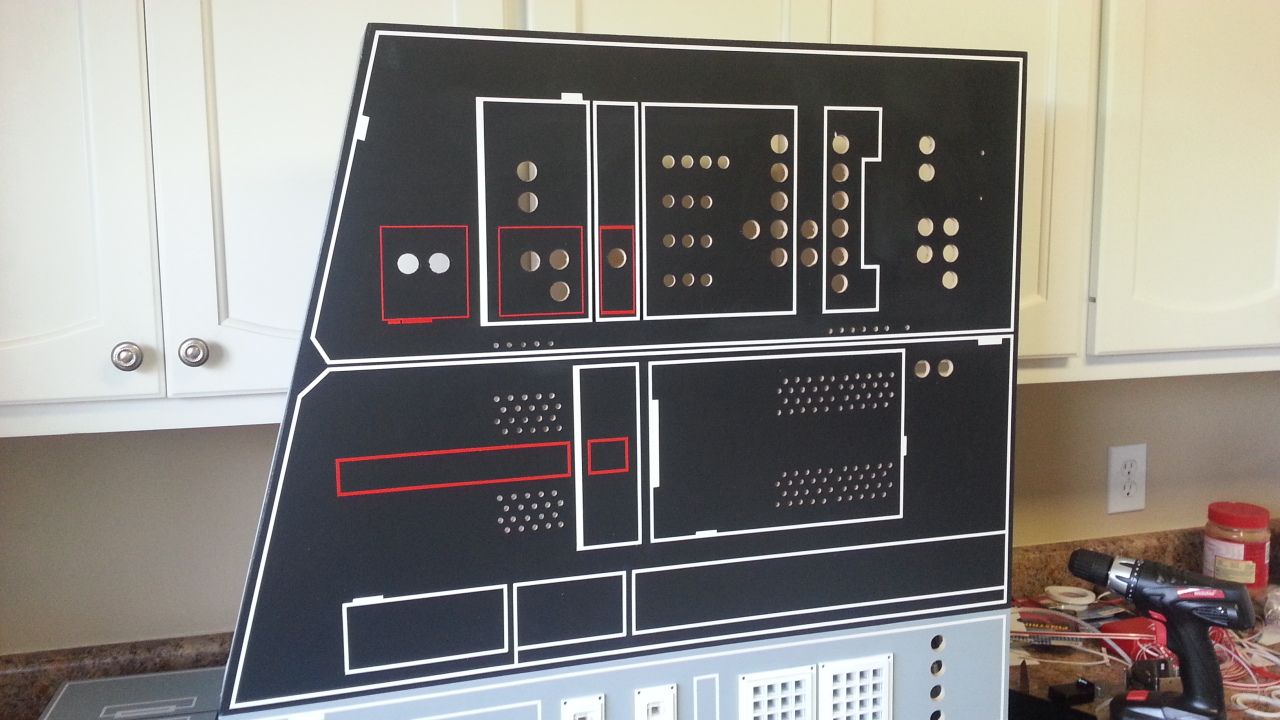
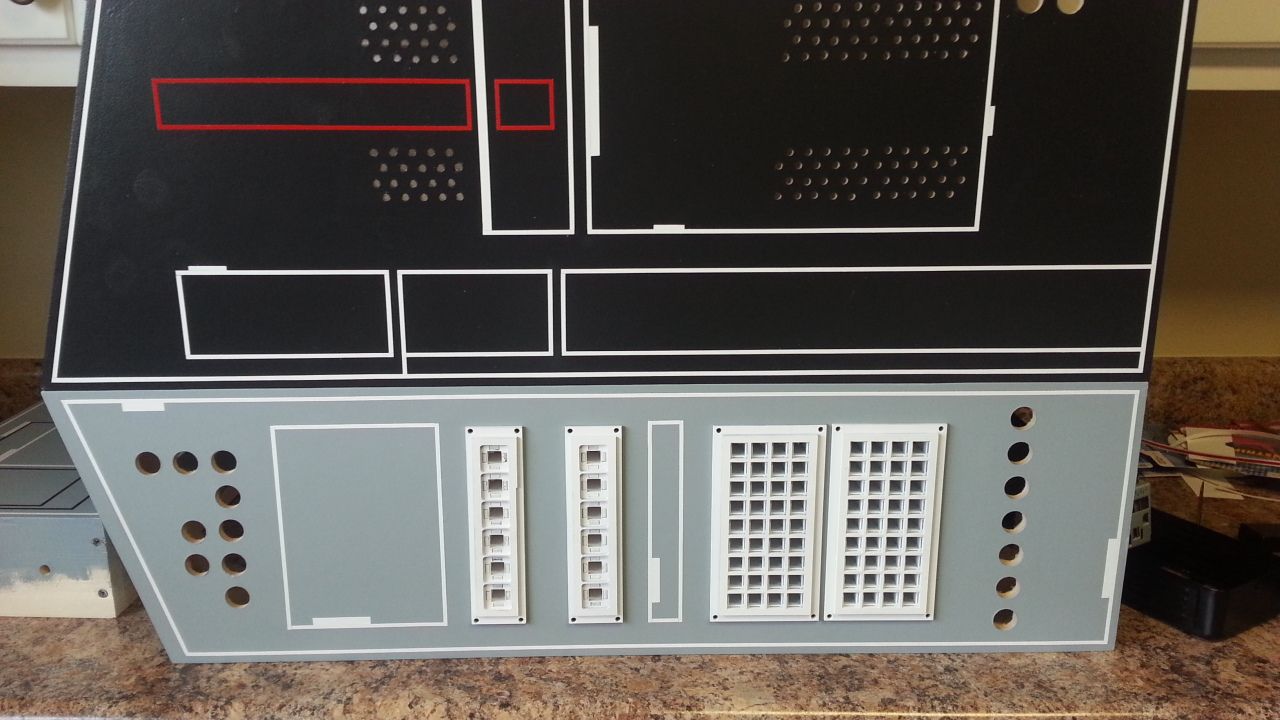
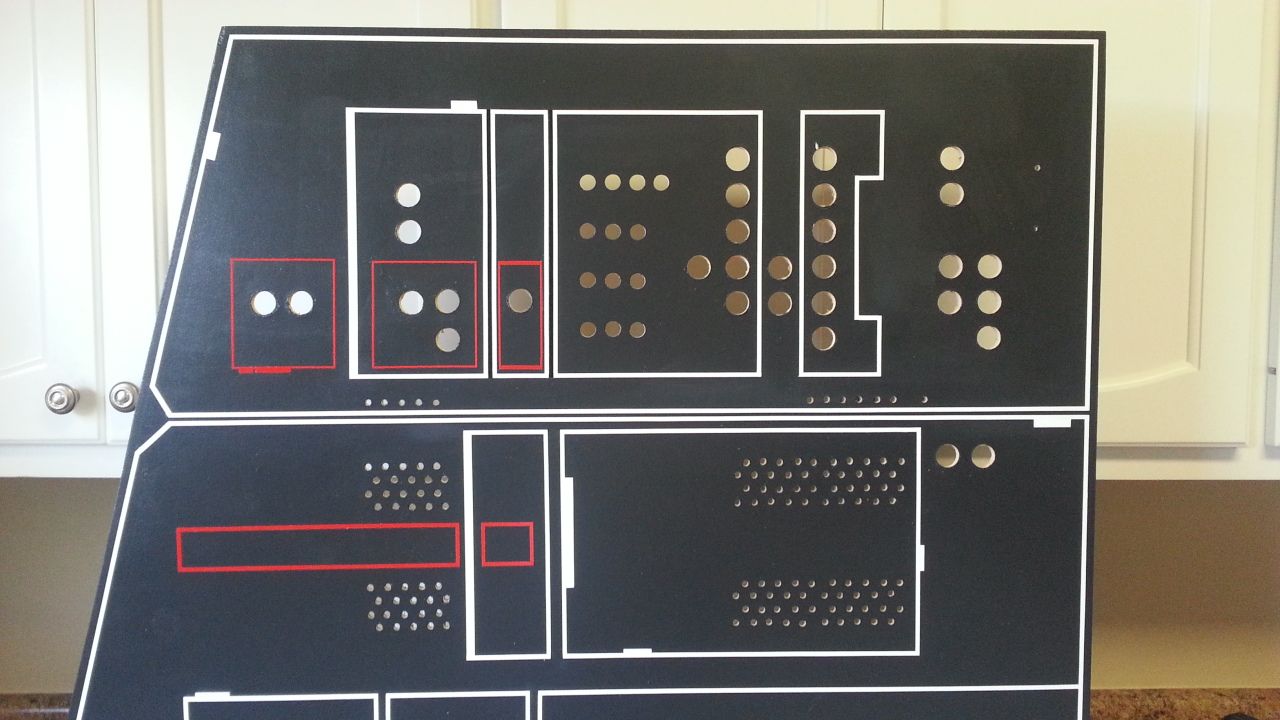
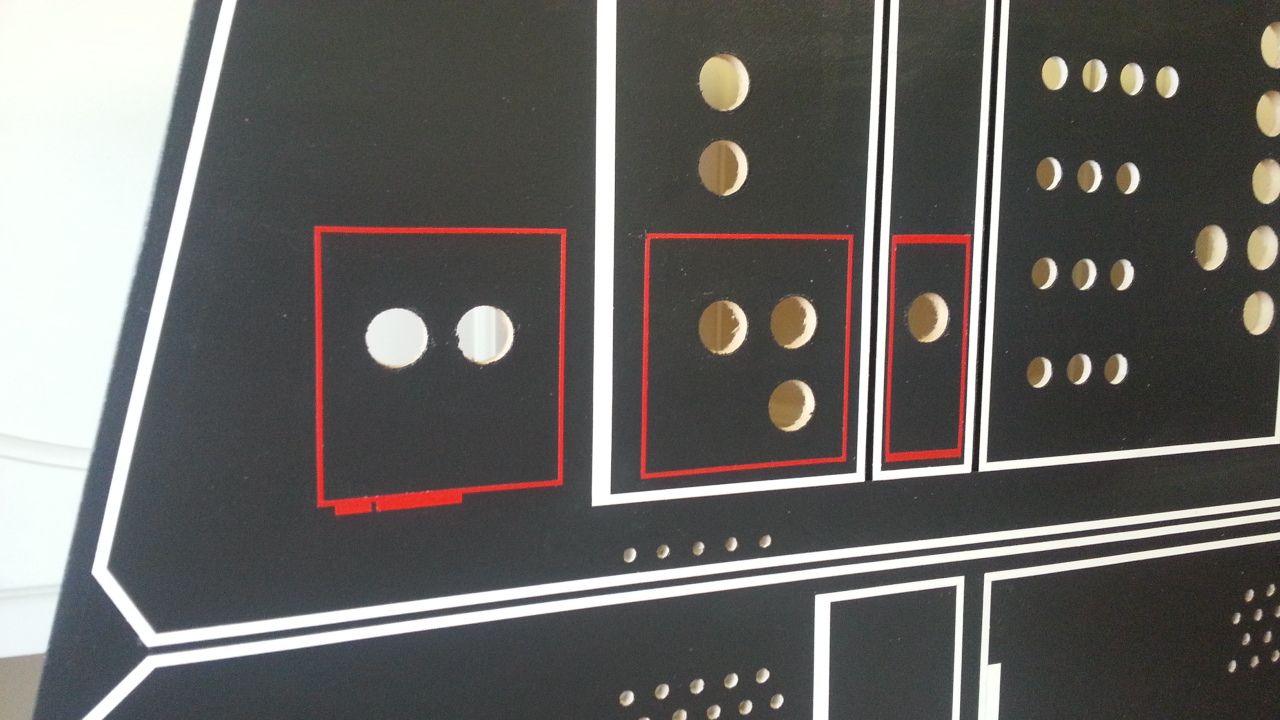
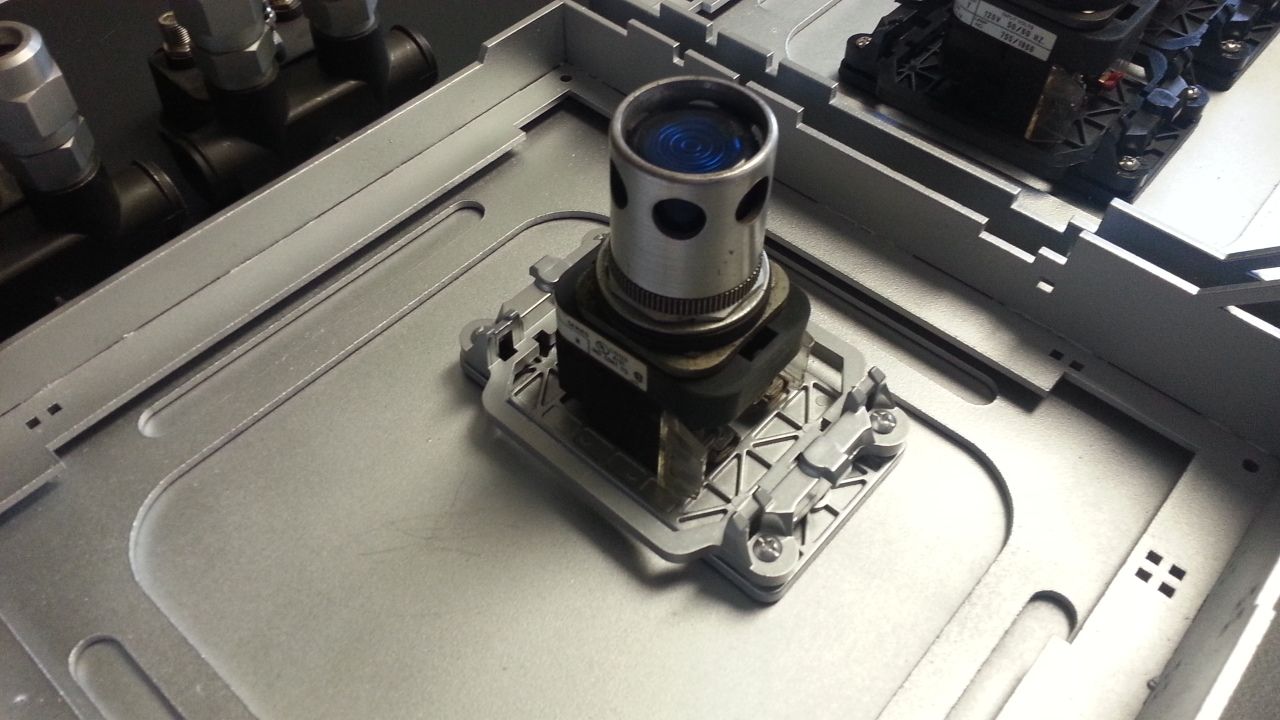
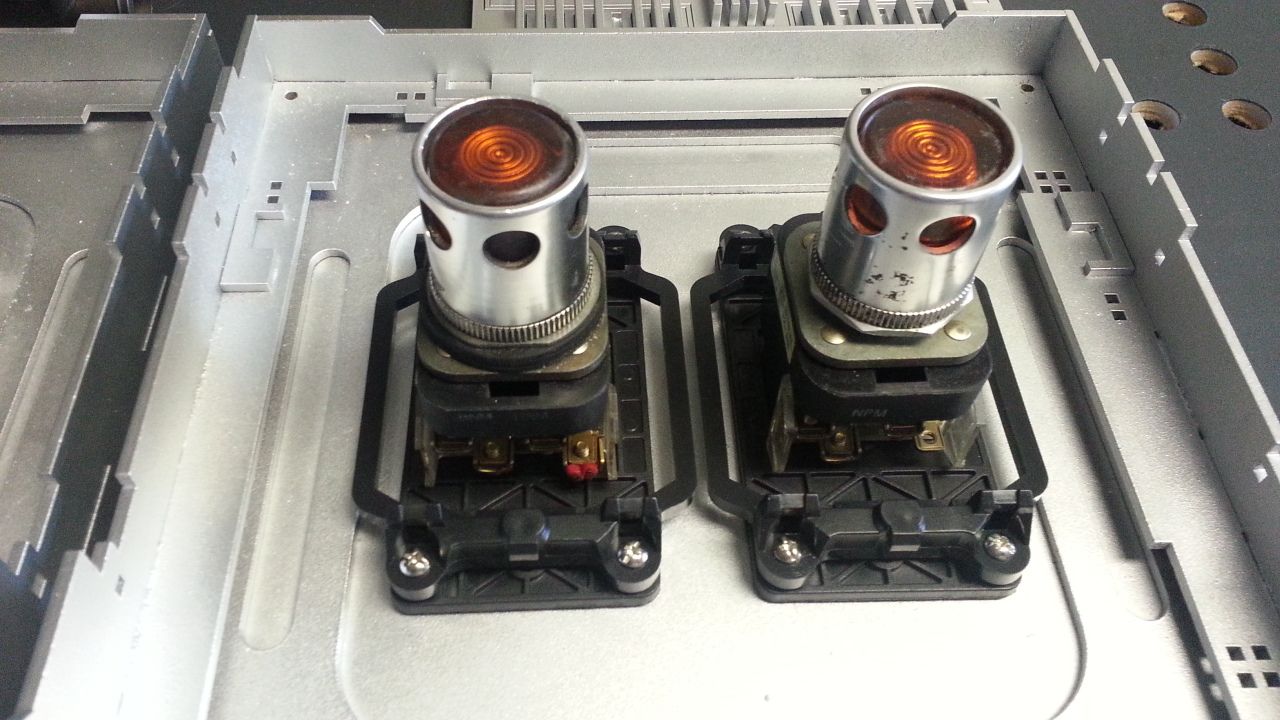
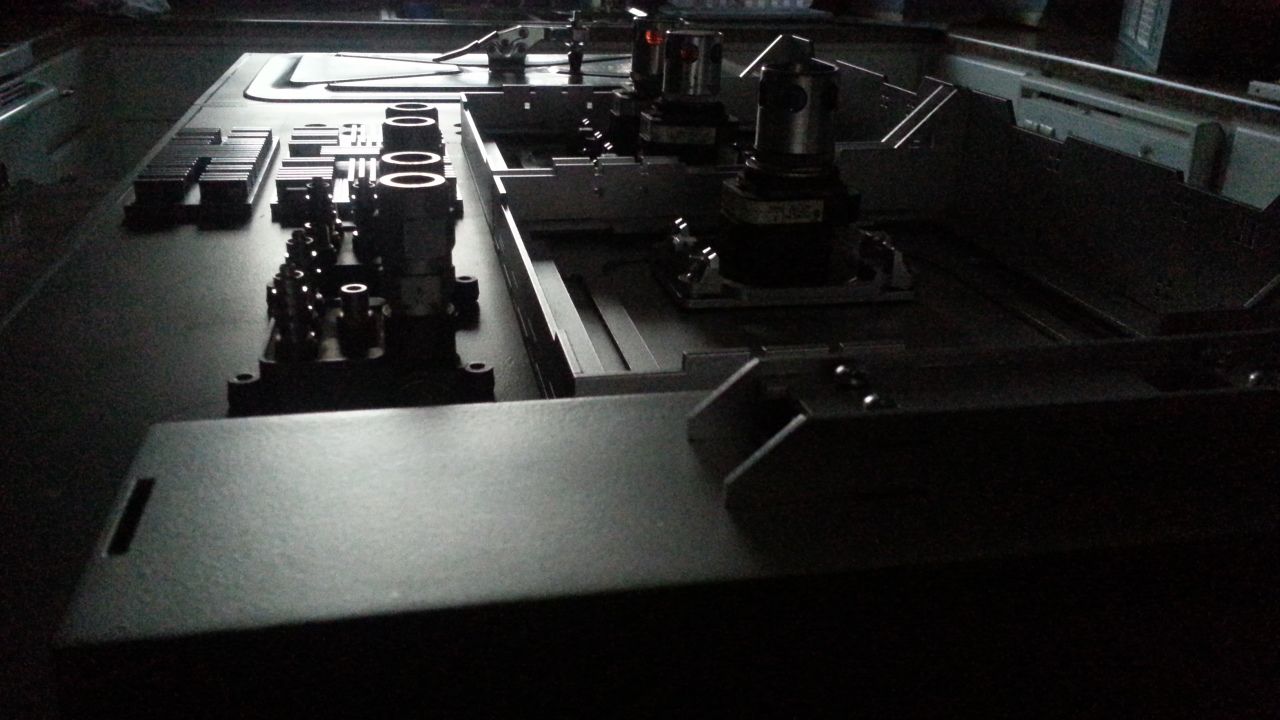
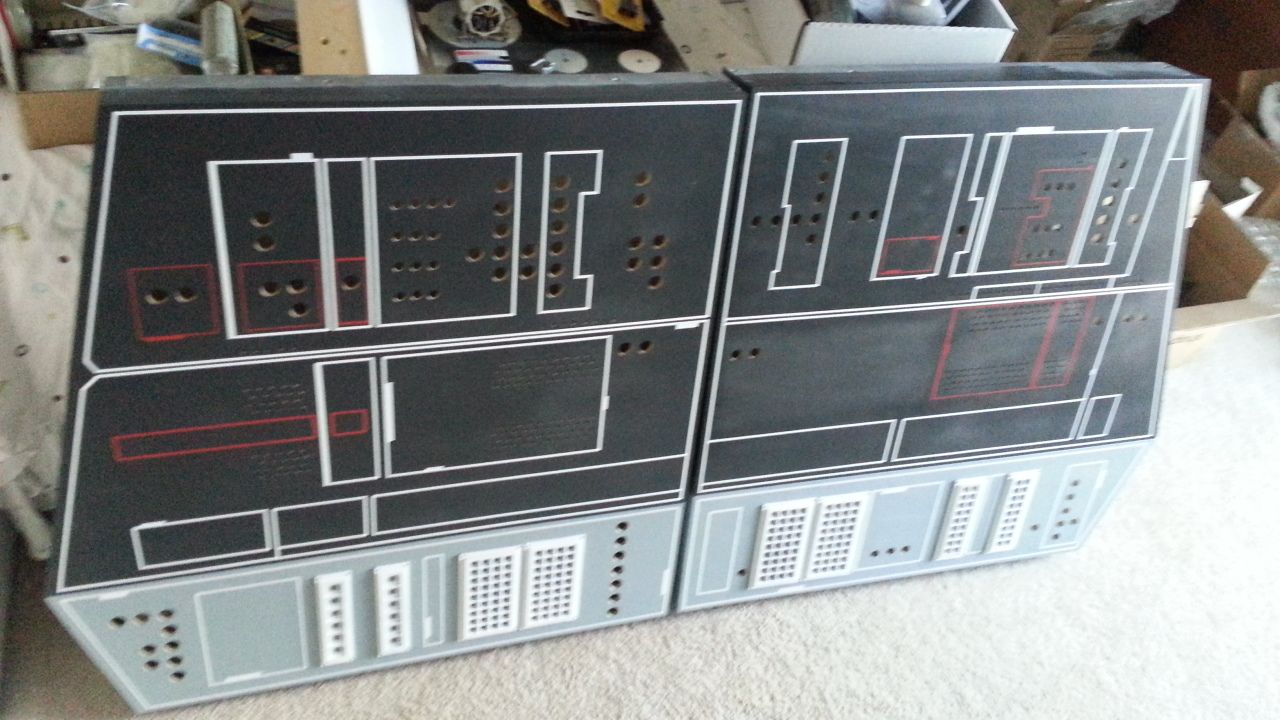
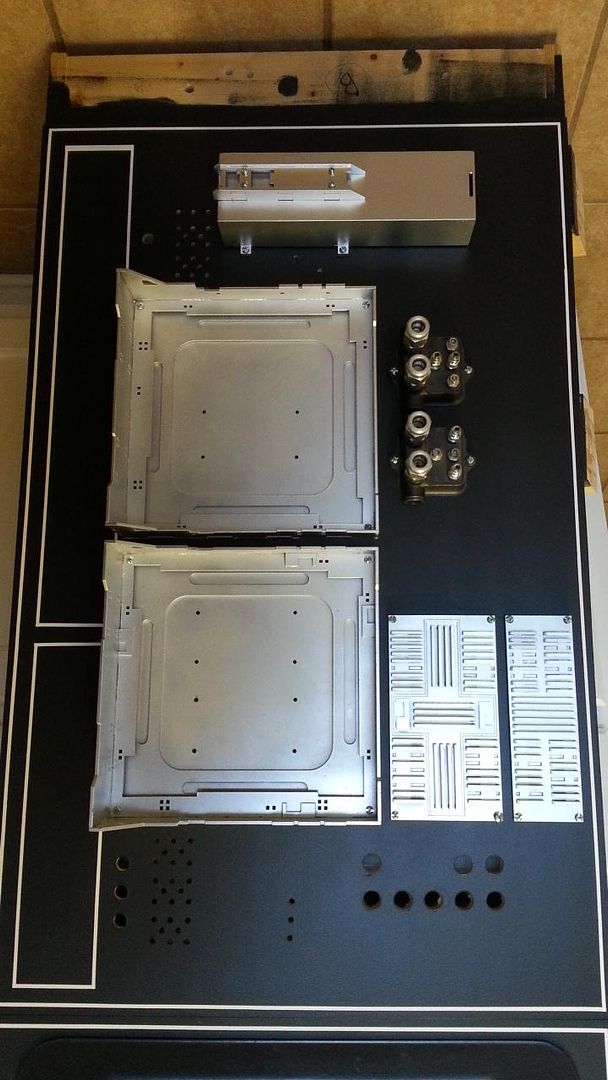
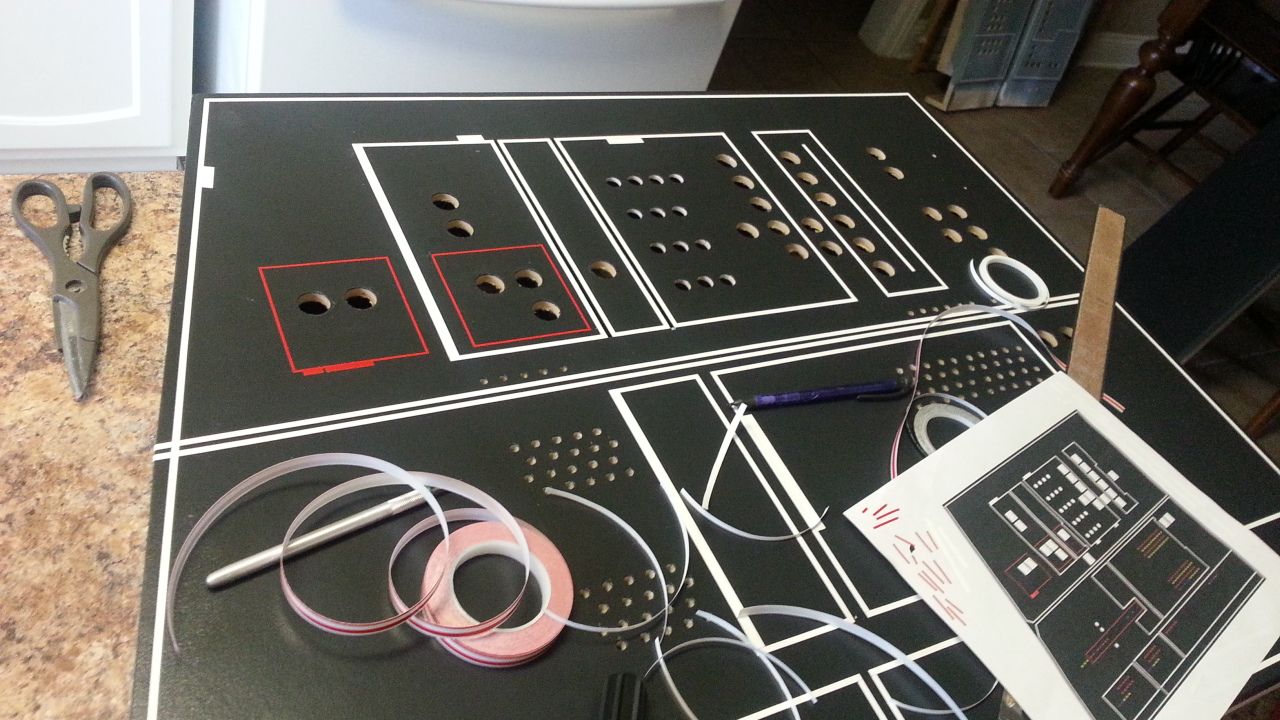
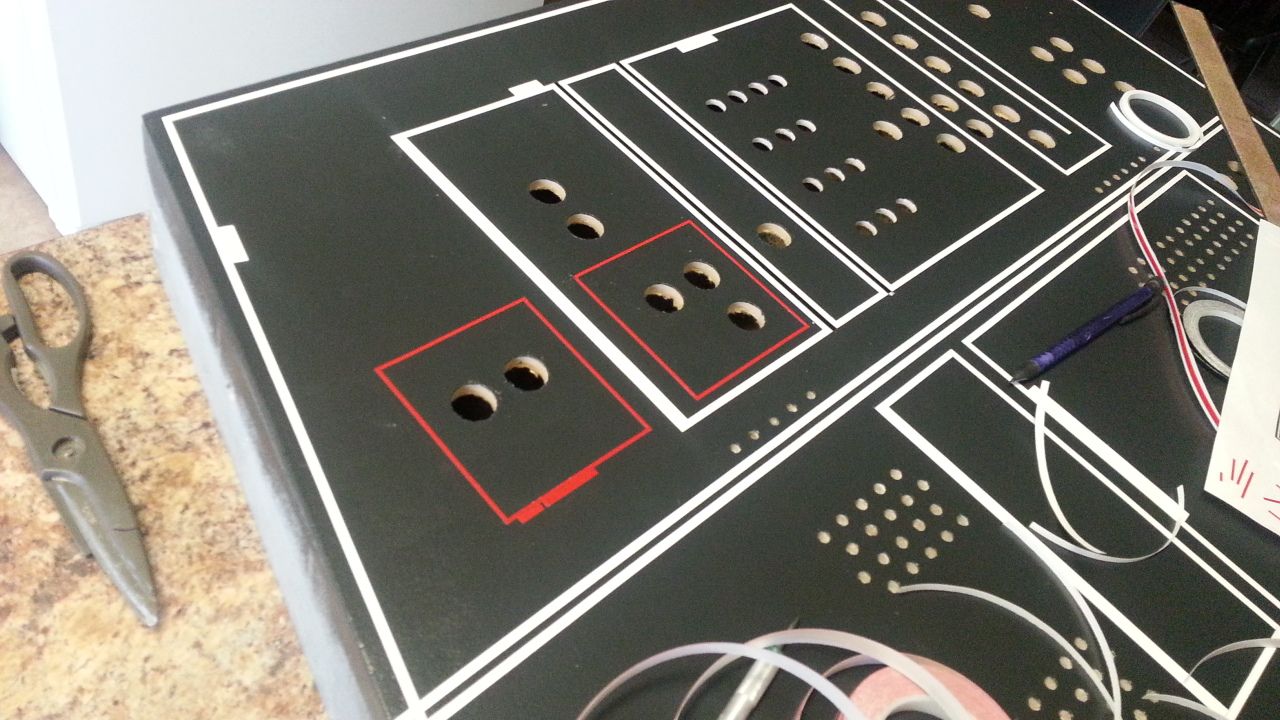
And then for fun... imagine these backlit!
20140818_180437_zps63f098da.jpg


20140818_180442_zpsf94427a9.jpg


20140818_180449_zps821be6de.jpg


More to Follow!
 
Hey, there,

Had a fun day today, except for having to make multiple trips to hardware stores for, of all things, 10-24 nuts, nylocks and washers.

But it was so worth it.

Started last night by reprinting the muzzle piece
E23EEB2A-20F3-4F29-A0A4-FA833A200ECF_zpssbqxv6hu.jpg


96B8A015-61EC-459E-922C-F7E46EE6AA46_zpshiw3x7sd.jpg


It looks pretty good at the end of the barrel, although the carpet, not so much

04D30531-9C65-44B0-A027-A8C69C74EE45_zpsg4blr09m.jpg


After that, I spent the rest of the day working on the forward half of the frame- prepping the three pistons that haven't been in service yet for installation
8BAAA44B-E3B0-4F5F-8A06-86A46DF19807_zpszfvbjdug.jpg

B249FAB8-1455-4C13-BE4E-8911243AC5B8_zpsczmvklis.jpg


All 4 pistons in place, for the first time.

9B3887C2-651C-4326-9FF3-443CB15FA0F9_zps3j8hqpaa.jpg


After that, I started putting the slides on the front of the frame

B8DDE2A0-50BF-4E08-B6CD-E8A4BA9540E3_zpsexloshty.jpg


All four slides installed, and adding the barrels to the pistons.

9F29F366-8022-4D79-819C-31279C755D10_zps6gkavngs.jpg


All four barrels installed. I had to clamp the frame down to the table at this point. She's a bit nose heavy right now.

B933FF63-7664-4685-B4E3-AE5FC2309B82_zpsfakk2pom.jpg


I spent a little time working out where the valves will sit. They are going to be hidden inside the side shield plating. You can see the sharpie mark that indicates where the axle for the elevation automation will go through the shield.

Later
 
Hi Gang,

Early morning update - NEW GREEBLIES!

This is a part of a Reel to Reel player
20140821_053021_zps4fb4c9f6.jpg


20140821_053026_zps4d9b1e6d.jpg


It's going to be placed here
20140821_053125_zps2cc9d2b1.jpg


This greeblie set is now complete
20140821_053203_zps03d693c2.jpg


20140821_053212_zpsc0c9e006-1.jpg


These two rails arrived for another surprise project!
20140821_053437_zpsd21da04c.jpg


20140821_053443_zps39b81b83.jpg


More to Follow!
 
Hi Gang,

Not much of an update and certainly not photo worthy... I sprayed 5 panels with the clear satin last night - they now look totally awesome - anything beyond any photograph could ever show! ;) Only a few more panels to pin stripe and then I hand the panels off the sound and lighting guys! :)

Excellent! And then I guess it is your time to go back to nav chair hell?
 
Hi Gang,

A few early morning updates!

Bought a few of these latches - I need to create a base before mounting
20140822_153853_zps3be6a0c8.jpg


20140822_154003_zps0ad30cfb.jpg


Trying to figure what mostly resembles the original greeblie configuration
20140822_153859_zps708bf3fb.jpg


20140822_153907_zpsfd8b729b.jpg


20140822_153928_zps3dfe1a51.jpg


20140822_153943_zpsca183a96.jpg


Nah...
20140822_154105_zpscb0a13d2.jpg


20140822_154109_zps3e251539.jpg


When the designers changed this panel for ESB they simply covered up all the holes or created a new panel. From what I can tell, there are no LEDs in the panel. So... I have to reposition the greeblies very carefully to hide most of the LED holes from the ANH version
20140822_154116_zps8d01ccbe.jpg


Still not sure what to do with all of these... the larger holes are for the toggle switches - which I will keep
20140822_154123_zpse65594ae.jpg


I then headed to the lab and got some work done on the rockers along with some laser cutting - removing the MDF glued to the back of the rocker
20140824_092726_zps5d1ad64a.jpg


I then laser cut more spacers. I used a scrap piece of clear acrylic - I was going to paint white but I actually like the look of the clear
20140824_104039_zps88fa5750.jpg


20140824_104023_zps9b2d0b96.jpg


20140824_105724_zpsd406fd8c.jpg


20140824_105733_zps38b18c3d.jpg


All done
20140824_105740_zpsb6d05f88.jpg


I then laser cut the final button panel
20140824_110109_zpsb191a9cc.jpg


20140824_110119_zpsb8626eac.jpg


Back to this panel... the pin striping is finished - so far... now it's time to get serious!
20140824_183256_zpsbb1b6937.jpg


I like it!
20140824_183302_zps7deeb8a7.jpg


I like it even more
20140824_183308_zpsca993872.jpg


Rockers in place
20140824_183314_zps25d59b0e.jpg


There is only ONE good photo of this panel and it is sketchy at best so I'm trying to figure out the best greeblie configuration
20140824_183318_zps207fd16f.jpg


I think we're close - still need to either cover or light the remaining exposed LEDs - What do you guys think?
20140824_183340_zps531cfe47.jpg


More to Follow!
 
Excellent! And then I guess it is your time to go back to nav chair hell?

Hey M,

Eventually I will have to change focus to the chairs. I've been in contact with a fellow RPFer and we're discussing some options... I really missed the mark on this one - I thought I would have breezed through these no problem - HA!

- - - Updated - - -

Dude everything is looking awesome.

Thnk you, my friend!
 
Looks like two new boards placed over what was there before. In the 'black and white' photo you can see the edges of the boards on the nearest side, the boards separated where the three small white stripes are. I guess this is due to the weight of the greeblies.

In photobucket do a 'right click - view image' for the bigger pic.


edit: Maybe even three boards, with the rockers being on their own strip.
 
Last edited:
Hi Gang,

More updates!
I think I have everything where it needs to be for this panel
20140825_061158_zps1b807ac7.jpg


Starting to mount all the greeblies
20140826_103239_zps15a4c7d0.jpg


20140826_103254_zps41e028bd.jpg


20140826_103807_zpscb5cd54e.jpg


20140826_103812_zps47513573.jpg


20140826_104950_zps70329c43.jpg


20140826_104955_zps0ee99421.jpg


This is one panel I've been dreading... but I finally hopped to it!
20140826_114328_zps62bf8551.jpg


20140826_120052_zps2f6a16e3.jpg


Over time the pin stripes have begun to separate - I've decided to overlap them to see how it looks - so far so good!
20140826_120059_zpsd1389b6b.jpg


20140826_125131_zps9659157f.jpg


20140826_134558_zpsd8404abe.jpg


20140826_150401_zps19069d42.jpg


20140826_150454_zps86eadf3e.jpg


The new greeblied panel getting a few layers of satin clear
20140826_150530_zps6f7b47e0.jpg


More satin clear
20140826_150826_zpsd66619be.jpg


Awaiting greeblies - terrible picture (sorry)
20140826_175518_zps2176639d.jpg


I like it!
20140826_182958_zps1b8f4bf4.jpg


20140826_183859_zpse705df78.jpg


20140826_183914_zps95774a43.jpg


20140826_183848_zps561a3e90.jpg


Then got to work on the nose side panels (still have 3 to go)
20140826_190220_zpsbe72b14f.jpg


20140826_190225_zpsc5f70ec3.jpg


These pin stripes were easy!
20140826_190232_zpsaa99ca9d.jpg


More to Come!
 
Last edited:

Your message may be considered spam for the following reasons:

If you wish to reply despite these issues, check the box below before replying.
Be aware that malicious compliance may result in more severe penalties.
Back
Top