My First Foray Into Real Parts Sabers--The Graflex!

Kevin Gossett

Master Member
RPF PREMIUM MEMBER
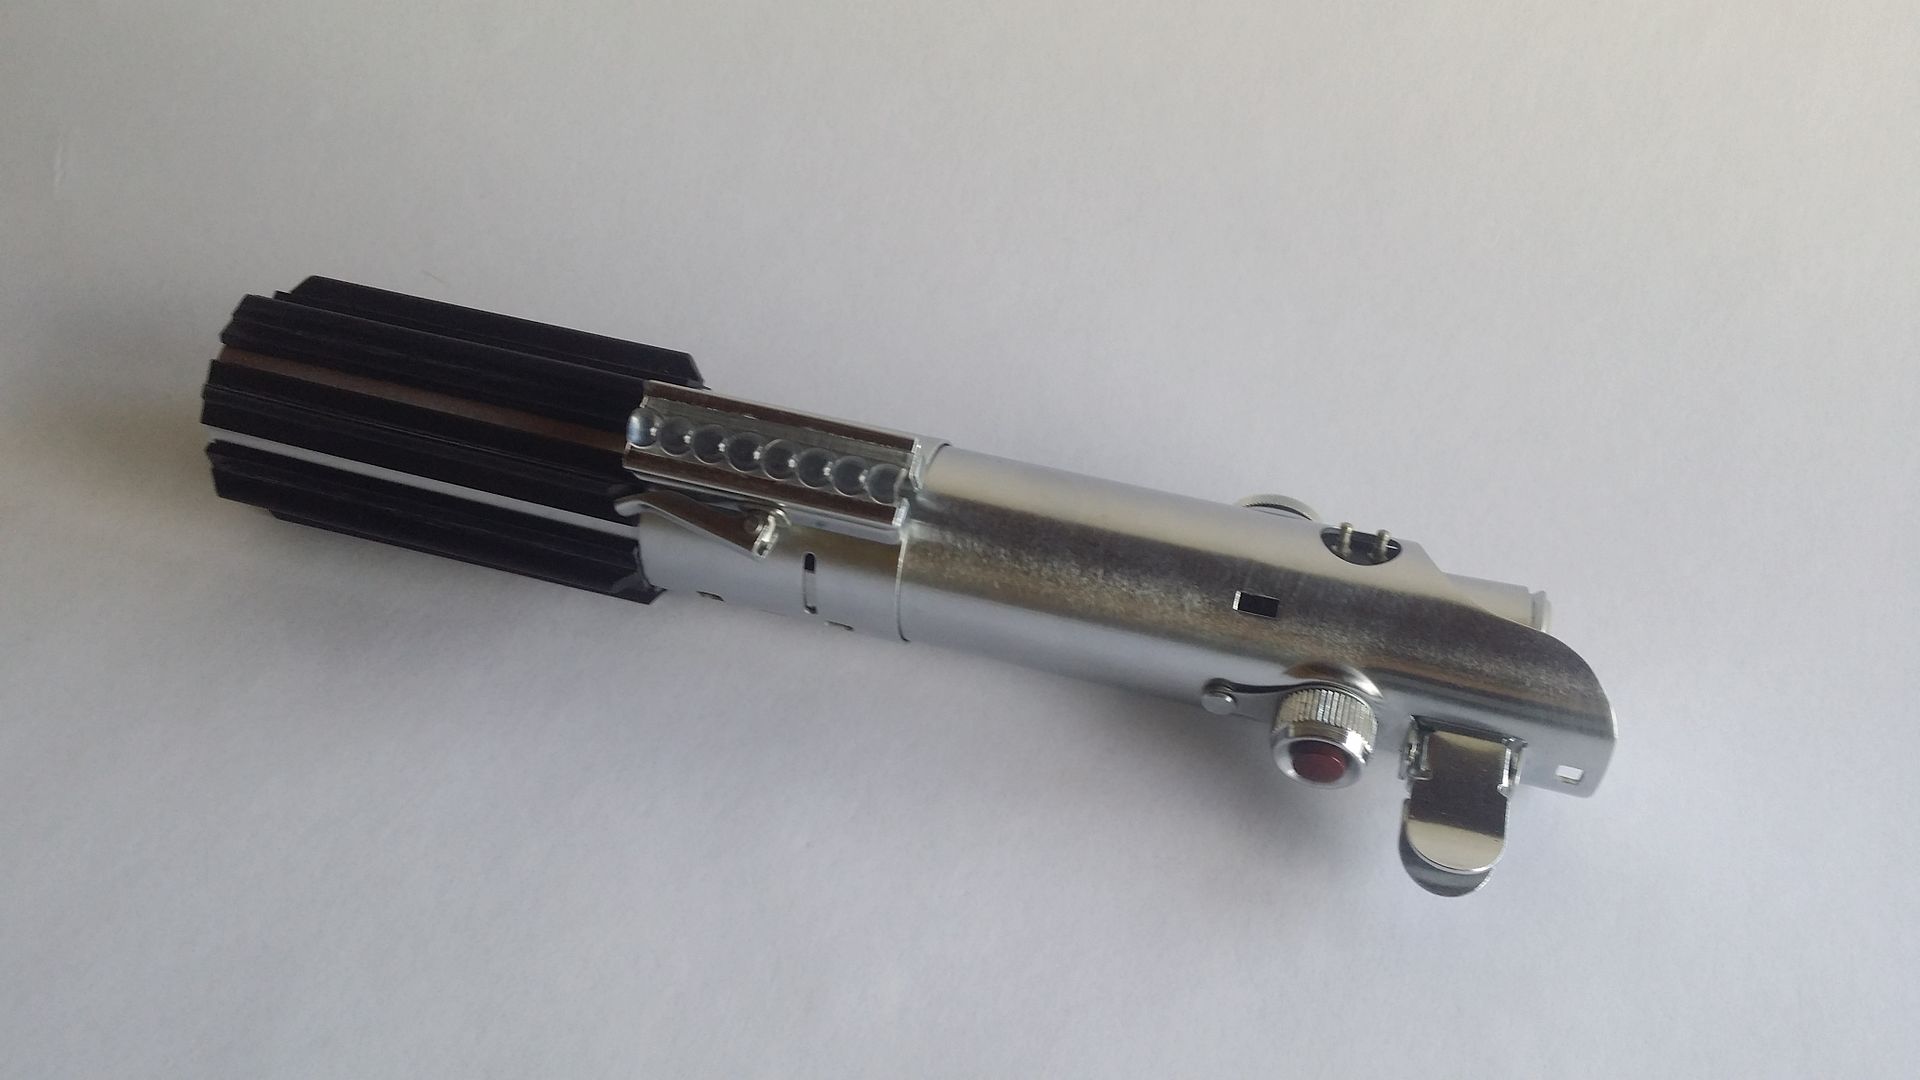
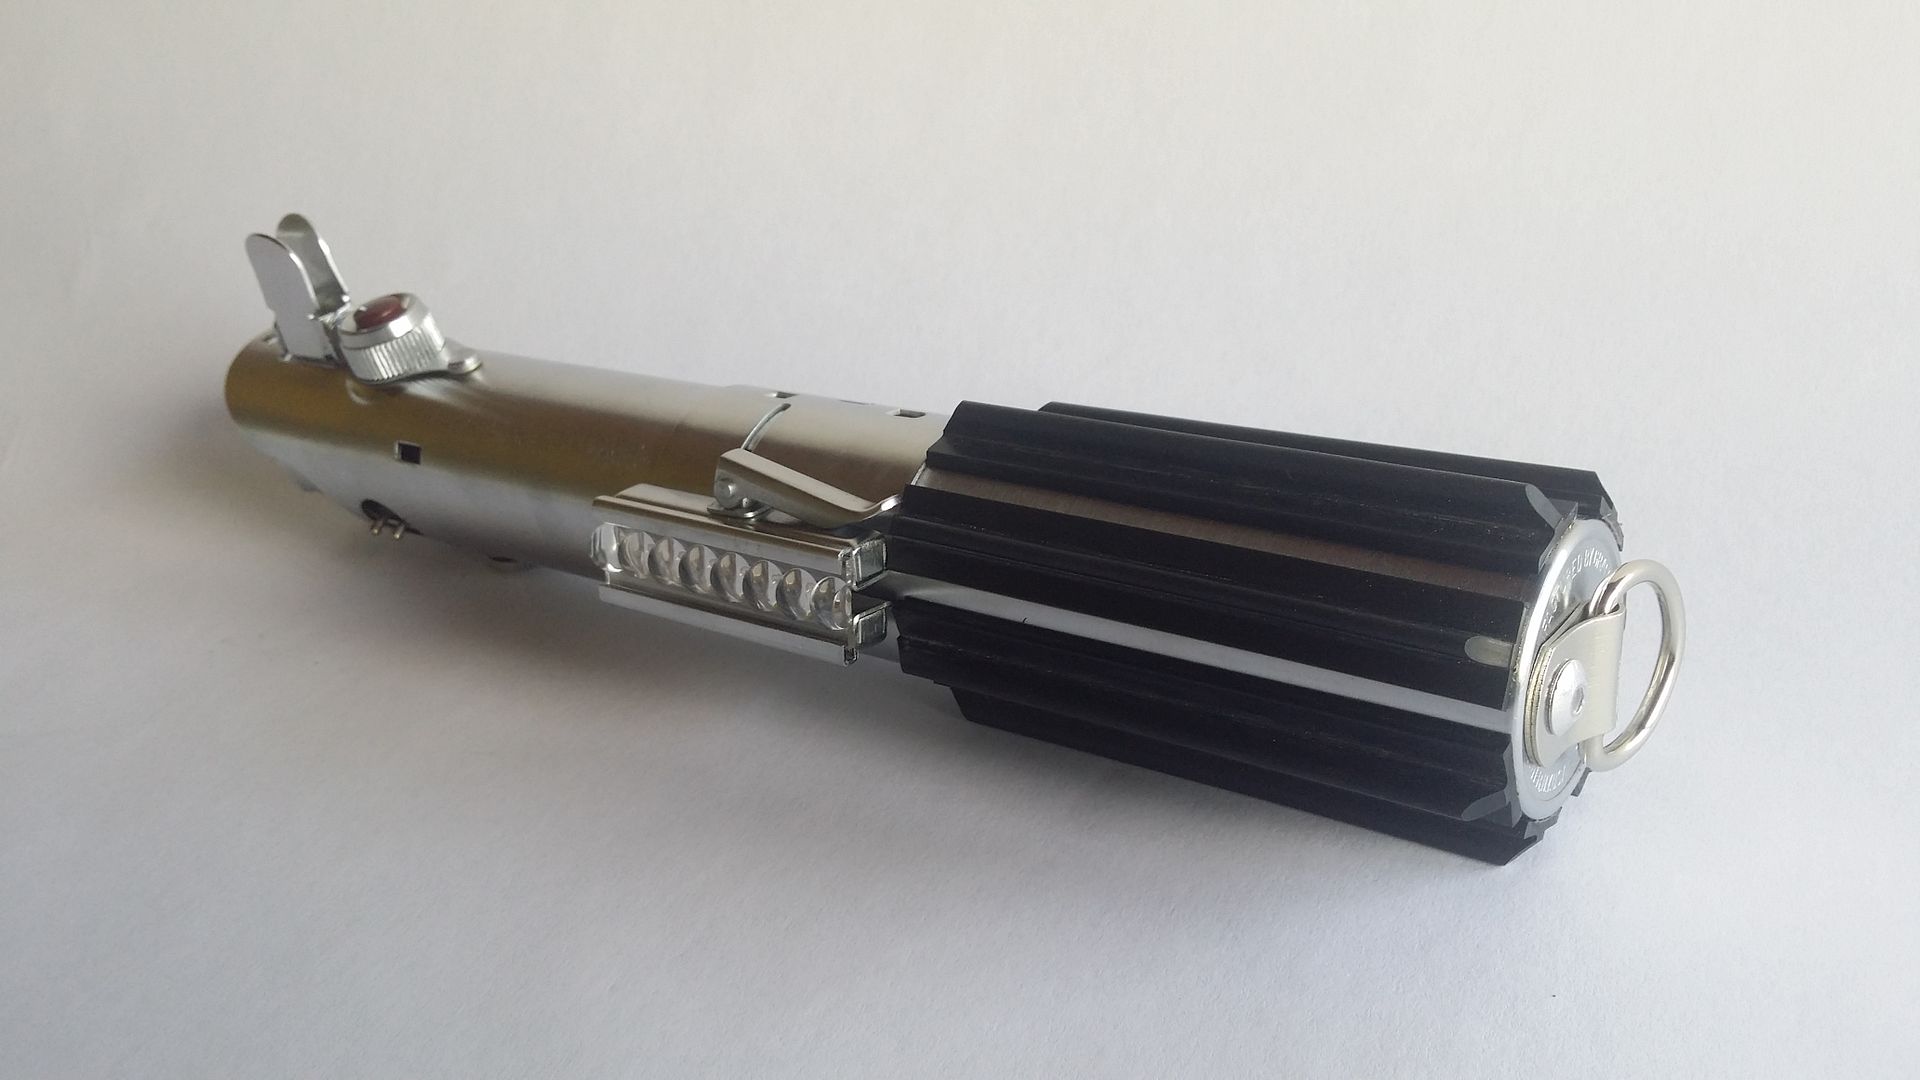
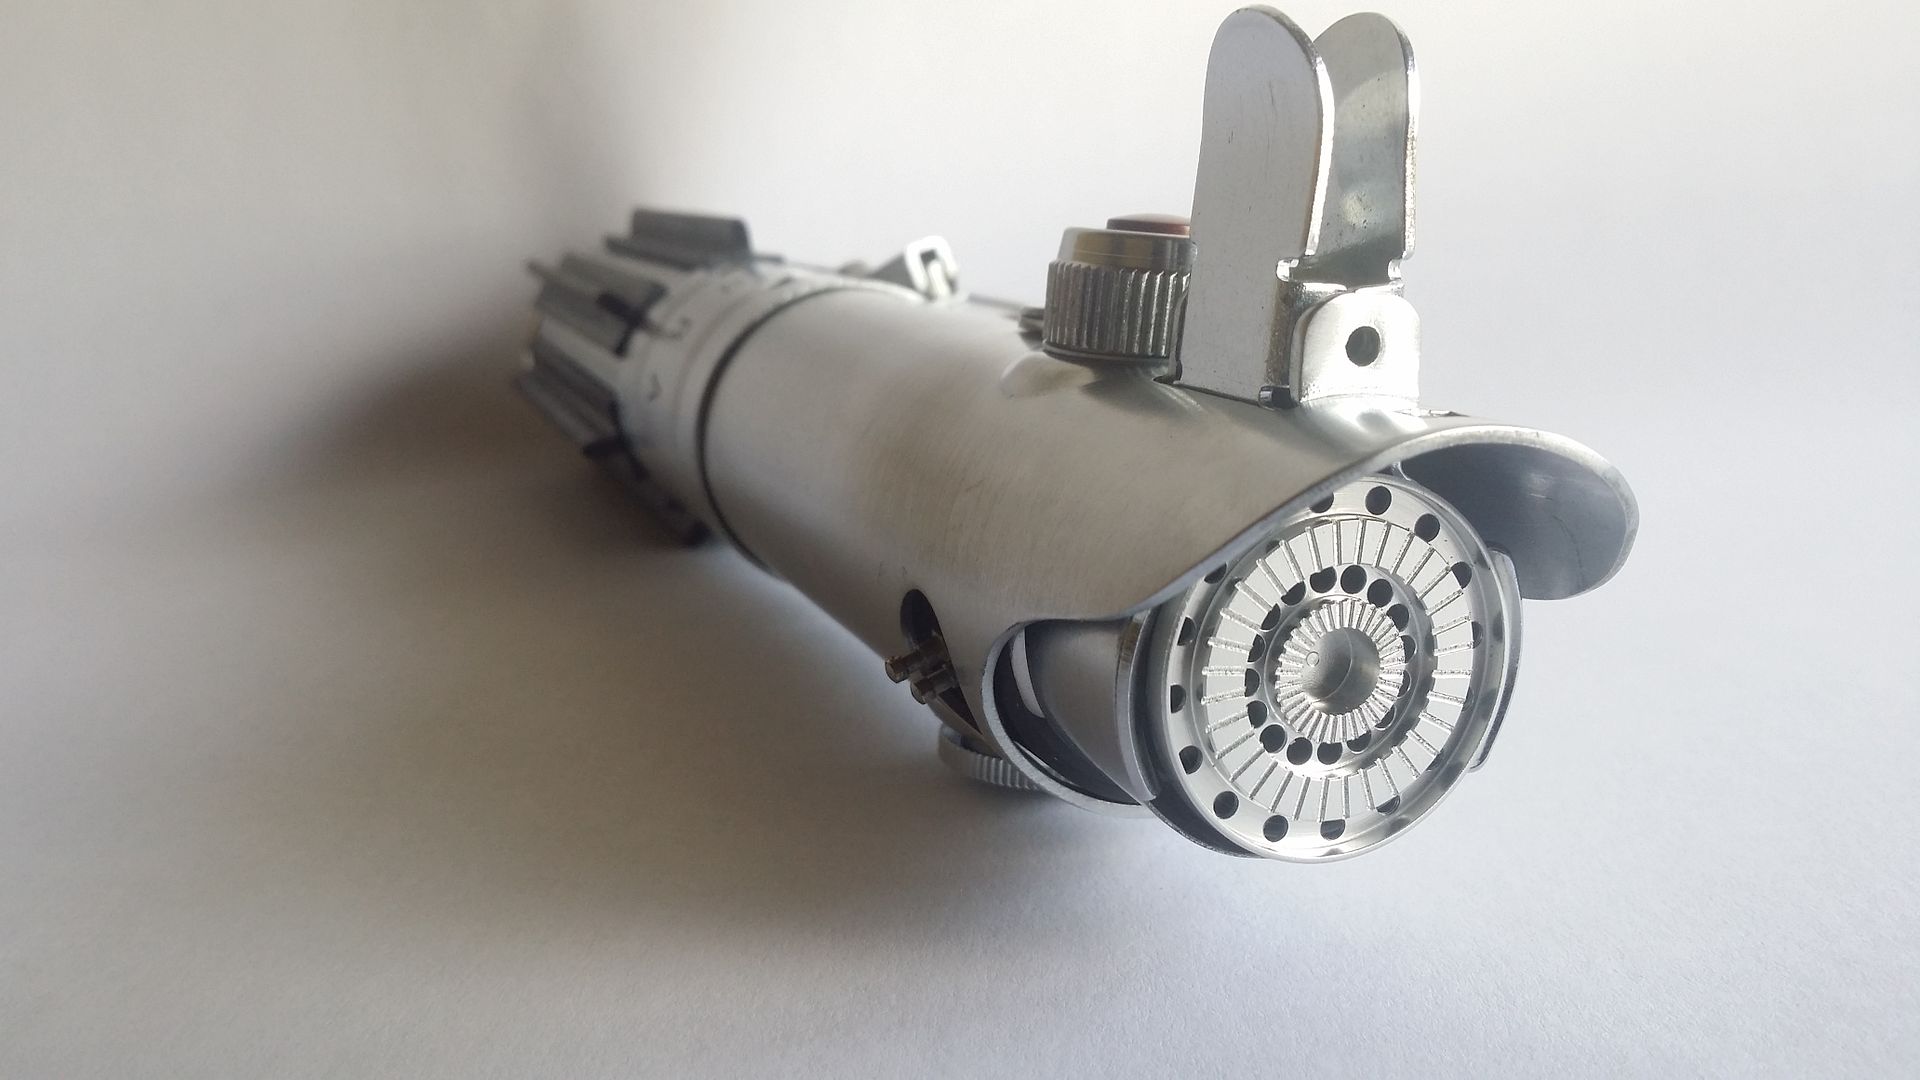
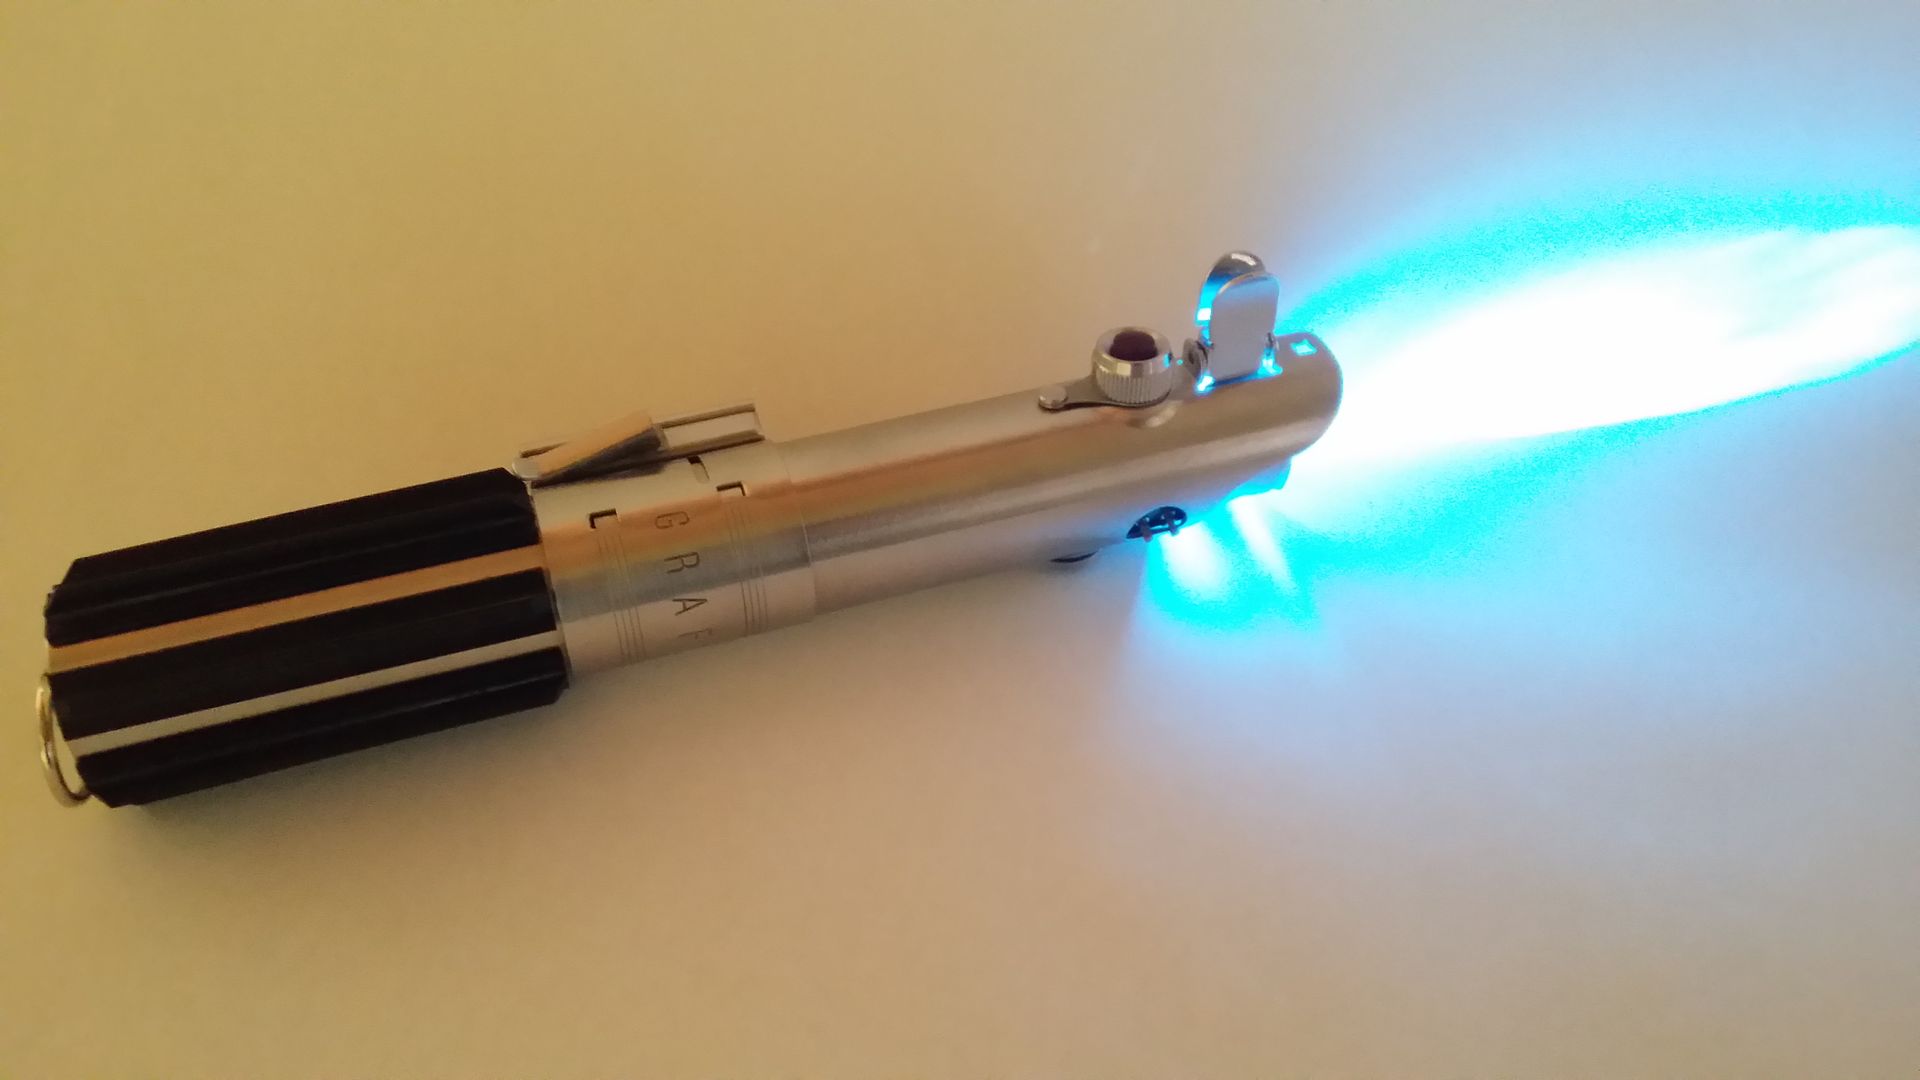
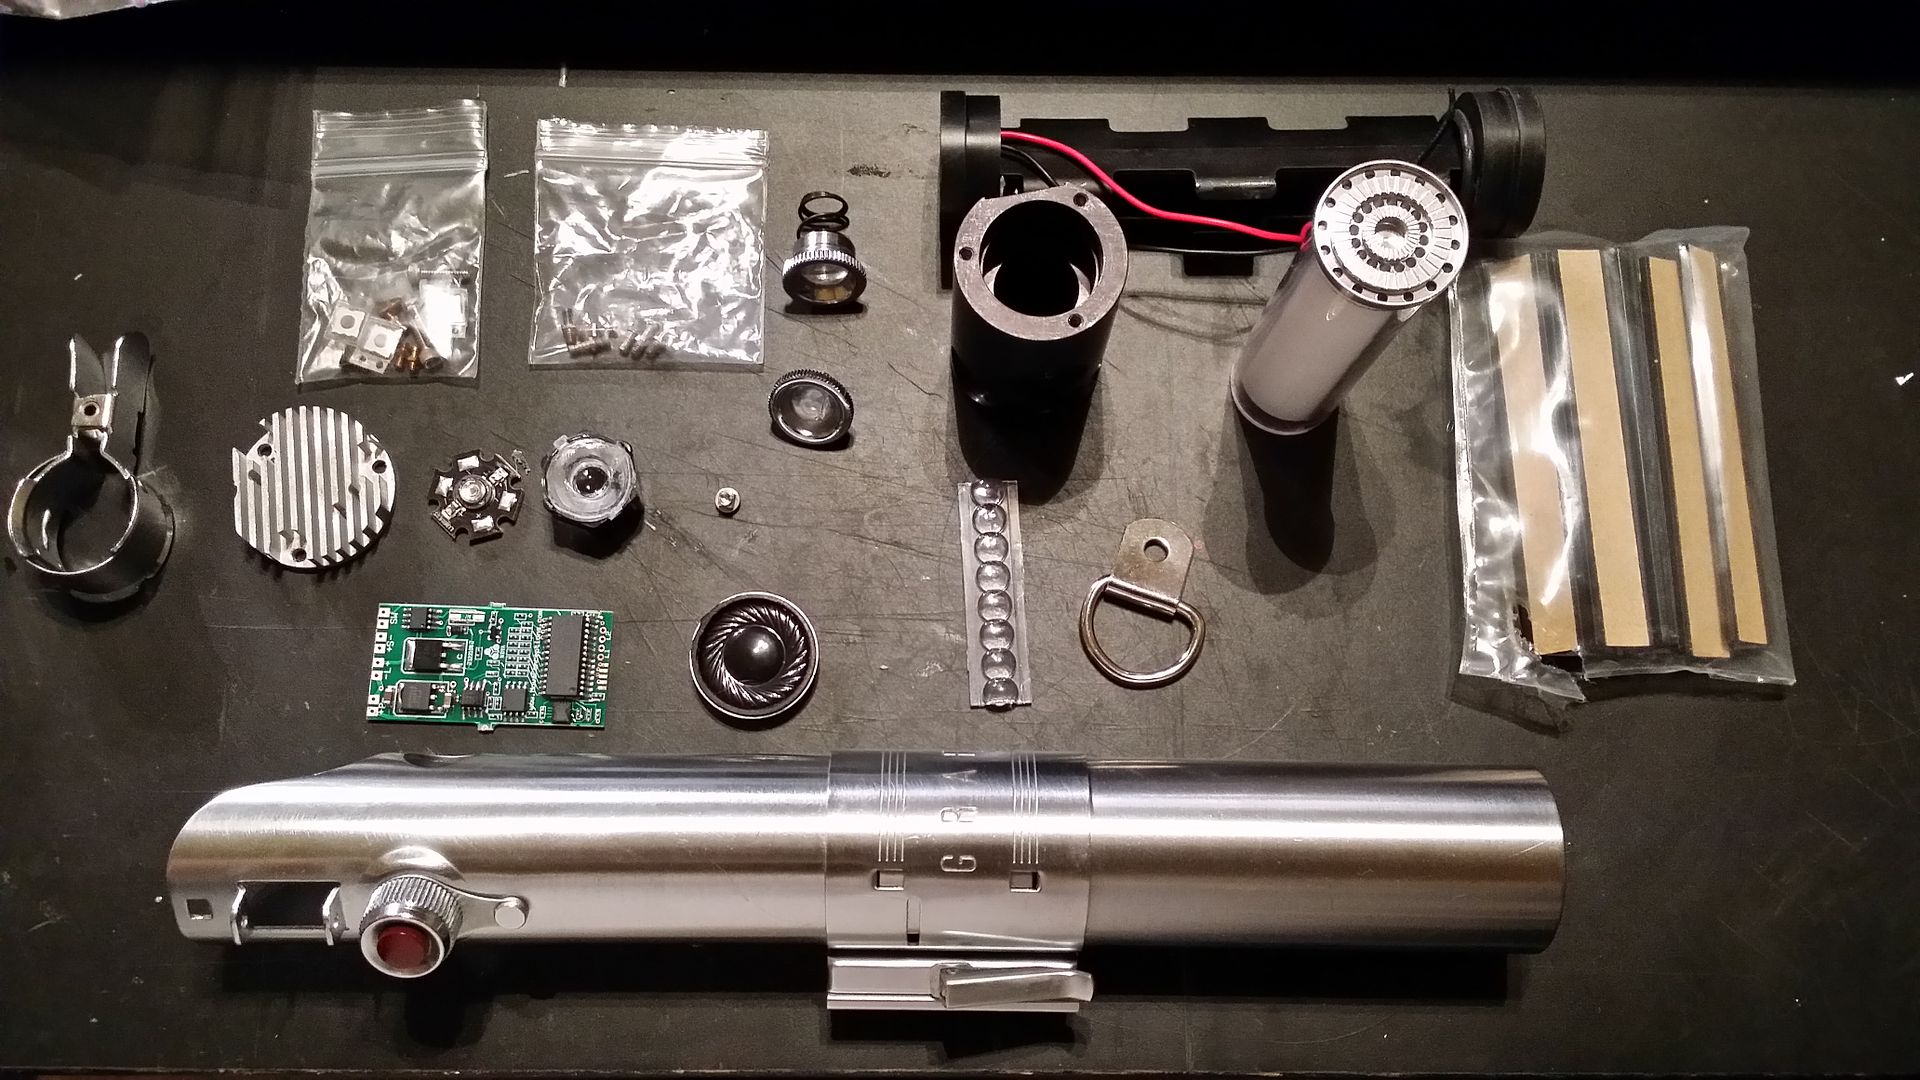
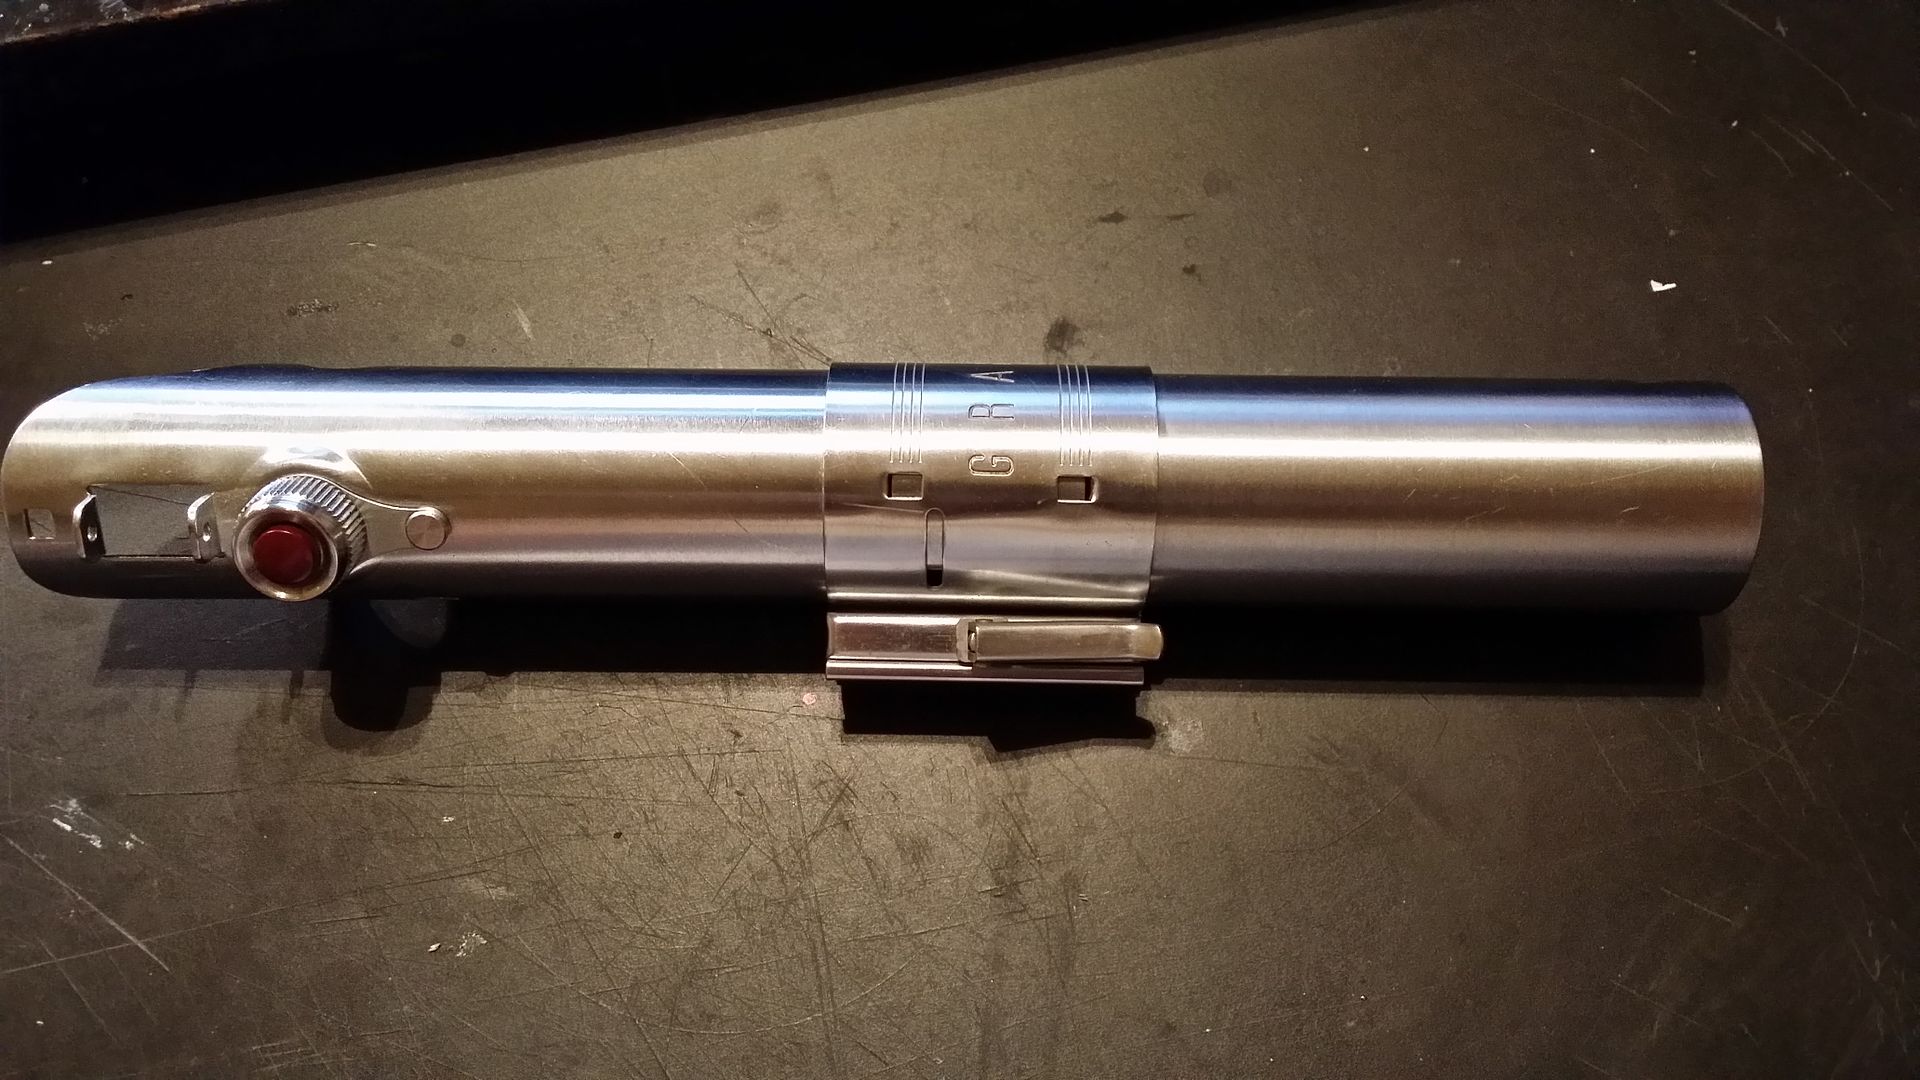
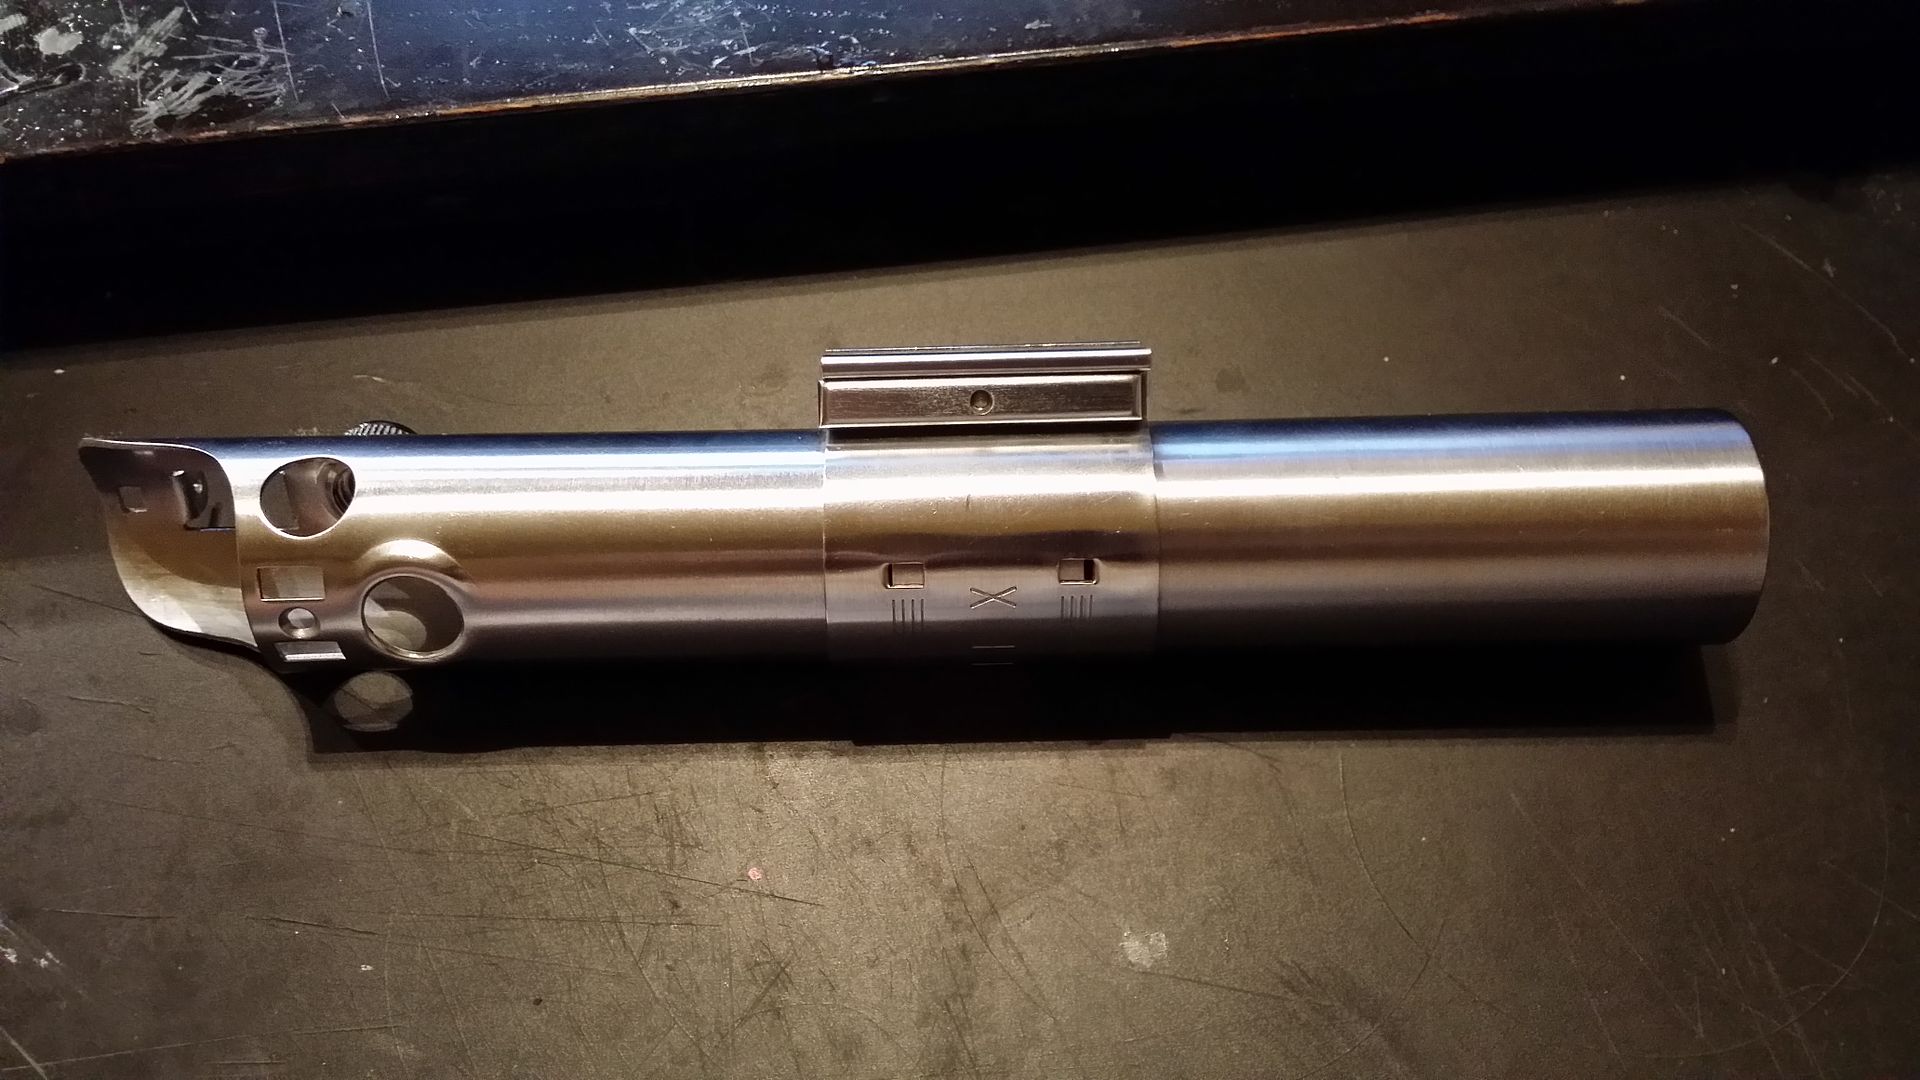
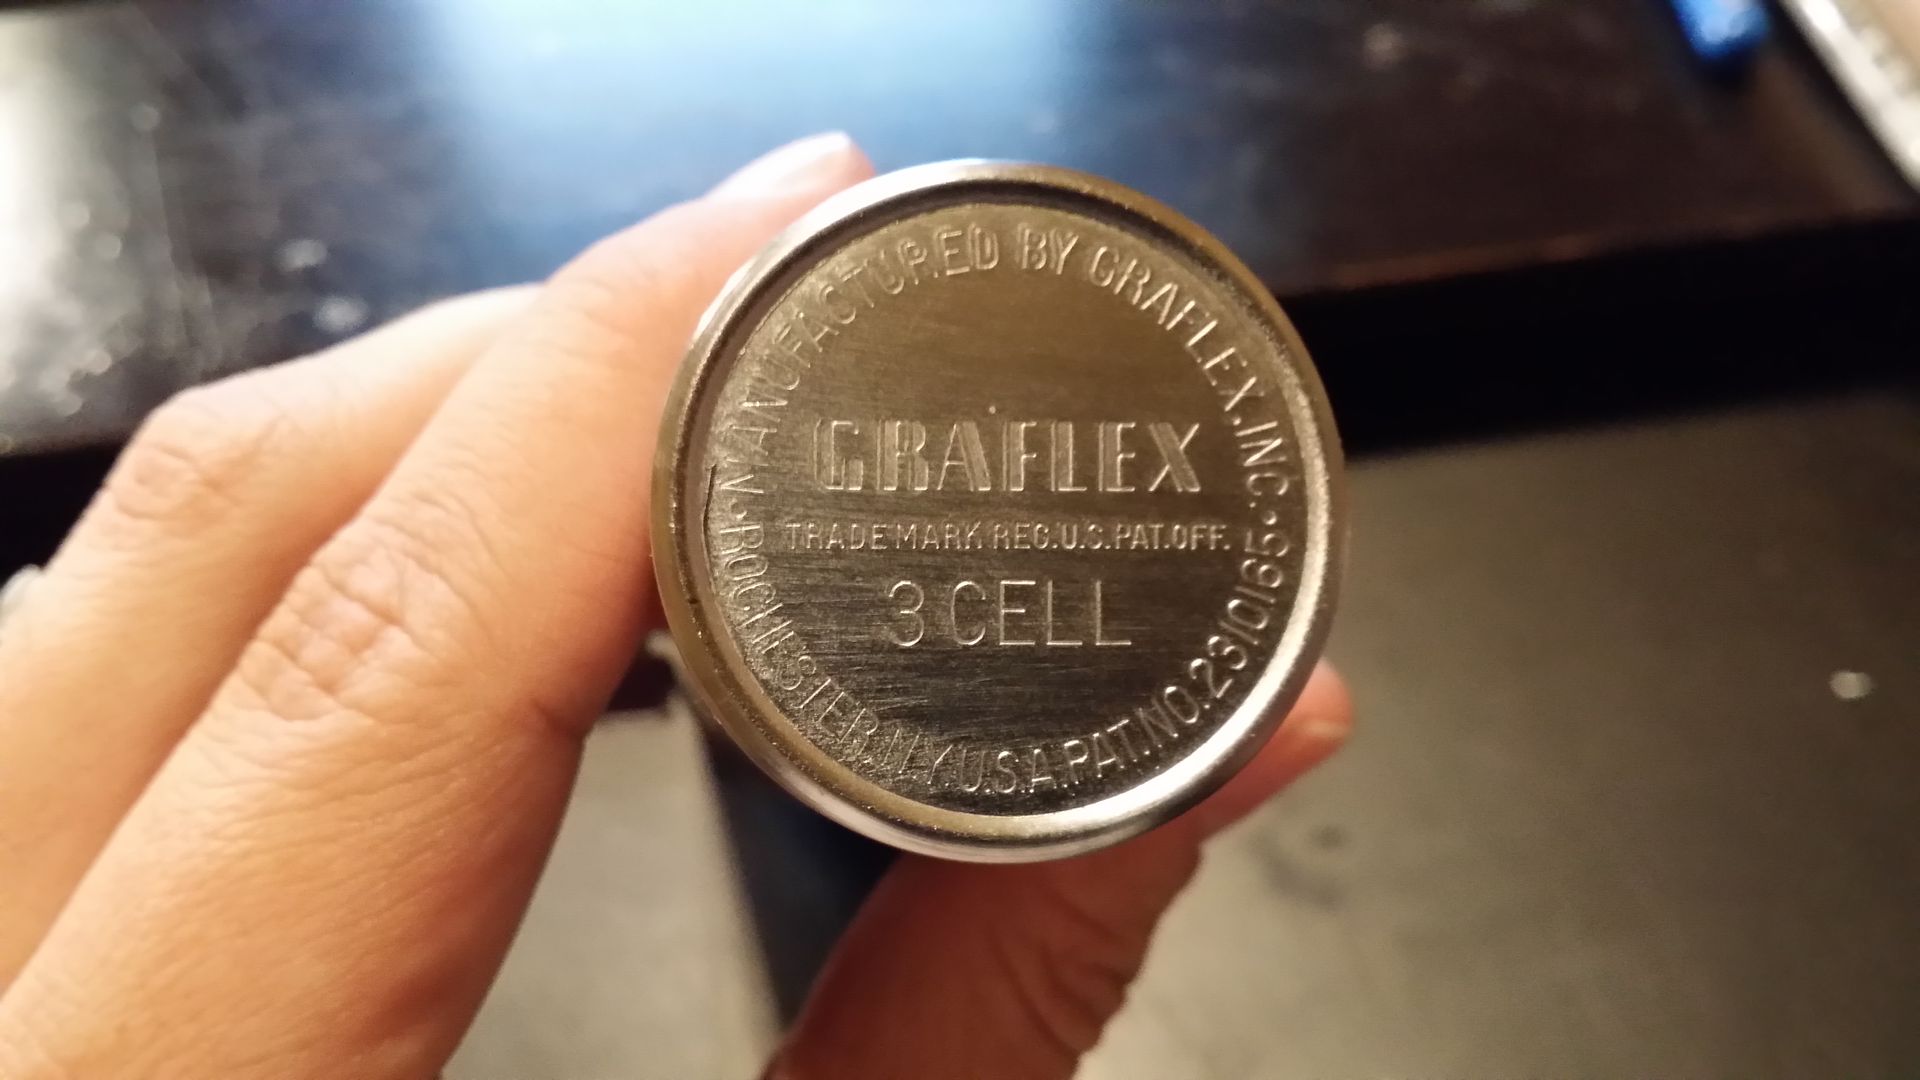
I picked up this great looking Graflex and all necessary components to put together a Luke ANH saber last week from another member. Today, I received a nice present in the mail!

20140904_230122_zps8m6ipwgy.jpg


20140904_225738_zps1fvh5hqm.jpg


20140904_225751_zpsl4hxg7qt.jpg


20140904_225810_zpshrm5yms2.jpg


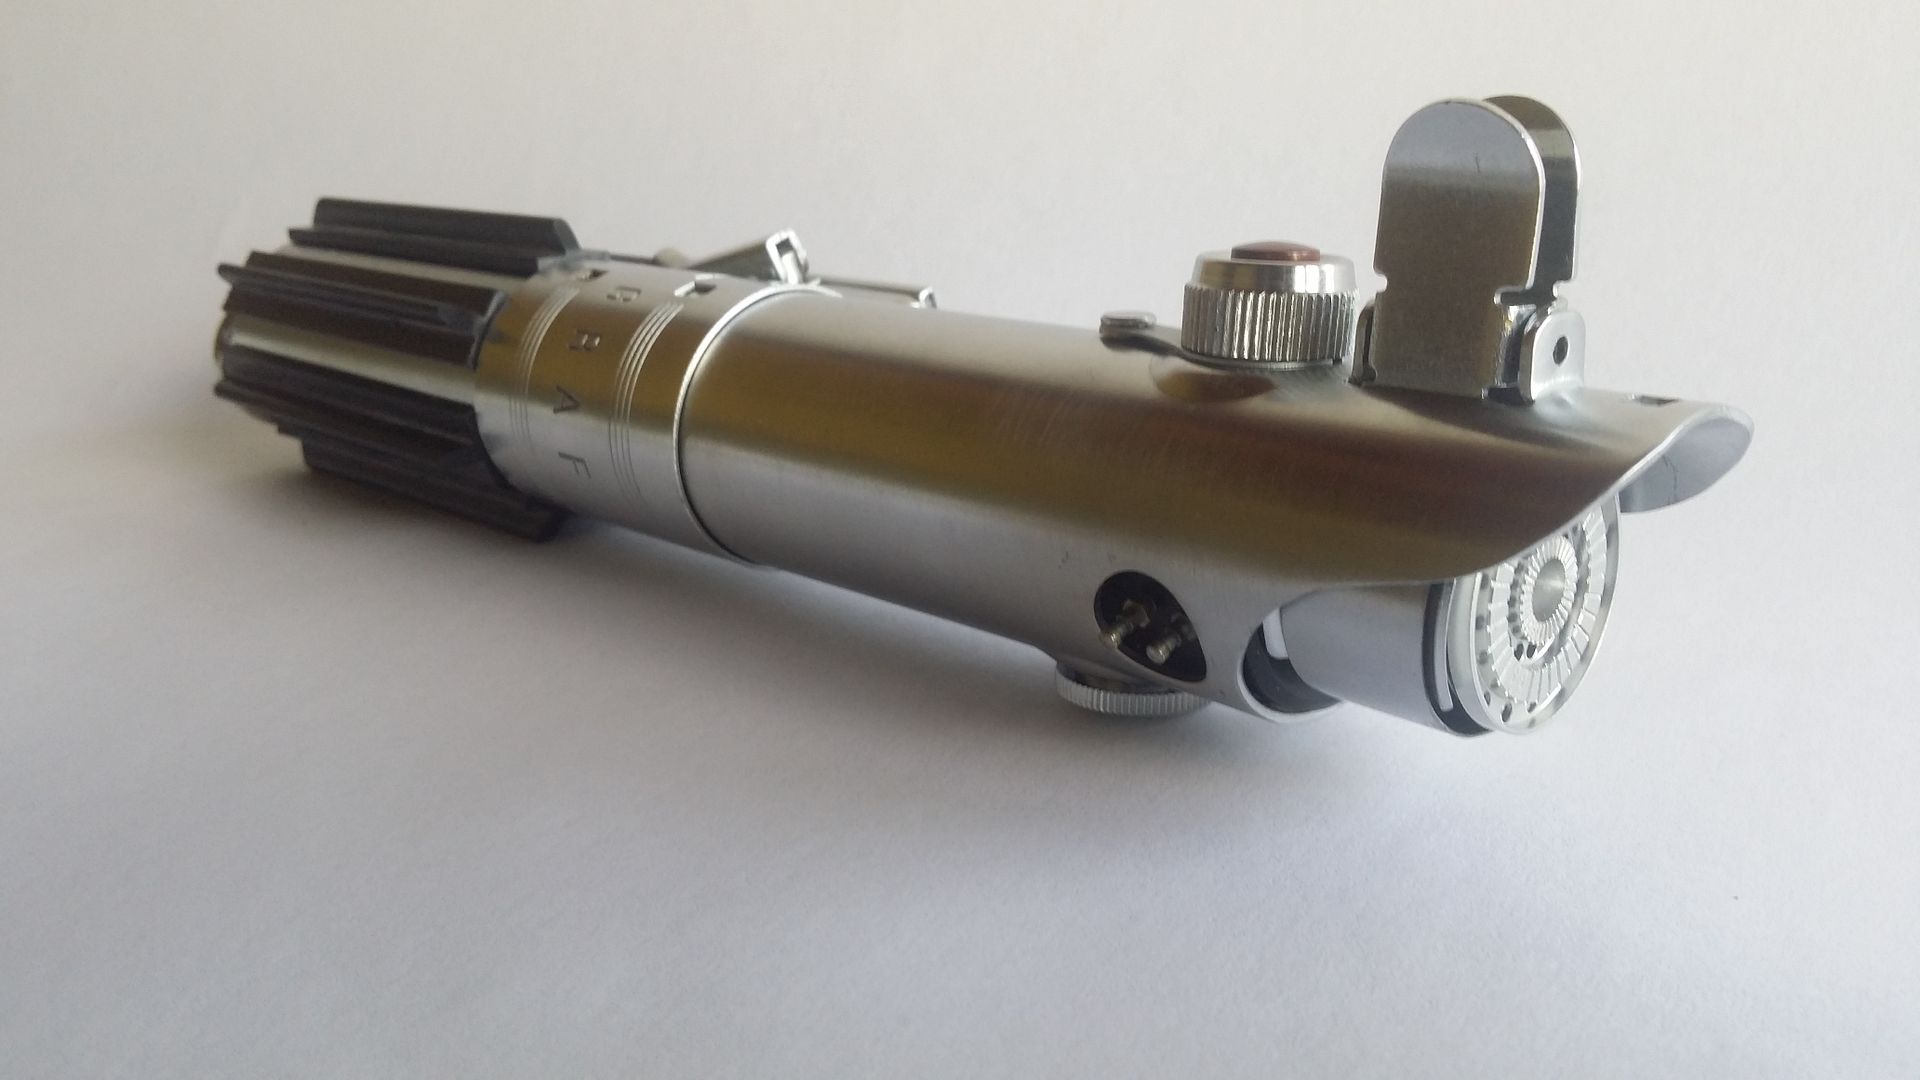
Not shown is the blade, but I figure you all pretty much know what that looks like!

My soldering iron has seen better days, so before I get started on anything I'll need to pick up a new one. Hopefully this will be a pretty straightforward build!
 
This is gonna a cool build kevin post lots of pics i suck at electronics and would love to do this !!!
Is someone selling kits or was this a one time thing ?
good luck man !!
 
I haven't forgotten about this! I actually spent some time about a month ago mocking up the parts and soldering the electronics. I wasn't a fan of the color of the LED, it was more teal than blue, so I switched that out.

That's as far as it has gotten. I need to tidy up the guts and figure out how I'm going to mount the switch.
 
So, this didn't get forgotten... Just sat on the back burner for a while (OK, almost a year!). I lost my job a couple weeks ago, so I've had plenty of time to work on some projects in between job searches. Finally buckled down and finished this one up today. I didn't document the process unfortunately, but it was pretty straightforward.

The soundboard is an "Ultra Sound 2.0" according to the boot menu... It has contacts for power, switch, LED, and speaker. I simply soldered positive and negative wires to each terminal, then to their corresponding devices. The bladeholder/LED module/heatsink all go together, then the battery holder (which I'll upgraded to a different type later), then the speaker. I marked the placement for the D-ring, placed a wooden dowel inside and drilled a hole. Once that was done I riveted it in place.

The grips were placed on according to a printable guide to get the correct spacing, and then everything went in to the Graflex body. I rigged the switch underneath the red button, so that activates everything. I still need to do a couple minor things to complete it, but it's mostly done! I still need a pin to hold the bunny ears on, a more accurate bubble strip, and there's a tiny oval plate missing I need to source or fabricate.

20150911_145522_zps9hjysird.jpg


20150911_145509_zpssnc6ckwy.jpg


20150911_145534_zps2qbizlpl.jpg


20150911_145544_zpsyvchxihi.jpg


20150911_145601_zpsguhcdz3s.jpg


20150911_145404_zpso5ap5wm9.jpg


I'll upload a video in a bit of the activation!
 
Hey man, it turned out awesome! Can't wait to see the video.

By "tiny oval plate" do you mean the slide switch near the emitter end of the saber? I'll have to check and see if I can successfully remove one from one of my top tubes. I will let you know ASAP.
 
Looks great. I've decided that if Roman's run gets off the ground I'm going to try to do this. I've been doing a lot of research on it and it doesn't seem TOO hard.


Everybody should be prepared for lots of questions, hahaha.
 
This thread is more than 8 years old.

Your message may be considered spam for the following reasons:

  1. This thread hasn't been active in some time. A new post in this thread might not contribute constructively to this discussion after so long.
If you wish to reply despite these issues, check the box below before replying.
Be aware that malicious compliance may result in more severe penalties.
Back
Top