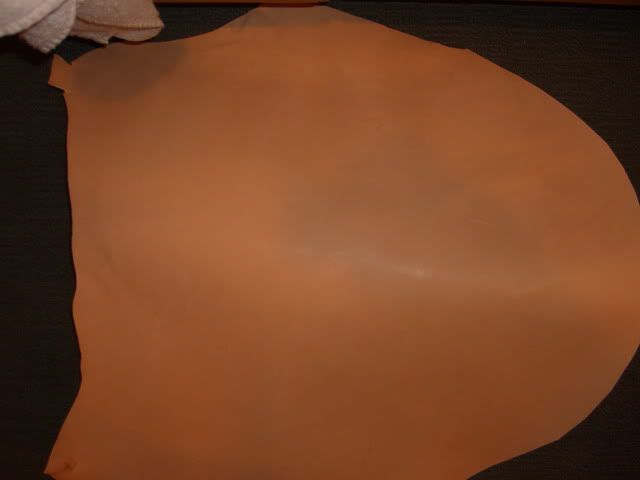
Not too difficult to make your own out of 1-2 ounce leather. Go to your local Tandy Leather and pick up (2) pieces of the scrap leather at about $20.00 each!
Here are the five phases that I used to construct my hat! You use water to shape the leather. This is very similar to the online PDF version of How To Make A CJS Leather Tricorn Hat but modified to make it more accurate!
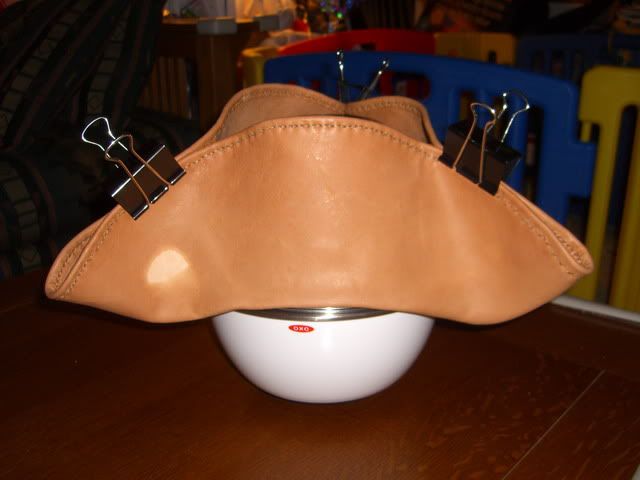
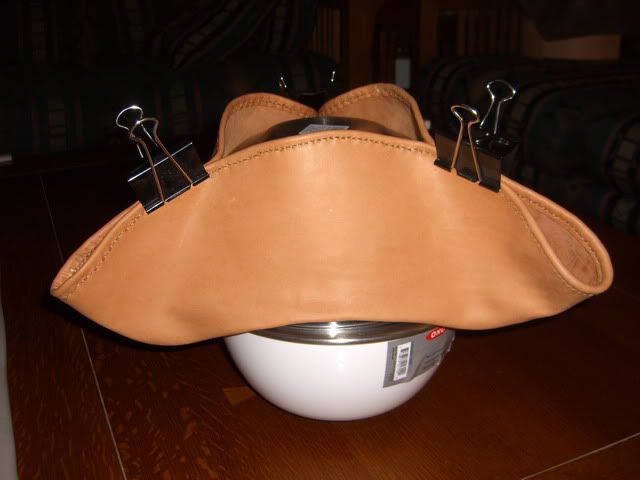
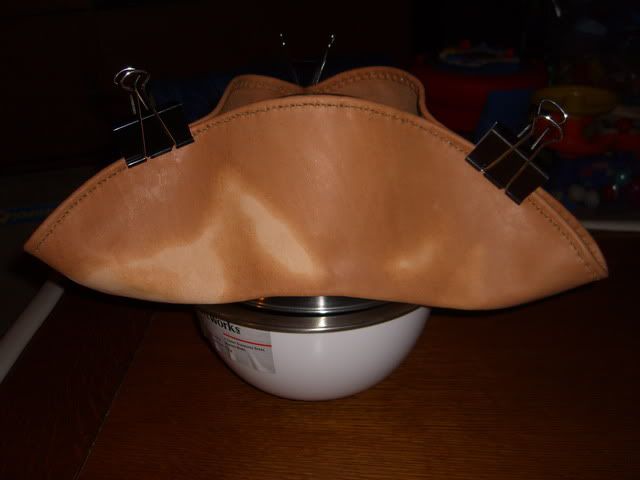
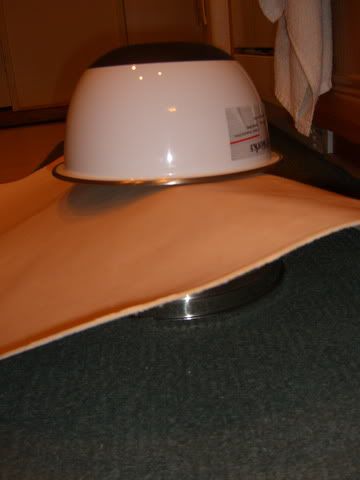
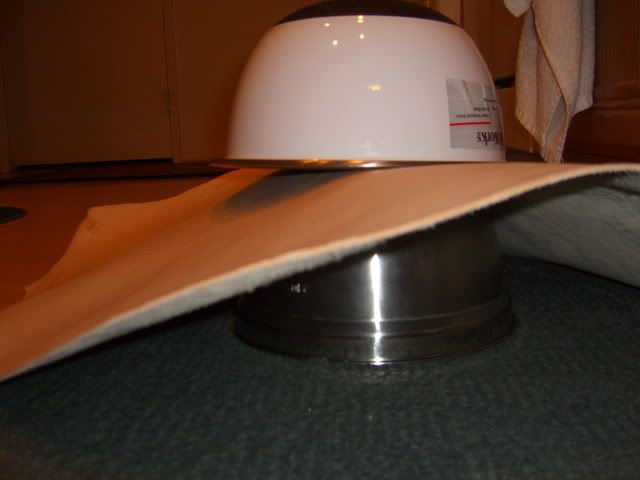
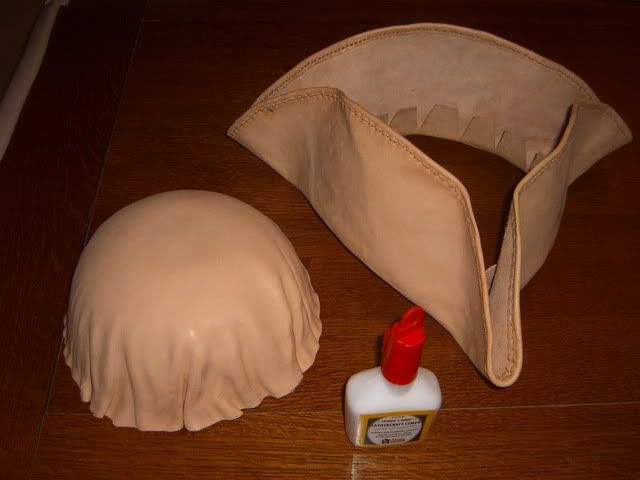
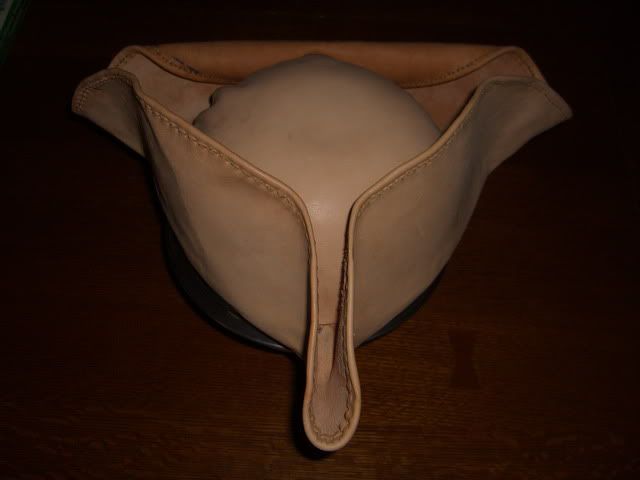
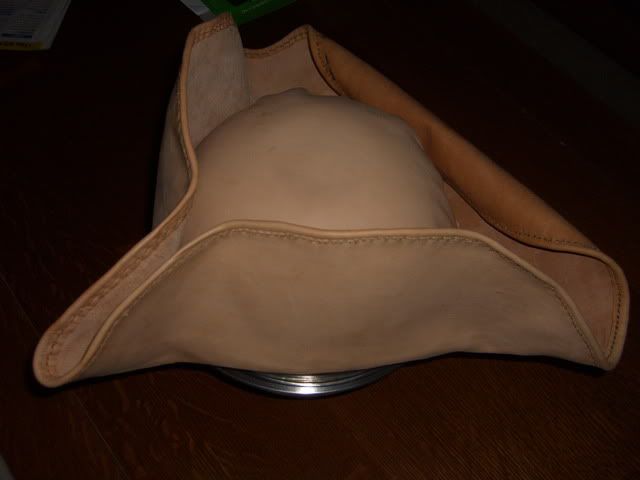
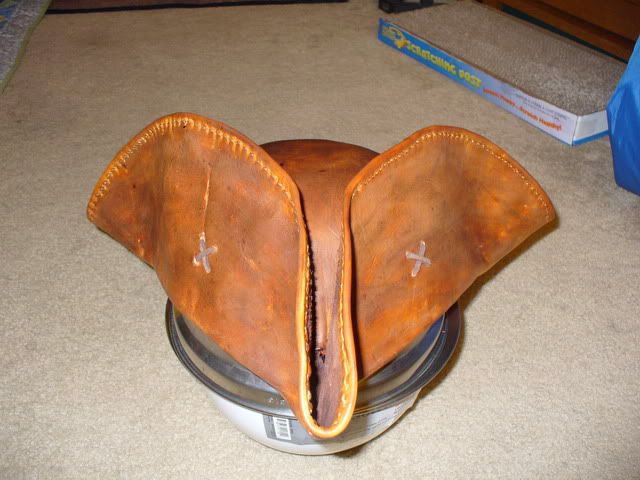
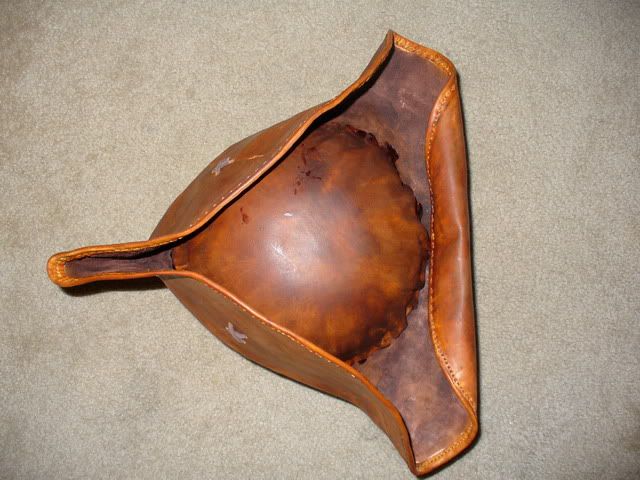
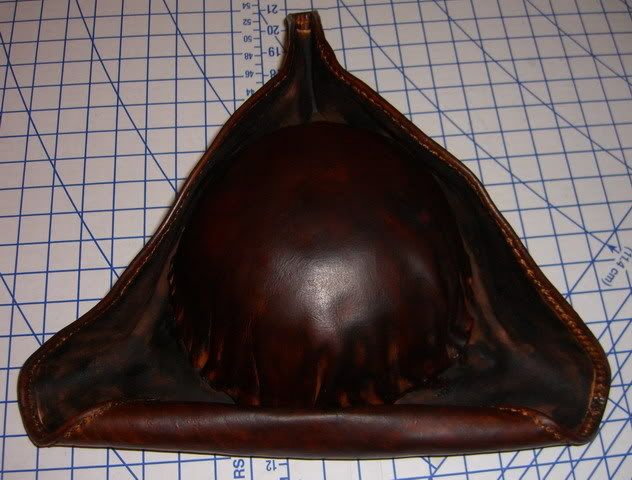
Phase 1 - Shaping the brim
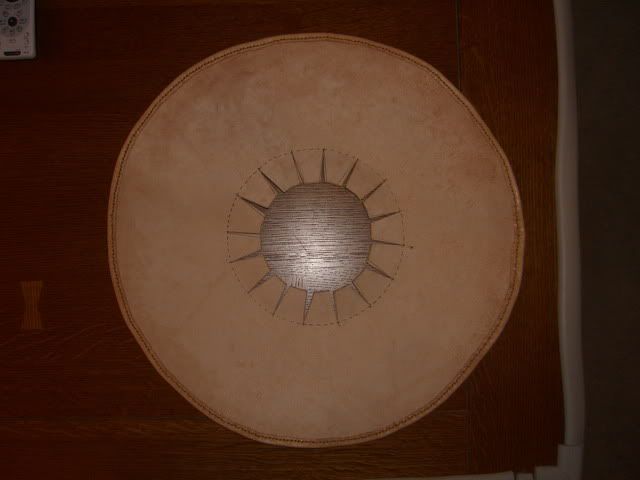
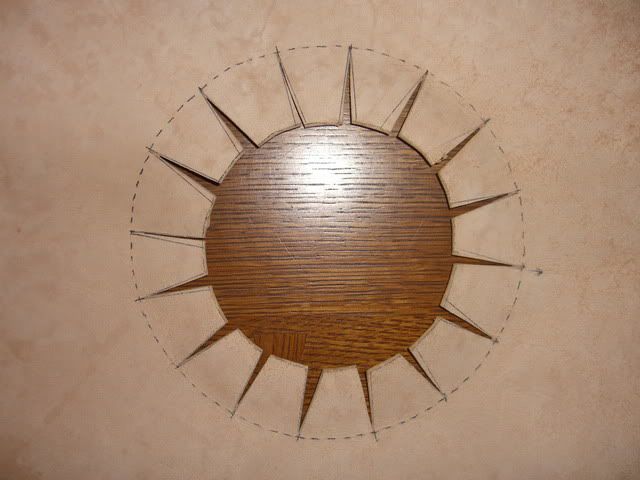
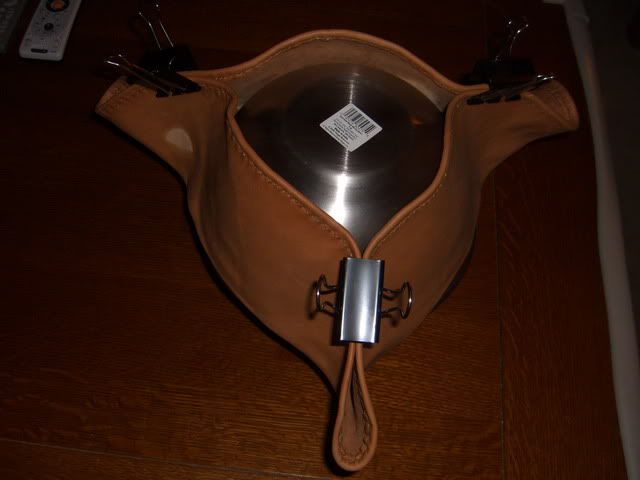
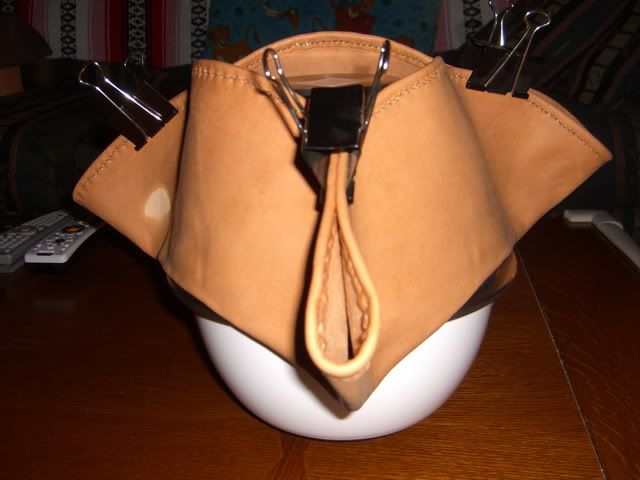
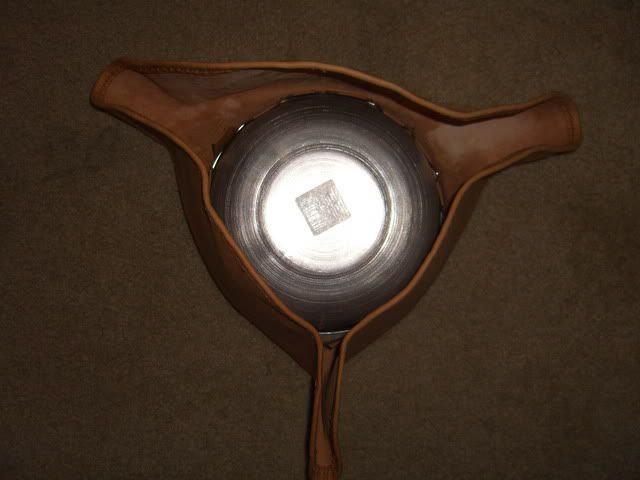
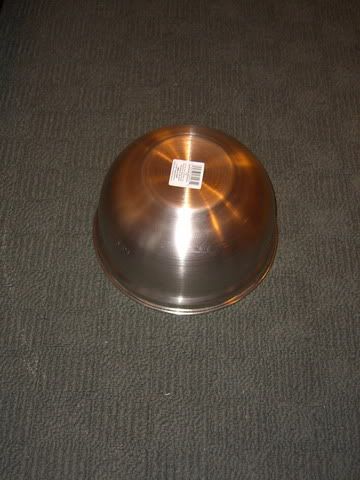
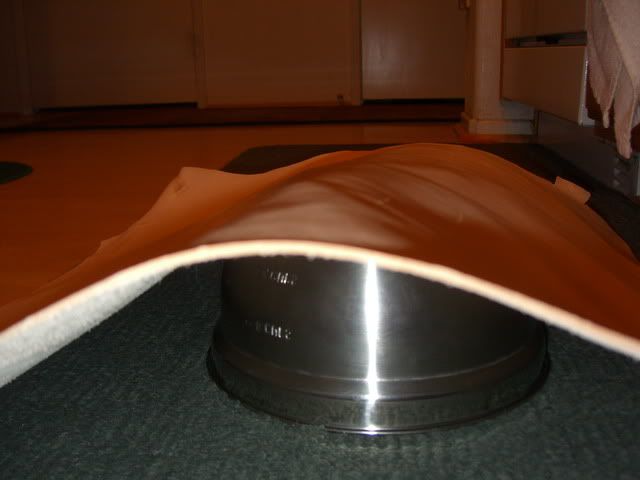
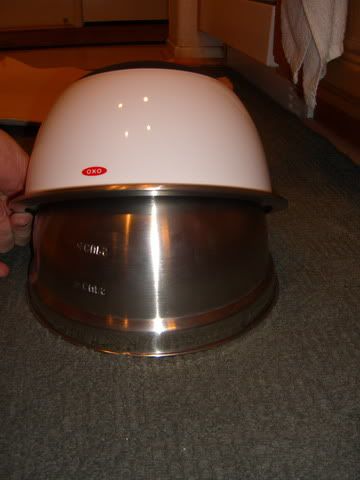
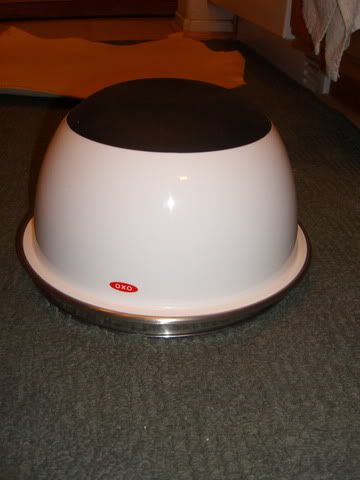
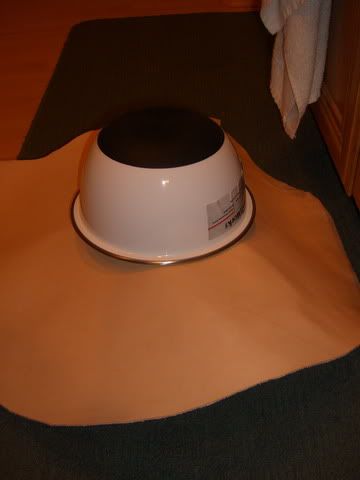
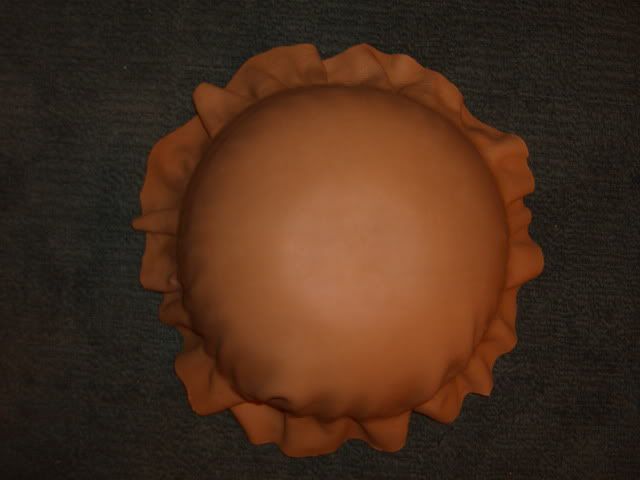
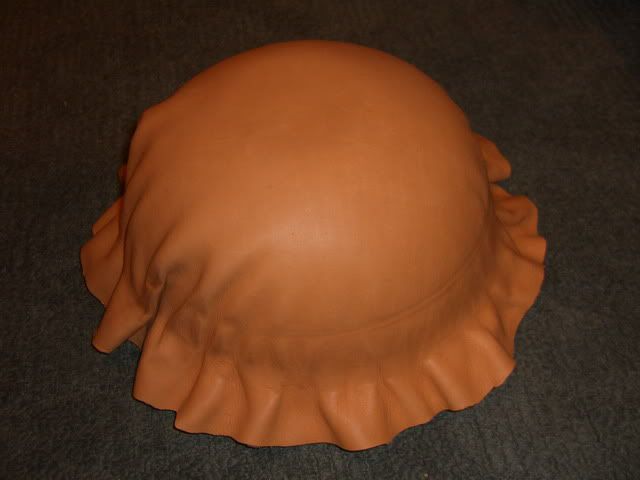
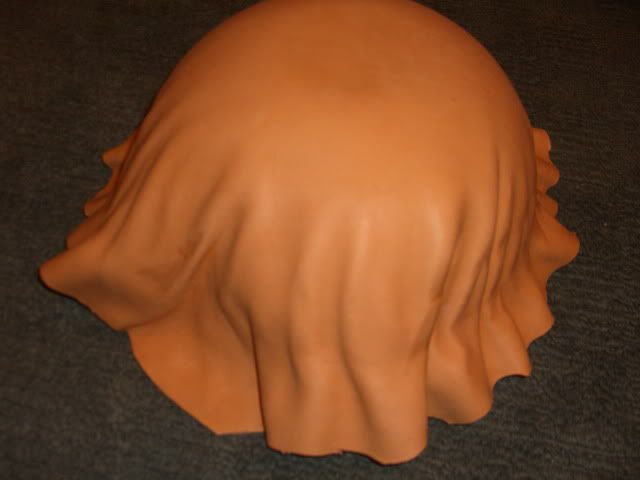
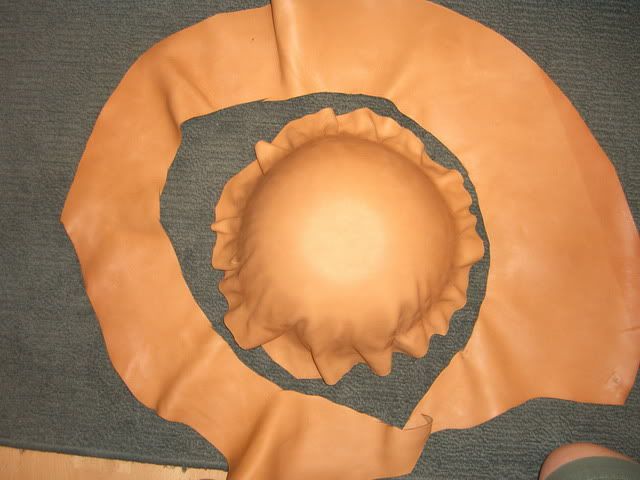
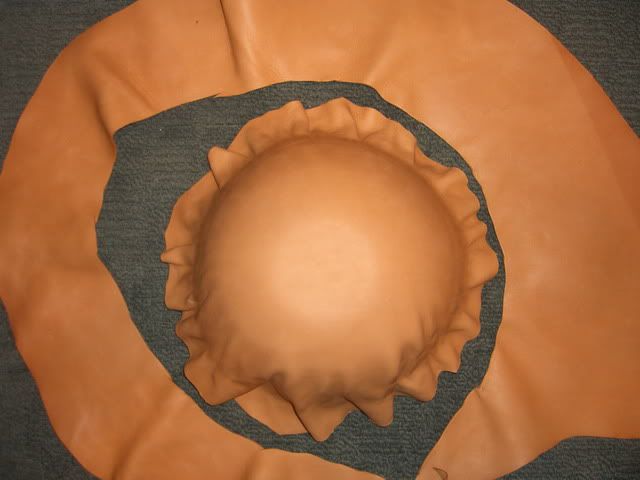
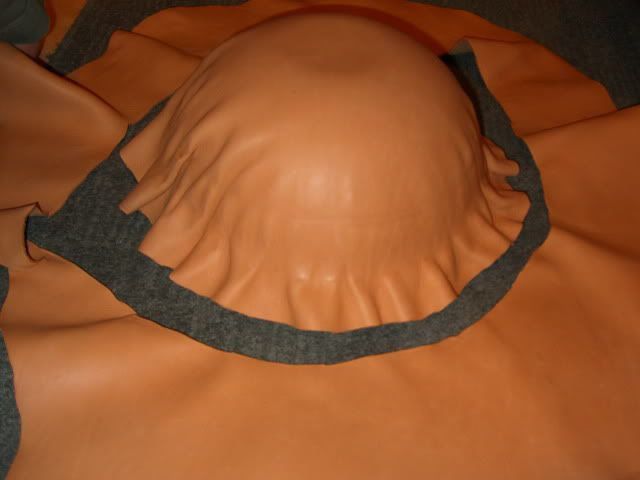
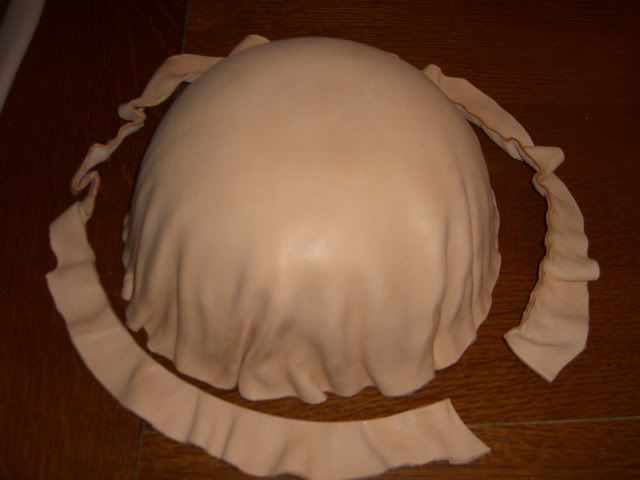
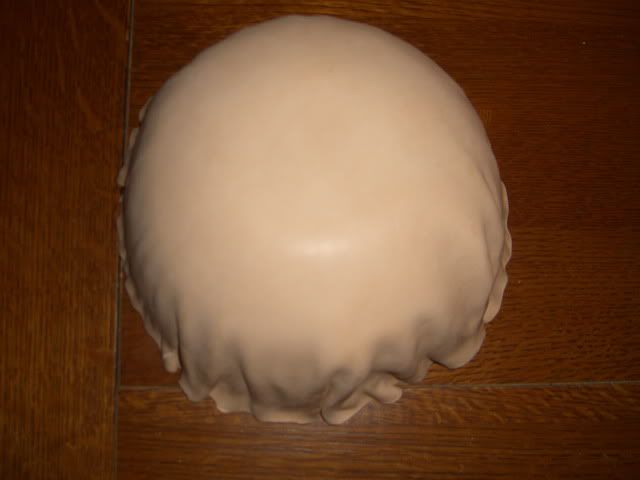
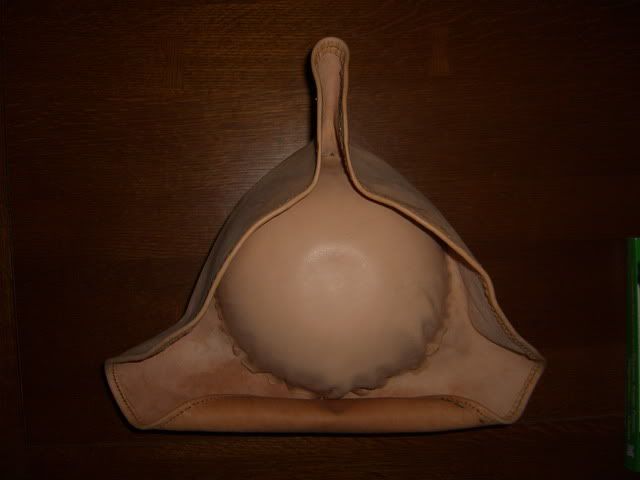
Forming the bowl using real bowls. Be sure to measure the diameter of your noggin with wig and bandana on so you have room to slide the tricorn on your head without being too tight!
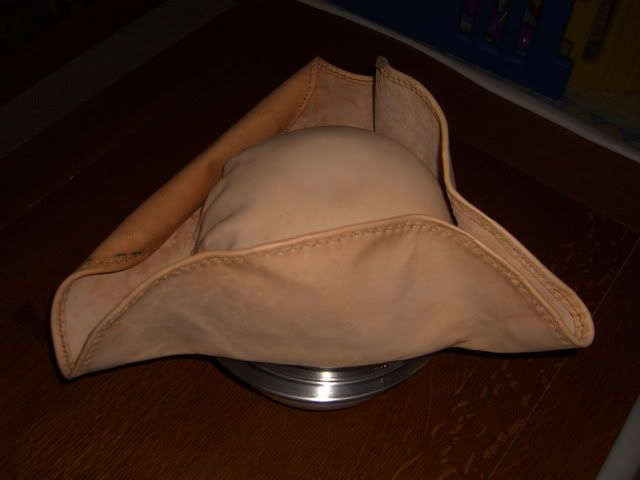
This part actually requires you to put the piece of leather for the bowl in warm water. Do not use bowling water like the previously aforementioned How To guide suggests because it will damage the leather if the water is too HOT!
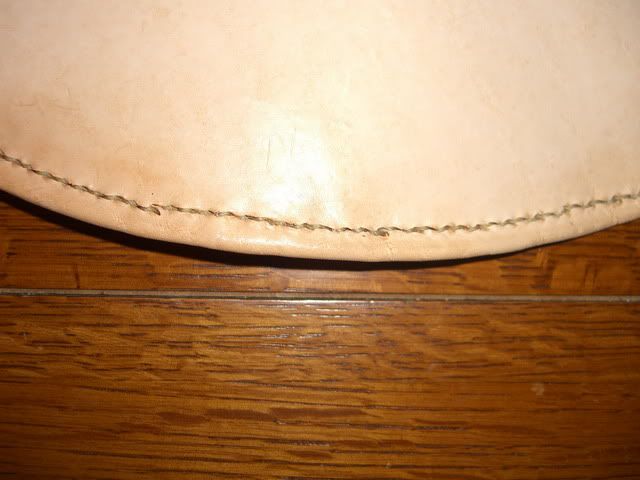
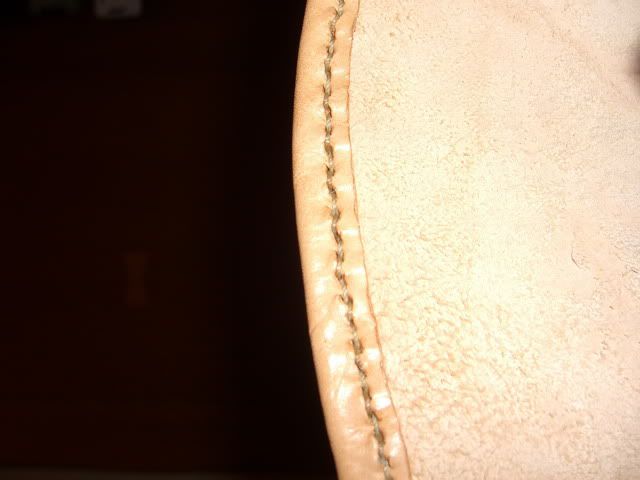
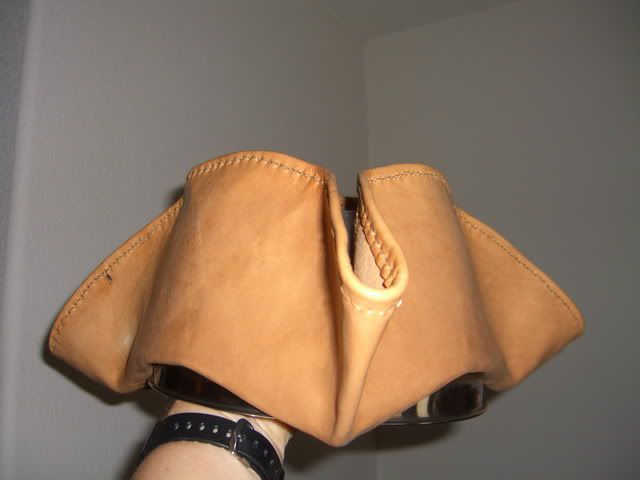
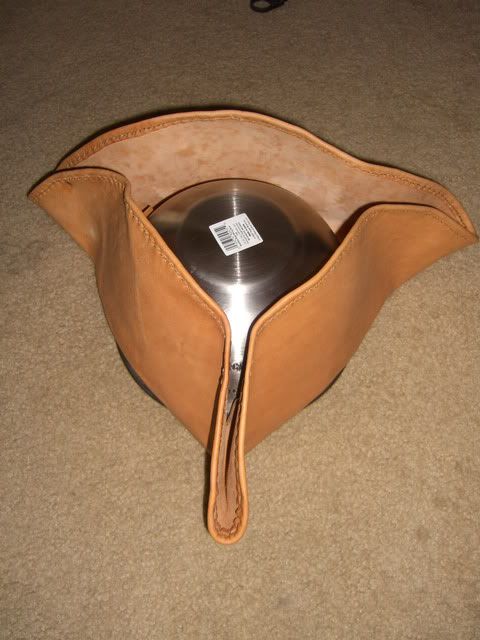
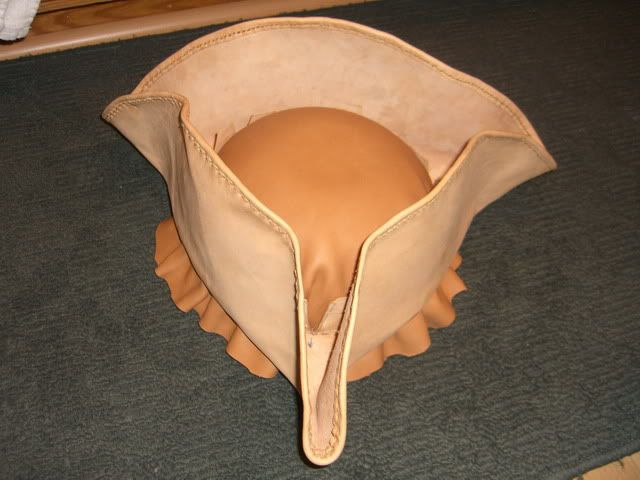
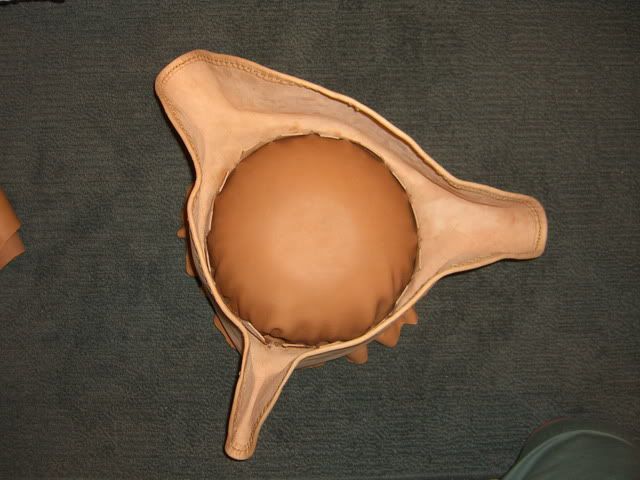
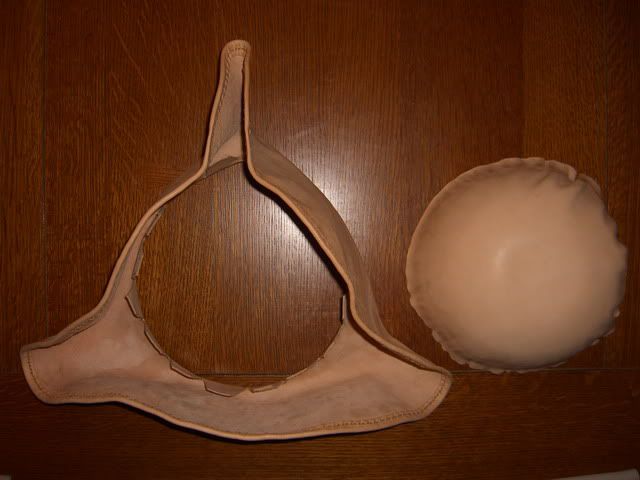
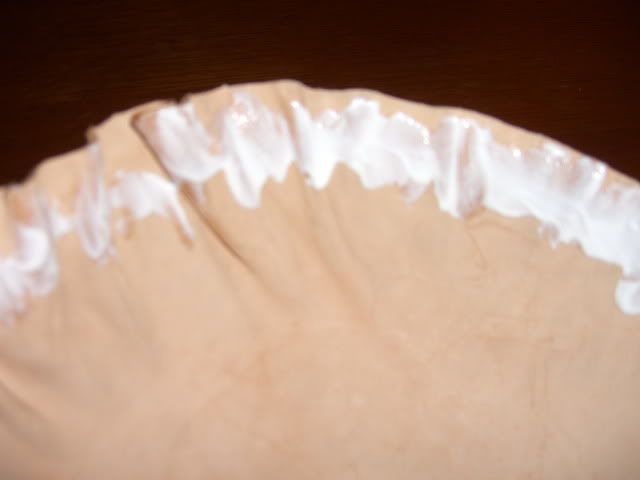
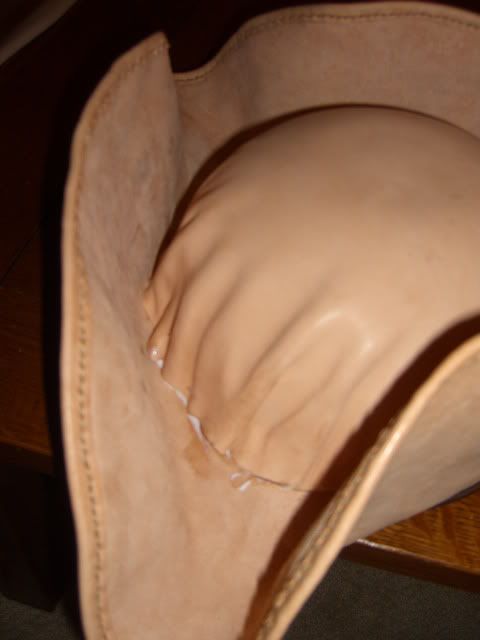
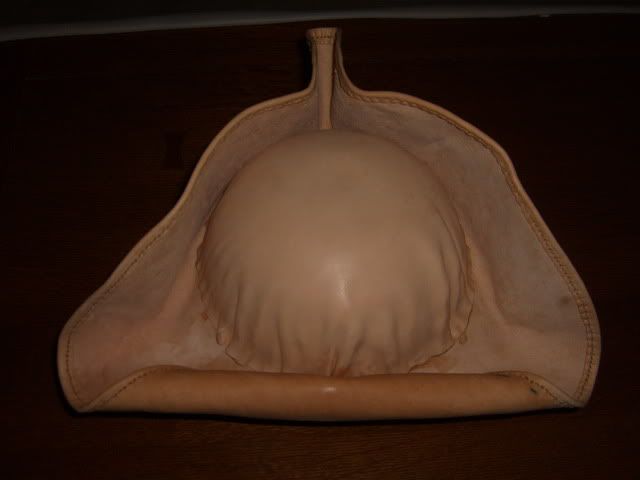
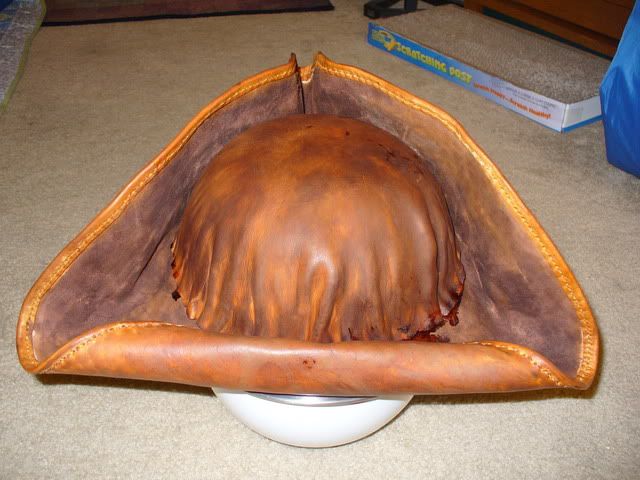
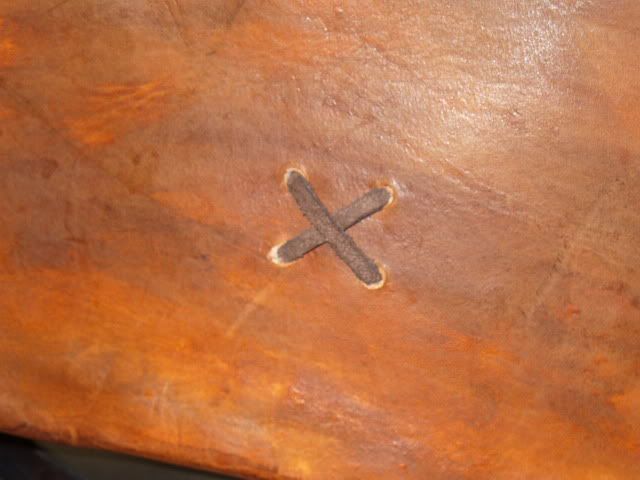
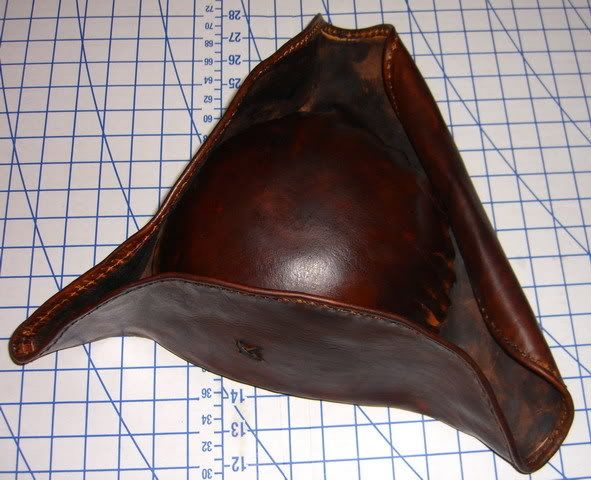
Phase 3 - Cutting the bowl edge and gluing to the pre-shaped brim. Use leather glue which is basically the expensive version of Elmer's glue. Allow at least 24 hours for all drying of glue and leather.
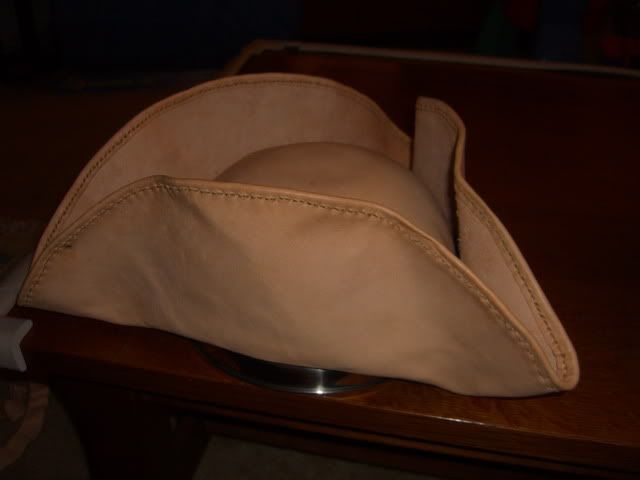
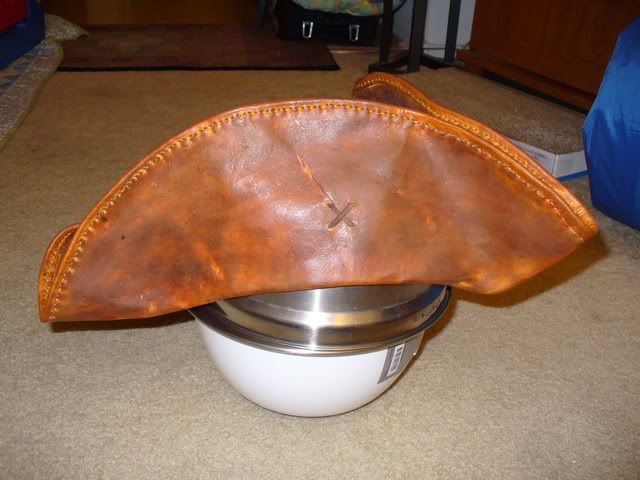
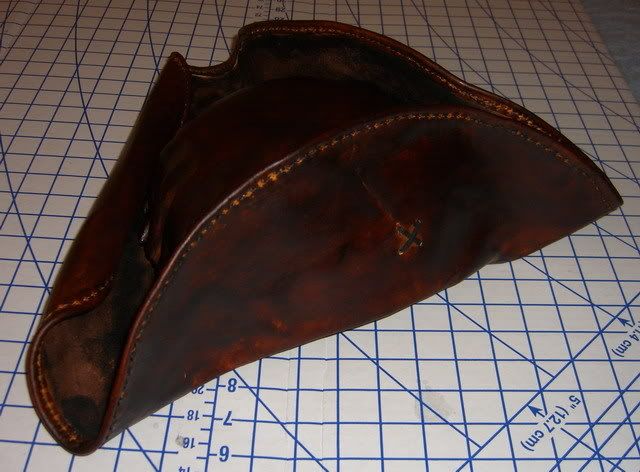
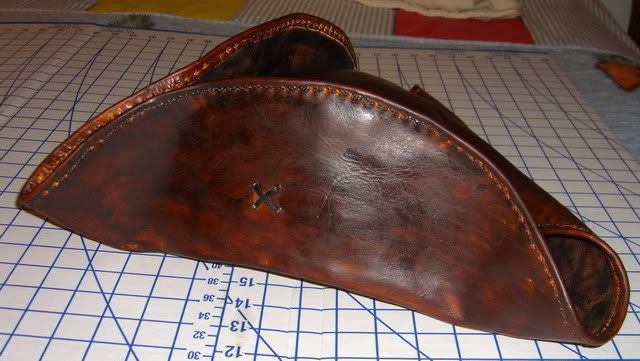
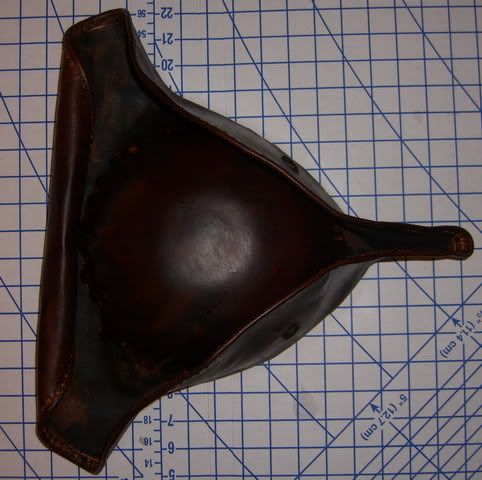
Phase 4 - Staining. Be sure to use oil based stain or very little alcohol based stain. Oil based requires more to be put on the leather to stain it but it also is easier to control for the weathered look. Alcohol based stains will dry out the leather so you will need to condition the leather with Dr. Jackson's Leather Rejuvanator in order to prevent it from drying out and cracking.
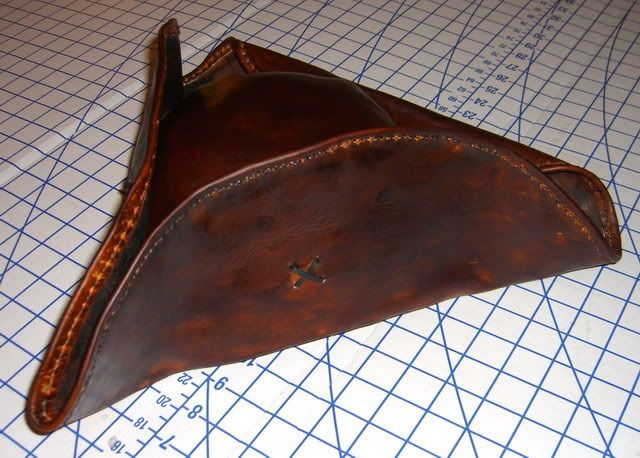
Phase 5 - Optional phase. My tricorn was stained with a lighter brown stain that eventually dried to a reddish color. I ended up restaining with a darker alcohol based stain in order to darkent the leather. The results were much better.
")