darthvaderv
Sr Member
Excellent work :thumbsup
")
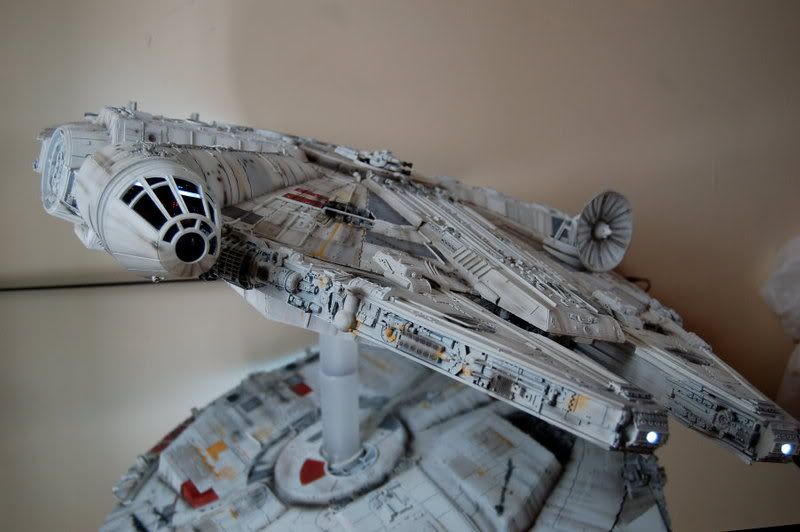
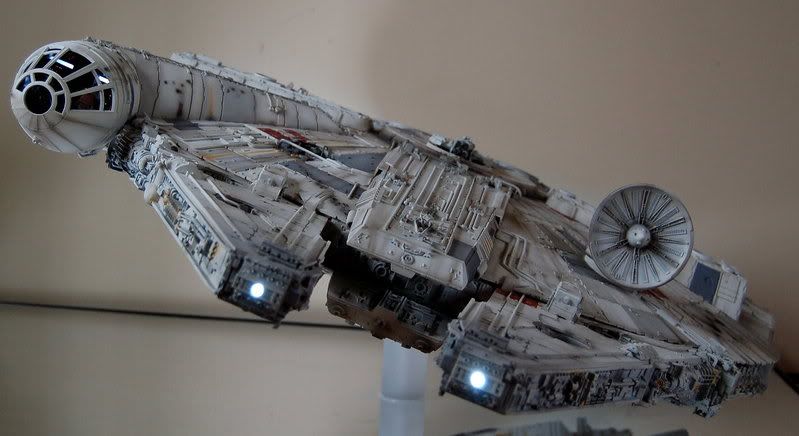
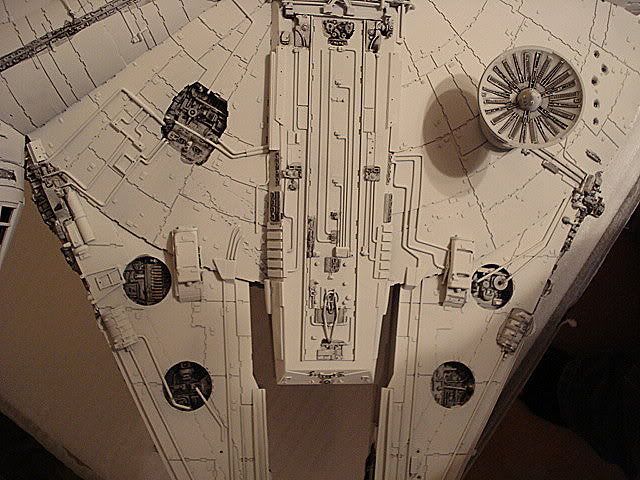
I am very fussy about the paint on Models. I like them just so. Some would be happy with that one , but I like to fiddle! It was too overdone. Theres heavy black weathering , and the base colour is not quite right IMHO. I just wanted to repaint it.
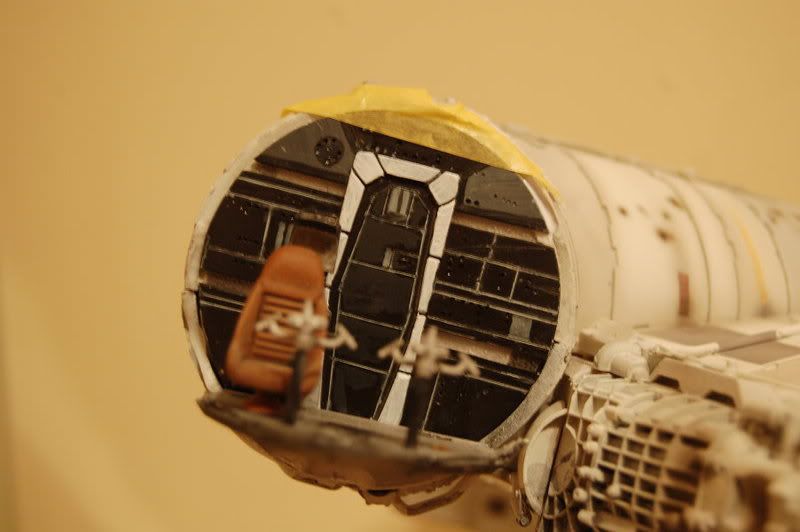
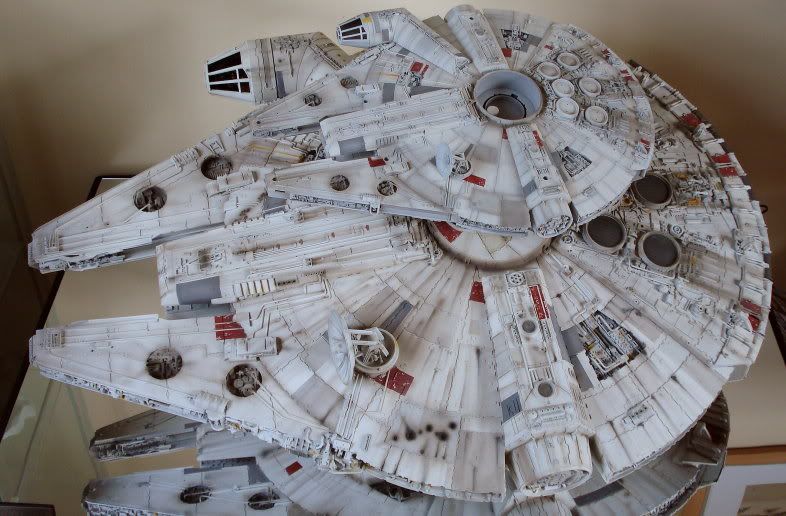
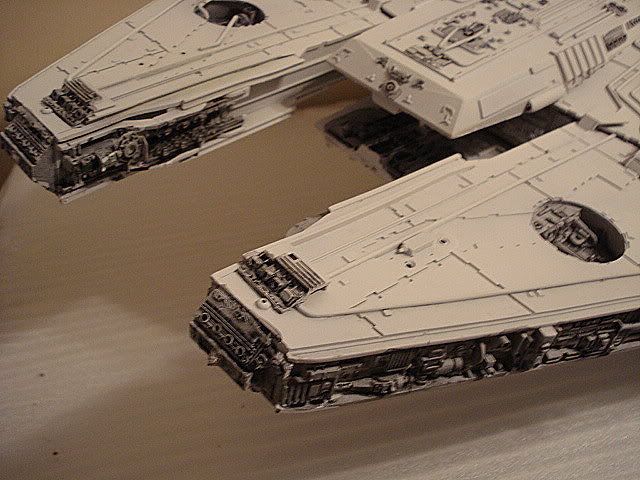
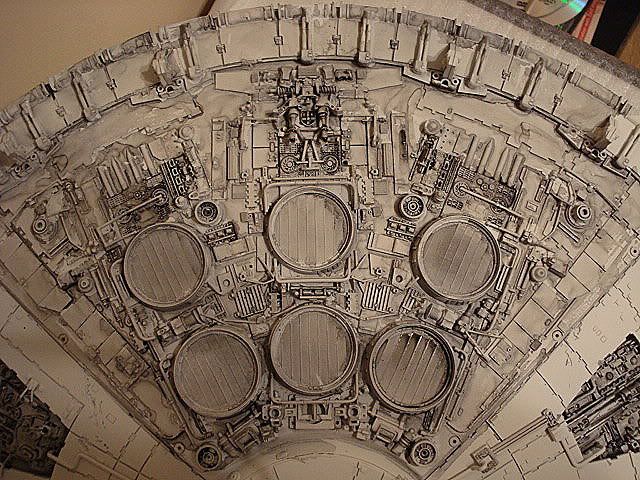
Heres the next step. I added a black wash to the sidewalls and rear deck. This will show the shadows when i airbrush the top cote on. I know that a complete black undercoat can be used , but i preferre this method.
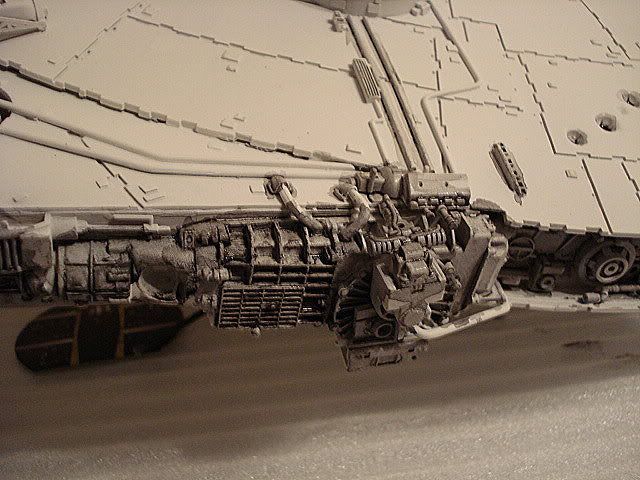
How exactly is the "black wash" done??
I want to do this to my big Toys R Us Falcon
.A wash is done using a very thinned down color... almost water color consistancy. For me I used a "dirty thinner" technique... same principle... think of the thinner you use to clean your brushes... there's not very much paint in it at all... use that thinner like you would paint on your surfaces with alot of detail. The thin mixture will move thru the cracks and crevices of the surface you're painting leaving behind a bit of the color you have in it, in this case black. It highlights all the details as you go. You use a large brush to swipe the thinned paint across the details and let it dry. For extra effect you can wipe away any excess from the raised surfaces with a dry paper towel before it dries completely and it will give the impression of forced shadow depth in your model surface. Give it a try... it's not difficult... any paint can be used... Acrylics you use water... enamels you use paint thinner... just remember... you don't need alot of paint in the water/thinner to get the desired result. You want the mixture the consistancy of water... but just dirty enough from the paint color you're using to leave behind the color you want. Hope this helps!
I just realized I never thanked you. This was a great explanation of the black wash.
Thanks again
Tom
No problem bro... just opposite of the "wash" technique is the "dry brush" technique. This is where you take your paint brush and fill it with a color that is lighter then the piece you are painting (eg: if you're painting brown, you would use a dark brown for the shadows light brown for the highlights). And this is basically all the "dry brush" technique is for... creating highlights on the piece you are painting. When you fill up the brush, you wipe it on your paper towel until almost all the color is gone from the brush (but not all). Then you lightly draw the brush over the surface of the model and it will deposit color just on the raised surface detailed, thus creating highlights. It takes a little practice to do it properly. You don't want to over do it, but you don't want to under do it either. You need to find a happy medium where when you look at the piece you are painting, it will look a lot more realistic. Hope this helps out... lemme know!