tek2graphics
Sr Member
You've done a beautiful job so far!
The only thing i would critique, would be the "car seat" part you used. For some reason it doesn't look "functional". I would use some kind of piping instead. ? Just my opinion. :unsure
The only thing i would critique, would be the "car seat" part you used. For some reason it doesn't look "functional". I would use some kind of piping instead. ? Just my opinion. :unsure

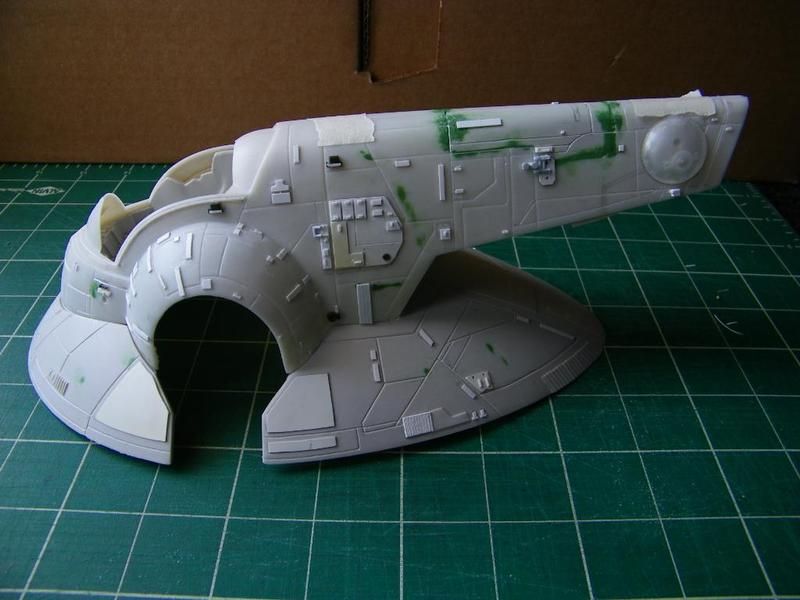
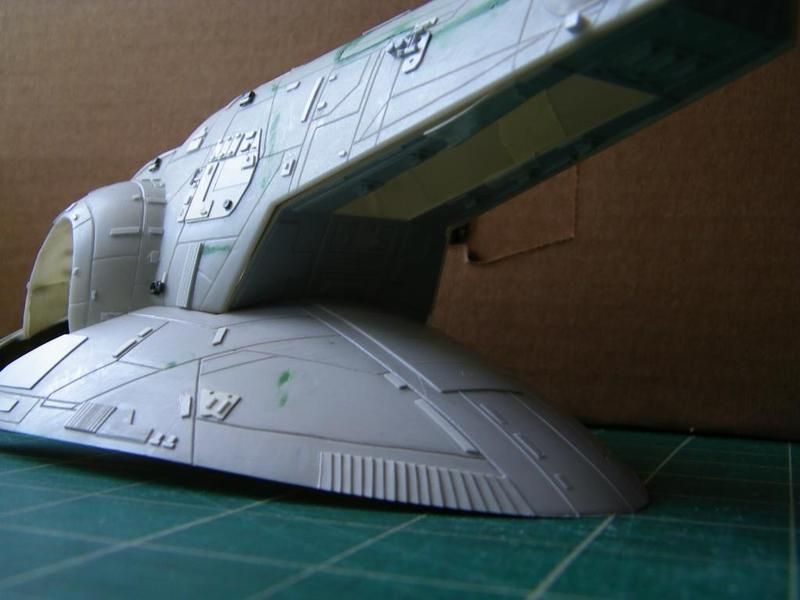
") This really isn't a bad kit with some work.
This really isn't a bad kit with some work.