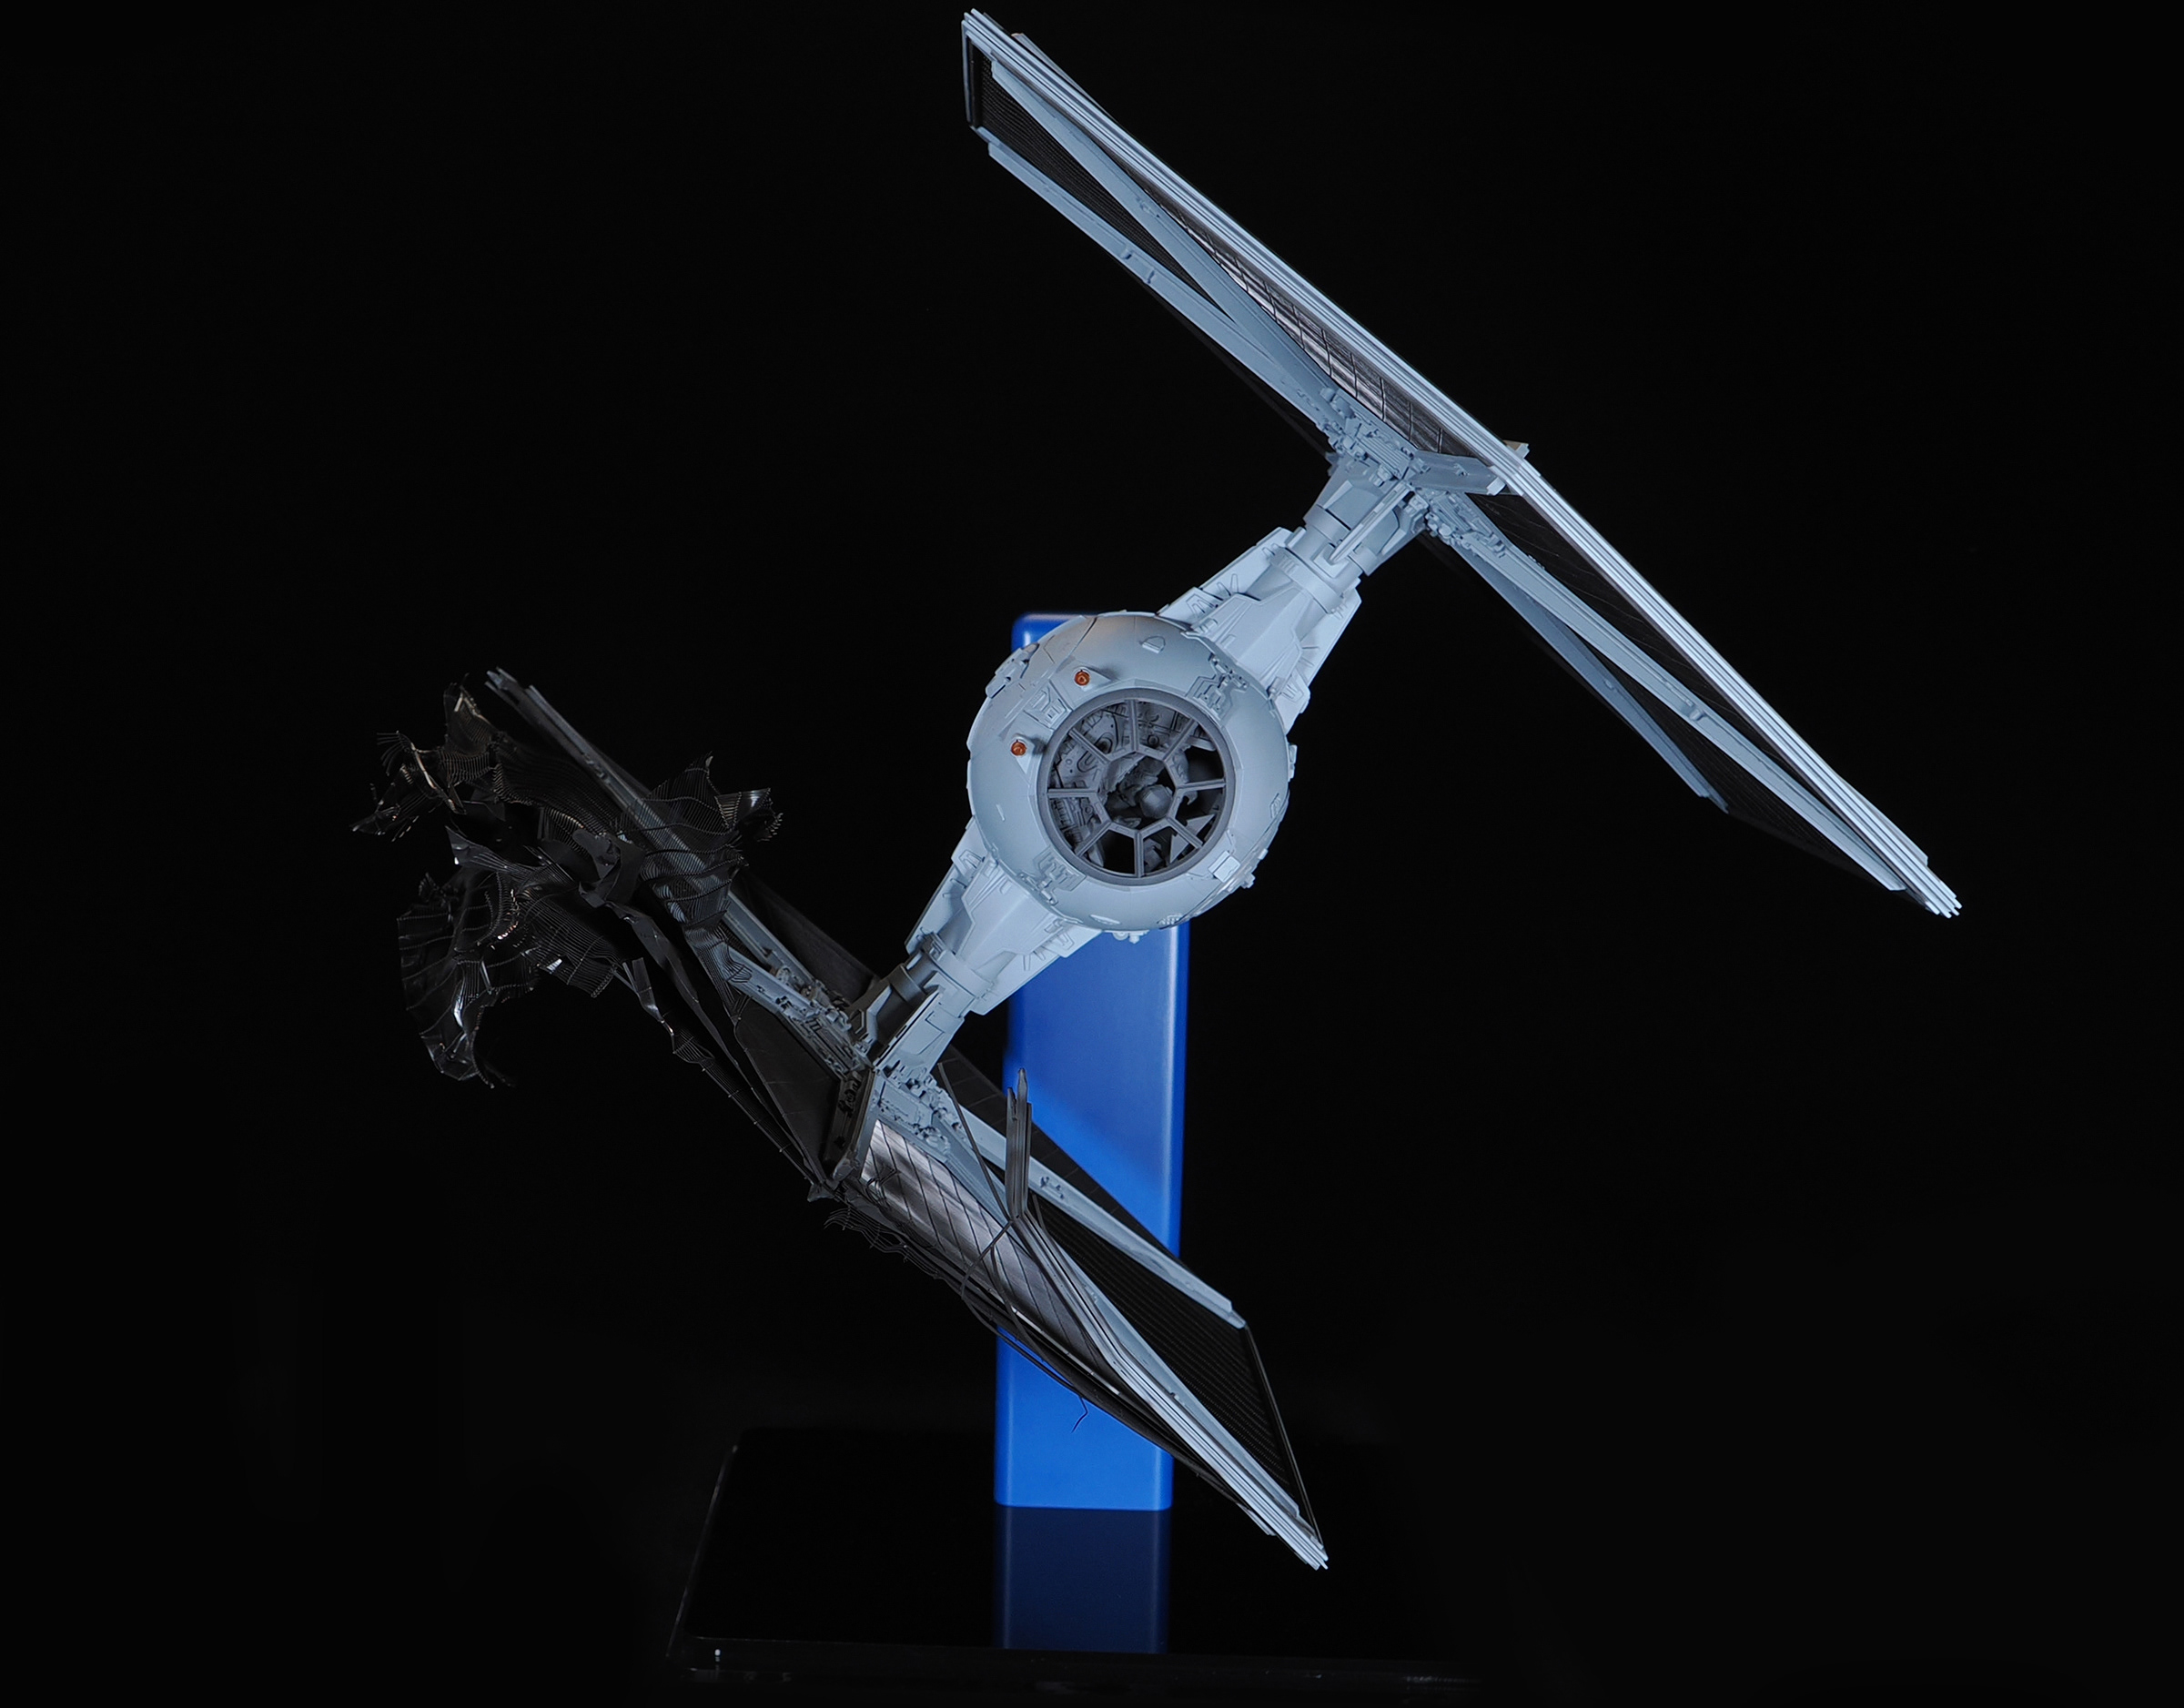
TIE Advanced AMT model

Well this is a bummer....
Waited two full days since putting on the primer, about 60 degrees out. No dust or anything on the surface, sprayed.these pieces and immediately put them in the shed, like I always do, since it will be even warmer, and this happened, and I'm not sure why.
Guess the only thing to do is wait til its dry and then try and carefully sand out these wrinkles.
1000014967.jpg
 
Tried a test on just part of one of the fins, and that was to spray just very very lightly. And so far, its looking ok.
Even through I was tryingnto spray the body a light to medium, guess it was still too much.
Paint can be so weird sometimes.
 
So, what was the primer? Was it an acrylic? Some of the Tamiya spray paints are more like lacquers, so looks like it reacted with the underlying coat... might need to strip it back down and go again. Regular household bleach works well (and it is cheap!) Just soak overnight (in a glass casserole dish perhaps) covered with plastic wrap to cut down the evaporation, then use an old toothbrush to help get the old stuff off.

So many different 'labels' used today that mix up the old terminology (such as 'acrylic lacquer') makes it tough to keep the old adage of 'laquer under enamel, then acrylics' straight. I've a similar experience with crazing which again reminded me to run a test when mixing paints from different lines and formulations... extra work, but saves from things going wrong.

Glad you like the Vader figure! It does look rather good. I was wondering if you would be able to incorporate the control yoke that his hands are holding the handles of... may have to make a socket from sheet plastic to hold it on the forward bulkhead, so it is well mounted. Don't want it coming loose after you close things up!

Keep plugging, the satisfaction at the end will be greater for the challenges met... ;^)

Regards, Robert
 
Last edited:
So, what was the primer? Was it an acrylic? Some of the Tamiya spray paints are more like lacquers, so looks like it reacted with the underlying coat... might need to strip it back down and go again. Regular household bleach works well (and it is cheap!) Just soak overnight (in a glass casserole dish perhaps) covered with plastic wrap to cut down the evaporation, then use an old toothbrush to help get the old stuff off.

So many different 'labels' used today that mix up the old terminology (such as 'acrylic lacquer') makes it tough to keep the old adage of 'laquer under enamel, then acrylics' straight. I've a similar experience with crazing which again reminded me to run a test when mixing paints from different lines and formulations... extra work, but saves from things going wrong.

Glad you like the Vader figure! It does look rather good. I was wondering if you would be able to incorporate the control yoke that his hands are holding the handles of... may have to make a socket from sheet plastic to hold it on the forward bulkhead, so it is well mounted. Don't want it coming loose after you close things up!

Keep plugging, the satisfaction at the end will be greater for the challenges met... ;^)

Regards, Robert
Primer was Rust-oleum.
Paint was Tamiya AS-28.
But looking at it now, I still think its too dark. I might just see what Home Depot has, just incase.
I did already sand it all down and already added two very light coats of the primer.
Still needed a little more sanding, and I also went over all the lines.
This was the worst one, so I think I'll be ok, just when I get to painting again, just night need to go super light with each coat.
1000014968.jpg


I did very light coats on these, and covered up the the top and bottom part, just incase. Turn out alright, but, if I can find a lighter gray I like, I'll go from there.
Its almost the same gray as that gray primer...slightly different.
1000014969.jpg


Everytime I think its going well and I think its going nice and fast, something like happens like this.
 
Hope everyone had a great Easter weekend. Mine was sure busy, as the church I'm going to was able to have access to this whole entire park down the street, so they raised money to have everything free. (Minus food trucks that came) They had face painting, bounce houses and slides. Even a machanical bull for kids and adults to ride. And an egg hunt(s)....
There were four sections. Disabled kids, younger kids, a little older, and then oldest....plus, every half hour, they did it again totalling four times over 2 hours. That was on the baseball field.
1000014984.jpg

I brough my camera on a steady cam rig and filmed it all for the church. I was so absolutely exhausted by the end. I got there way early to help set up, and stayed til everything was all tore down, packed in a truck, and brought back to the church and put away. 7 hours right there.

The estimated amout of people was 4000 to 5000 showed up.
Pretty crazy for sure. It was fun.
The line for the egg hunt was quite long.
1000014985.jpg

1000014977.jpg

1000014976.jpg


Anyways, now back to some model work.
Had to give blood for the doctor this morning, and Lowes down thr street, so checked out their paint.
This primer ended up being the best color I could find, so I'll just use that as the final.
1000015006.jpg


So I sprayed the one here in the left, vs the old cracked one I still need to sand down. Much better looking.
1000015005.jpg
 
Talking about gluing things on wrong, of my 12 AT-ATs I've collected over the years, the first one was this old kit from 1983 my Mom found at a garage sale.
I built it sometime in 2002 I believe, and one of the first kits I'd really built.
Look at the front right leg (the walkers actual left leg), and I had glued it on backwards and hadn't noticed til sometime later.
The back ones are correct.
Since then, the rods that connect the foot to the leg has broken off on both front legs.

1000015188.jpg
 
That's life! As they say "S**t happens"... I suppose *everyone* has a story like that (part of building models...) As it goes, not one that is terribly impactful, at least everything still went together. ;^)
Gotta chuckle a bit though that the instructions plainly show it backwards... so technically, built per the design spec!

Cheers! Regards, Robert
 
Got playing Final Fantasy 13, trying to get the platinum trophy, which is quite a grind. Took me 122 hours.
I was raining for 4 days strait over a week ago, so why I ended up so caught up playing. Thankfully, I got that last night, so I decided I'd jump back to this. First, trying to see if I could un-attached that one strip, by adding some finger nail polish remover....but, even trying to be careful, I ended up getting too much on the body, which strips that primer...
So I did get the strip off at least, but in the end, I decided to just start over and am soaking both top and bottom in a bucket of bleach, and hopefully do not ruin the whole thing now. Hopefully it brings it back nicely to the original plastic. Although, I realize my paint job for the cockpit will also have to be redone now...
Since both fins are ok, I just sprayed them with the new lighter primer color, and HOPE they turn out ok, as I really do not want to have to keep redoing this thing.
I've already got two more projects lined up I want to do.
 
Also was wondering, and using this pic of a regular tie....but the black part of the fins have this bit of reflection that can be seen. I was going to go with a flat black, as gloss doesn't seem like it would be right.
My guess, if that for the films, the black part is an actual material they used, and not just painted on. I know someone here would know more than me.
Of course, for this model, I only am able to paint on the black part.
But mostly just curious about what they used for the films.
tiefighterfins.jpg
 
Also was wondering, and using this pic of a regular tie....but the black part of the fins have this bit of reflection that can be seen. I was going to go with a flat black, as gloss doesn't seem like it would be right.
My guess, if that for the films, the black part is an actual material they used, and not just painted on. I know someone here would know more than me.
Of course, for this model, I only am able to paint on the black part.
But mostly just curious about what they used for the films.
View attachment 1810313

The material for the solar panels is the elusive Koolshade.

You can see it here, in Moff Eaton's thread:


The material for the solar panels is the elusive Koolshade.

You can see it here, in Moff Eaton's thread:


I do remember seeing that now, had just forgotten. Probably why I was remembering it being a material not not just painted on.
I still think a flat black will look better than a gloss, but any thoughts on that?
 

Your message may be considered spam for the following reasons:

If you wish to reply despite these issues, check the box below before replying.
Be aware that malicious compliance may result in more severe penalties.
Back
Top