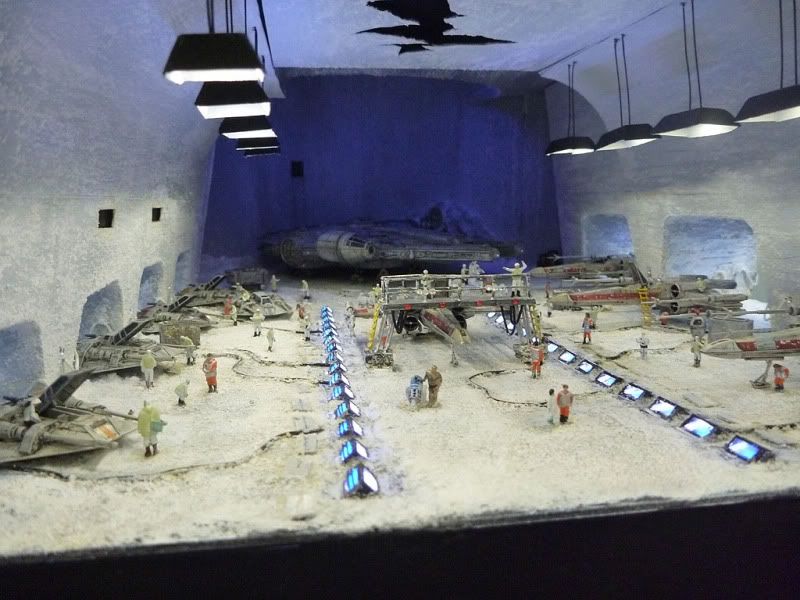
I was trying to figure out how I can make the Landing lights that are seen on both sides of the hangar down the center. Most examples that I have seen others make for these lights where just way too inaccurate.
I could have sculpted them, or scratched them in plastic myself, but I wouldn't be able to get the detail right and it wouldn't be too clean. Then I considered laser cutting a styrene pattern and putting it together, but its size seemed too small and complex to get this done. In addition I wanted it hollow so I can add an LED into it for lighting.
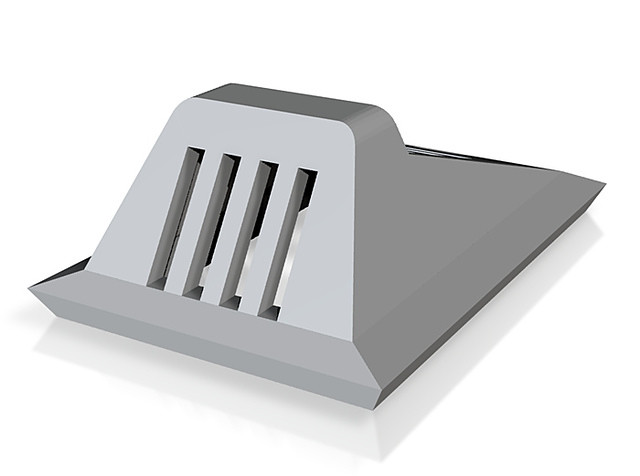
Then it occurred to me...why not get these 3D printed? I drew up the light shell using the available reference that I have in AutoCAD 3D scaled at 1/48, and exported it to a .stl file. Uploaded it to shapeways.com and now hopefully I will have my first landing light in hand in a week or so.
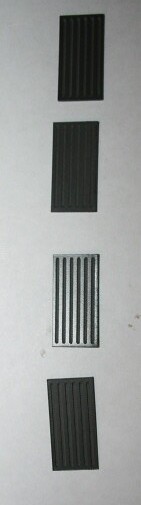
little package arrived yesturday containing my laser cut floor grates :love
they are so small, but once placed into the diorama they do add a nice touch. I just need to add small feet to the corners and they should be ready to go.
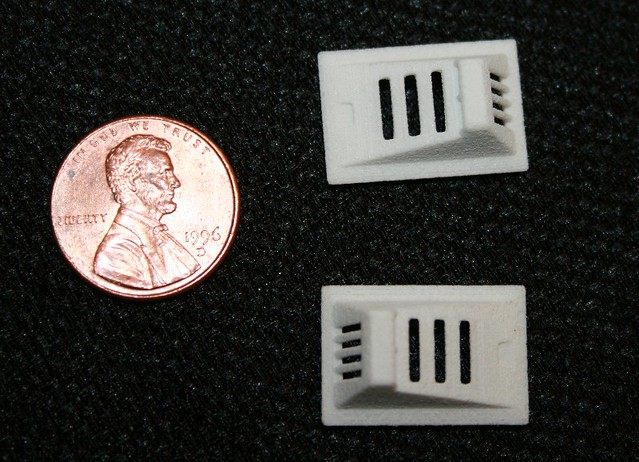
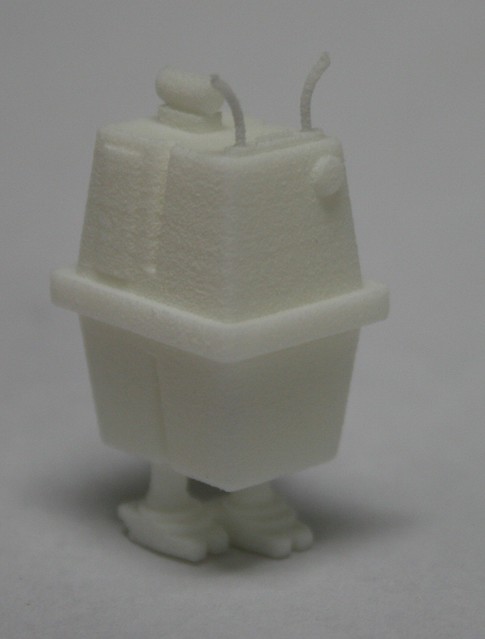
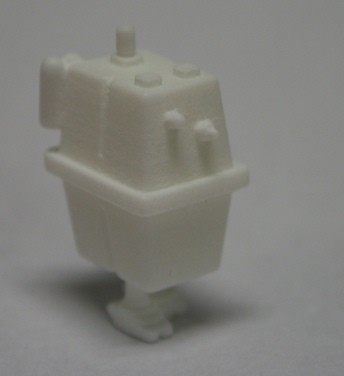
Another little package arrived today, my 3D printed landing lights :love
I had two printed out just to see how they would look and I think they printed nicely. May want to sand the parts a bit for a smoother finish, otherwise, I am looking forward to seeing these little guys lit up
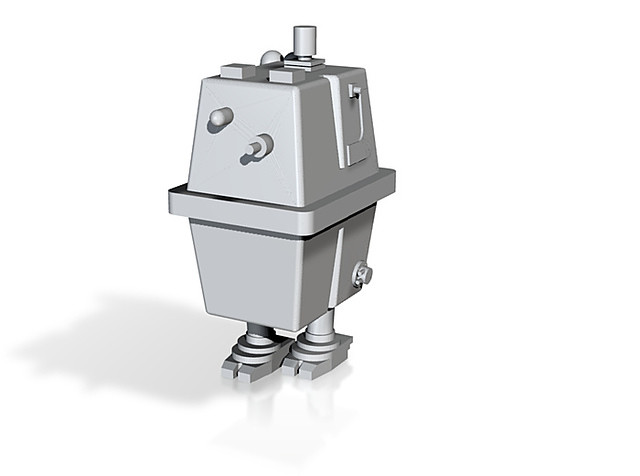
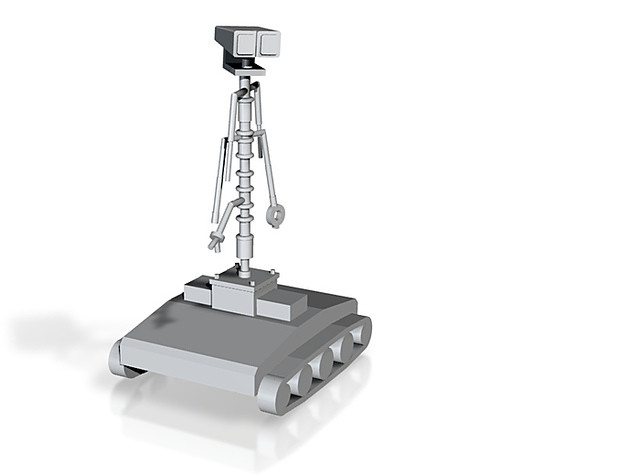
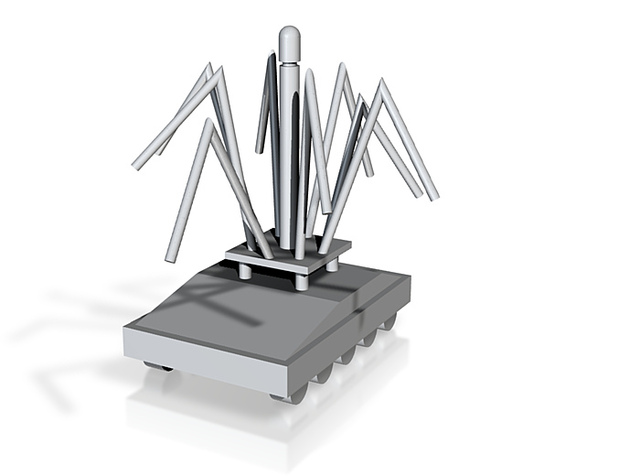
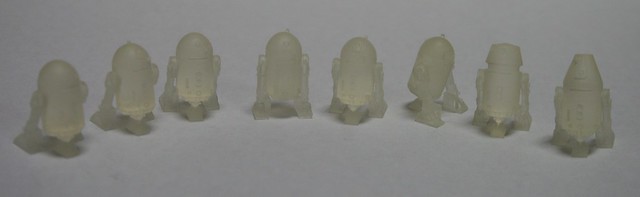
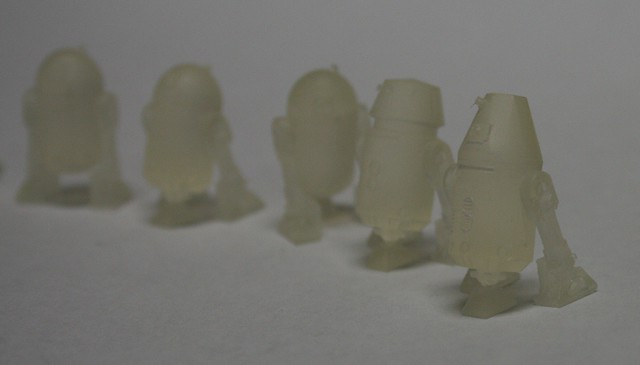
Sorry, I don't have an exciting update yet, just two more teaser 3D images of more droids. Nothing too fancy, 'cause at this scale the details would be unprintable
Next I need to work on the Protocol Droids and the Astromechs
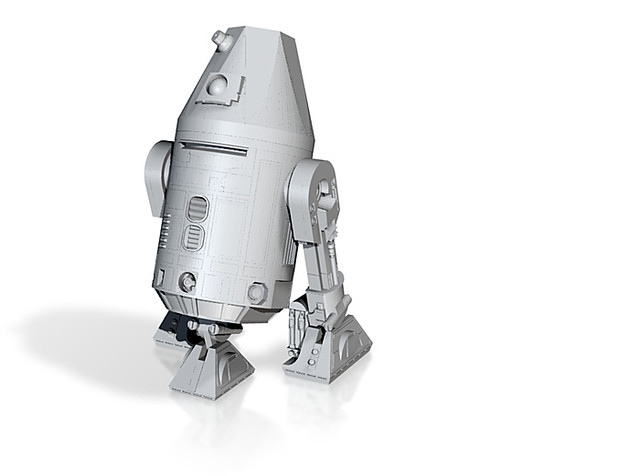
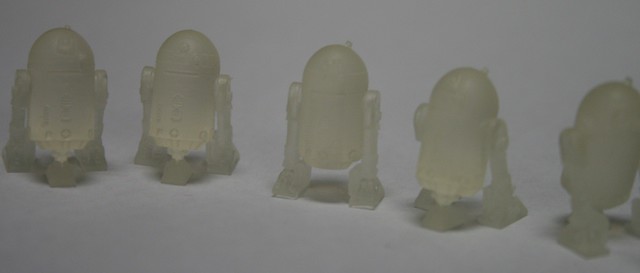
More 3D Droids to be printed. Ended up drafting them up myself from scratch. I'm Def lookin' forward to seeing how they come out.
edit: Finished drafting up all the droids that inhabit the Hanger, minus the Three protocol droids. I will have to tackle those later. I'm going to be placing another order with shapeways.com later this month, so some time in early May I think we should see all these little guys in hand.
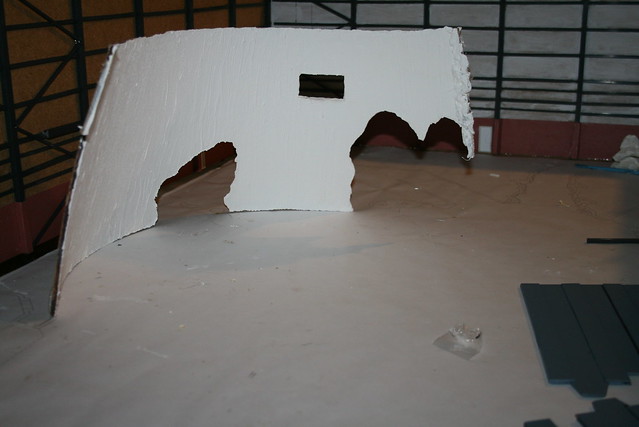
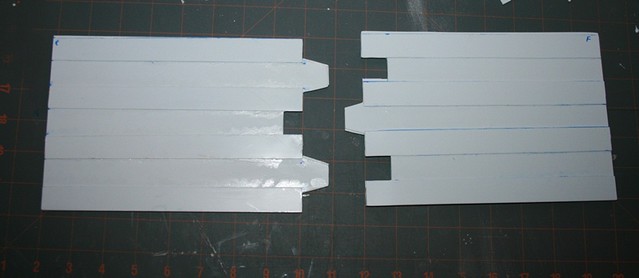
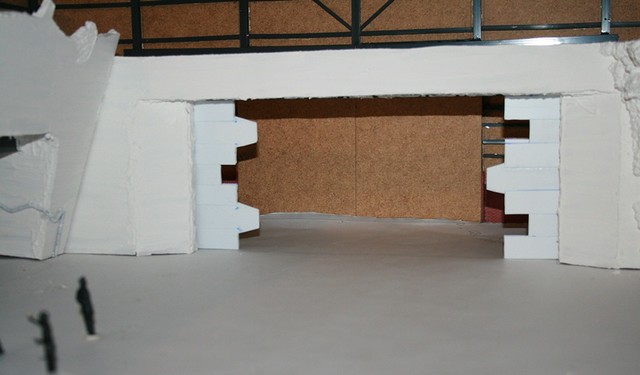
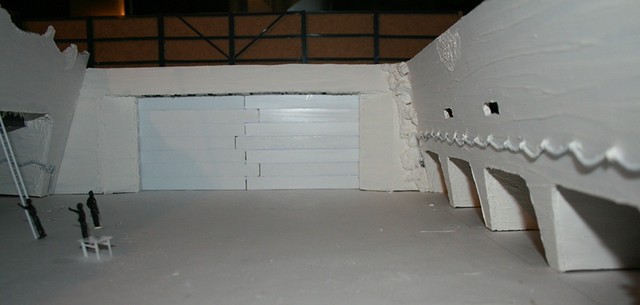
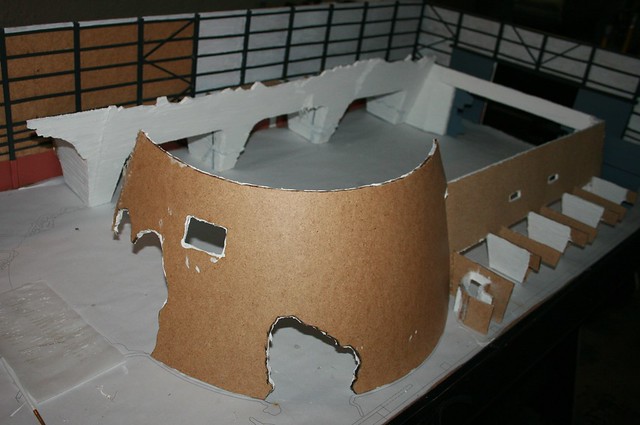
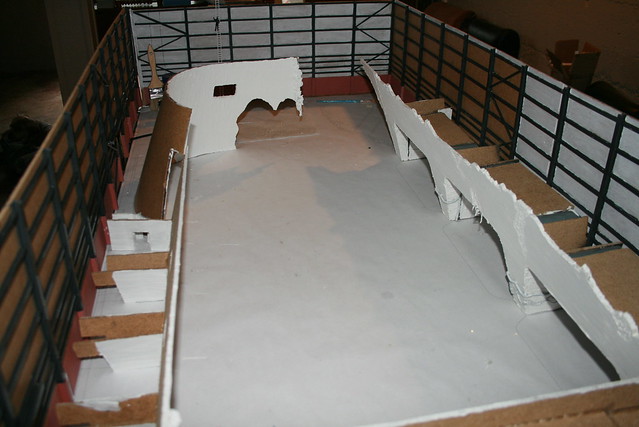
Quick little update that wasn't too quick to do. I have been avoiding this section of the Hangar as I had no idea how I was going to tackle it. I was thinking about getting a coned shaped bucket and cutting it to size, but I was hoping to keep the materials consistent. I then thought about getting it 3D printed, but a $1000+ quote shot that idea out of the water.
I figured the only way I was going to do it right was to draft up the cone flat and cut it out. I then placed the board in my Shop-vac tub as it was the right Diameter: filled the tub with water and let it soak. The idea was that the water would soften up the wood and allow it curve more. I then used clamps around the edges to hold it in place. Once the water was drained I allowed it to dry. pulling it out if the tub, the wood held its shape. Using a Dremell I cut out the doors and main window, then painted on the 'ice'. I think it turned out pretty well.
")