Hi Gang,
The Pano view of the TFA cockpit has put a HUGE fire under my butt! It was just what I needed! While the Pano view is not the ESB cockpit, the designers put an incredible amount of love and care into it's recreation! I've spent hours pouring over every nook and cranny. Funny thing... there is just a handful of greeblies we still can't see. But, it is DEF a source of inspiration and finally shows us how certain areas of the cockpit were treated and designed... Let's get to some updates!
Our newest member, Mitchell, stopped by over the weekend. We finally took the cockpit apart down to the frame and took measurements for the new steel frame/platform. We're going to add adjustable casters to help with the leveling and this should save us a little on weight. I also worked on more of the back wall greeblies...
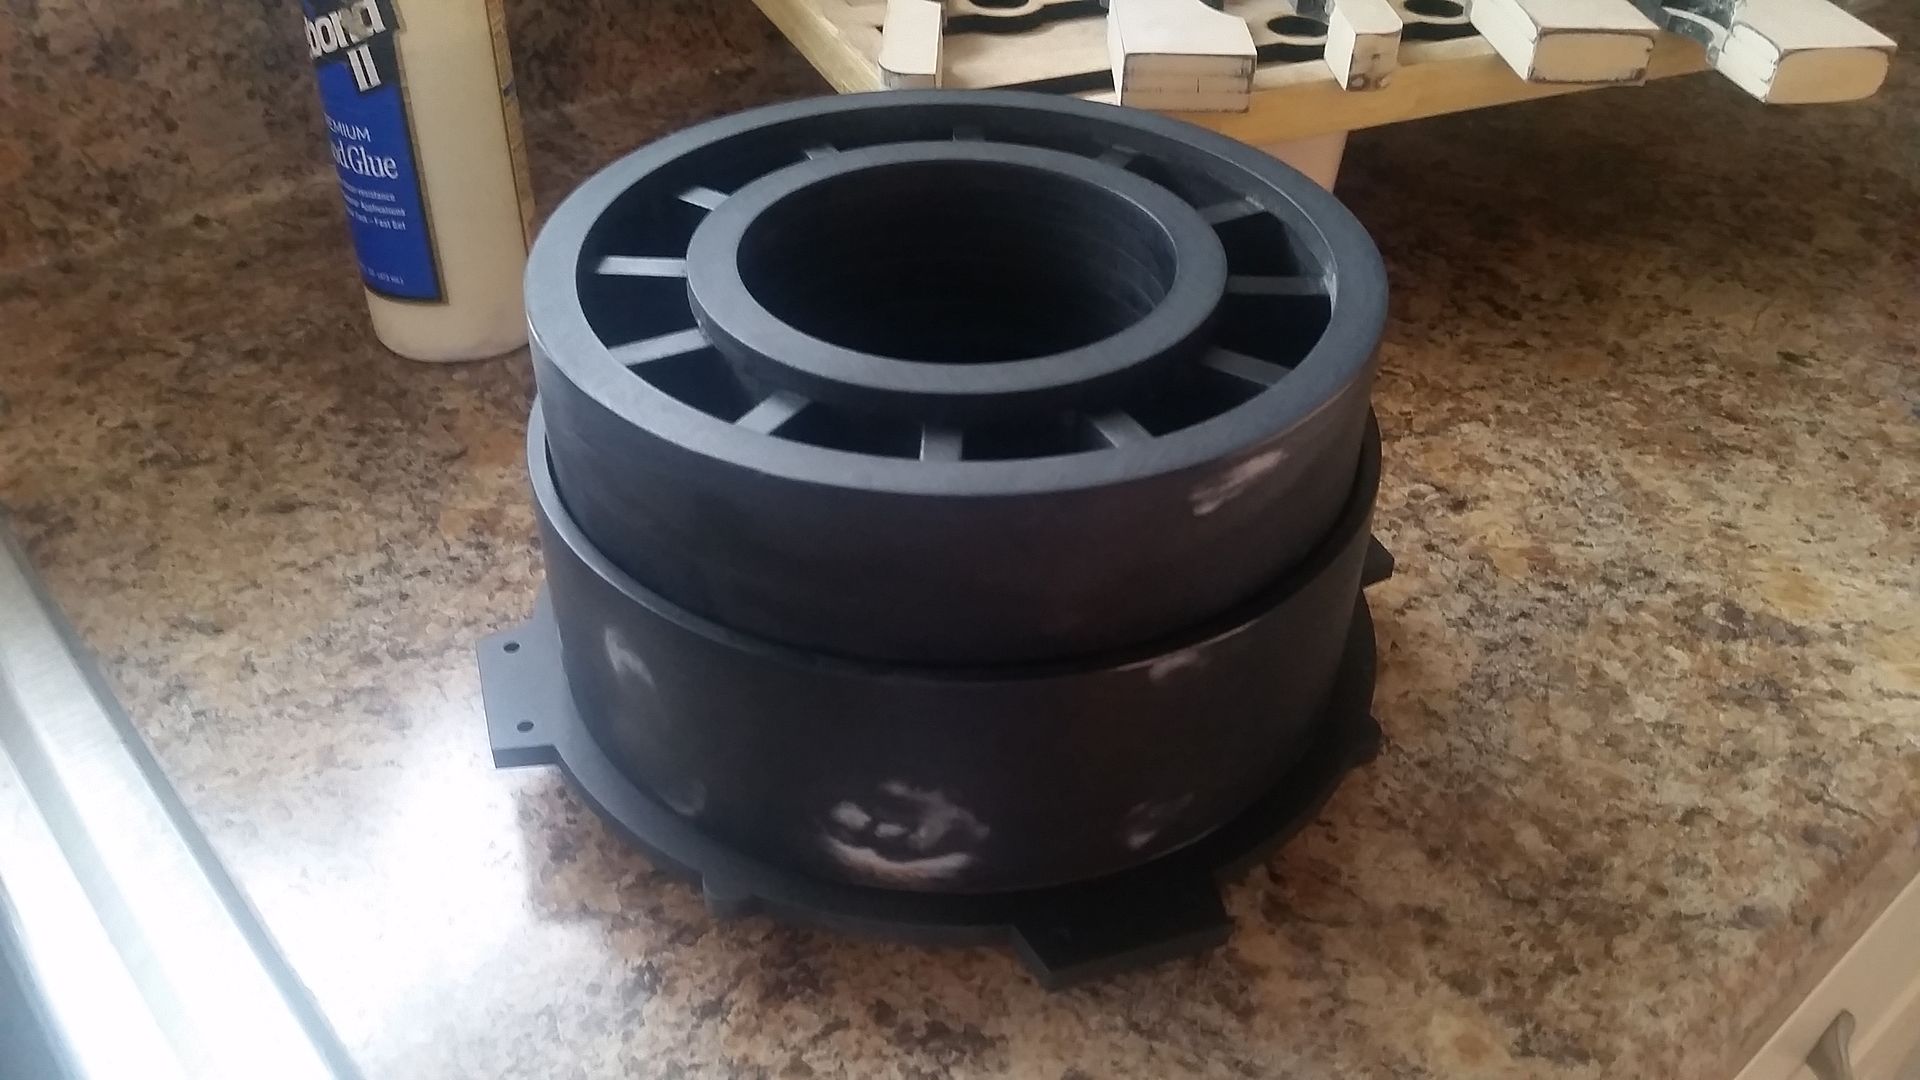
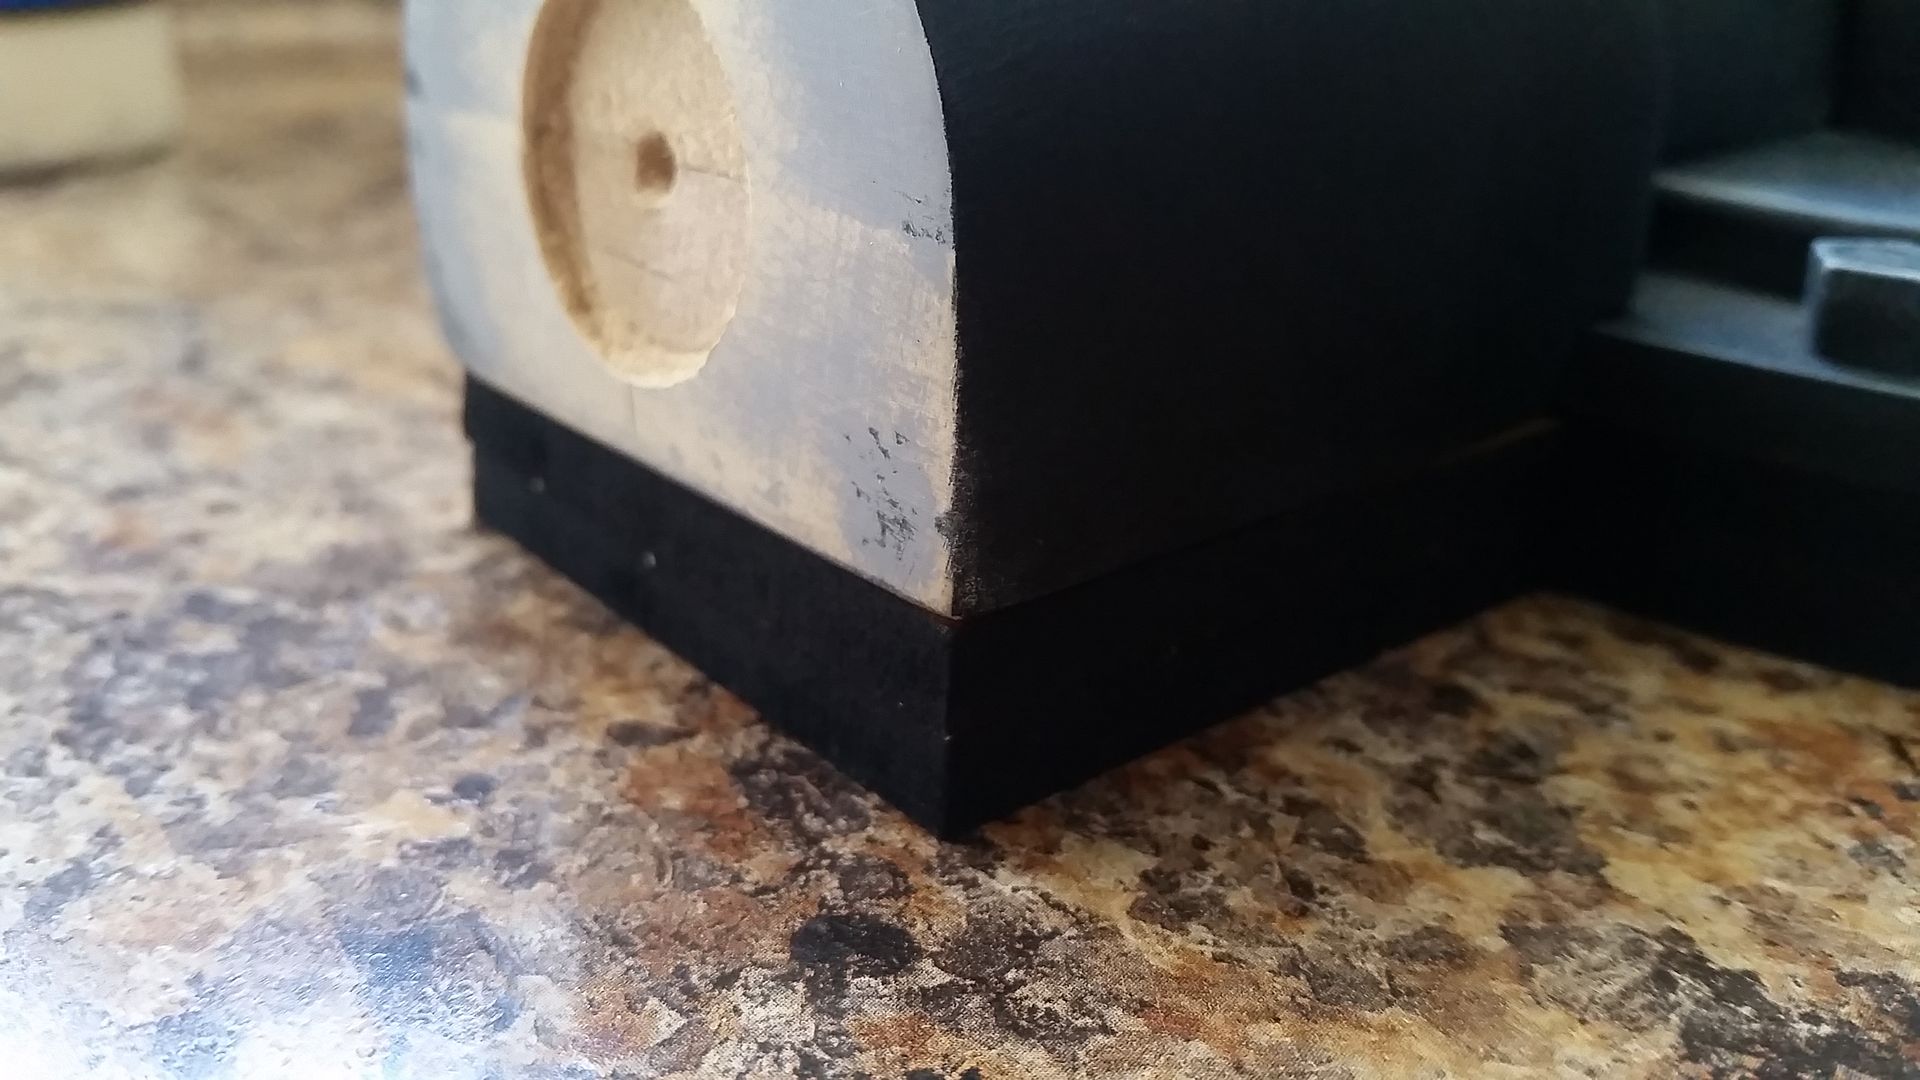
Adhered to the base
Top adhered
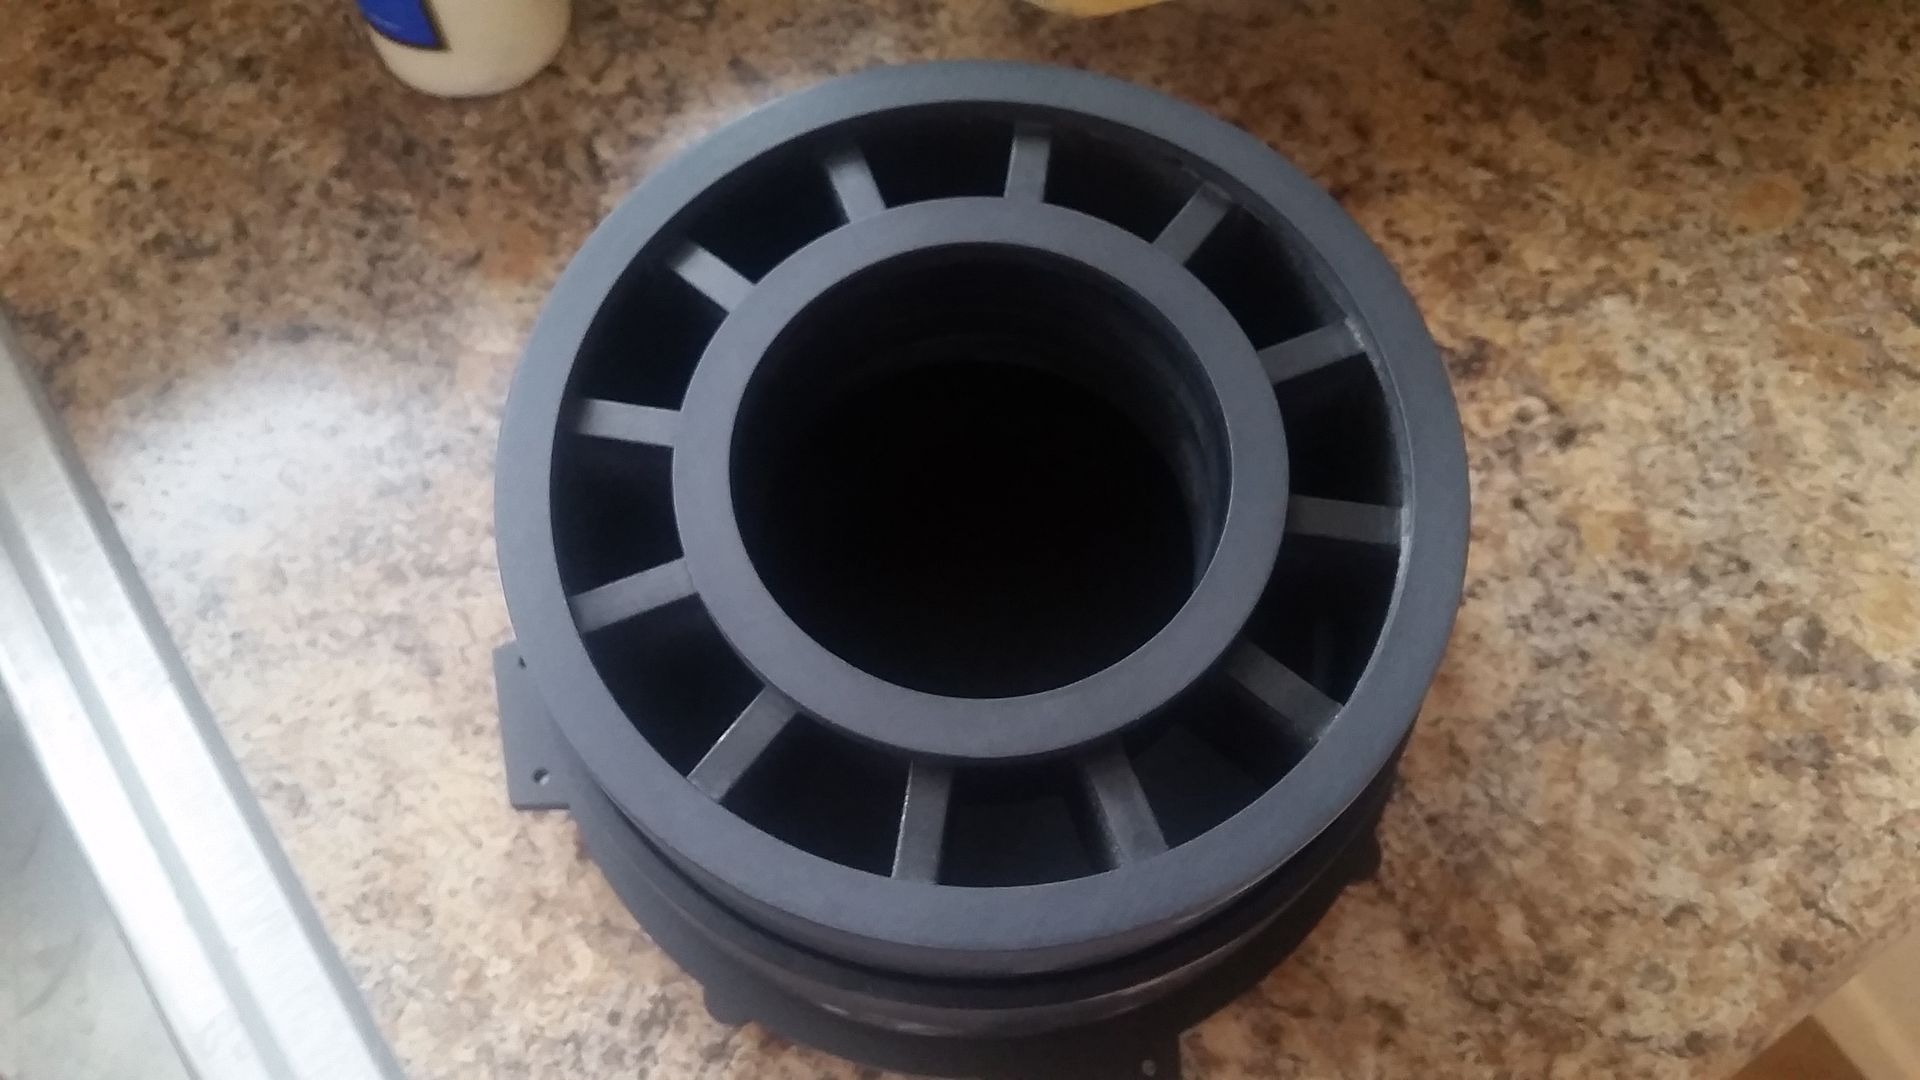
Another coat of black and then silver
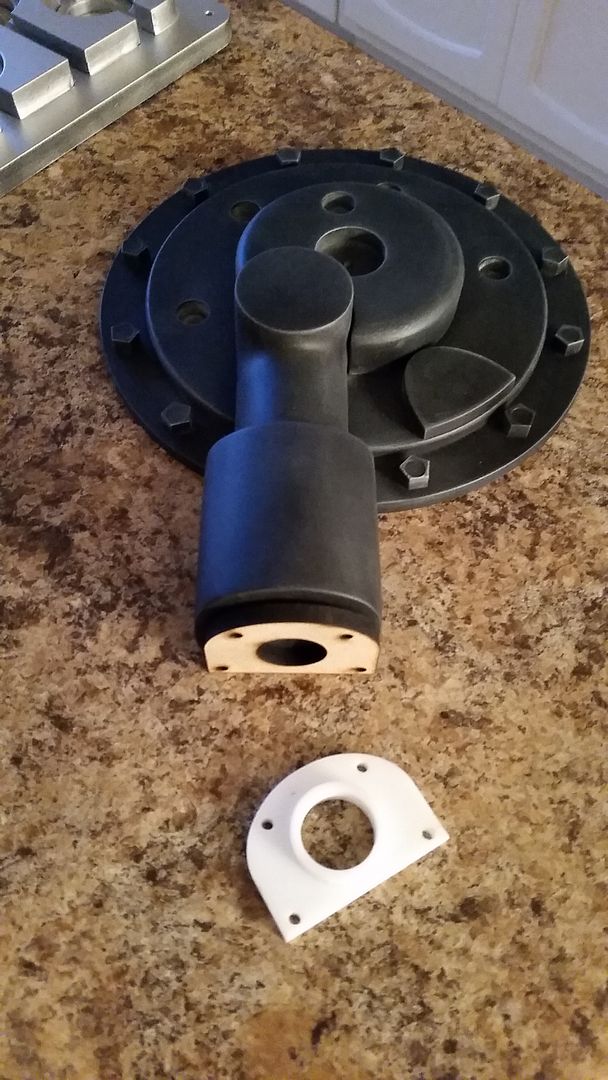
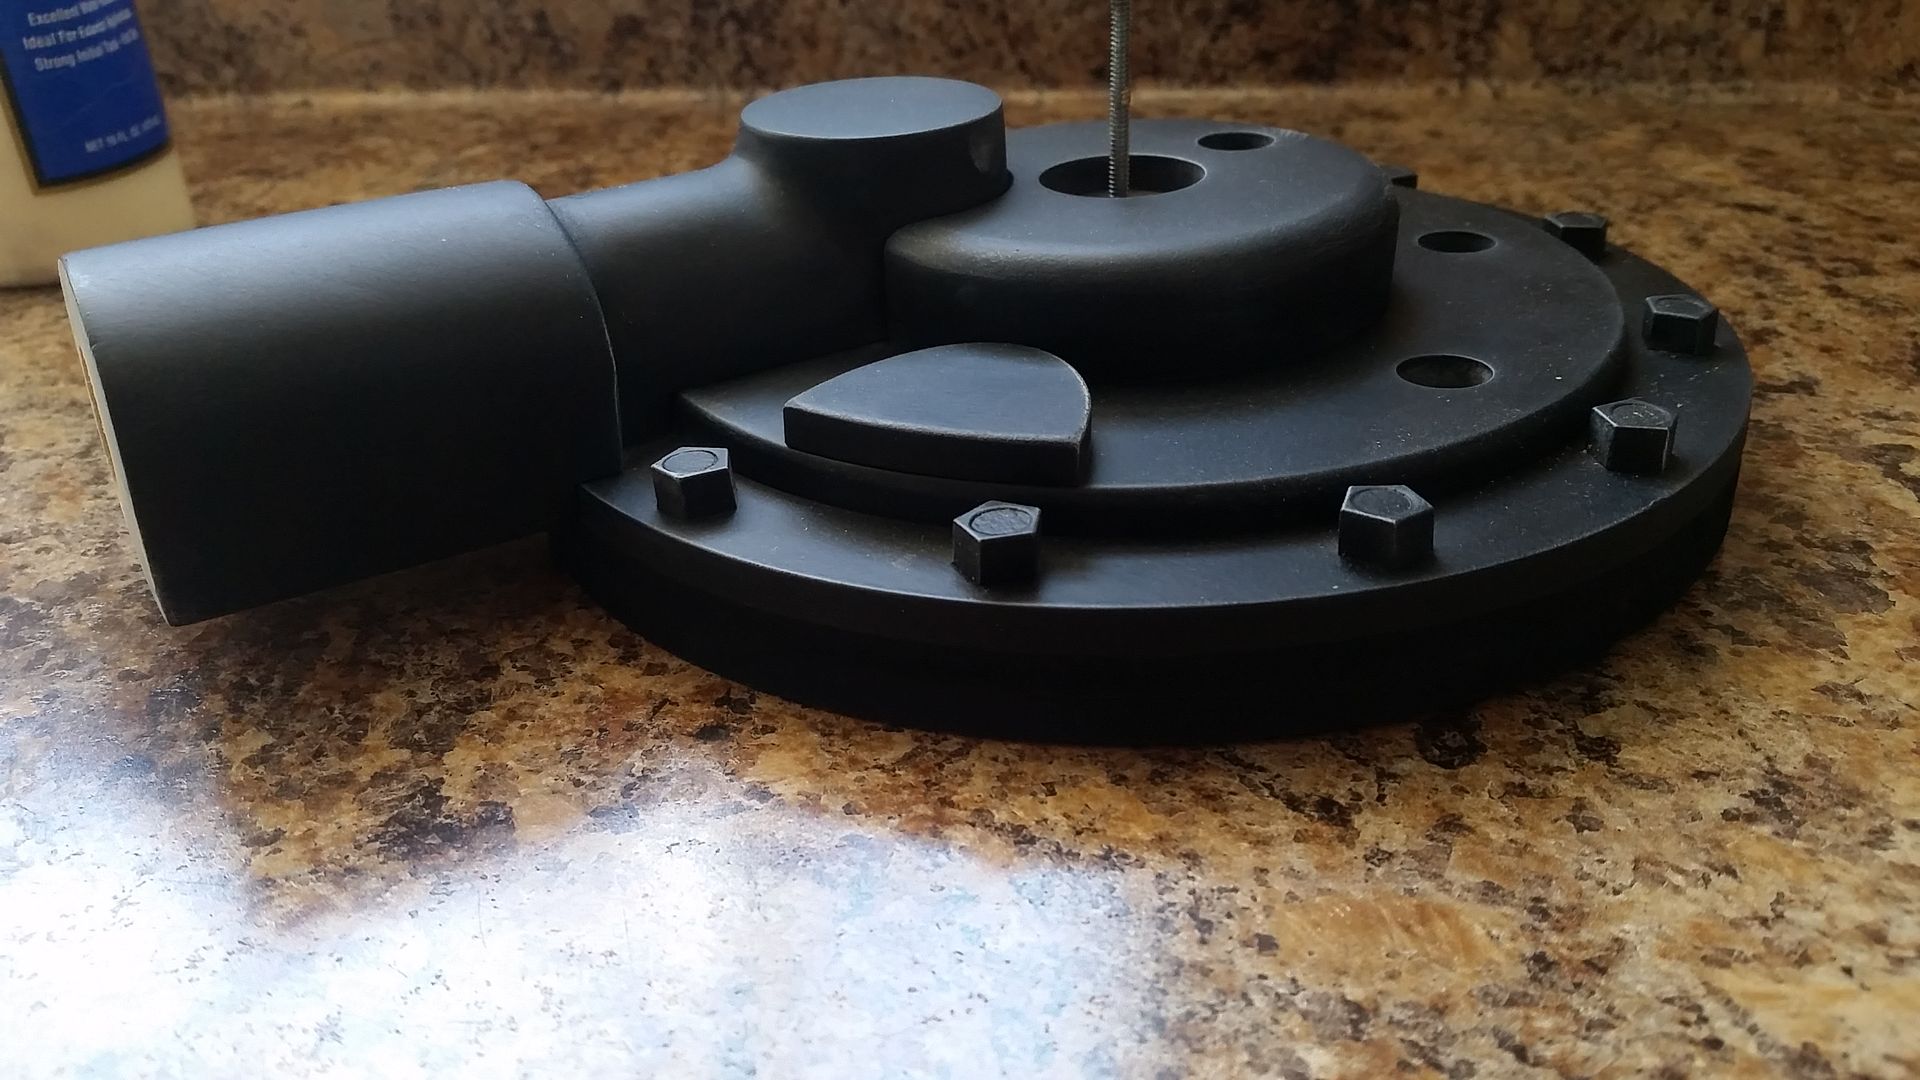
Sitting all by himself on the back wall
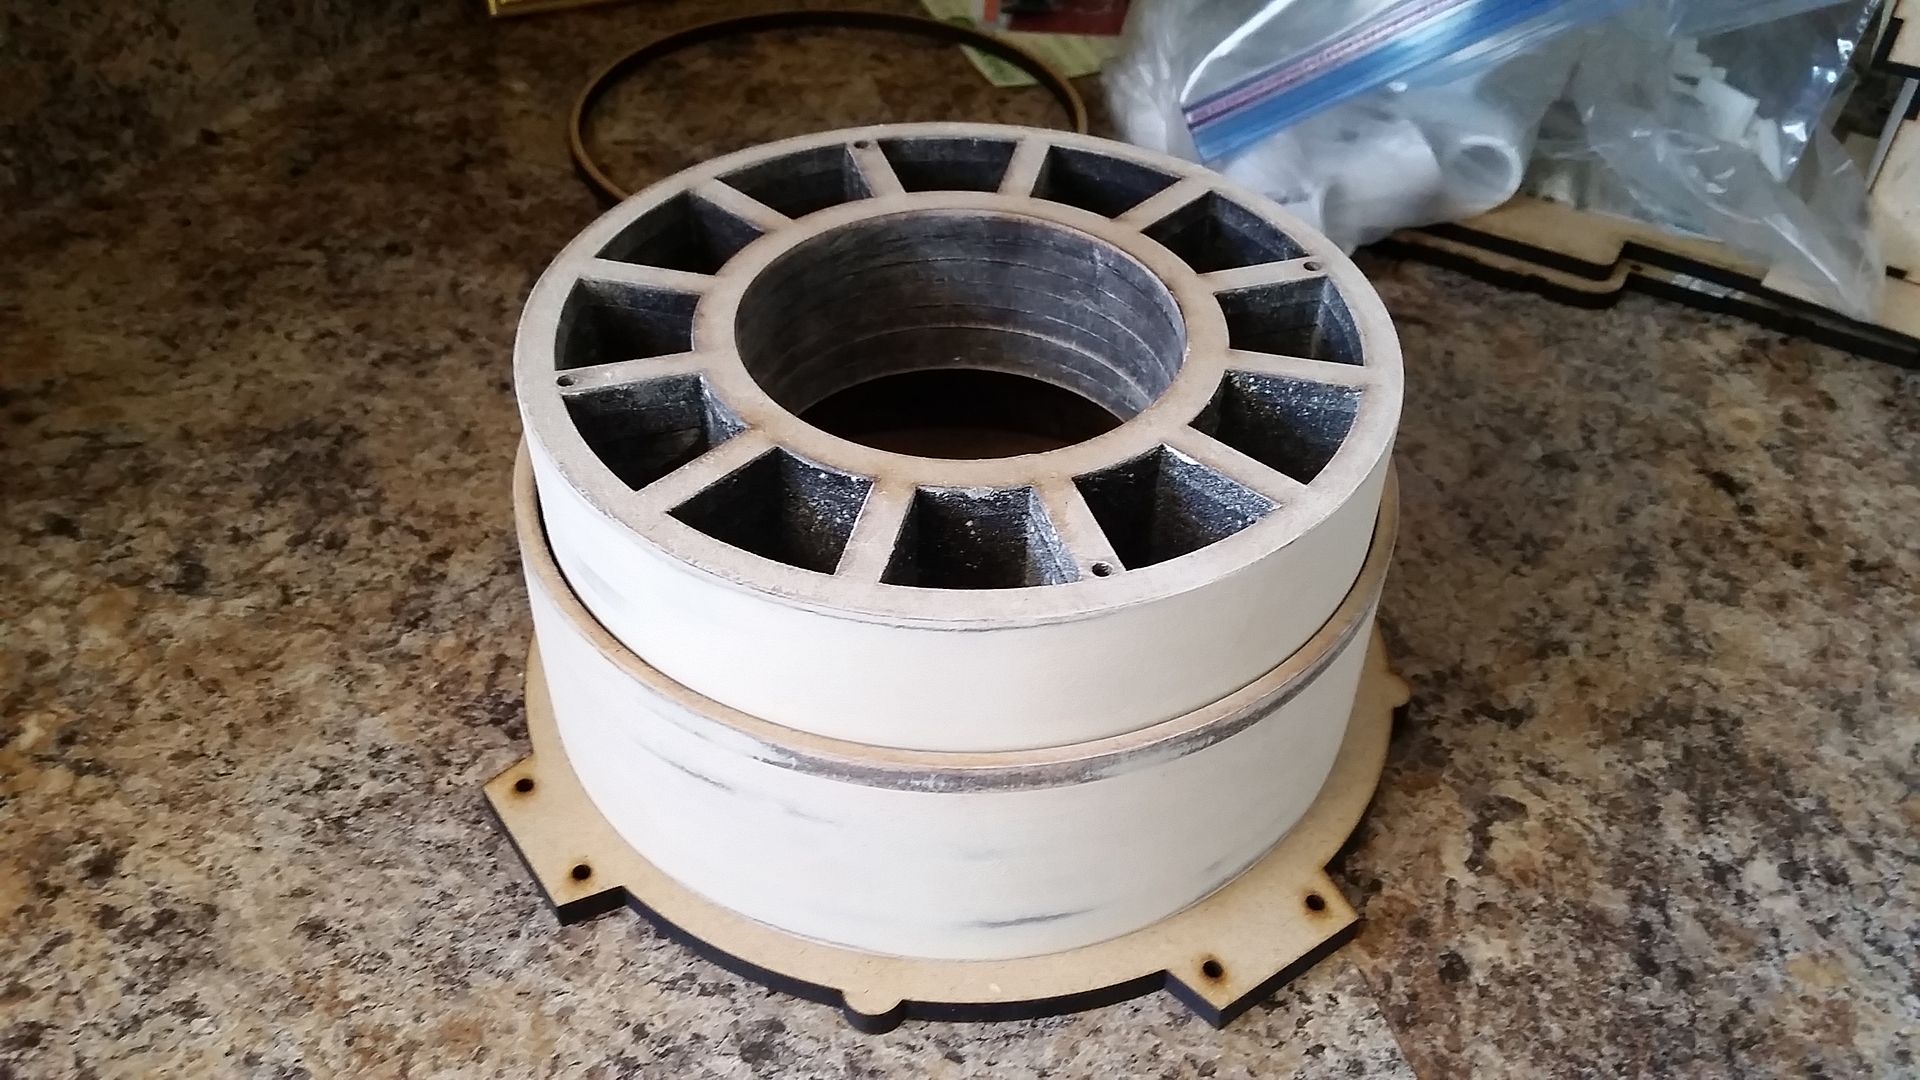
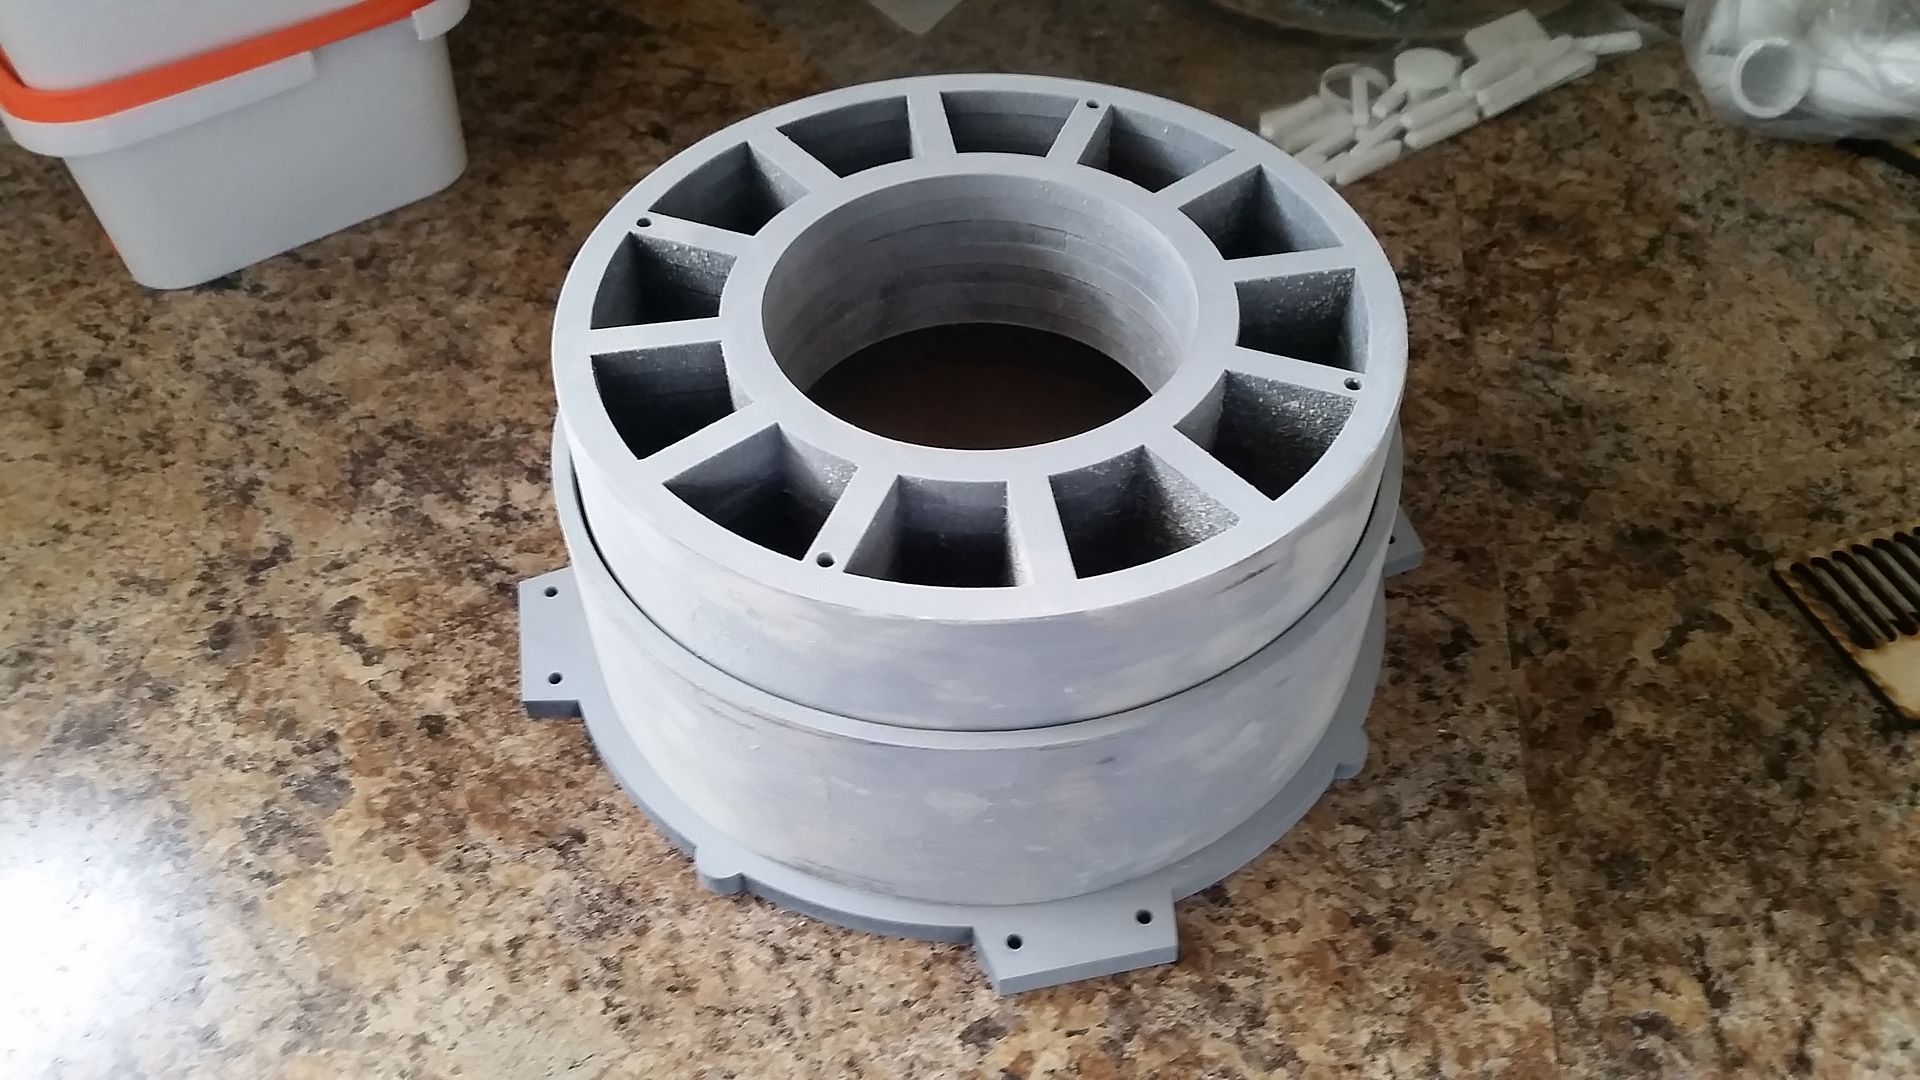
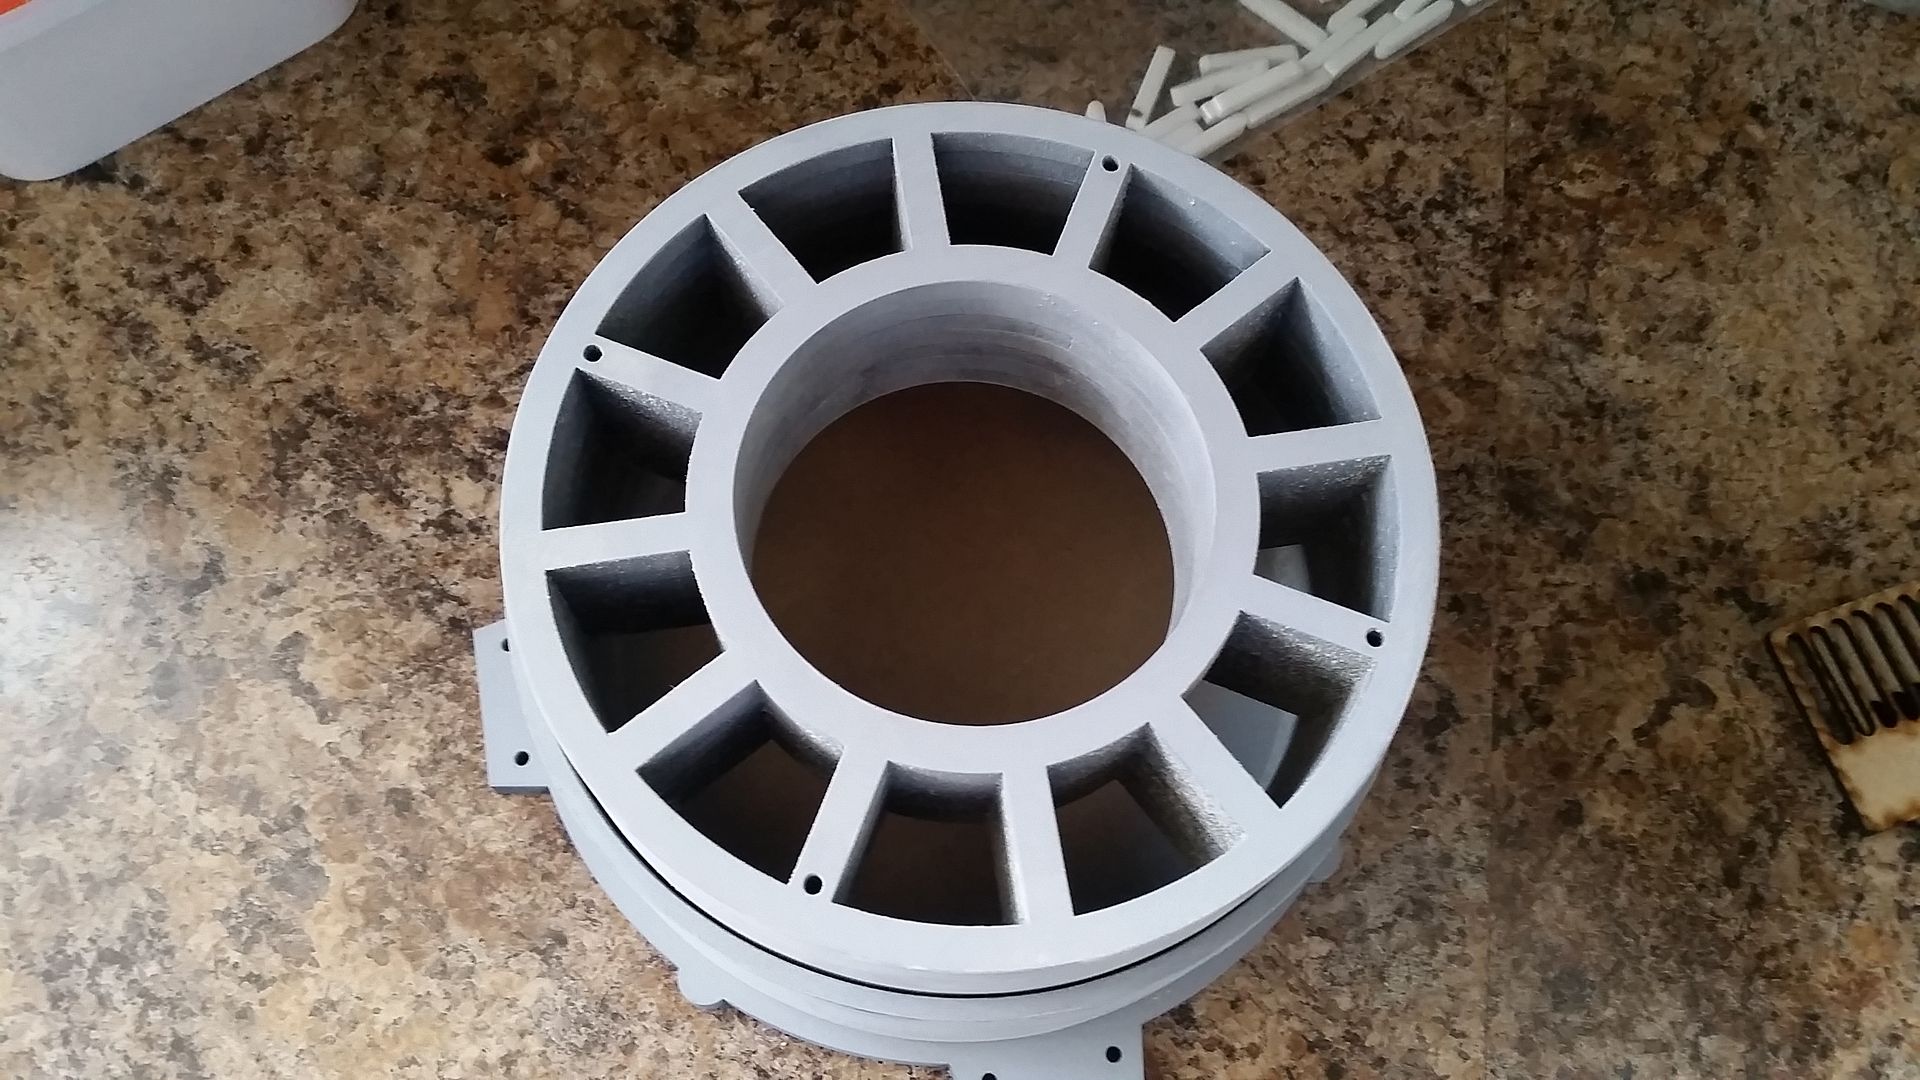
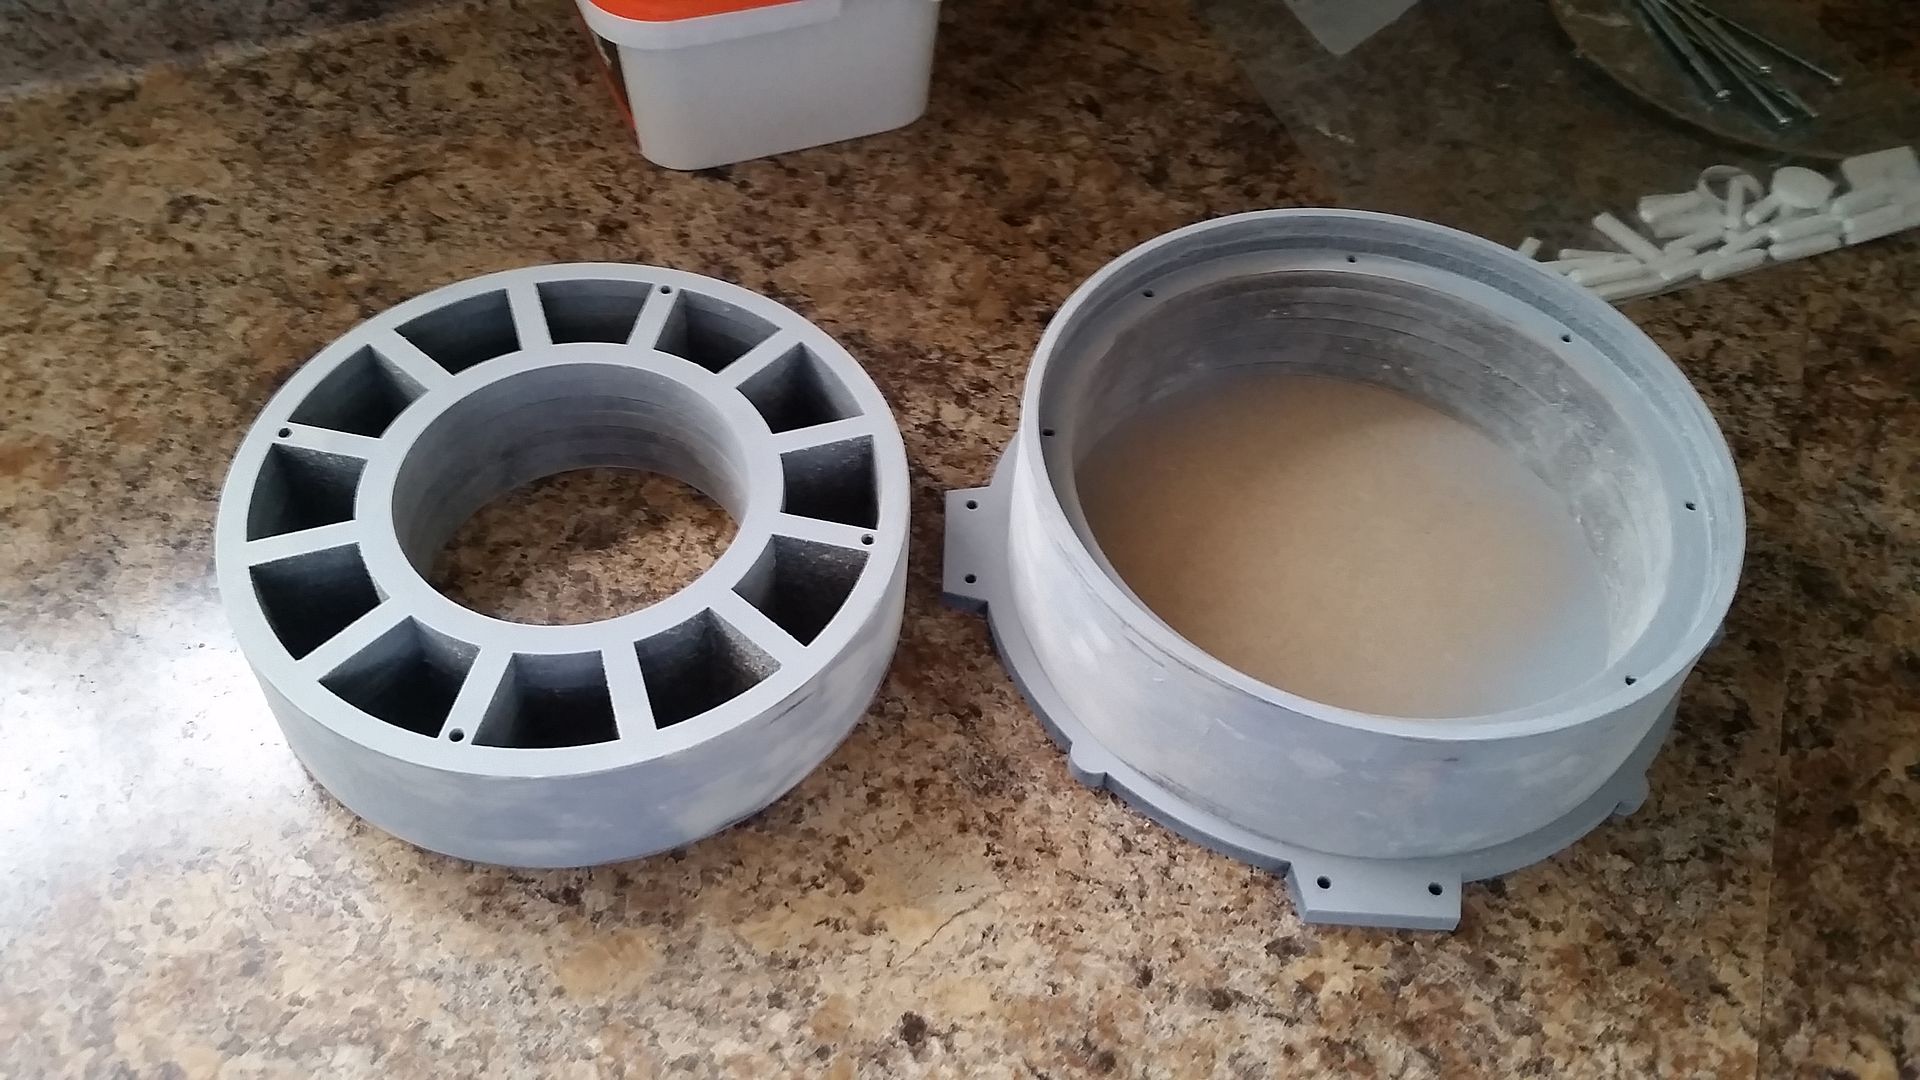
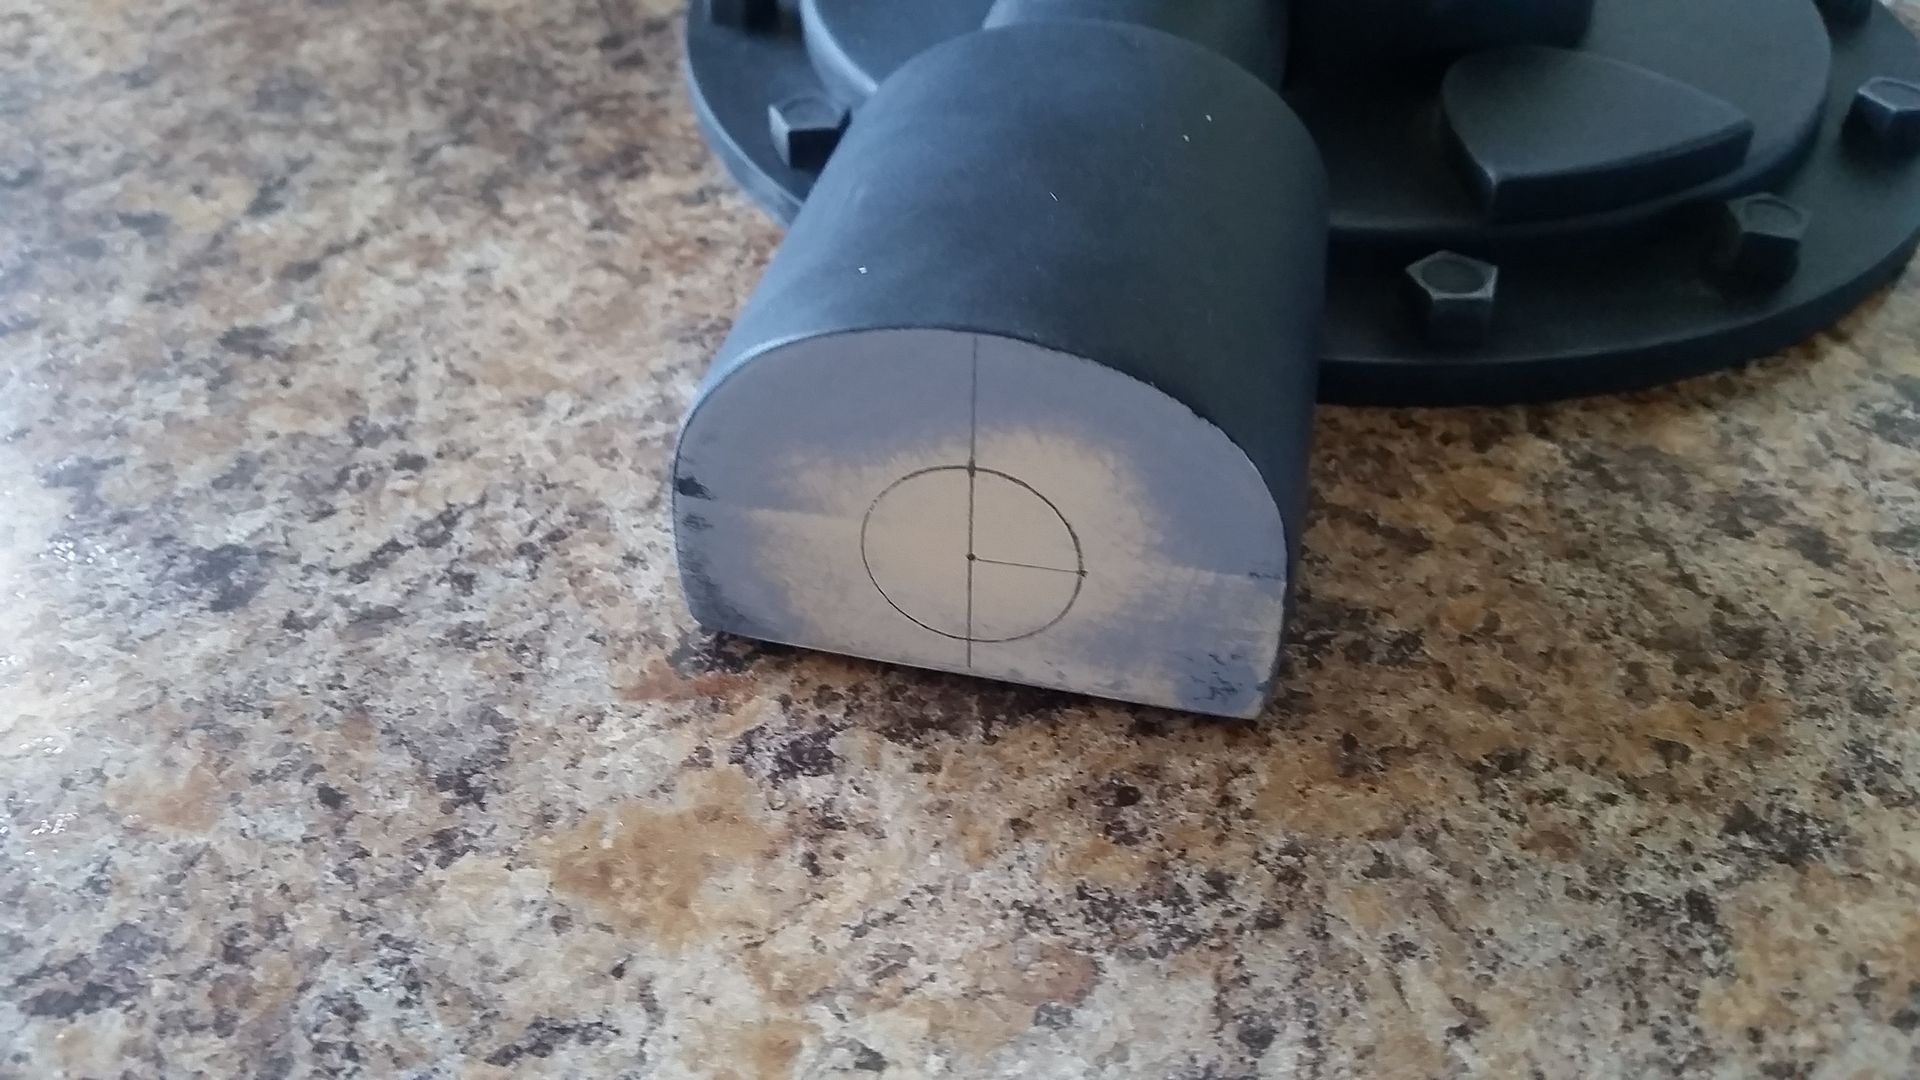
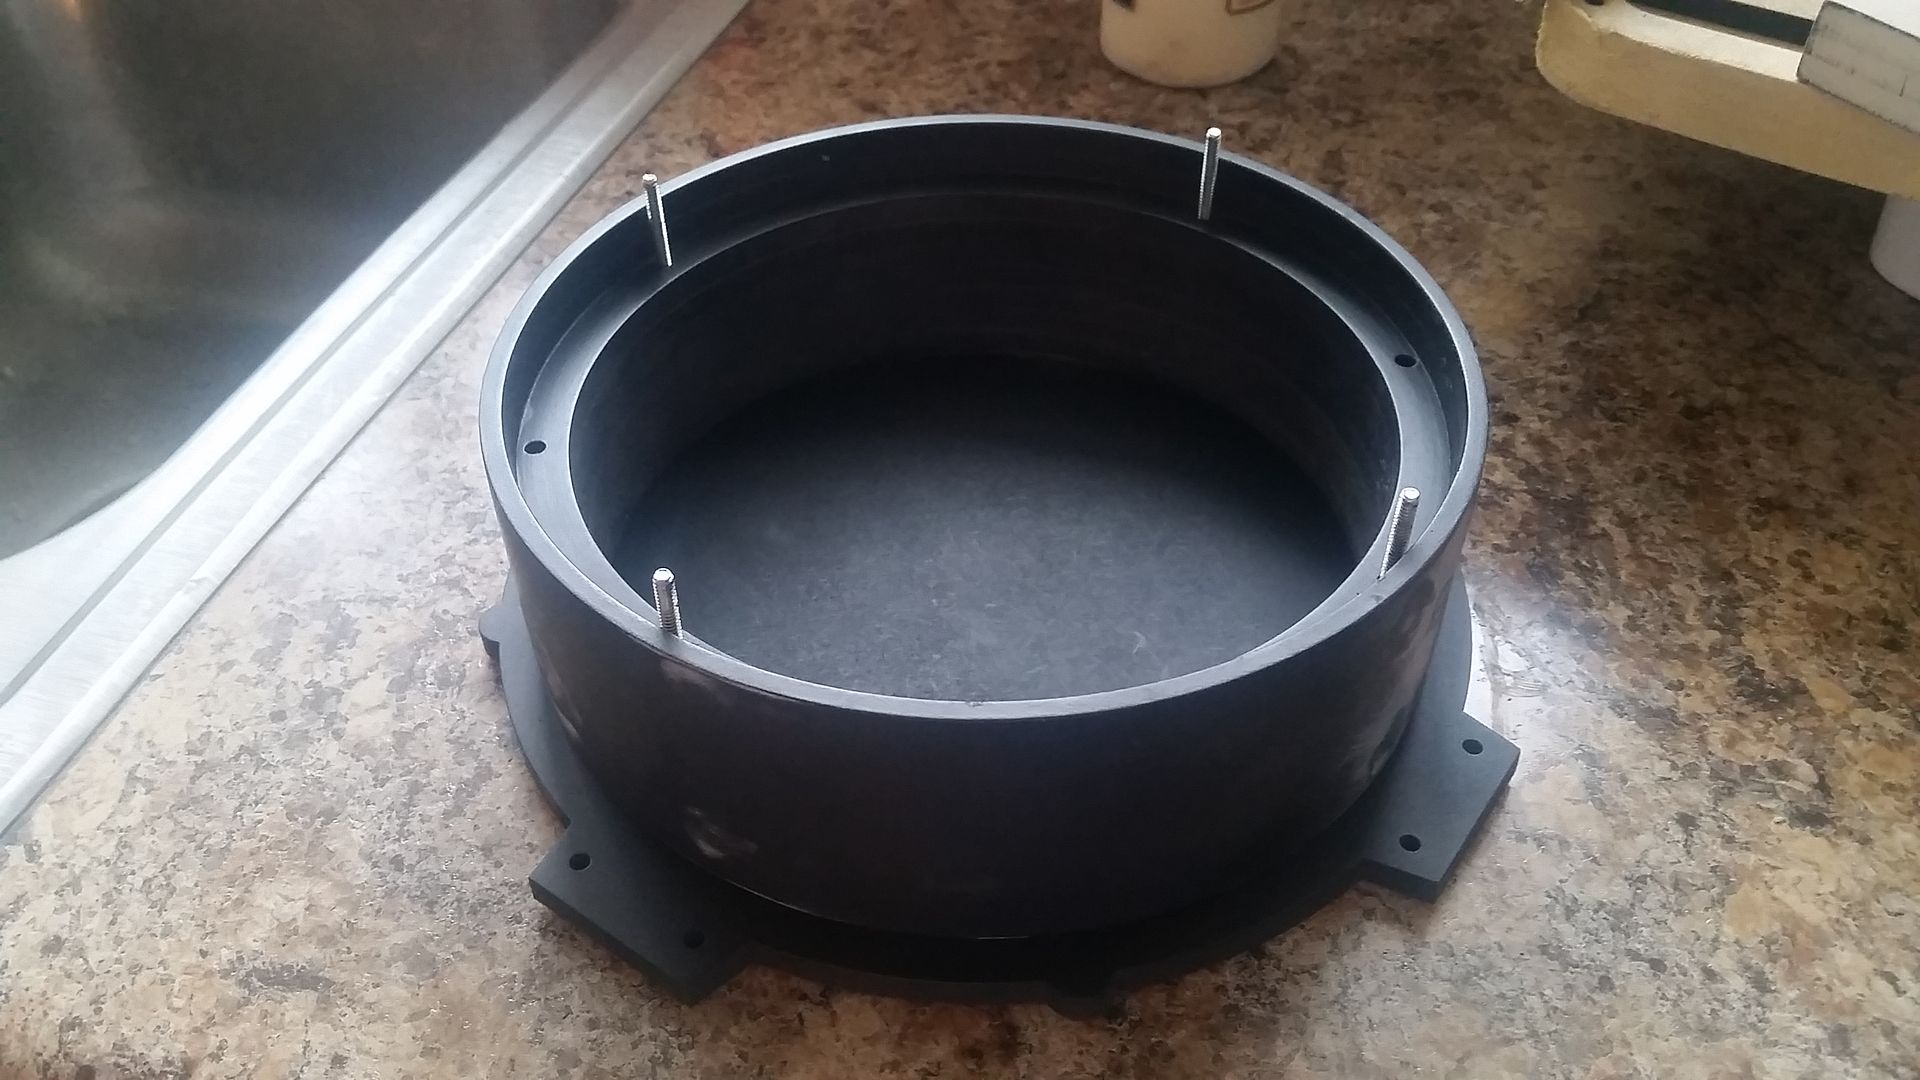
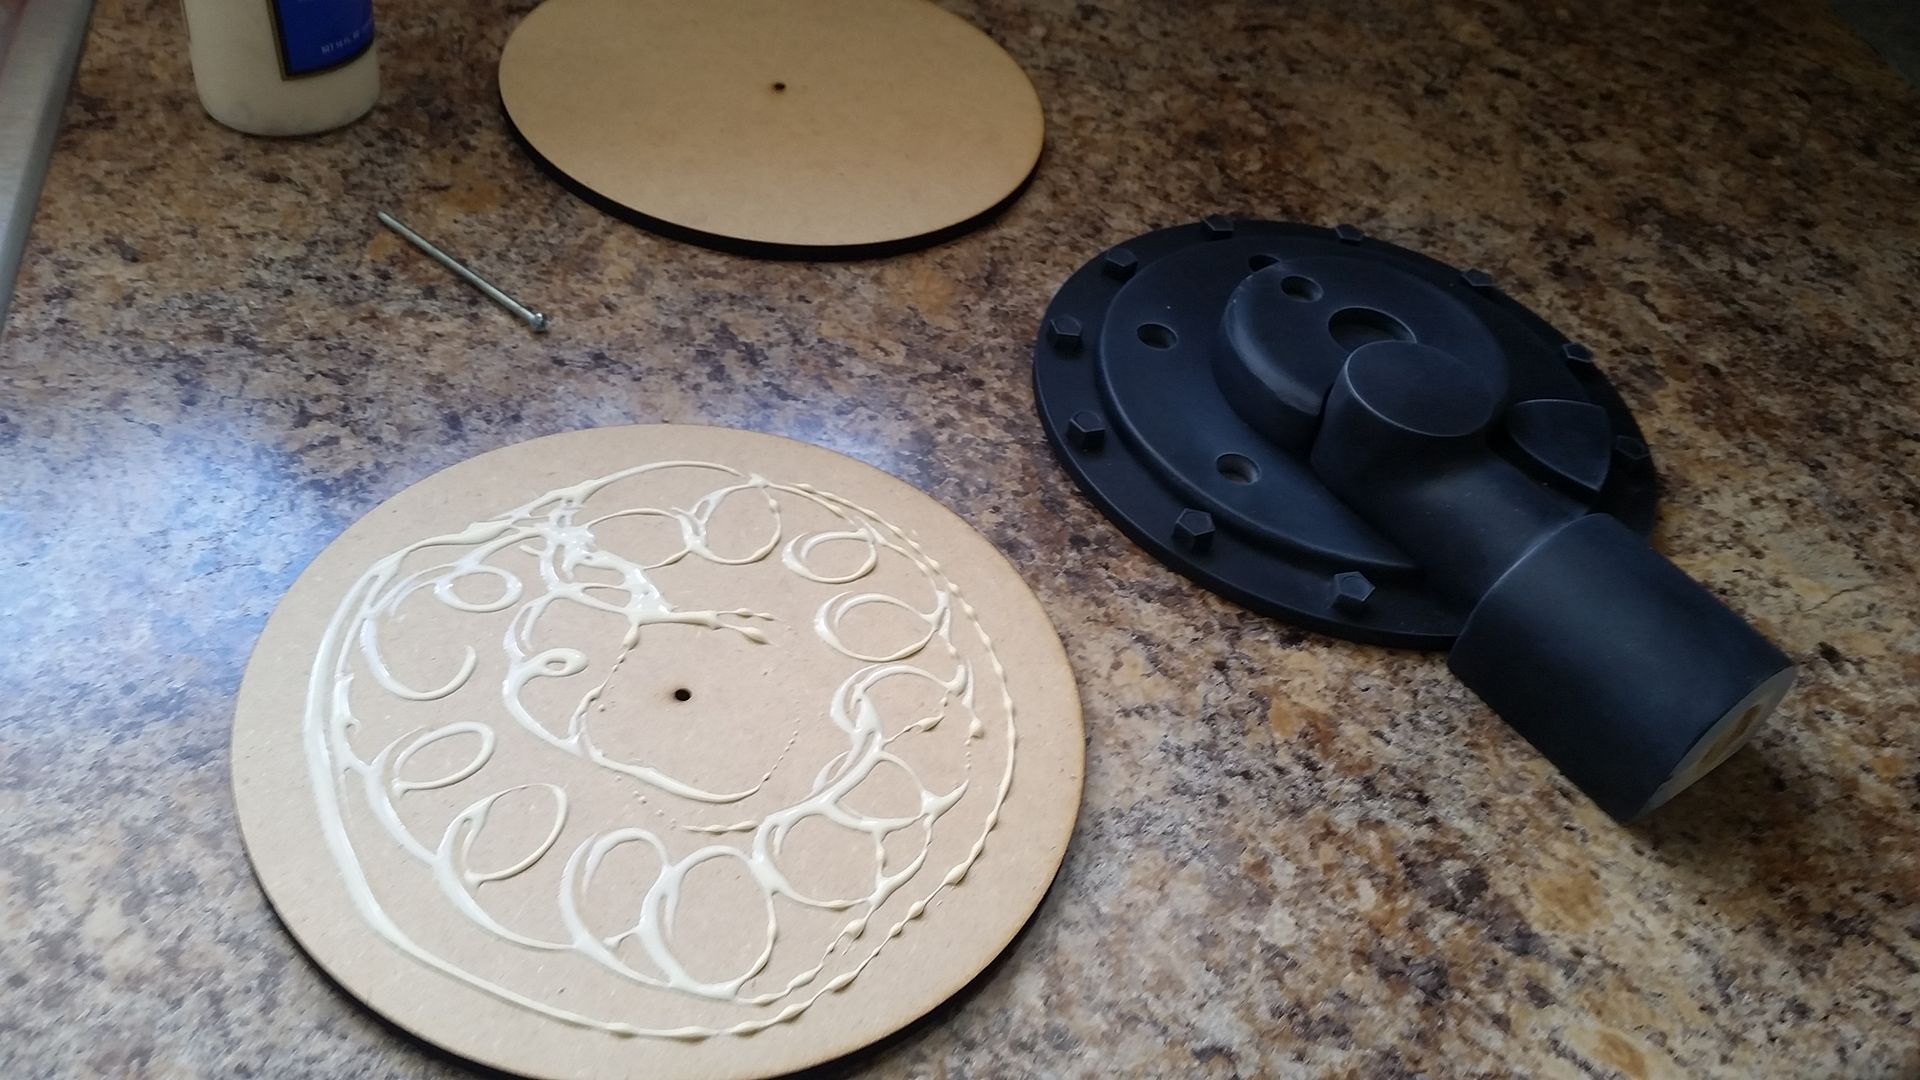
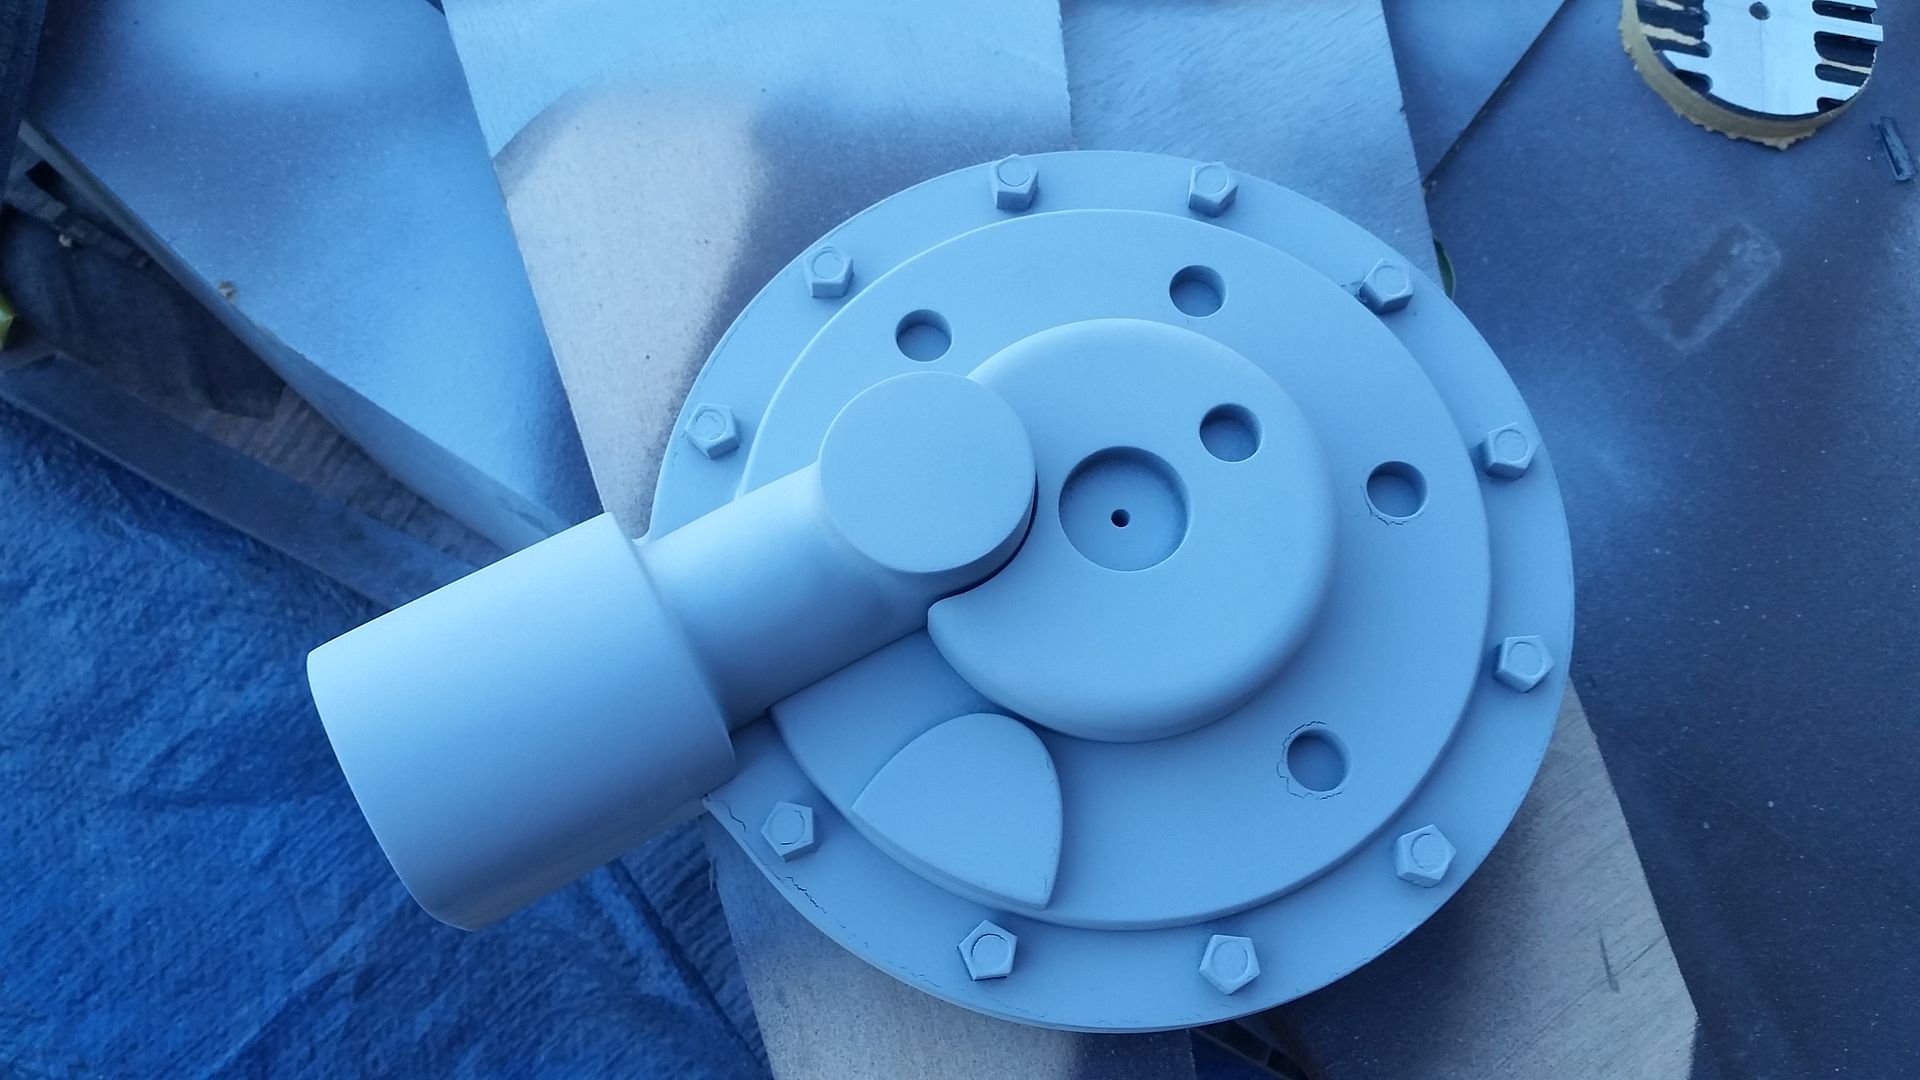
I cut two more round base pieces of this back greeblie so, when mounted to the back wall, the height will match the large pipe housing greeblie
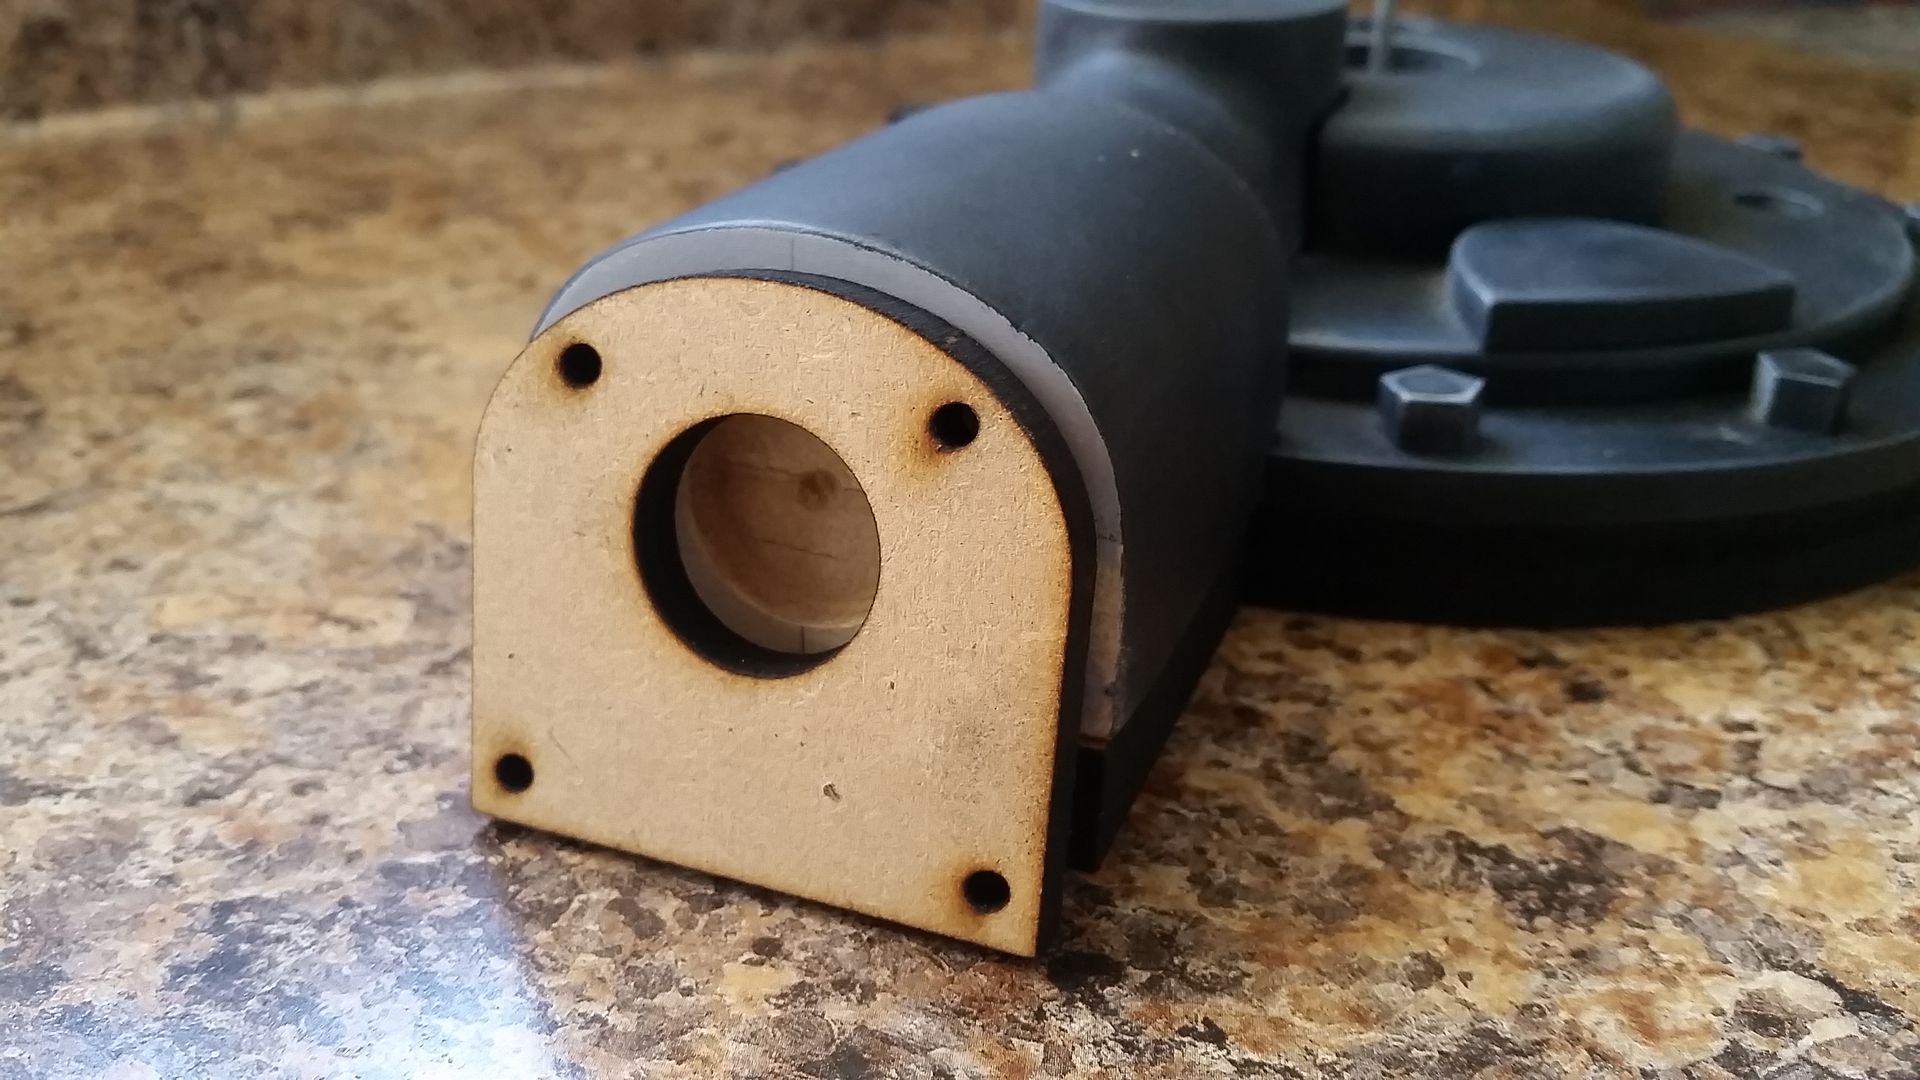
Laser cut a new pipe connector
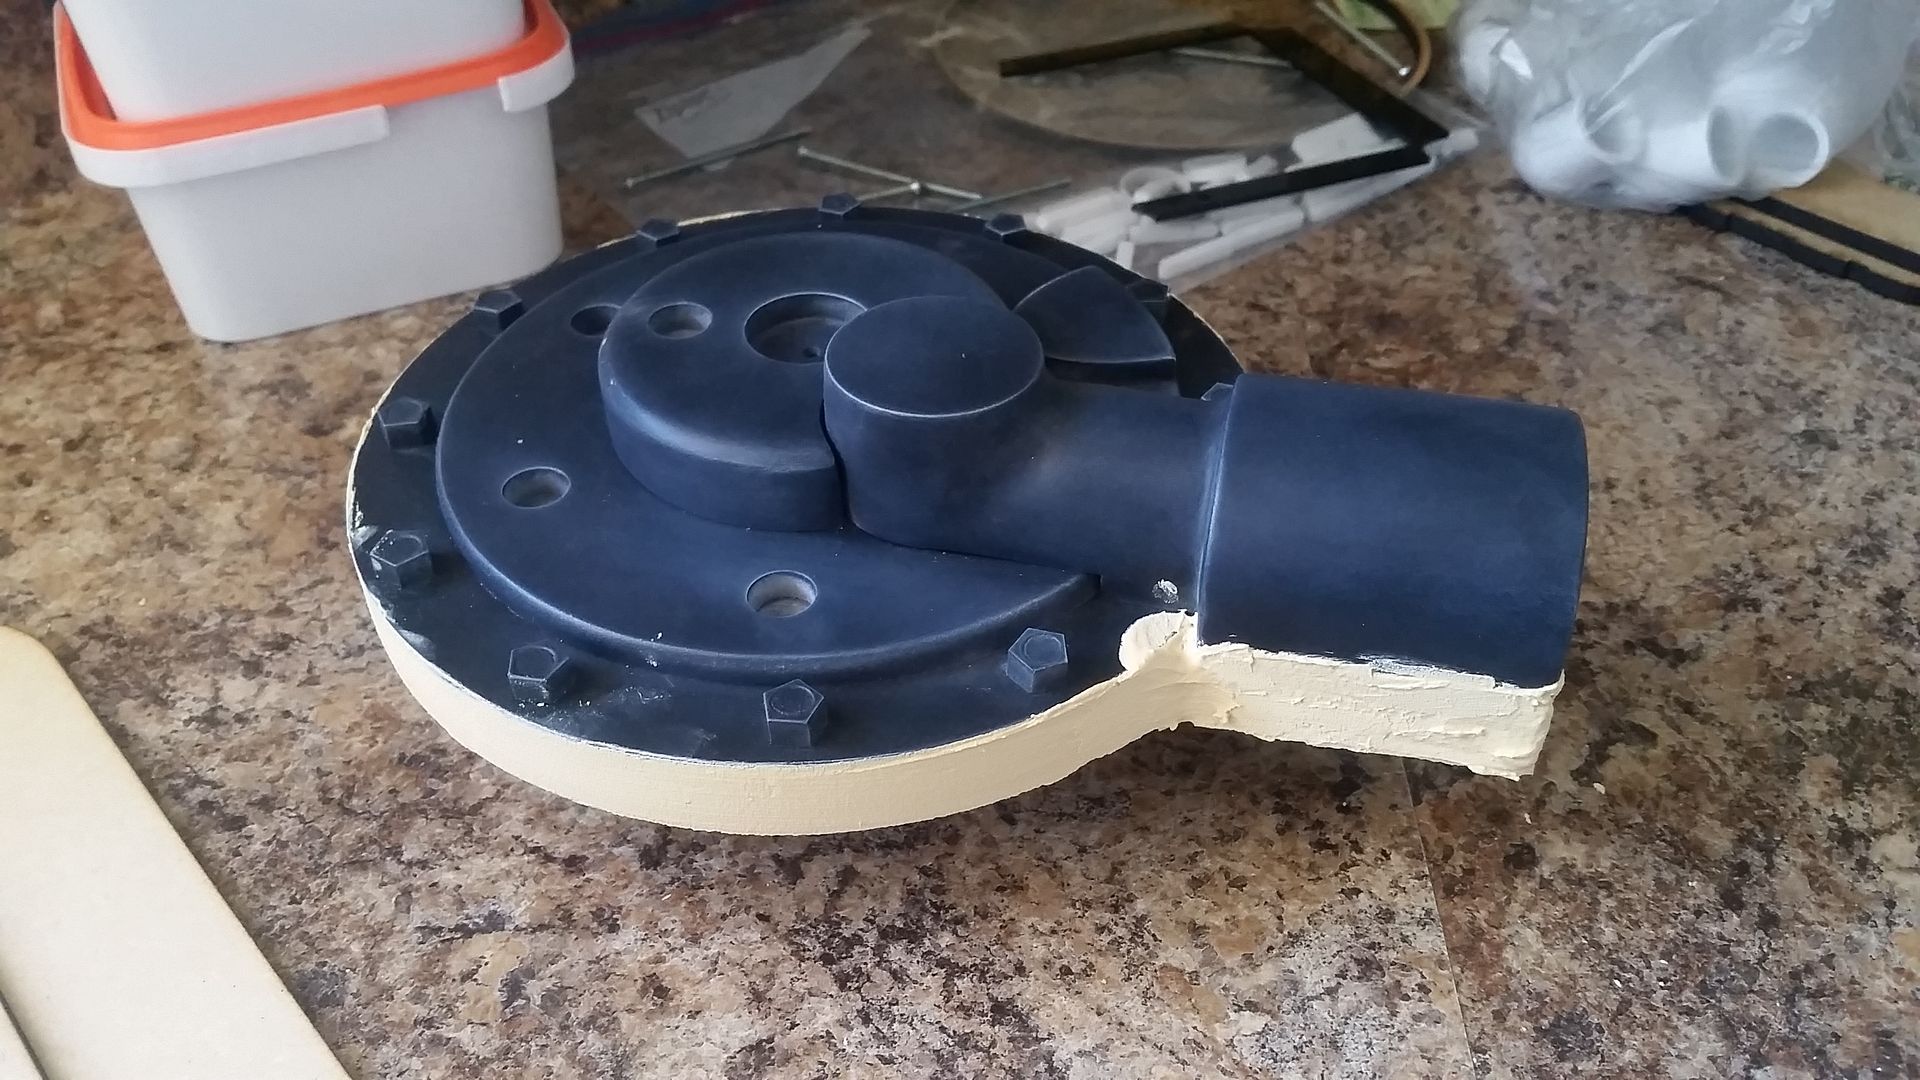
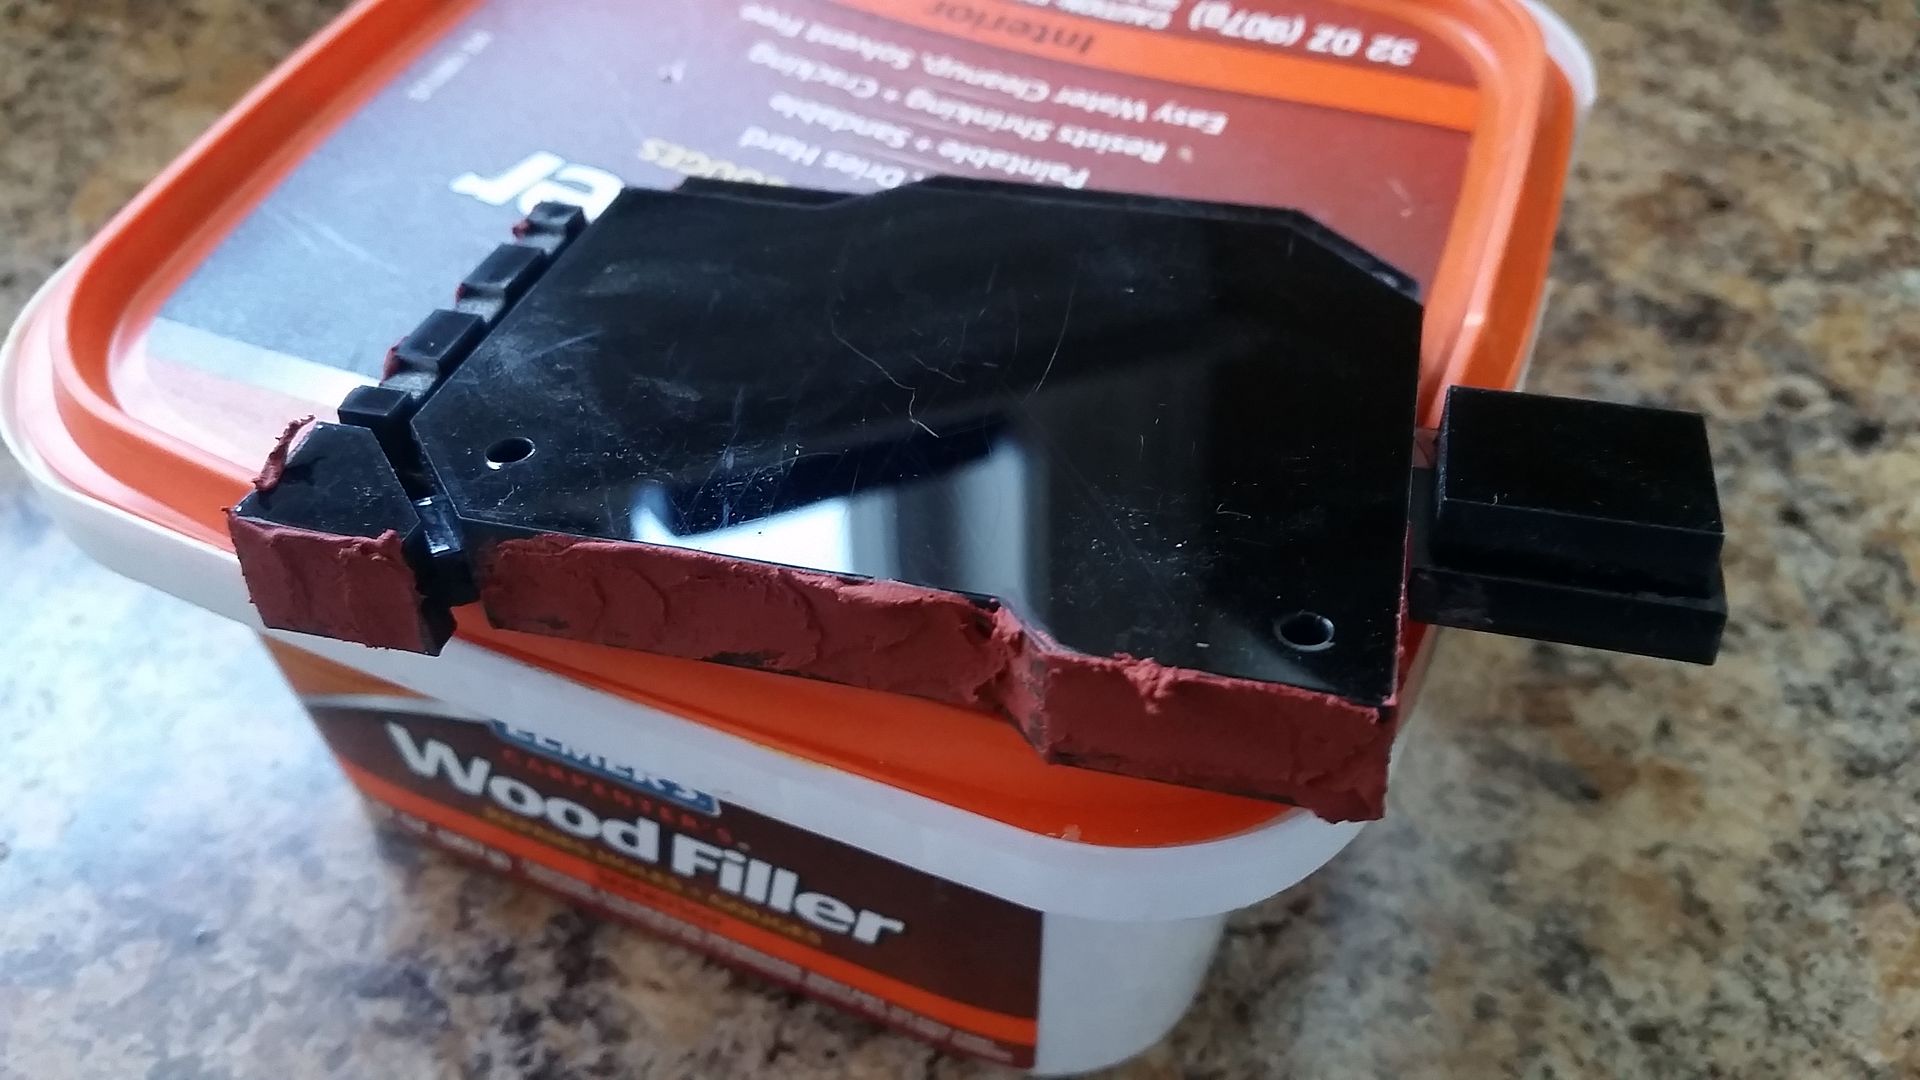
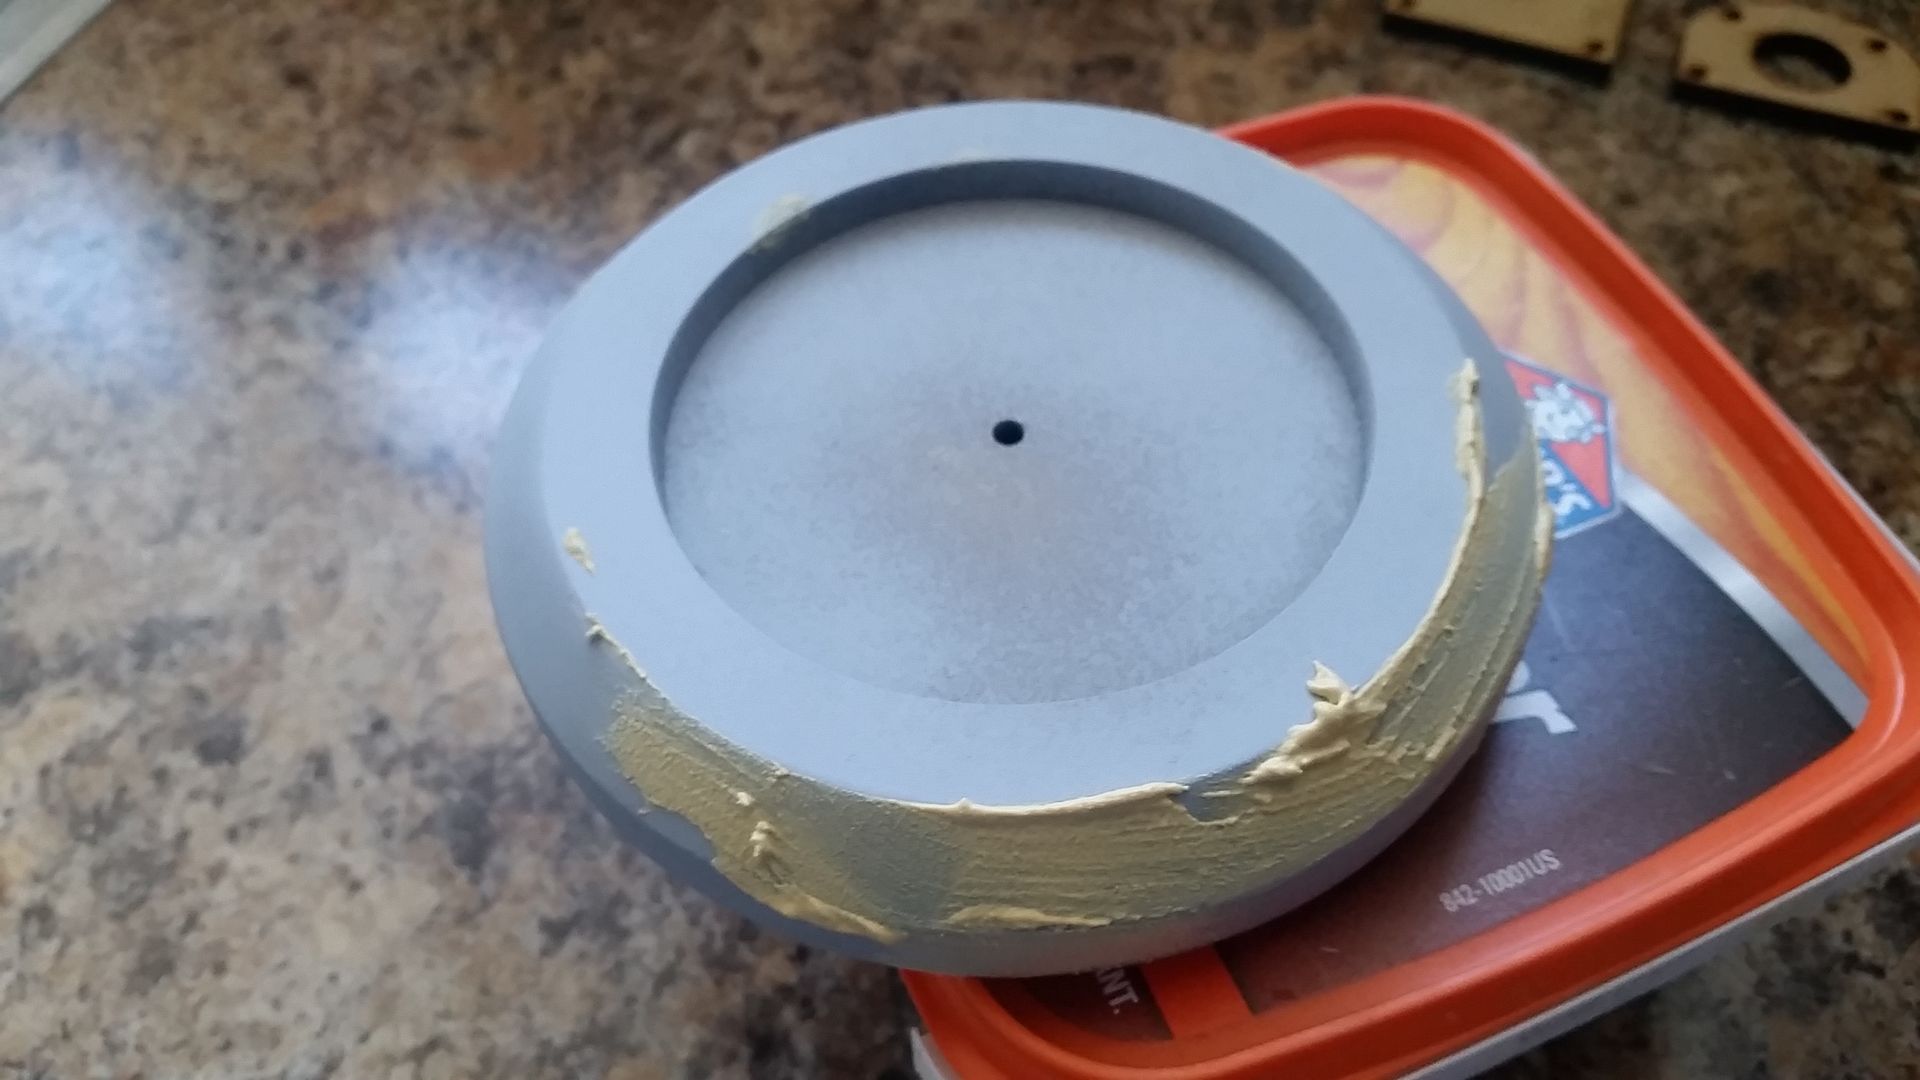
Filler added
And sanded
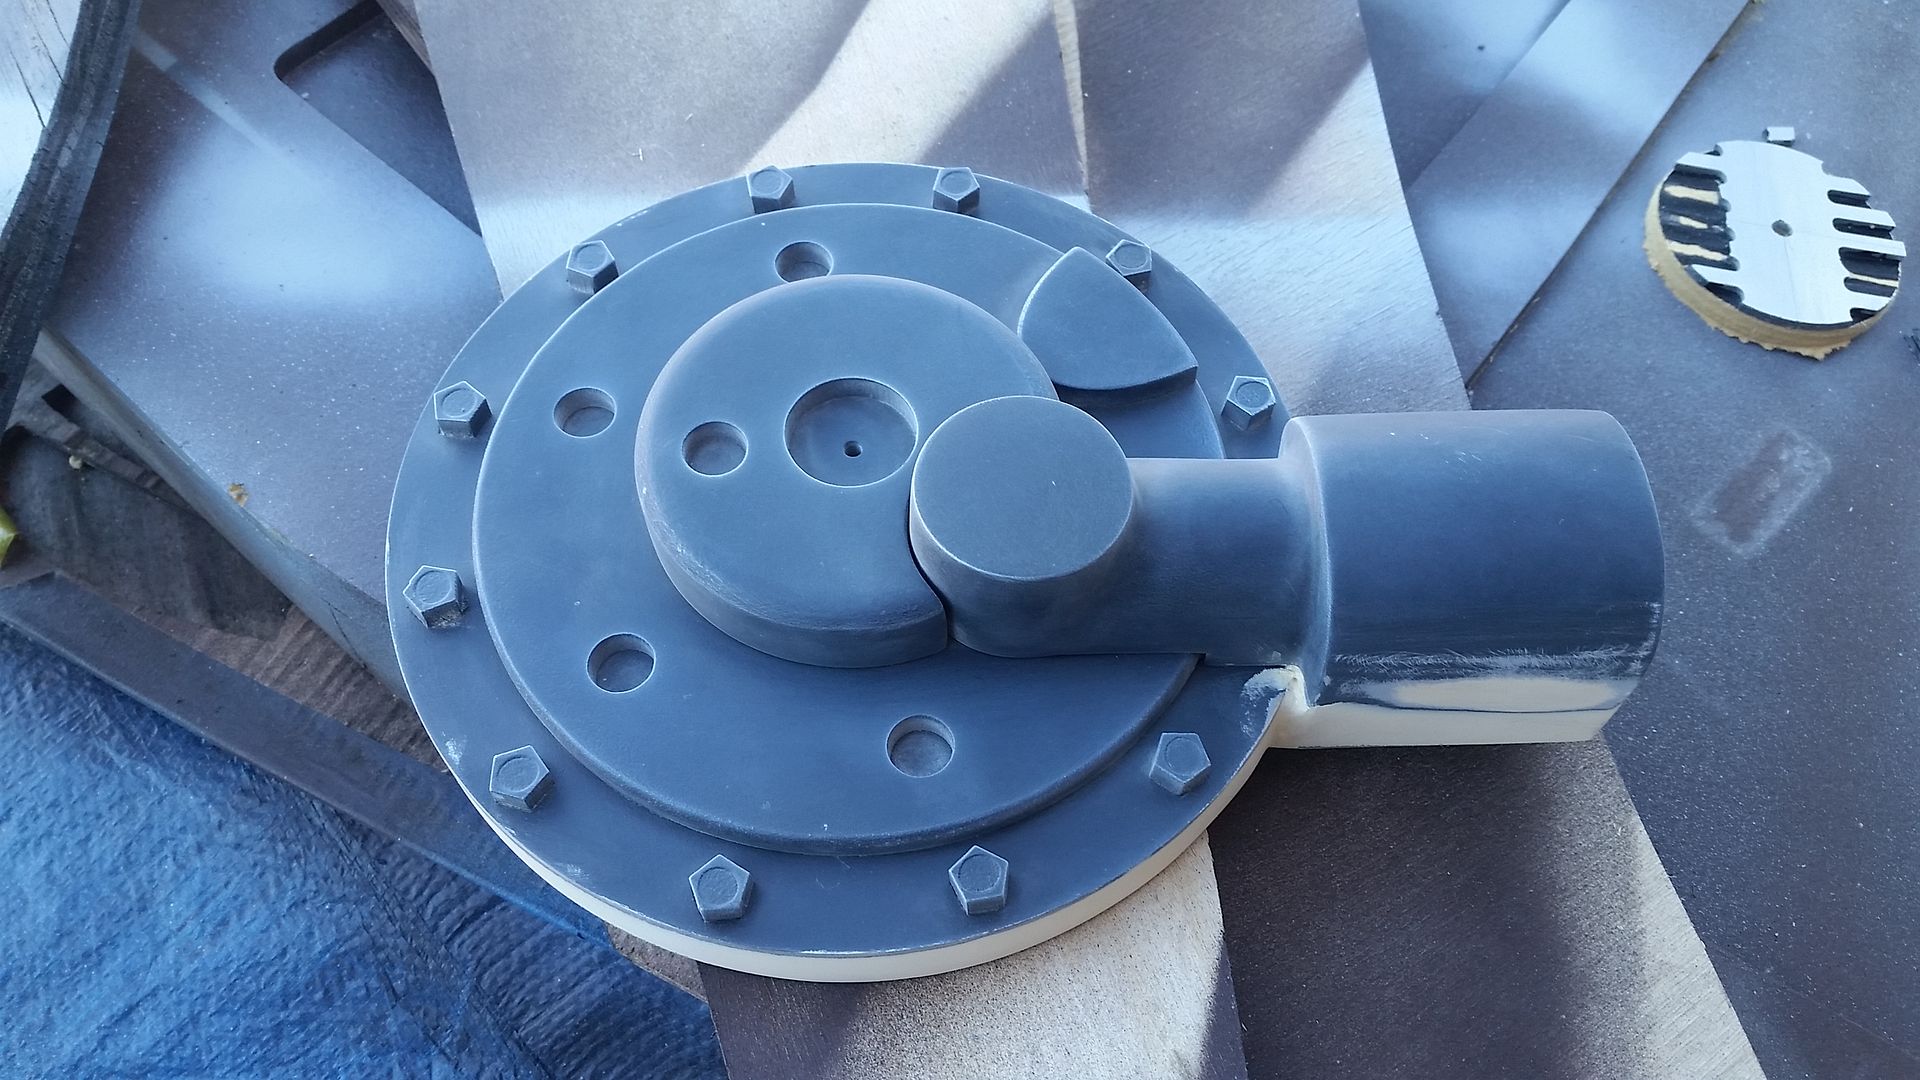
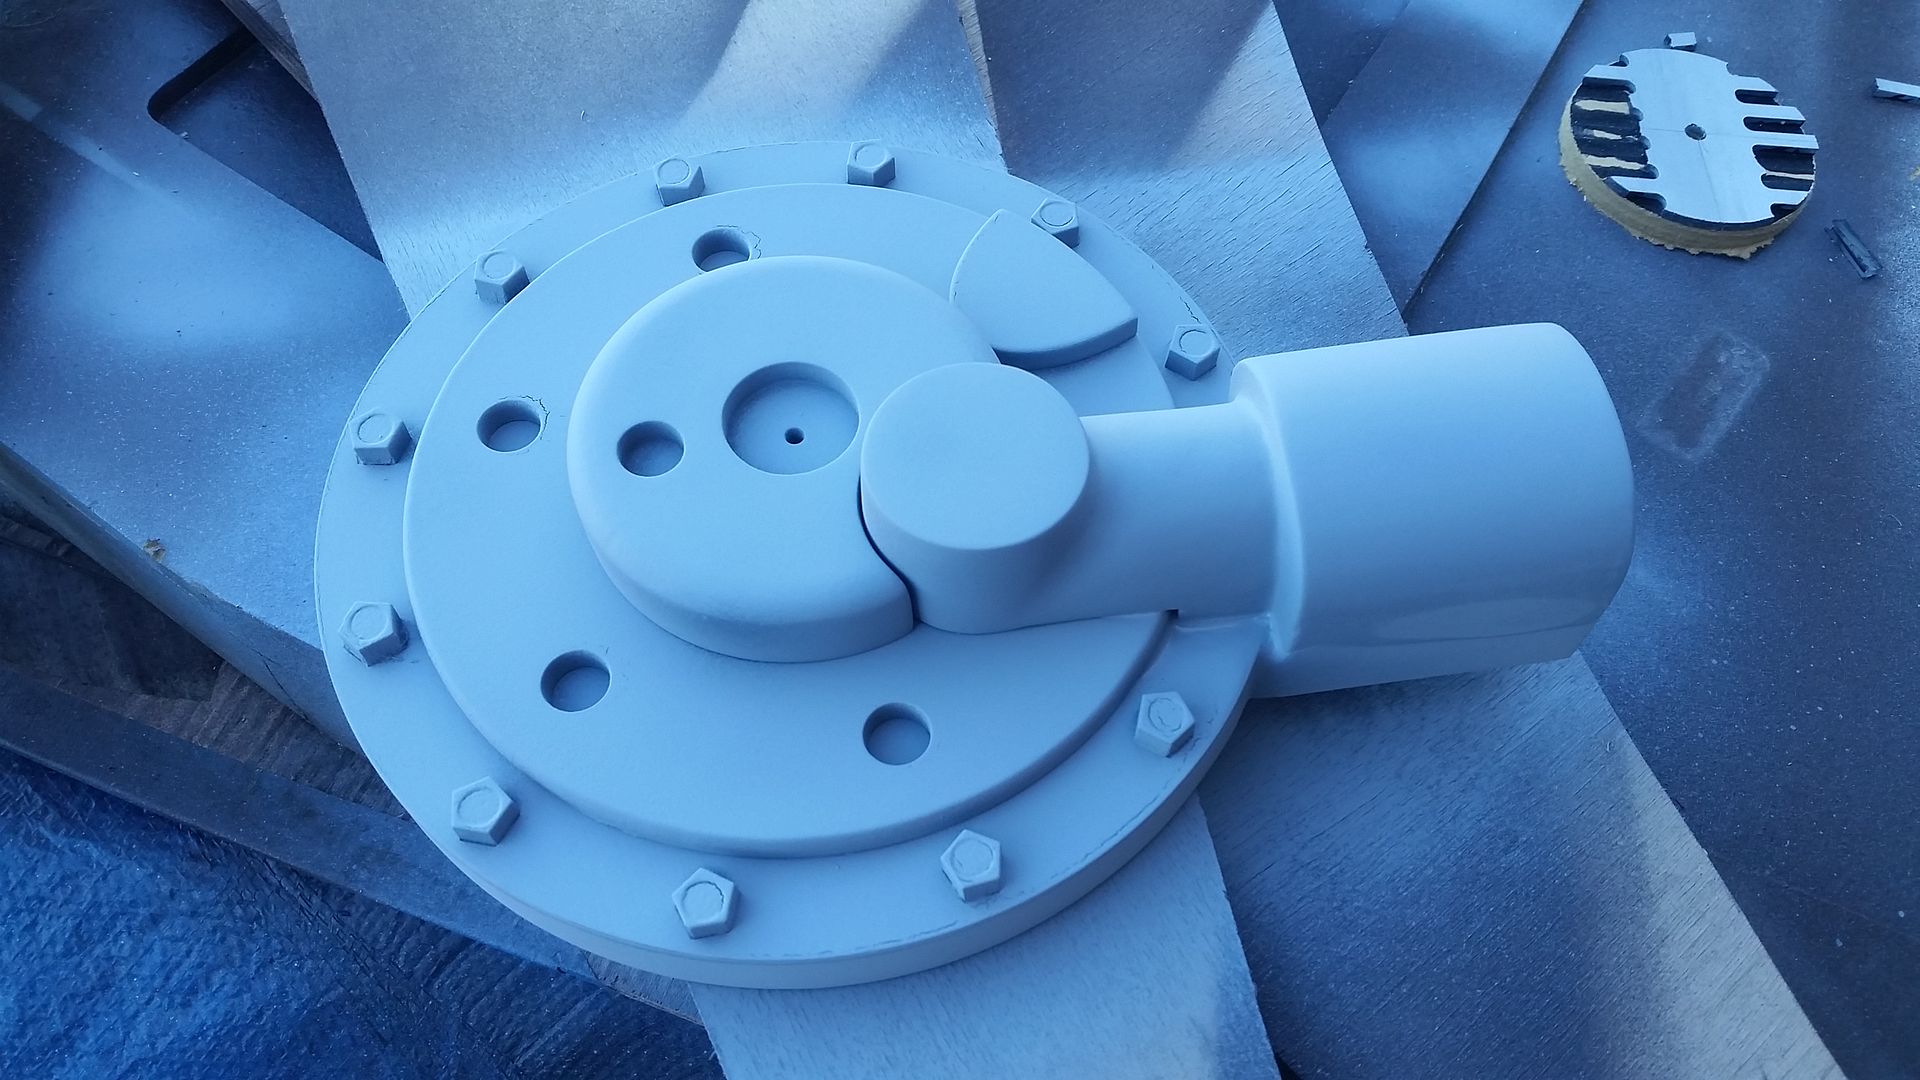
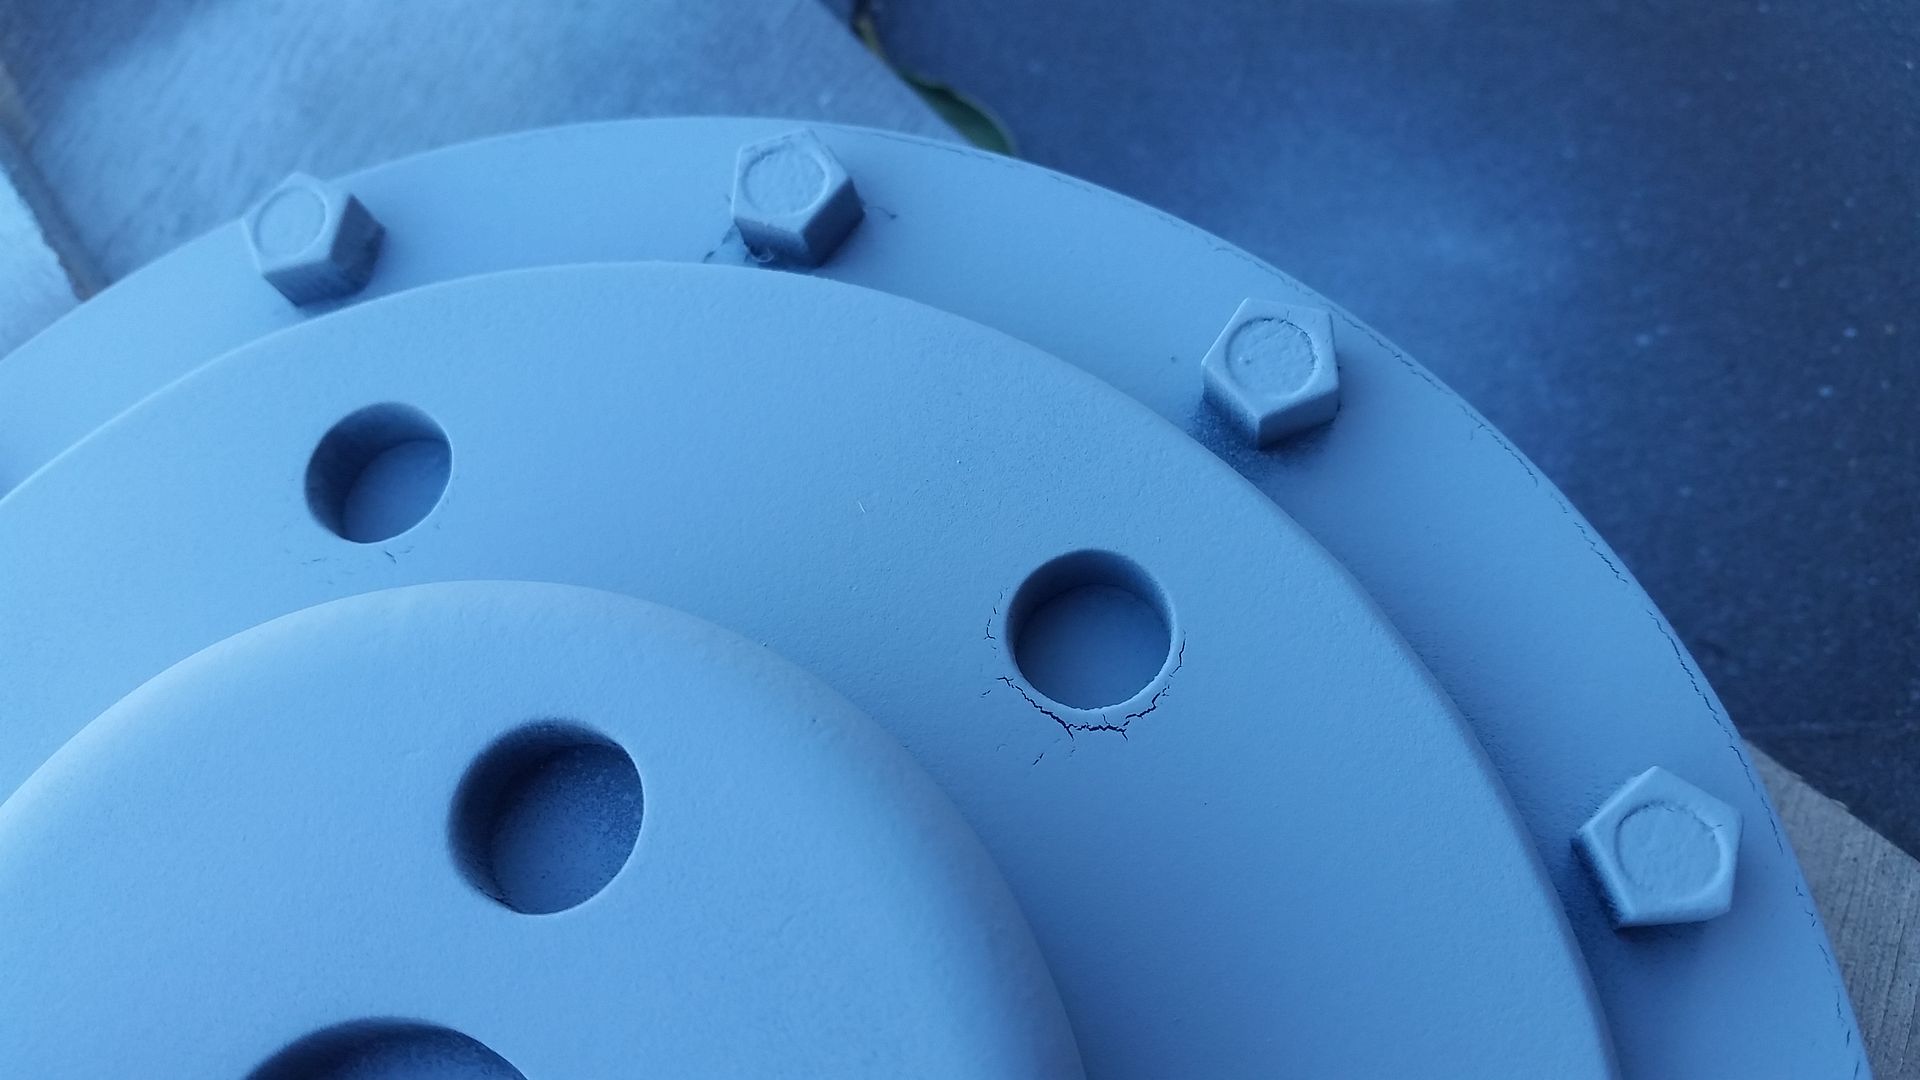
First coat of primer - UGH
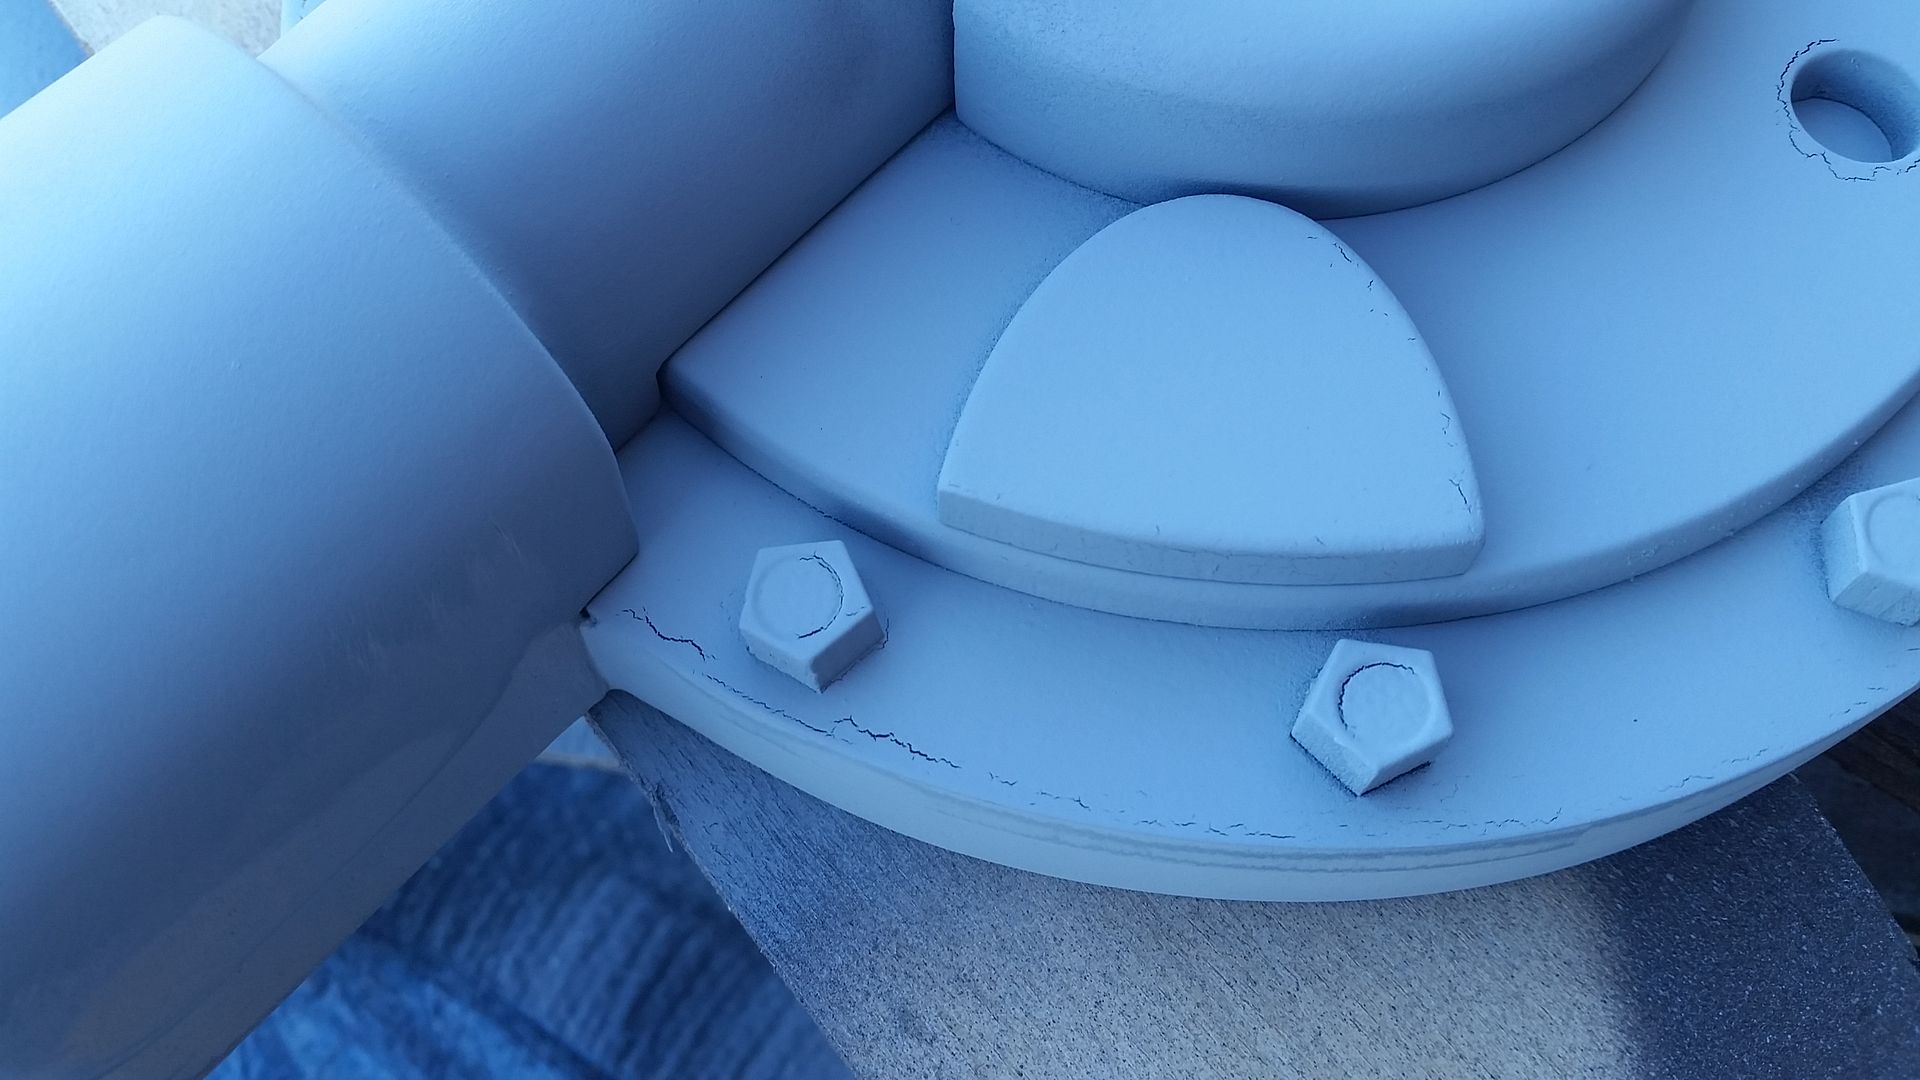
It's a pain to see this cracking but it will DEF add to the overall weathering
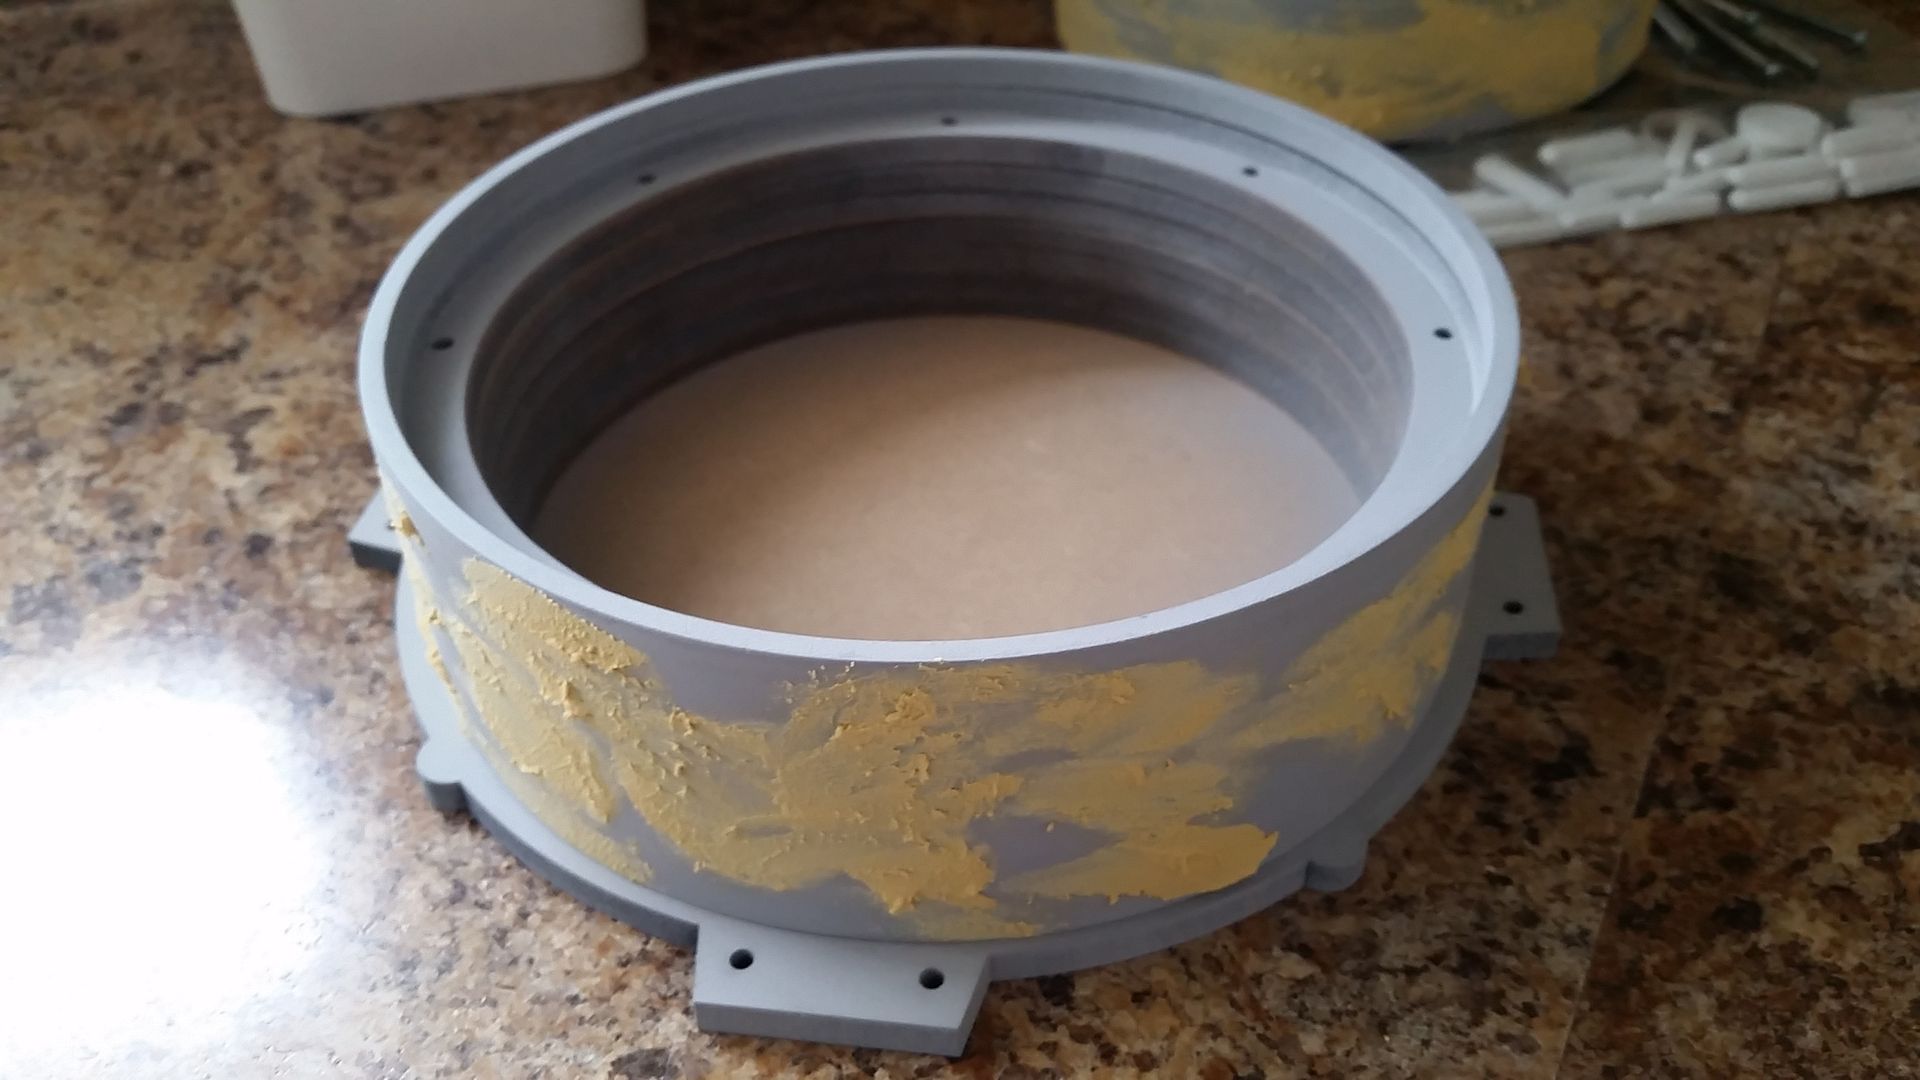
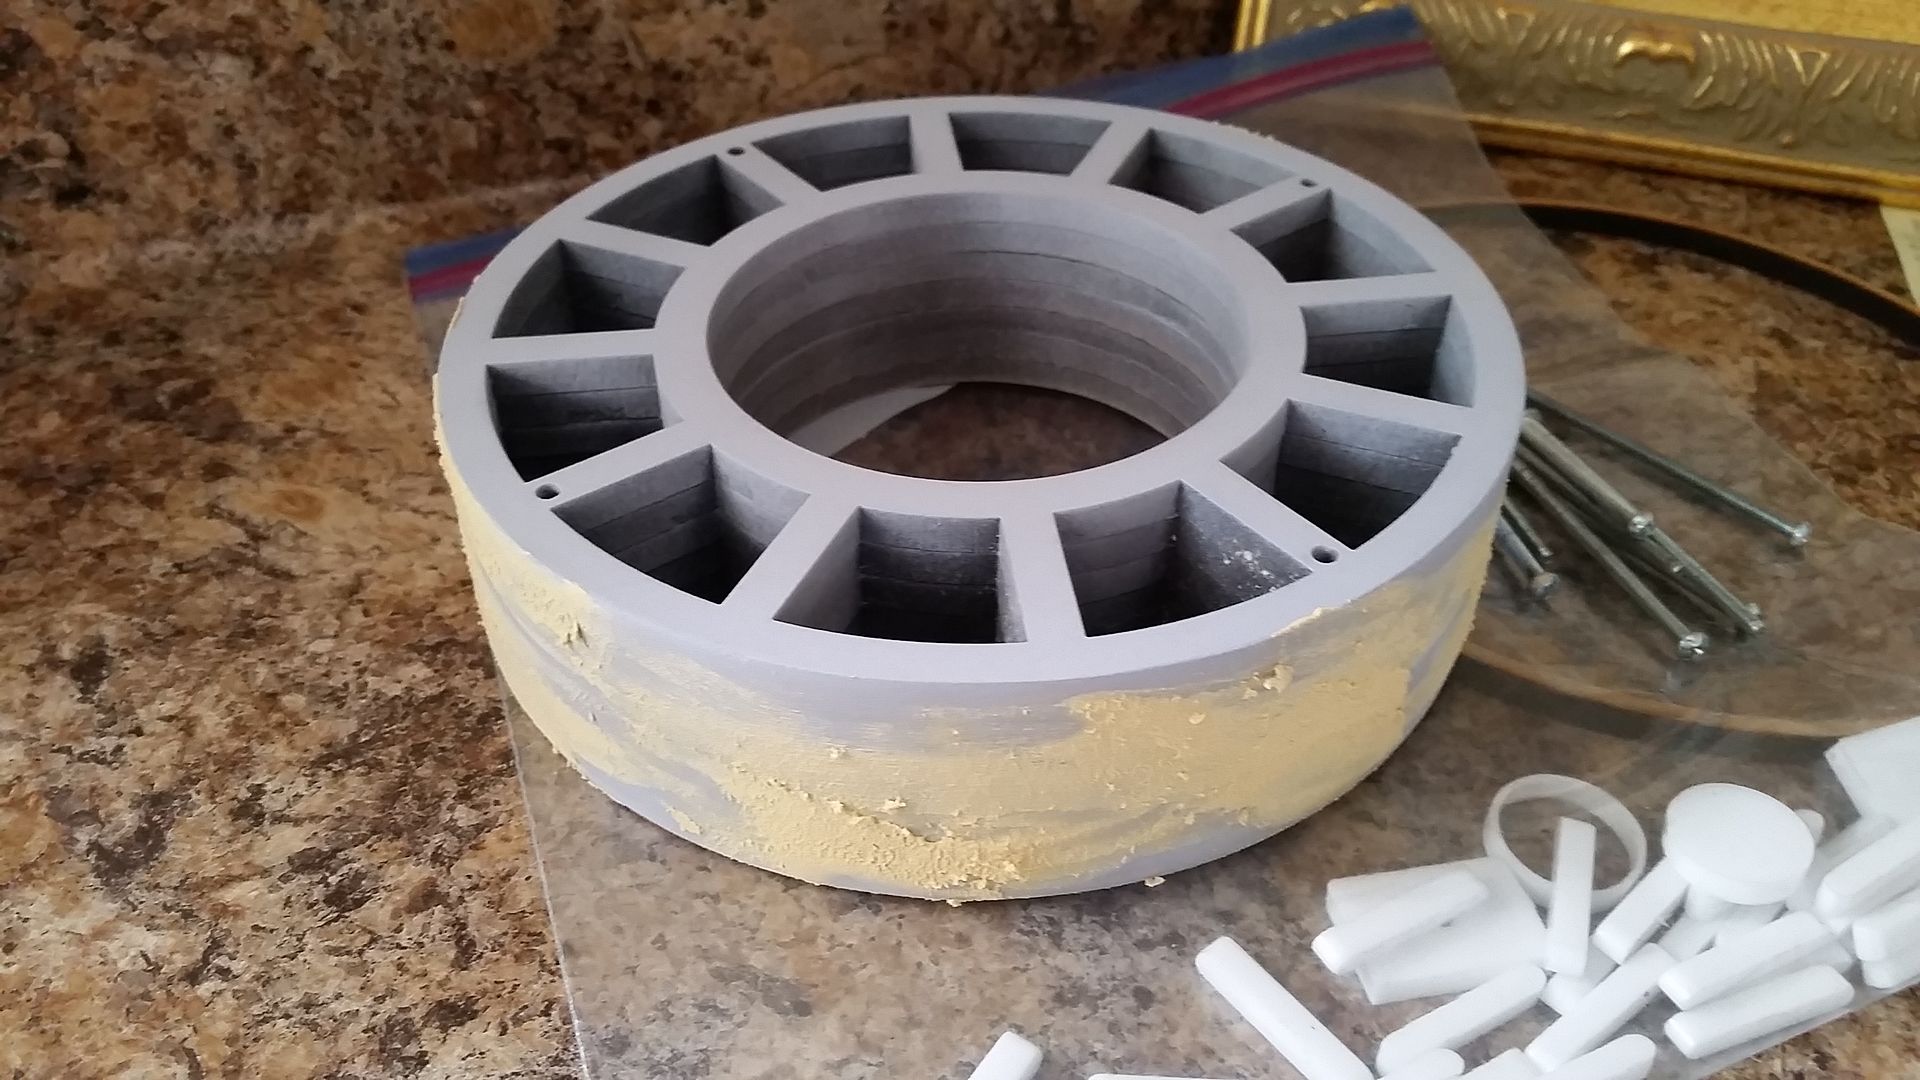
Added filler to this redesigned greeblie
Finally got around to sanding all the edges and adding primer - no cracking!
Added more filler to the center detail
Adhered to trim piece
Then added filler to the edges
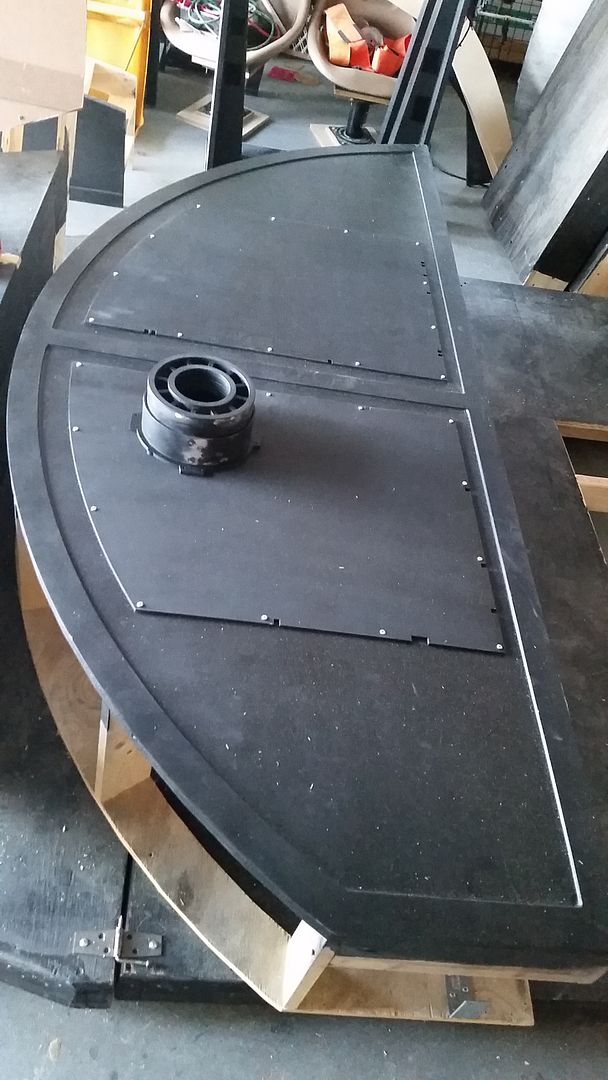
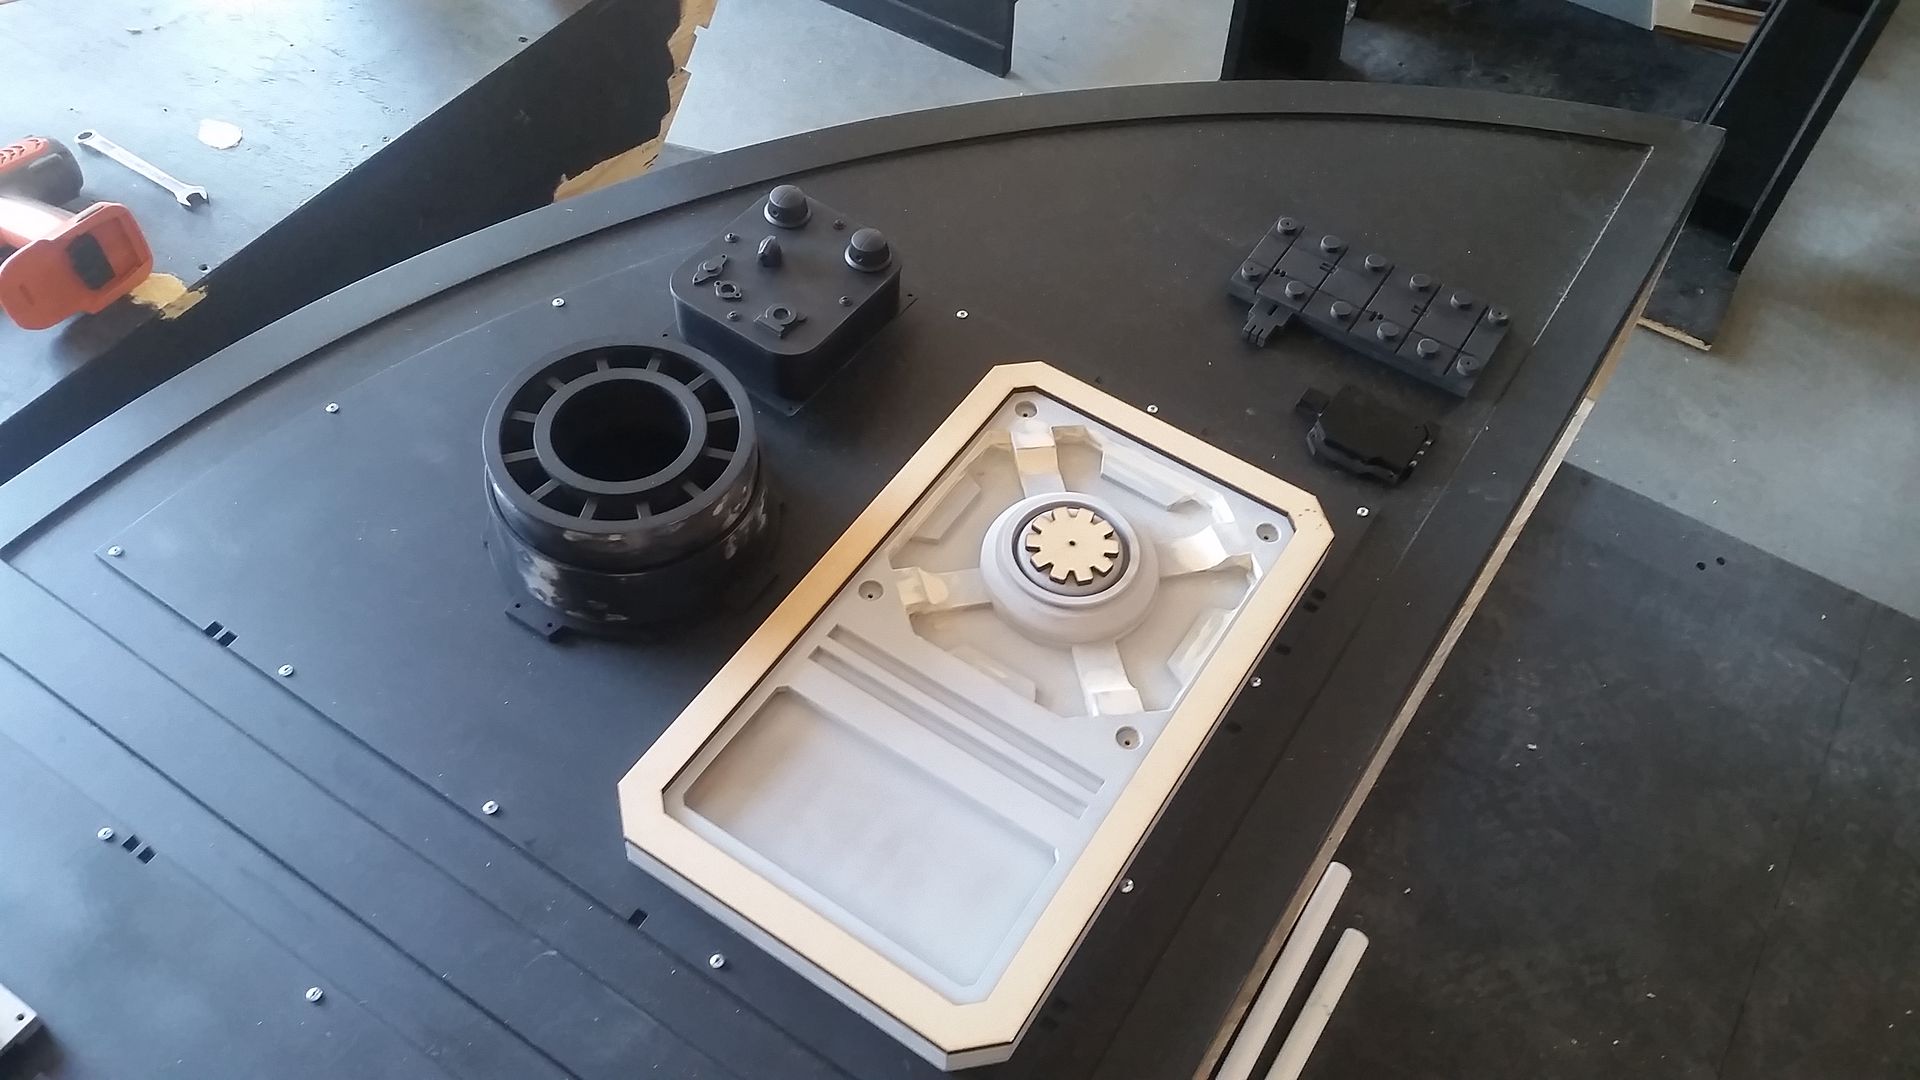
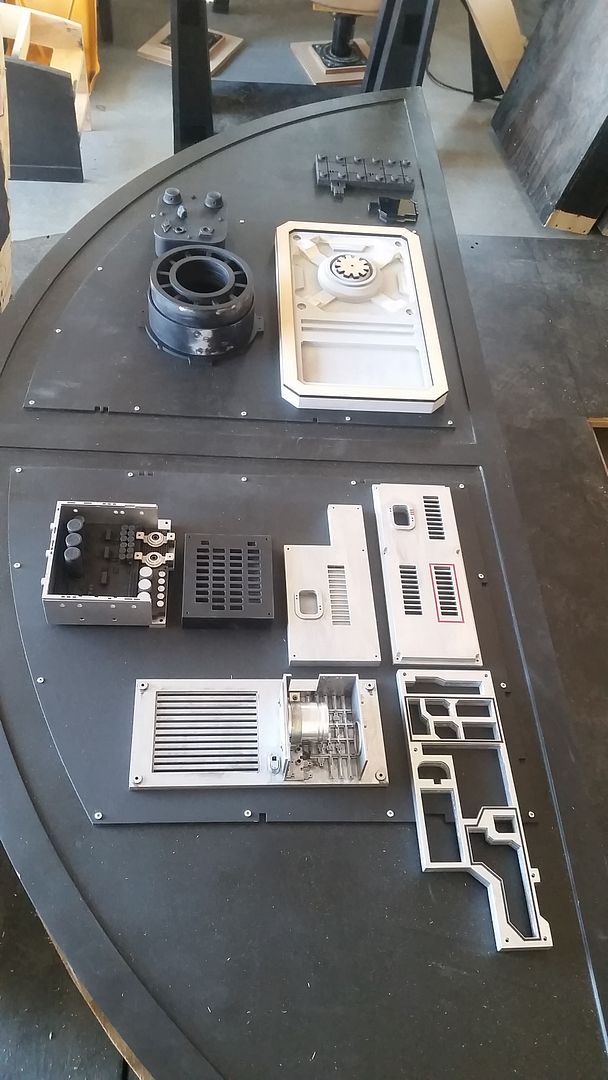
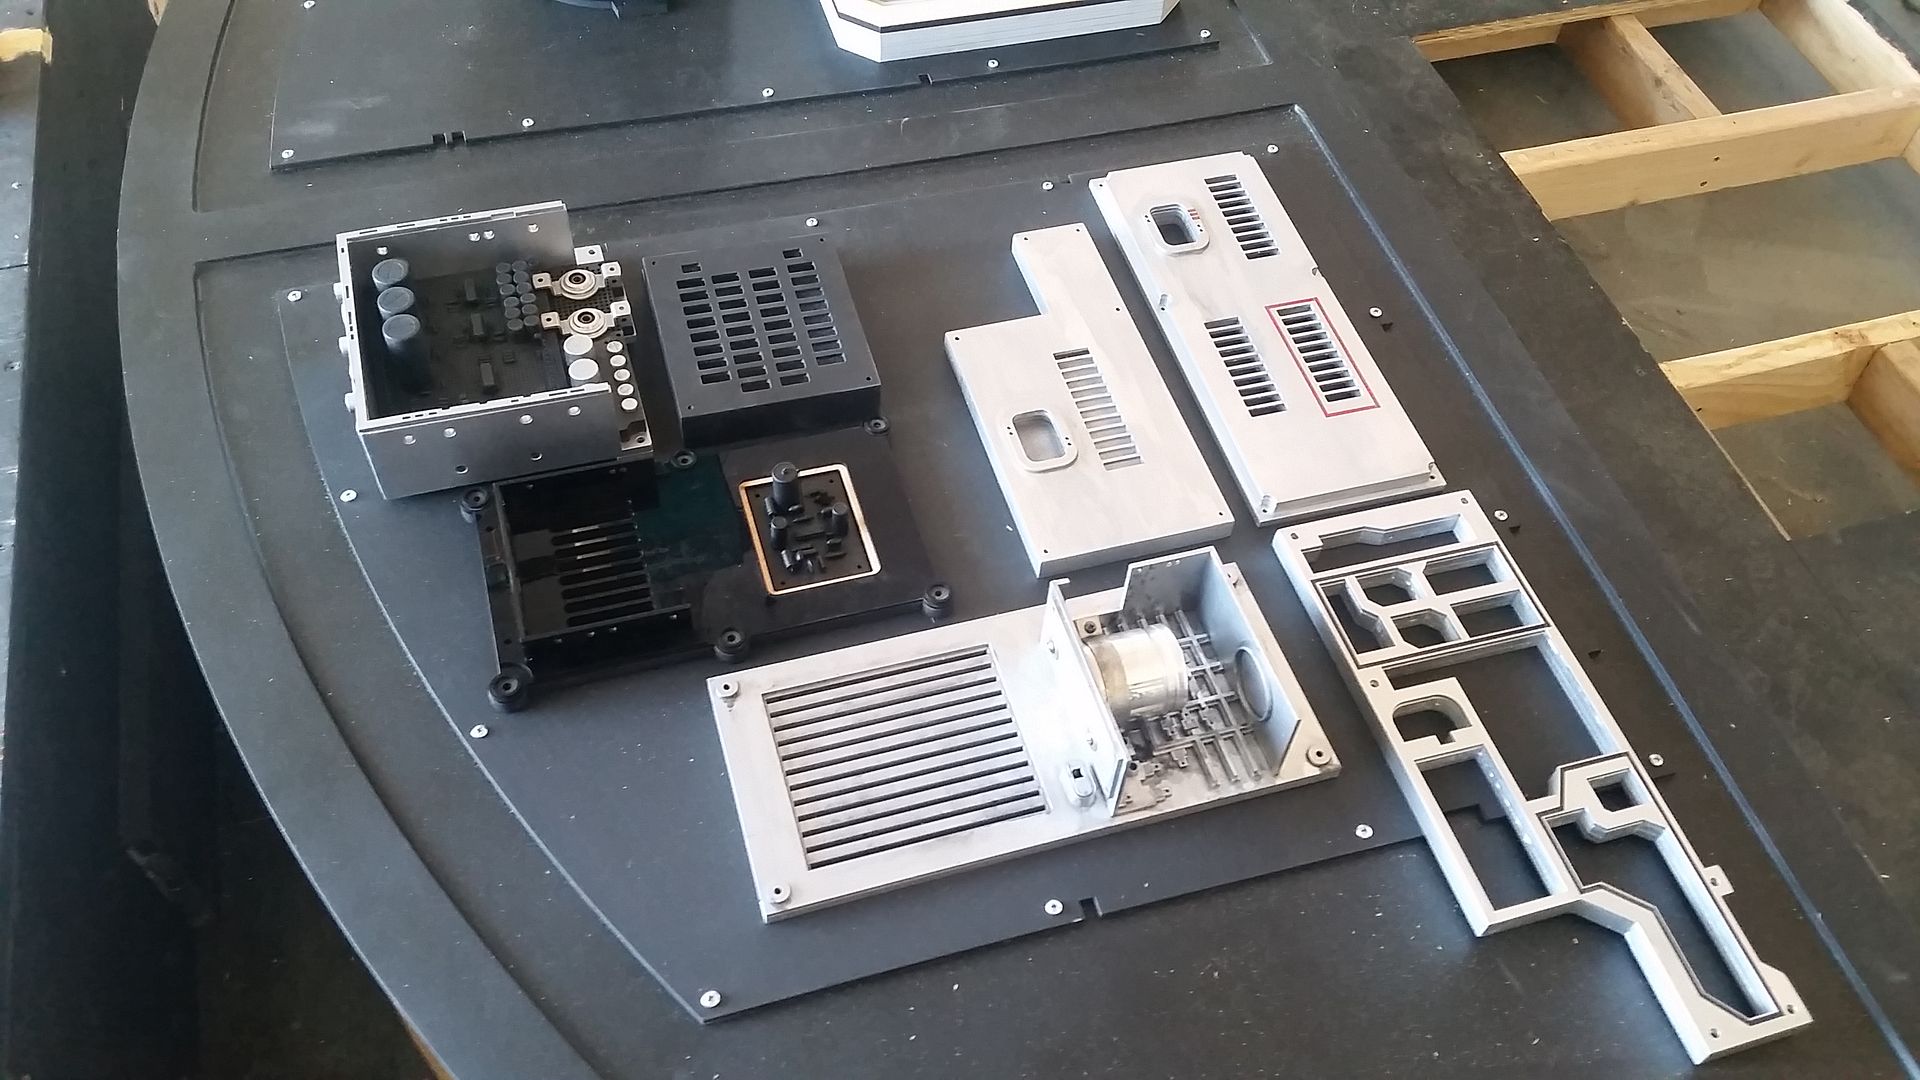
I then started to position the greeblies to the back wall
Because I cut several access panels into the wall, I wound up decreasing the amount of actual working space. There are a bunch more greeblies but I'm not going to add all of them. I kind of like the minimalist effect - and this is the ESB version so we're allowed a little bit of artistic freedom
I'm creating a new greeblie but I don't think I'll wind up using it - trim pieces cut
I'm considering putting it here but I think it looks too crowded
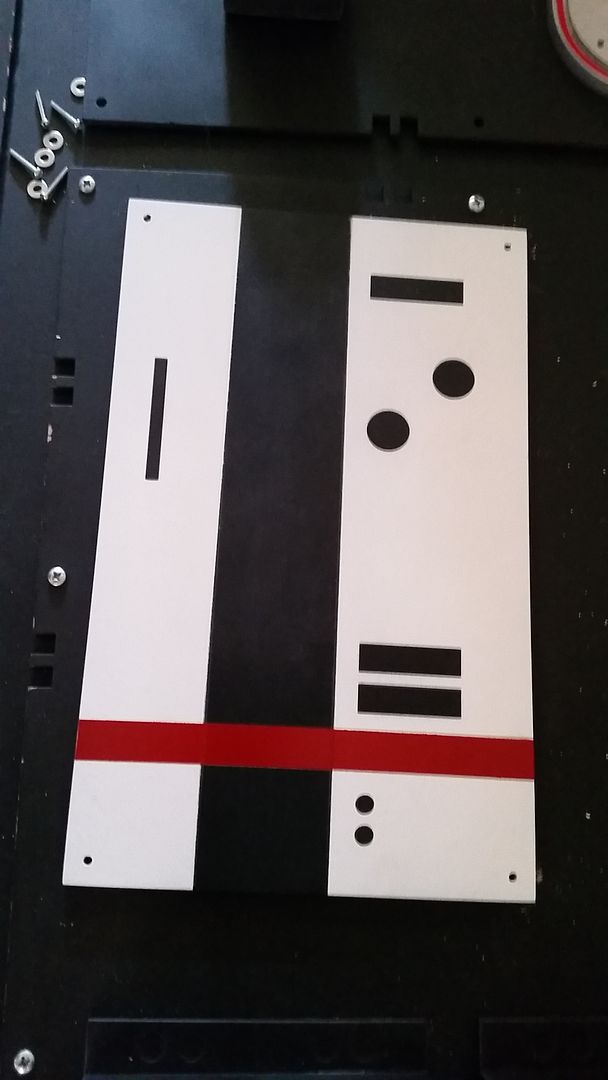
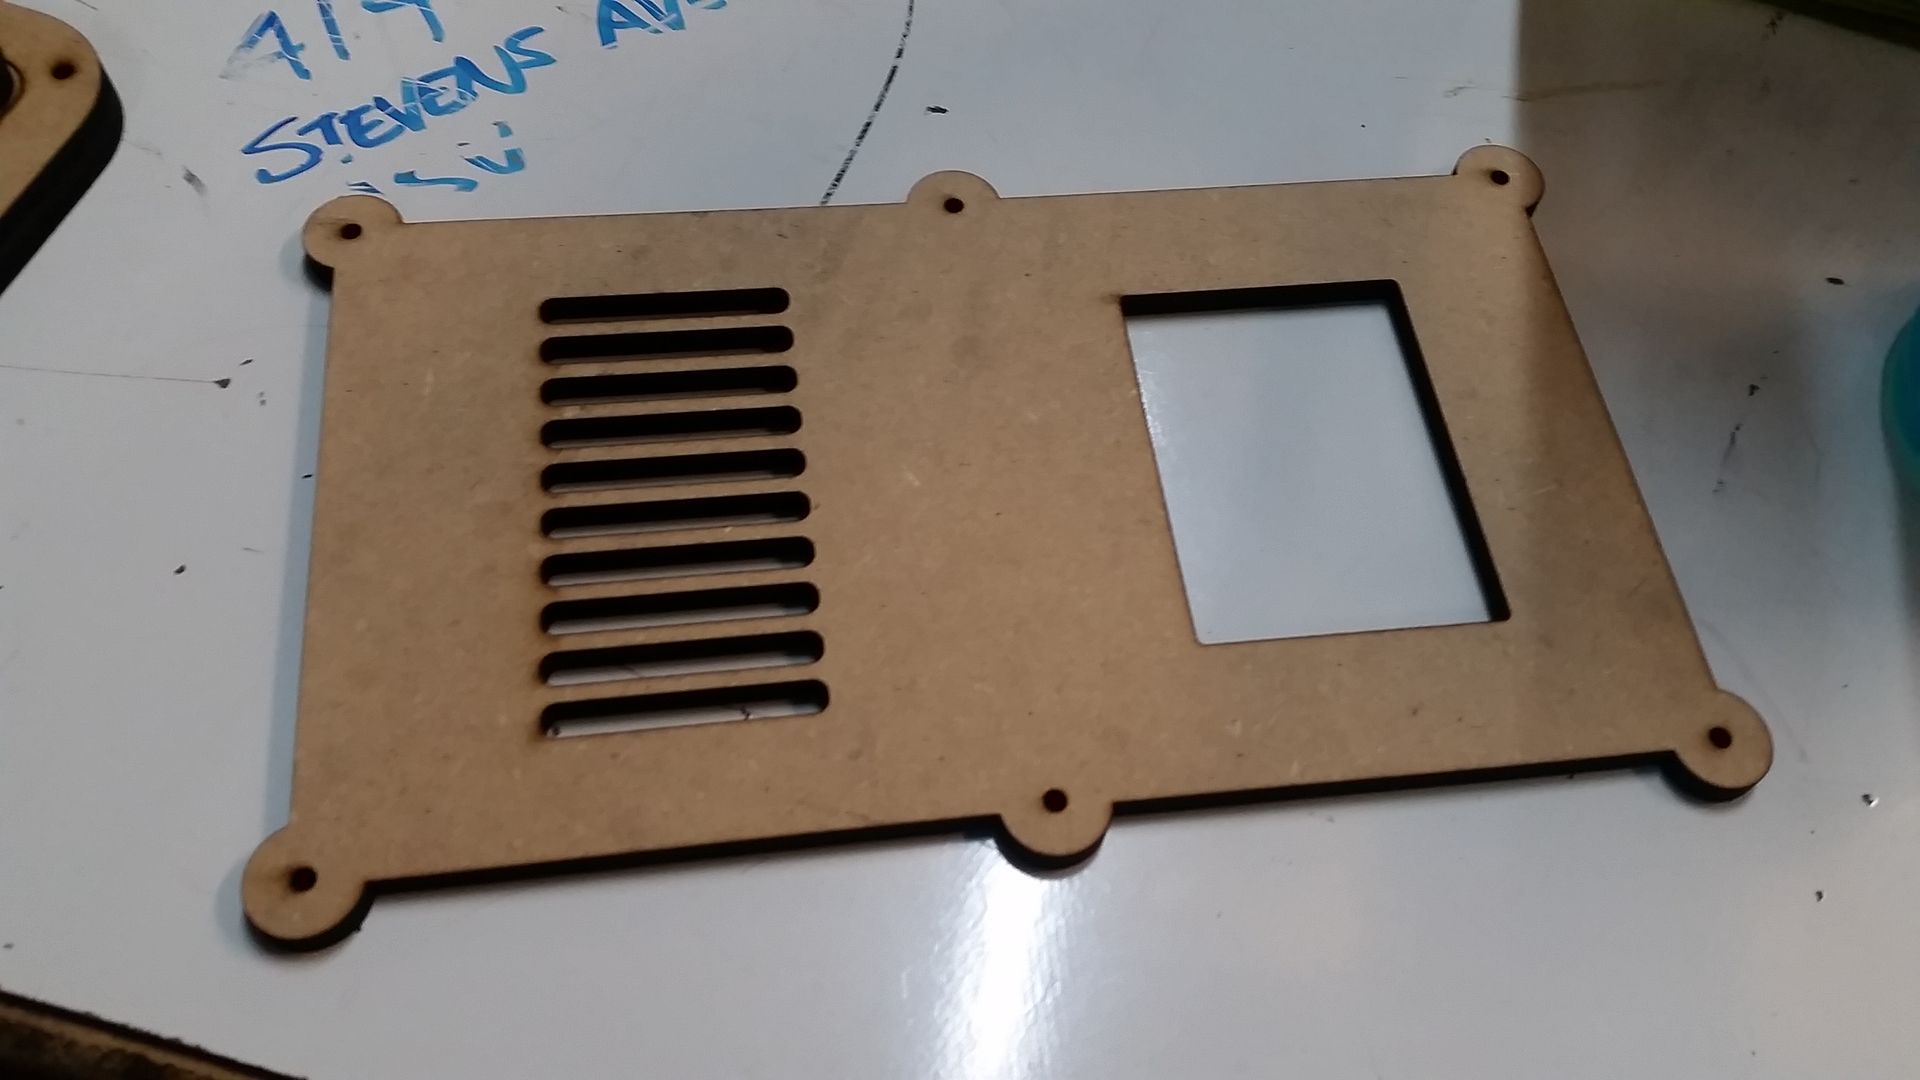
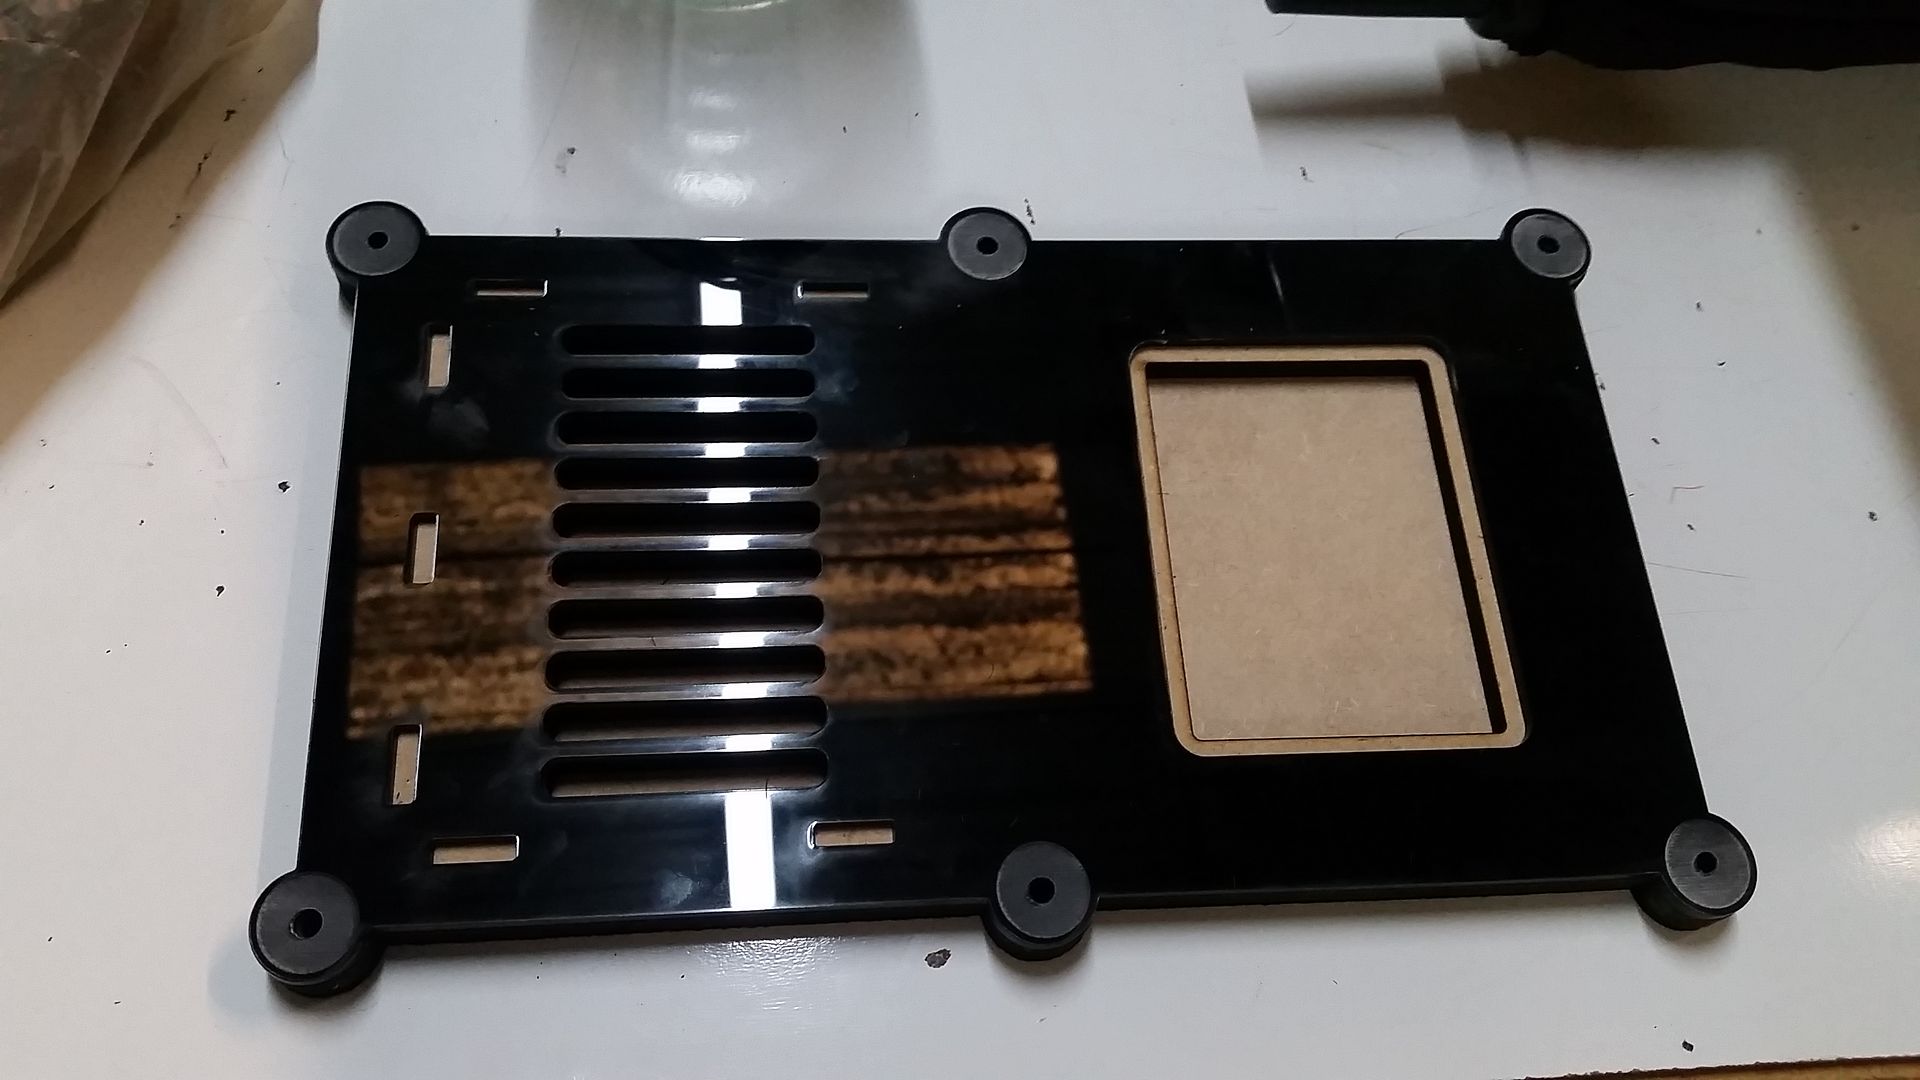
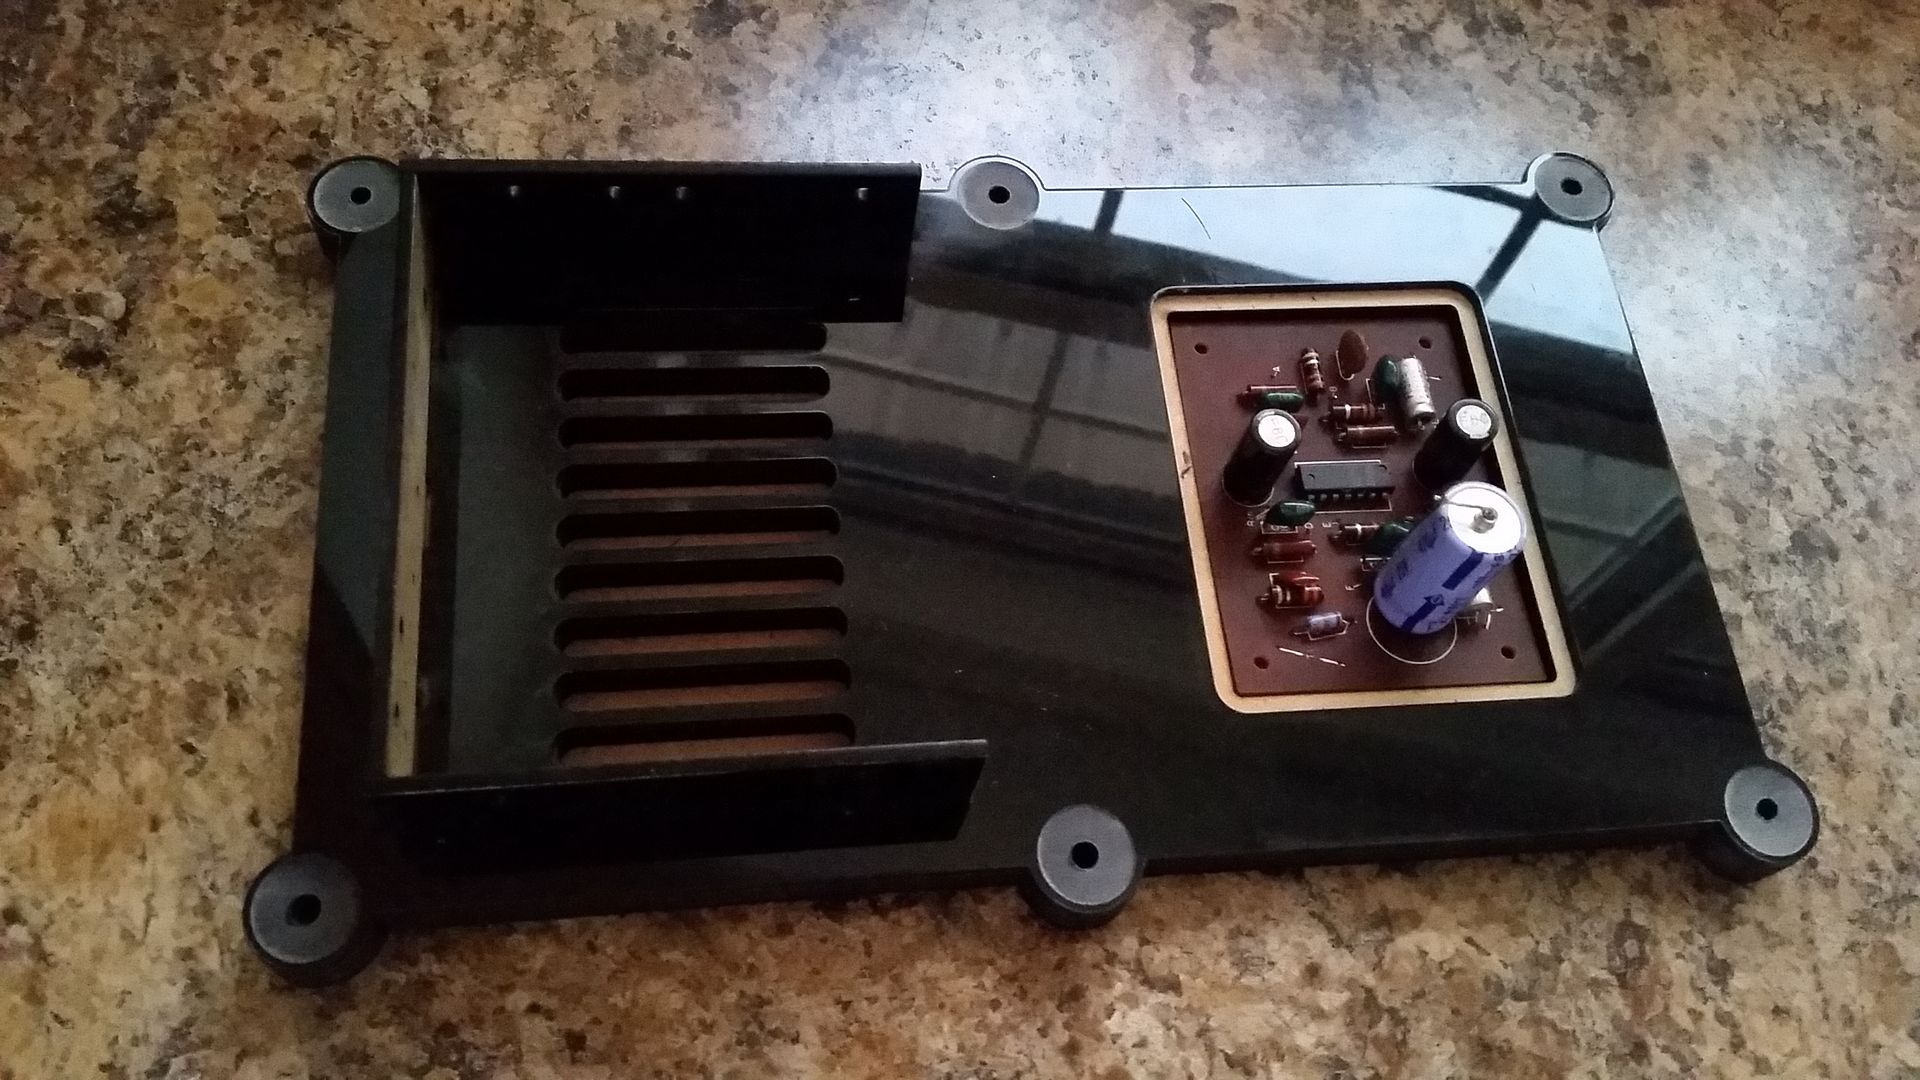
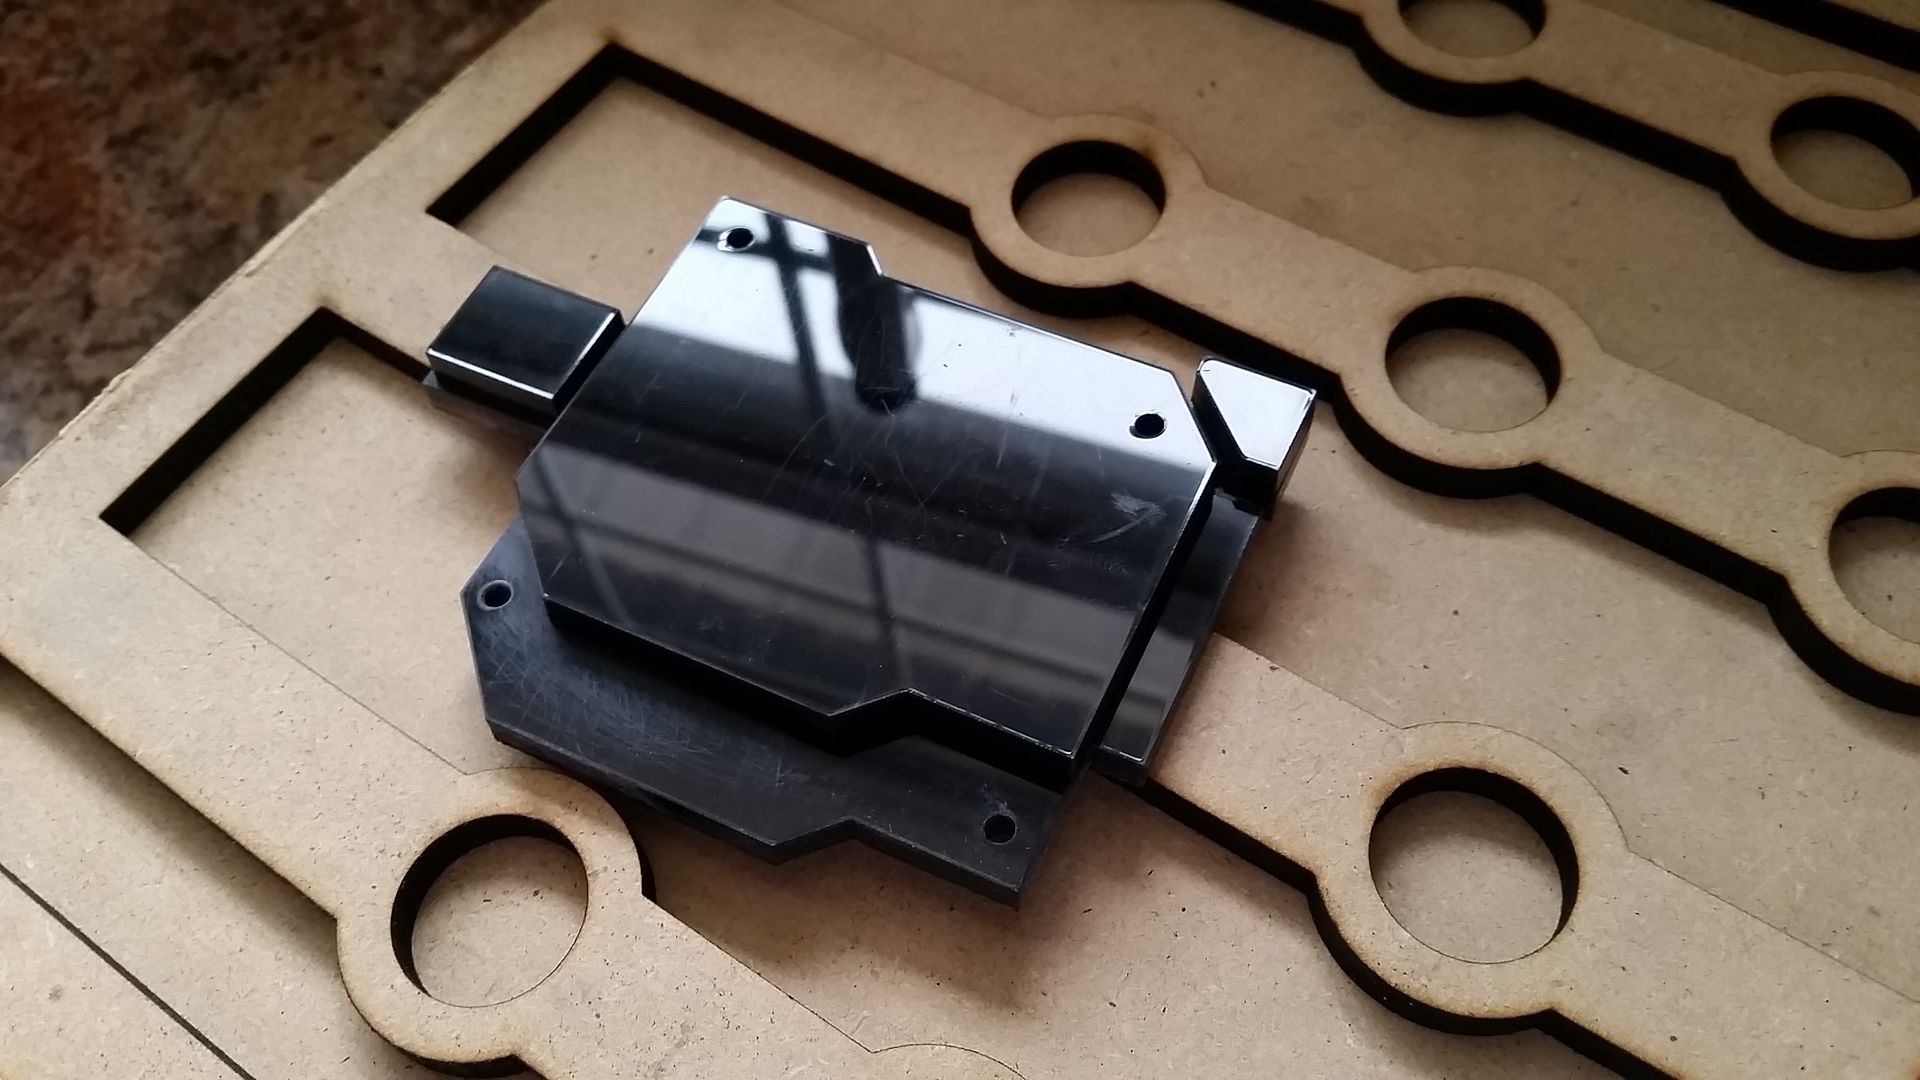
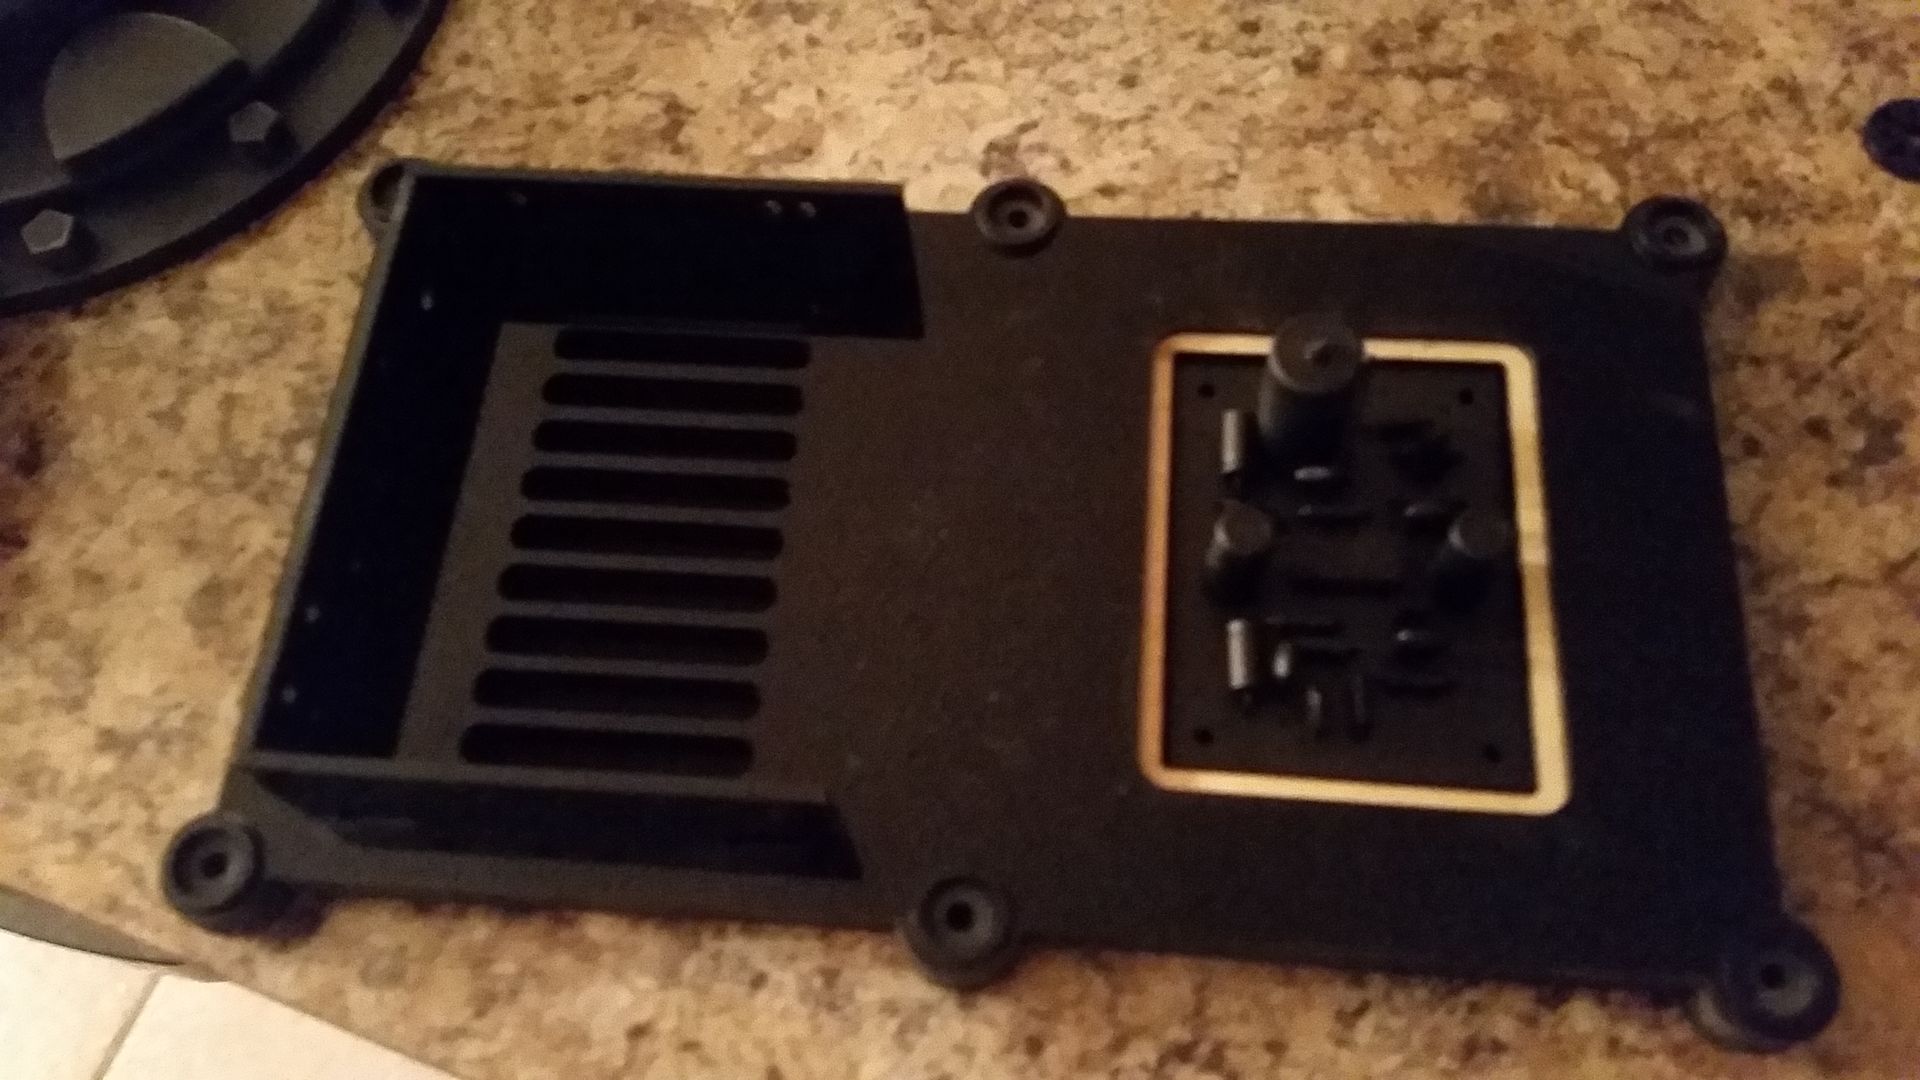
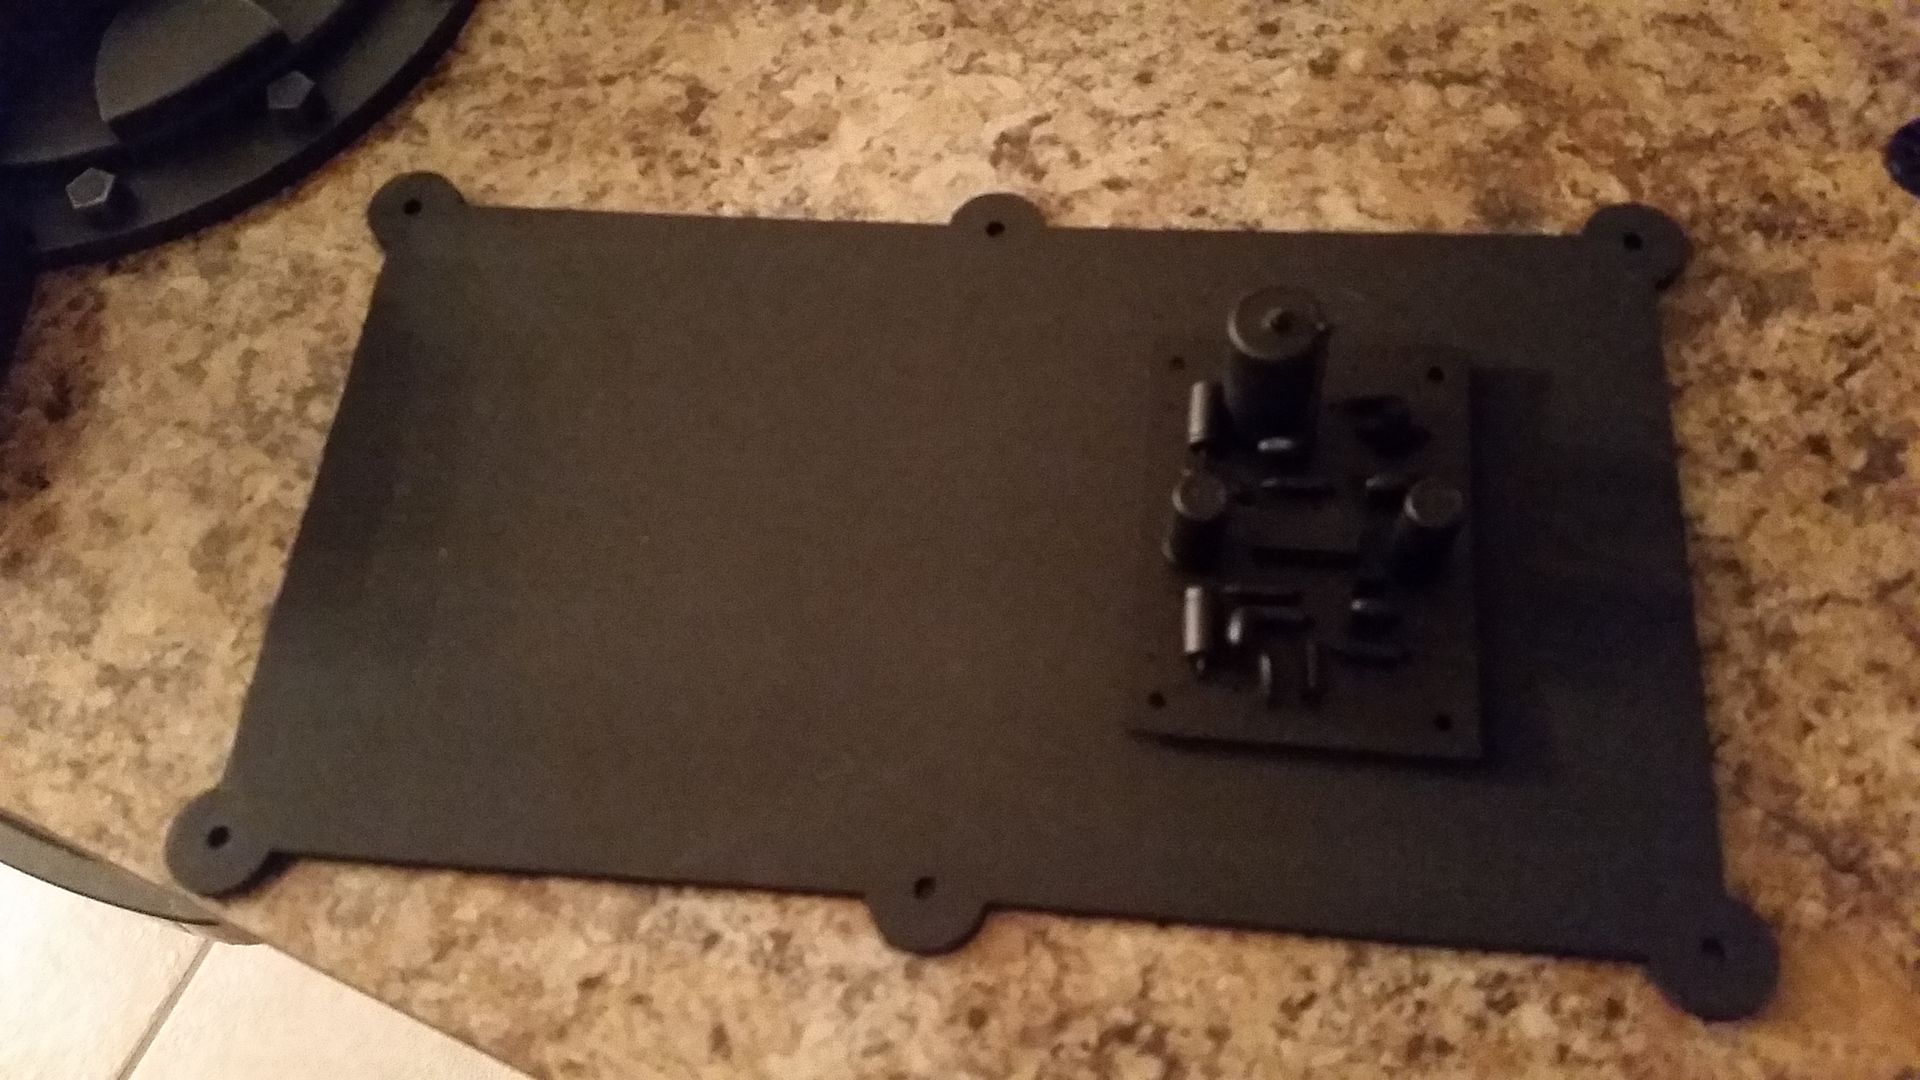
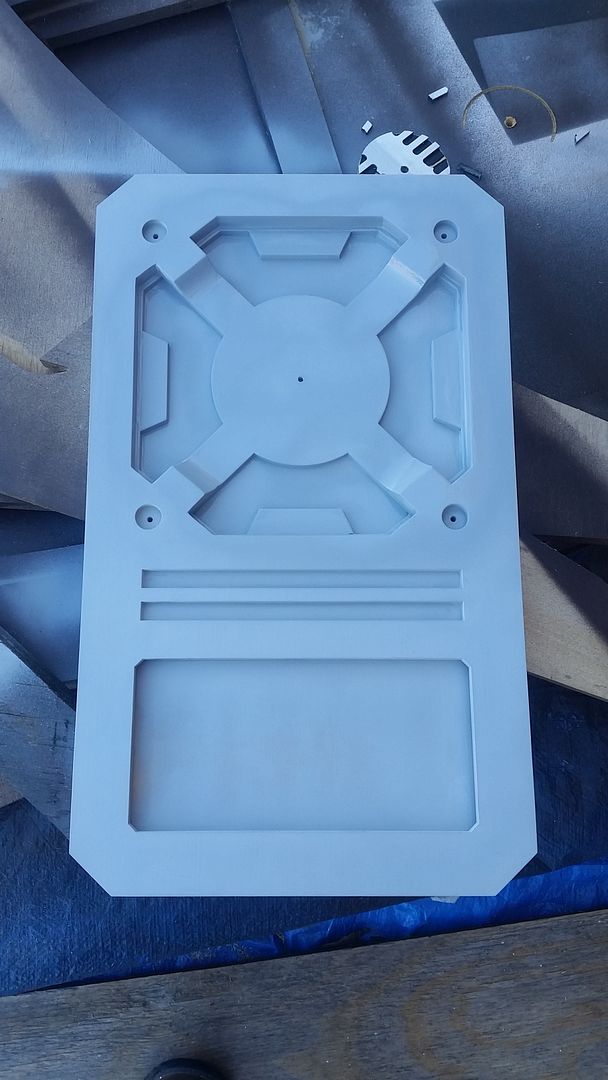
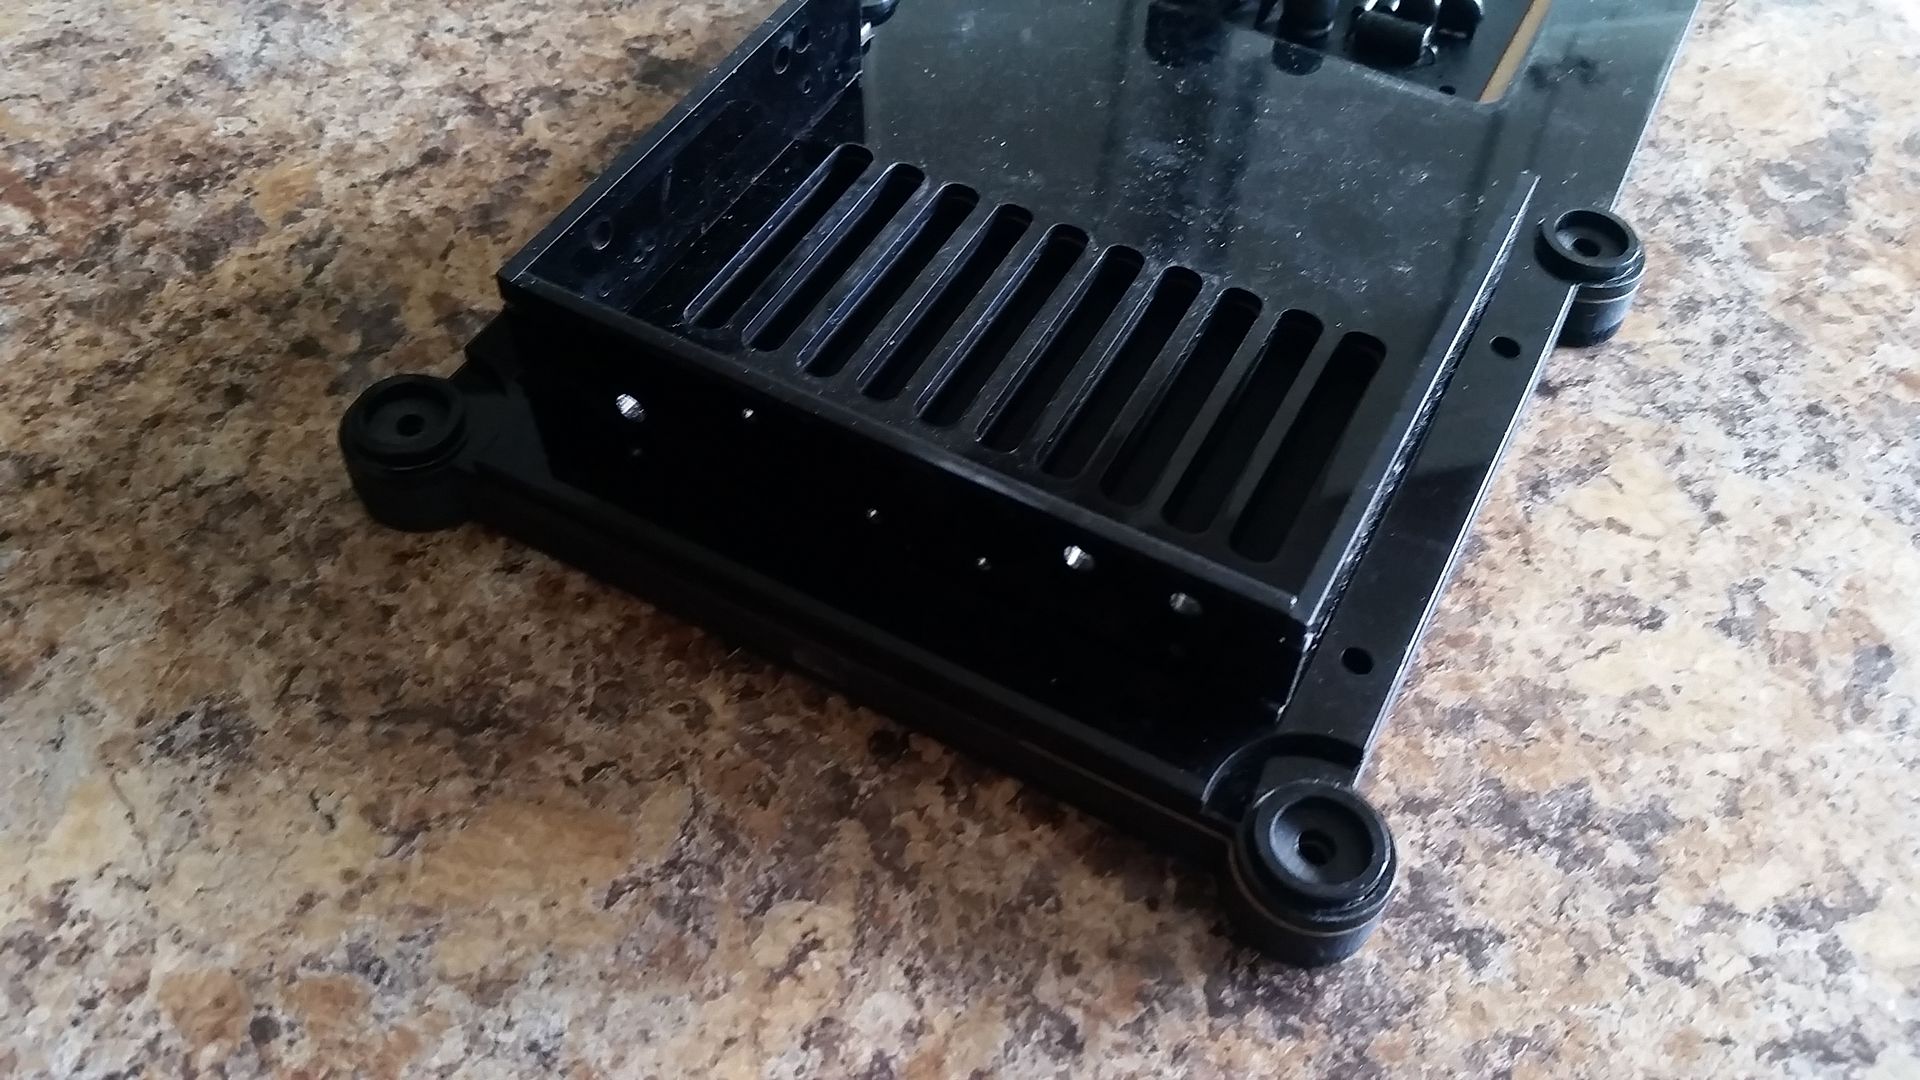
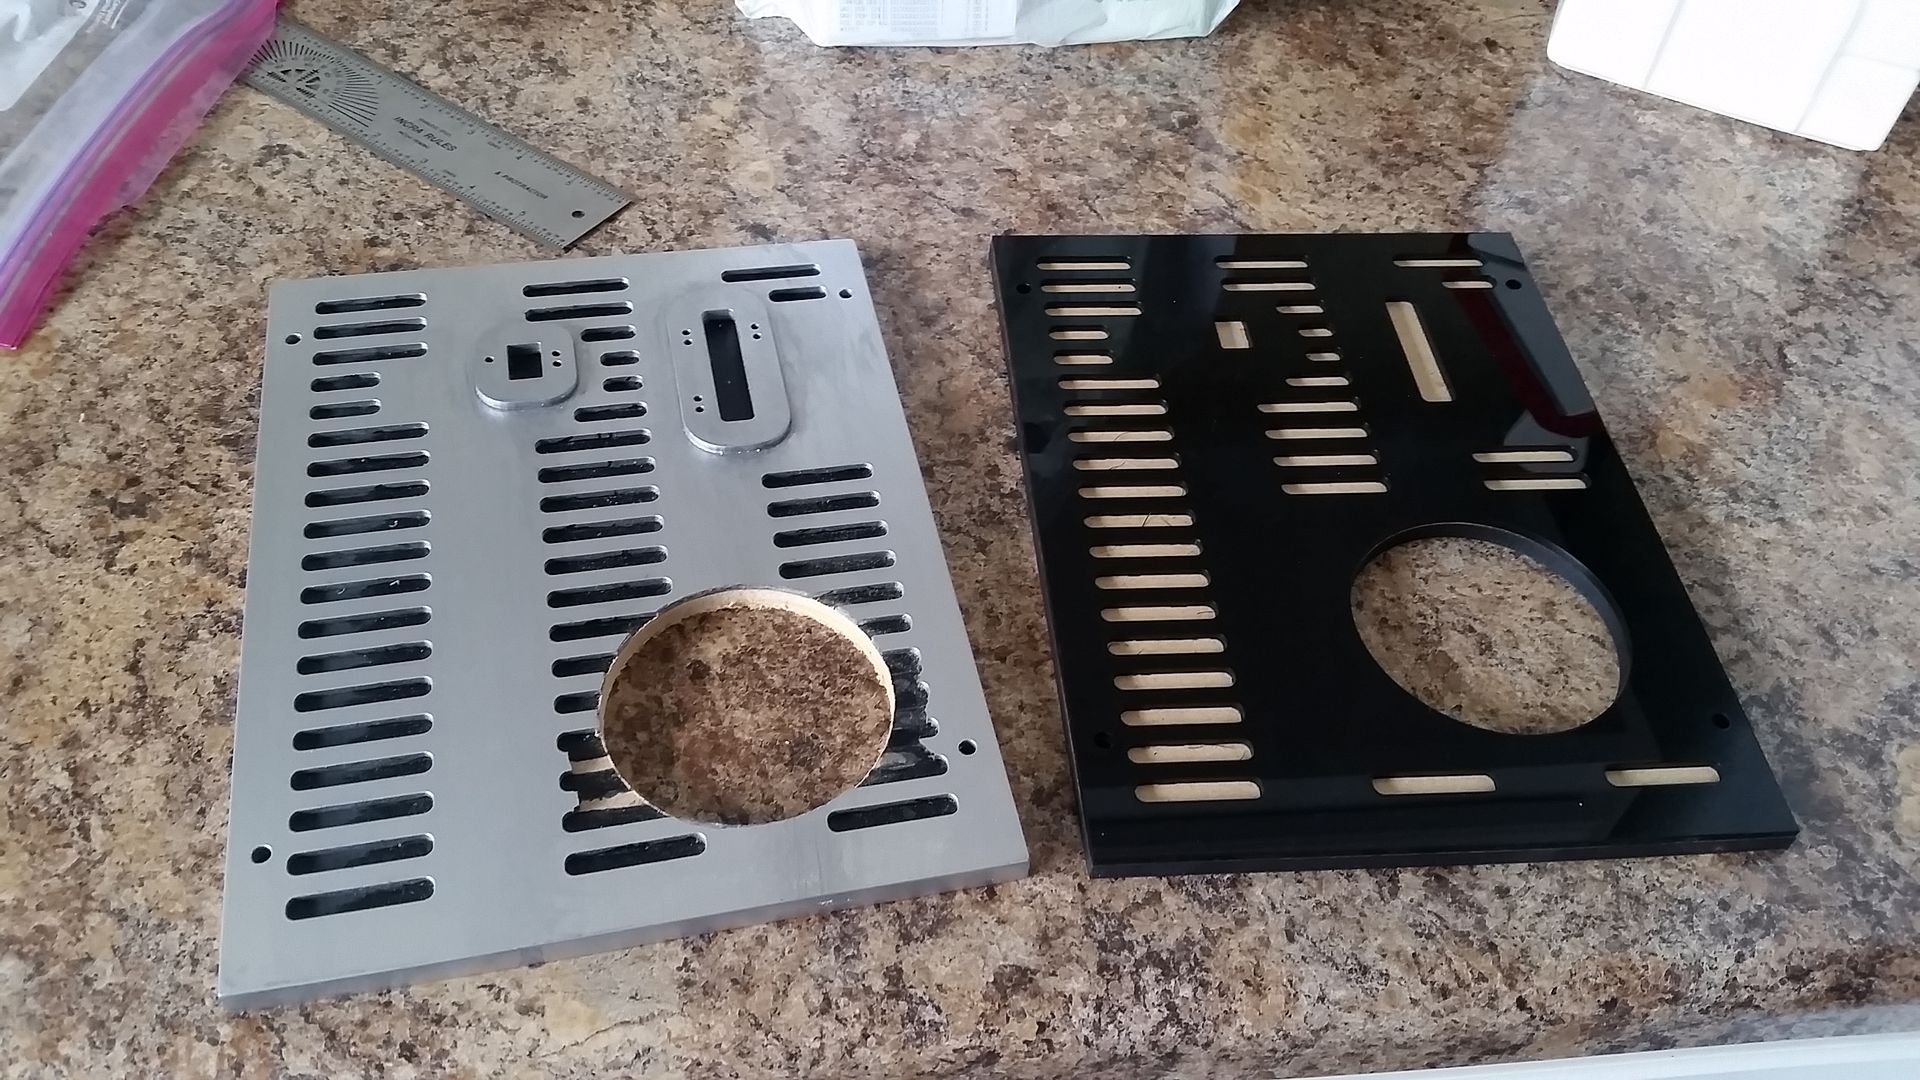
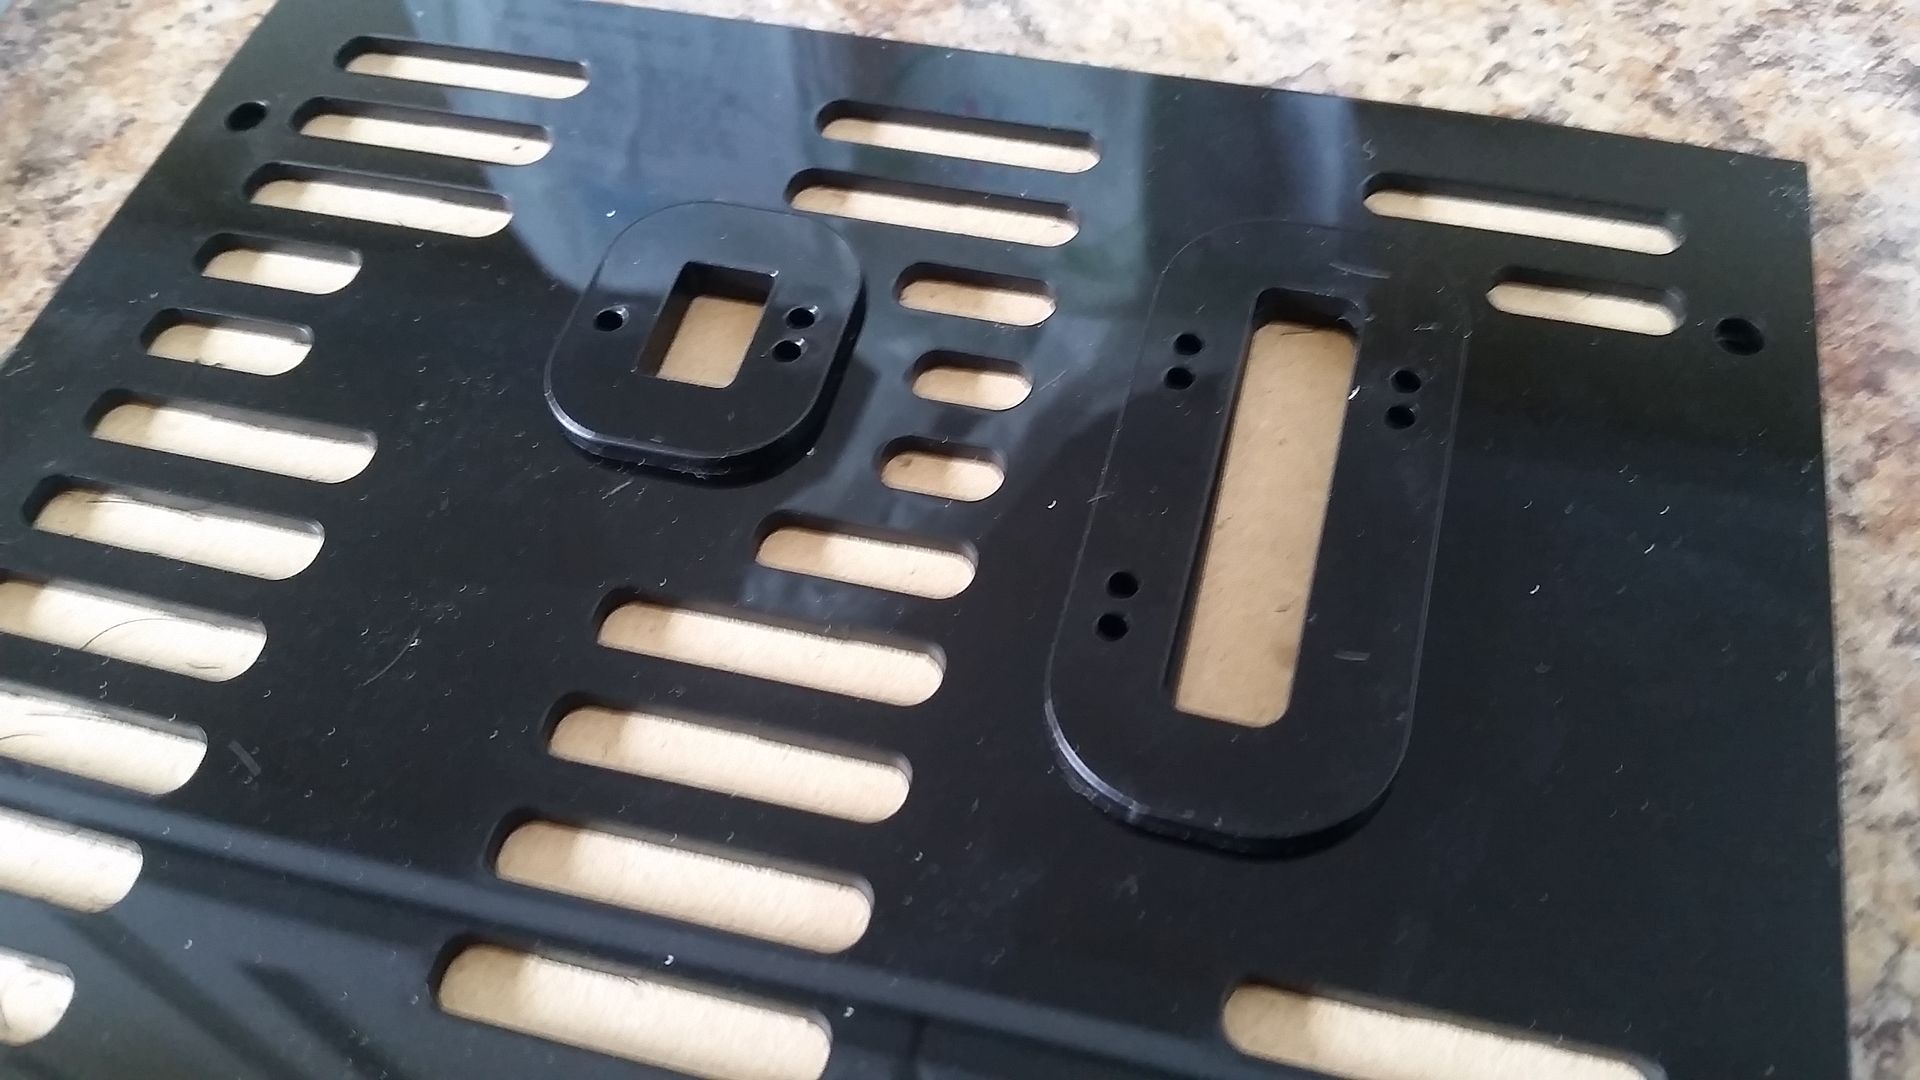
After my disaster with the hole cutter I laser cut this new greeblie panel (rt side)
Need to adhere acrylic trim, prime, paint, cut the hole into the actual panel, mount PC fans then done... simple right?
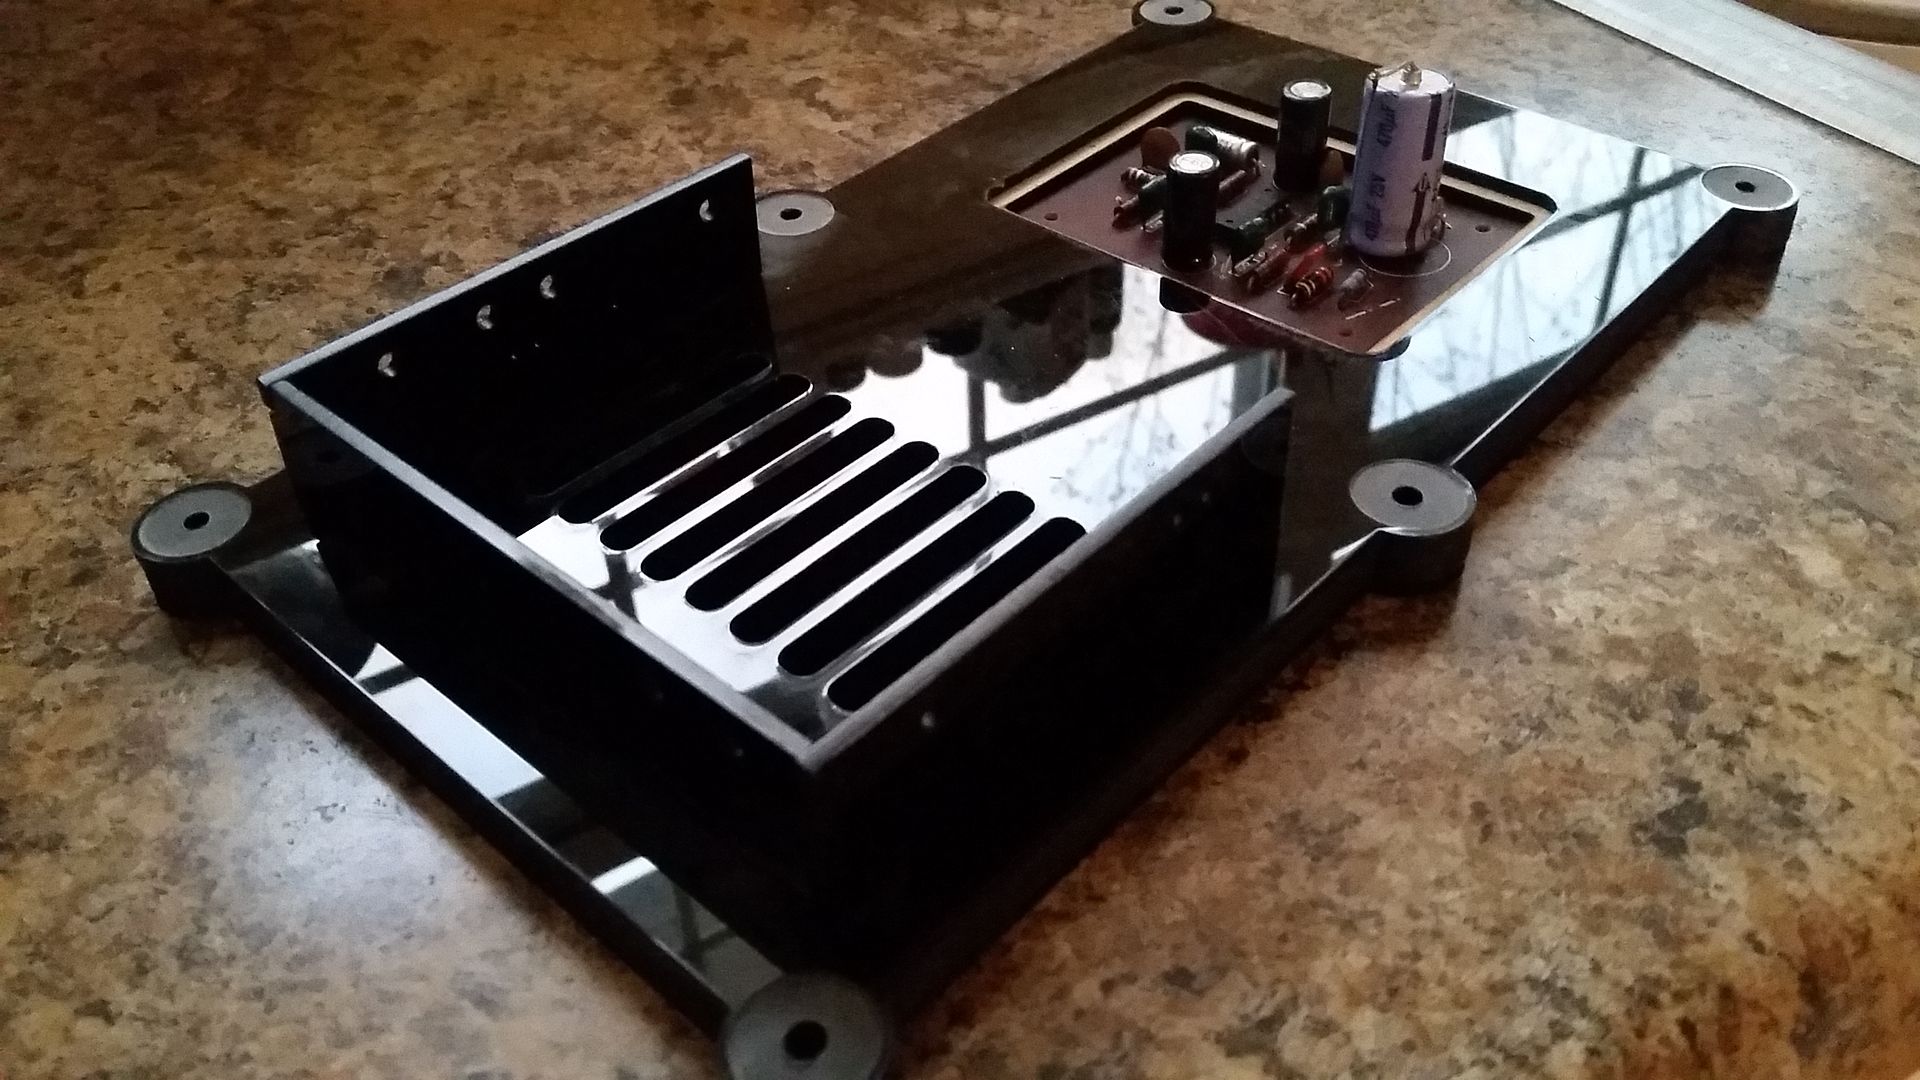
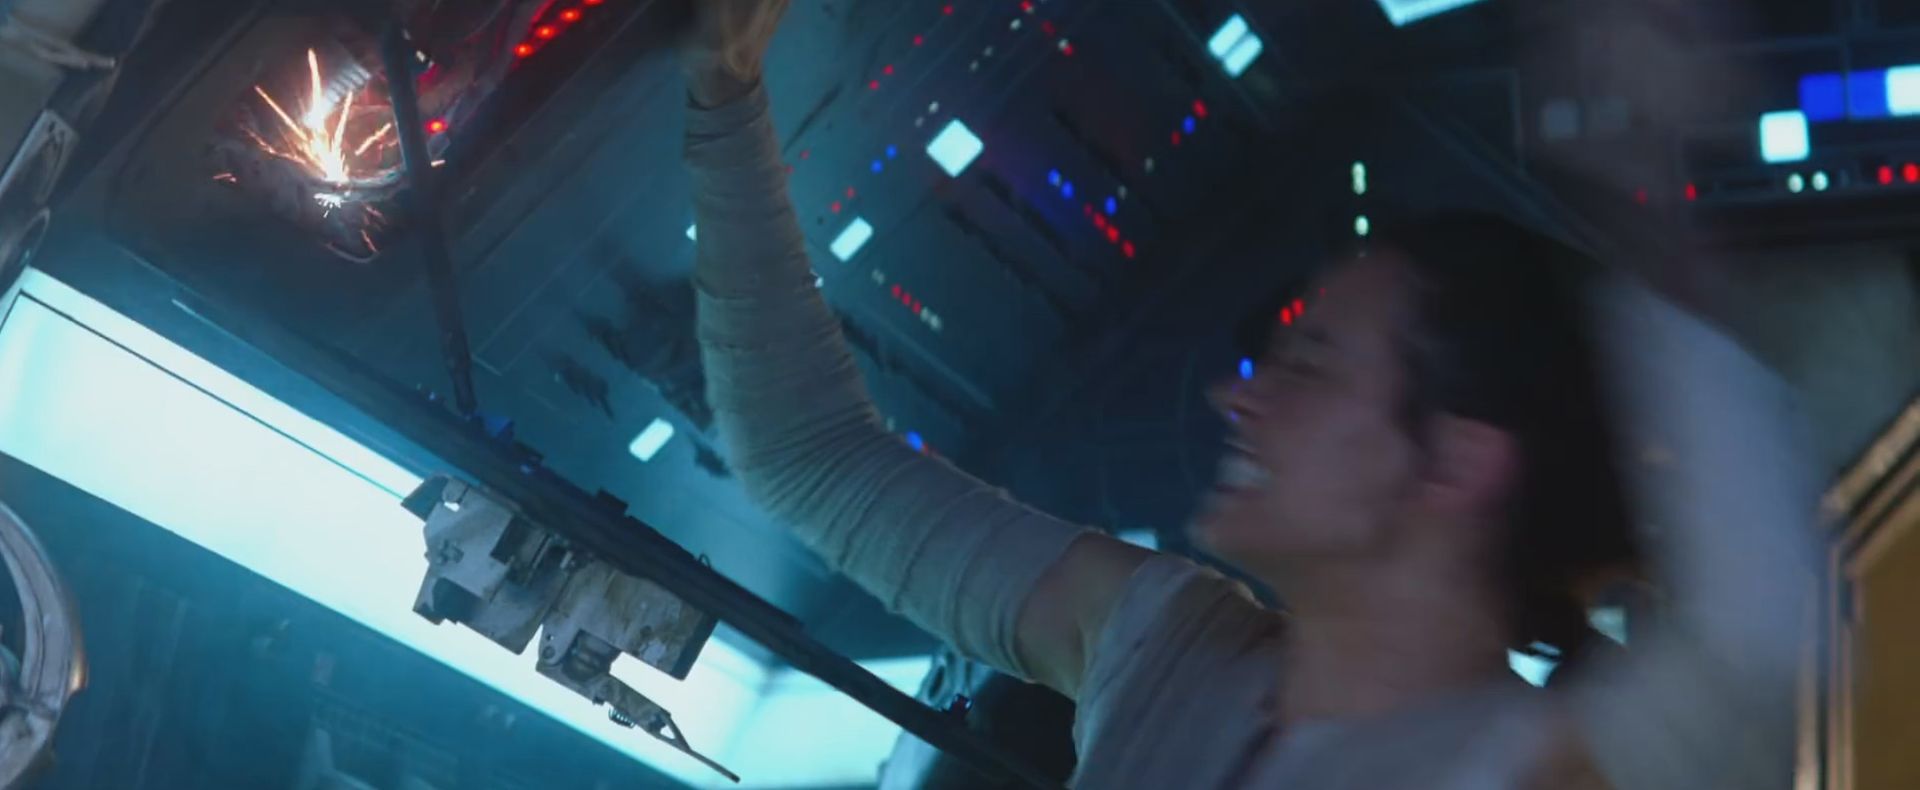
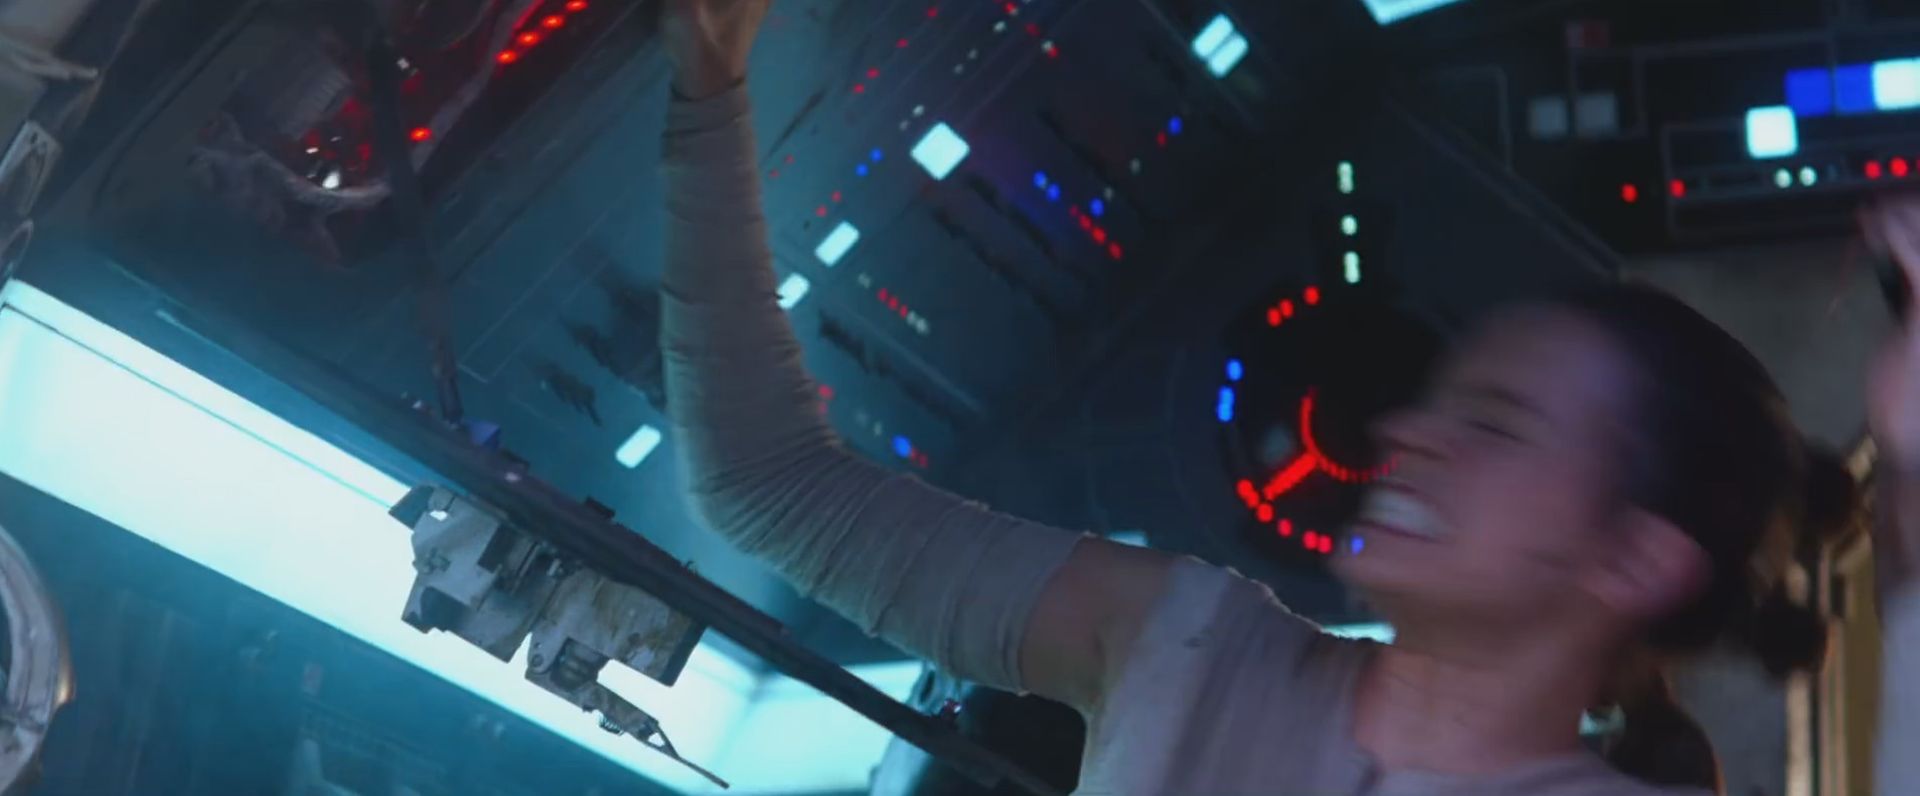
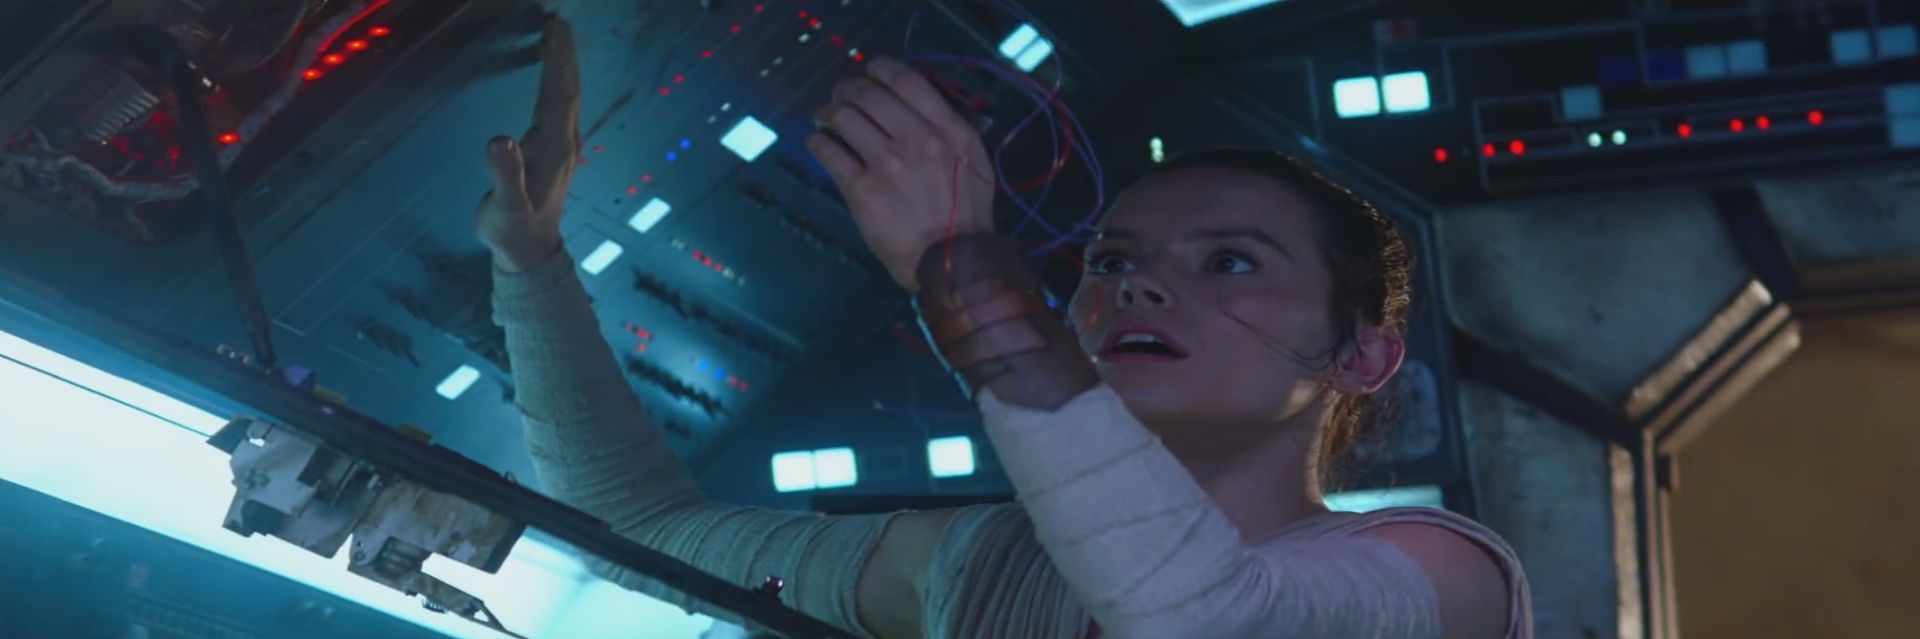
There is a scene in EPVII TFA where Rey pulls down a door revealing a new area of the cockpit we've never scene! Well... I'm adding it!
Yes... I will even try to add the dangling "compressor" board!
")
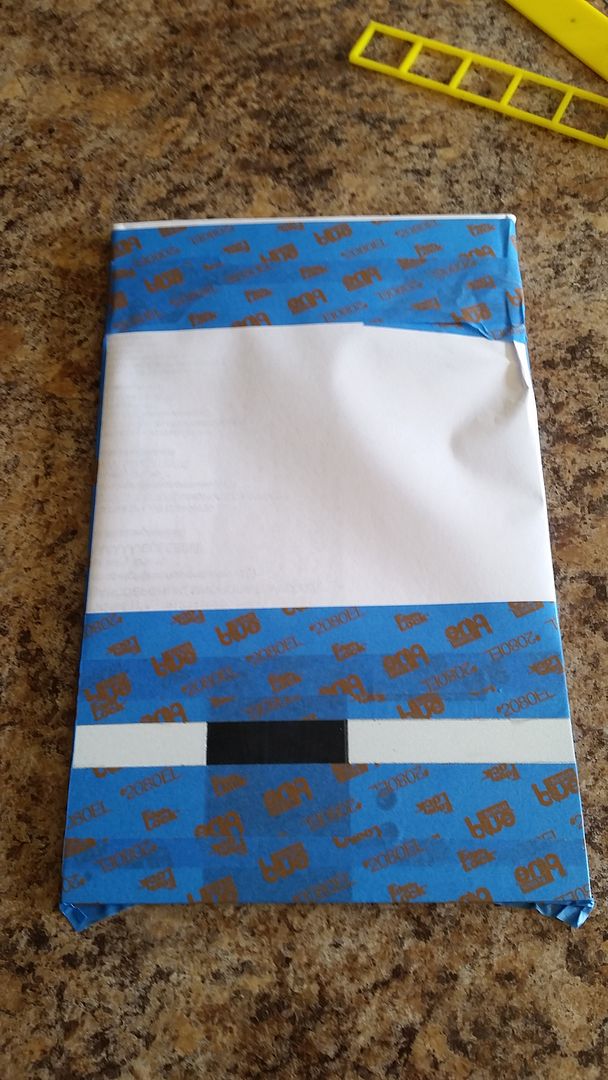
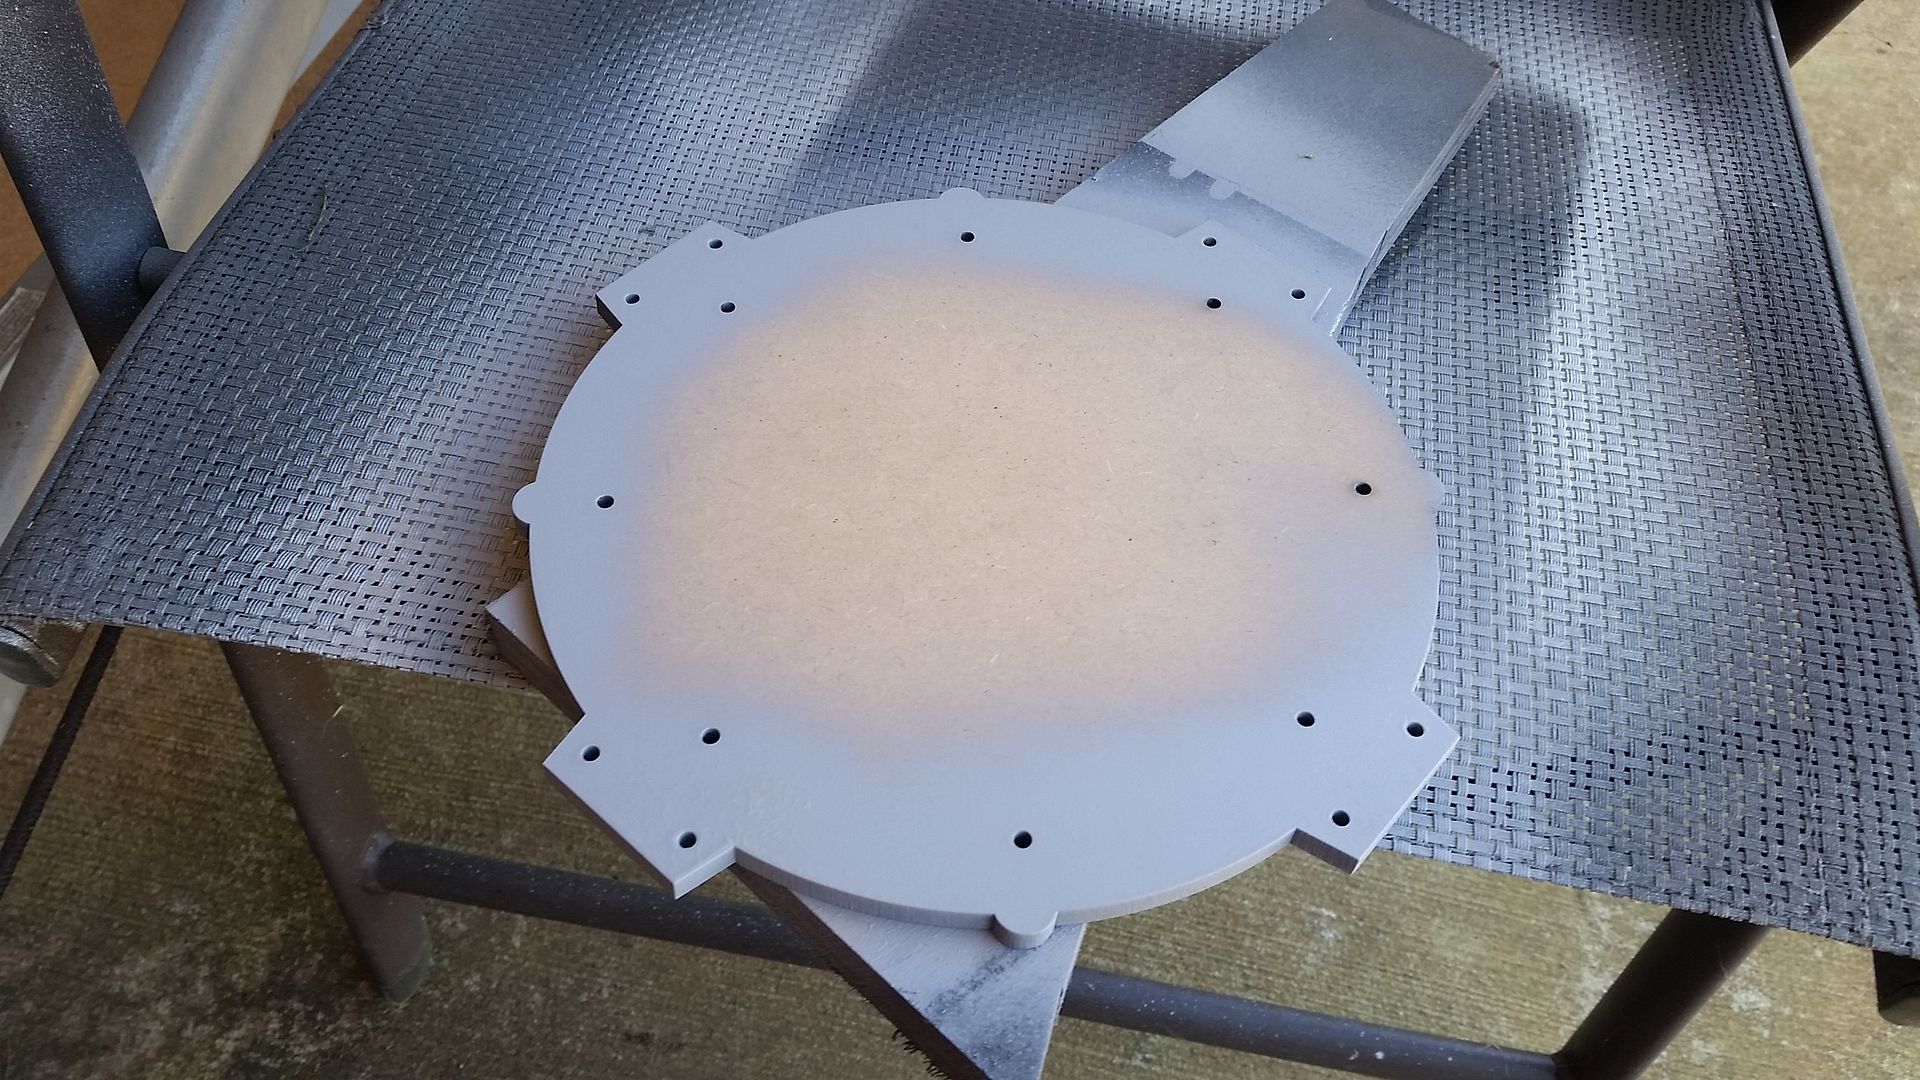
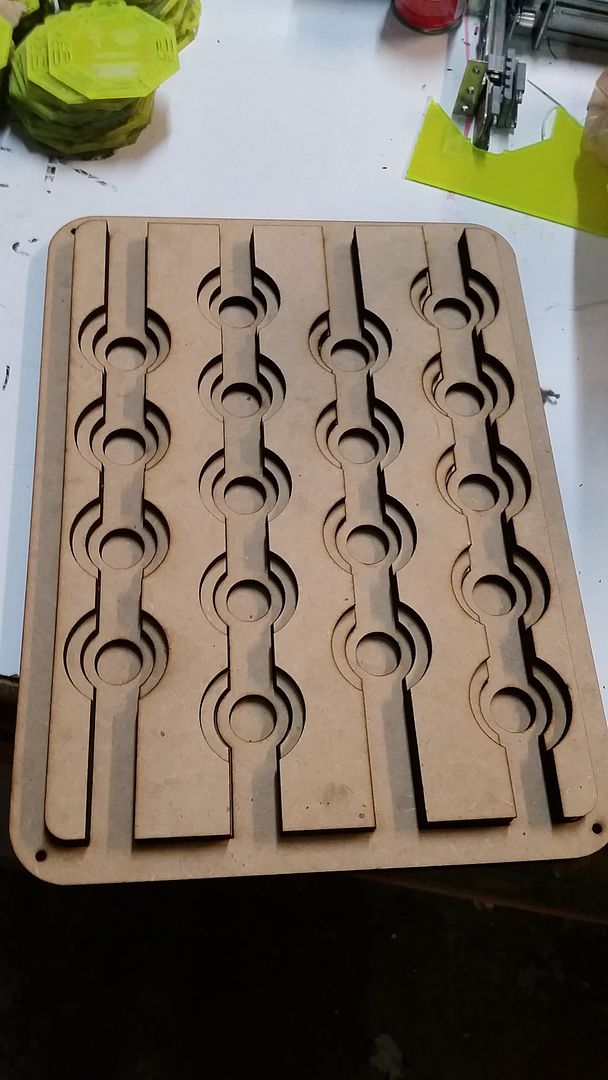
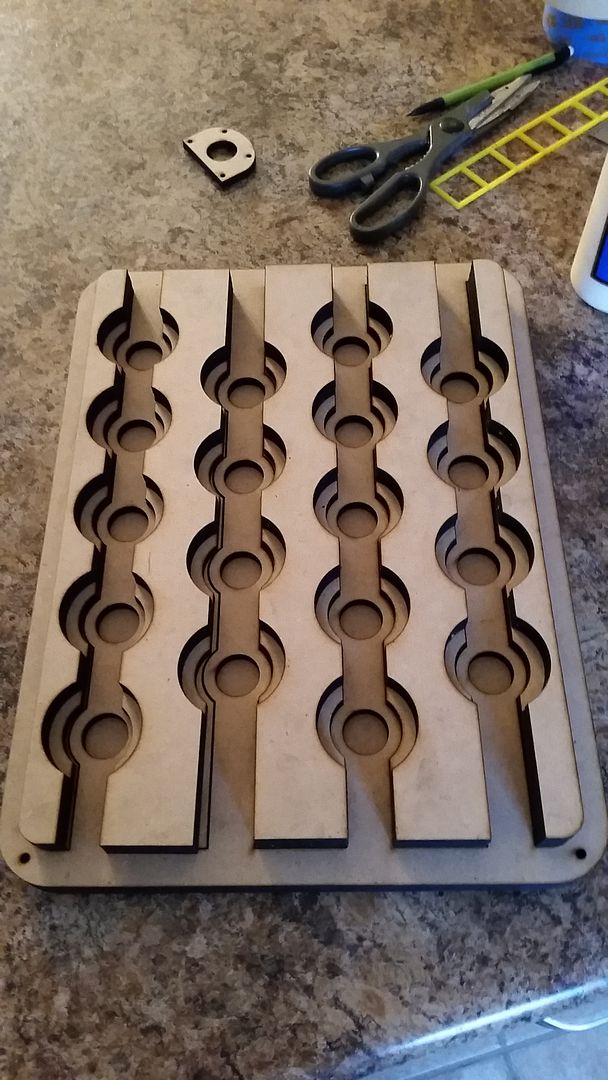
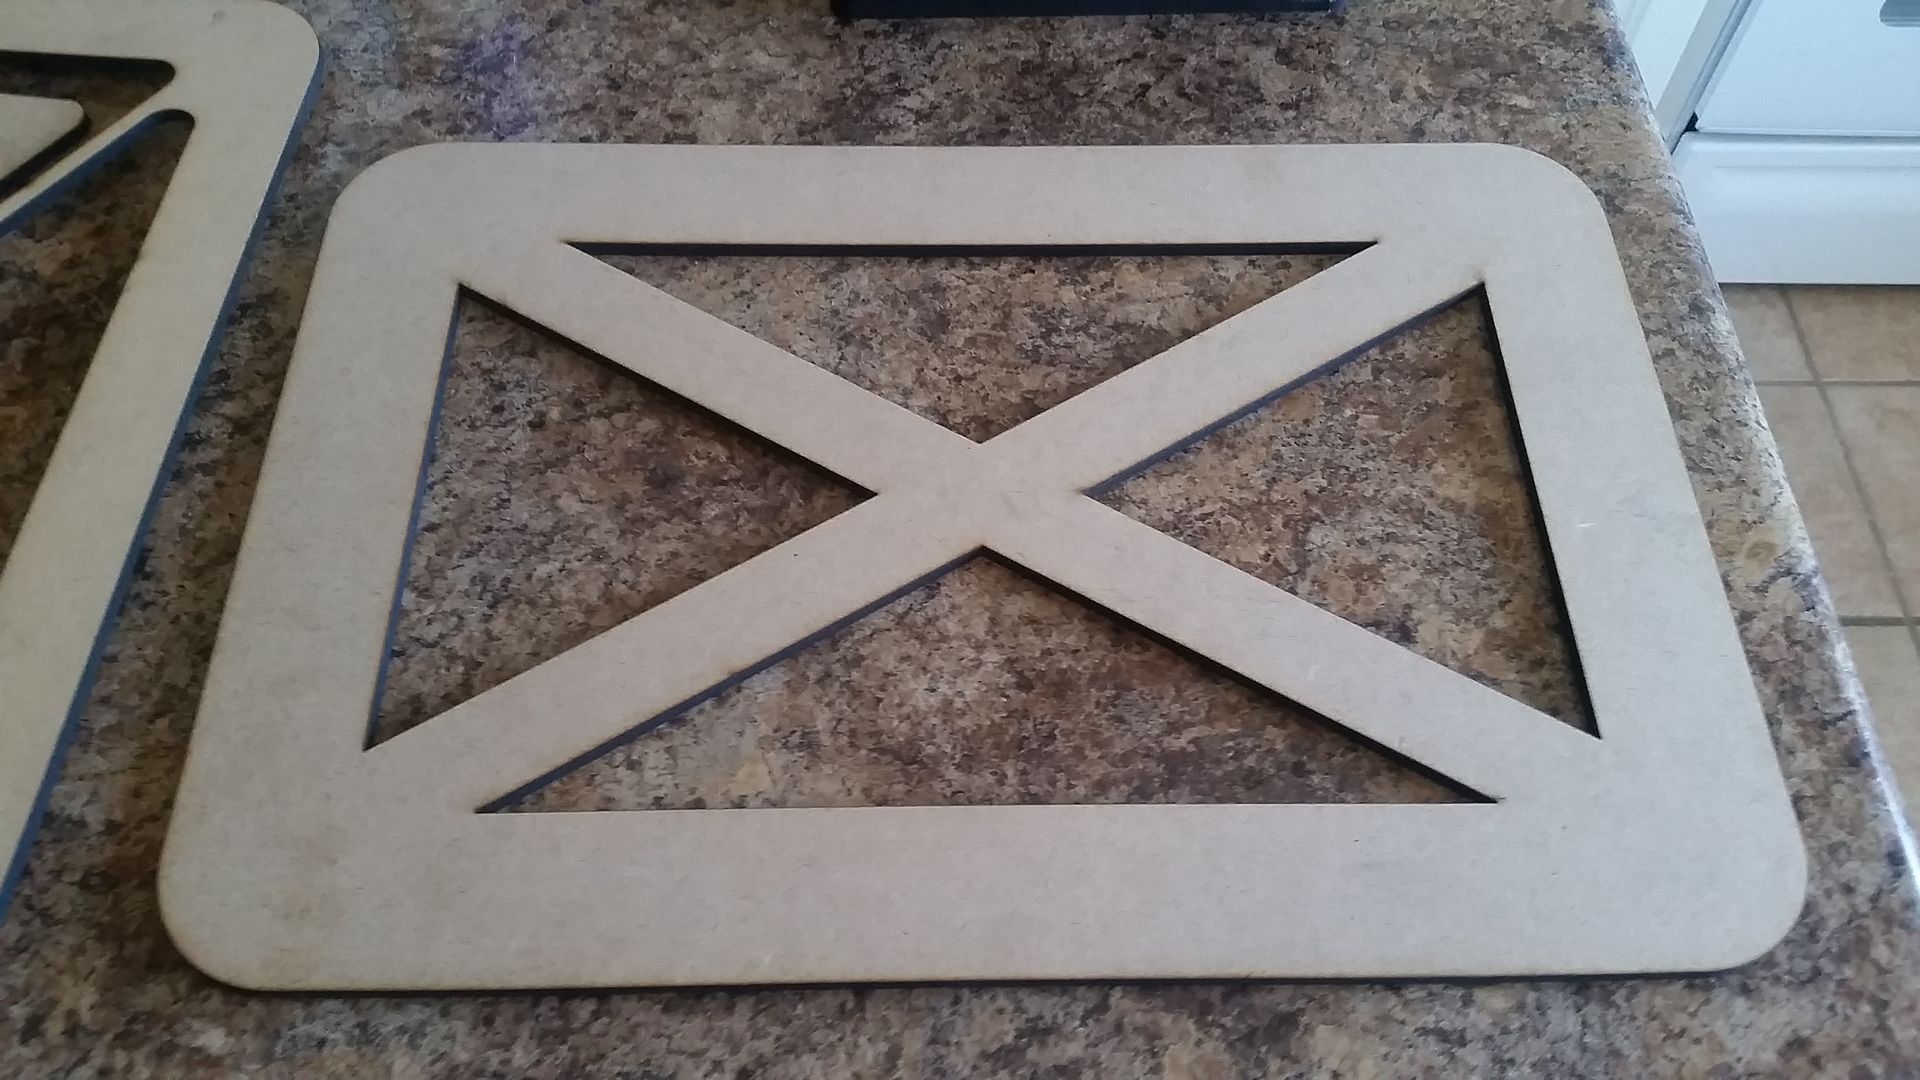
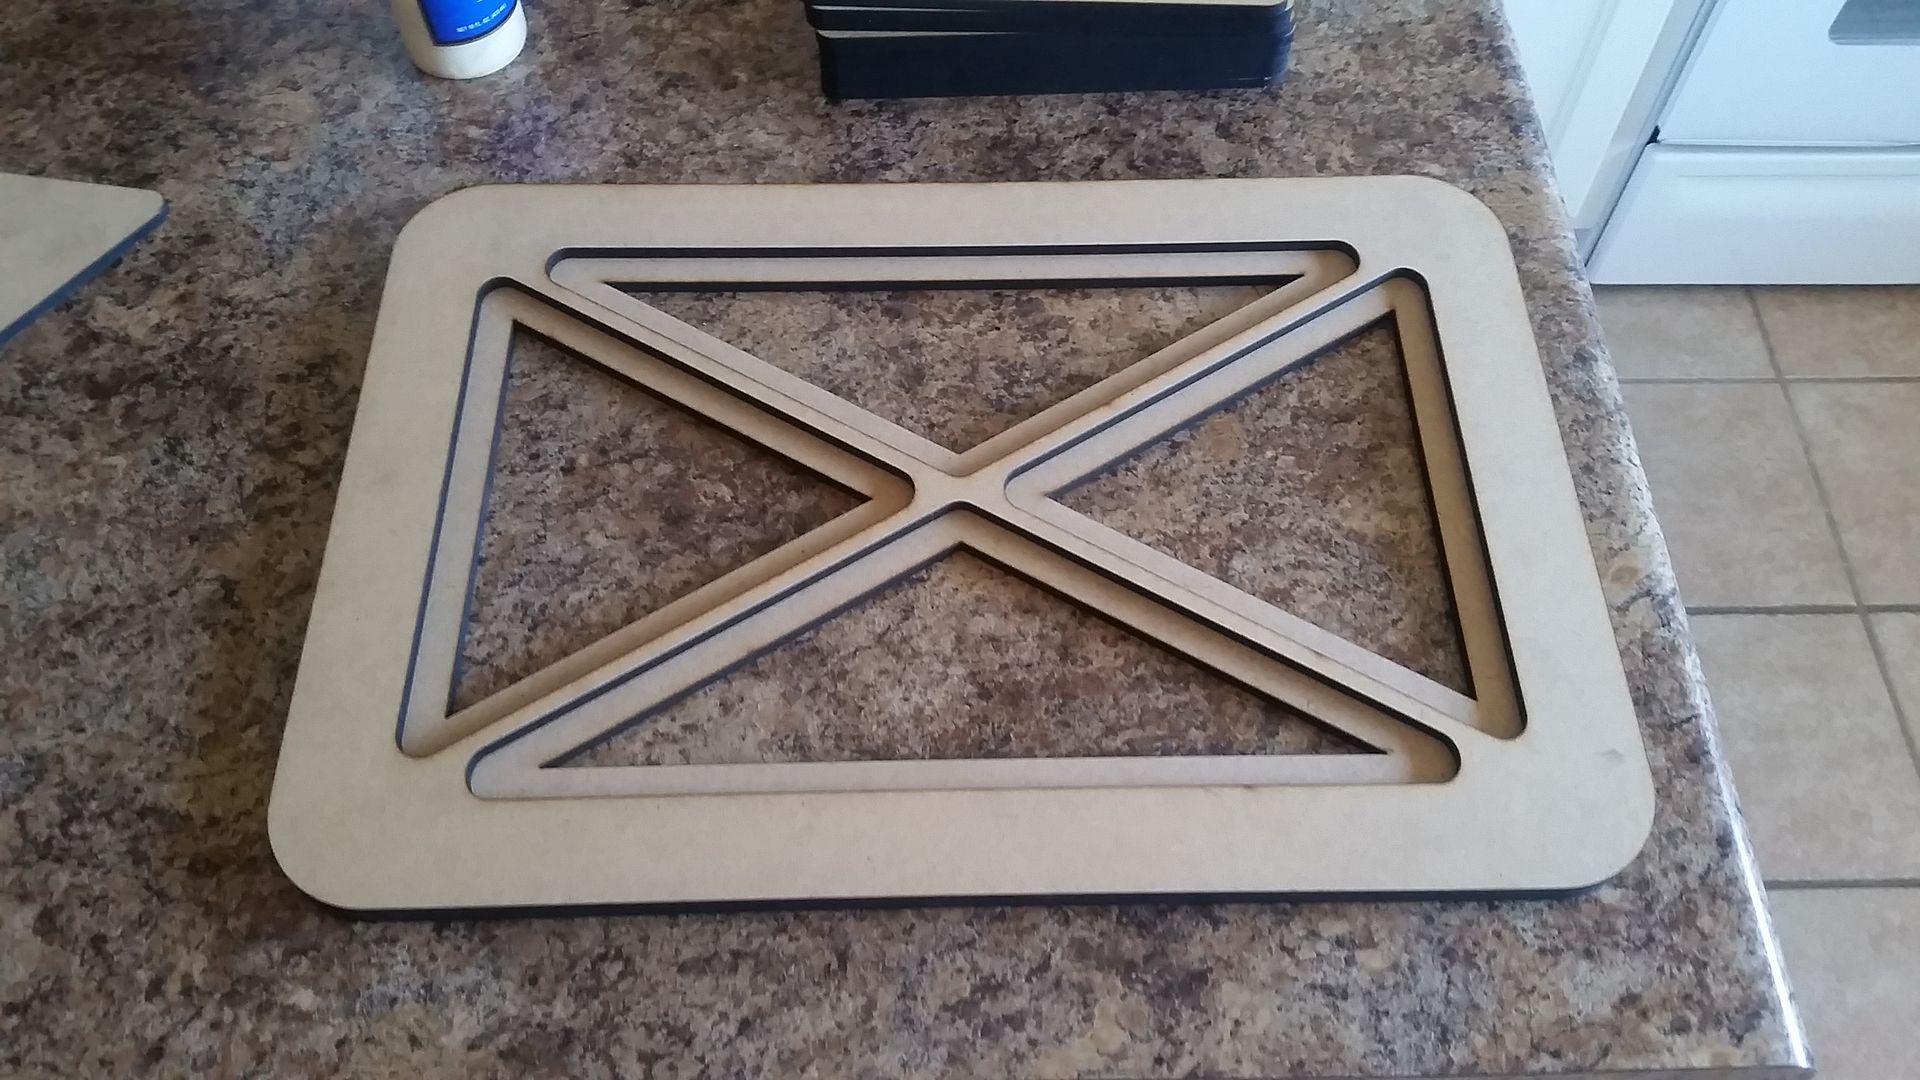
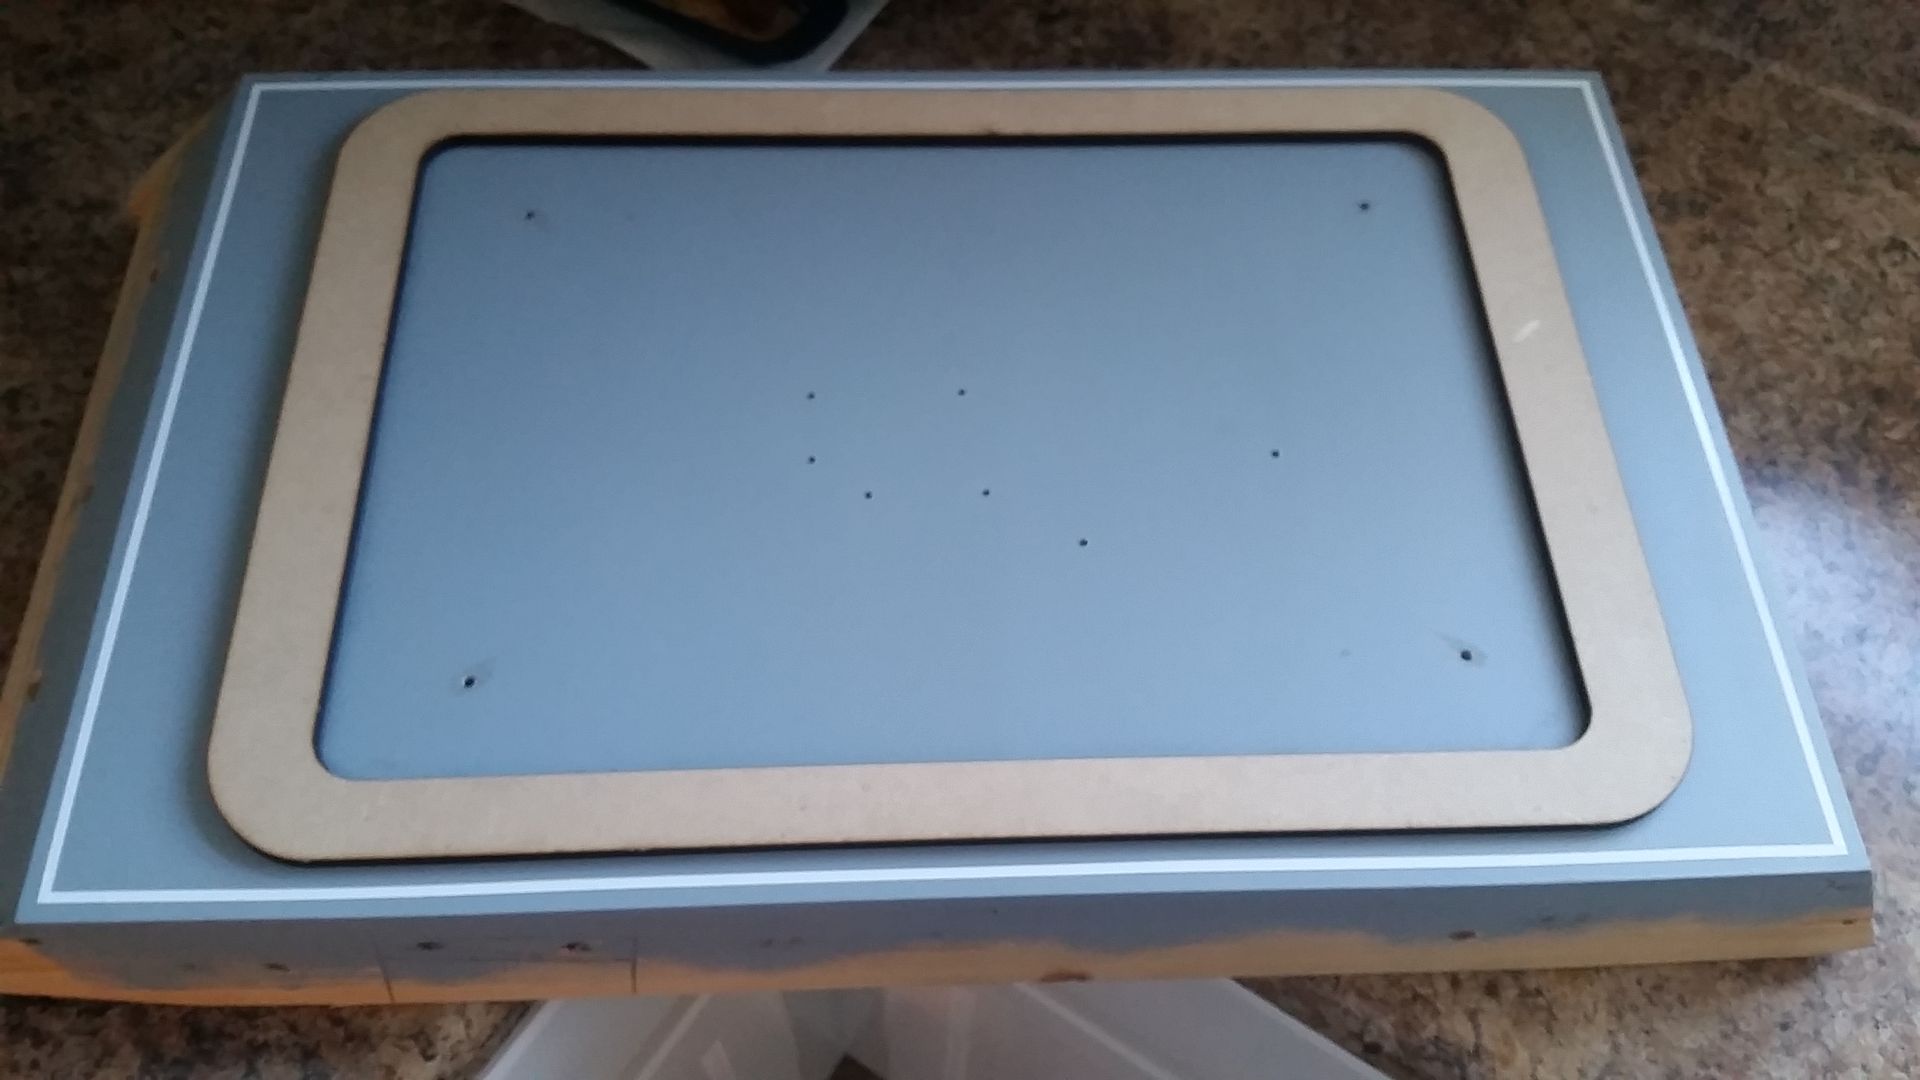
So, the 4 ABS plastic "doors" that are mounted on the 15" ESB extension ring, will be removed and new more rigid MDF panels will be created, mounted and functional. I had to first laser cut a template
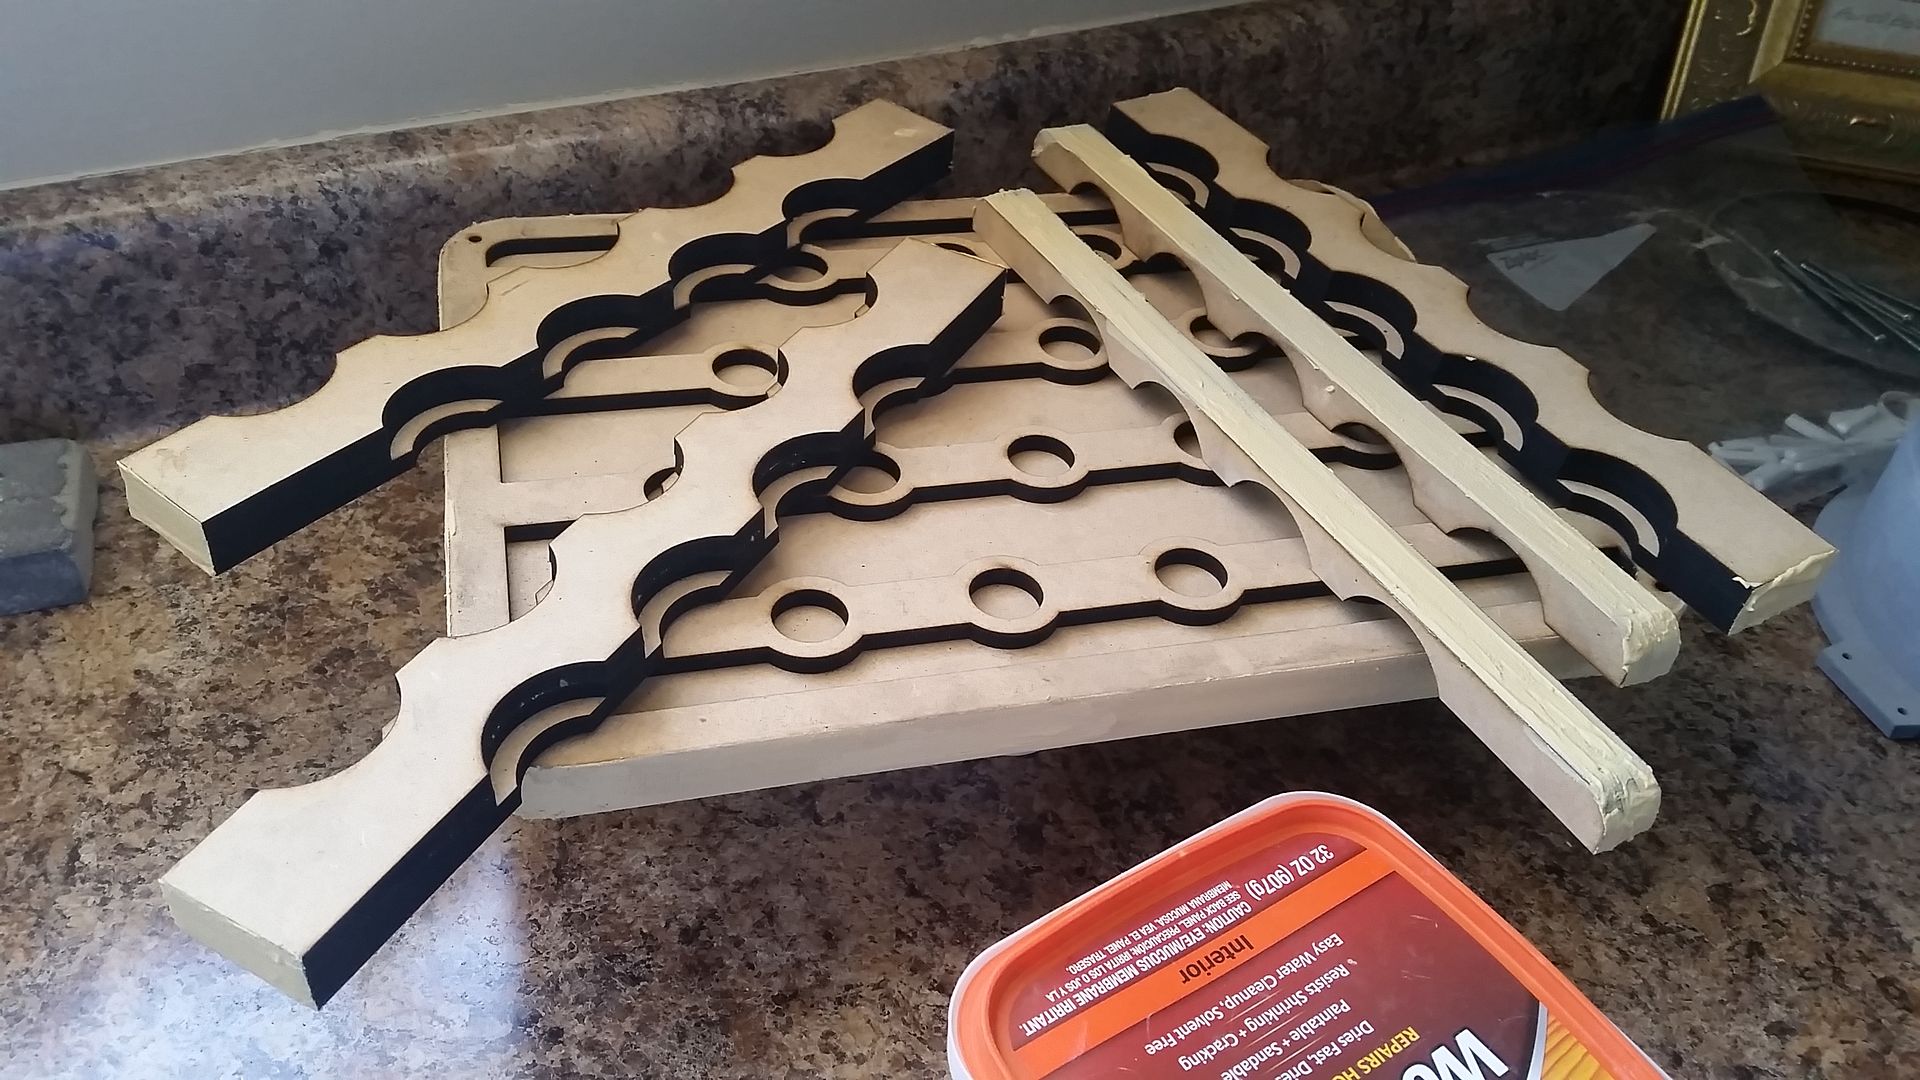
Get everything aligned
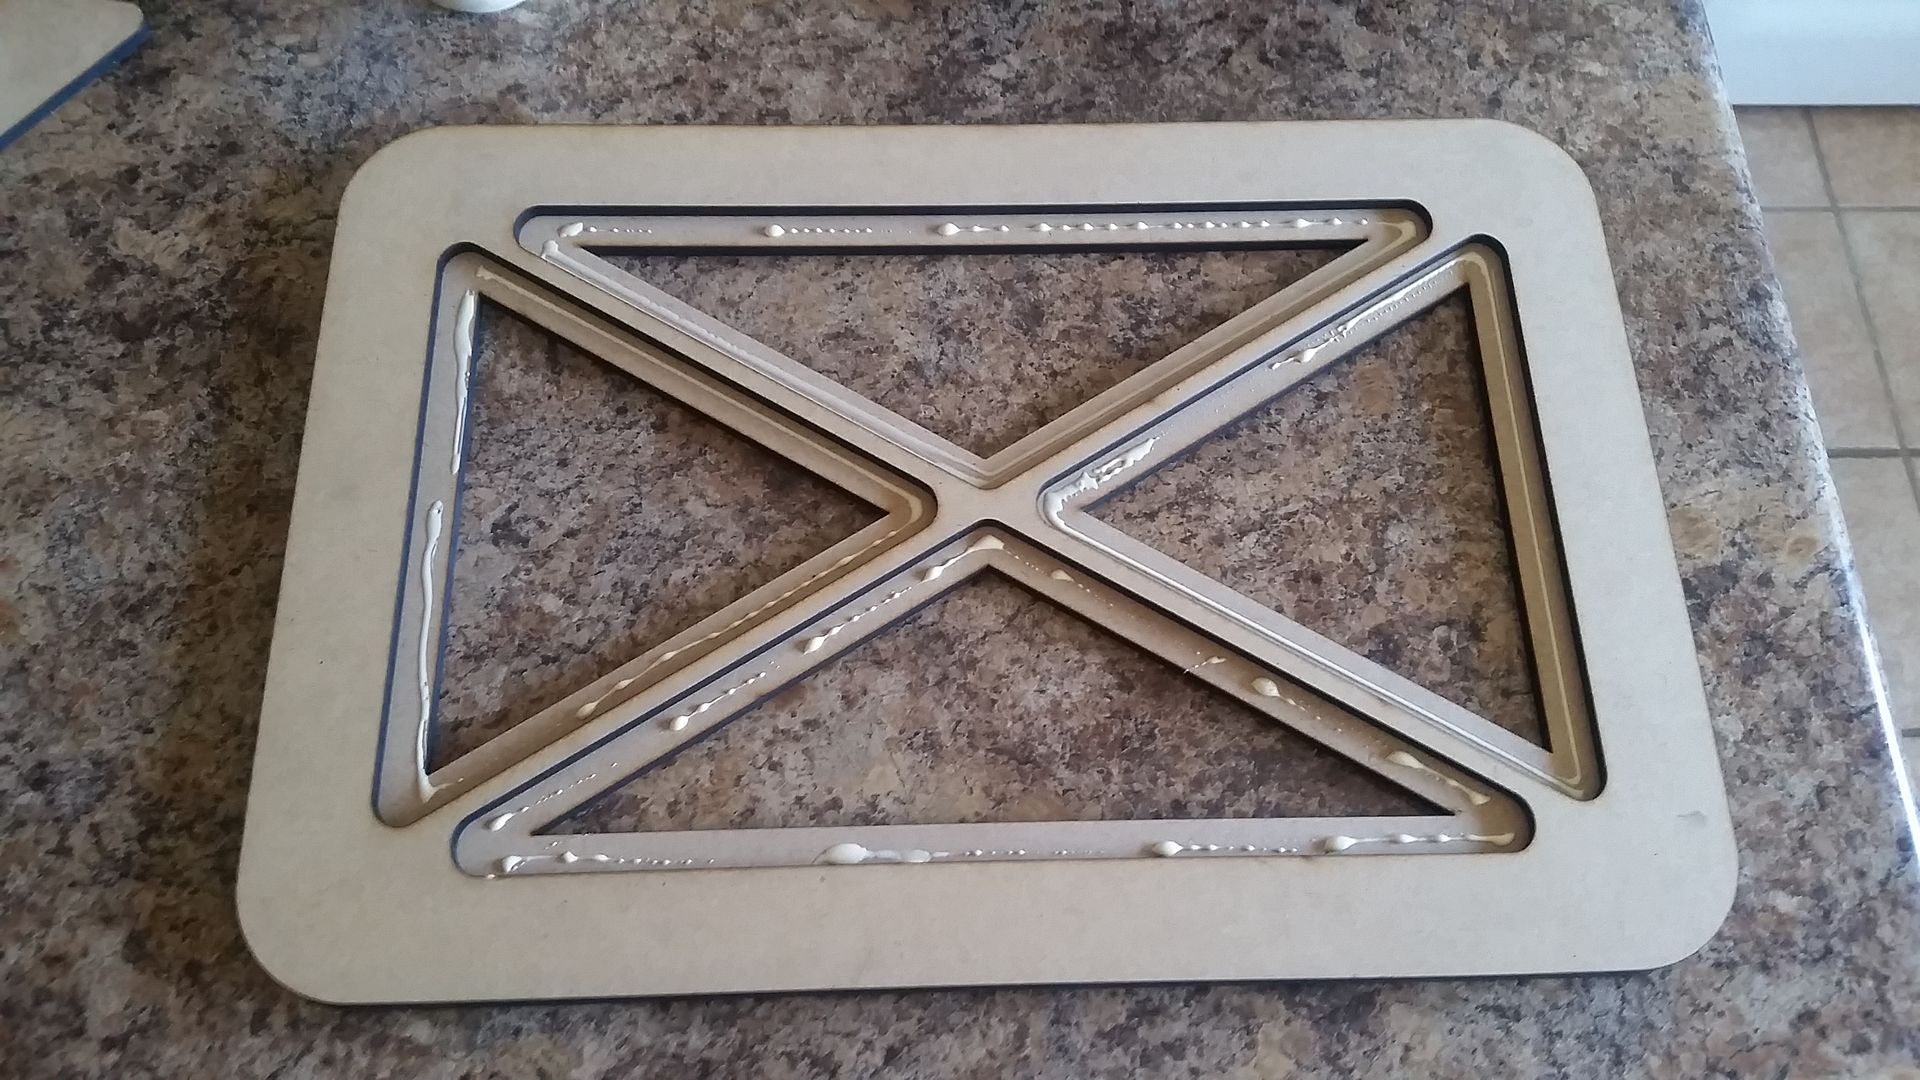
Add the adhesive
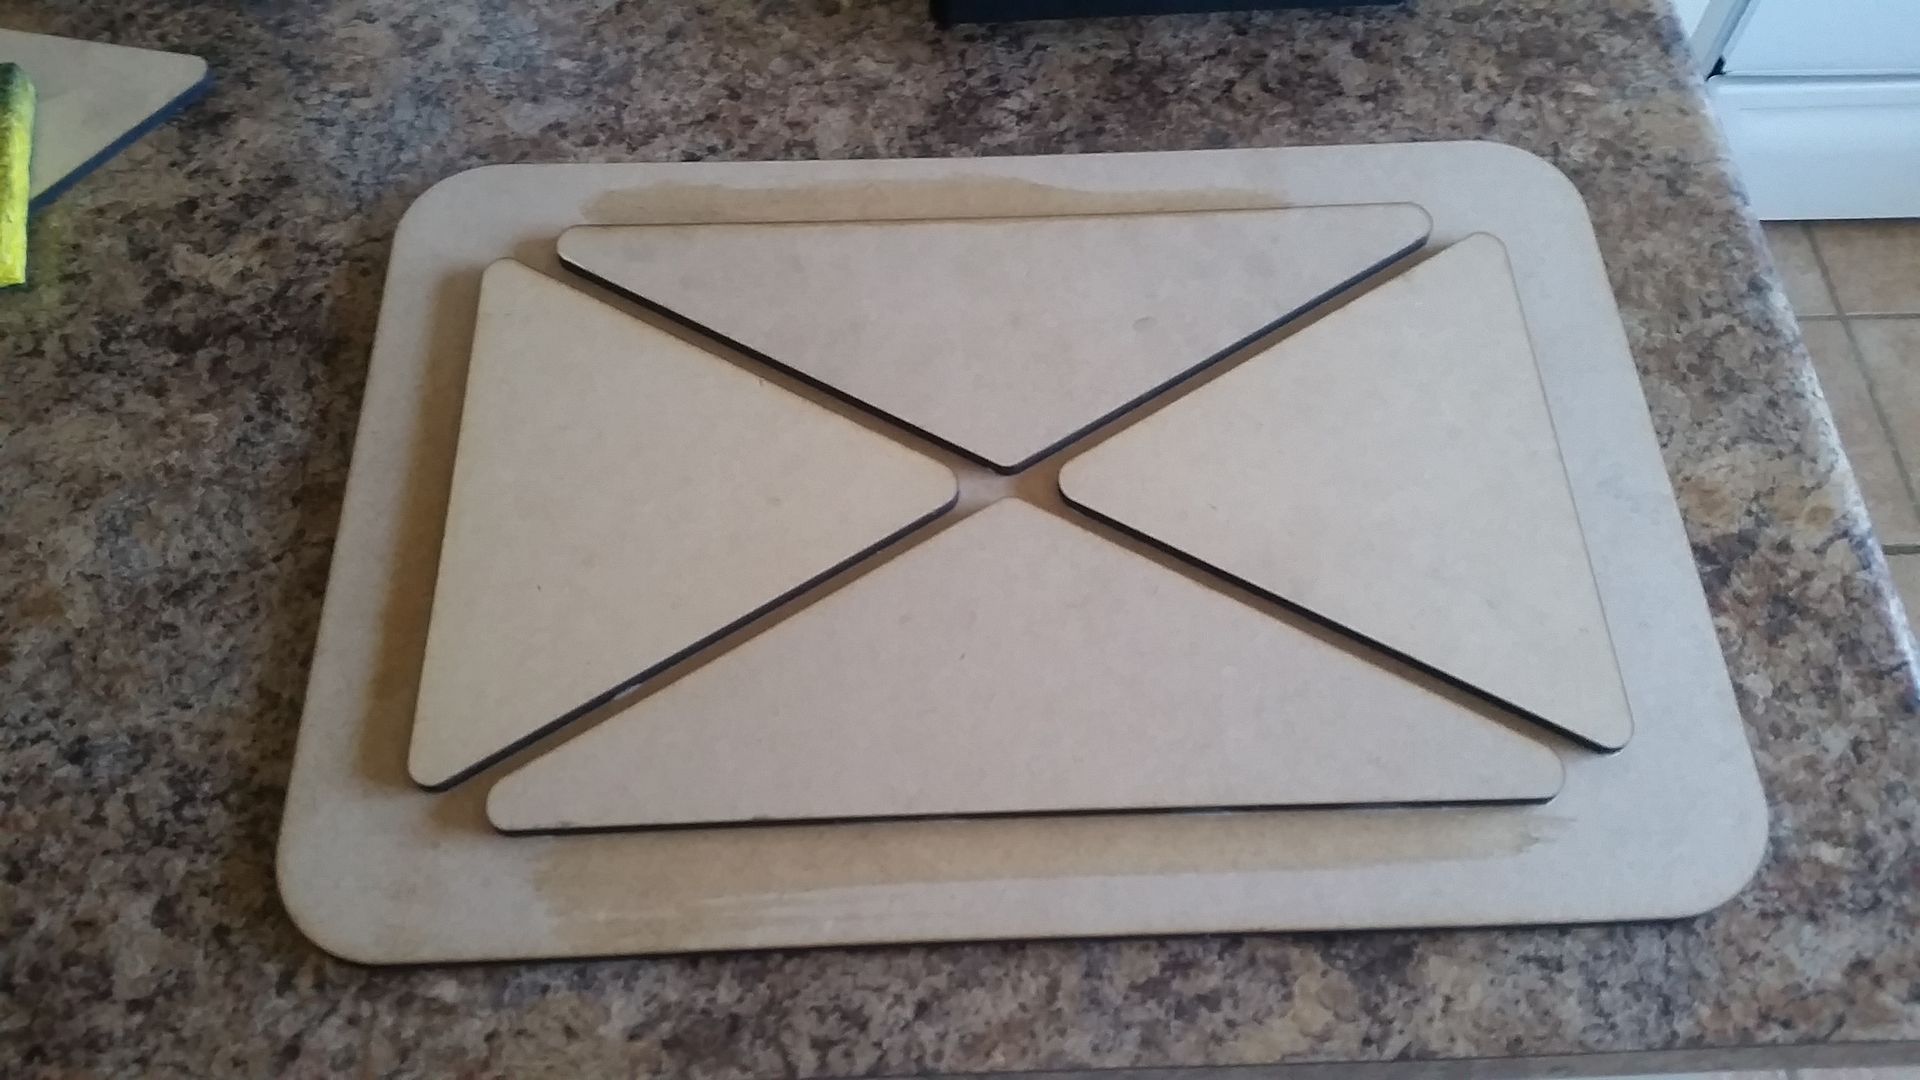
Add panels and remove template guide
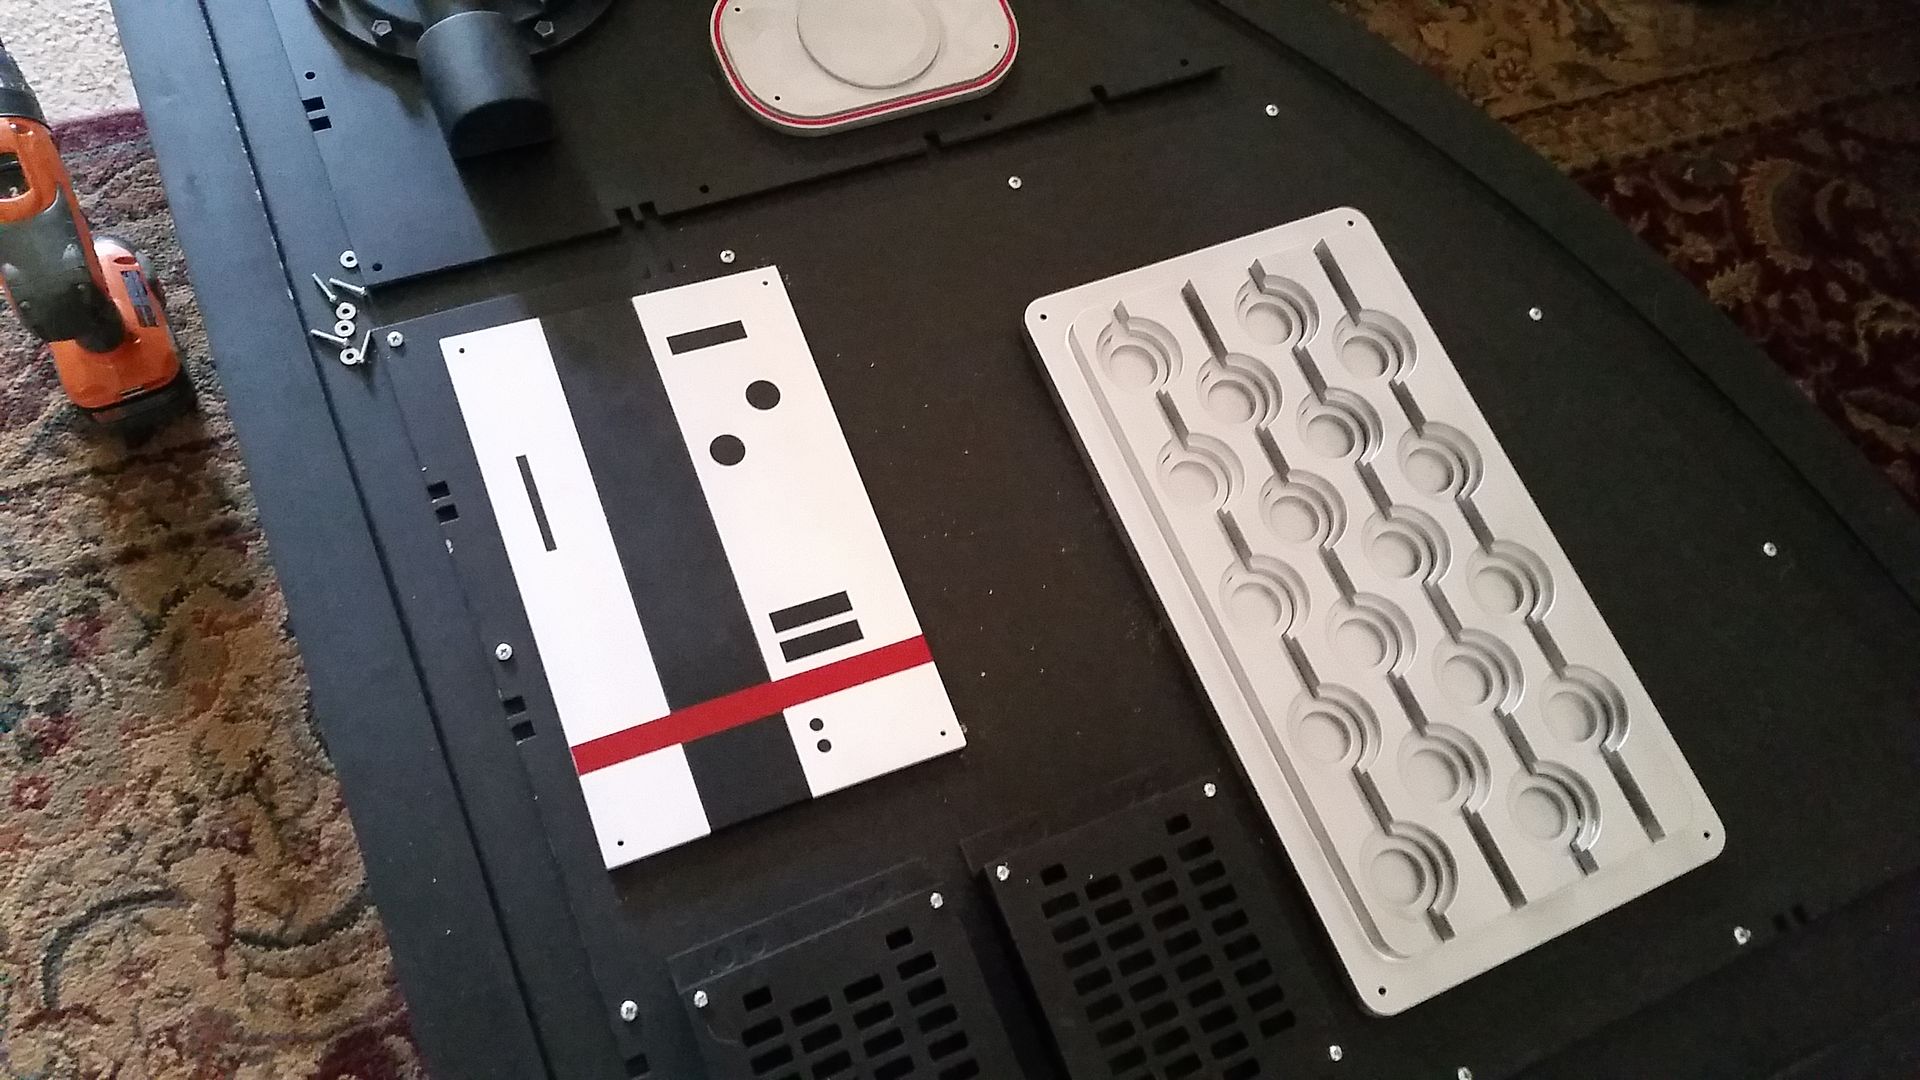
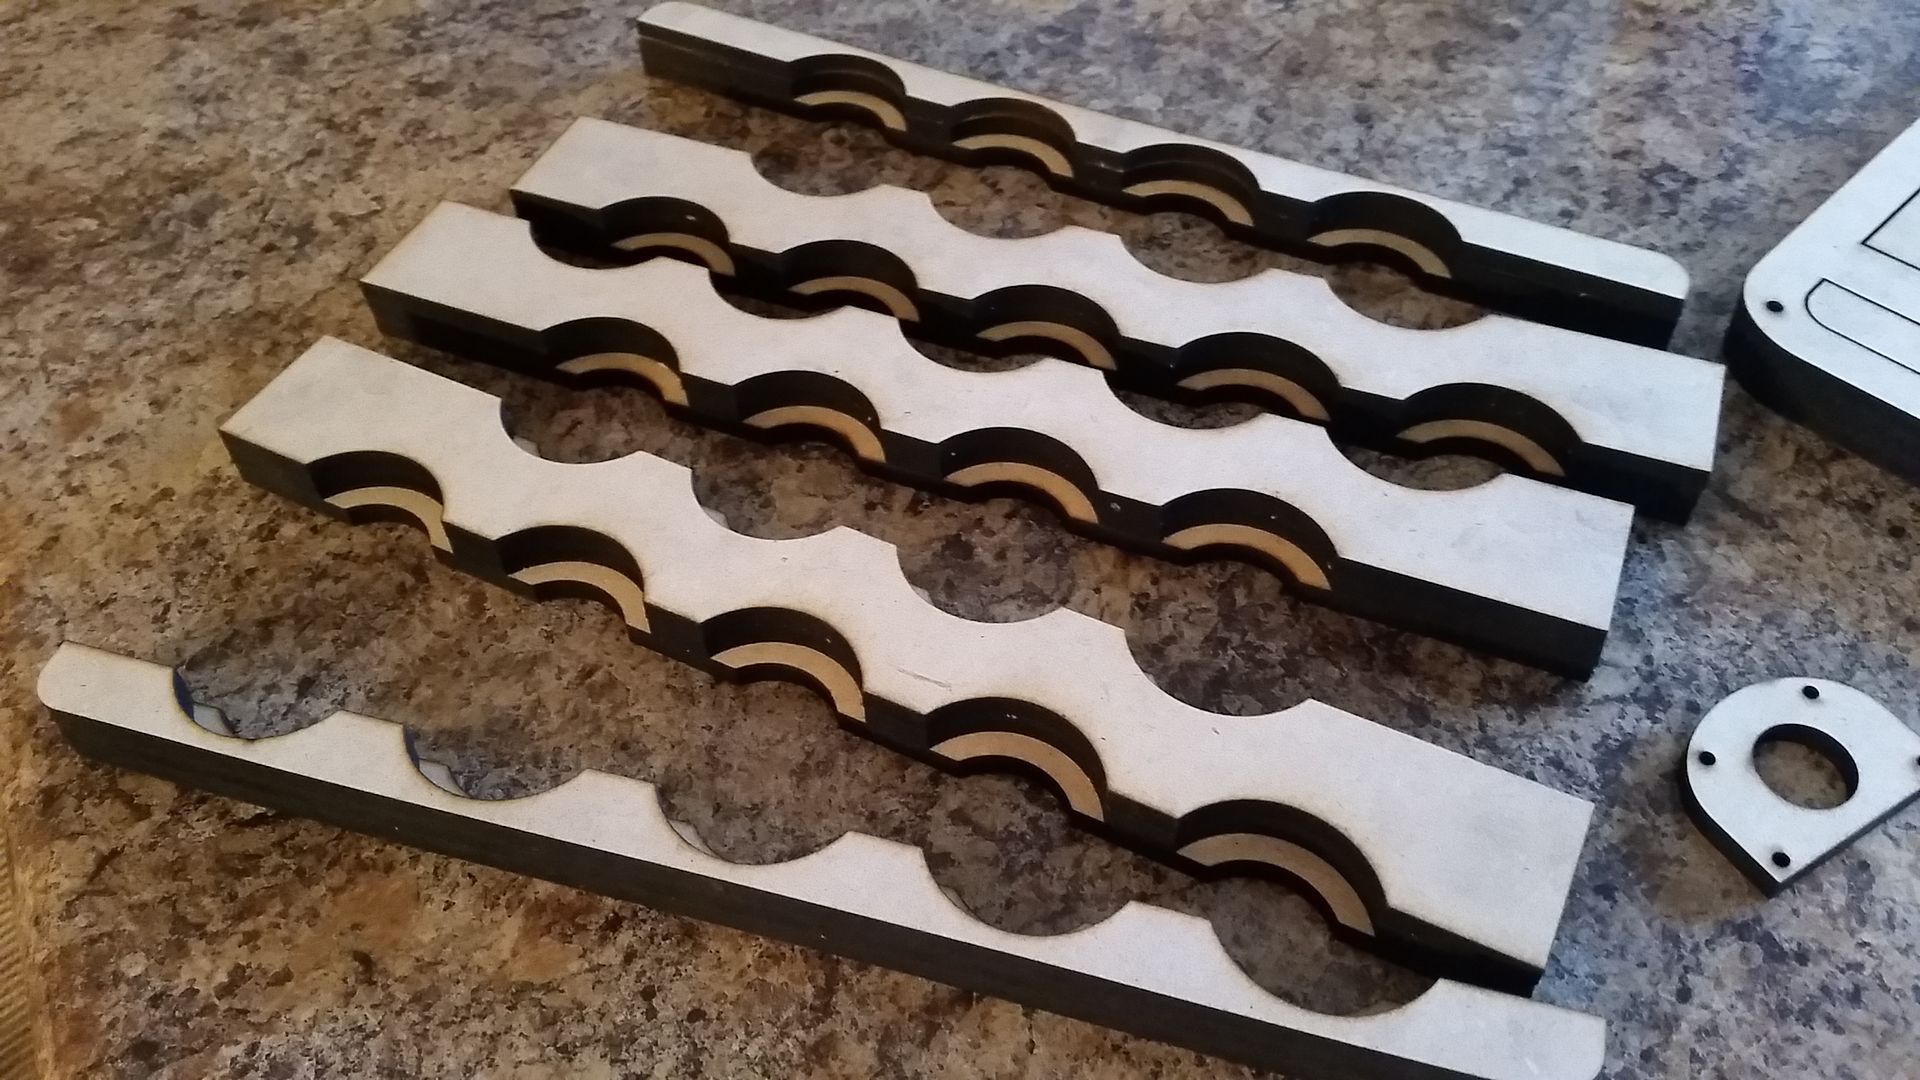
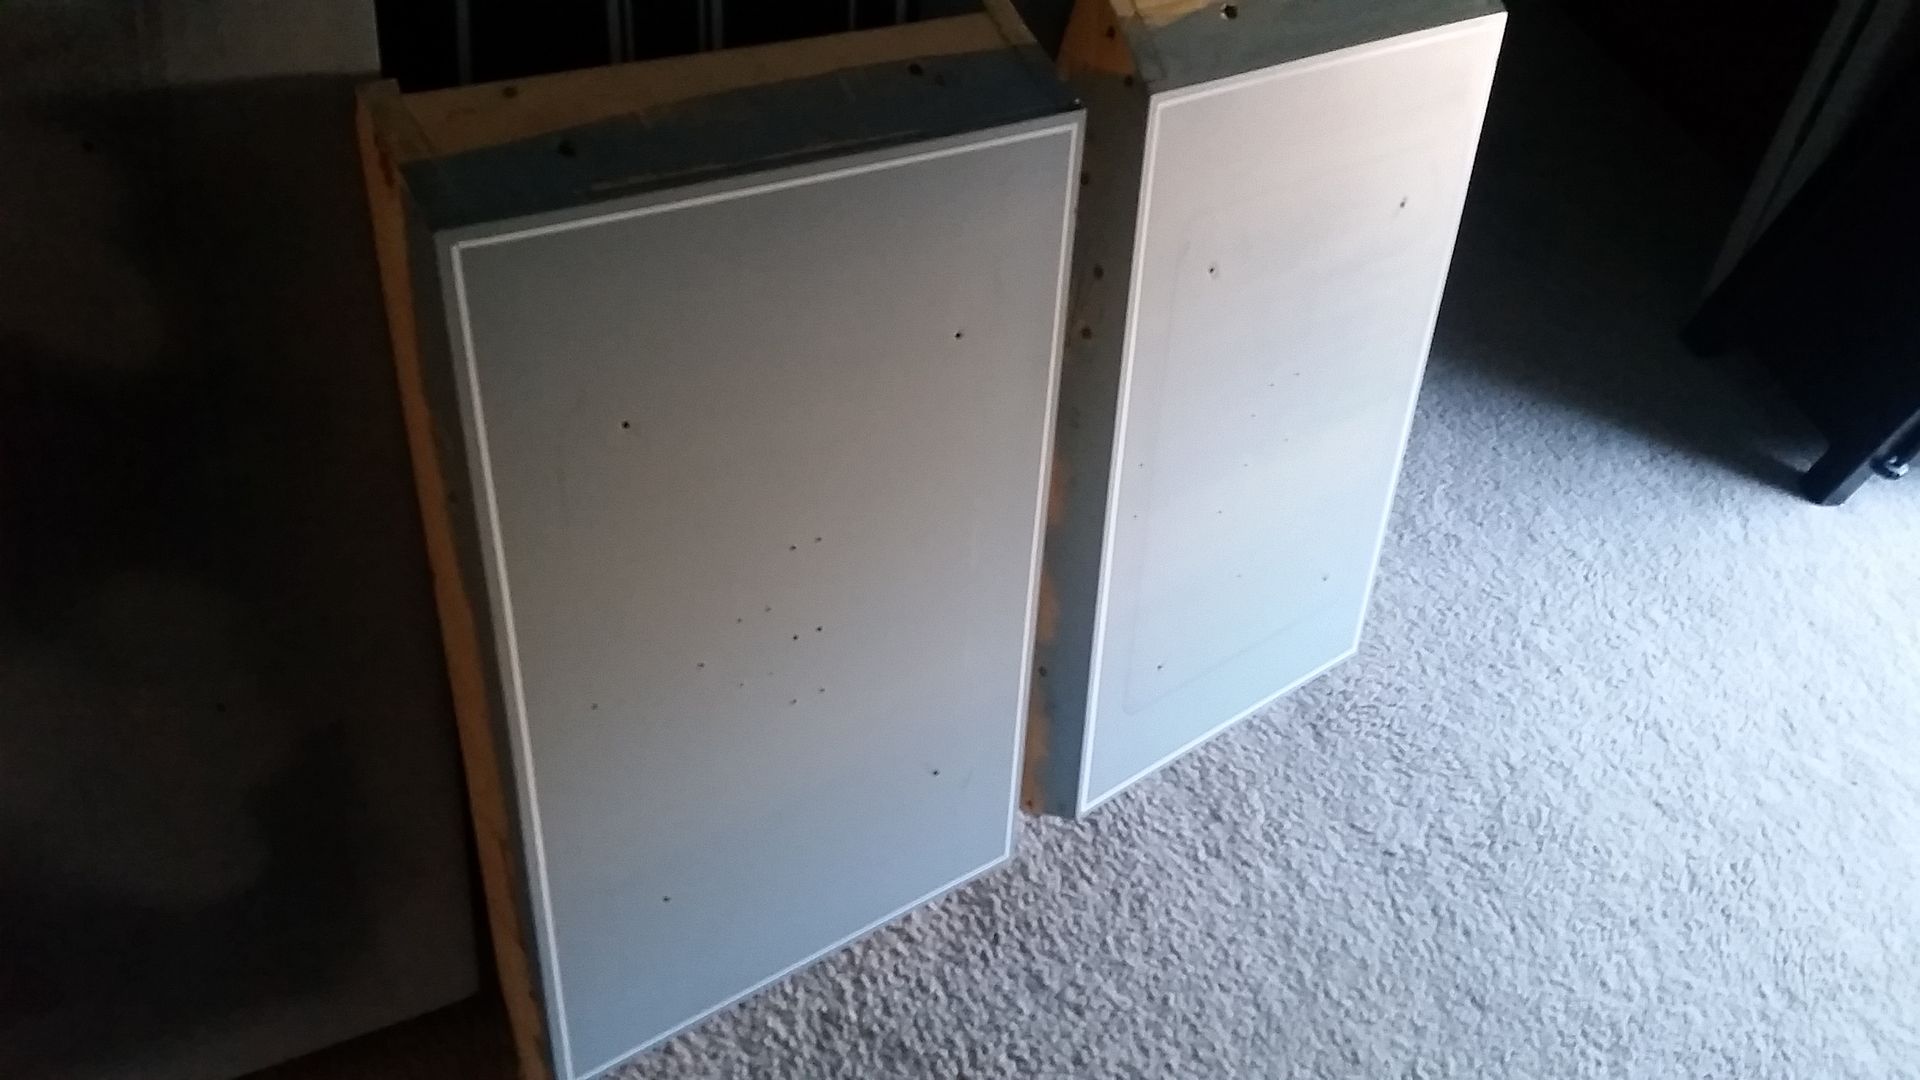
I laser cut 6 new panels
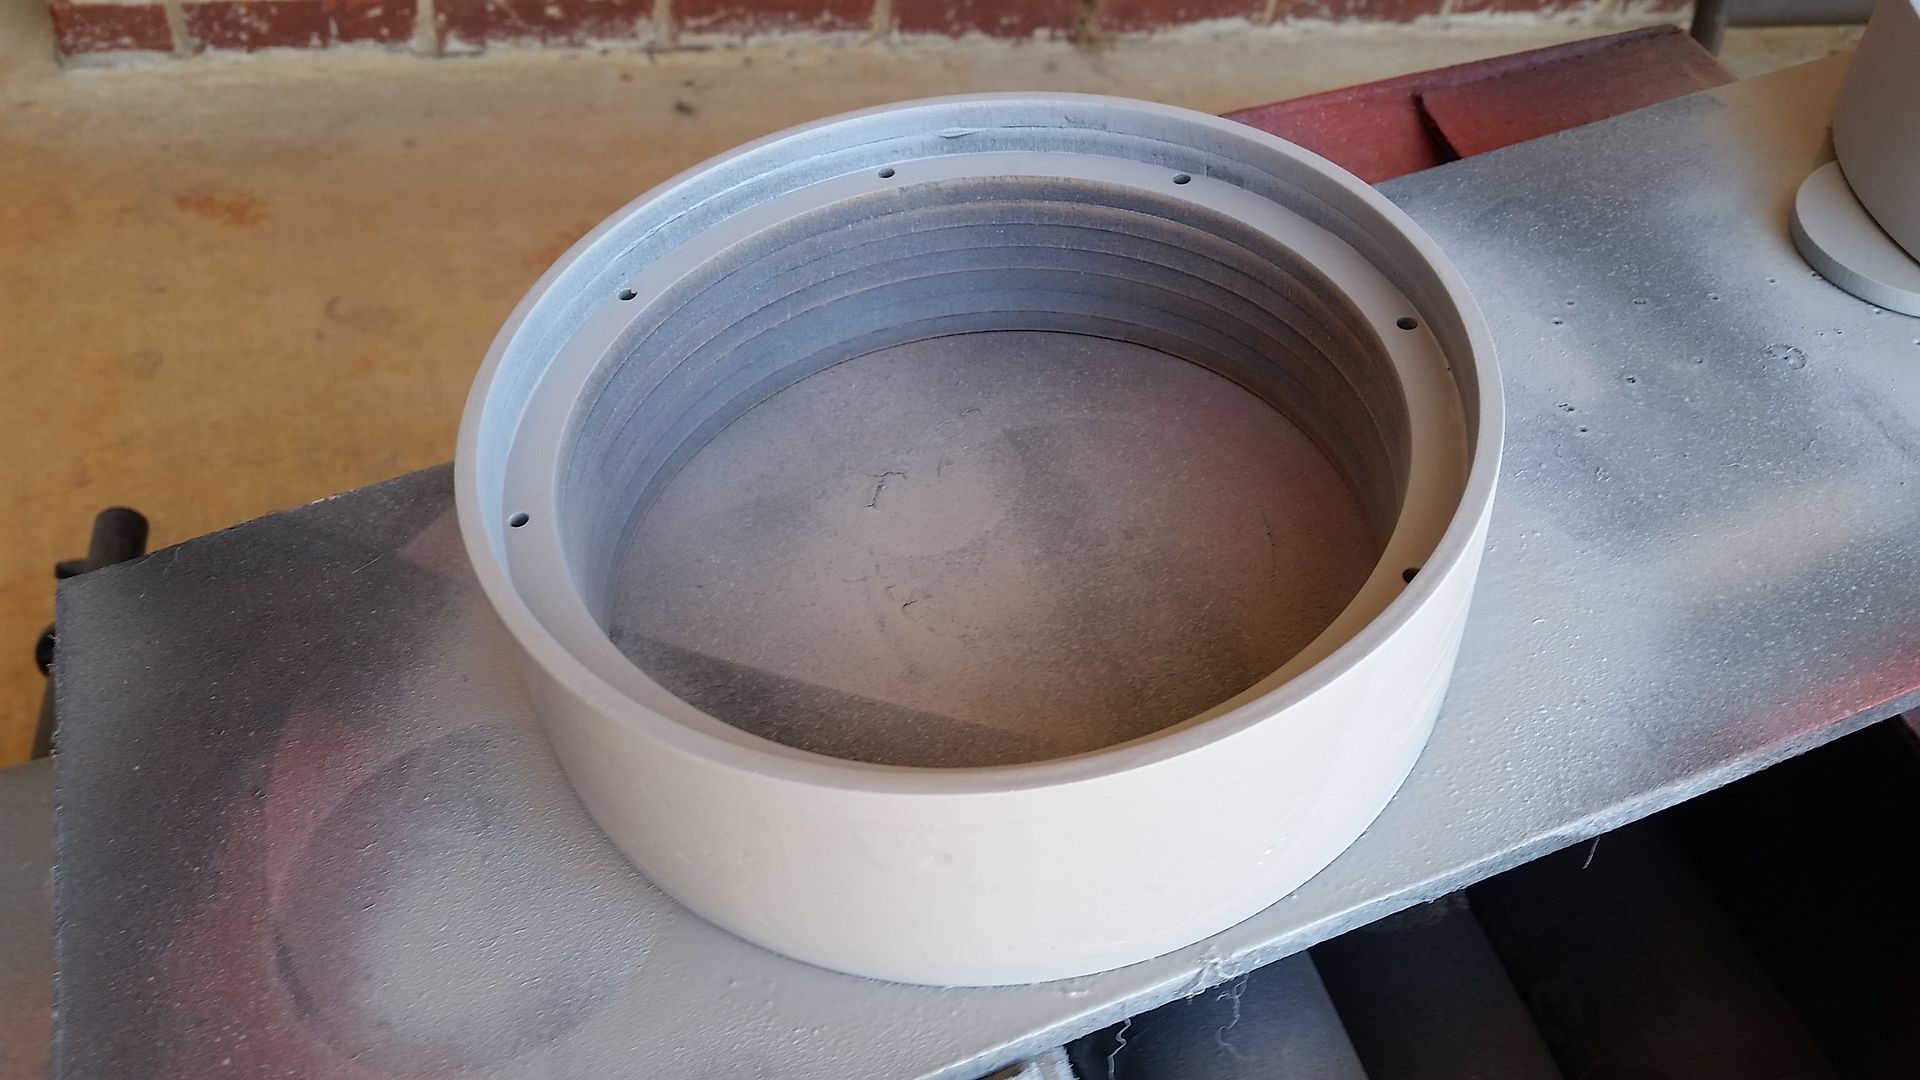
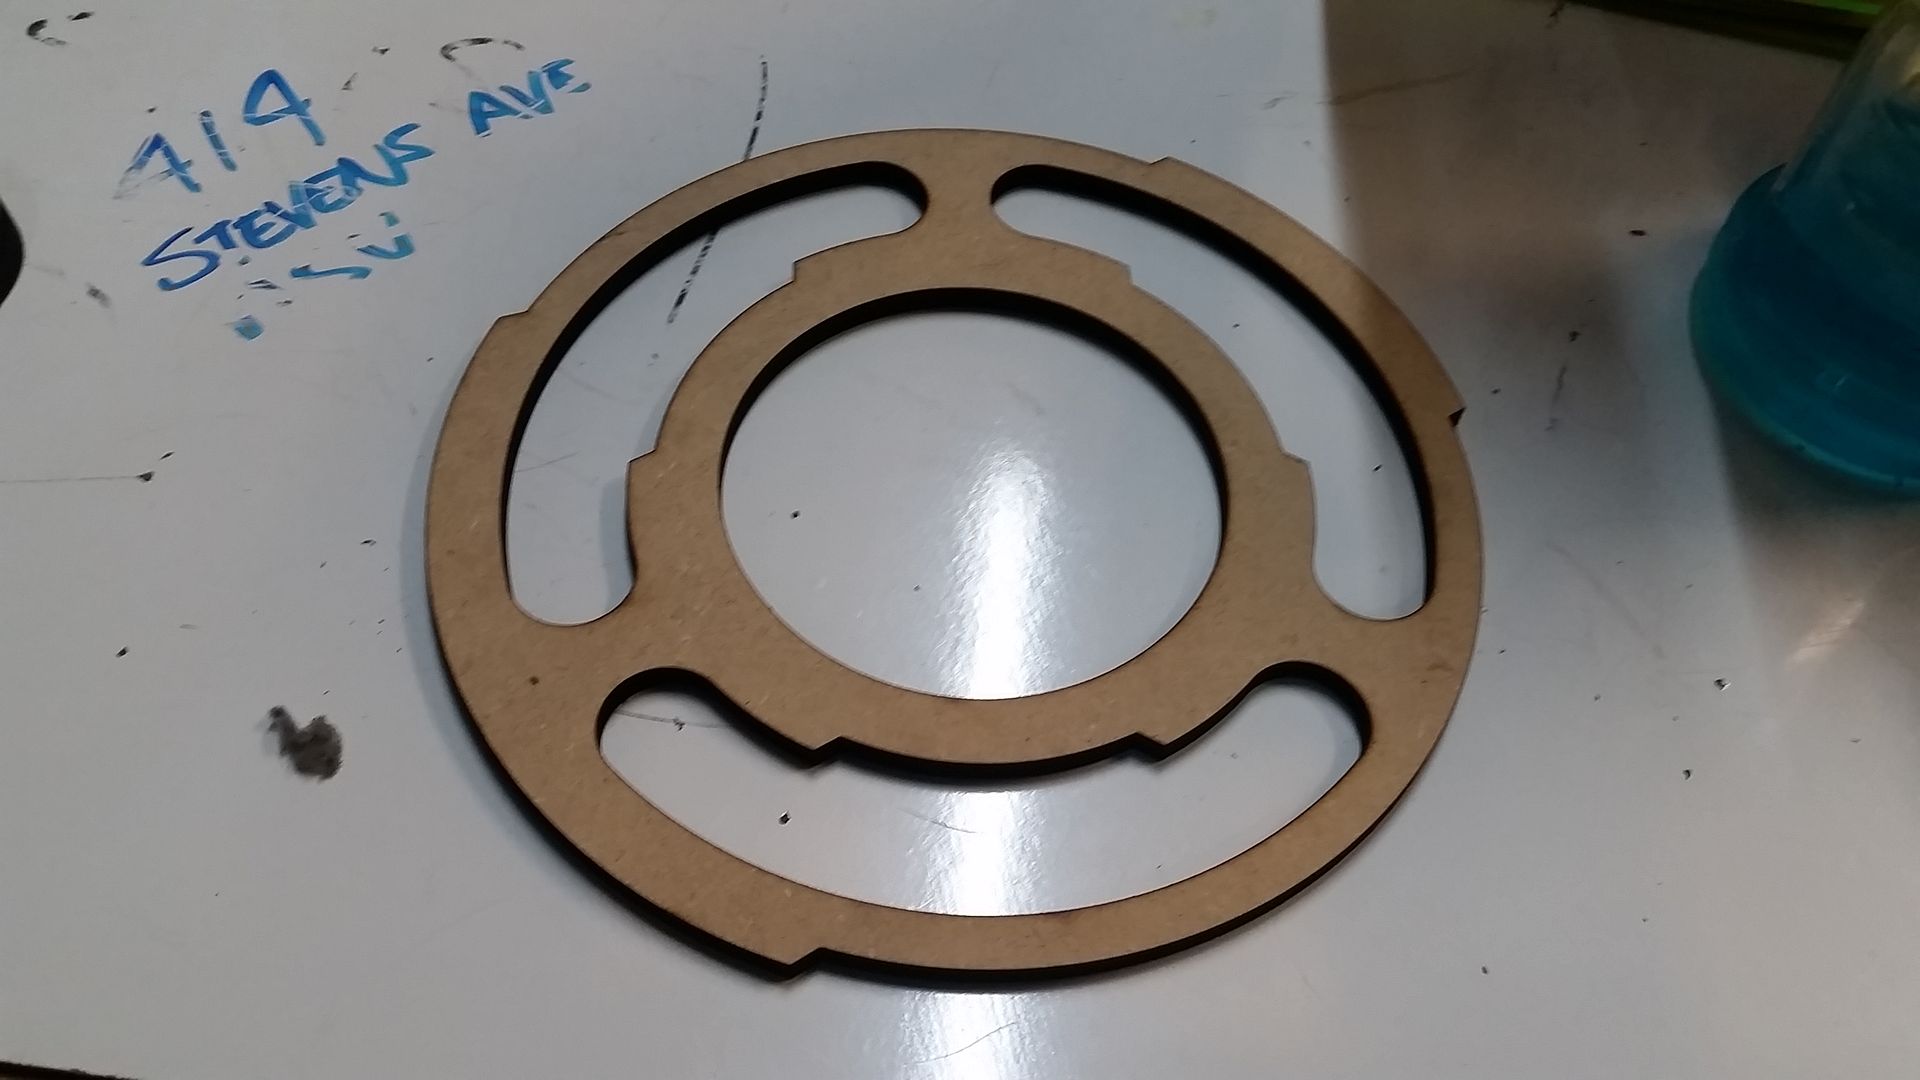
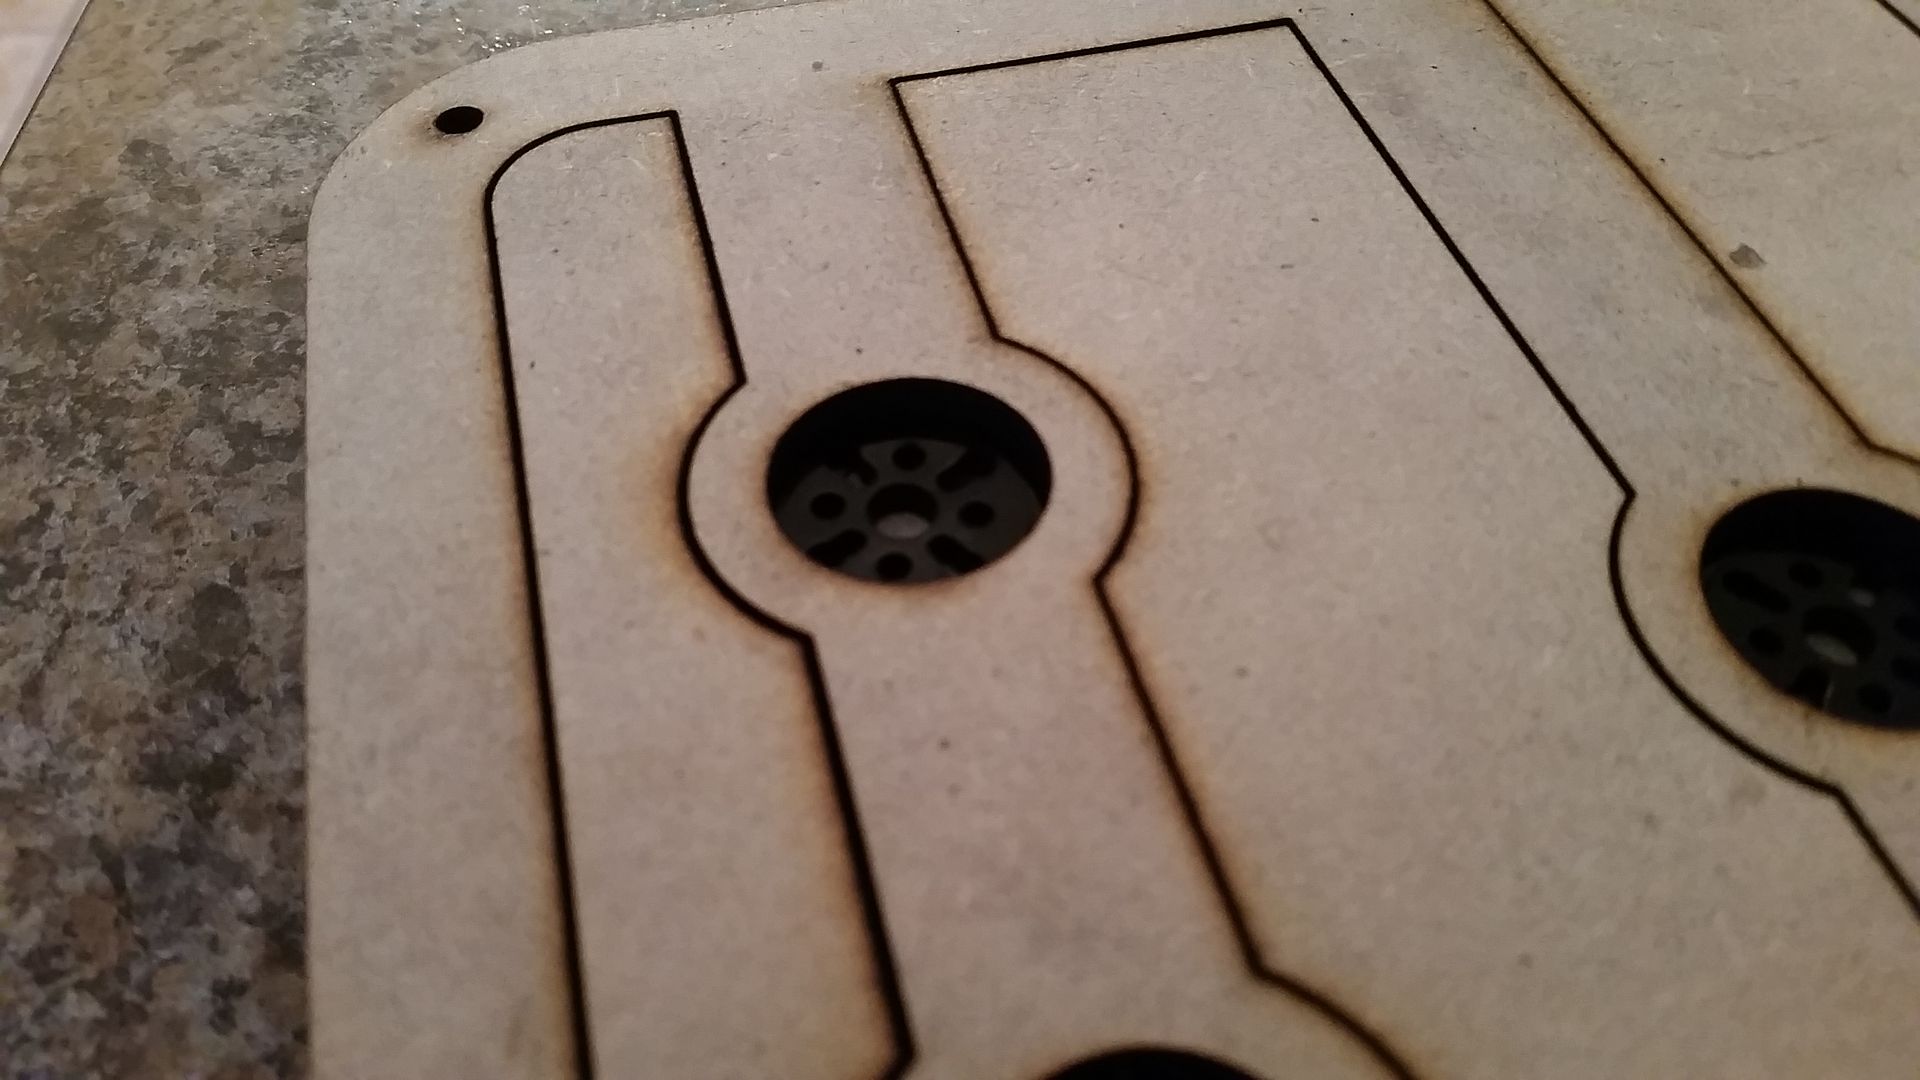
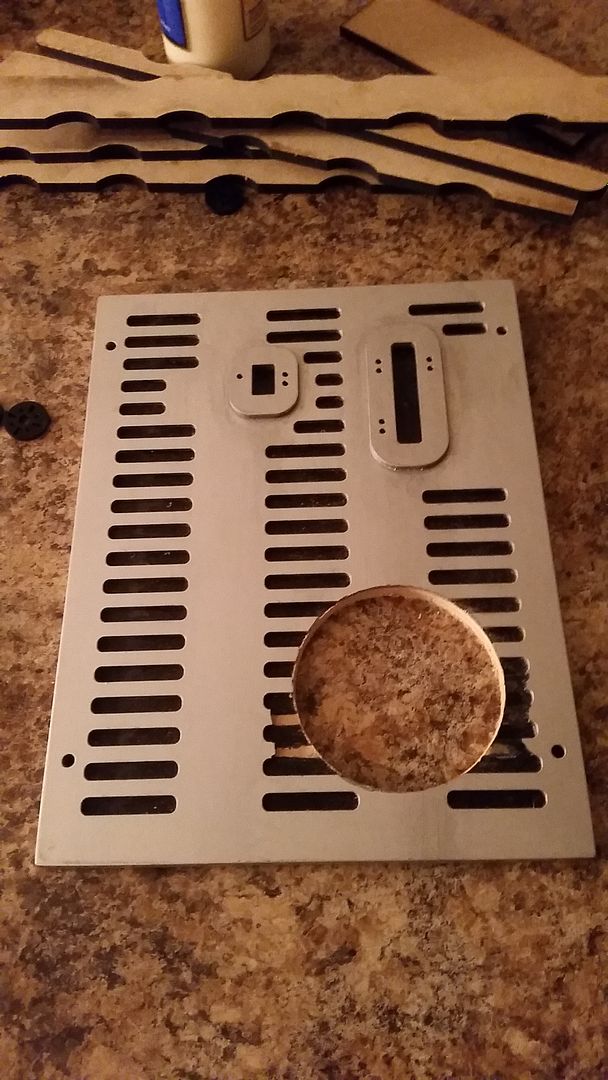
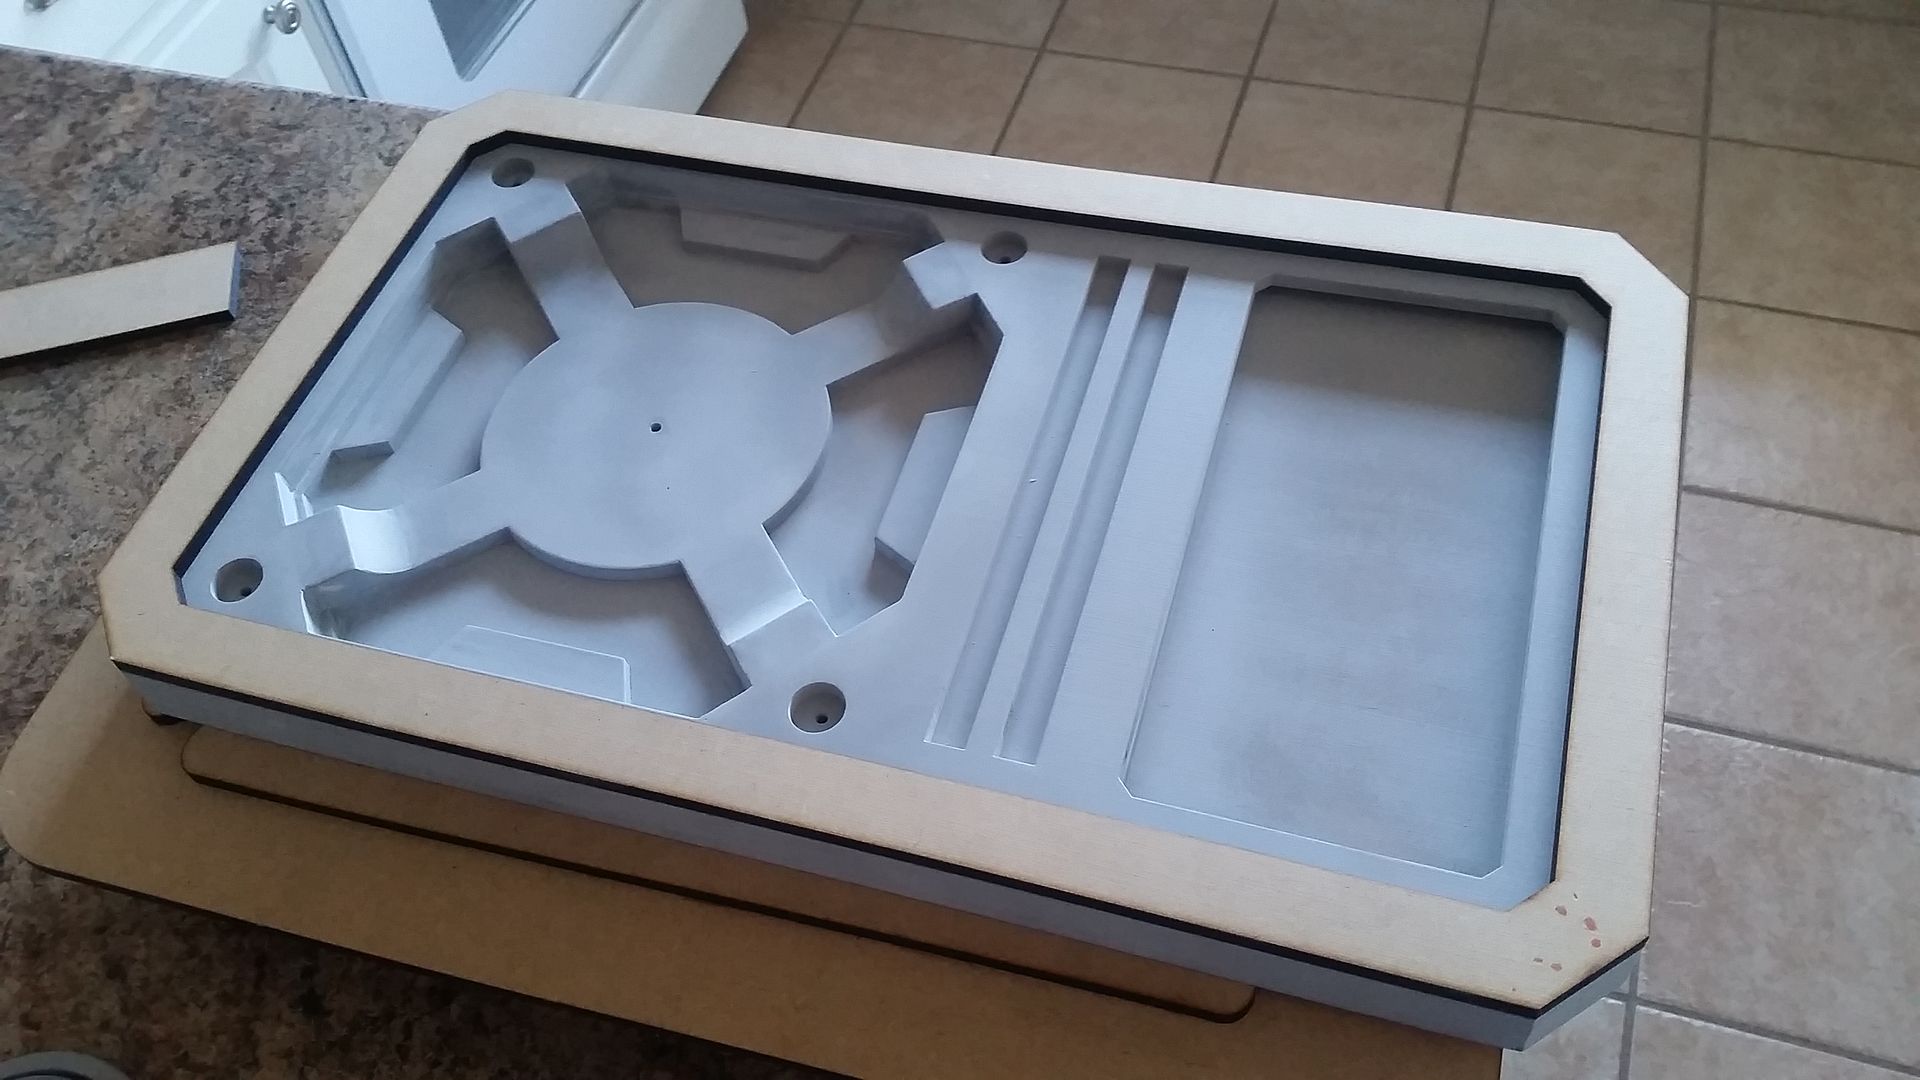
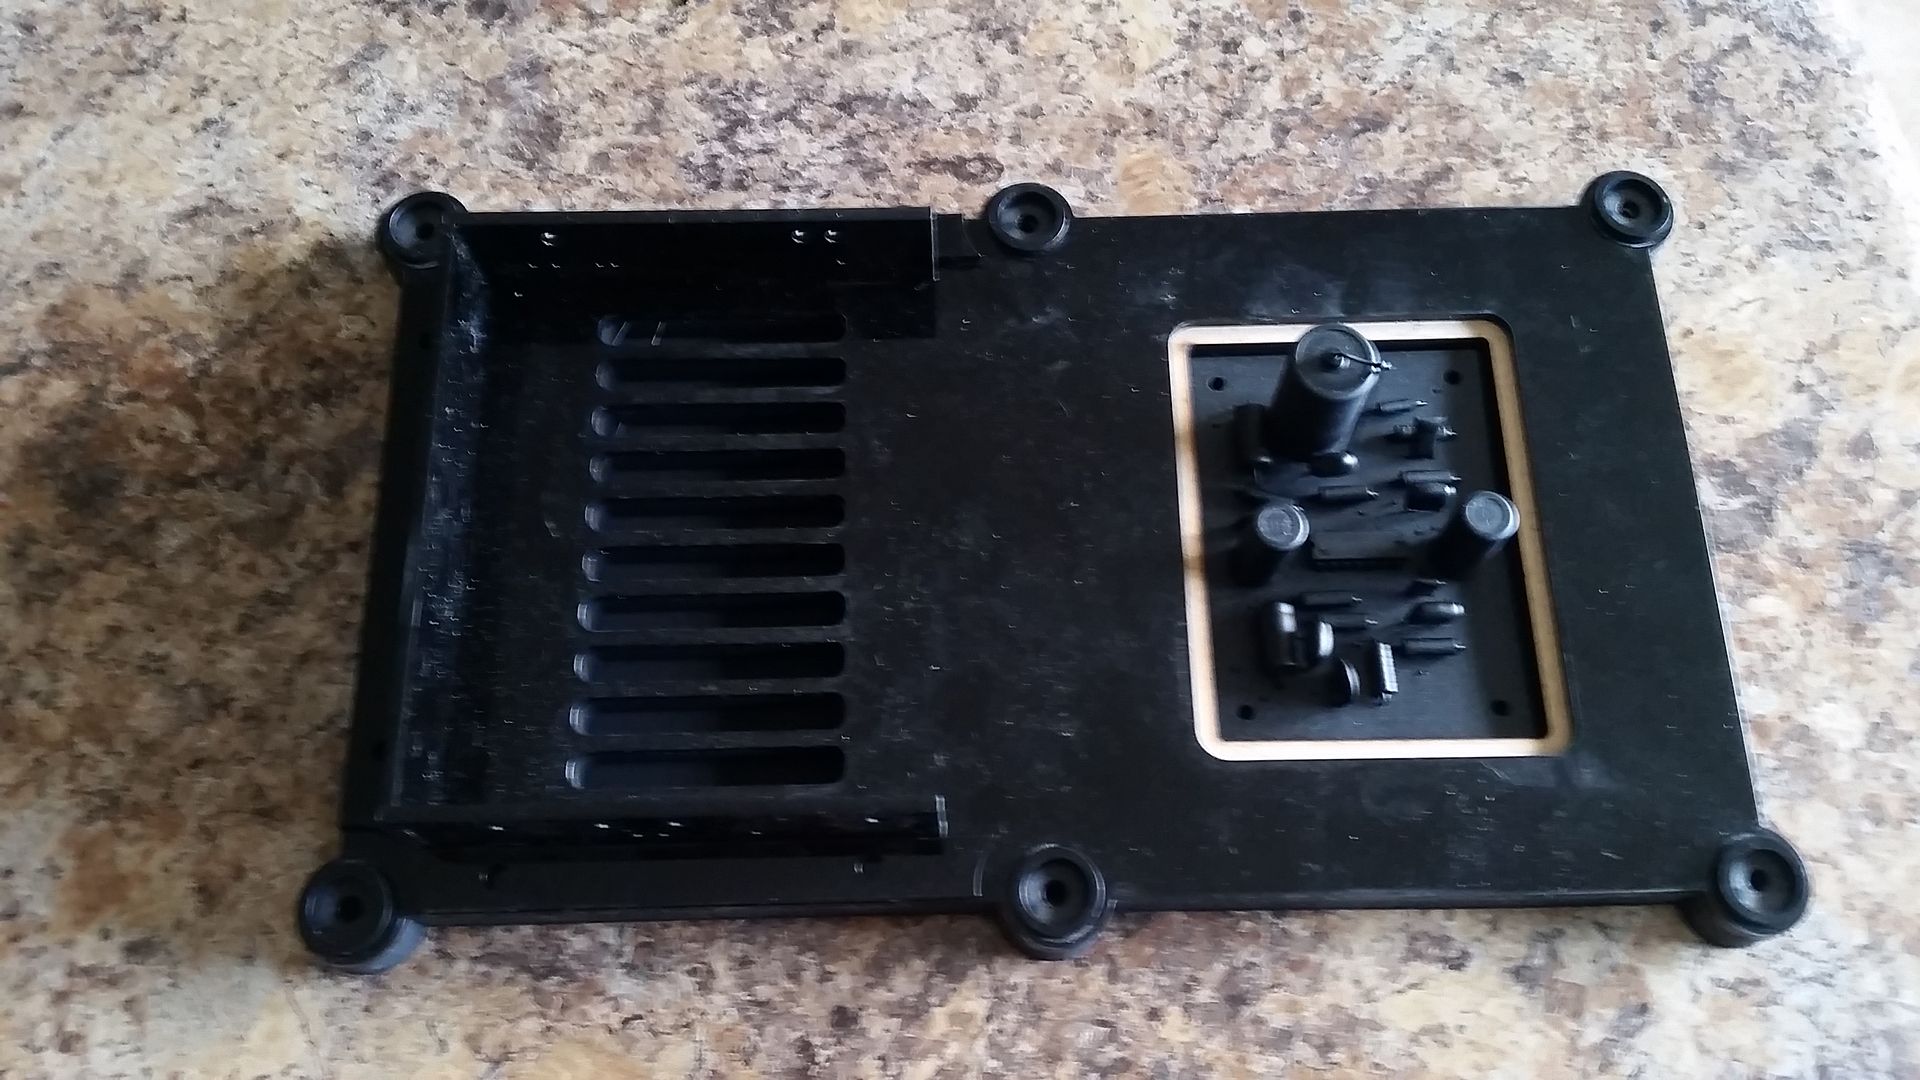
I then unbolted the actual 15" ext panel(s), removed all the greeblies and applied the "hole" template - I'll cut the hole(s), design and create 4 new "mechanical" areas with LEDs, greeblies, pipes, wiring, etc. When finished, we'll be able to pull the access panel down and bypass the compressor!
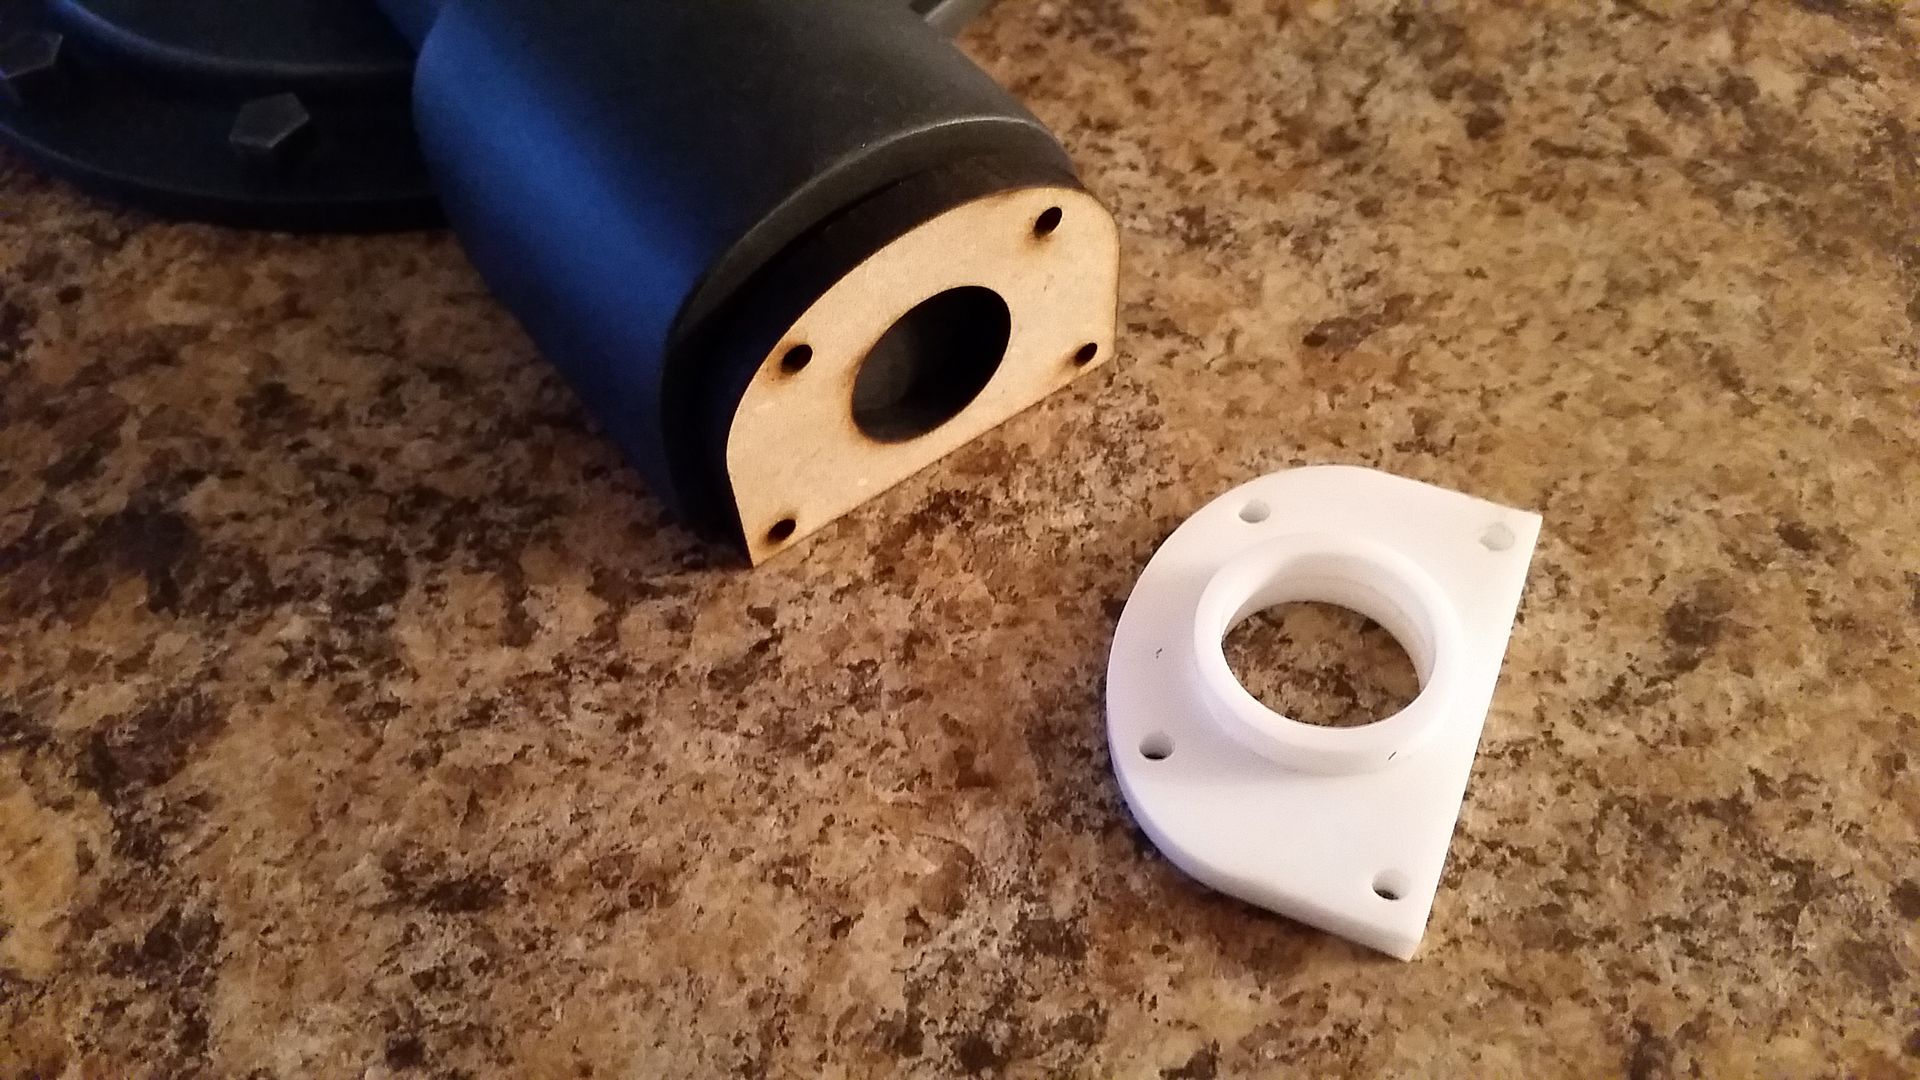
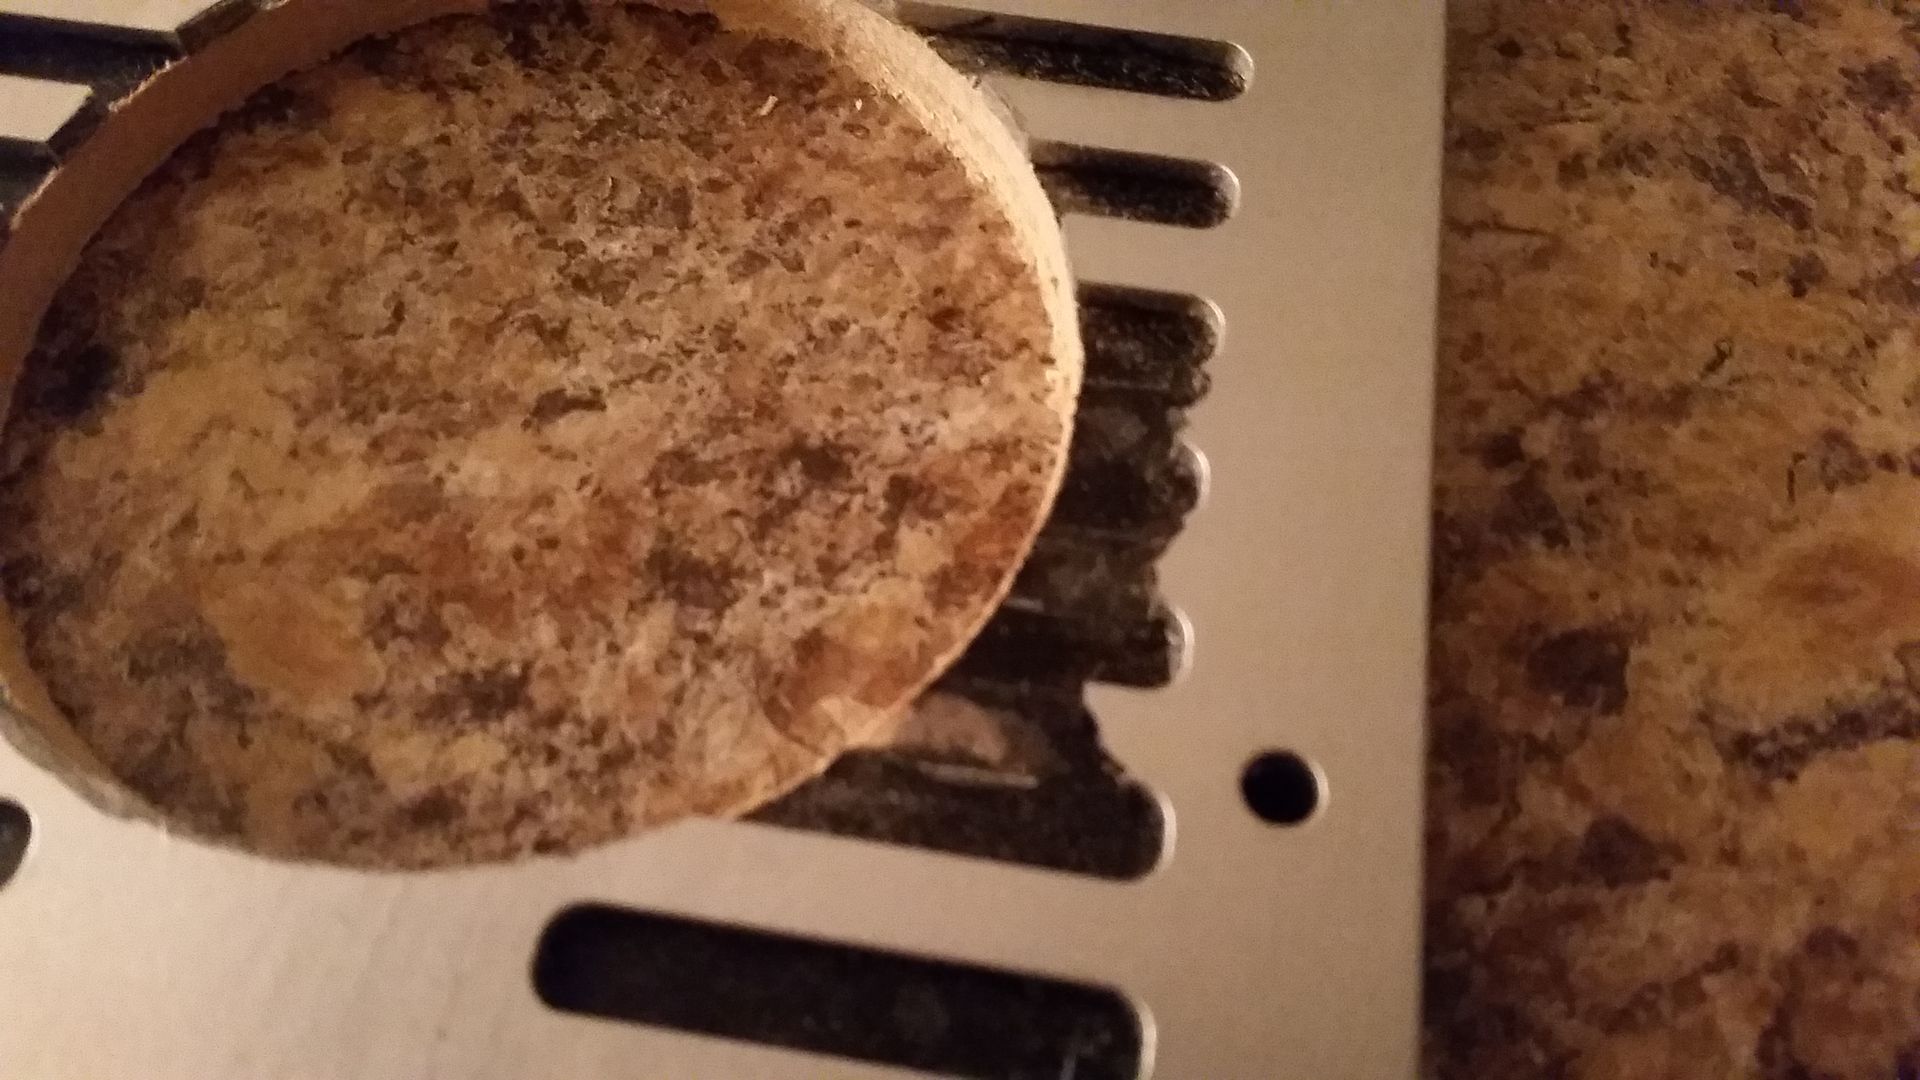
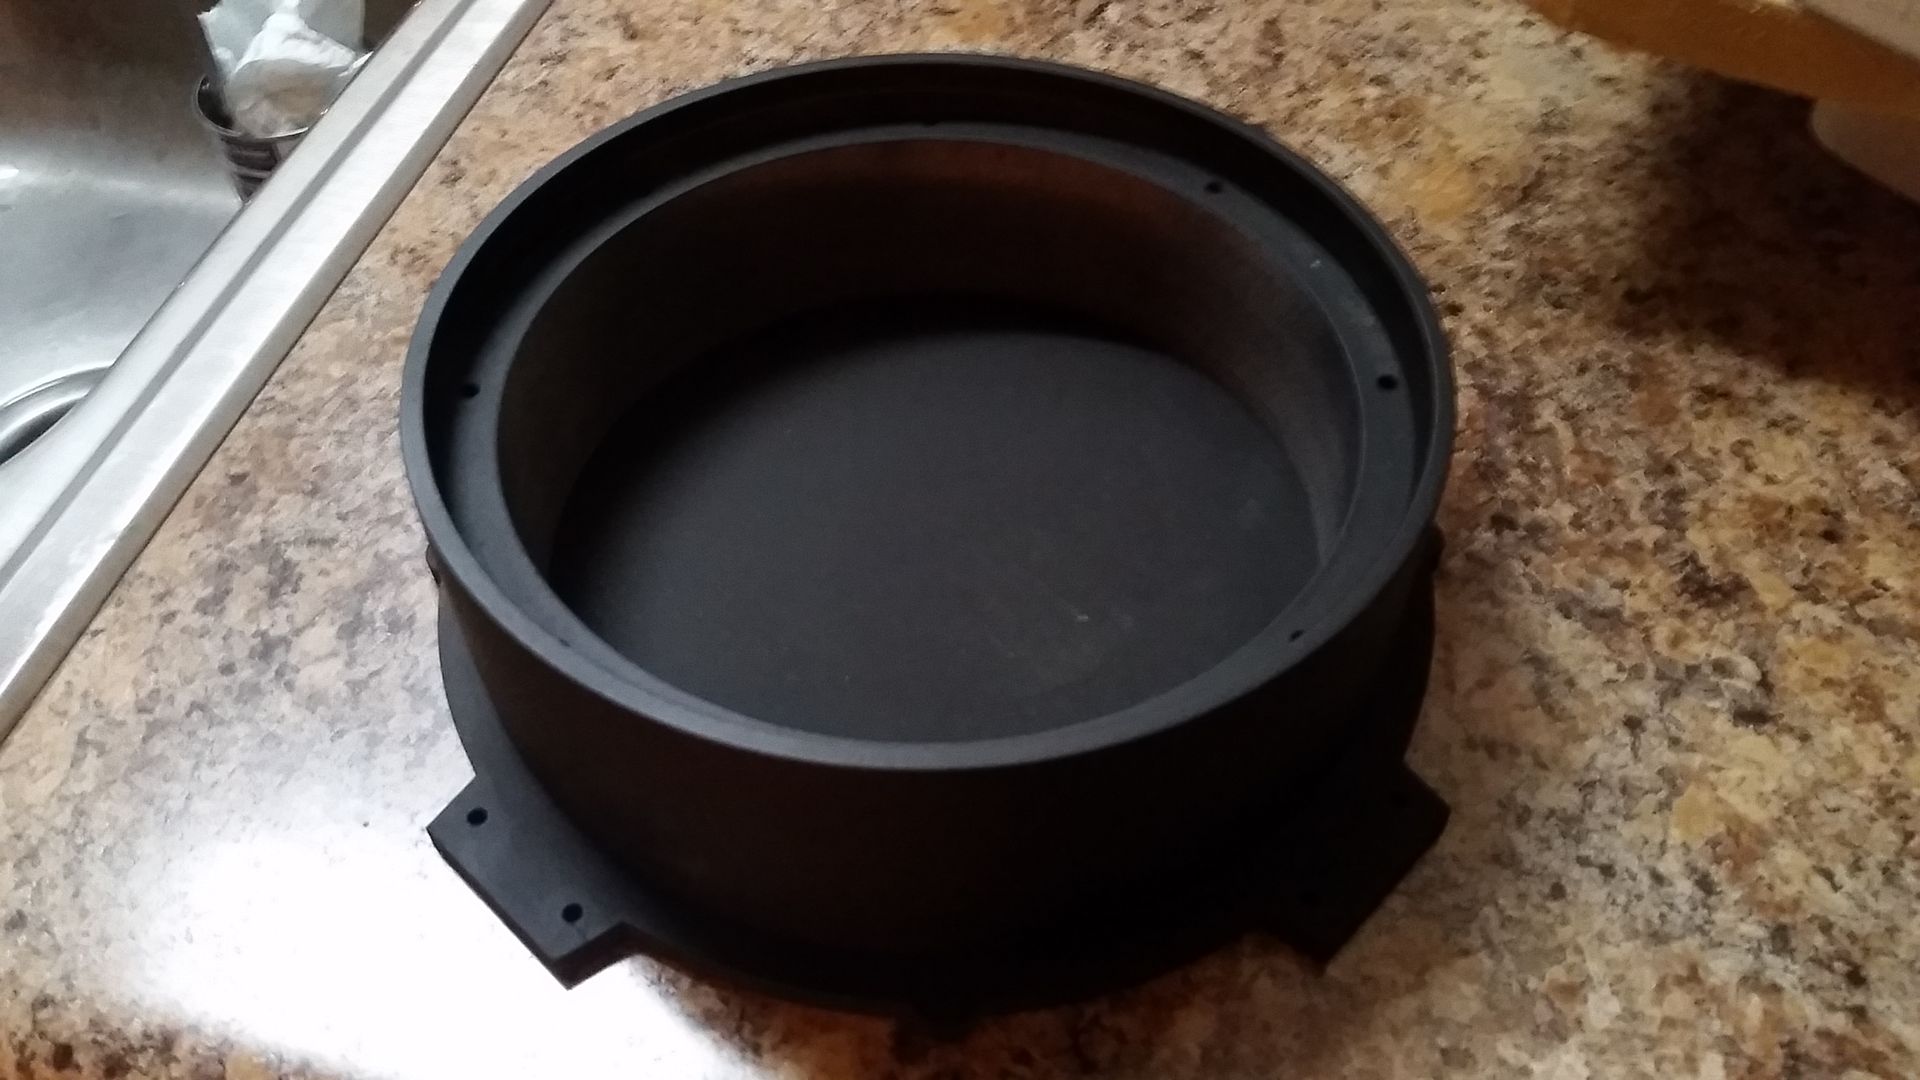
Hole to be cut
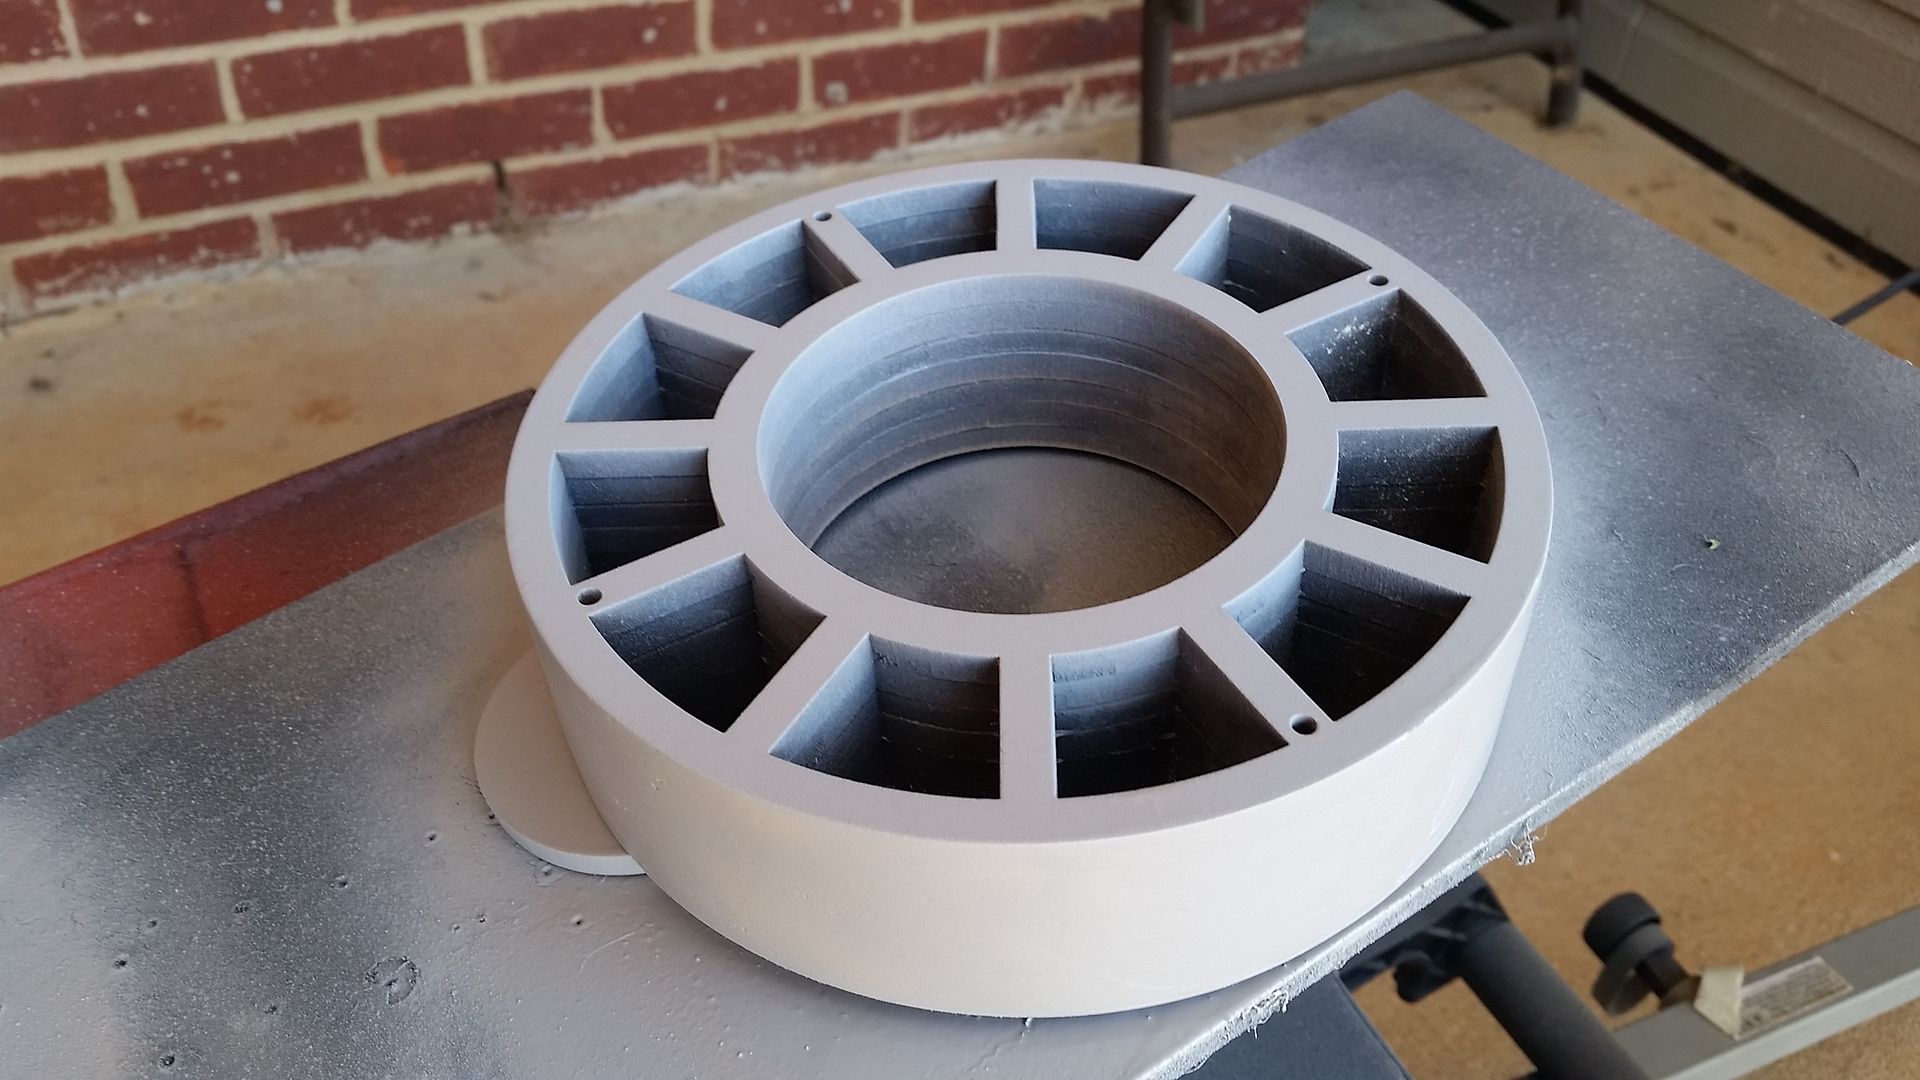
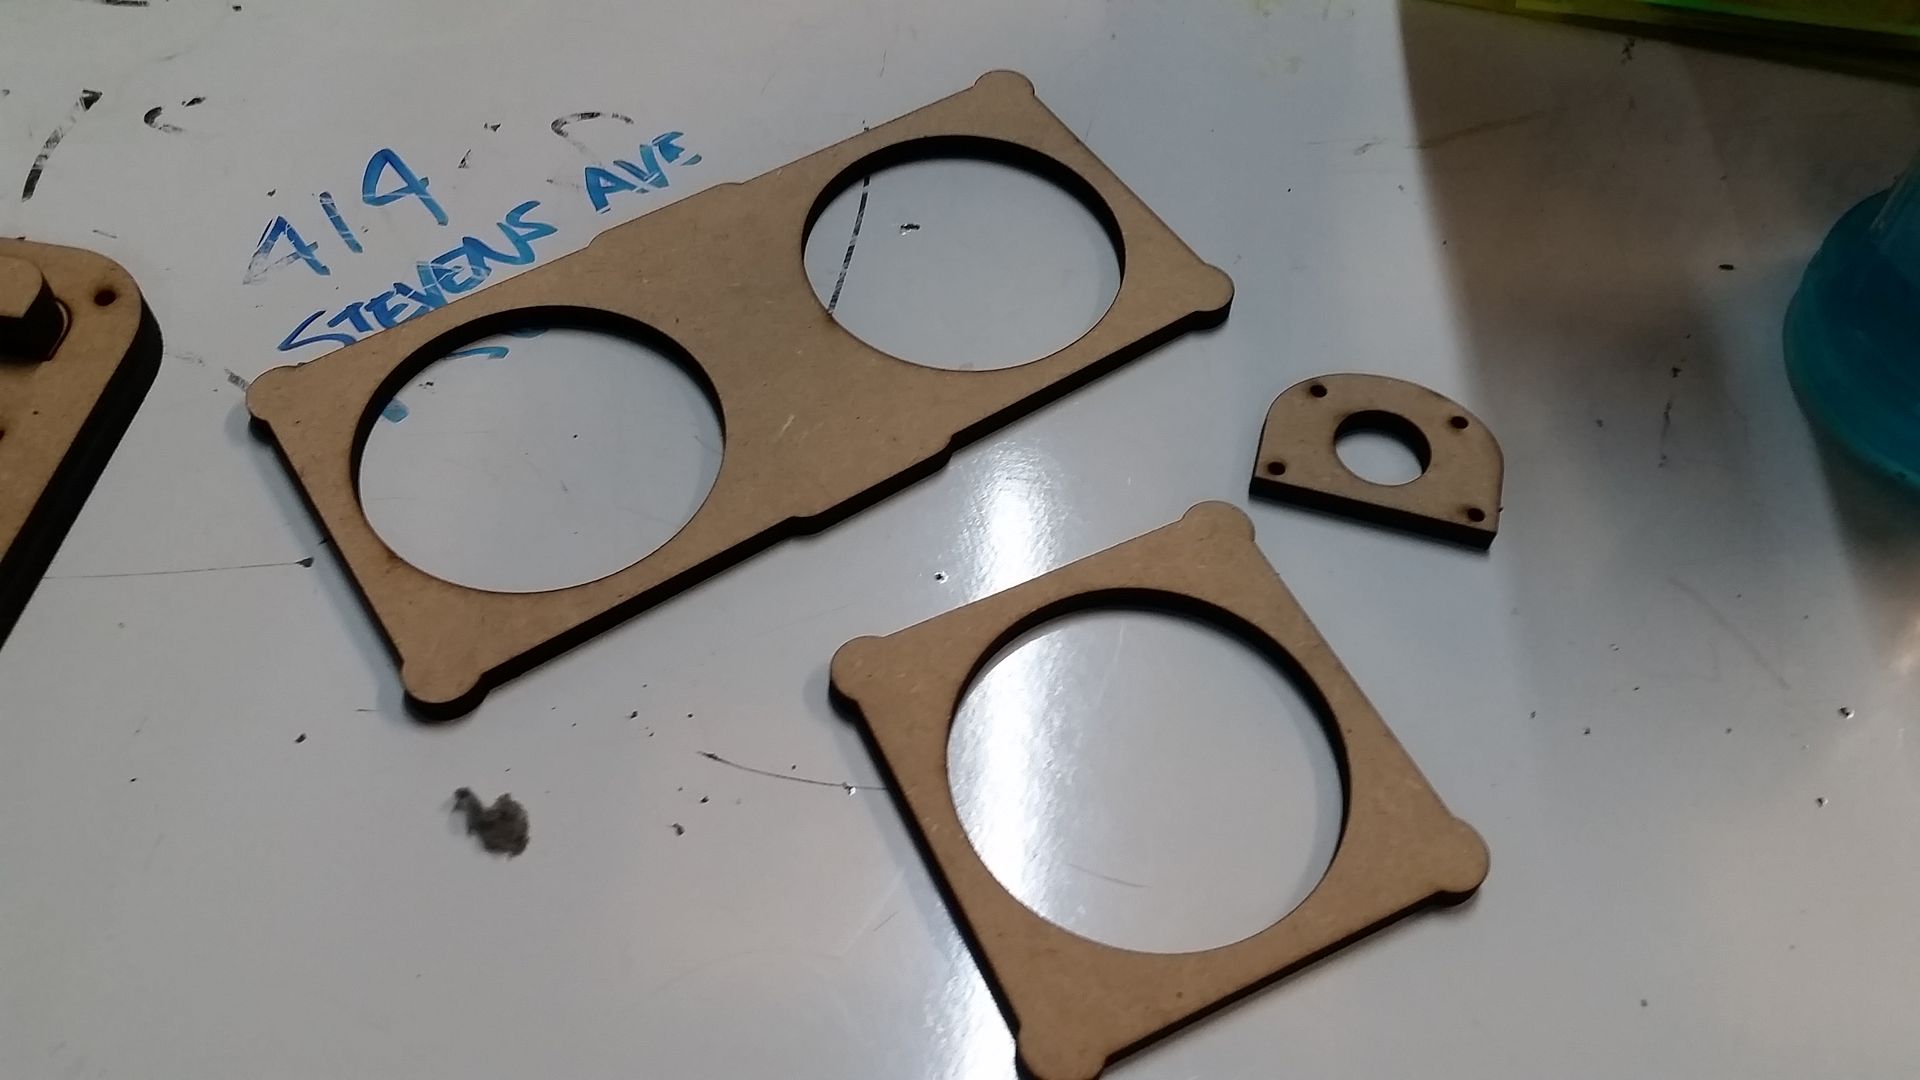
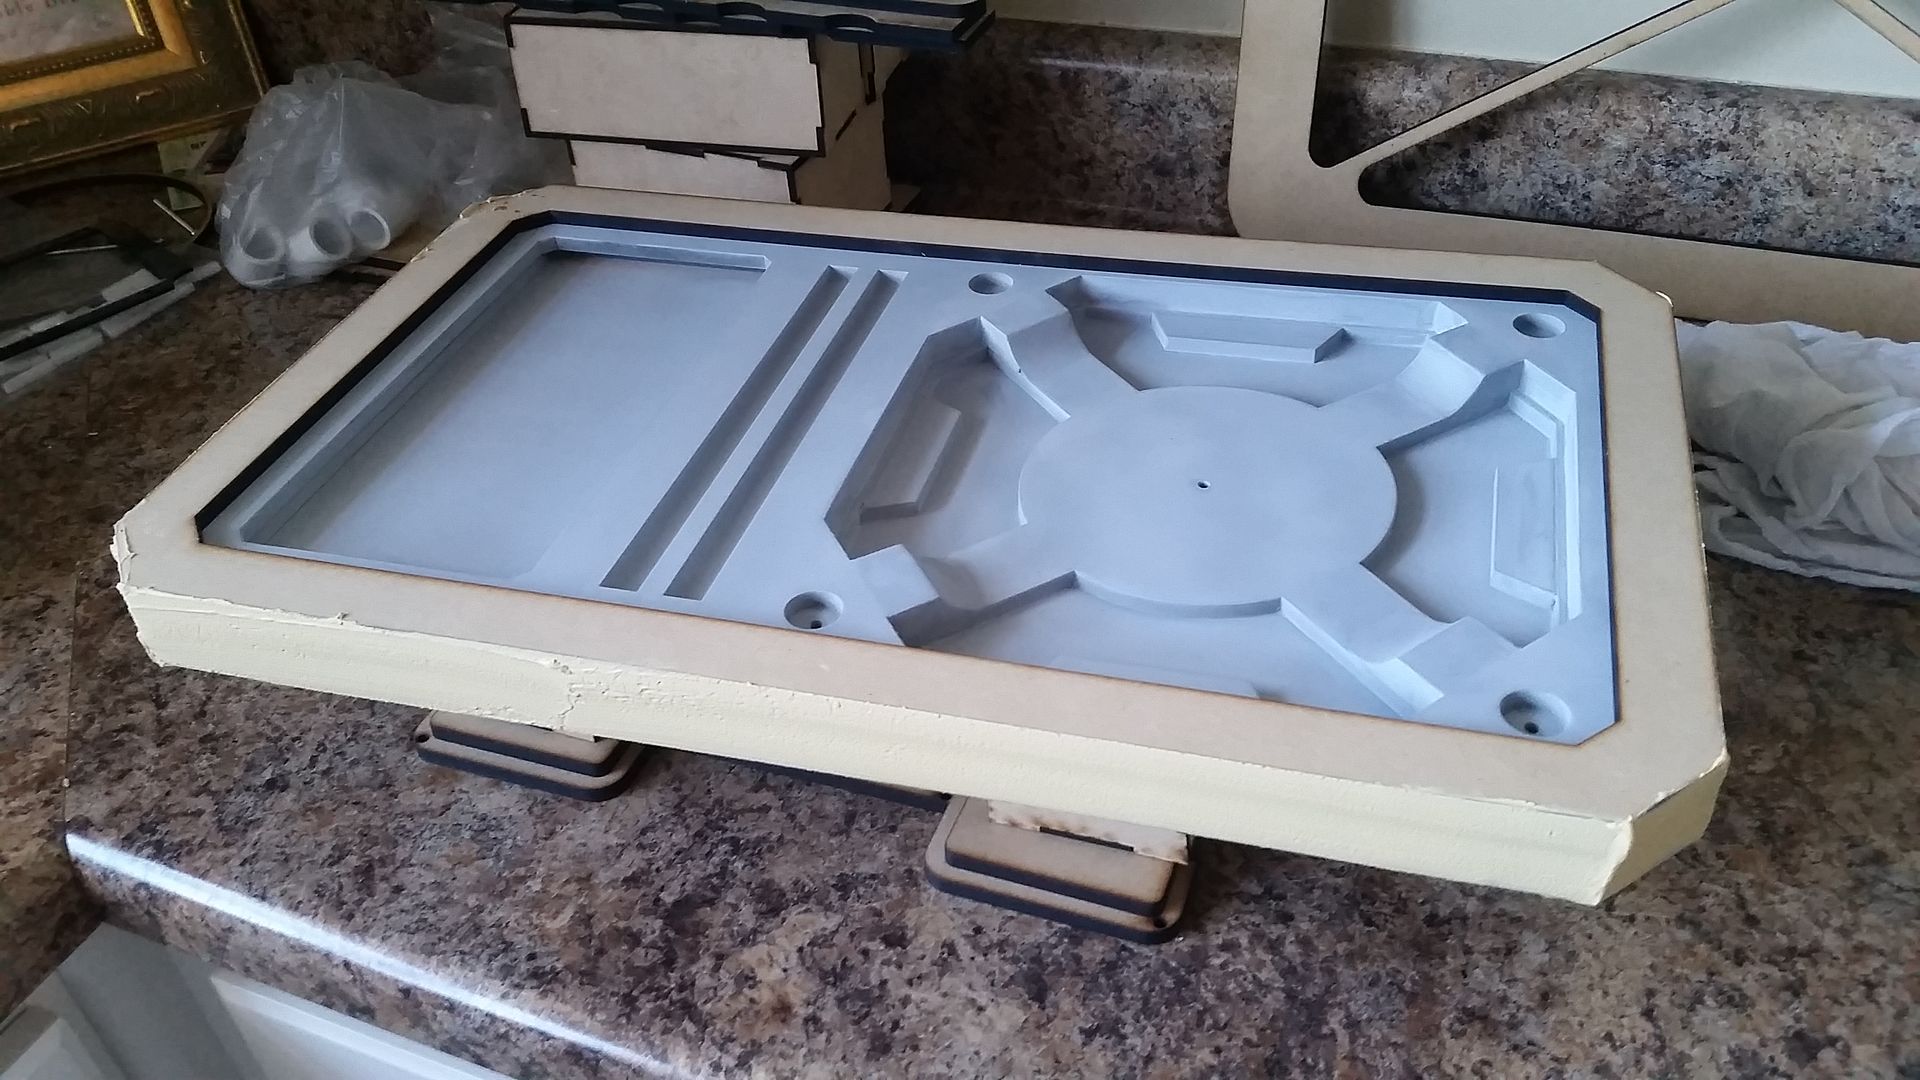
Cover in place
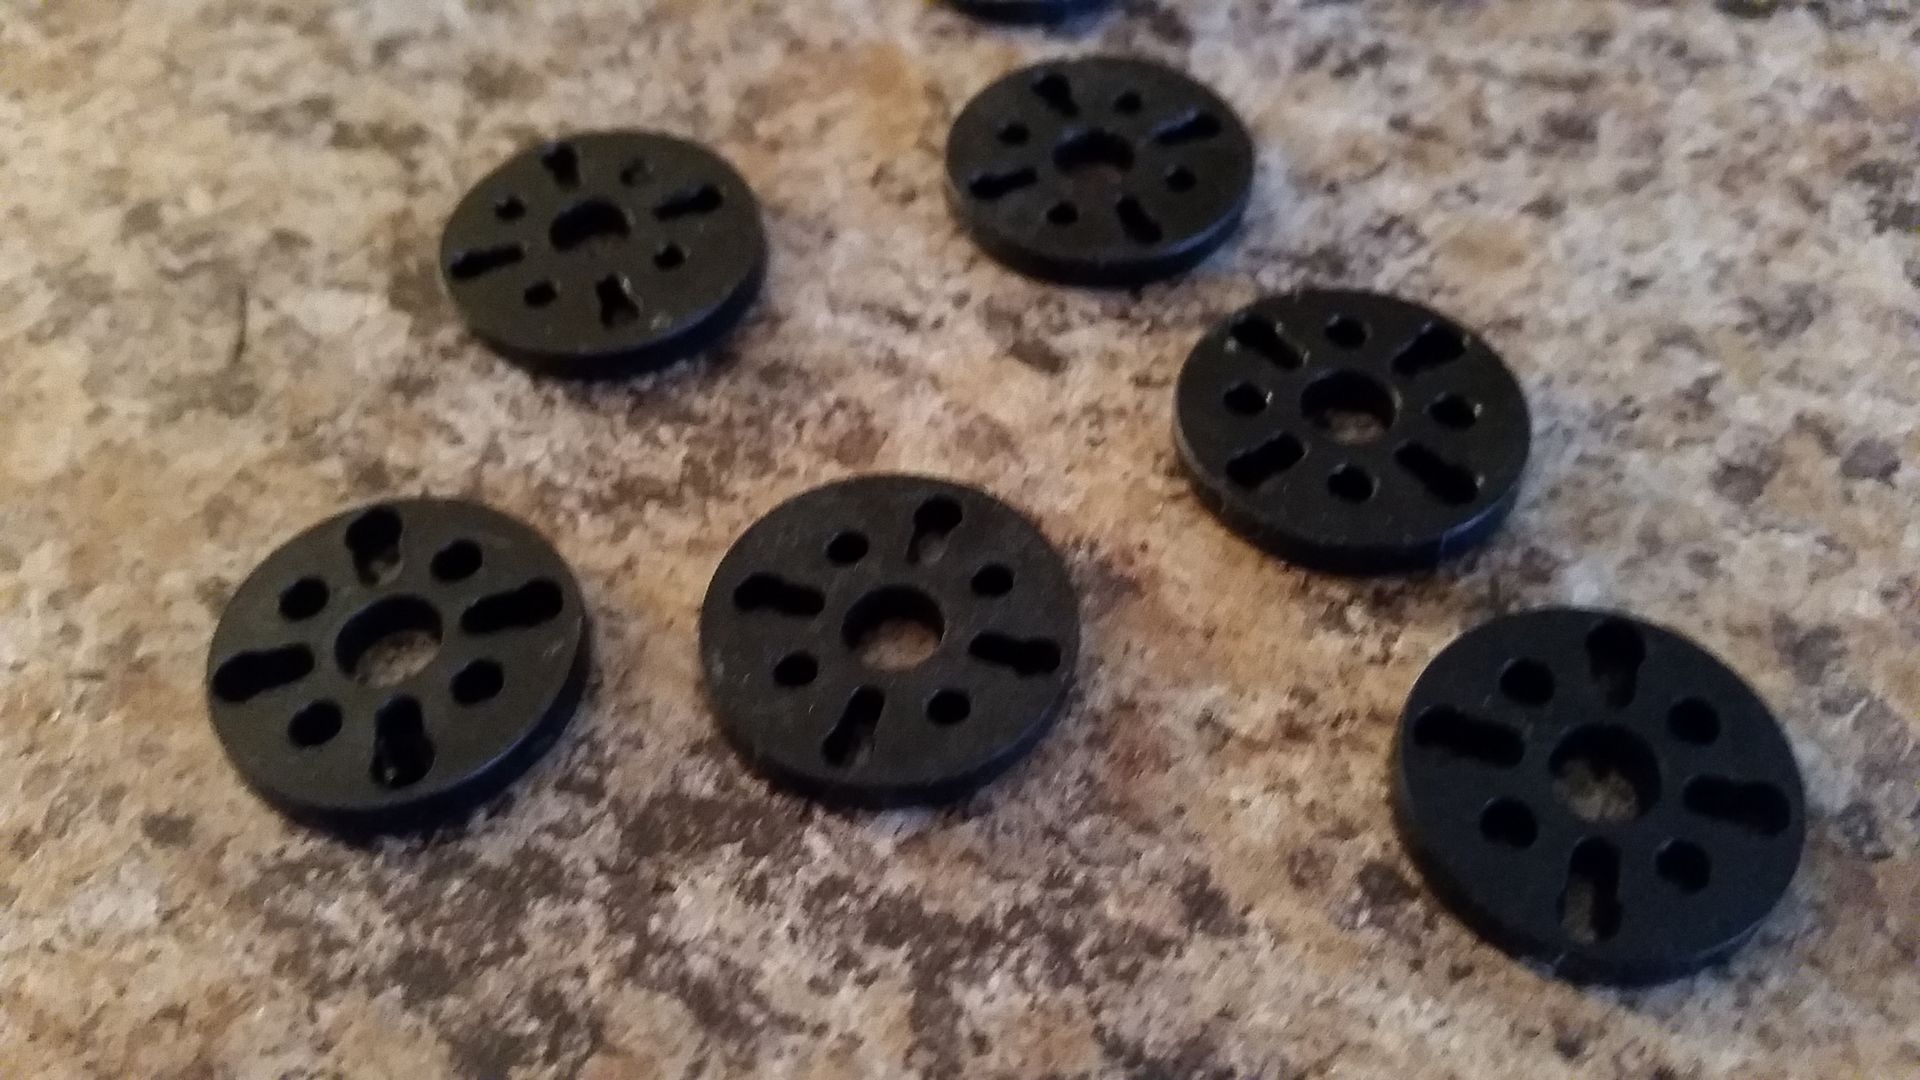
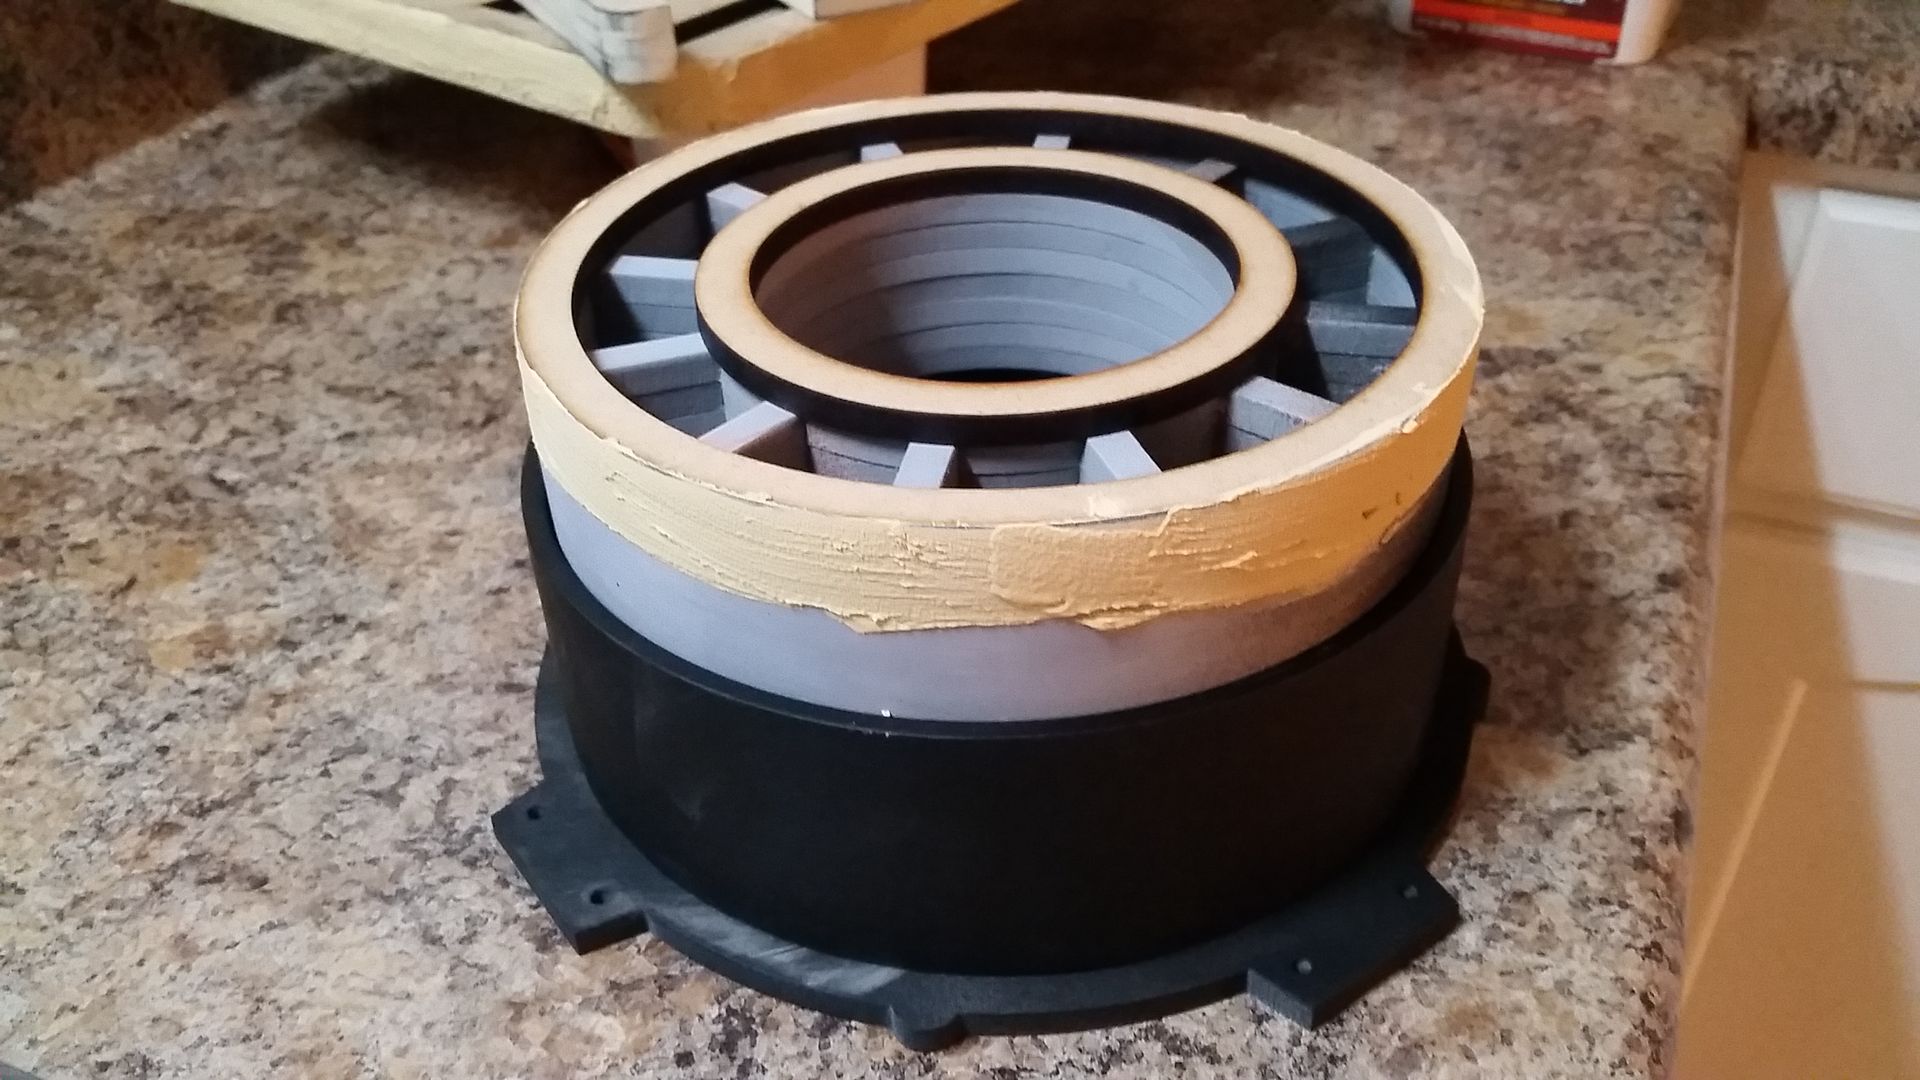
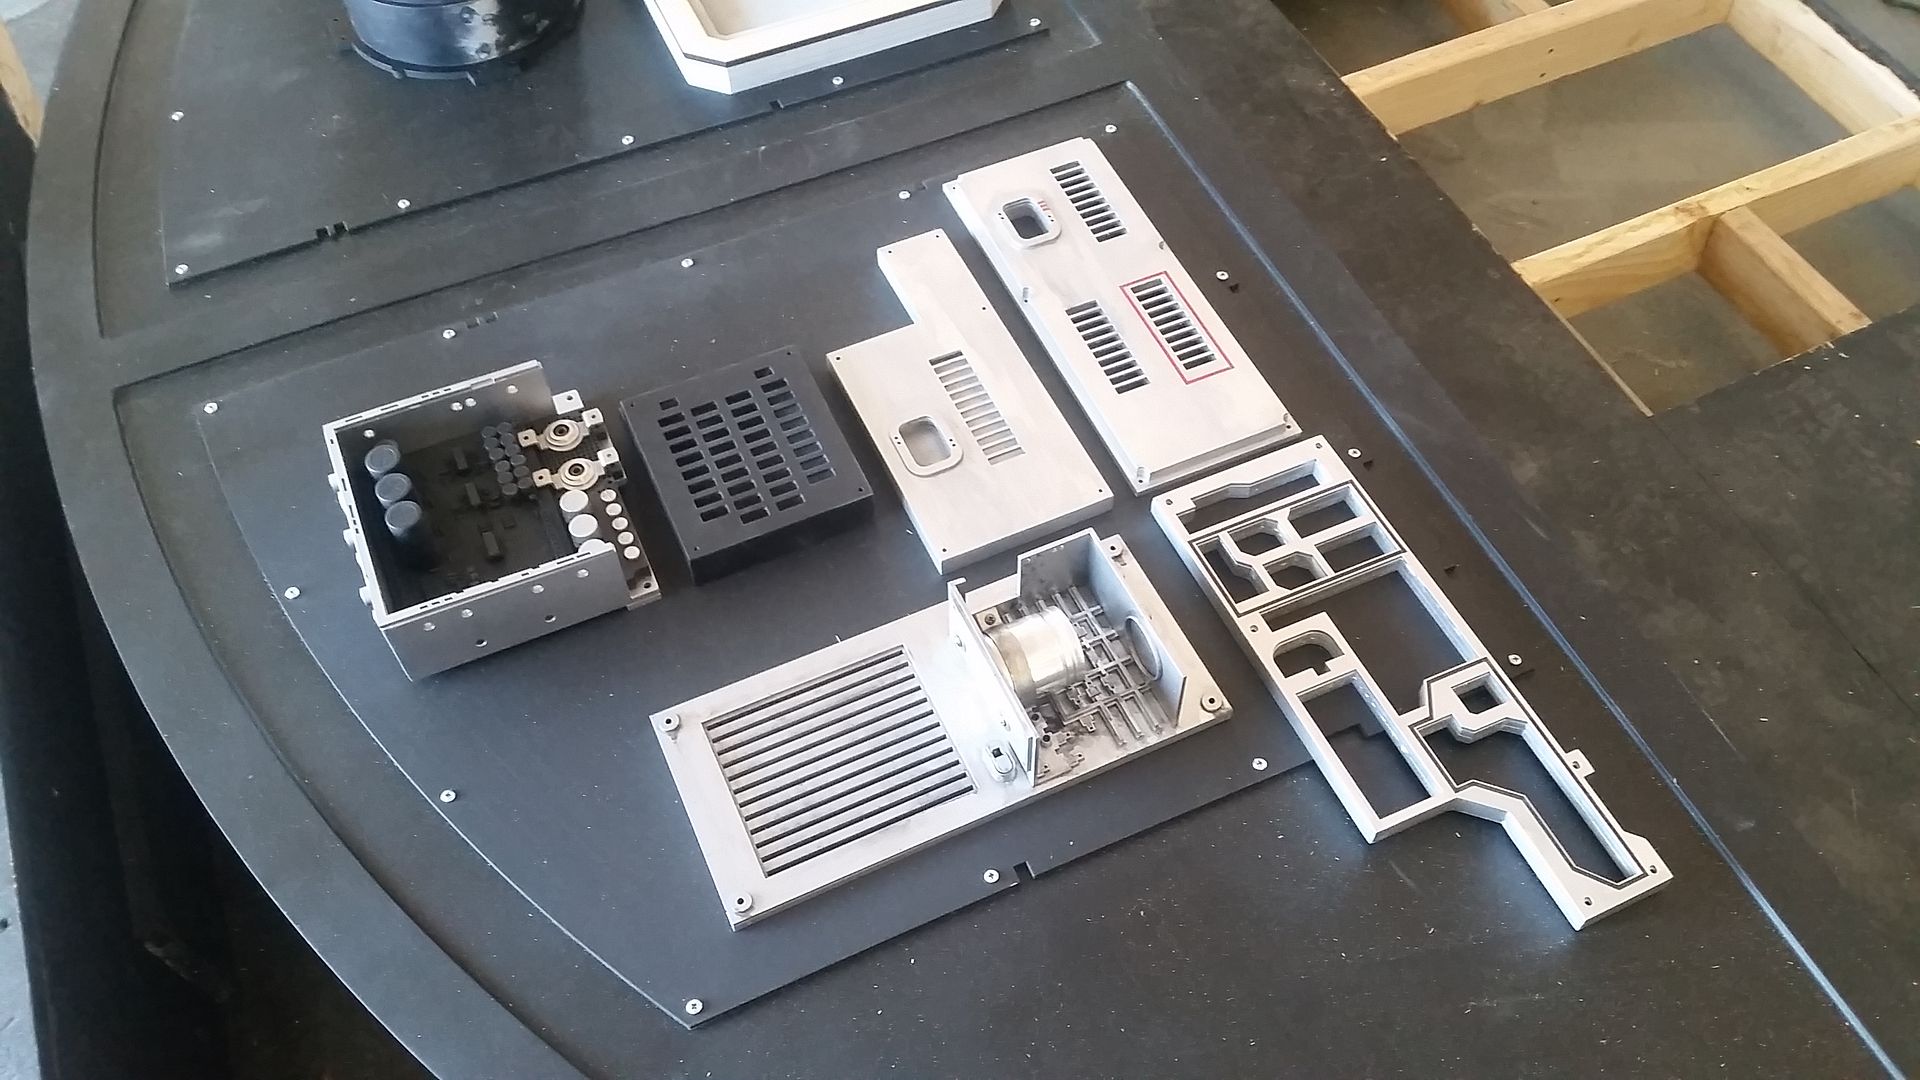
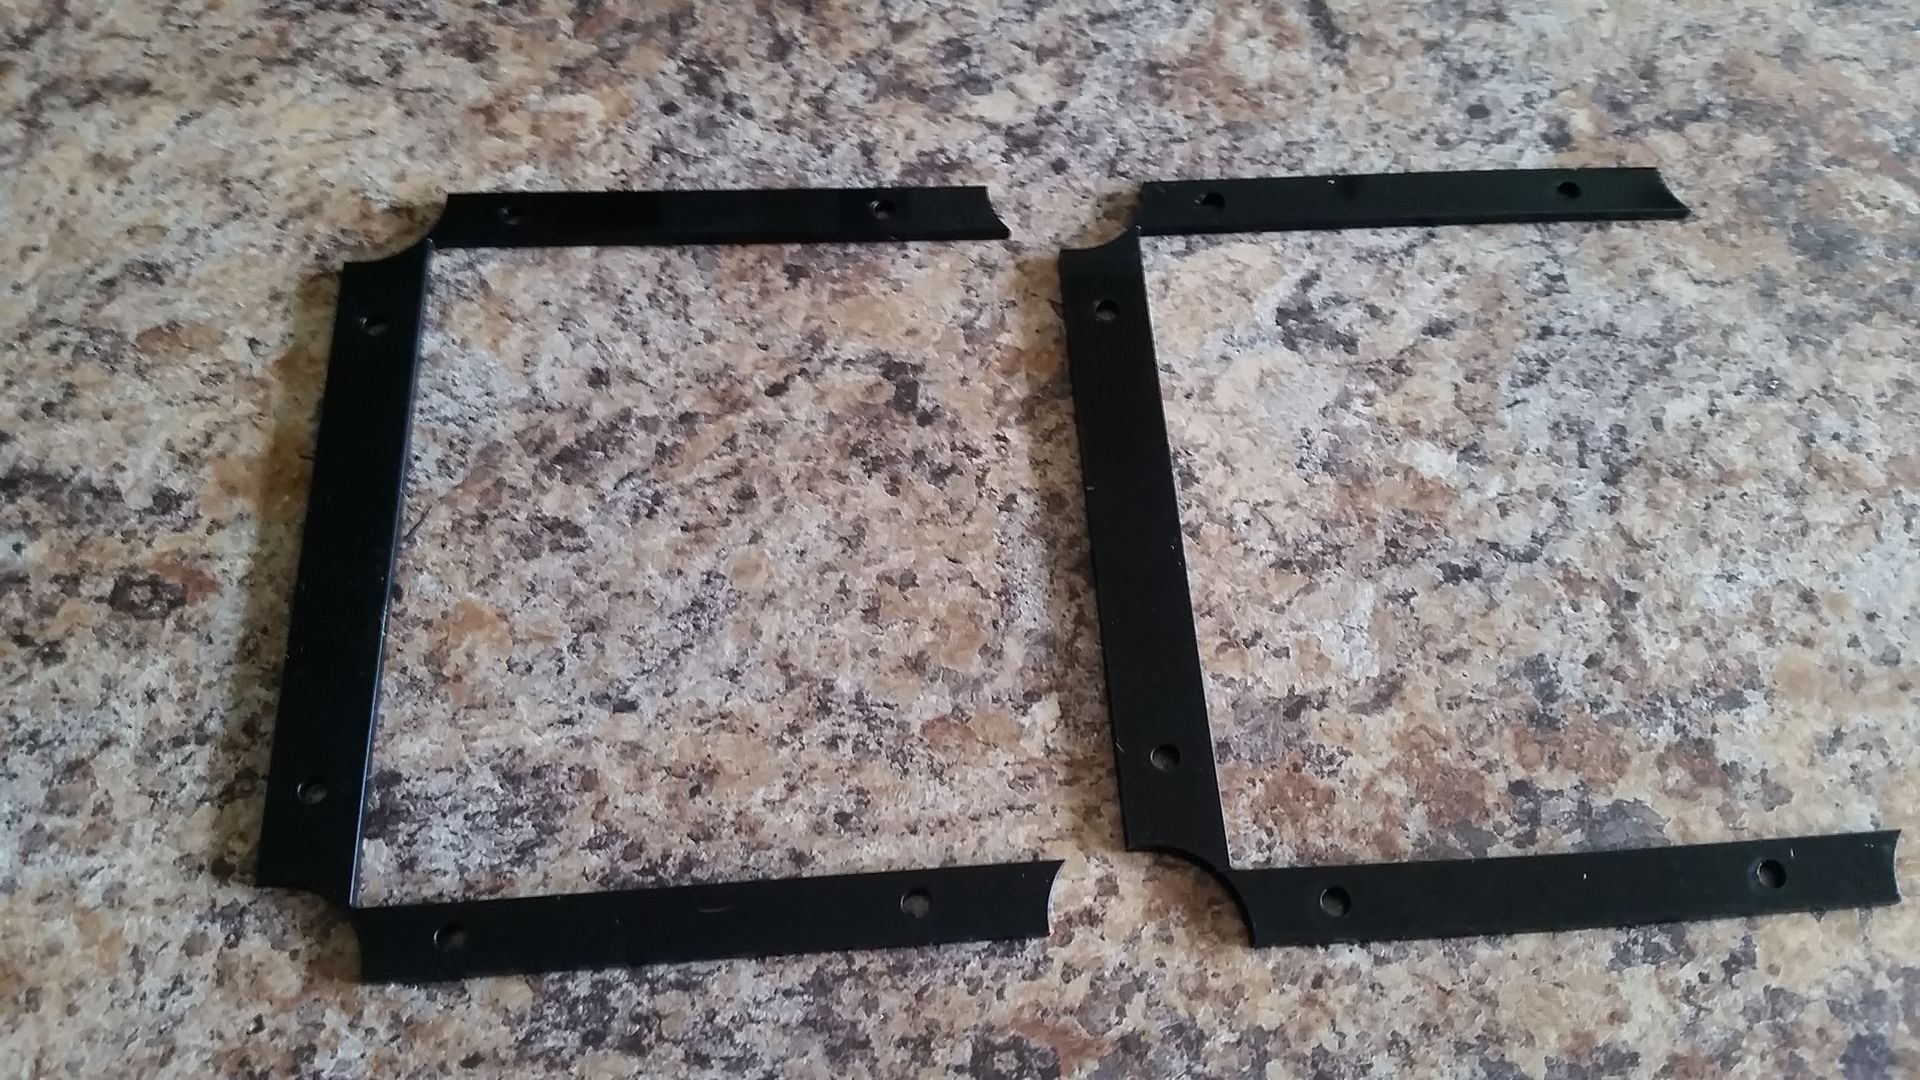
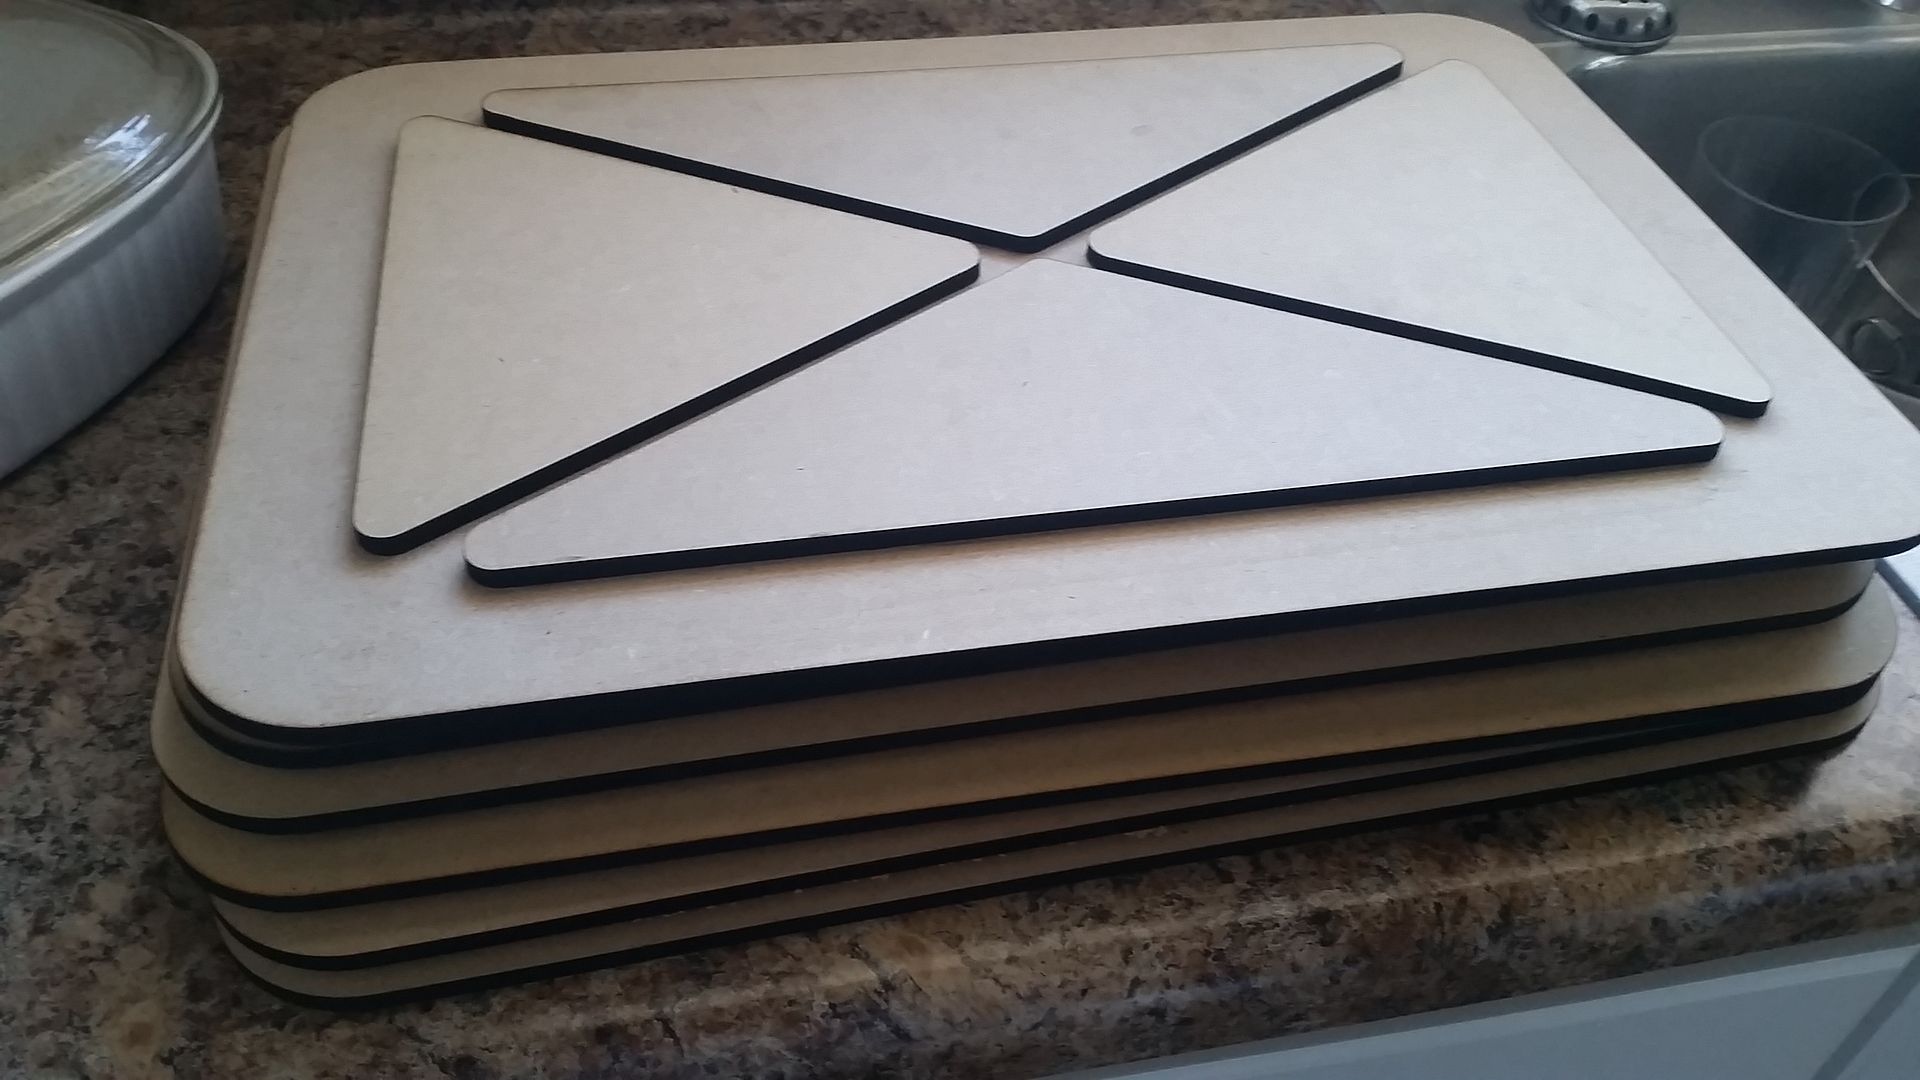
Our first two victims!
More to Follow!