red4
Sr Member
Hey Red,
When I first saw the completed exterior of the cockpit with the scuff marks (especially around the front window) I instantly thought of the 5' model and how the model makers created their scuff marks. I'm wondering if the set designers and model makers are taking a more exact approach with each ship?
Here's the tough part... We're far enough out that if this new MF totally blows us away, we could always switch gears and attempt to recreate that. But my heart still beats for the ESB version.")
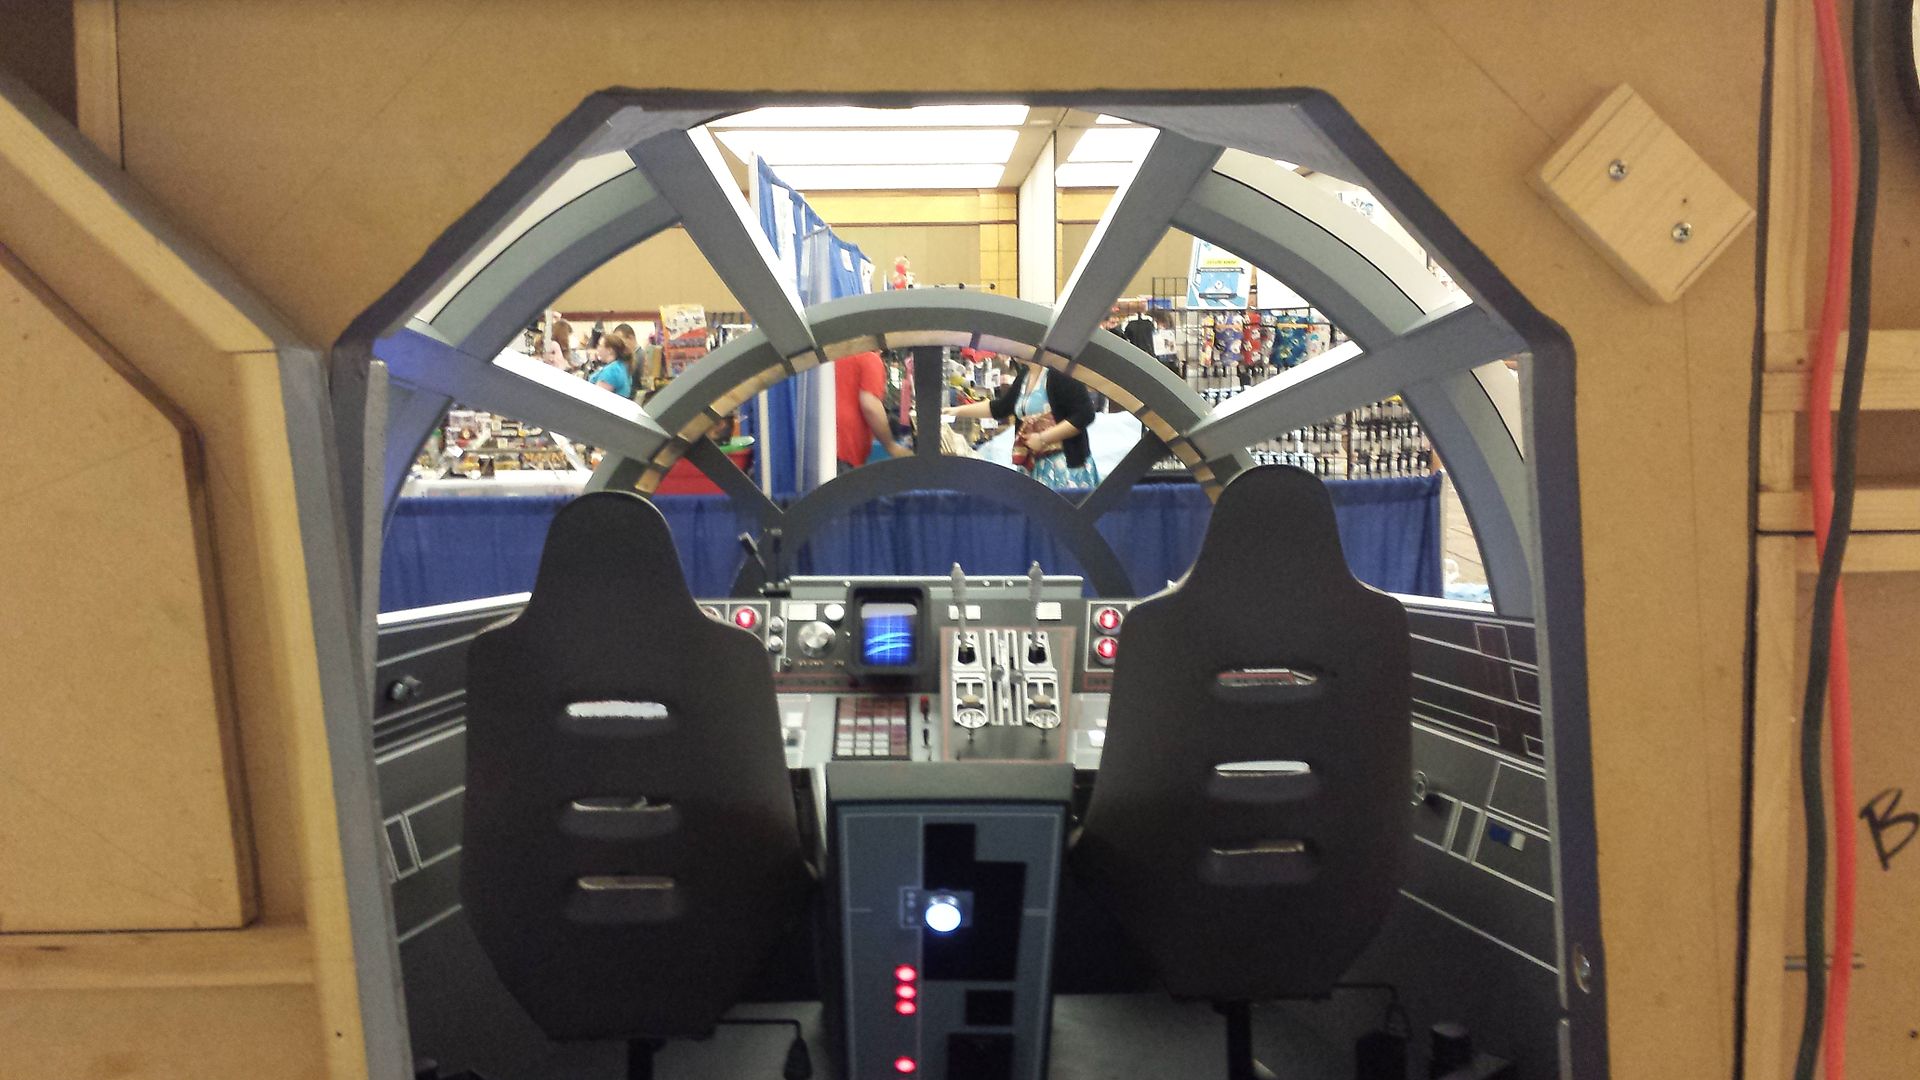
I'm positive the interior of the new Falcon will be bad ass, but you should stick to the ESB design, because there's not a damn thing wrong with it.
And since your team apparently will be building more Falcons (if I understood that news article correctly), maybe you could build a modern Falcon for the 2nd or 3rd build.