Shaping the Force

GTImotion

Active Member
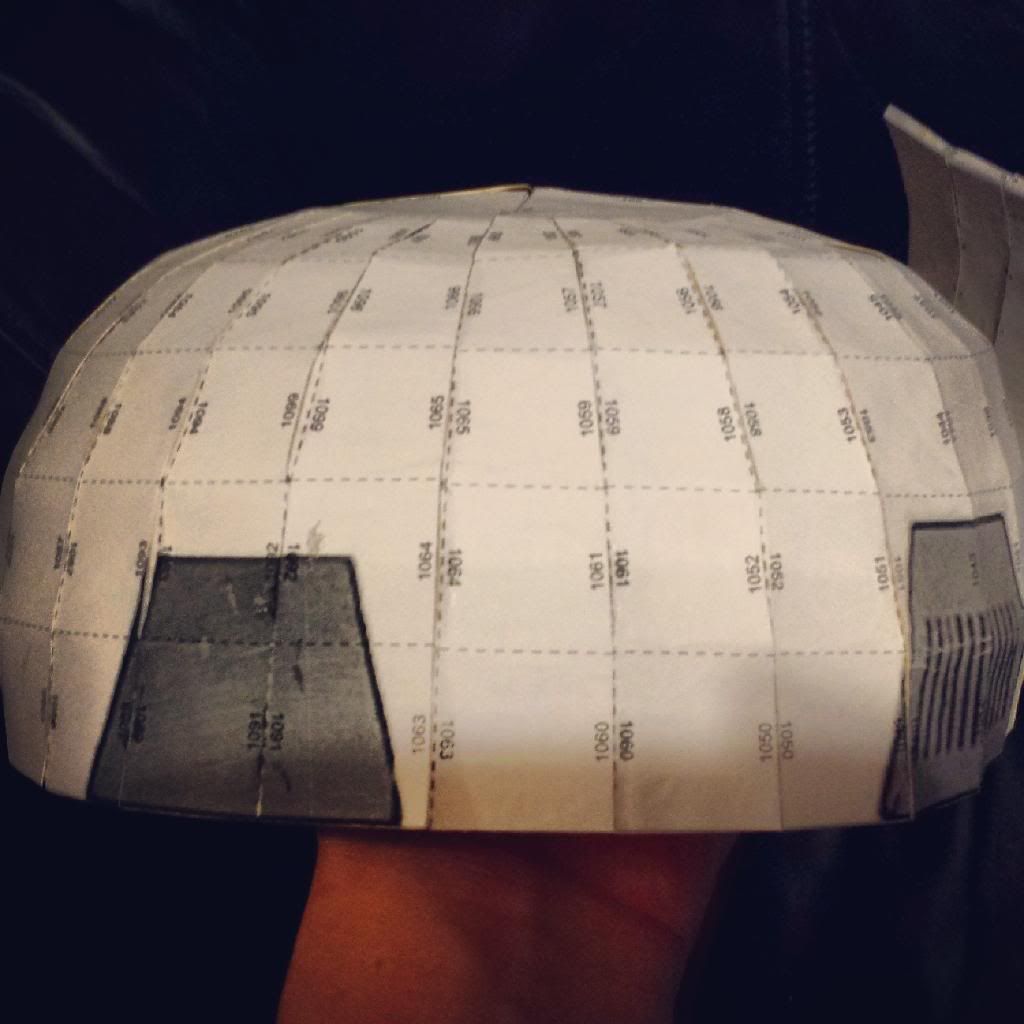
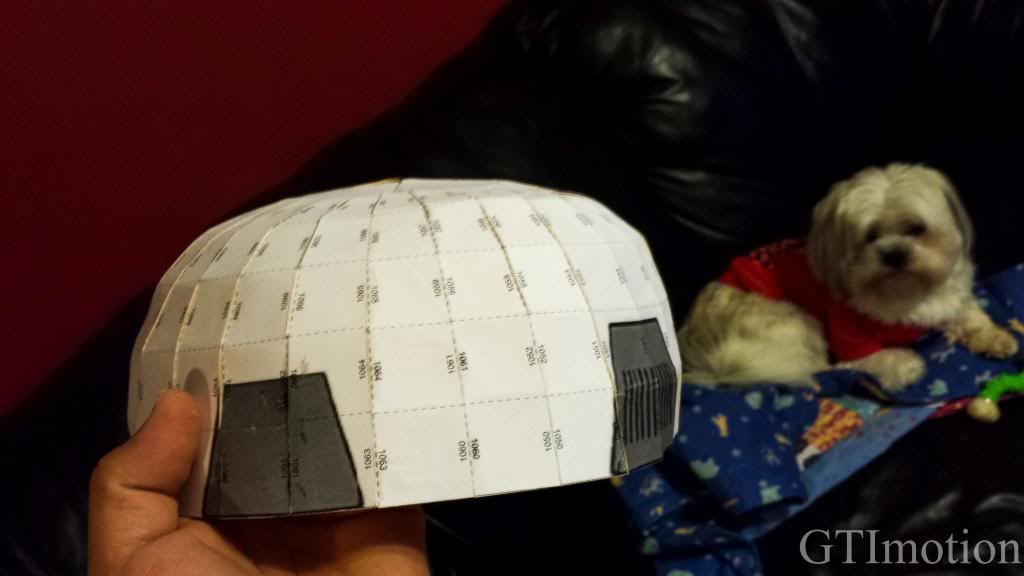
What's up everybody? After long time reading countless build threads in this boards I've decided to pull the trigger and make my own build, while doing my research I stumble across spacecowboy's symmetrical ANH stormtrooper pep file :D and without much thinking I graved my xacto knife and I started cutting and gluing the pieces and my fingers together :lol :lol :lol

List of materials thus far.

Spacecowboy pep file.
Xacto knife or scissors.
Super glue.
Wood glue.
Regular paper for printing the file.
Card stock (to give rigidity to the regular paper)
Resin
2 brushes (chip kind)
Fiberglass cloth
1 gallon of lightweight filler.
36 grit sand paper ( dry )
80 grit sand paper ( dry )
150 grit sand paper ( dry)
Wood 1'' x 1" x 1/4" for vocoder and teeth.
Raspers.


Last edited:
Very cool. I've seen a lot of people on here using pepakura to build out their props. I'll be watching this to see how it's done. So all the shapes are 3d modeled on the pep file and then you print out all the pieces and cut them out with an exacto. Do you print it on a slightly thicker card stock so it has some weight and stays upright? What type of glue to you use to hold all of the small pieces together? From what I see on you pics it looks like the pieces are number coded so you can match the proper edges up to the corresponding pieces. Pretty cool stuff.
 
Yes that's correct all the shapes are pre 3d modeled and the only thing that I had to do was to print the pdf file cut all the different parts and glue them back together with super glue. In my case I printed the file in regular paper and then I glue the preprinted paper to a thicker type of card to give it more rigidity. You're also correct about matching the numbers they serve as a guide as well as a reference points
I used gorilla super glue gel with great results. I wouldn't advise using any other type of glue that doesn't dry fast or quick enough.
 
I've used pva based glue, it just sticks paper together in a second if used in a thin layer without the disadvantages of superglue ( get your fingers separated by a surgeon ) ;)

Nice start! Remembers me on my first steps which sucked me in this project....
 
I've been busy. I managed to get the side tubes, cheeks and the upper part of the face together :cool I was even able to test fit the dome with the lower. but neither seem to align properly with each other :facepalm next I'm going to do the lower face and vocoder and see if I can fix the misalignment


small update.

My pupp inspecting and giving the final ok for the helmet to go into the resin stage :cool


I had to make a cheesy stand for the helmet so I can give it a resin bath without making too much of a mess.


Last pic of the helmet in its paper stage. Note the middle tooth, this was placed to give the lower mouth/chin/vocoder more rigidity and strength during the resin process
 
Filler time.
I have decided to do things a little different from the rest of the builds out there, instead of giving the helmet a full coat of filler I've decided to tackle the filler stage by sections this way I can control how much sanding I want to do in one day and see results within my sanding session at the same time that I keep my sanity straight :lol :lol


small Update

Shaping and sanding down the dome was a real PITA for those tackling or planning on tackling the dome be patience this thing takes time. :ninja
now time to move to the lower back of the helmet.


Some nice progression but the "check bones" area look a little off, i don't know if its the angle or lighting of the picture, but they look high, like a lump on each side.
 
You are correct rosskow, those cheek bones are not right. when I was applying the filler to the cheek areas I wasn't paying attention an I put a bit too much. but I guess more is good since I can sand down the excess filler to a more accurate shape.
Thanks for your input :thumbsup
 
yes, you are better off having too much (to an extent obviously) then you can just sand/cut it down to the desired shape and size.
im just glad im not imagining it, i think i looking at it for too long, so i began to think i was seeing it for something else and it was actually perfectly alright.

anyway, keep it up, don't think i'll ever get tired of a good TK bucket build.
 
Update. Well there is not much of an update aside the fact that I finally managed to take some proper pictures of the helmet :cool :cool
hope you guys like it.
Comments input are always welcome.


HDR shot
 
whoa that turned out really nice...i was initially worried when you mentioned you printed the parts on normal paper and then stuck it to cardstock. i did that once and it was horrible. the paper kept getting unstuck and have places where it bubbled and everything. i vowed never again but yours is turning out real good man. good job! :)
 
Thanks strode!
I guess I fail to mention that I didn't use regular glue. I used wood glue this glue really bonds on wood so bonding on paper wasn't an issue.
 
This thread is more than 7 years old.

Your message may be considered spam for the following reasons:

  1. This thread hasn't been active in some time. A new post in this thread might not contribute constructively to this discussion after so long.
If you wish to reply despite these issues, check the box below before replying.
Be aware that malicious compliance may result in more severe penalties.
Back
Top