Warrenzo
Well-Known Member
Well i thought it was time to get this thread started now that i have most of the main parts for the uniform.
So for the uniform alone (Without the Proton Pack....I will have a seperate build thread for that) the following
items are required:
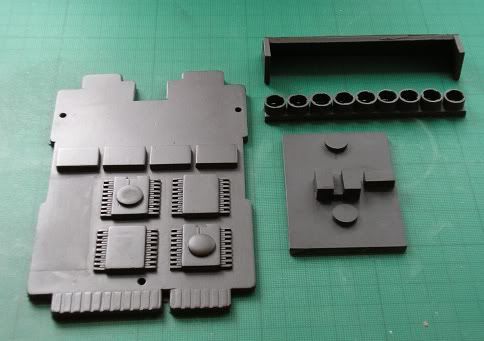
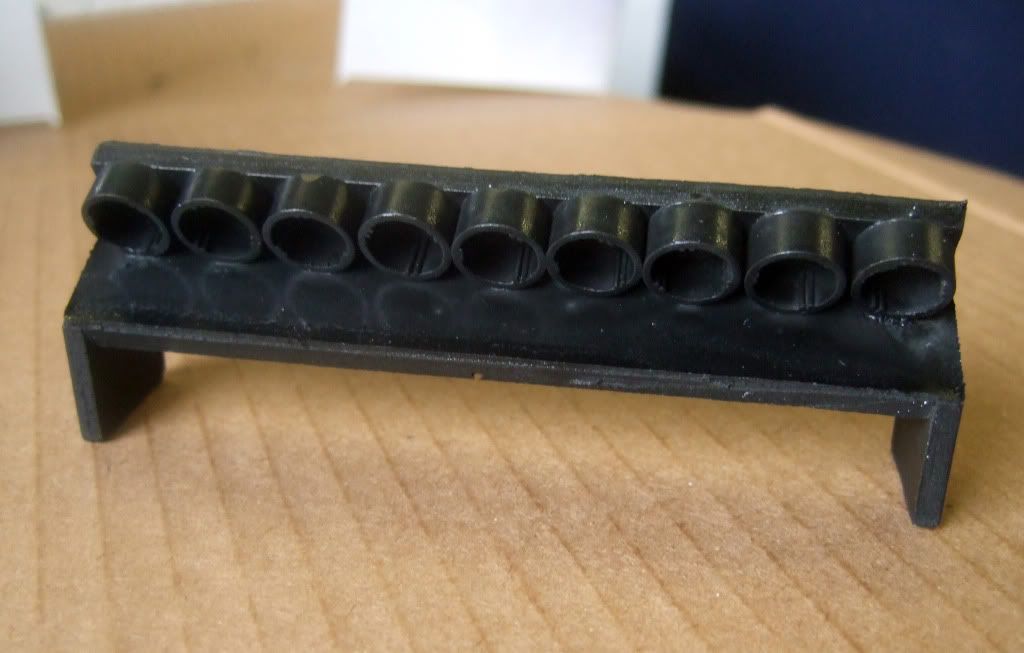
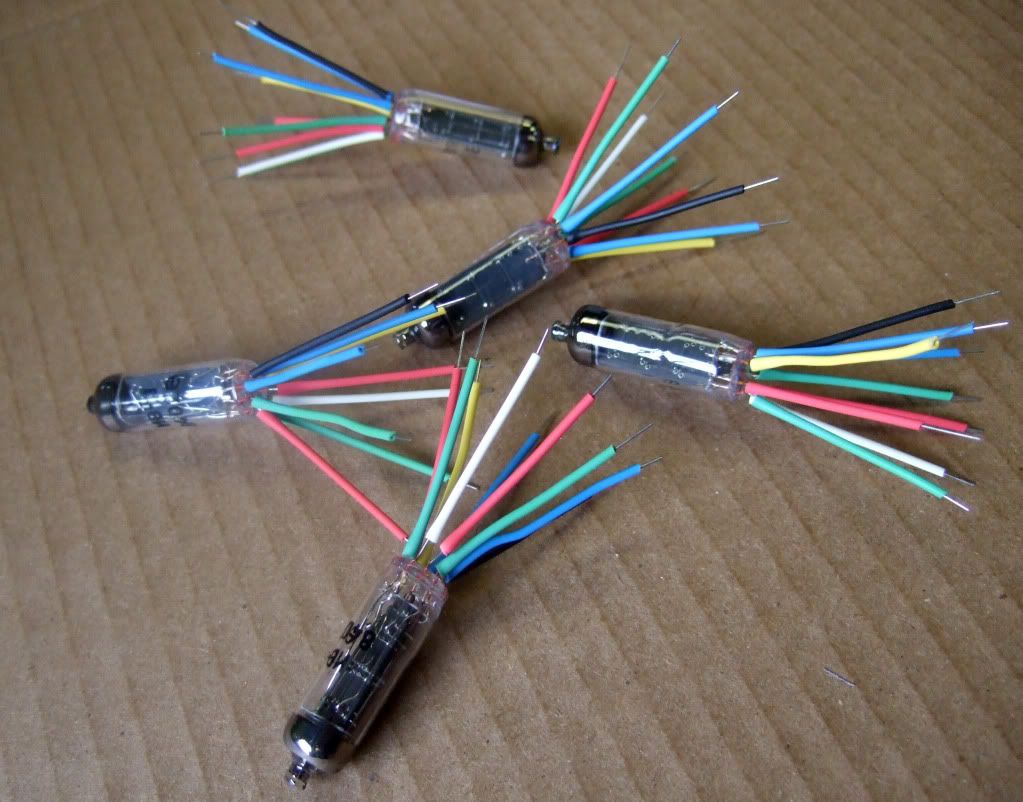
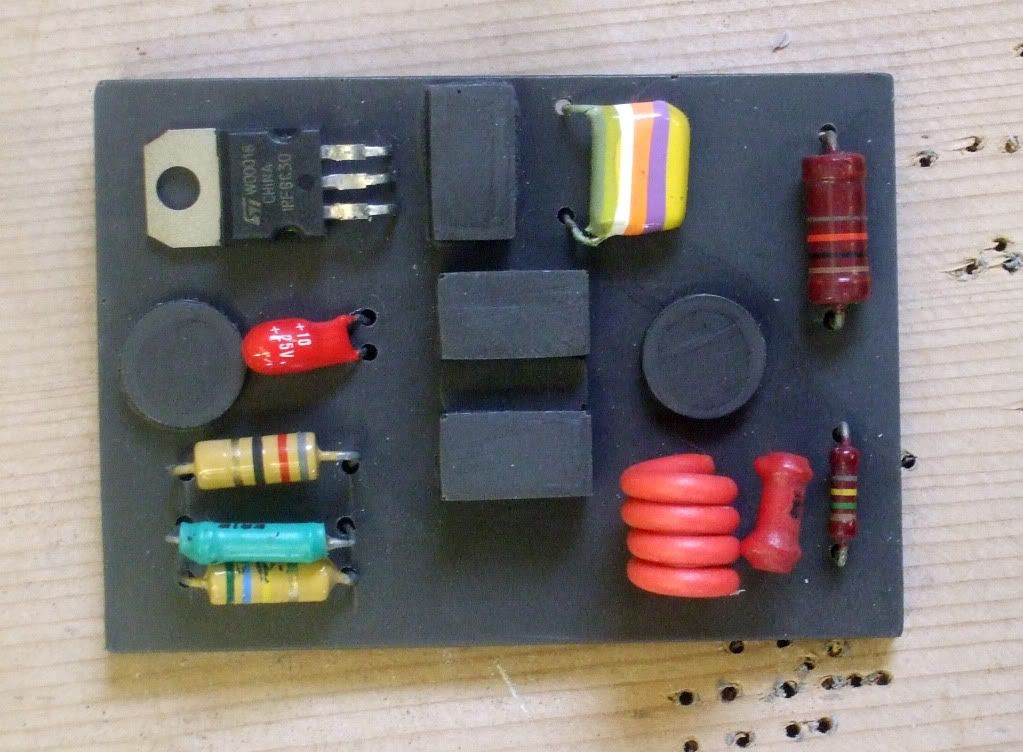
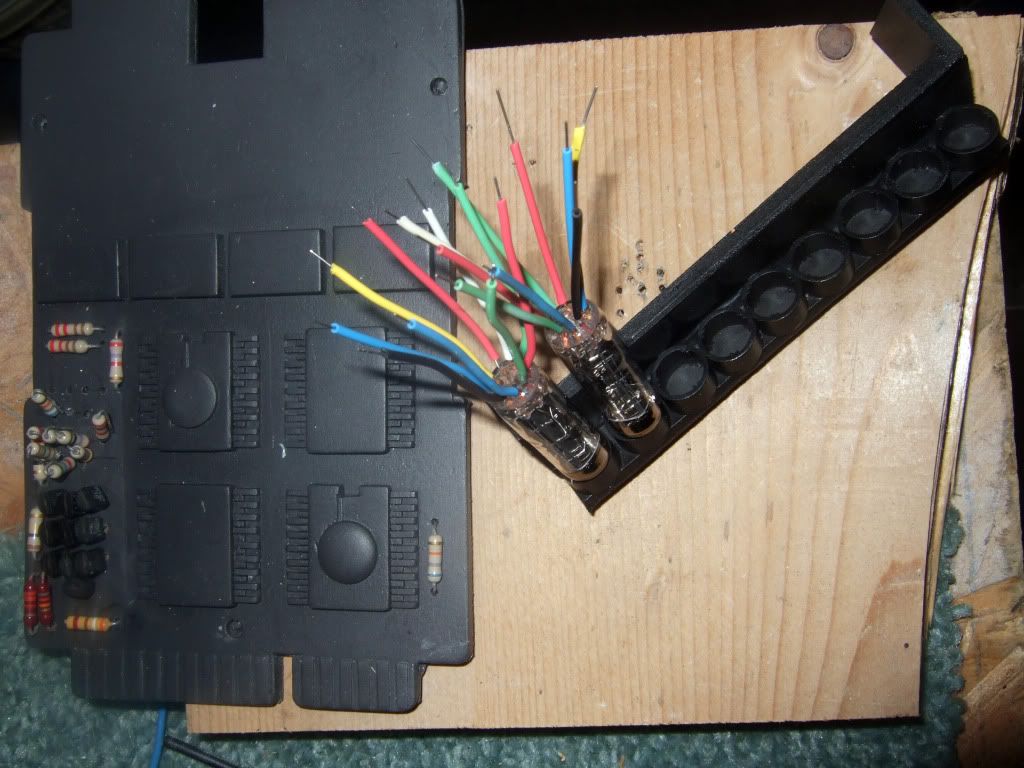
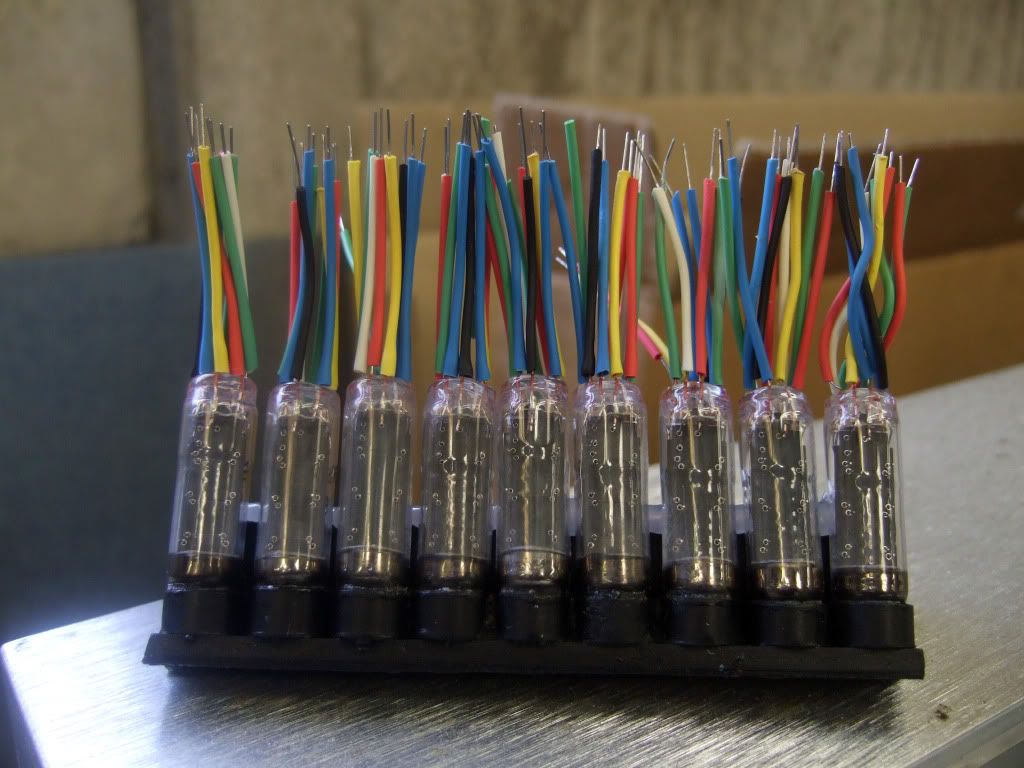
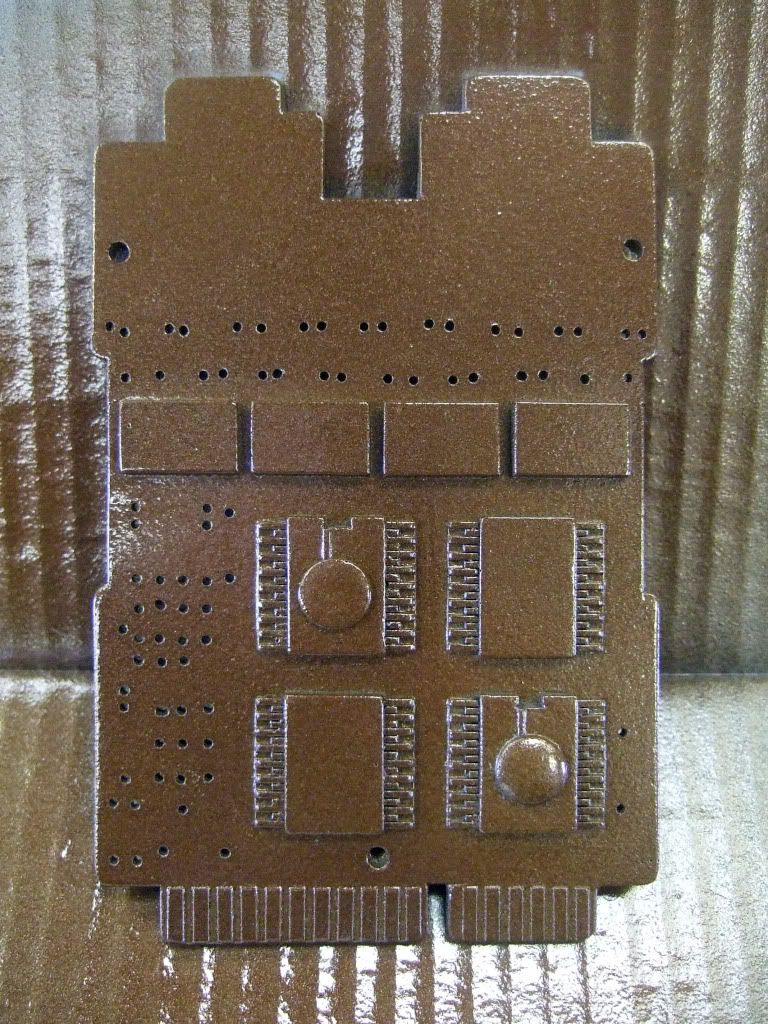
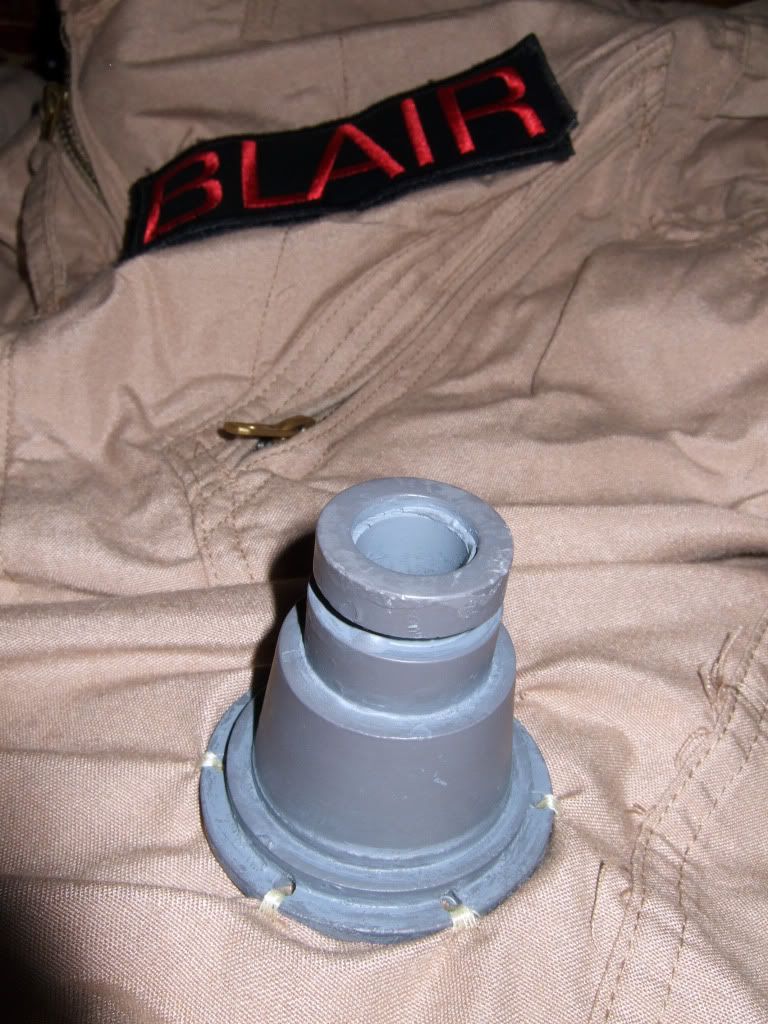
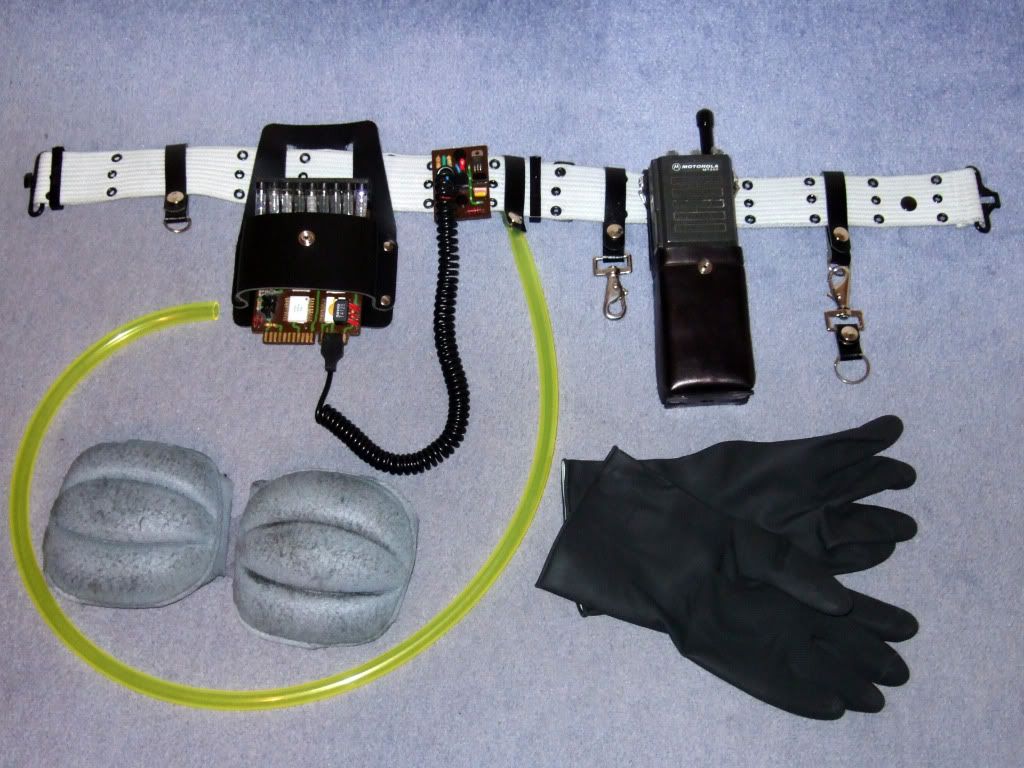
So here's a few pics of the parts i have so far:
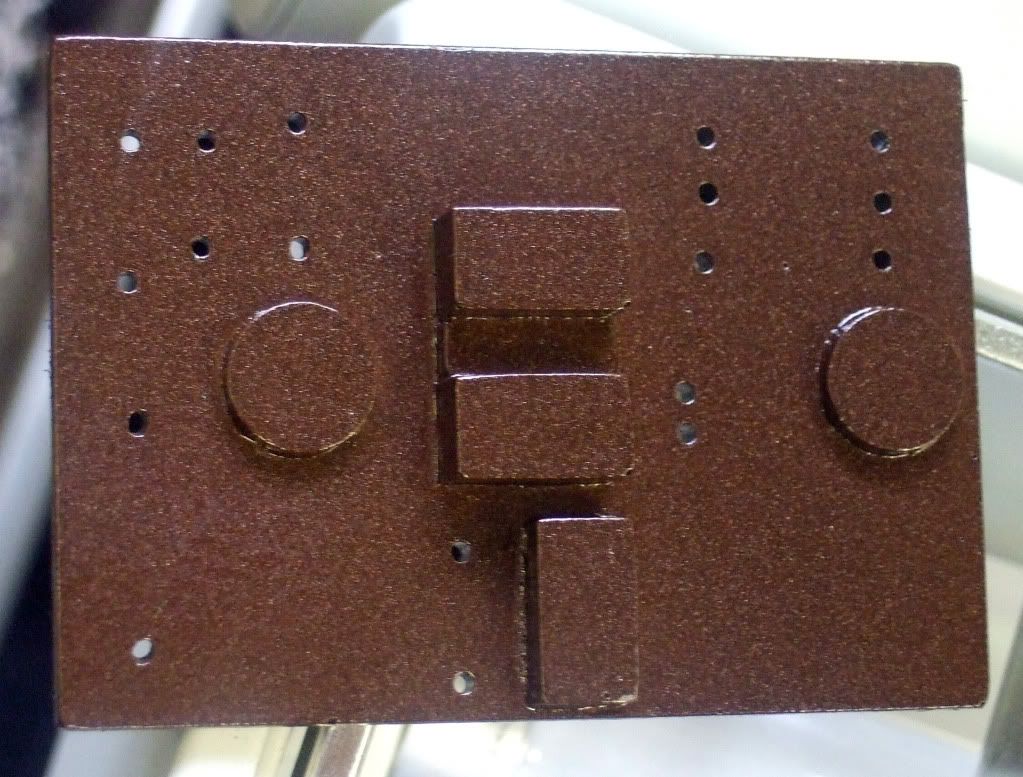
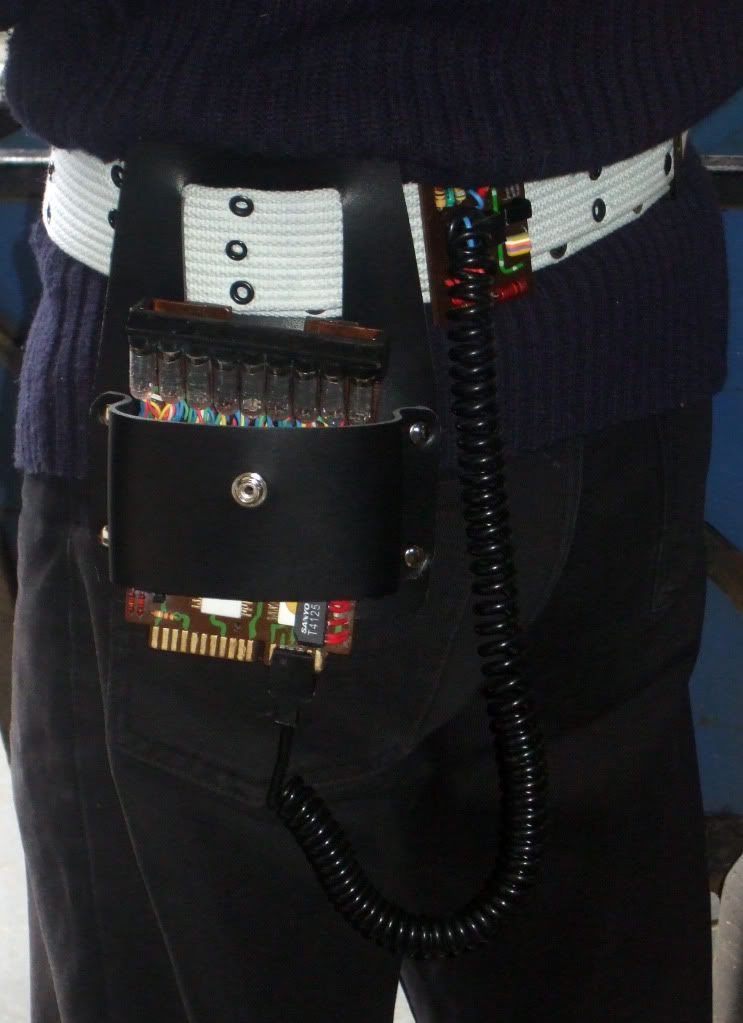
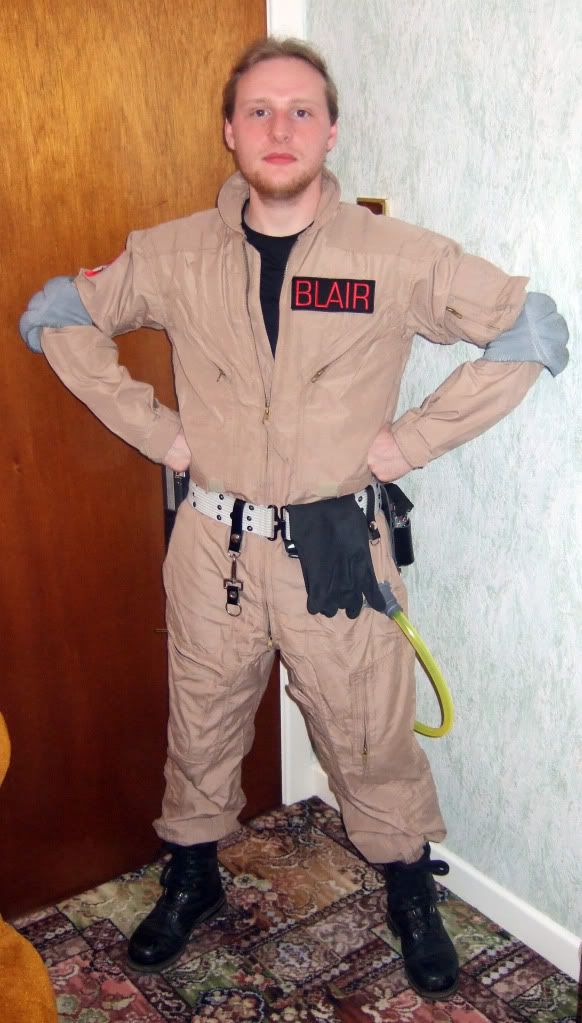
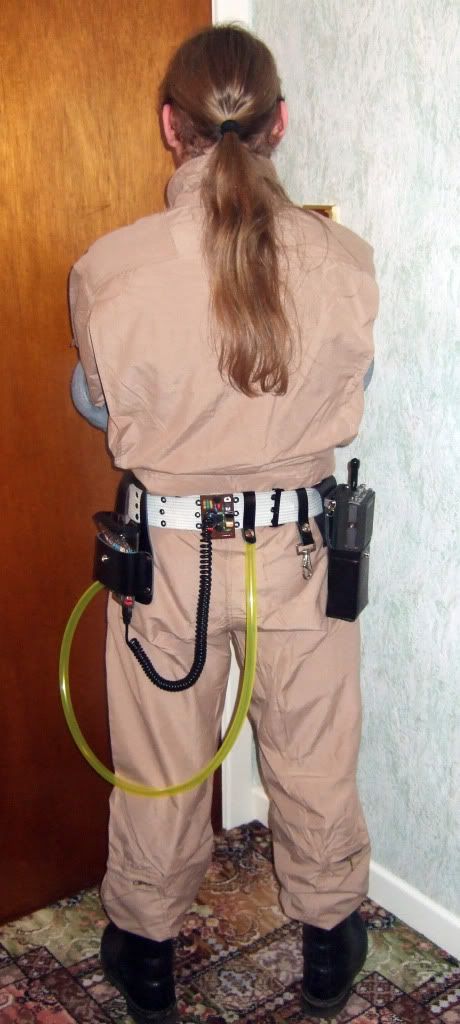
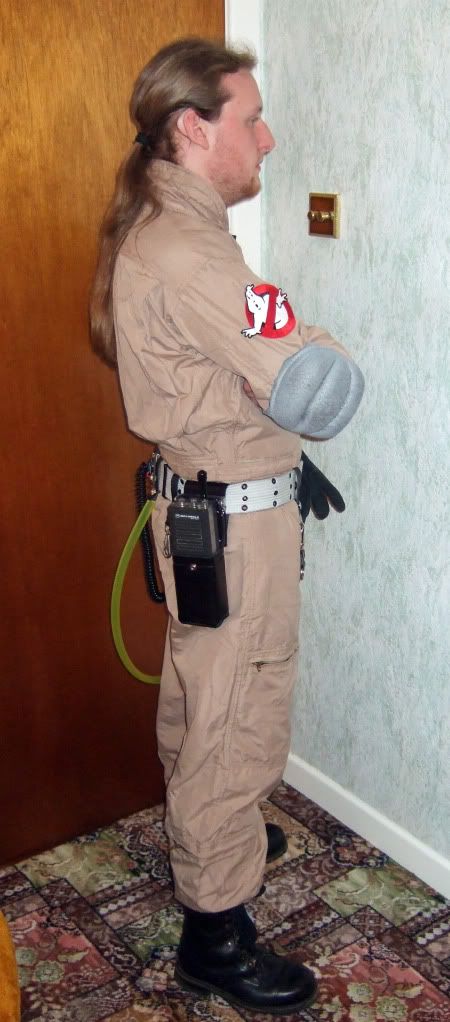
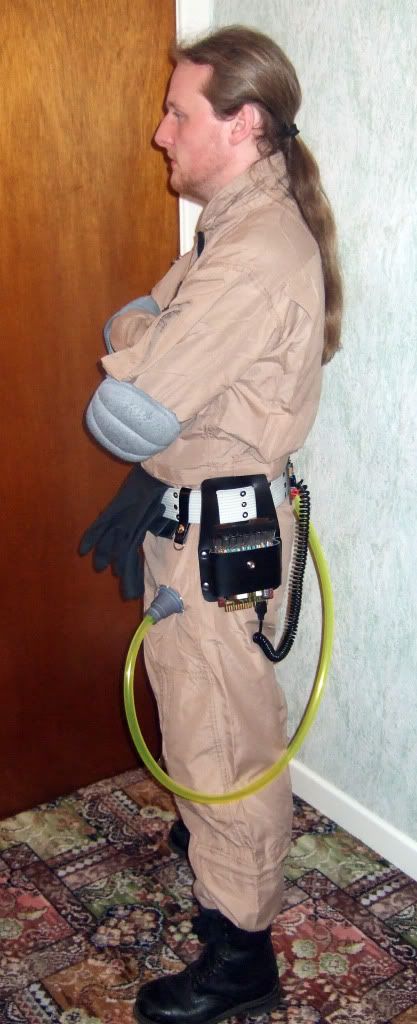
And here's a quick test fit of wut i have so far

So for the uniform alone (Without the Proton Pack....I will have a seperate build thread for that) the following
items are required:
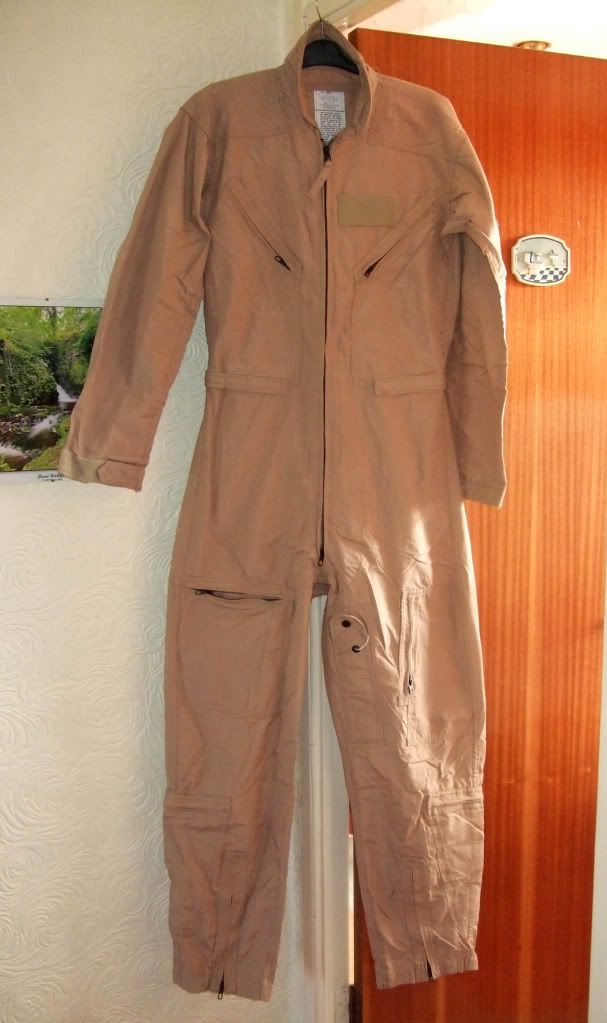
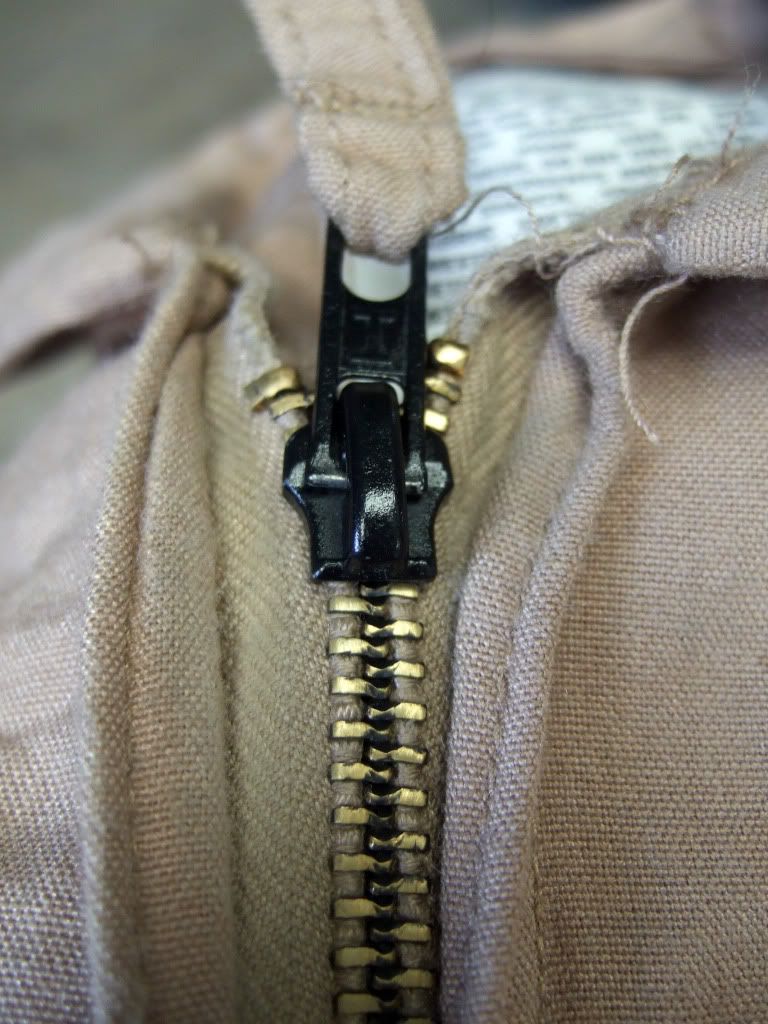
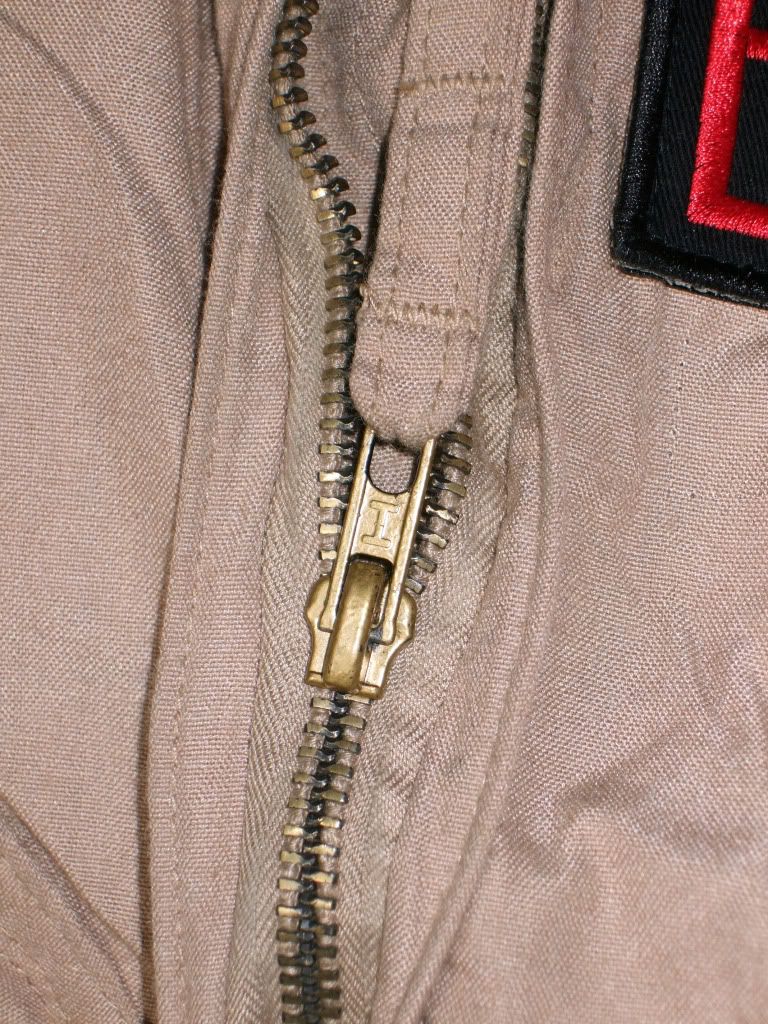
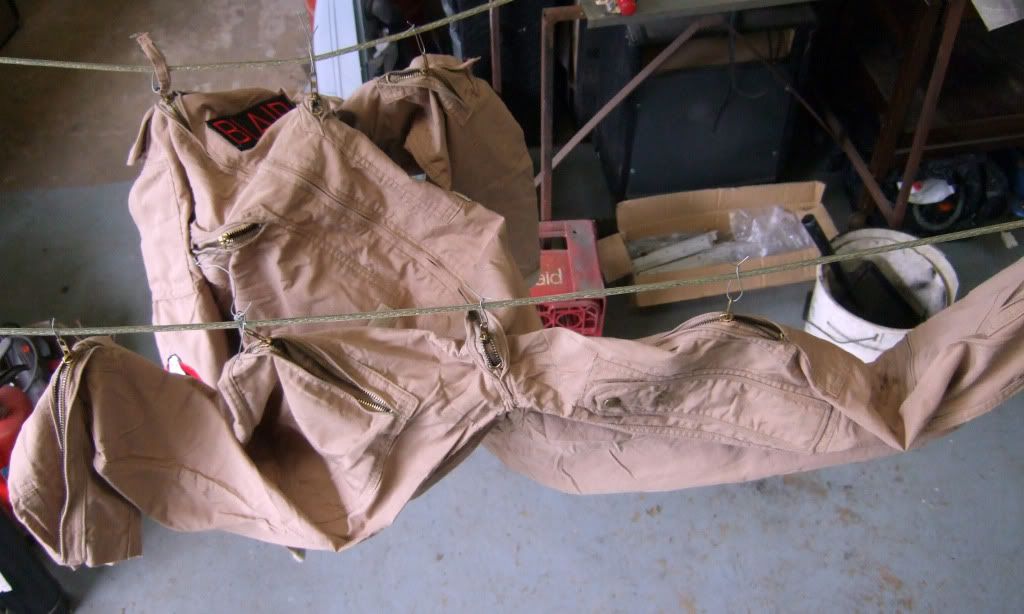
- Nomex CWU 27/P Flight Suit - "Desert Tan" (Or a close alternative)
- Black T-shirt
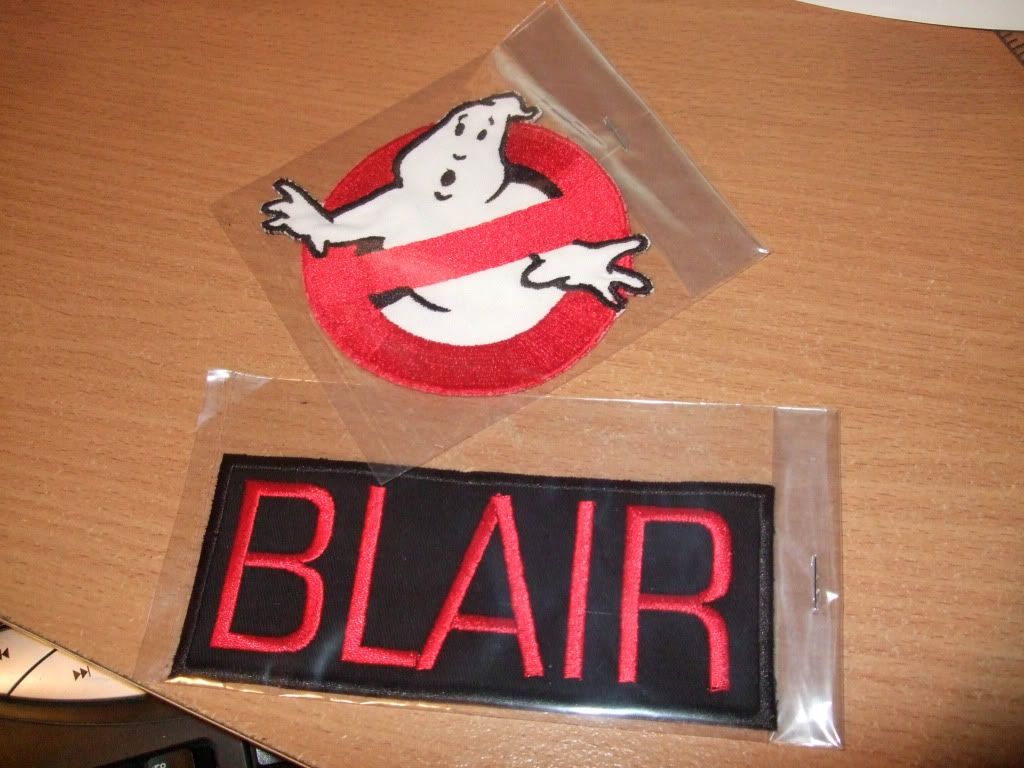
- No Ghost & Name patches
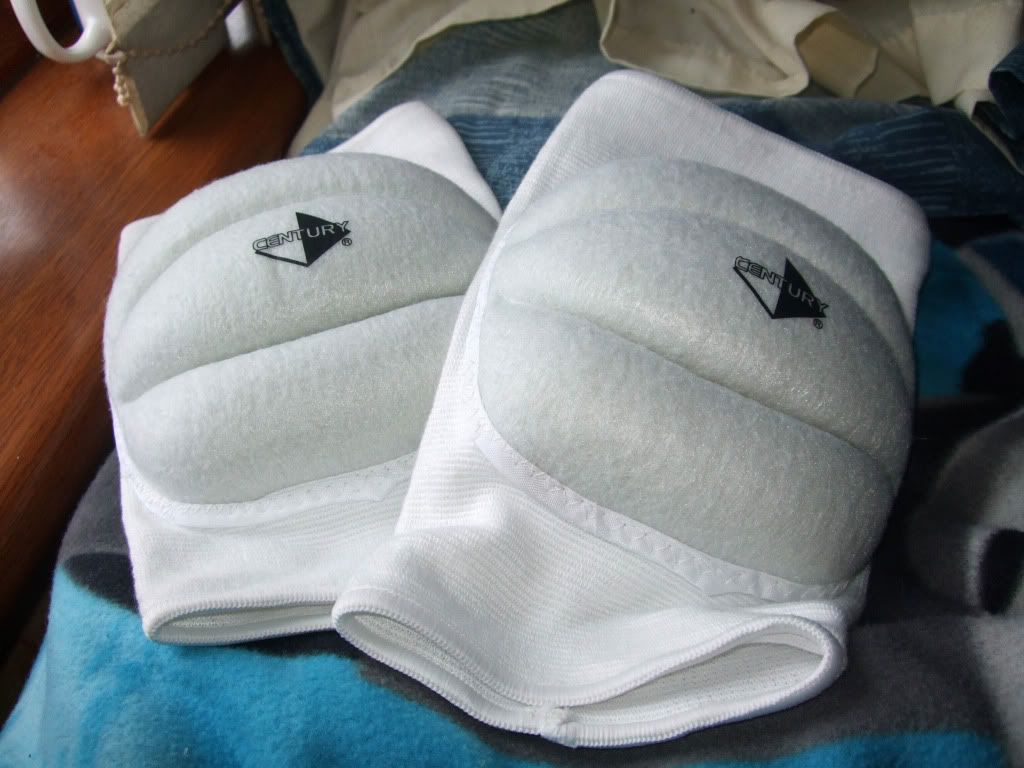
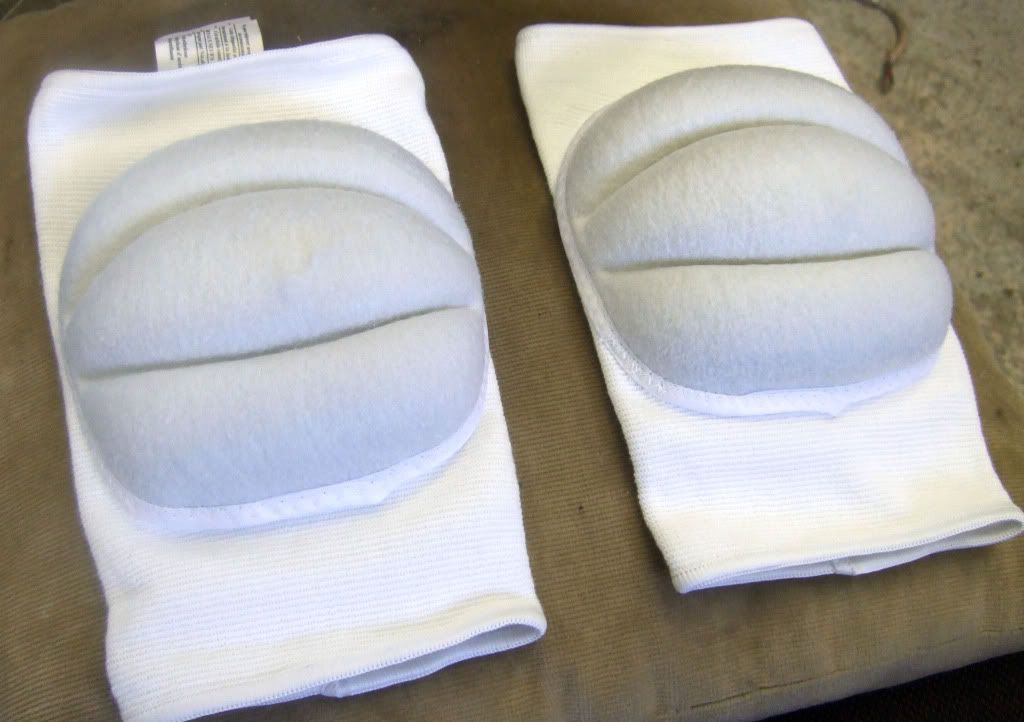
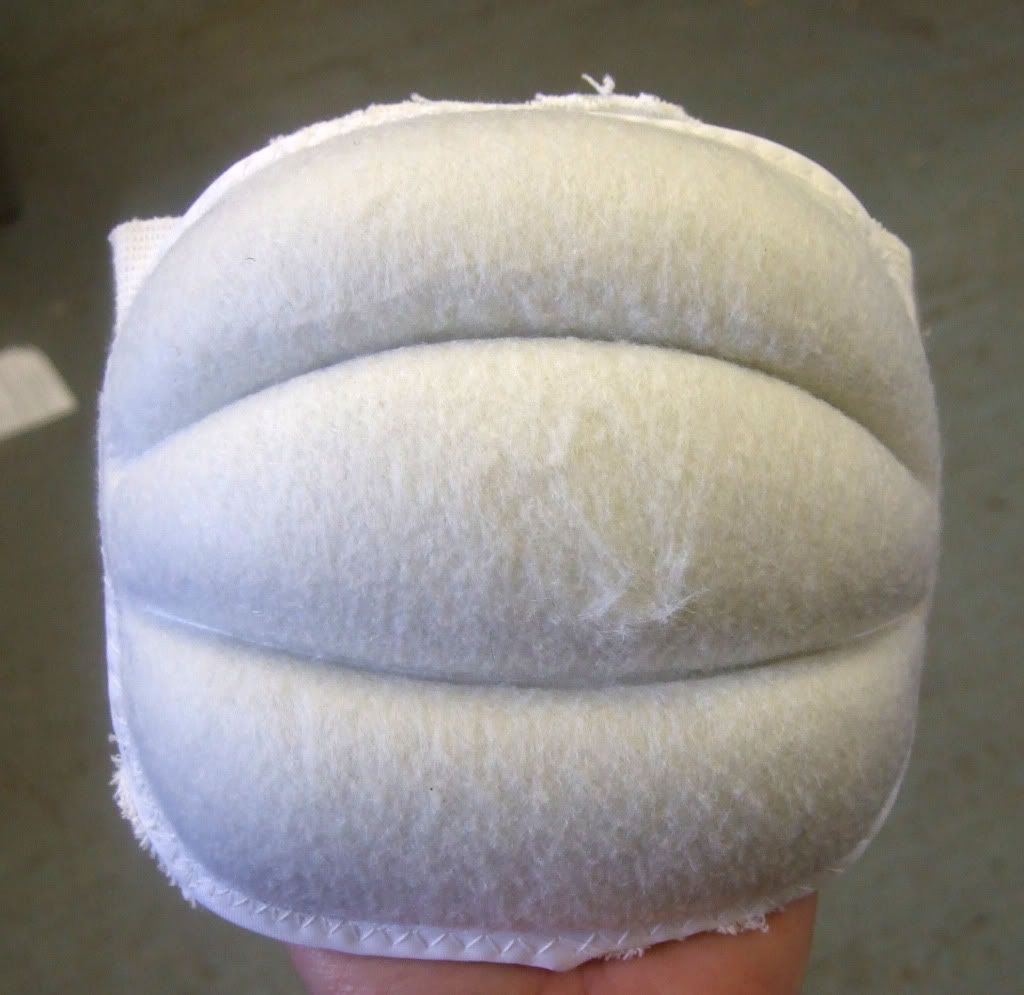
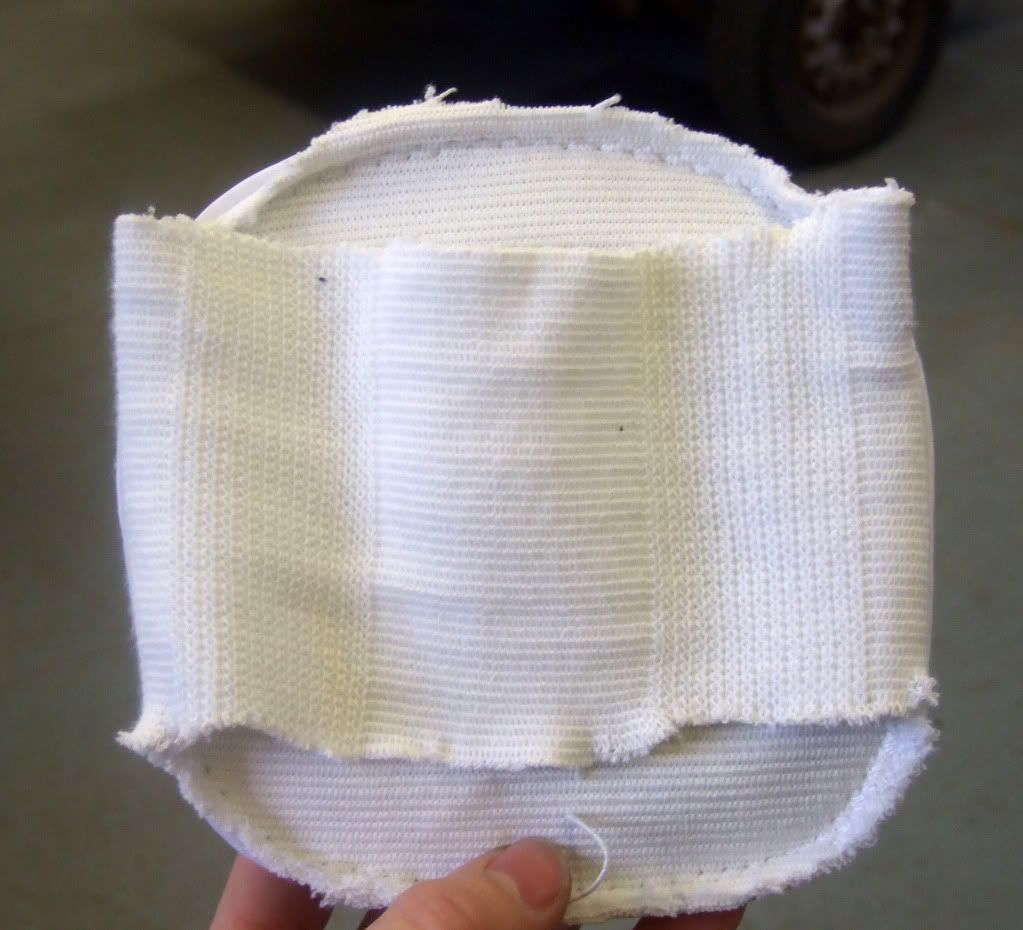
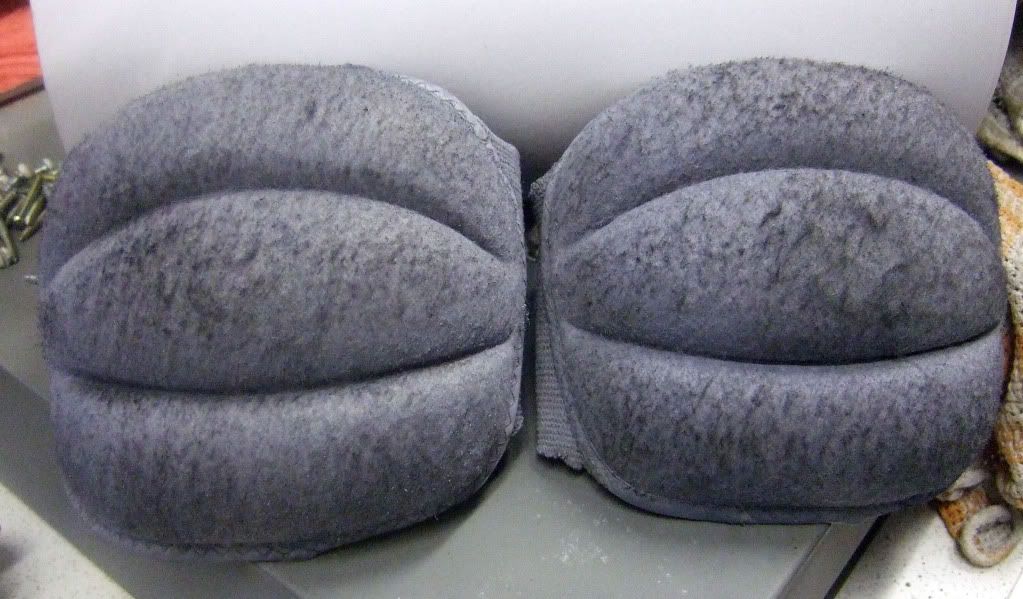
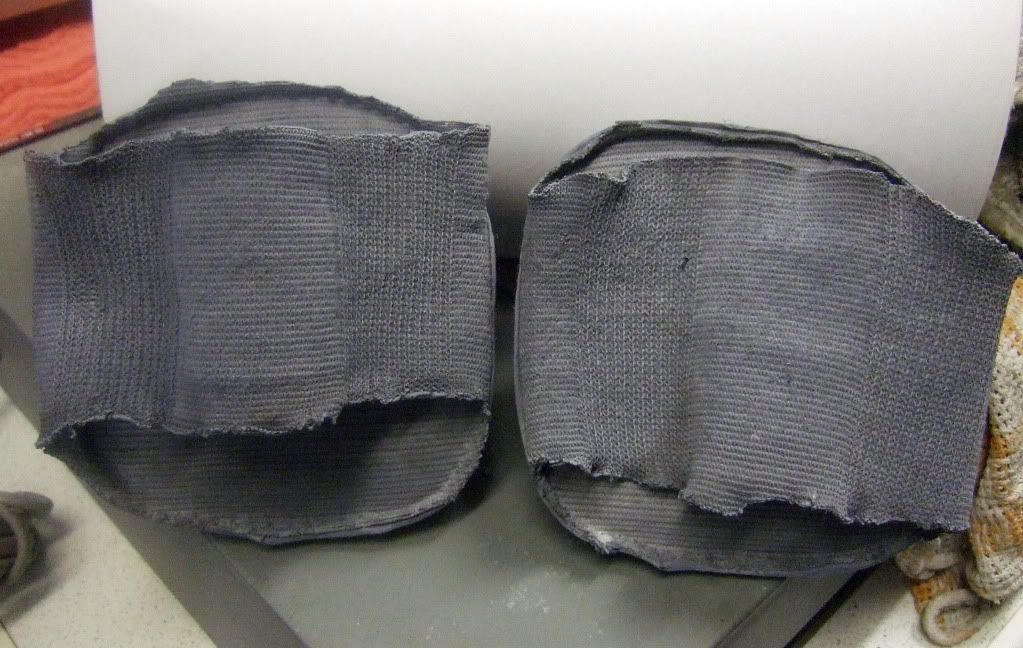
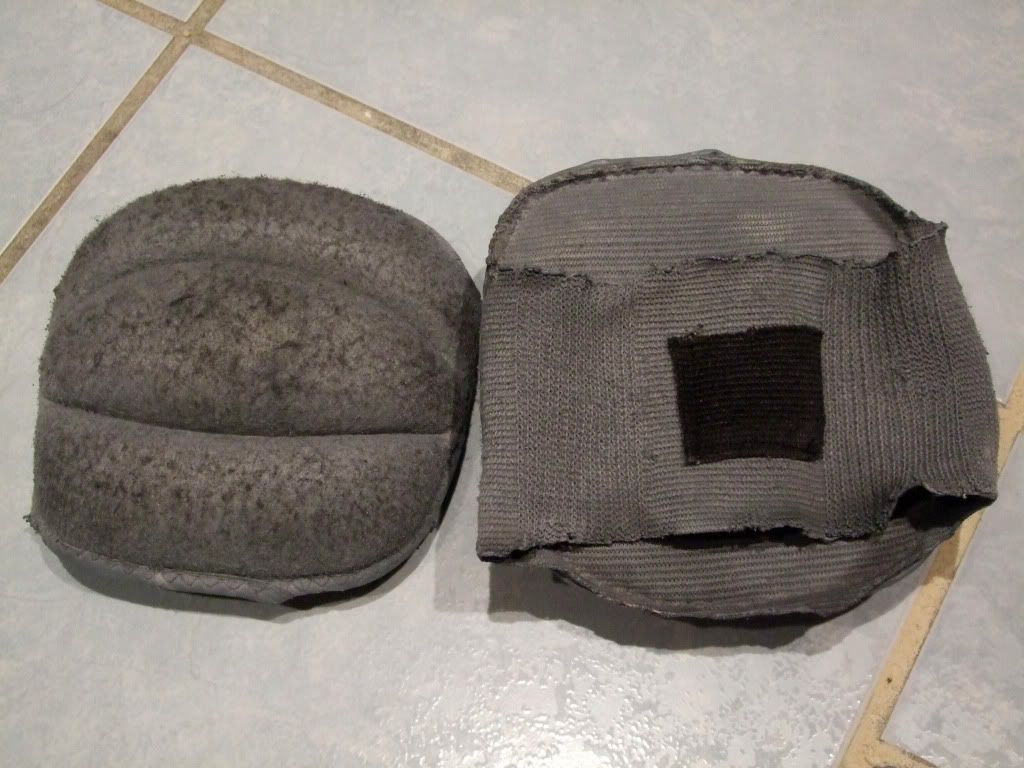
- Elbow Pads
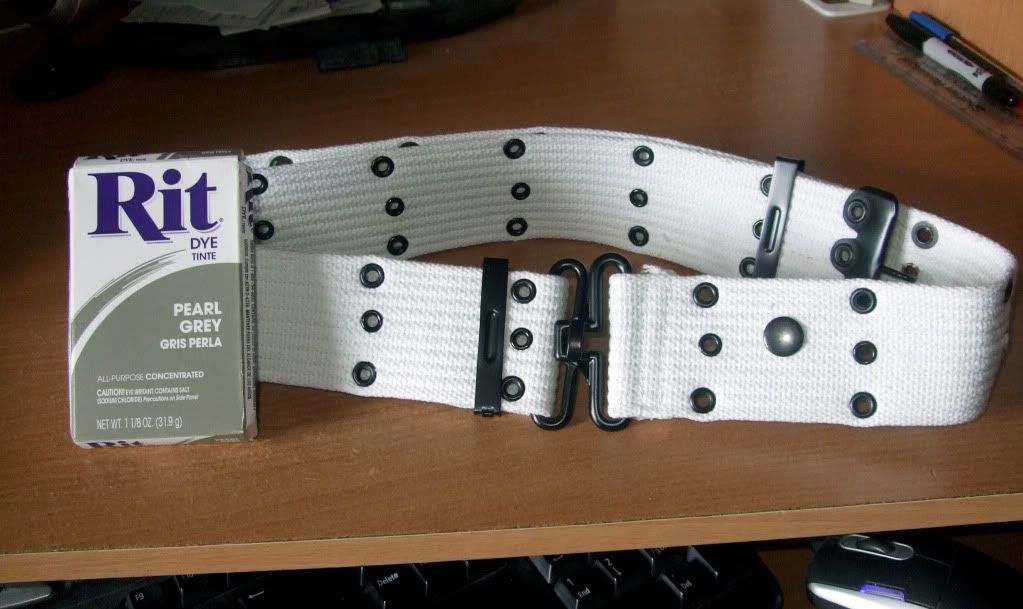
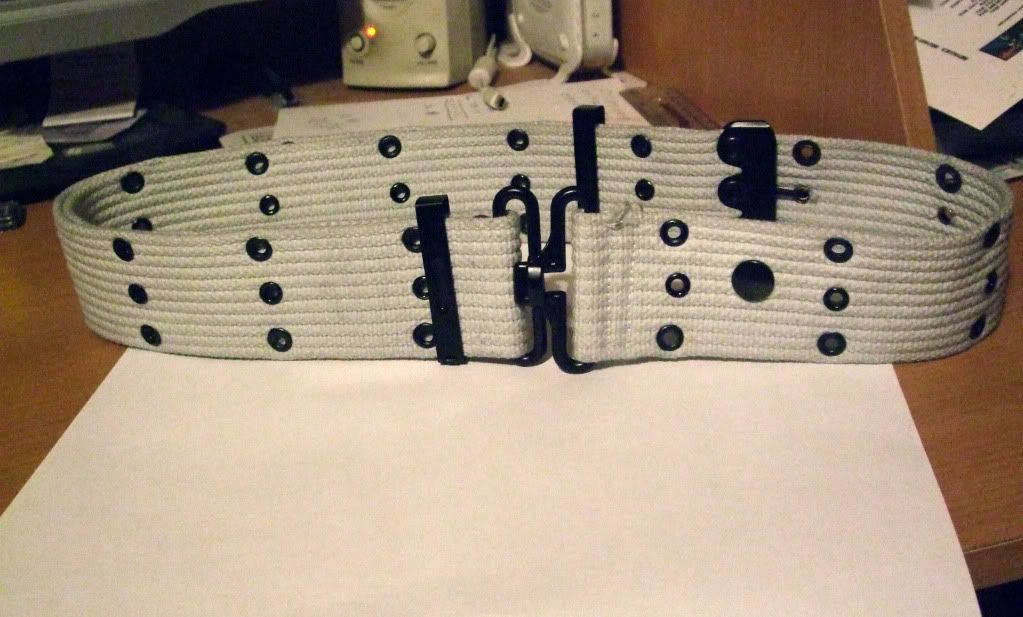
- Very light gray colour dyed Pistol Belt
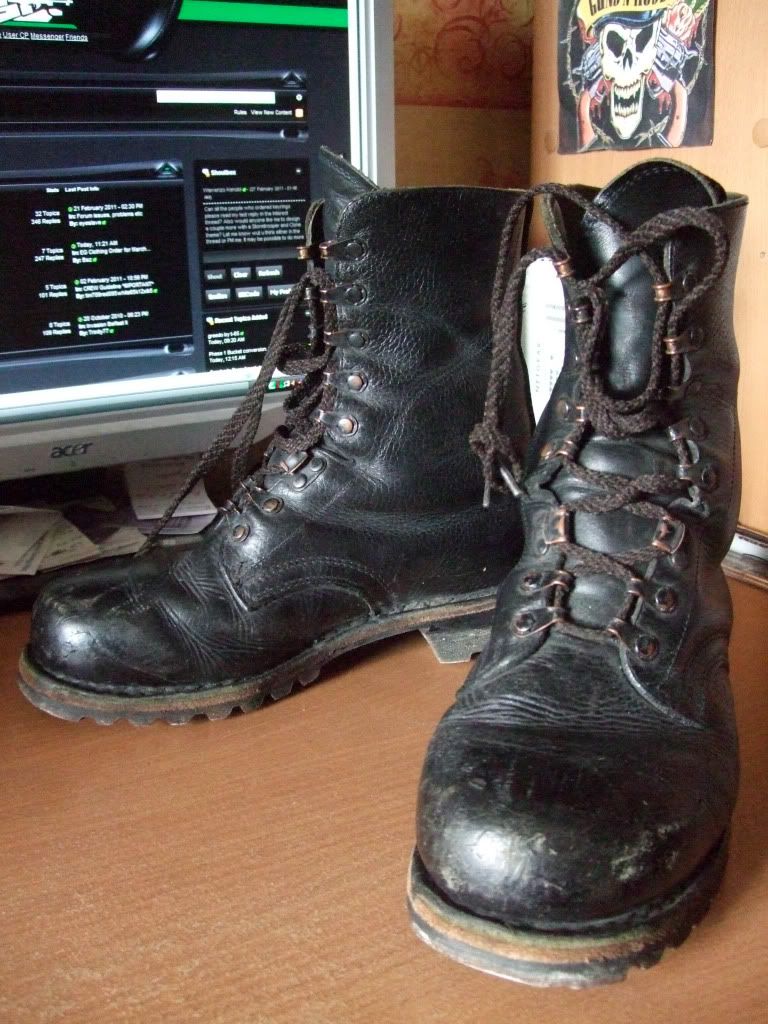
- Black Leather Paratrooper Boots (Preferably German Paratrooper Boots)
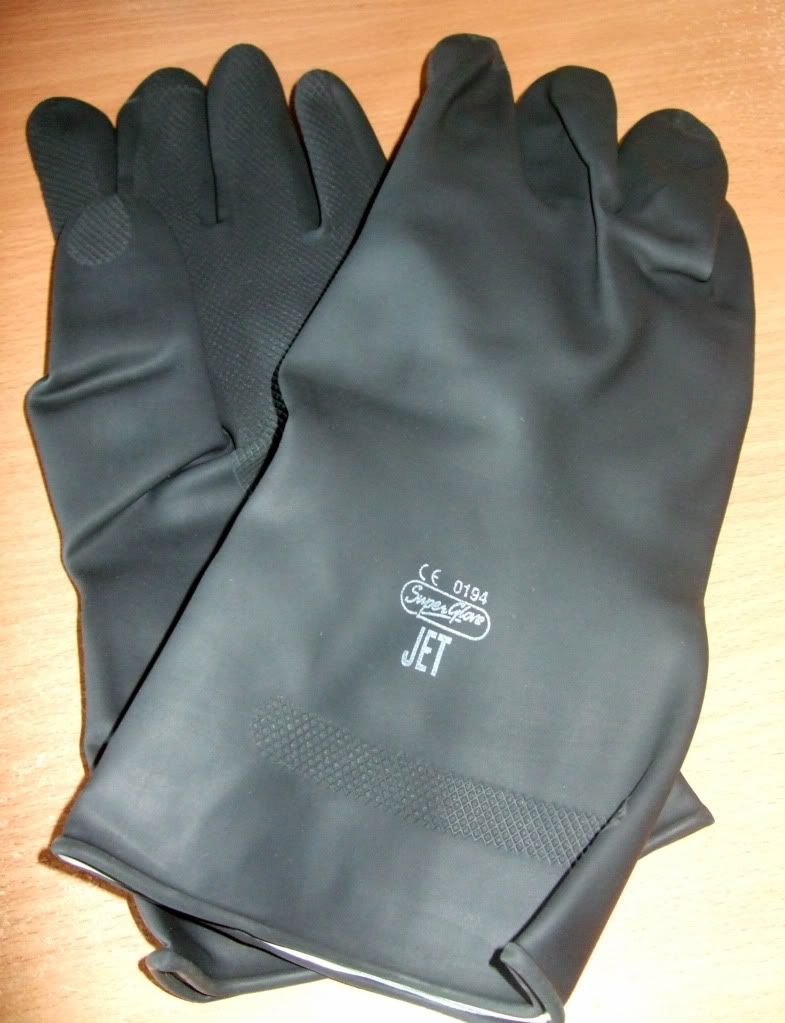
- Black Chemical Gloves
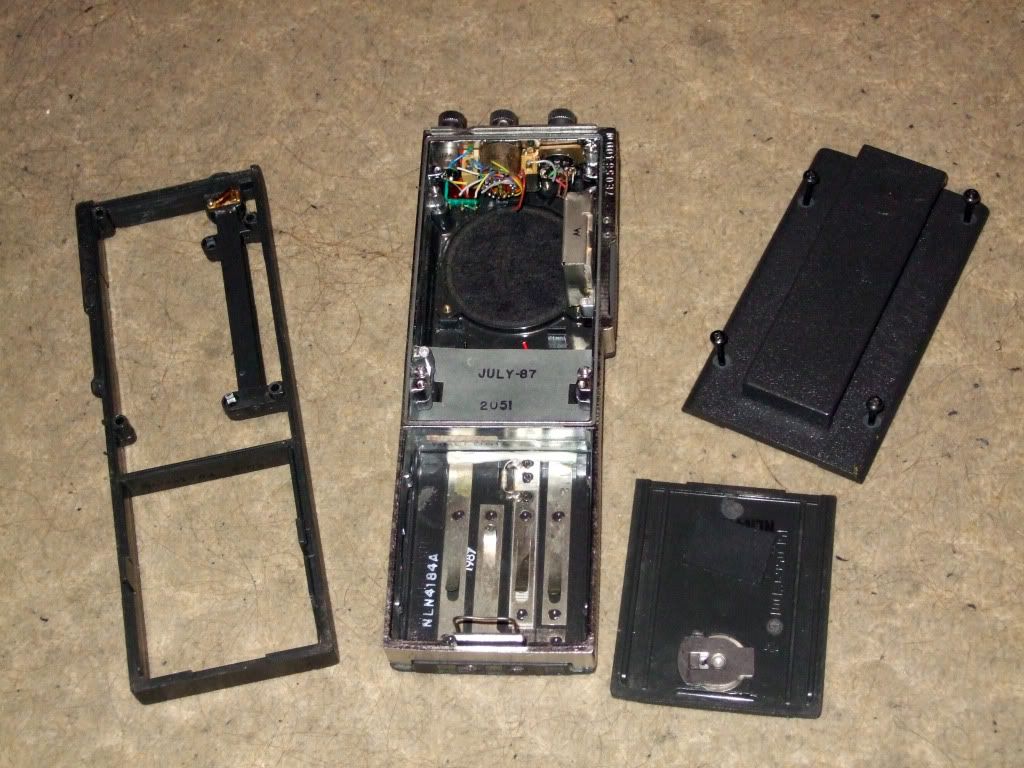
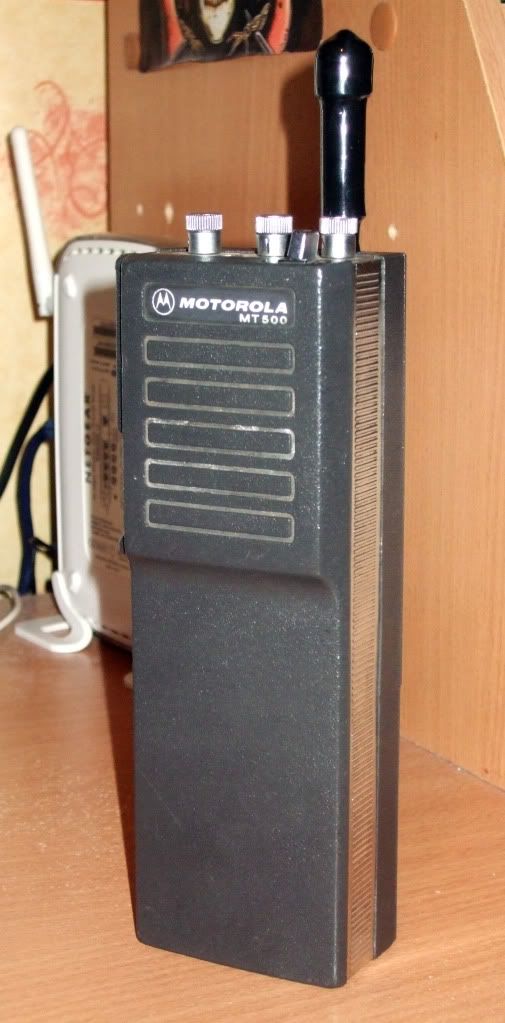
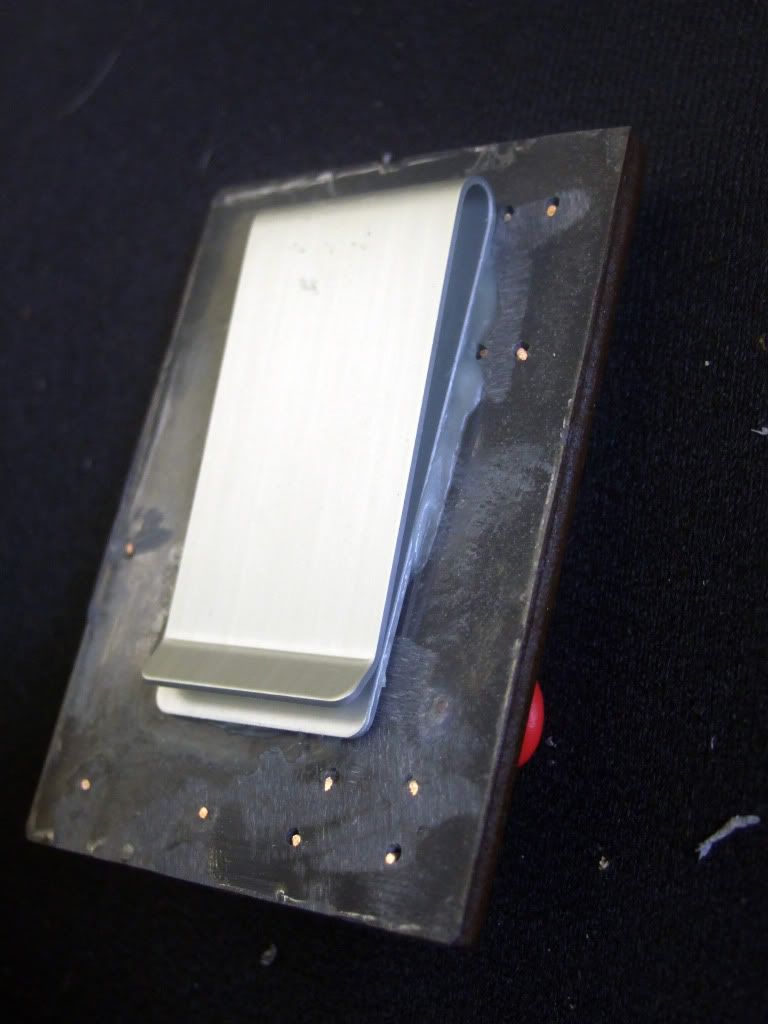
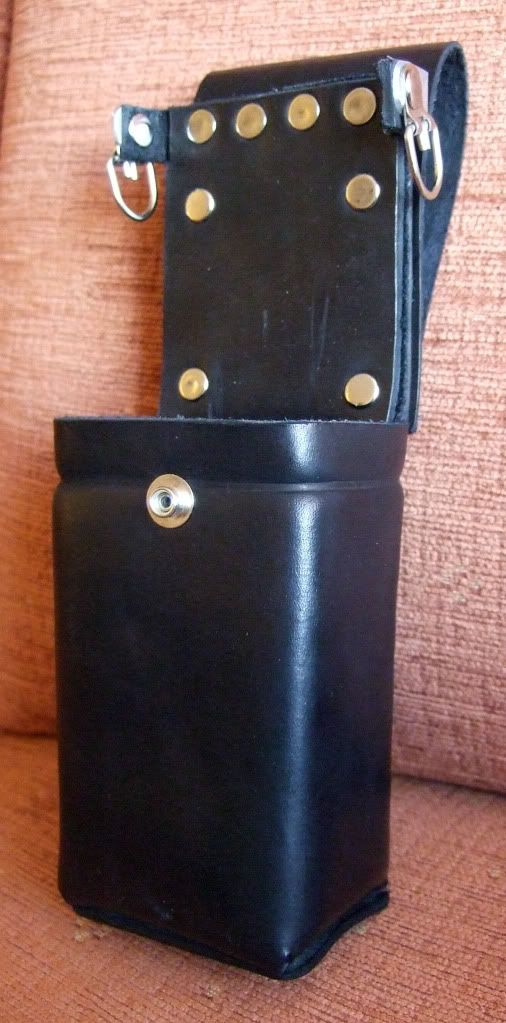
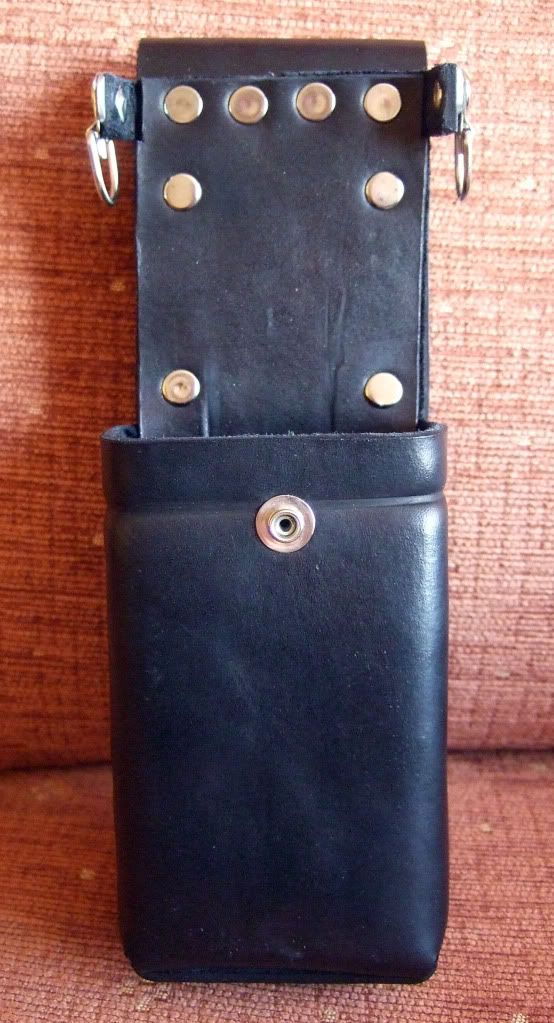
- Motorola MT500 Walkie Talkie & Holster
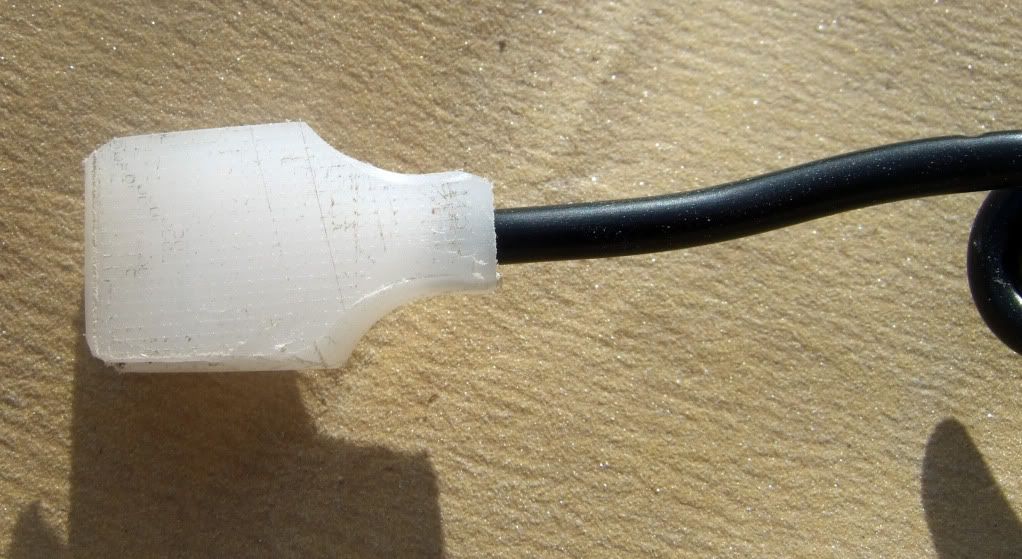
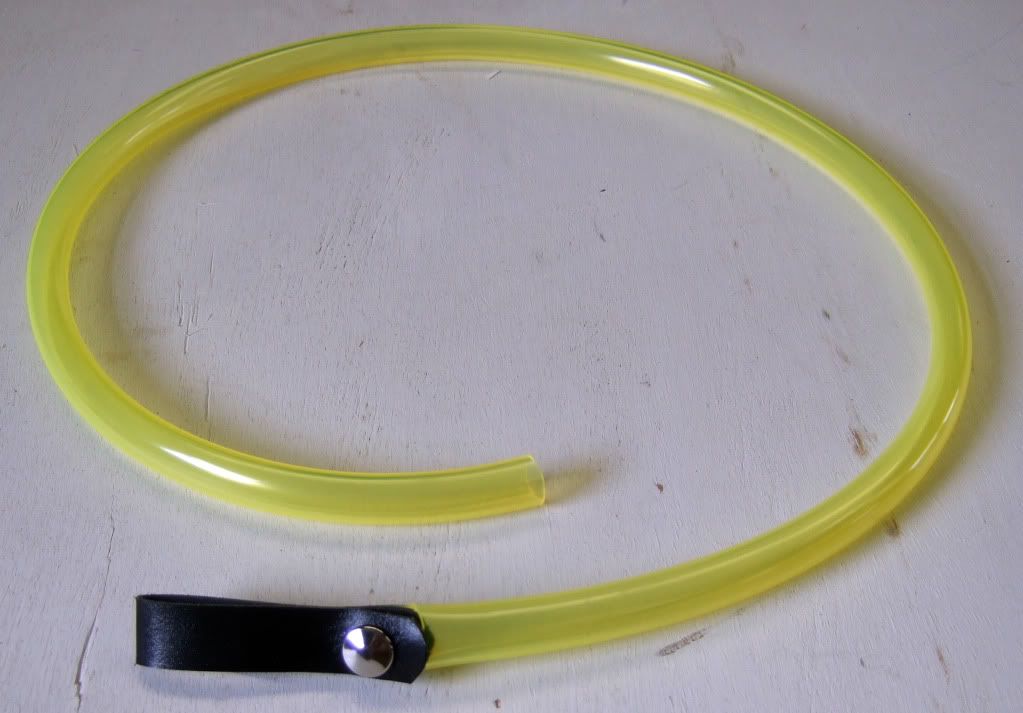
- Leg Hose
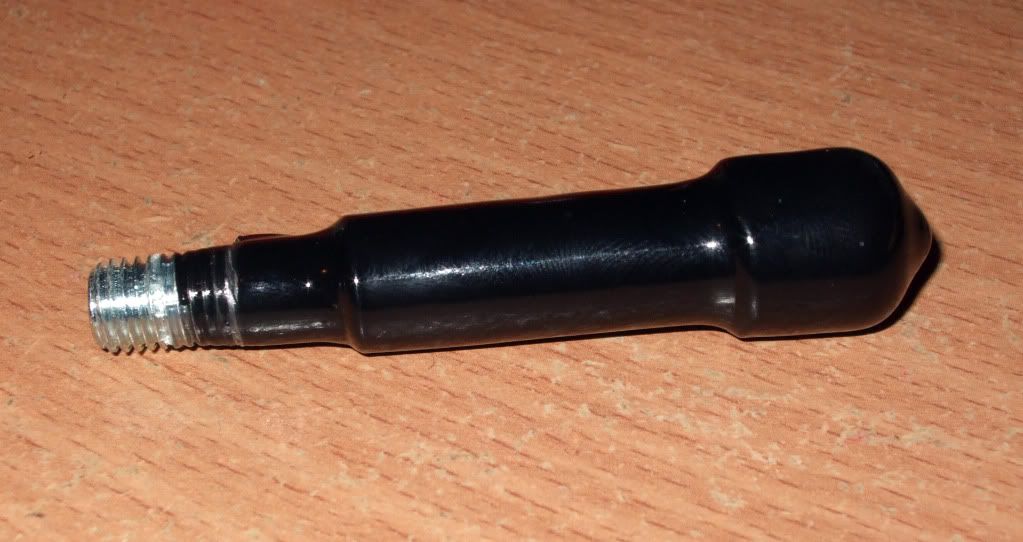
- Leg Hose Connector
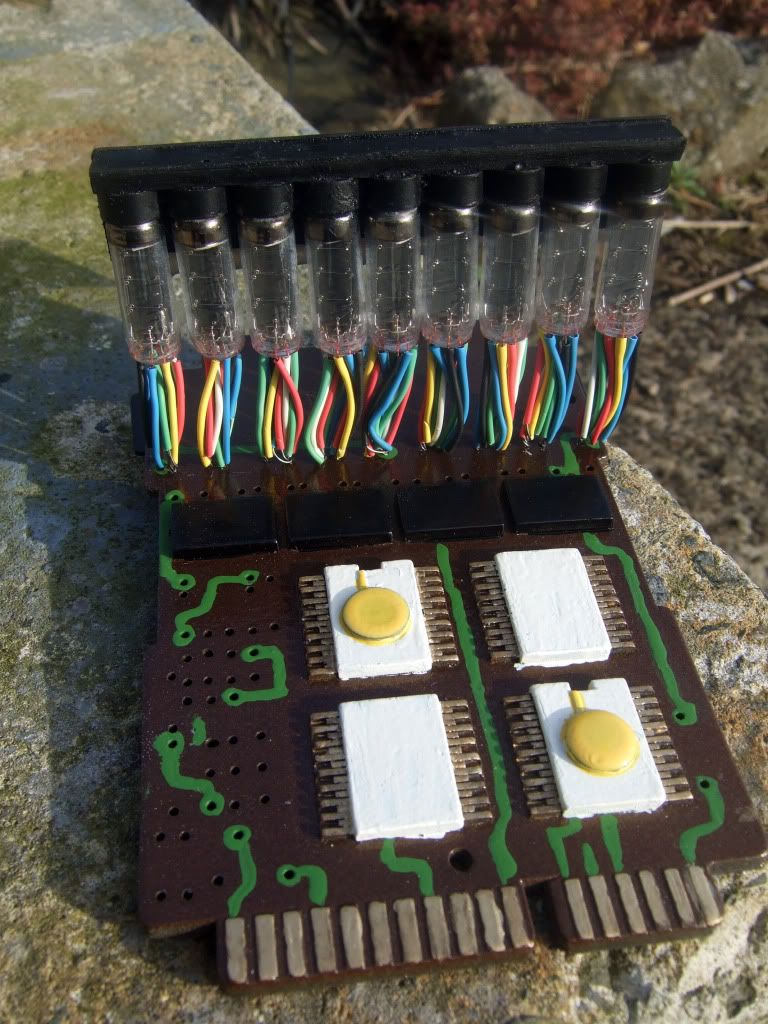
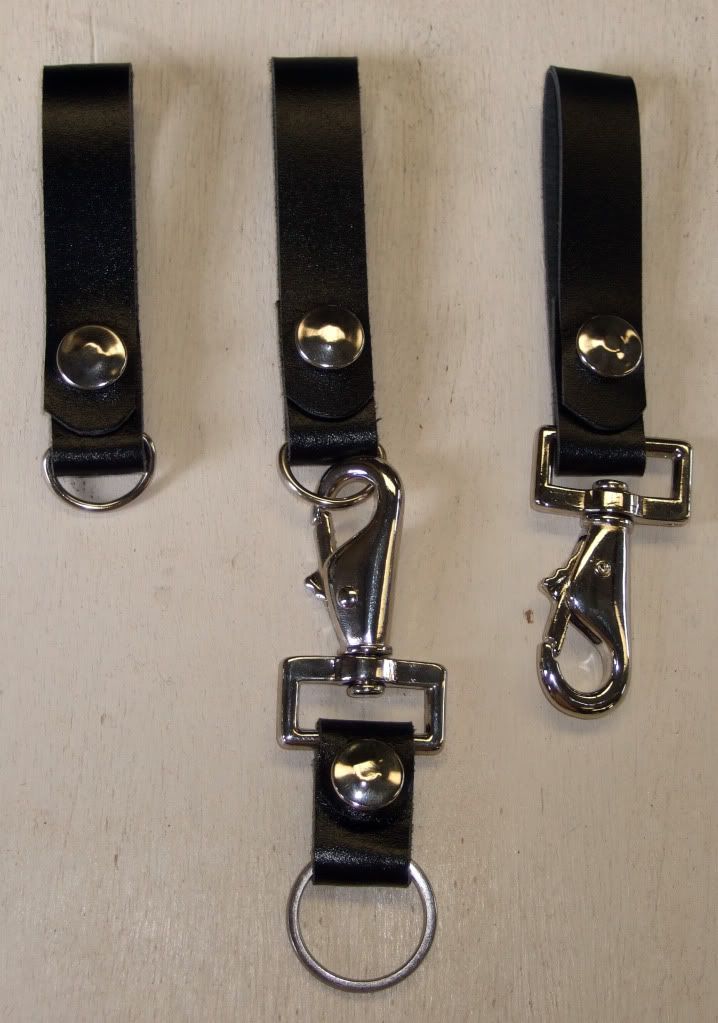
- Key Fobs
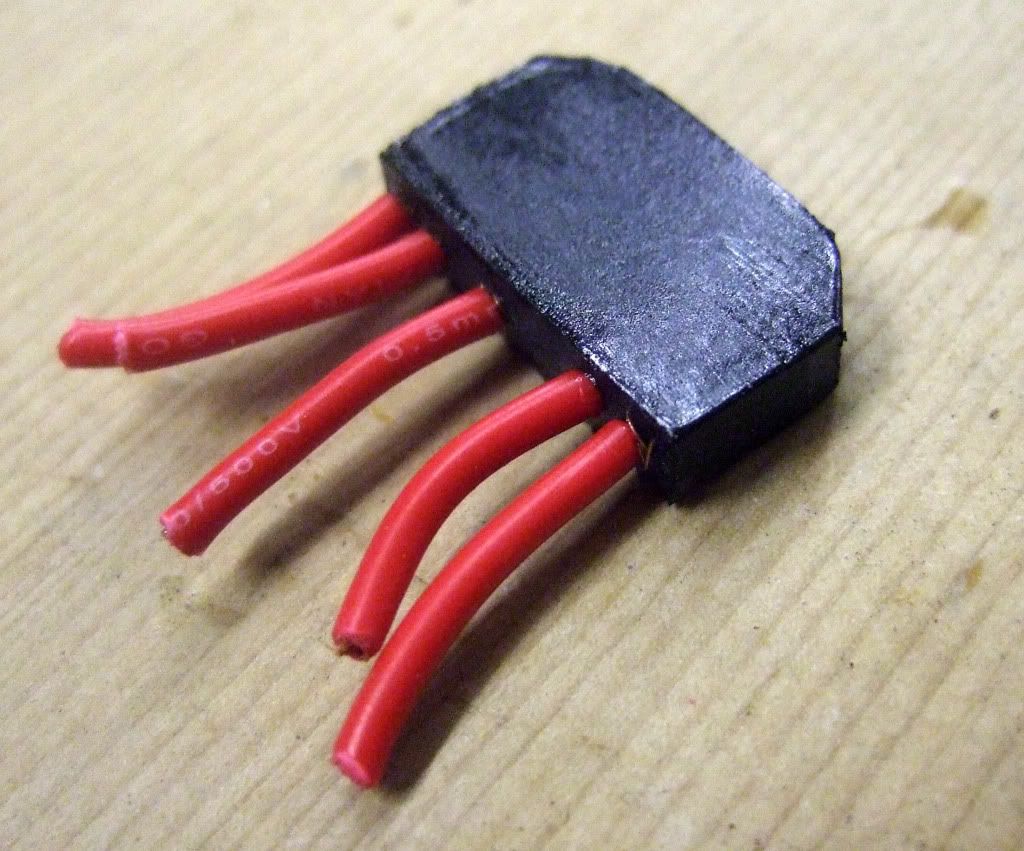
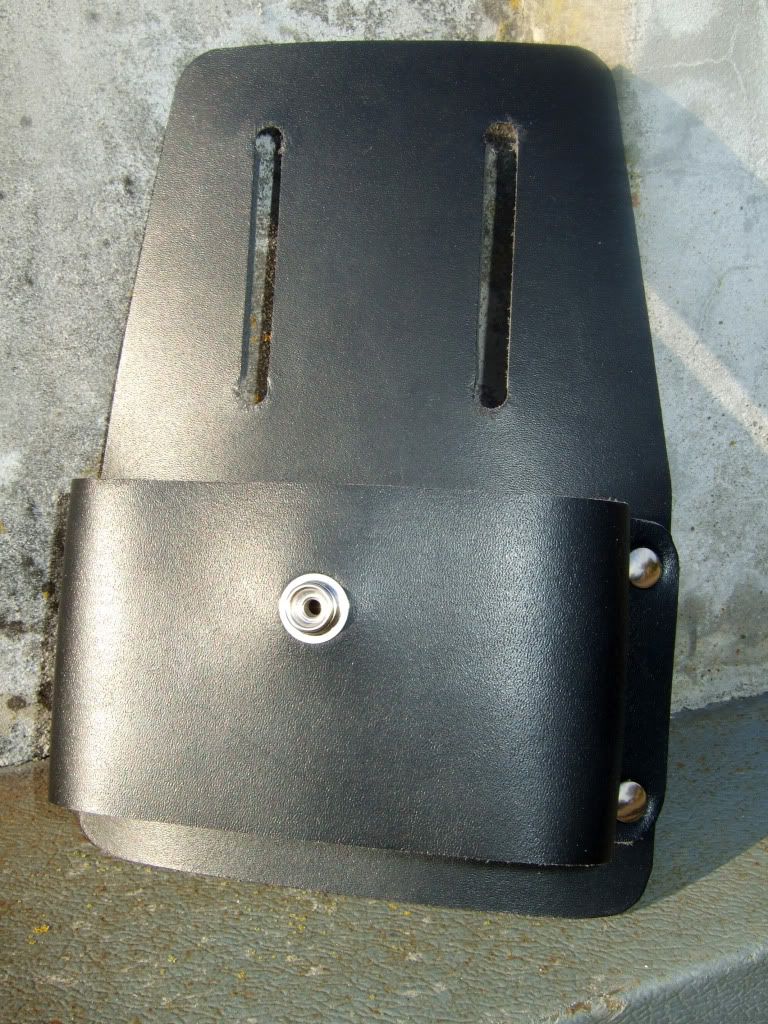
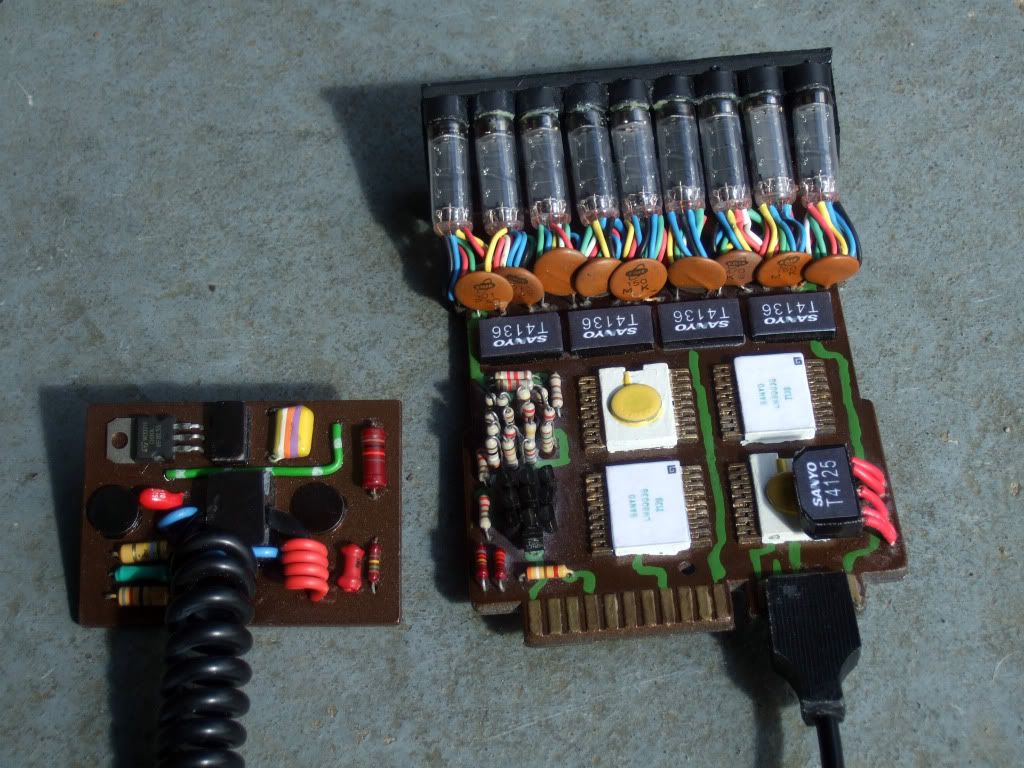
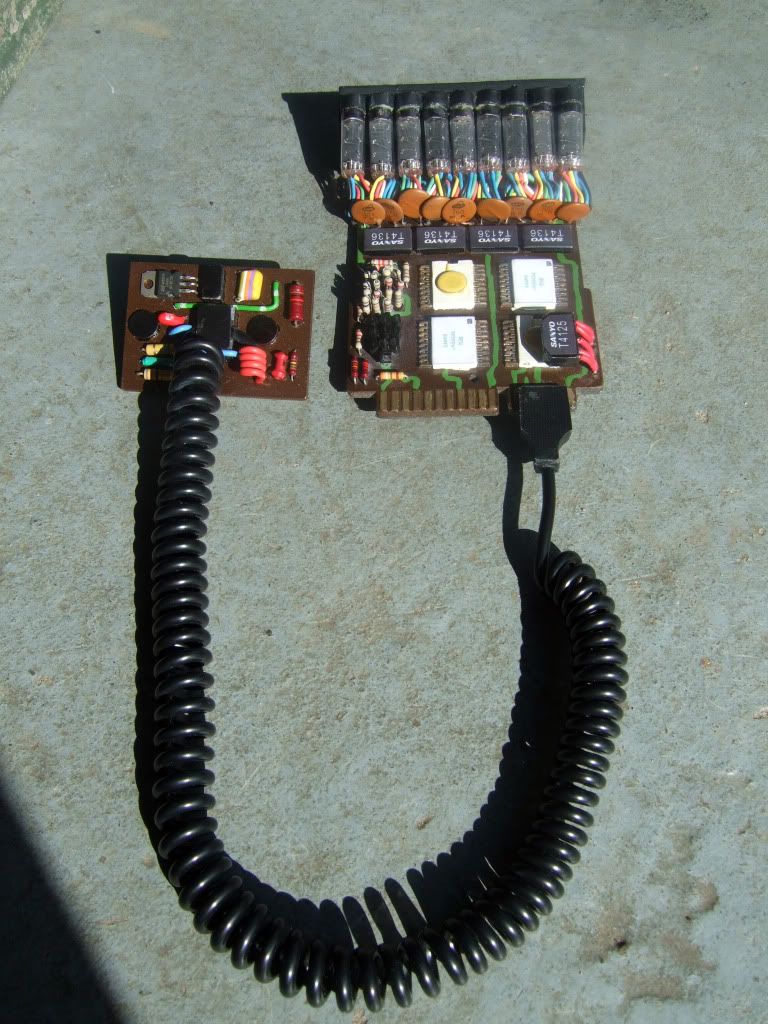
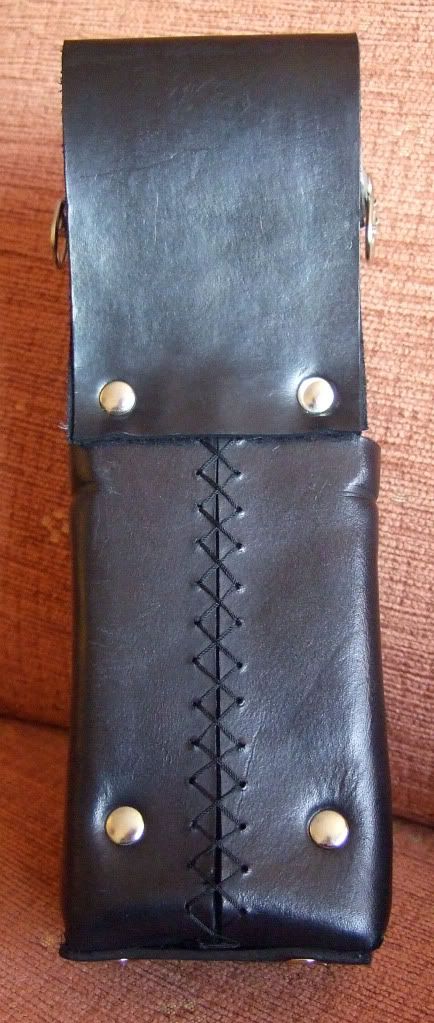
- Belt Gizmo & Holster
- A PKE Meter, Ghost Trap and Ecto Goggles can also be added, but i am going for a minimum amount of add on's at the moment.
So here's a few pics of the parts i have so far:
And here's a quick test fit of wut i have so far


") comfy, too.
comfy, too.