C6 Clonetrooper tutorial and build from head to toe!

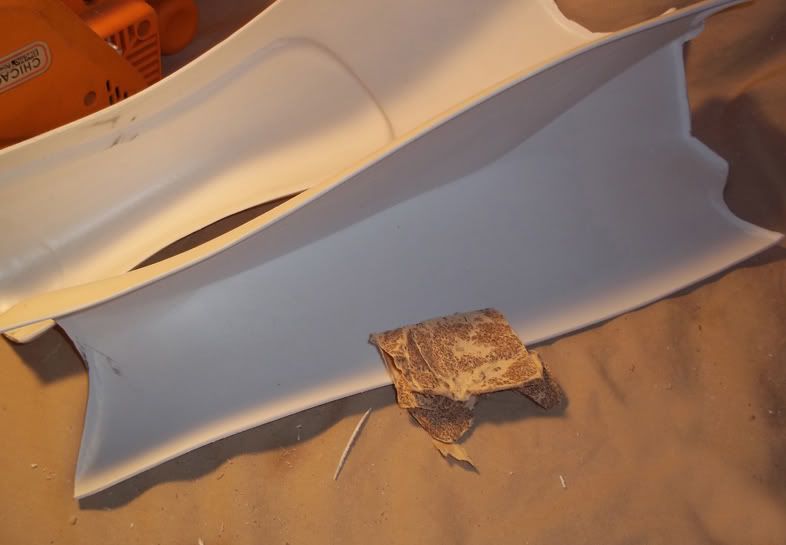
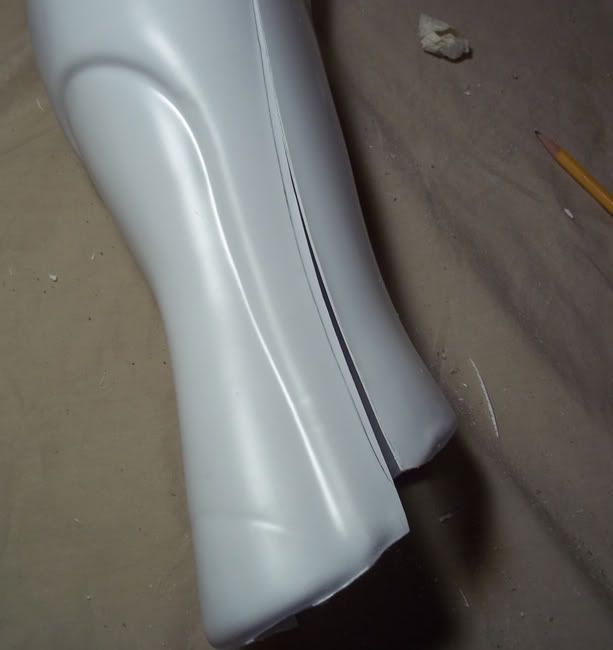
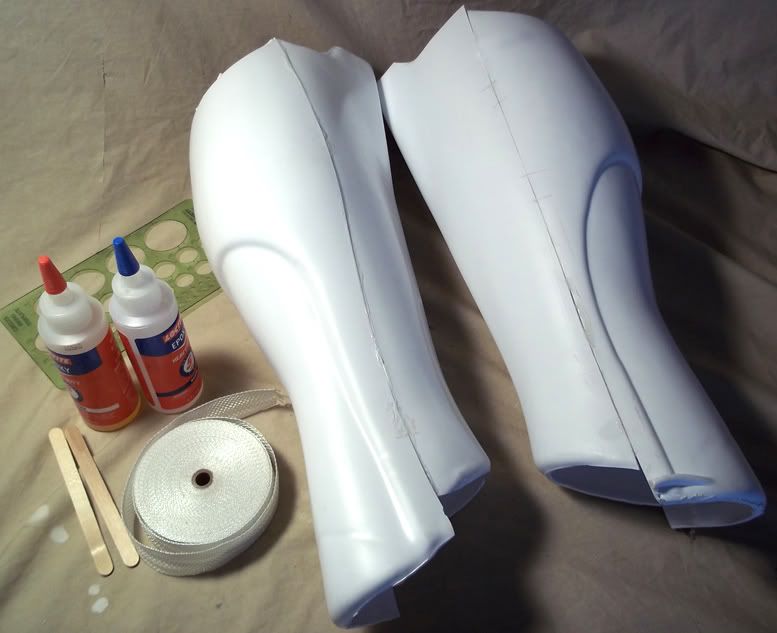
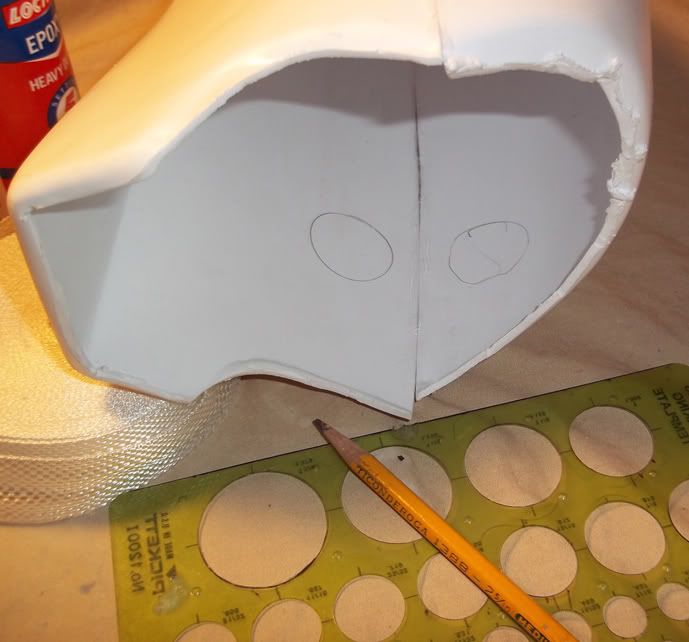
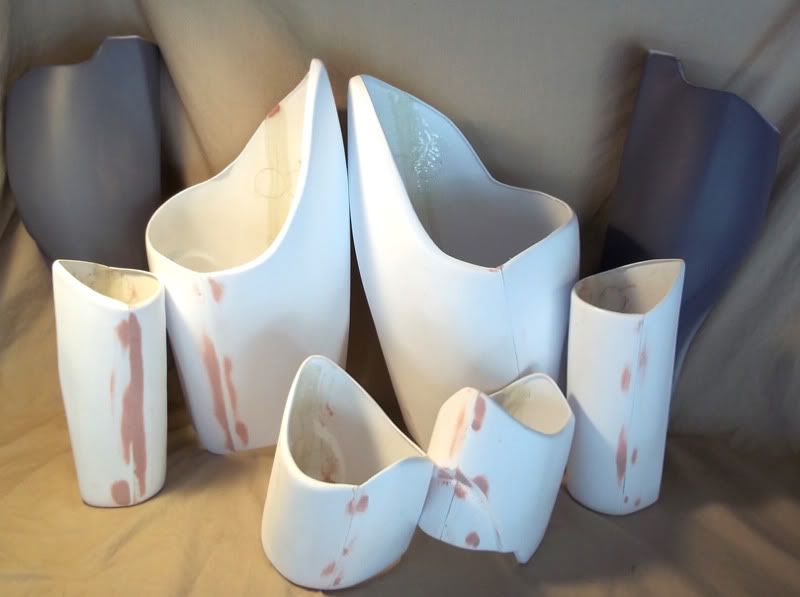
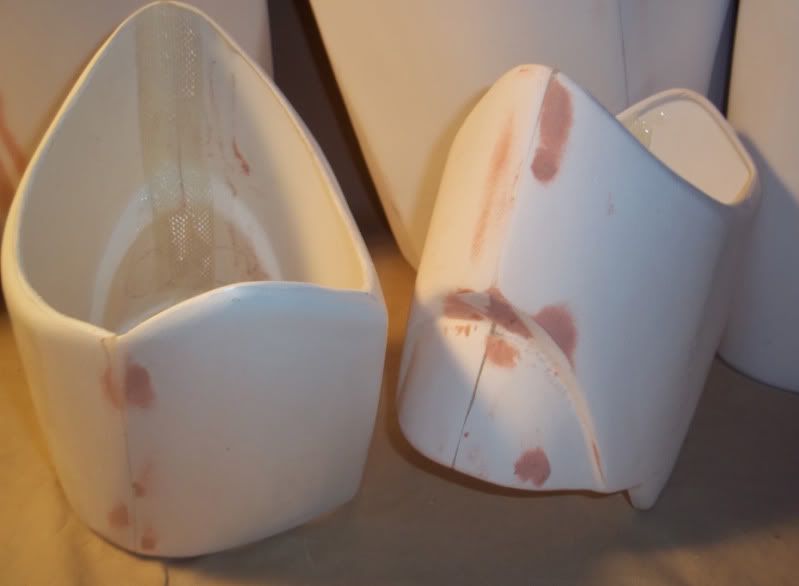
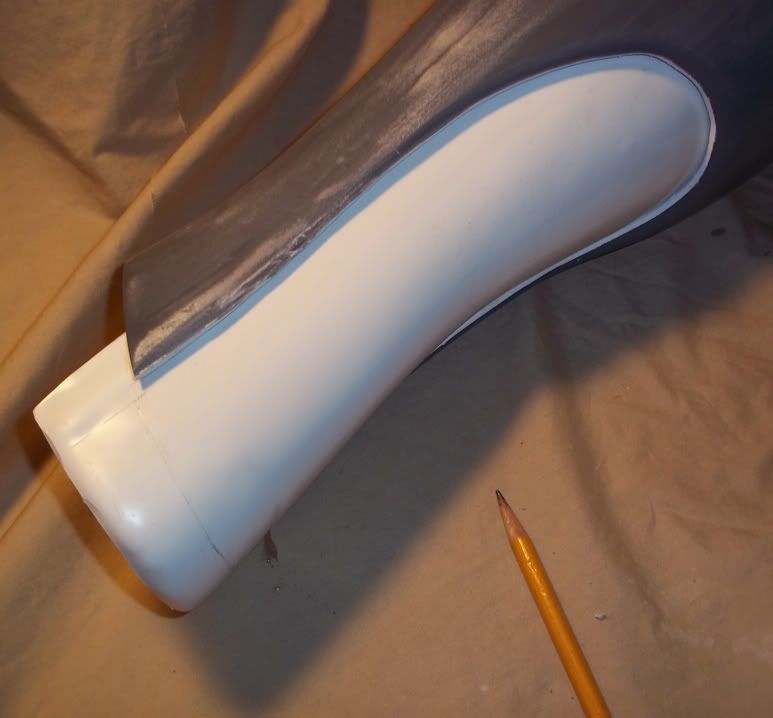
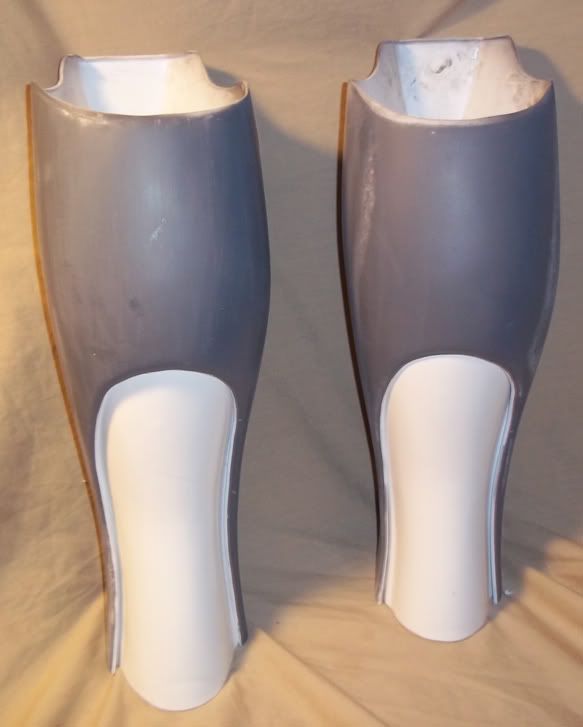
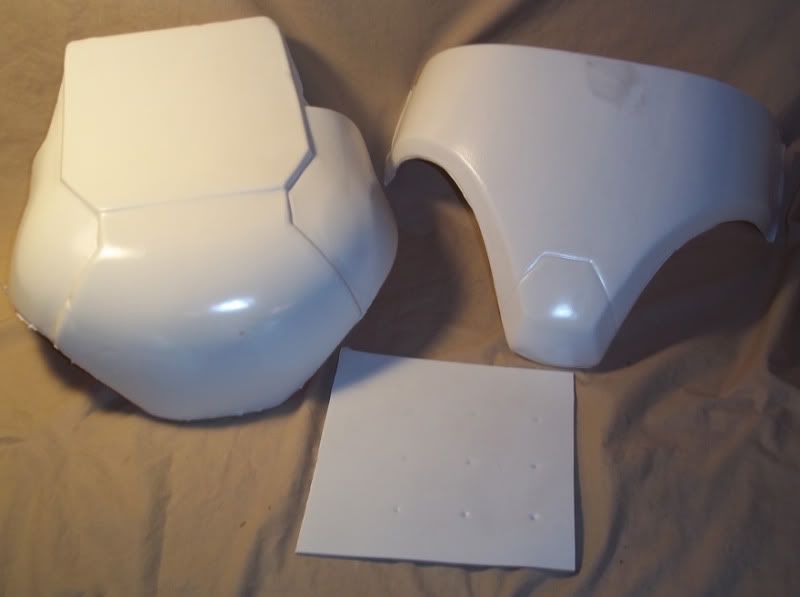
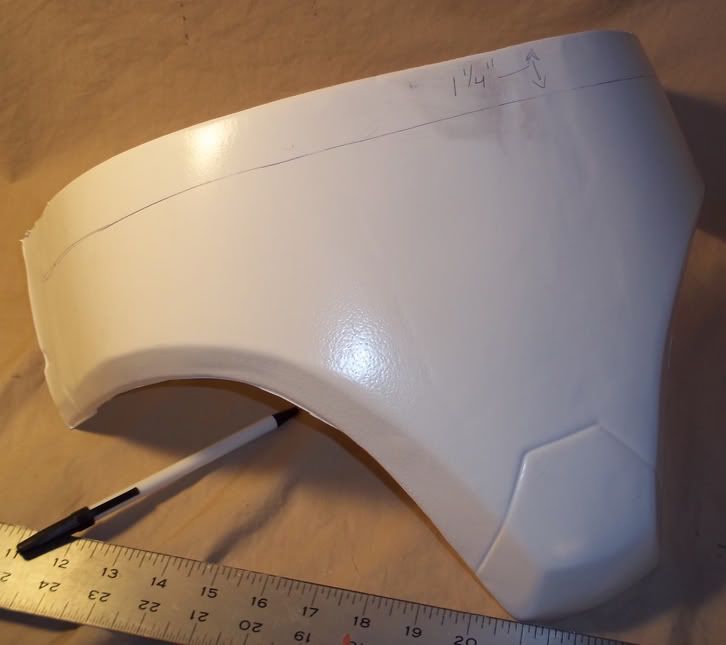
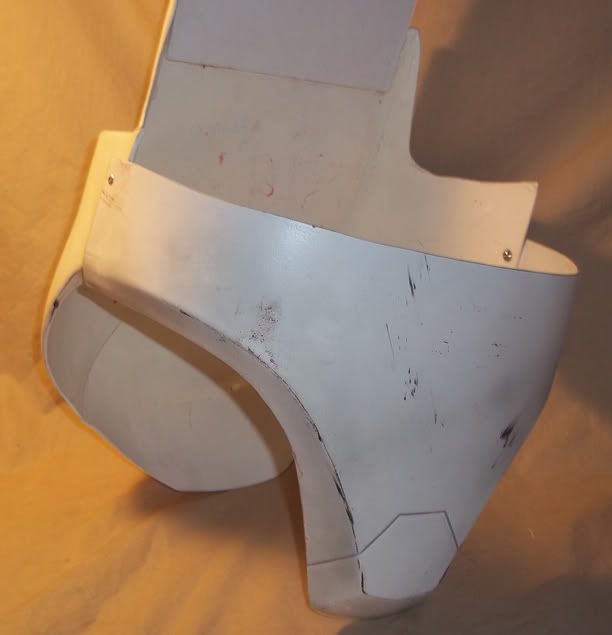
Hello Clonetrooper friends. I have completed my Clone Pilot tutorial and am moving onto
a Clonetrooper suit tutorial. I have been building these suits since 2005 and plan to share
some of my tips and tricks with you here. I have build around 10 suits for myself, friends and
local 501st members. Hopefully this tutorial can help you with your build. Maybe I can also
learn some new tricks and ideas from fellow board members.
Once the tutorial if finished the suit will be for sale. Please contact me if you are interested.
Please feel free to add to the discussion.

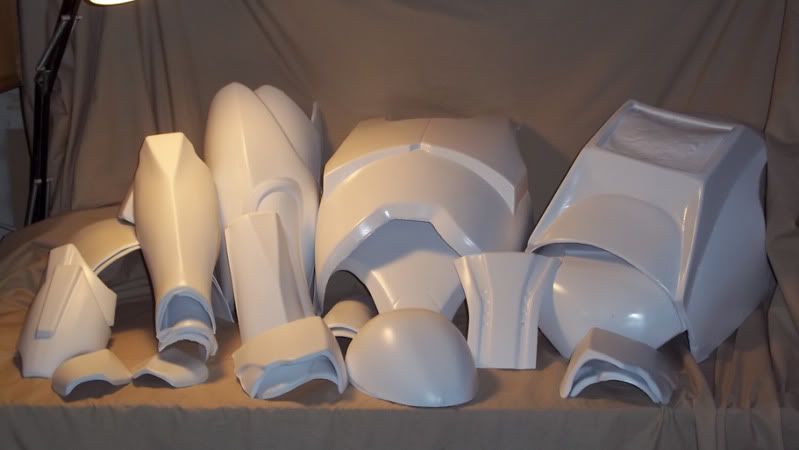
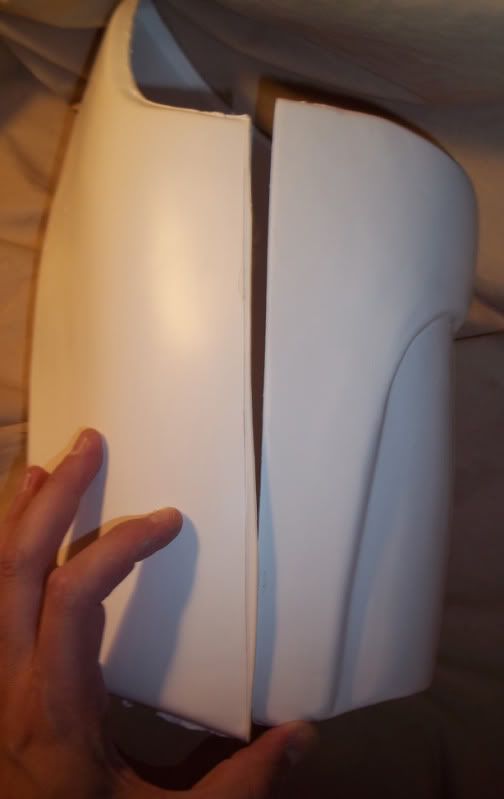
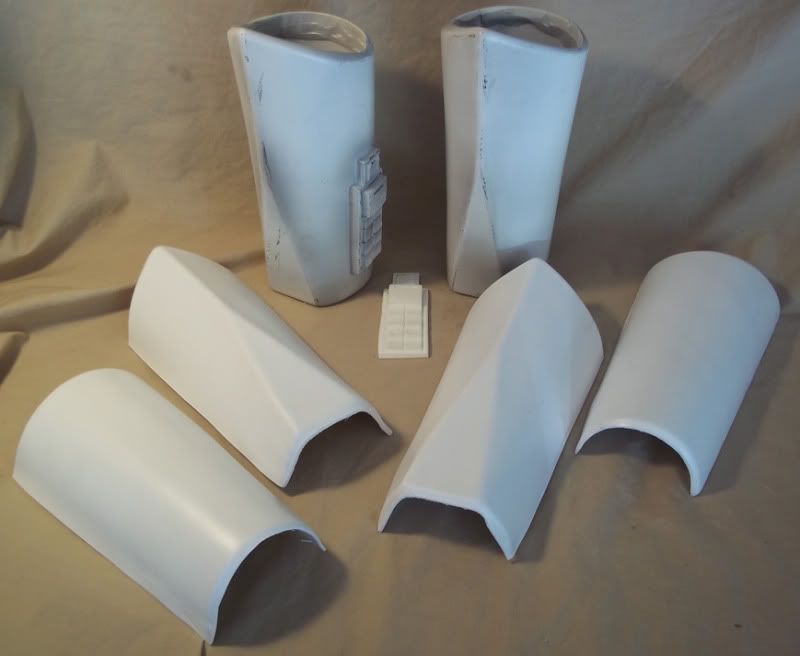
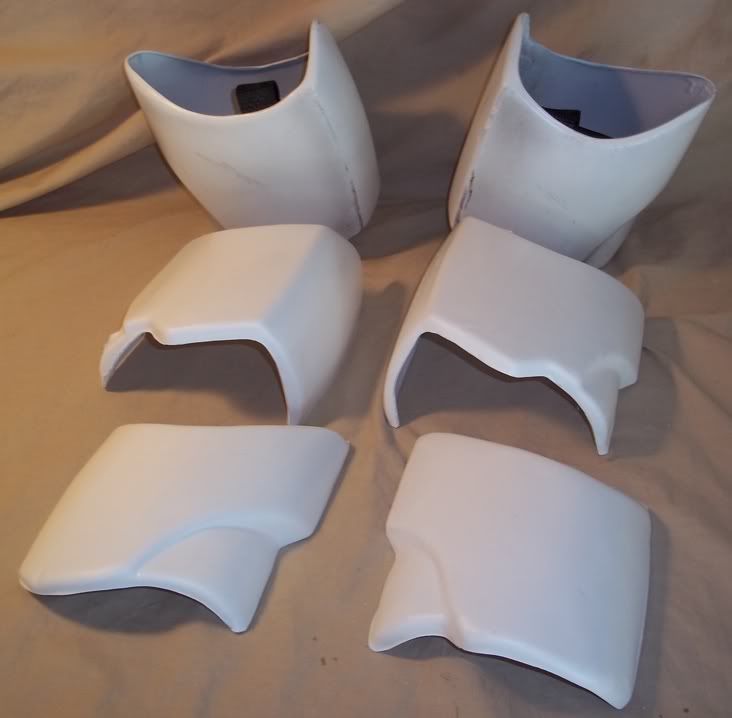
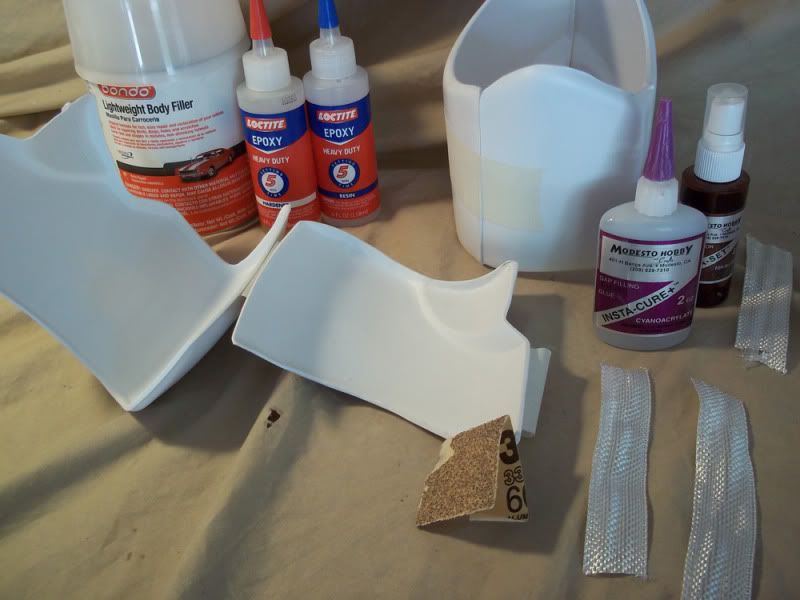
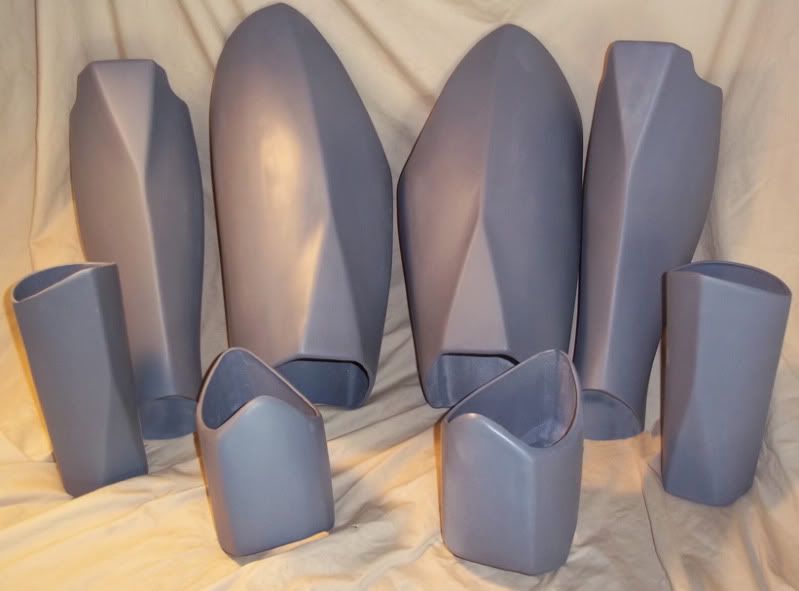
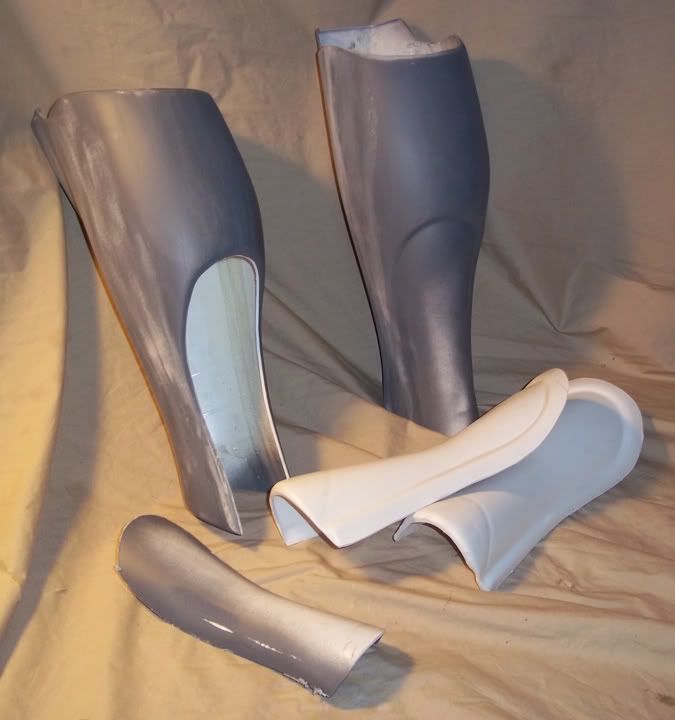
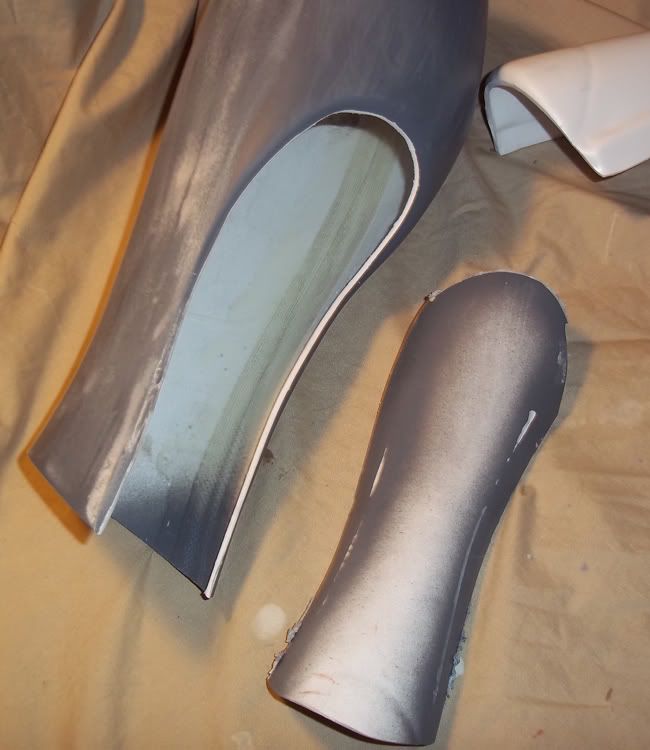
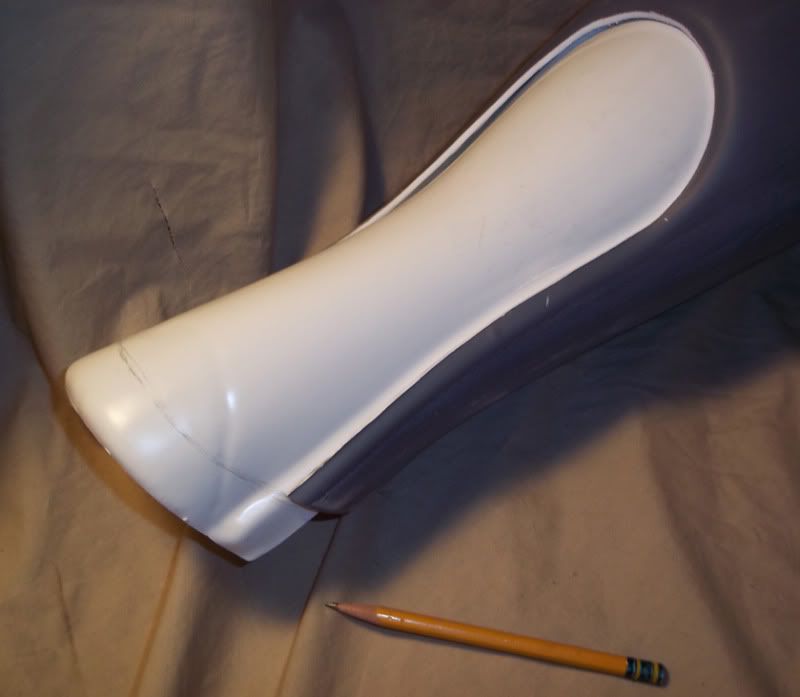
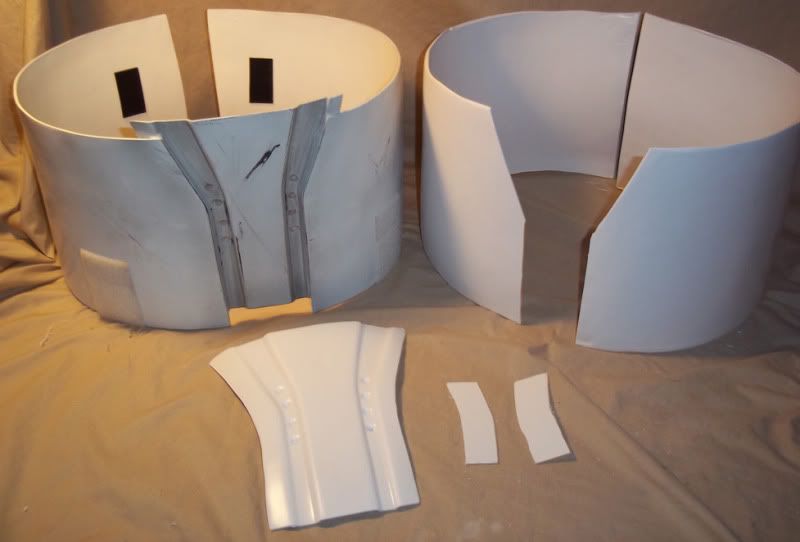
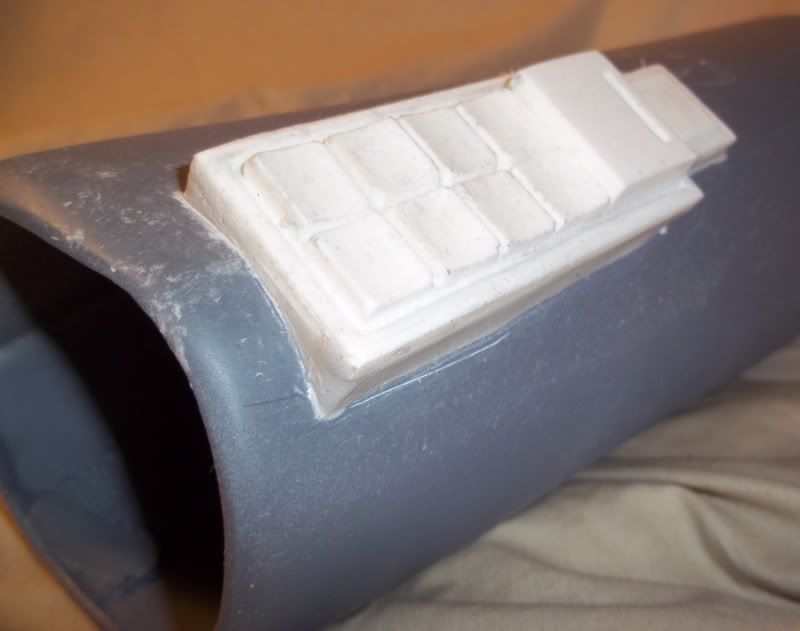
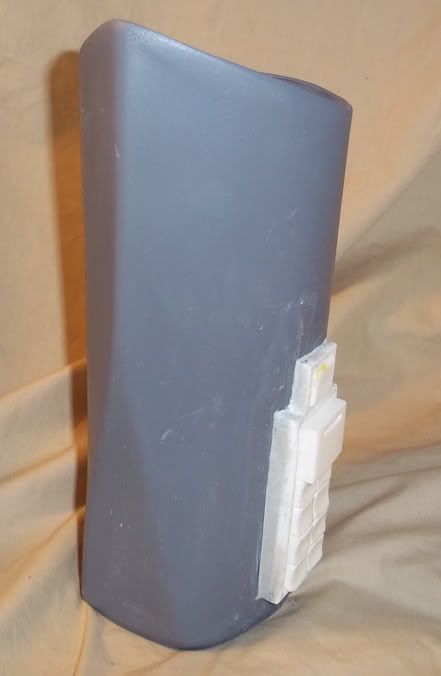
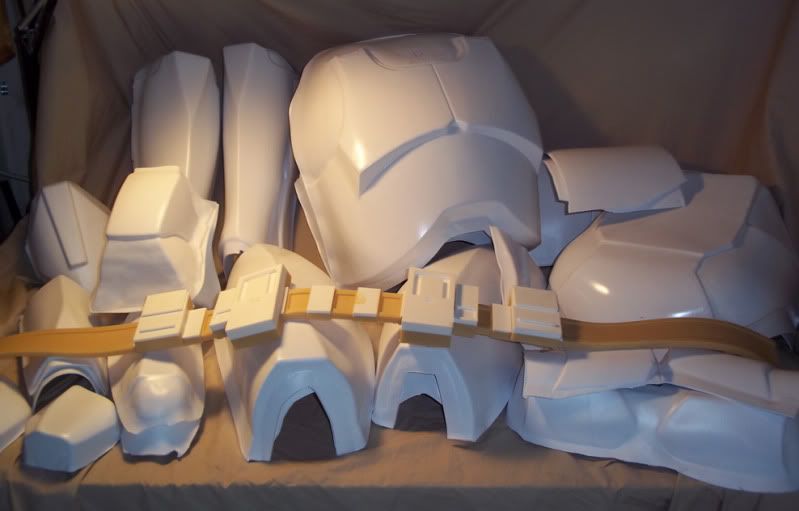
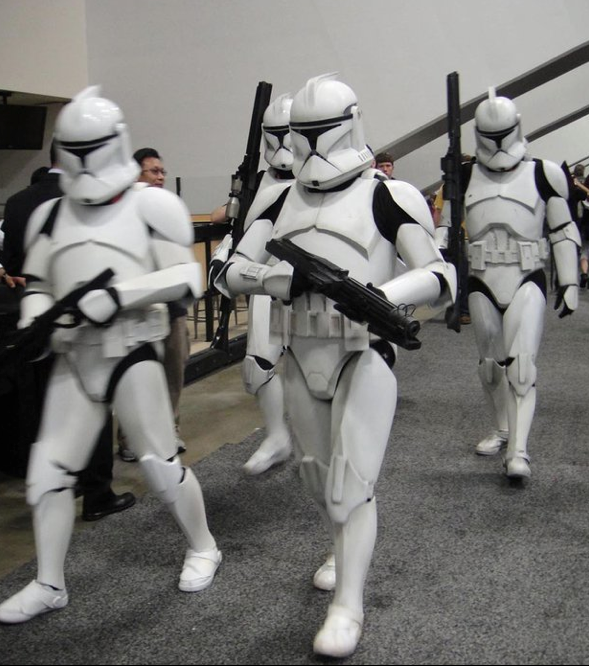
We are going to take a pile of plastic, reins and rubber and turn it into something like this!
CTkit1.jpg

CTkit2.png

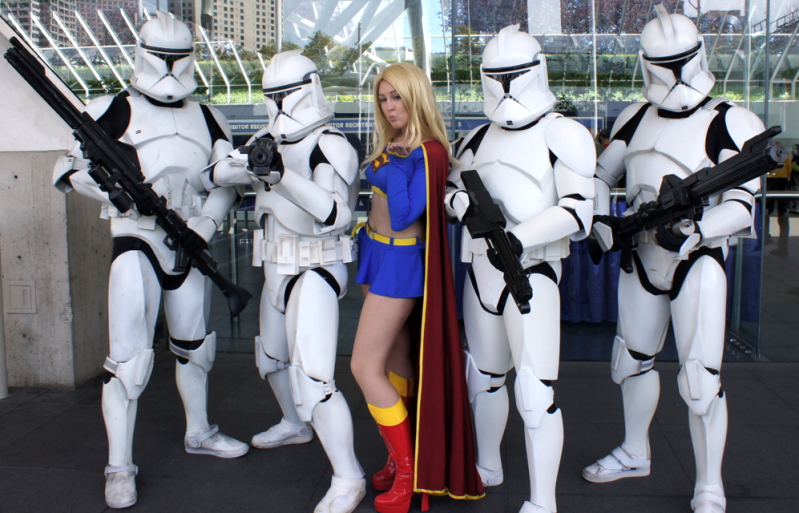
These photos were taken a few weeks ago at Wonder Con in San Francisco.
As you can see, the suit can be made to fit troopers big and small.
The bigger troopers in these photo’s are around 6’1” and the smaller ones are around 5’8”.
CTkit3.png

CTkit4.png
 
Day 1
Trim out all the pieces and clean up as necessary. I like to use a belt sander to file most of the items down.
I purchased one for around $40.00 at Harbor Freight. I got one that can by turned upside down to sand
down the parts easier.
For the tight areas I use a dremil and for the straight lines I use a metal ruler and utility knife.
I also use a file to get those nice round corners. This is just a quick trim, we will do the final cleanup as
we move onto each individual piece. I spent about 3 to 4 hours on this step.

It’s is extremely important to use a pair of work gloves. They can be purchased at Wal Mart for around $10.00.
I nearly cut the tip of my finger off because I was not wearing my gloves.
I could have saved all that pain by just taking a few more seconds to grab and put them on.

cbday1-1-1.jpg

cbday1-2-1.jpg
 
Day 2
First we are going to take all the items that need to be made seamless.
This is the forearms, biceps, thighs and calves.
This part is never fun be we will tackle this first.
Keep in mind these items were sculpted by hand not by a computer. You have to be able to be a bit creative when putting these pieces together.
We are going to begin with the calves.
The calves consist of 6 total parts. Two front, two back and two spoons.
I will walk you through the whole process which will take a few days from start to finished.
cbday2-1.jpg

When building the calves you will realize that after the initial trim they don't line up very well.
Don’t worry, we will trim and cut them to make them look good.
I am around 6’ 1” and I like to trim about 1 1/2” off the bottom. I don‘t trim them until after the super glue, epoxy and fiberglass tape steps are finished.
Smaller trooper can trim more if they would like. Just always shorten it from the bottom.
I also leave the back spoon area in until after the seams have been finished.
It just much easier to work with when the spoon area in place.
Try to cut both the front and back as straight as possible, then do your best to make them fit together cleanly.
I will use my sanders, sandpaper and file to make this work.
Sometimes it lines up right on the first try and other times I can spend up to a hour working on this step.
As you can see here, the top is looking good but the bottom needs some more sanding.
cbday2-2.jpg

Once you have a good clean edge on one side, then work on getting the other edge to line up. Like I said don't
worry that the top and bottom lining up, we are going to cut and sand these areas after we get it glued together.
This first front and back look’s good. Now we will move onto the other side. Before I tape this first side together I like to scuff up the inside with sandpaper. This will create a good rough area for the glue and epoxy to stick to.
cbday2-3.jpg

Alright, we have one side done and taped together. Now lets move onto the other side.
With the first side done, you can uses one of the edges on the second side to mark your trim line.
Sand and clean up as needed.
cbday2-4.jpg

Now that it all lines up, tape them together. Add super glue to the inside seam.
cbday2-5.jpg

Once dried, now its time to add the epoxy and fiberglass tape. Pre trim your tape so it is ready to go.
Use something round to mark the areas for mixing the two part epoxy.
I like to do this on the actual pieces so that none of the epoxy is wasted. I then use a rubber glove to run the
epoxy along the inside seam. Once applied, lay the fiberglass tape down, use your finger to press the fiberglass
tape down along the inside seam. Mix another batch of epoxy and cover the top and edges of the fiberglass tape.
Also run a little epoxy along the outside seam to fill in any holes or spaces.
cbday2-6.jpg

Once the epoxy has dried overnight, mark the areas that will get trimmed down. I use a pencil to do this. Cut the bottom and round off the top as needed.
Sorry, the photo’s are a bit out of focus.
cbday2-7.jpg

Now sand and cleanup all the edges.
cbday2-8.jpg

Apply the bondo to the seam and any low spots. I went a little overboard here. As you can see, most of this bondo
gets sanded off.
cbday2-9.jpg
 
Last edited:
Thanks for the tutorial. I always wondered how troopers made their own armor from the kits. This might even give me a kick start onto trying my own suit
 
Day 3
Moving onto the remaining items that need to go seamless we will begin to
work with the thighs, forearms and biceps. Same as the calves we will try to
cut or sand a straight line on one of the two halves. Once one of the two seams
are looking good, tape it up and start on the second side. Use a pencil if need
to help with this process. The photo’s below show a set of unassembled pieces and
a set of finished versions.
cbday3-1.jpg

cbday3-2.jpg

cbday3-3.jpg

cbday3-4.jpg

Here is a closer look at the biceps. The back of the biceps are always a little thought
to get to line up. Don't worry, this can be fixed when we add the epoxy and fiberglass tape.
cbday3-5.jpg

OK, now we have all the seams cut it time to start adding the insta-cure (super glue), epoxy and fiberglass tape.
Use masking or painters tape to tape all the part together. Add super glue to the inside seam.
Use the insta-set spray to help set the insta-cure.
After dried, add the epoxy and fiberglass tape to the inside seam. Then add another coating of epoxy to
the top of the fiberglass tape. Remove the masking or painters tape from the outside and fill in any gaps with epoxy.
Wait about a day and then sand the outside seams. Once seam is sanded add Bondo to outside seam and try to
cleanup and low spots or remaining blemishes. Sand and cleanup as needed. I use a Mouse Sander for this step.
cbday3-6.jpg

cbday3-7.jpg

cbday3-8.jpg
 
Last edited:
Day 4
Sand and prime the seams as needed. You may need to add more Bondo. Another great item to use
is Bondo Glazing and Spot Putty. It good for the smaller holes. The nice thing is ready to use right out of the tube.
No mixing needed. This can be purchased at Wal Mart or any automotive store.
cbday4-1.jpg

Once your seams are getting close I like to use Dupli-Color Filler Primer. This is a spray primer that I
have only begin to use recently. One of my R2 builder buddy’s suggested it.
It is a kind off expensive but it works great.
It can be found at automotive stores and costs around $6.00 per can.
cbday4-2.jpg

Once again, keep sanding and priming until you are happy with the seams.
Once finished you should have a pile of parts that look like this.
cbday4-3.jpg
 
Last edited:
Day 5
Take the two primered calves and spoons. Round the spoons off with a good size lip around the outside.
I like to use a large lip on the spoons. If you trim too much they will not hold well while trooping.
Trim out the trap door on the calves.
cbday5-1.jpg

cbday5-2.jpg

Now place the spoons into position. Draw a cut line for the spoons. Once again, I like to trim my calves
way up. It just more comfortable for me while trooping. You may want to experiment a bit on yours.
cbday5-3.jpg

cbday5-4.jpg

Finished trimmed pieces will look something like this.
cbday5-5.jpg
 
Day 6
Cod and butt pieces. This piece consists of a vacuformed front and back. It also needs a piece of
plastic. This piece will be glued to the top of the butt area. The only reason for this piece is to keep
the back of the chest from slipping under the cod/butt while wearing the suit.
On the finished piece I have the right side connected with a pop rivet and
the left is connected with a nut and screw.
cbday6-1.jpg

I always cut the front of the cod down. I usually trim about a 1 1/4” off.
cbday6-2.jpg

Cleanup is always easier with a half round file.
cbday6-3.jpg

cbday6-4.jpg

Drill holes in both the front and the back pieces on both sides.
Check position and fit now with the use of screws and nuts.
This should fit snugly on you while wearing your black under suit.
cbday6-5.jpg

cbday6-6.jpg

Glue the plastic sheet to the back as shown. Use your epoxy for this.
Round the top edges to help of the glued plastic piece to hlep keep from getting poked while trooping.
cbday6-7.jpg

Here are some finished photo to help show how it should look once assembled and painted.
cbday6-8.jpg

cbday6-9.jpg

cbday6-10.jpg
 
Day 7
The stomach section consists of two different sides and a center piece. I also try to include extra
plastic to put behind the holes in the center section. It's not necessary to drill out these hole but
I prefer the depth that this gives the piece. Below is a photo of the kit pieces along with a finished version.
stomach1.jpg

Use a drill to punch out the holes then clean up with a small file. I don’t add the extra plastic pieces
to the part until I am finished priming the final completed piece.
stomach2.jpg

The center stomach section needs to be raised up higher than the two side pieces.
This is so you don't see any black under suit while trooping.
It help with the contour of the chest piece which curves up in this area. You will have to mark and cut a new trim line for this.
stomach3.jpg

Using the epoxy glue this center section to the two side pieces. You should only do one section at a time
and allow to dry completely before moving onto the other half. I like to use large clips to hold the pieces
into place. Sorry, I forgot to take a photo here.
Once the center piece is good and dry we will now add the magic sculpt to the seam. Bondo will also work
here. I prefer the magic sculpt because it takes longer to set and can be sculpted with water while its still soft.
stomach4.jpg

stomach5.jpg

The magic sculpt will need to dry overnight. Once dried you can sand as needed. Once sanded, primer the piece.
stomach6.jpg

Use epoxy to glue the small pieces to the back side. Your piece should now look something like the last photo attached.
stomach7.jpg

stomach8.jpg
 
Last edited:
Day 8
Today we are going to work with several different pieces for the suit. The shoulder bells, hand backs and finish
working on the right forearm.
The shoulder bells are fairly straight forward. Cut and sand the edge to get ready for the primer.
day8-1.jpg

The hand back are the same, cut and sand as needed.
day8-2.jpg

Now we are going to add the resin compad to the right forearm. Place the resin piece approximately 3/4”
up from the front along the inside seam. Add the magic sculpt and cleanup as needed.
Allow the magic sculpt to dry then sand and primer as needed.
day8-3.jpg

day8-4.jpg

day8-5.jpg

Well at this point we should have more than half of the parts trimmed,assembled and primered.
We have worked on the calves with spoons, thighs, cod and butt, stomach, shoulder bells, biceps, forearms and hand backs.
This should leave the knees, belt, thermal detonator, chest and back, and elbows.
 
Thanks for posting this. I've always wondered how involved putting together one of these sets of armor was. BTW, how big is the calf armor? I've got really muscular calves, so I think I'd have to be a RC.
 
This thread is more than 11 years old.

Your message may be considered spam for the following reasons:

  1. This thread hasn't been active in some time. A new post in this thread might not contribute constructively to this discussion after so long.
If you wish to reply despite these issues, check the box below before replying.
Be aware that malicious compliance may result in more severe penalties.
Back
Top