cabour
Sr Member
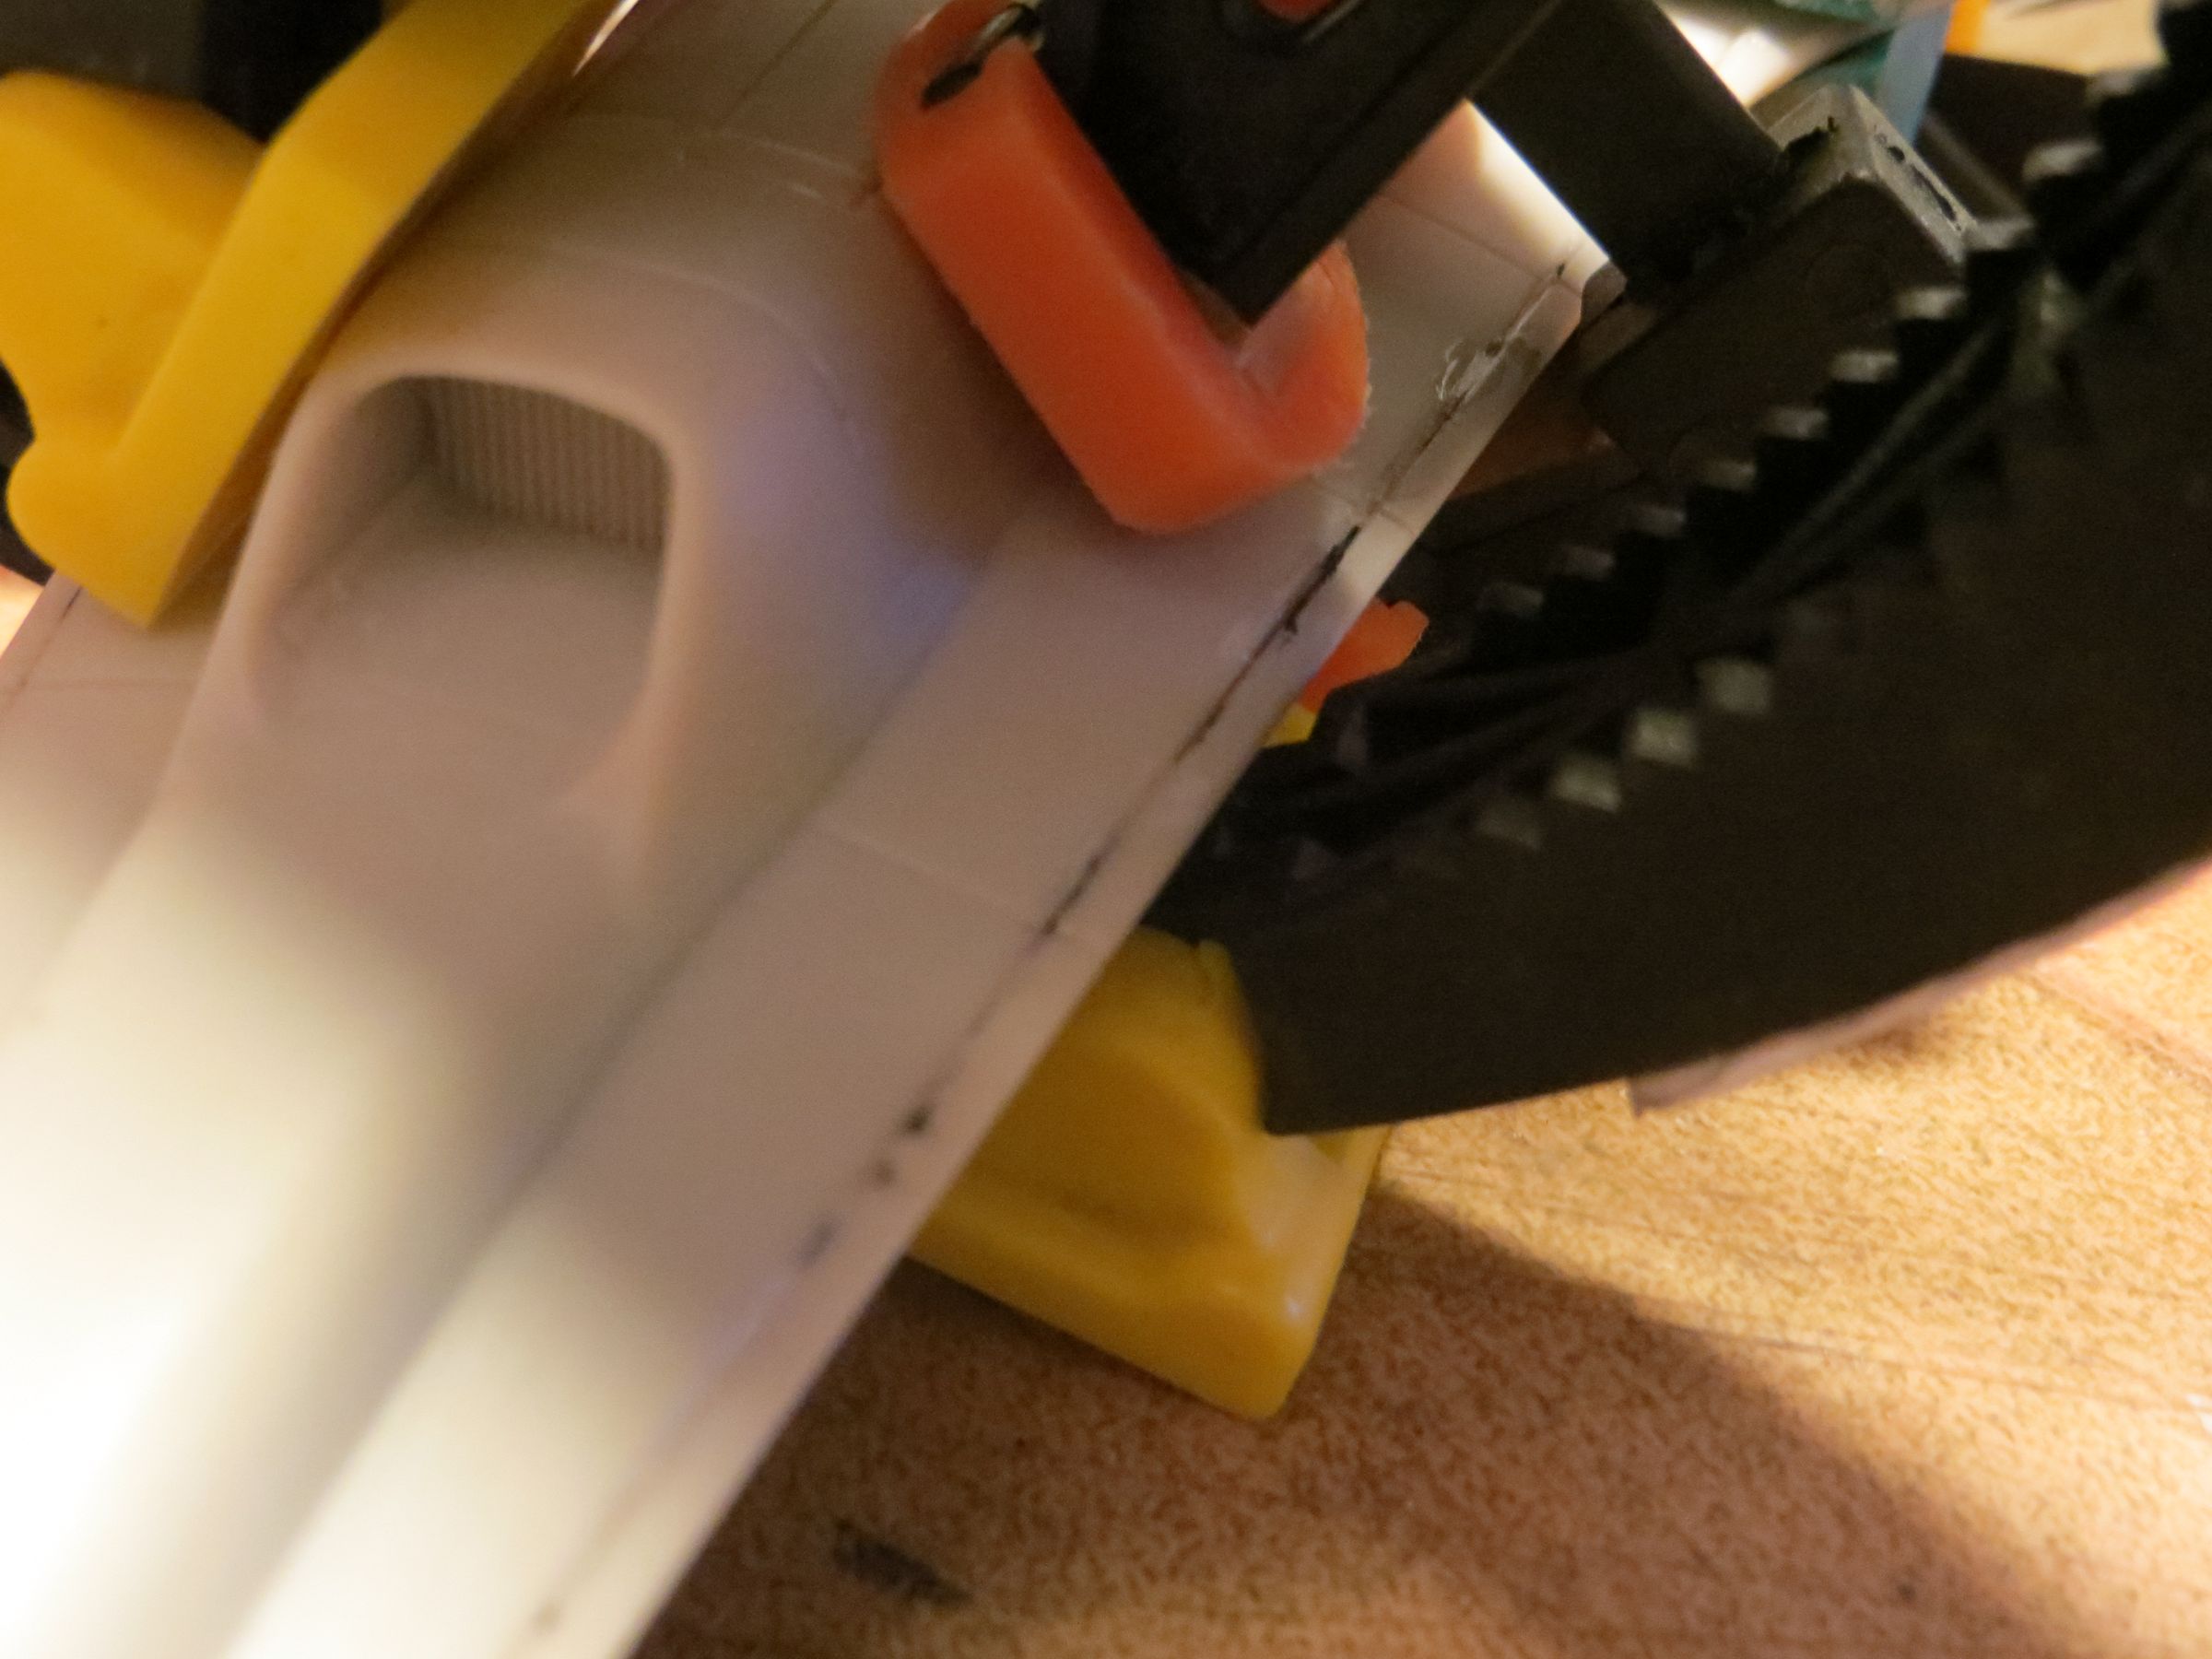
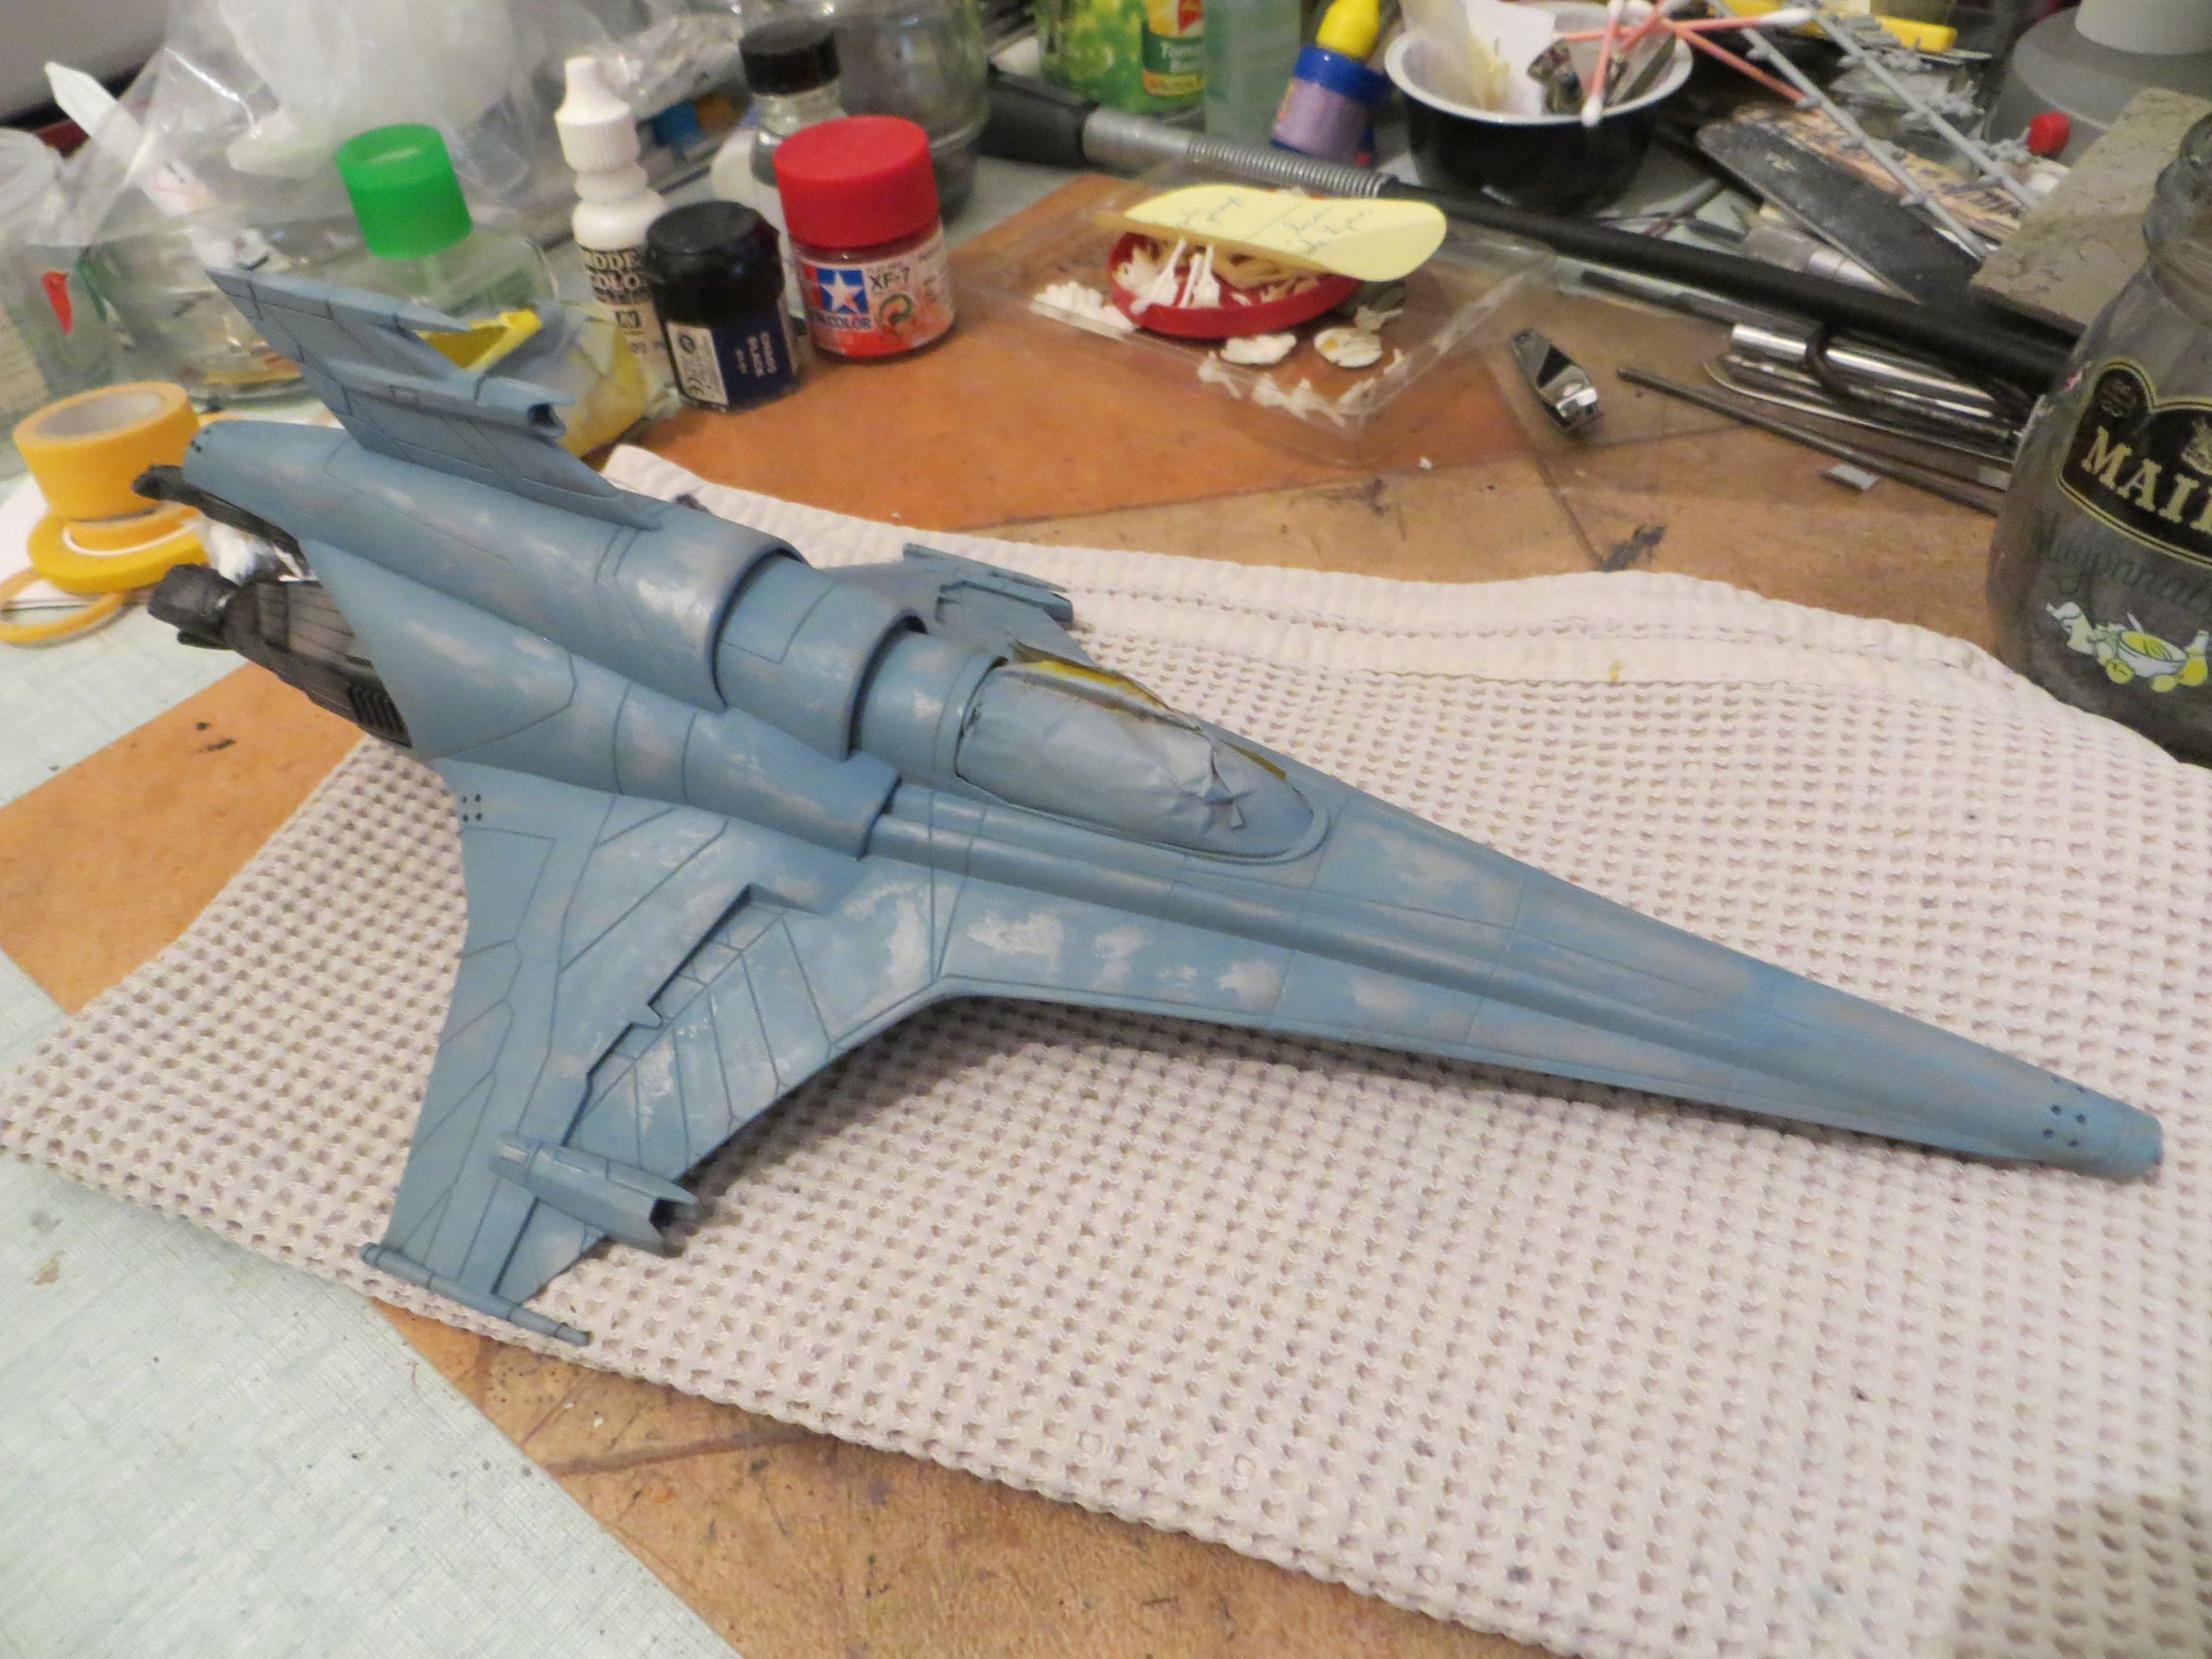
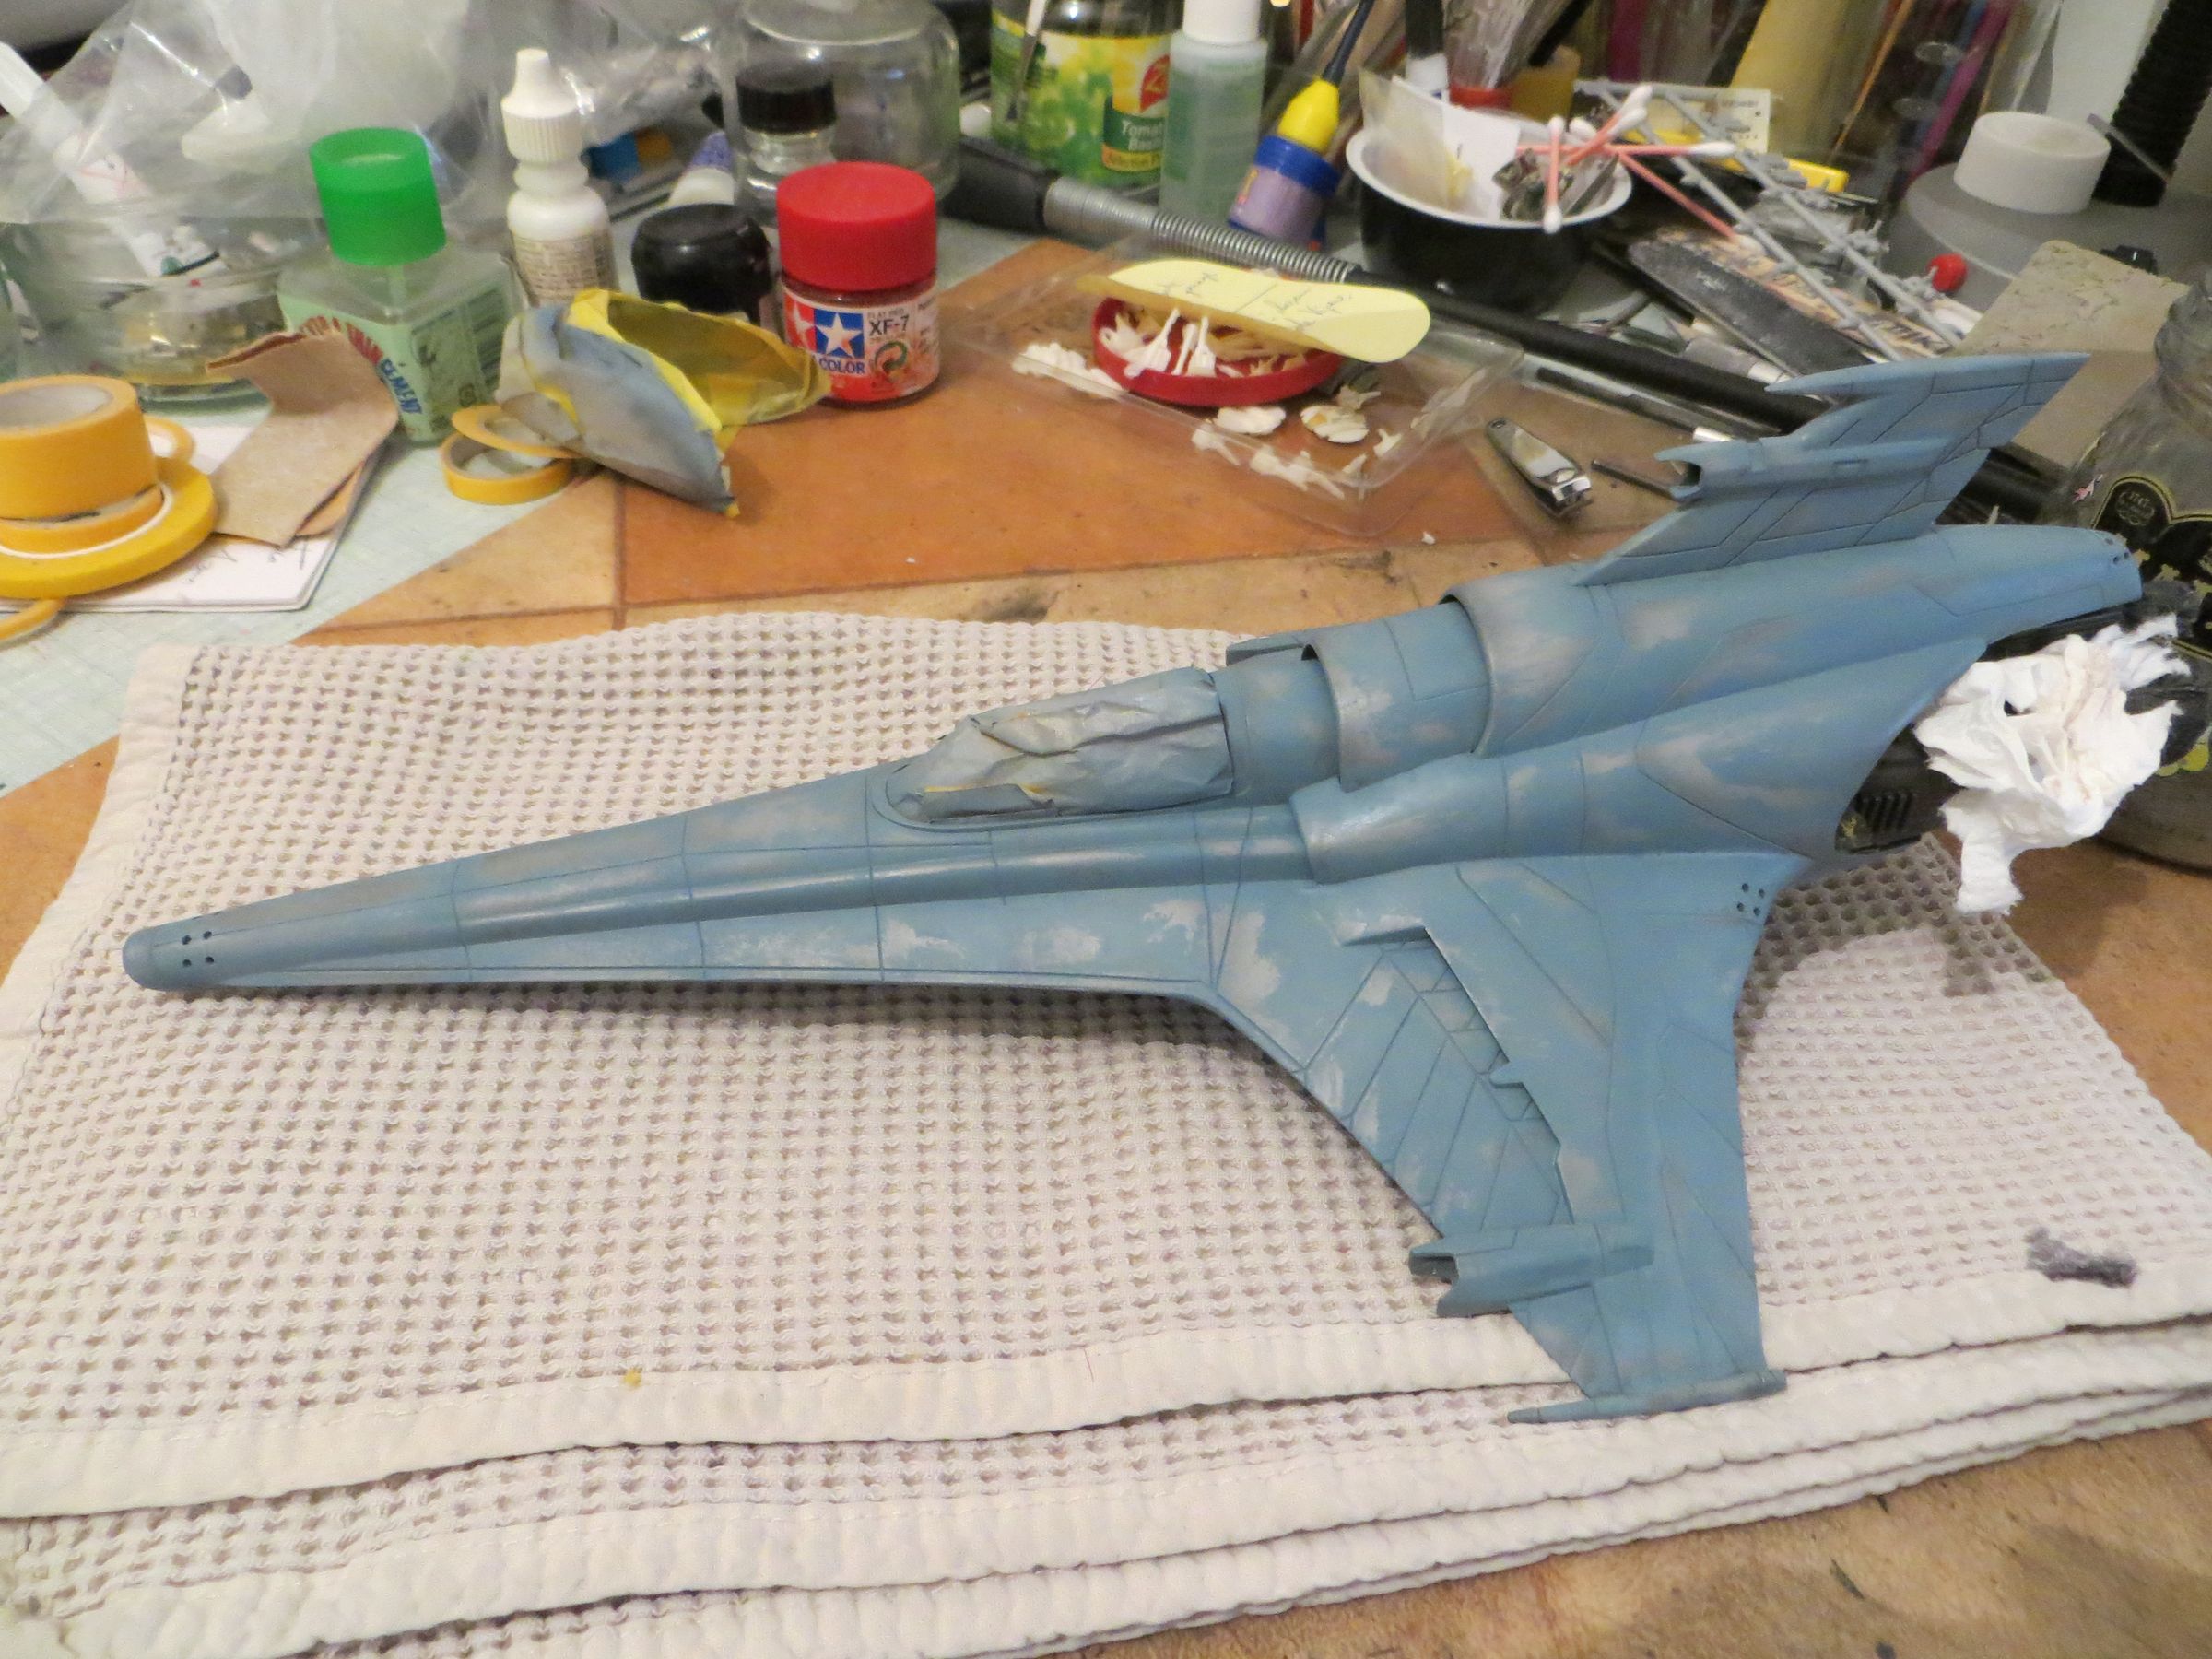
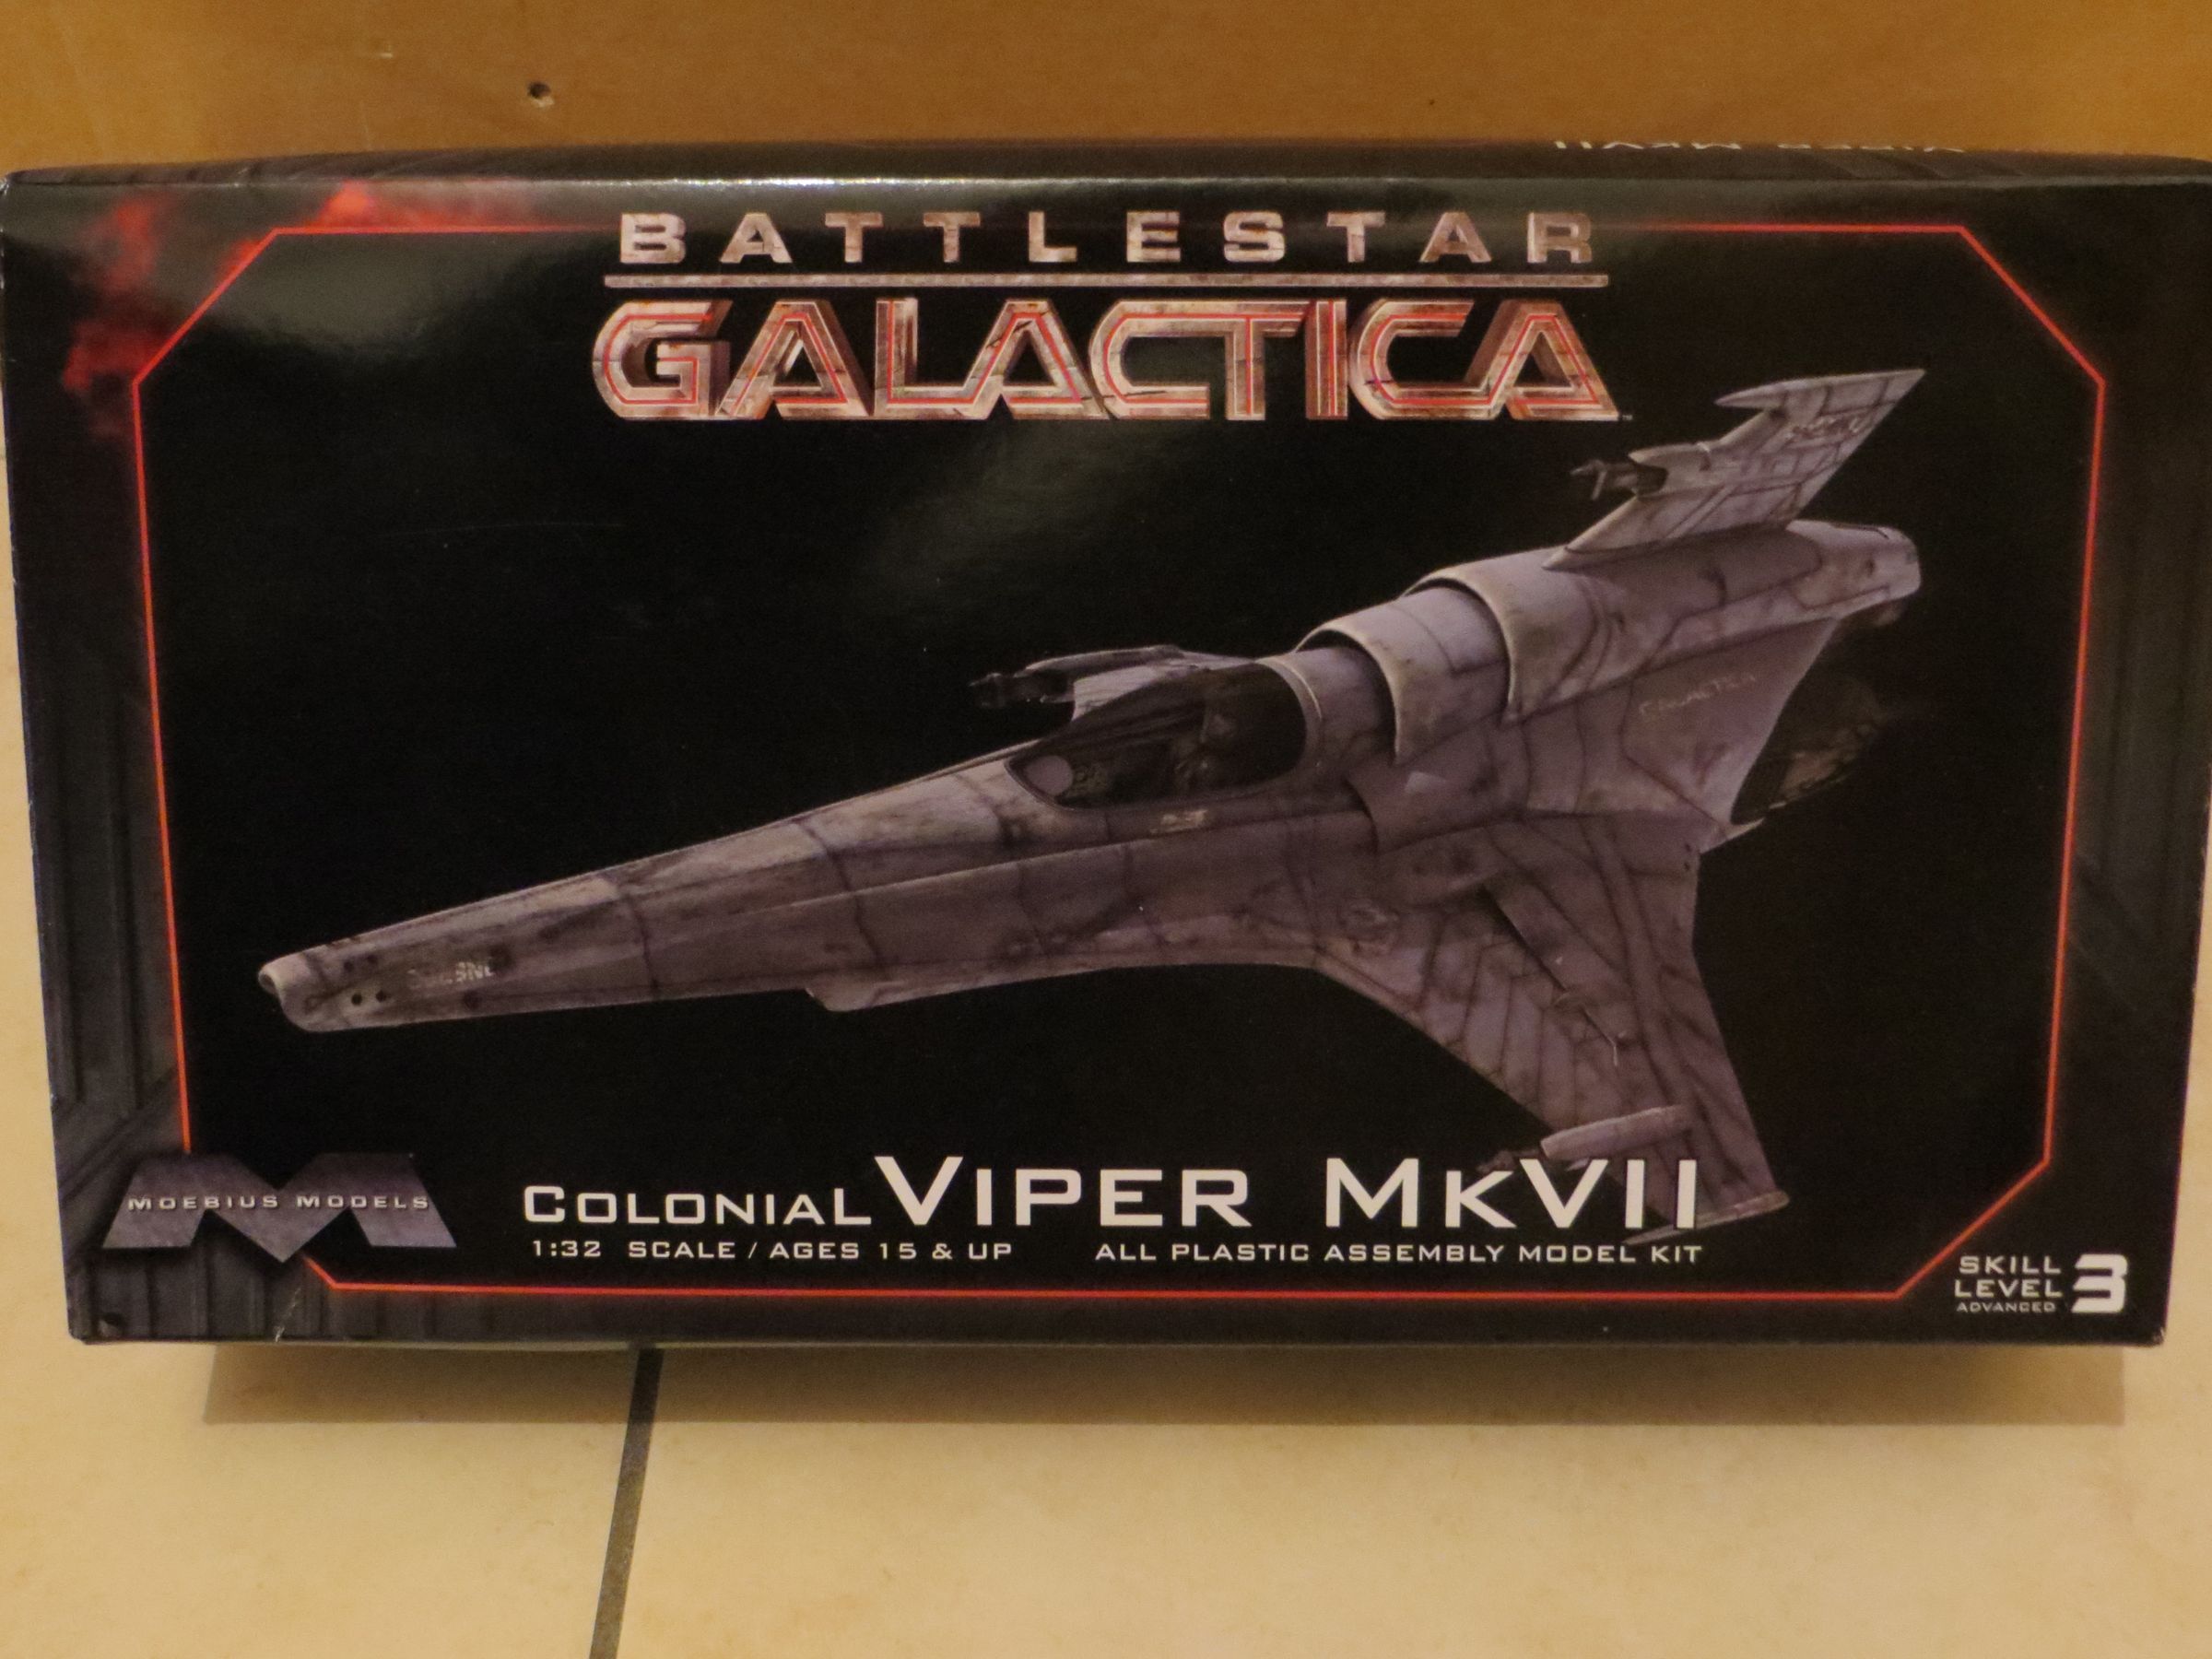
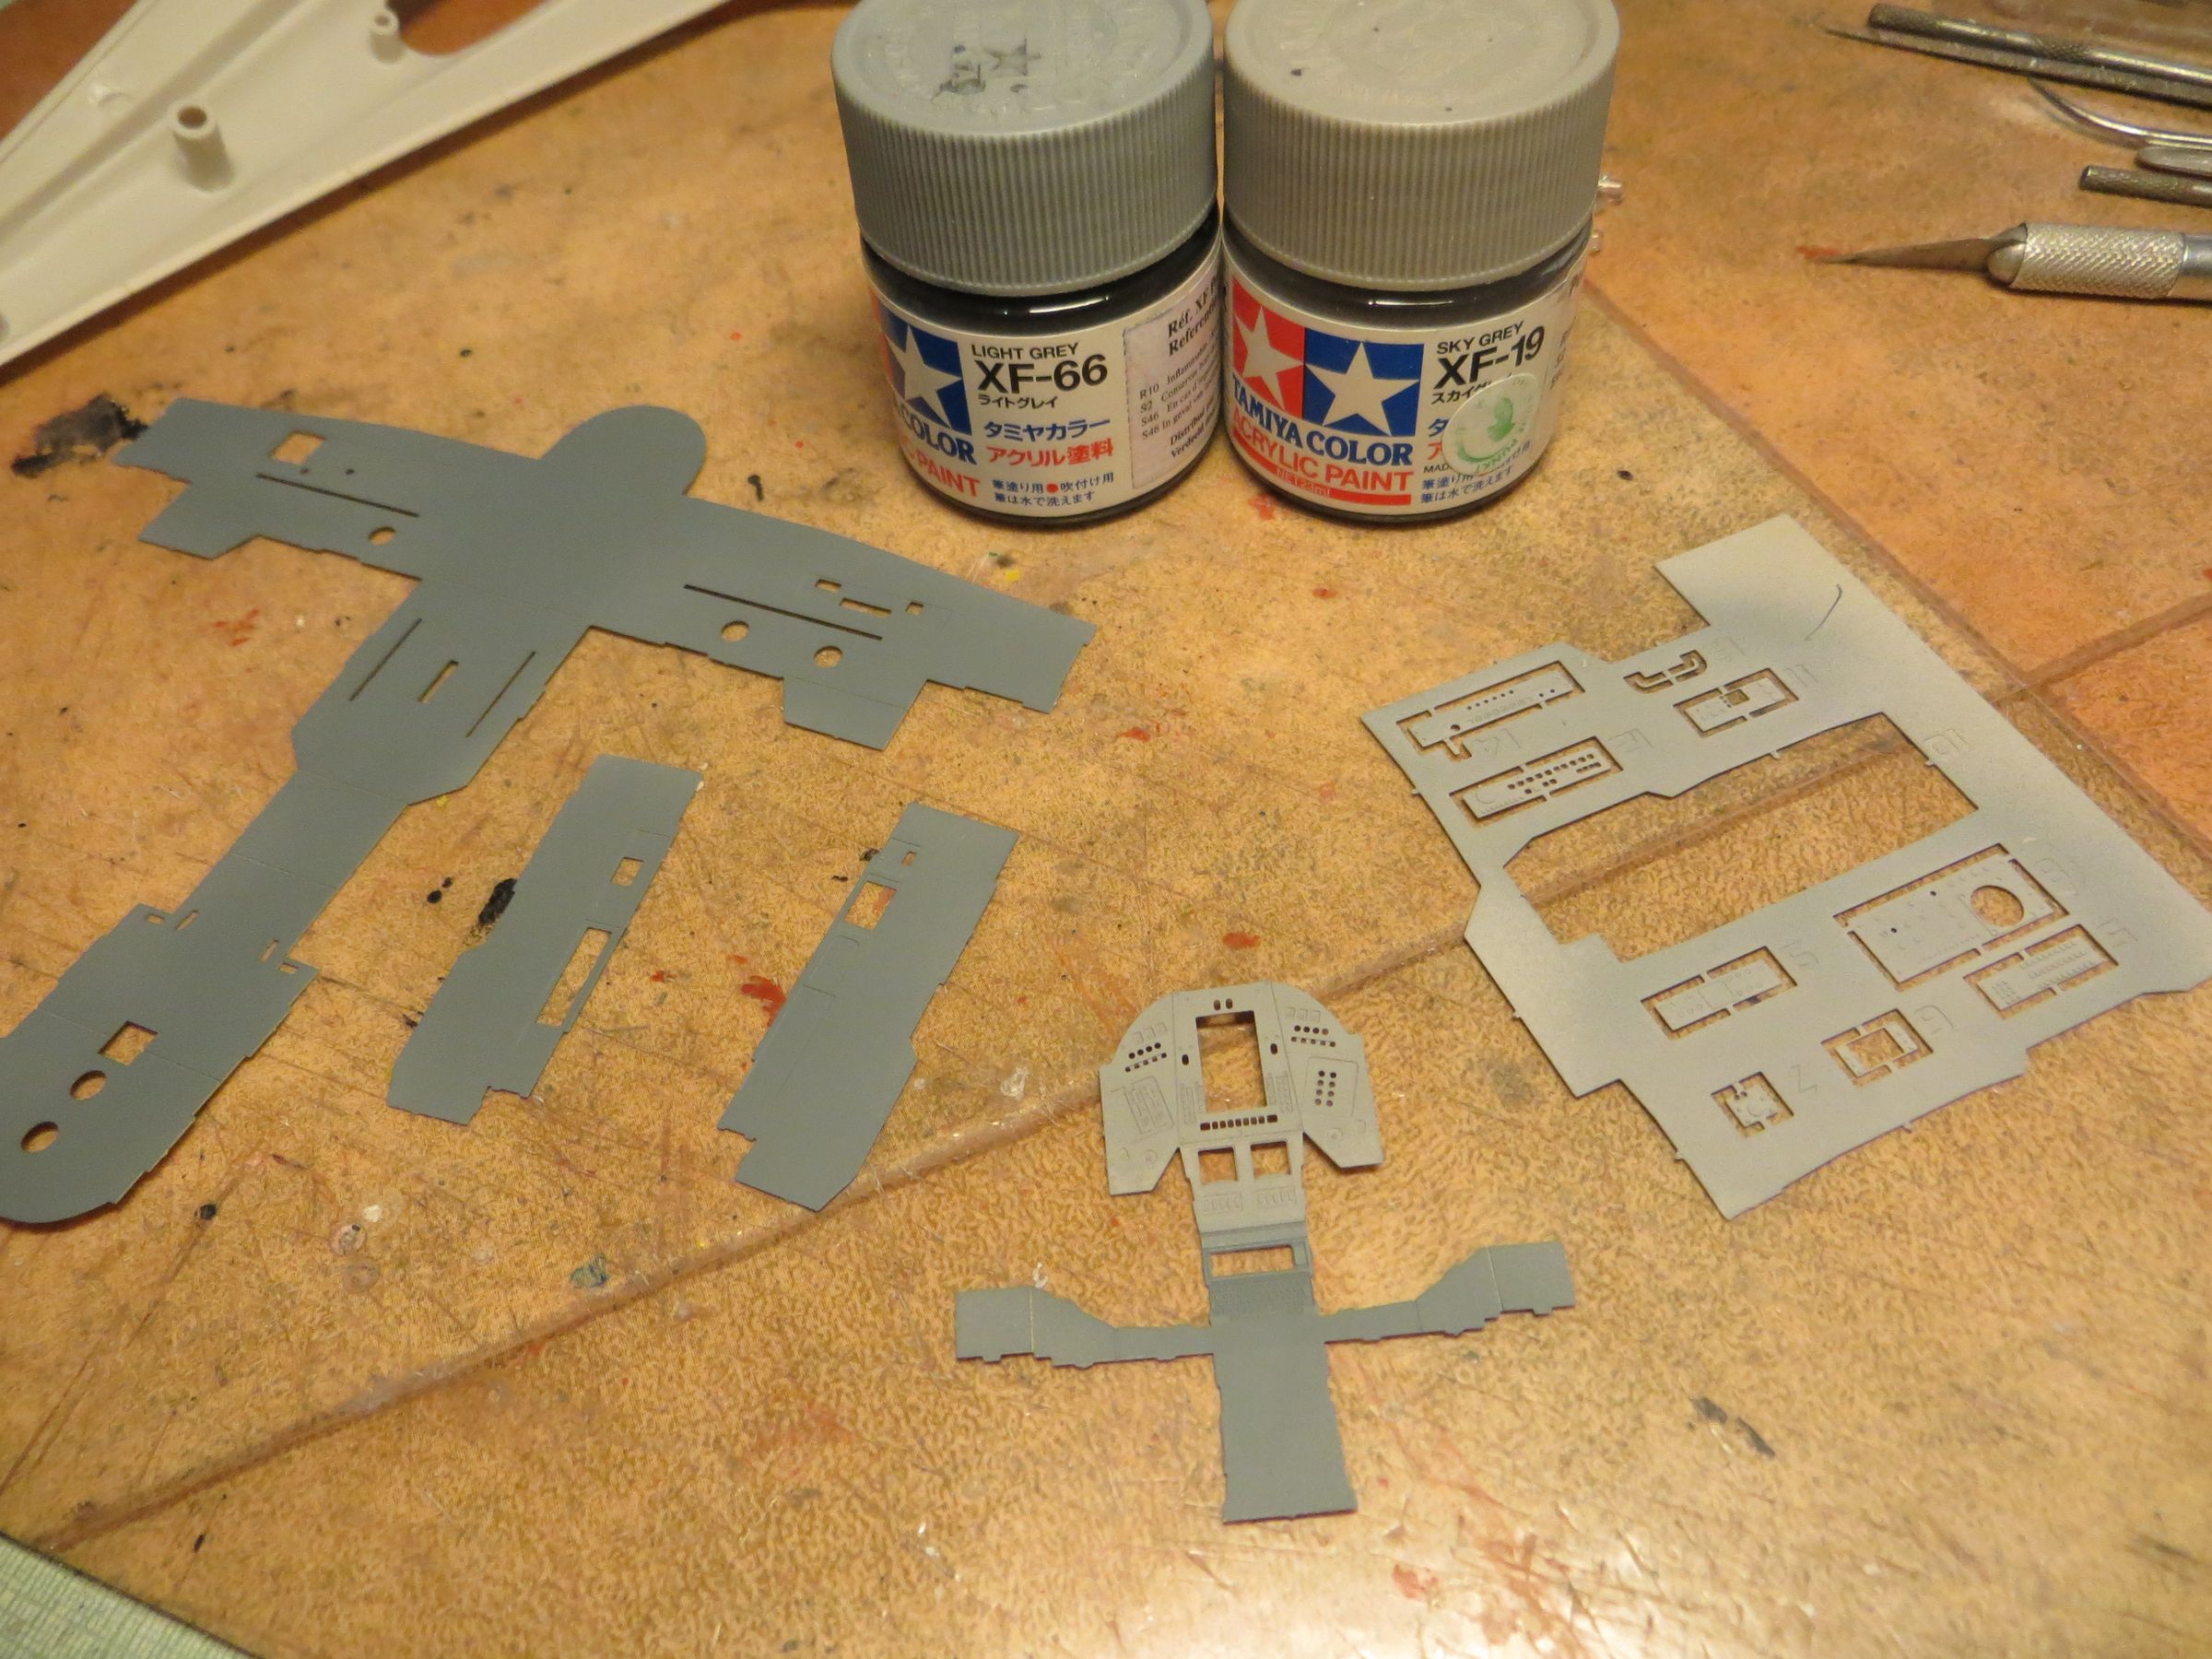
While the mk2 cabin seams was quietly drying, I started the mk7 kit in parallel. I had already open to compare and exchange the pilots.

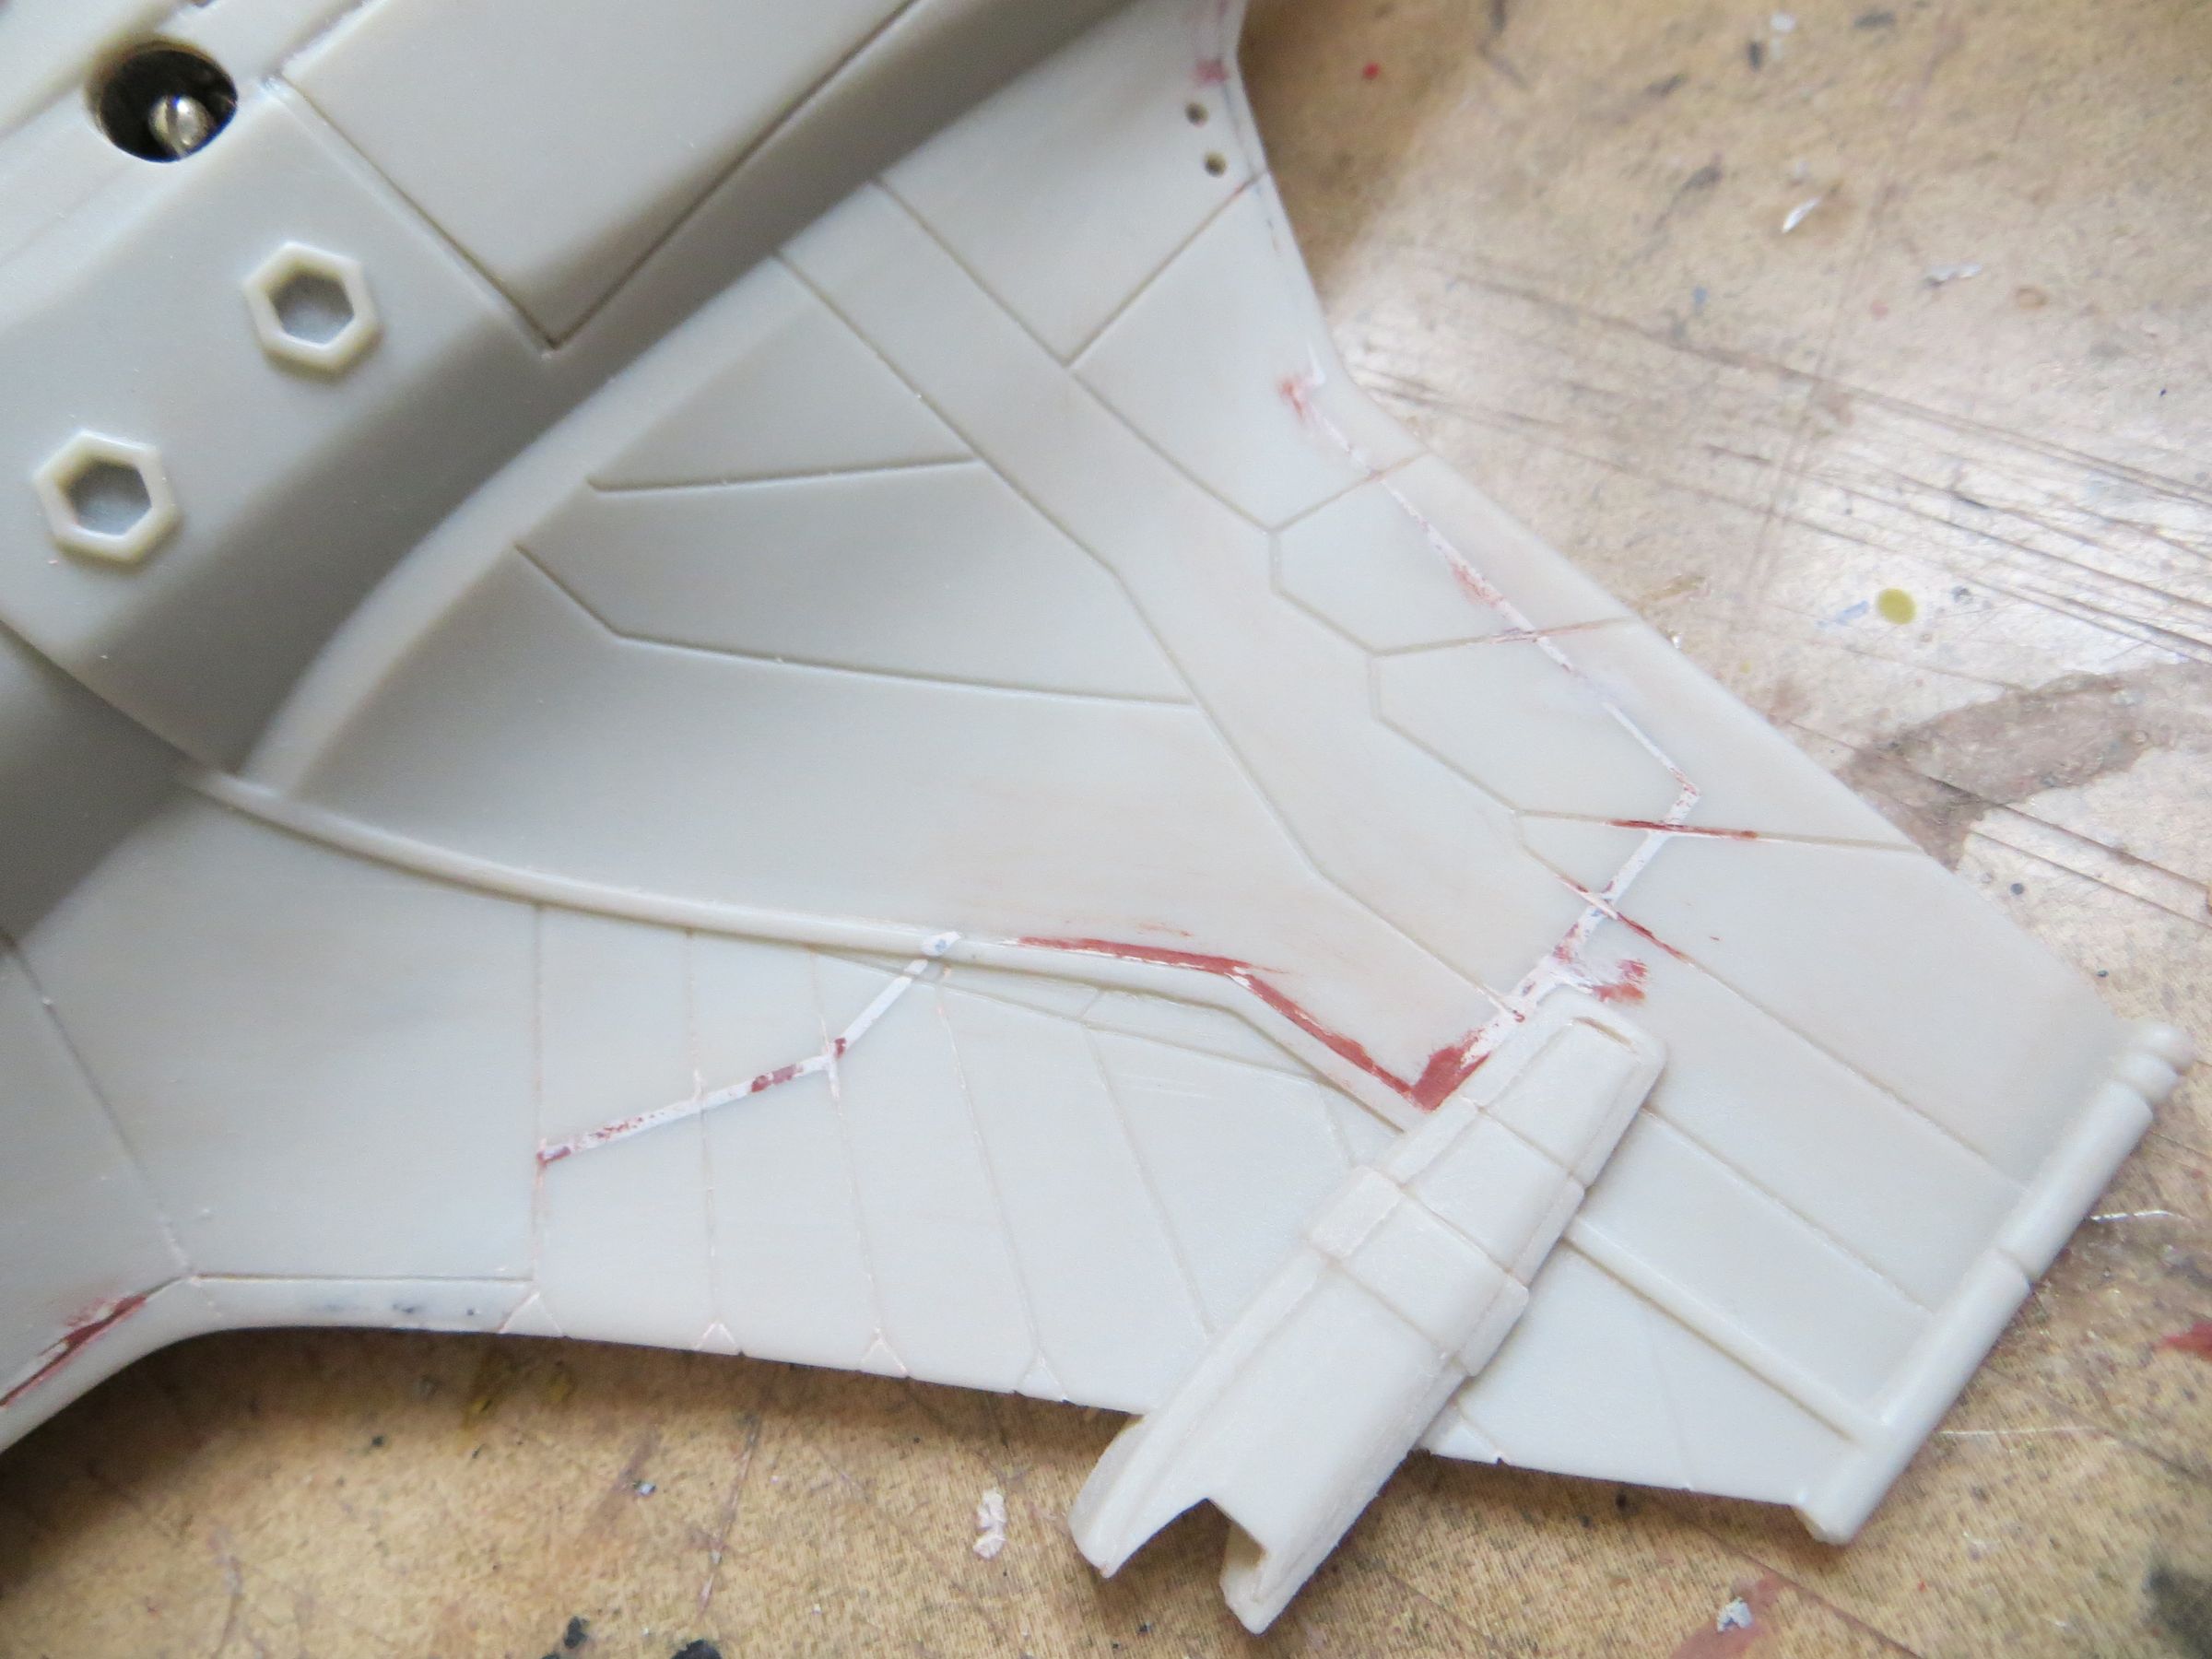
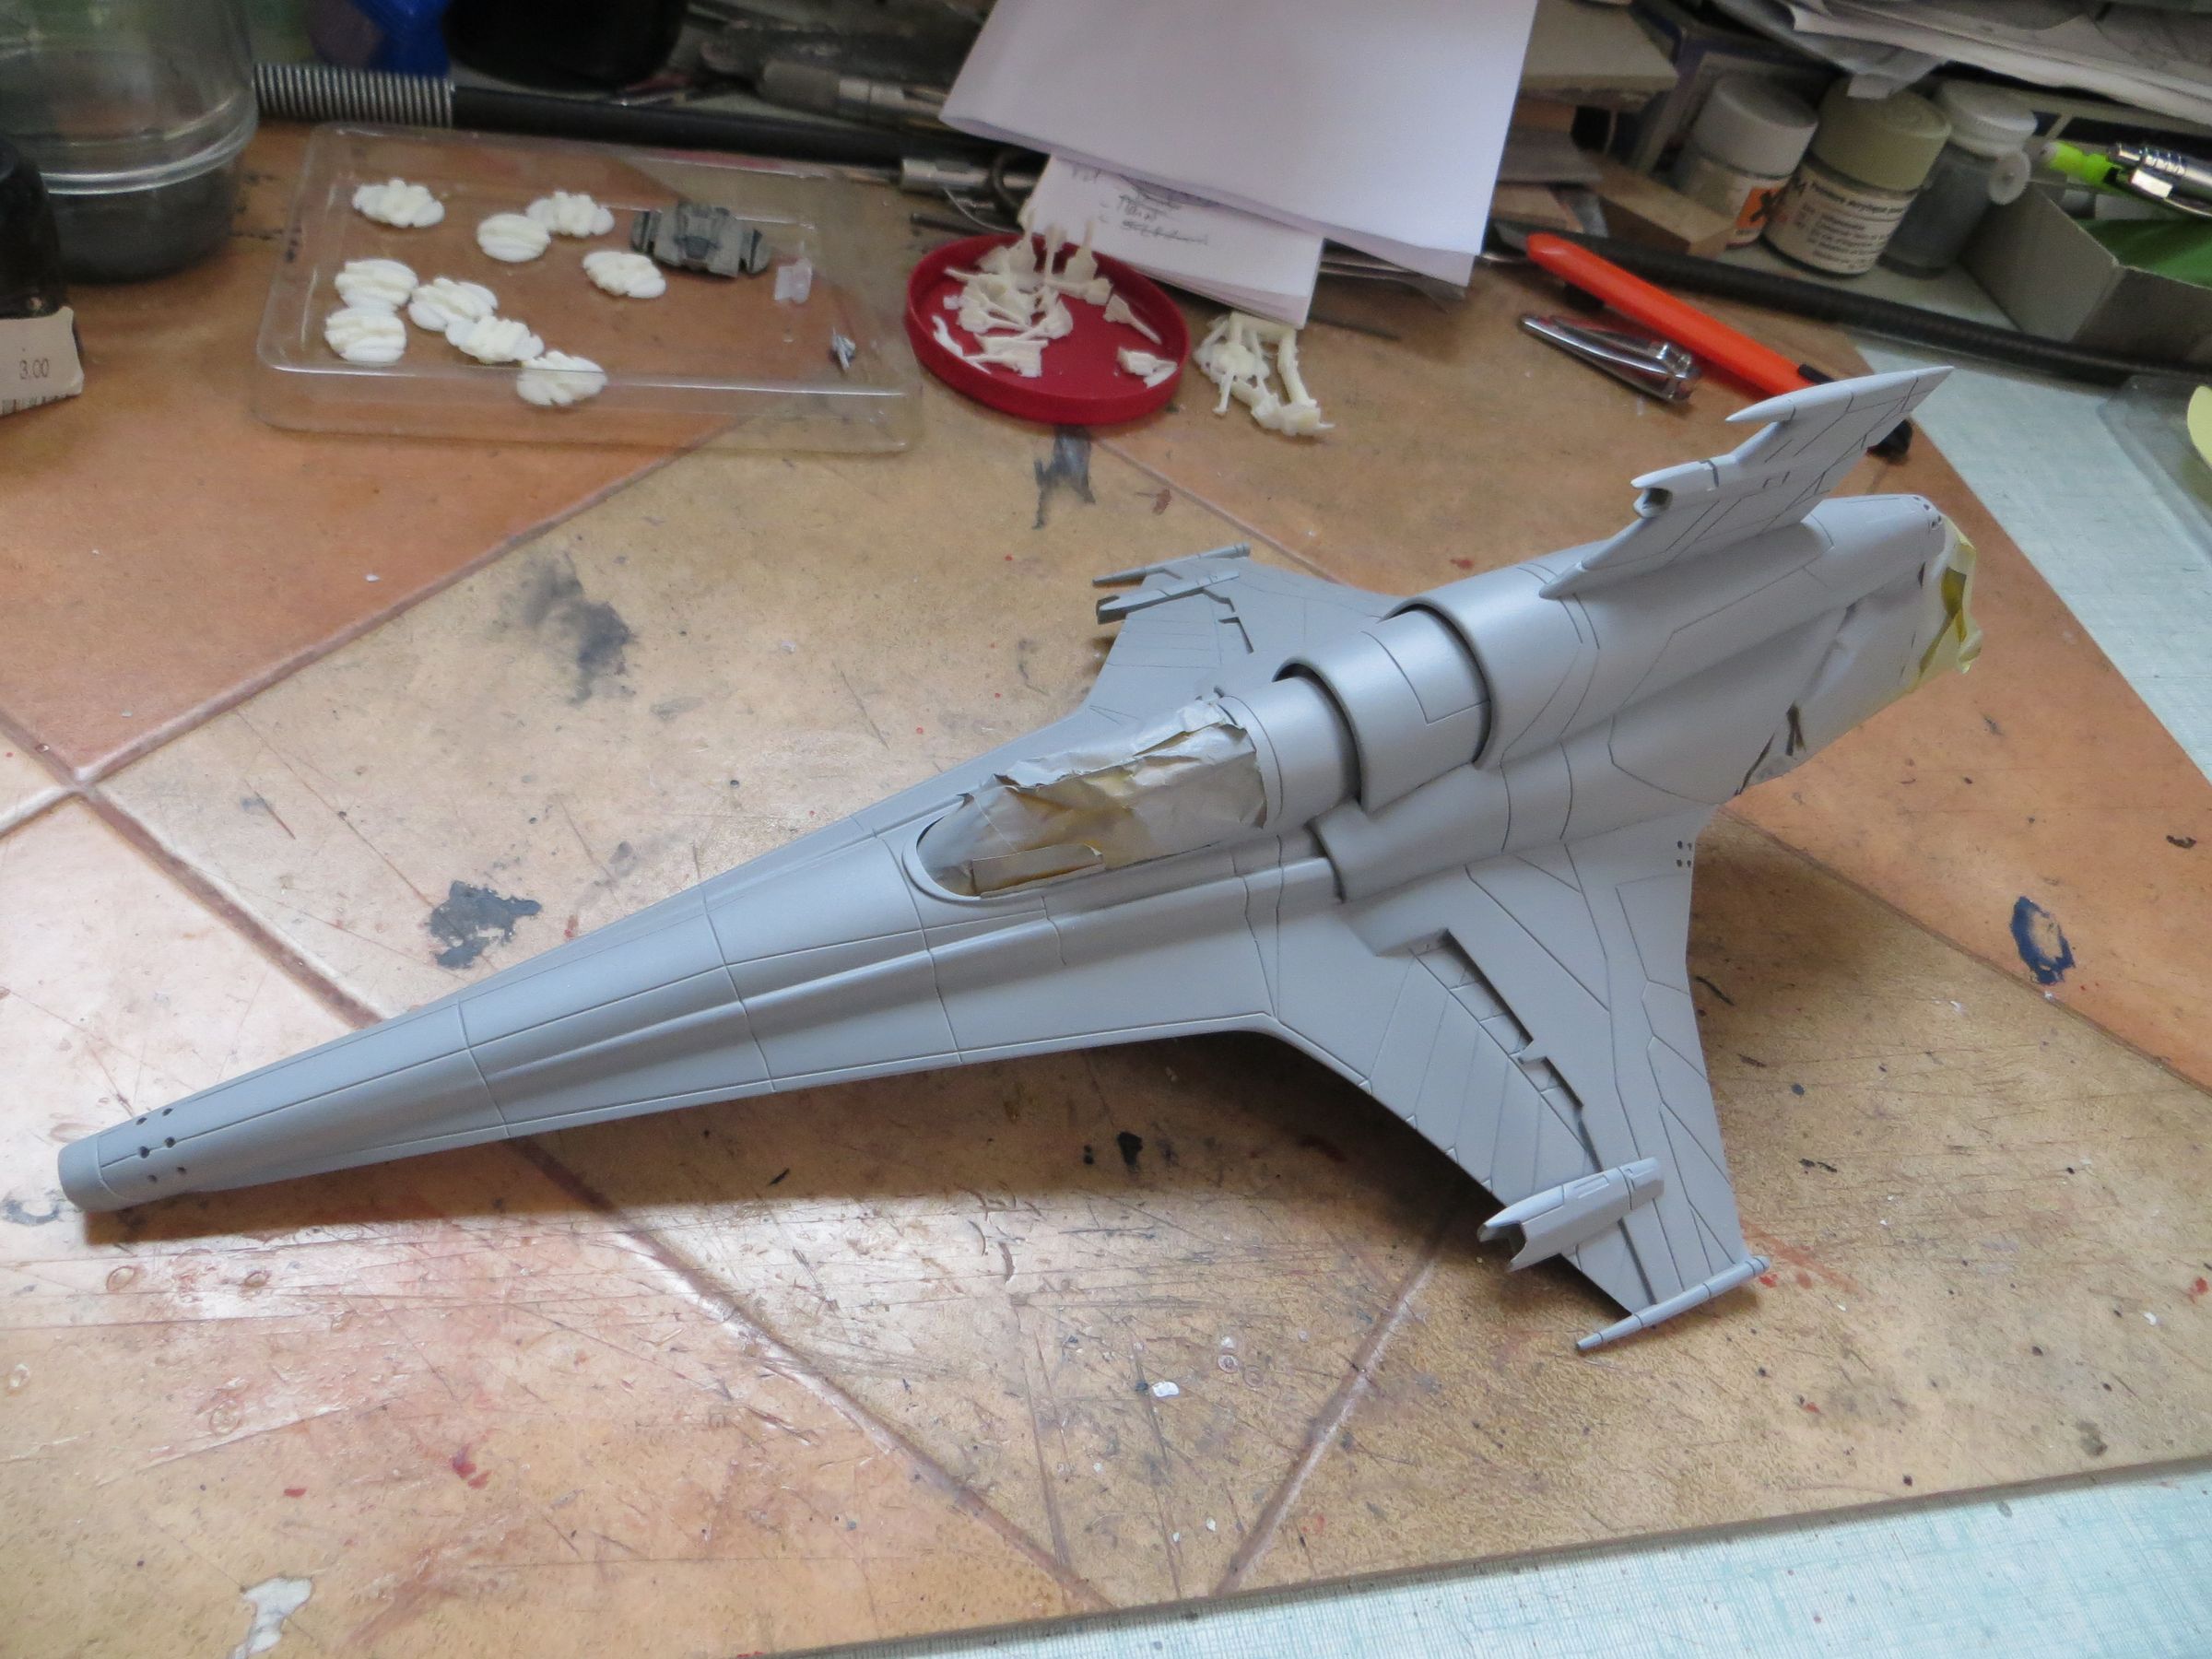
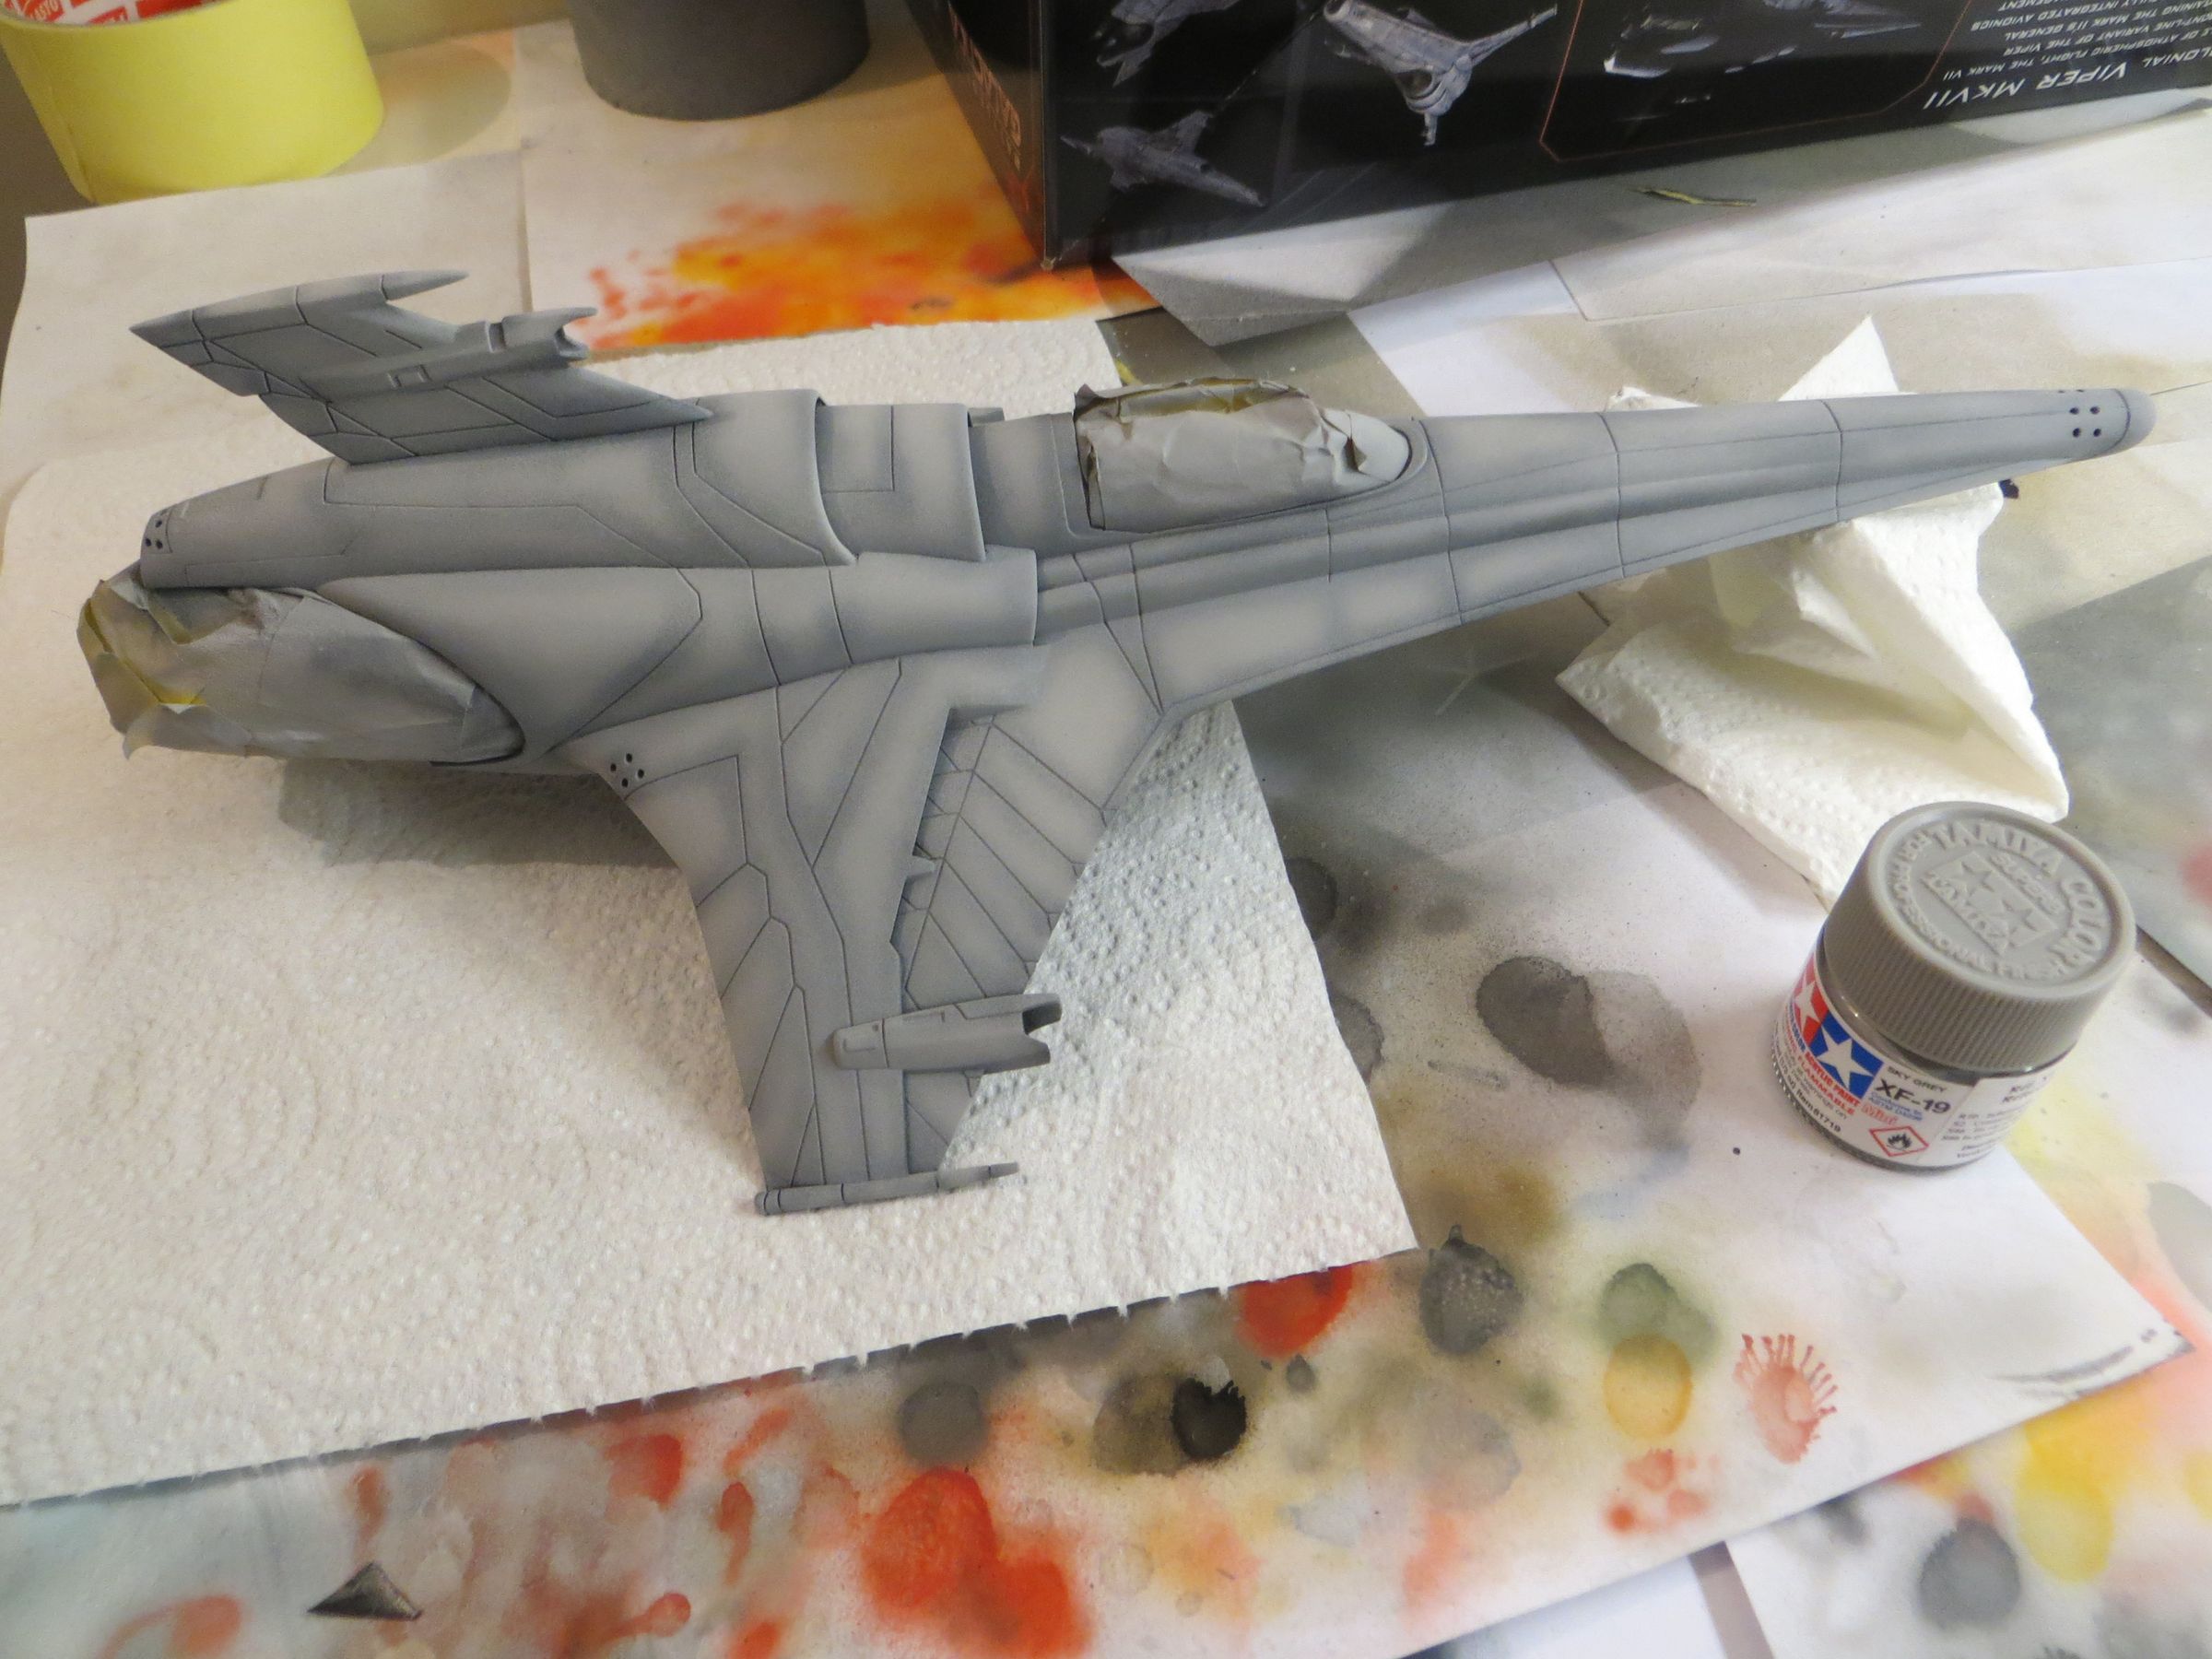
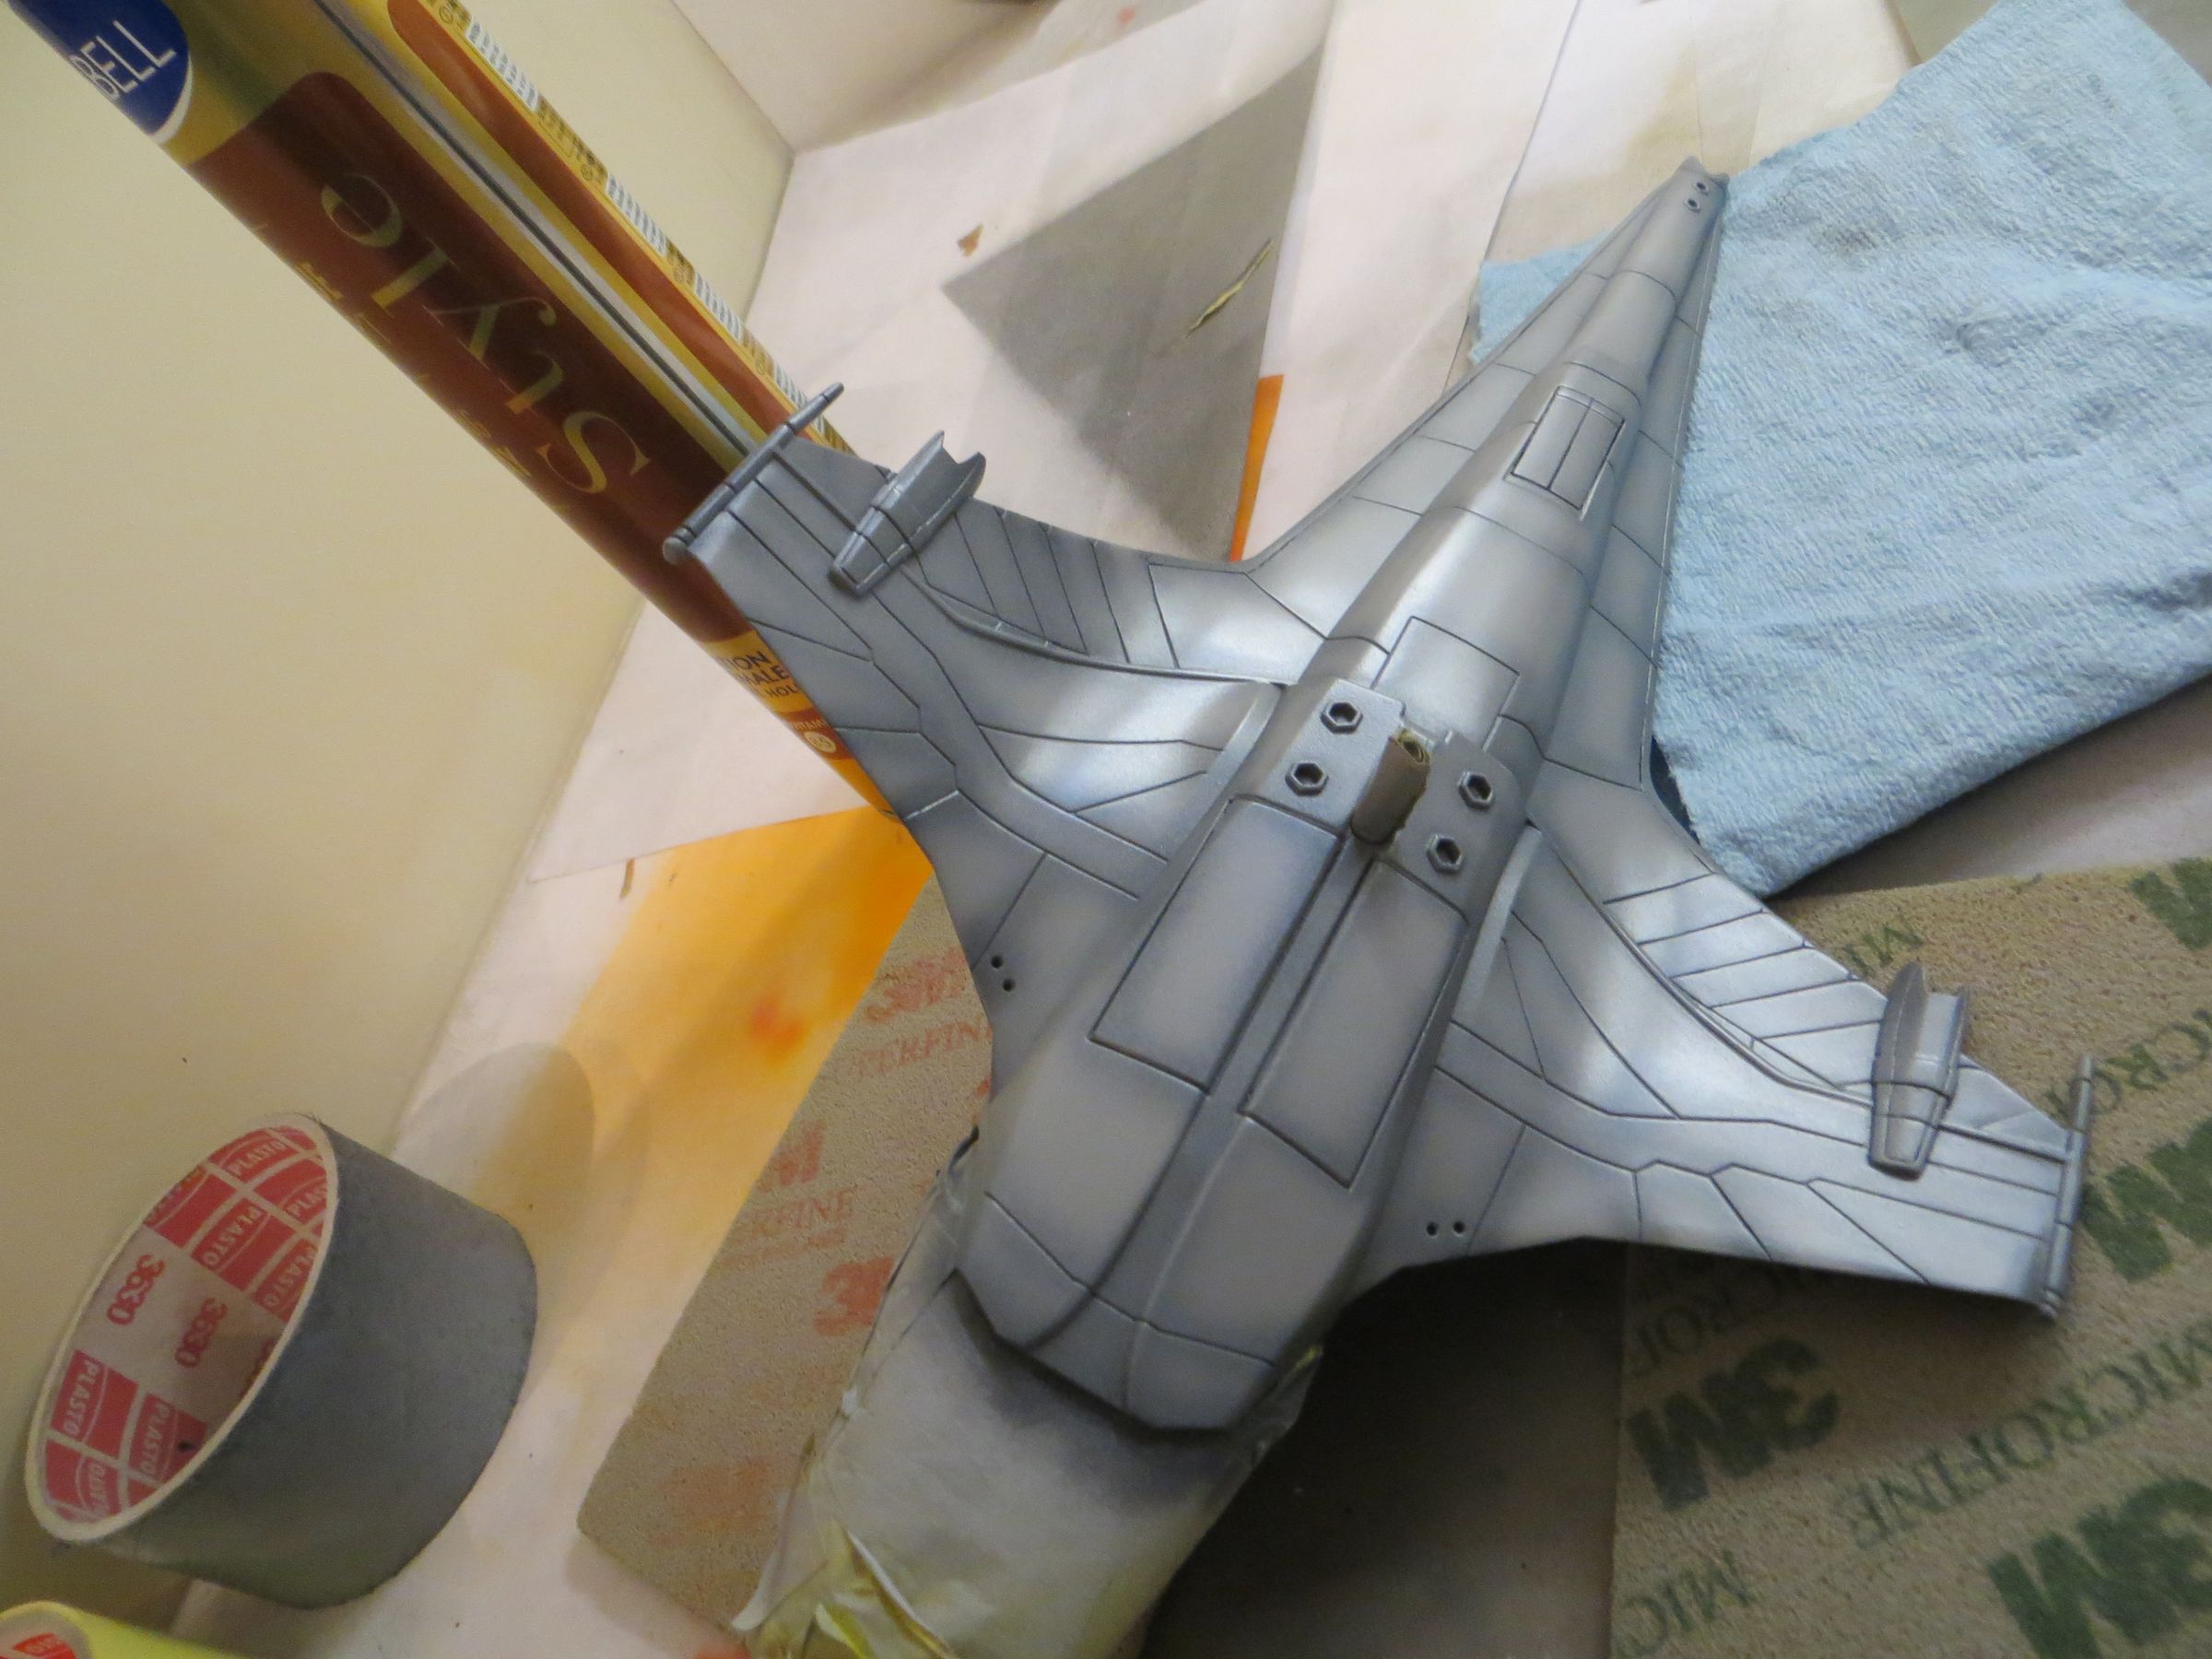
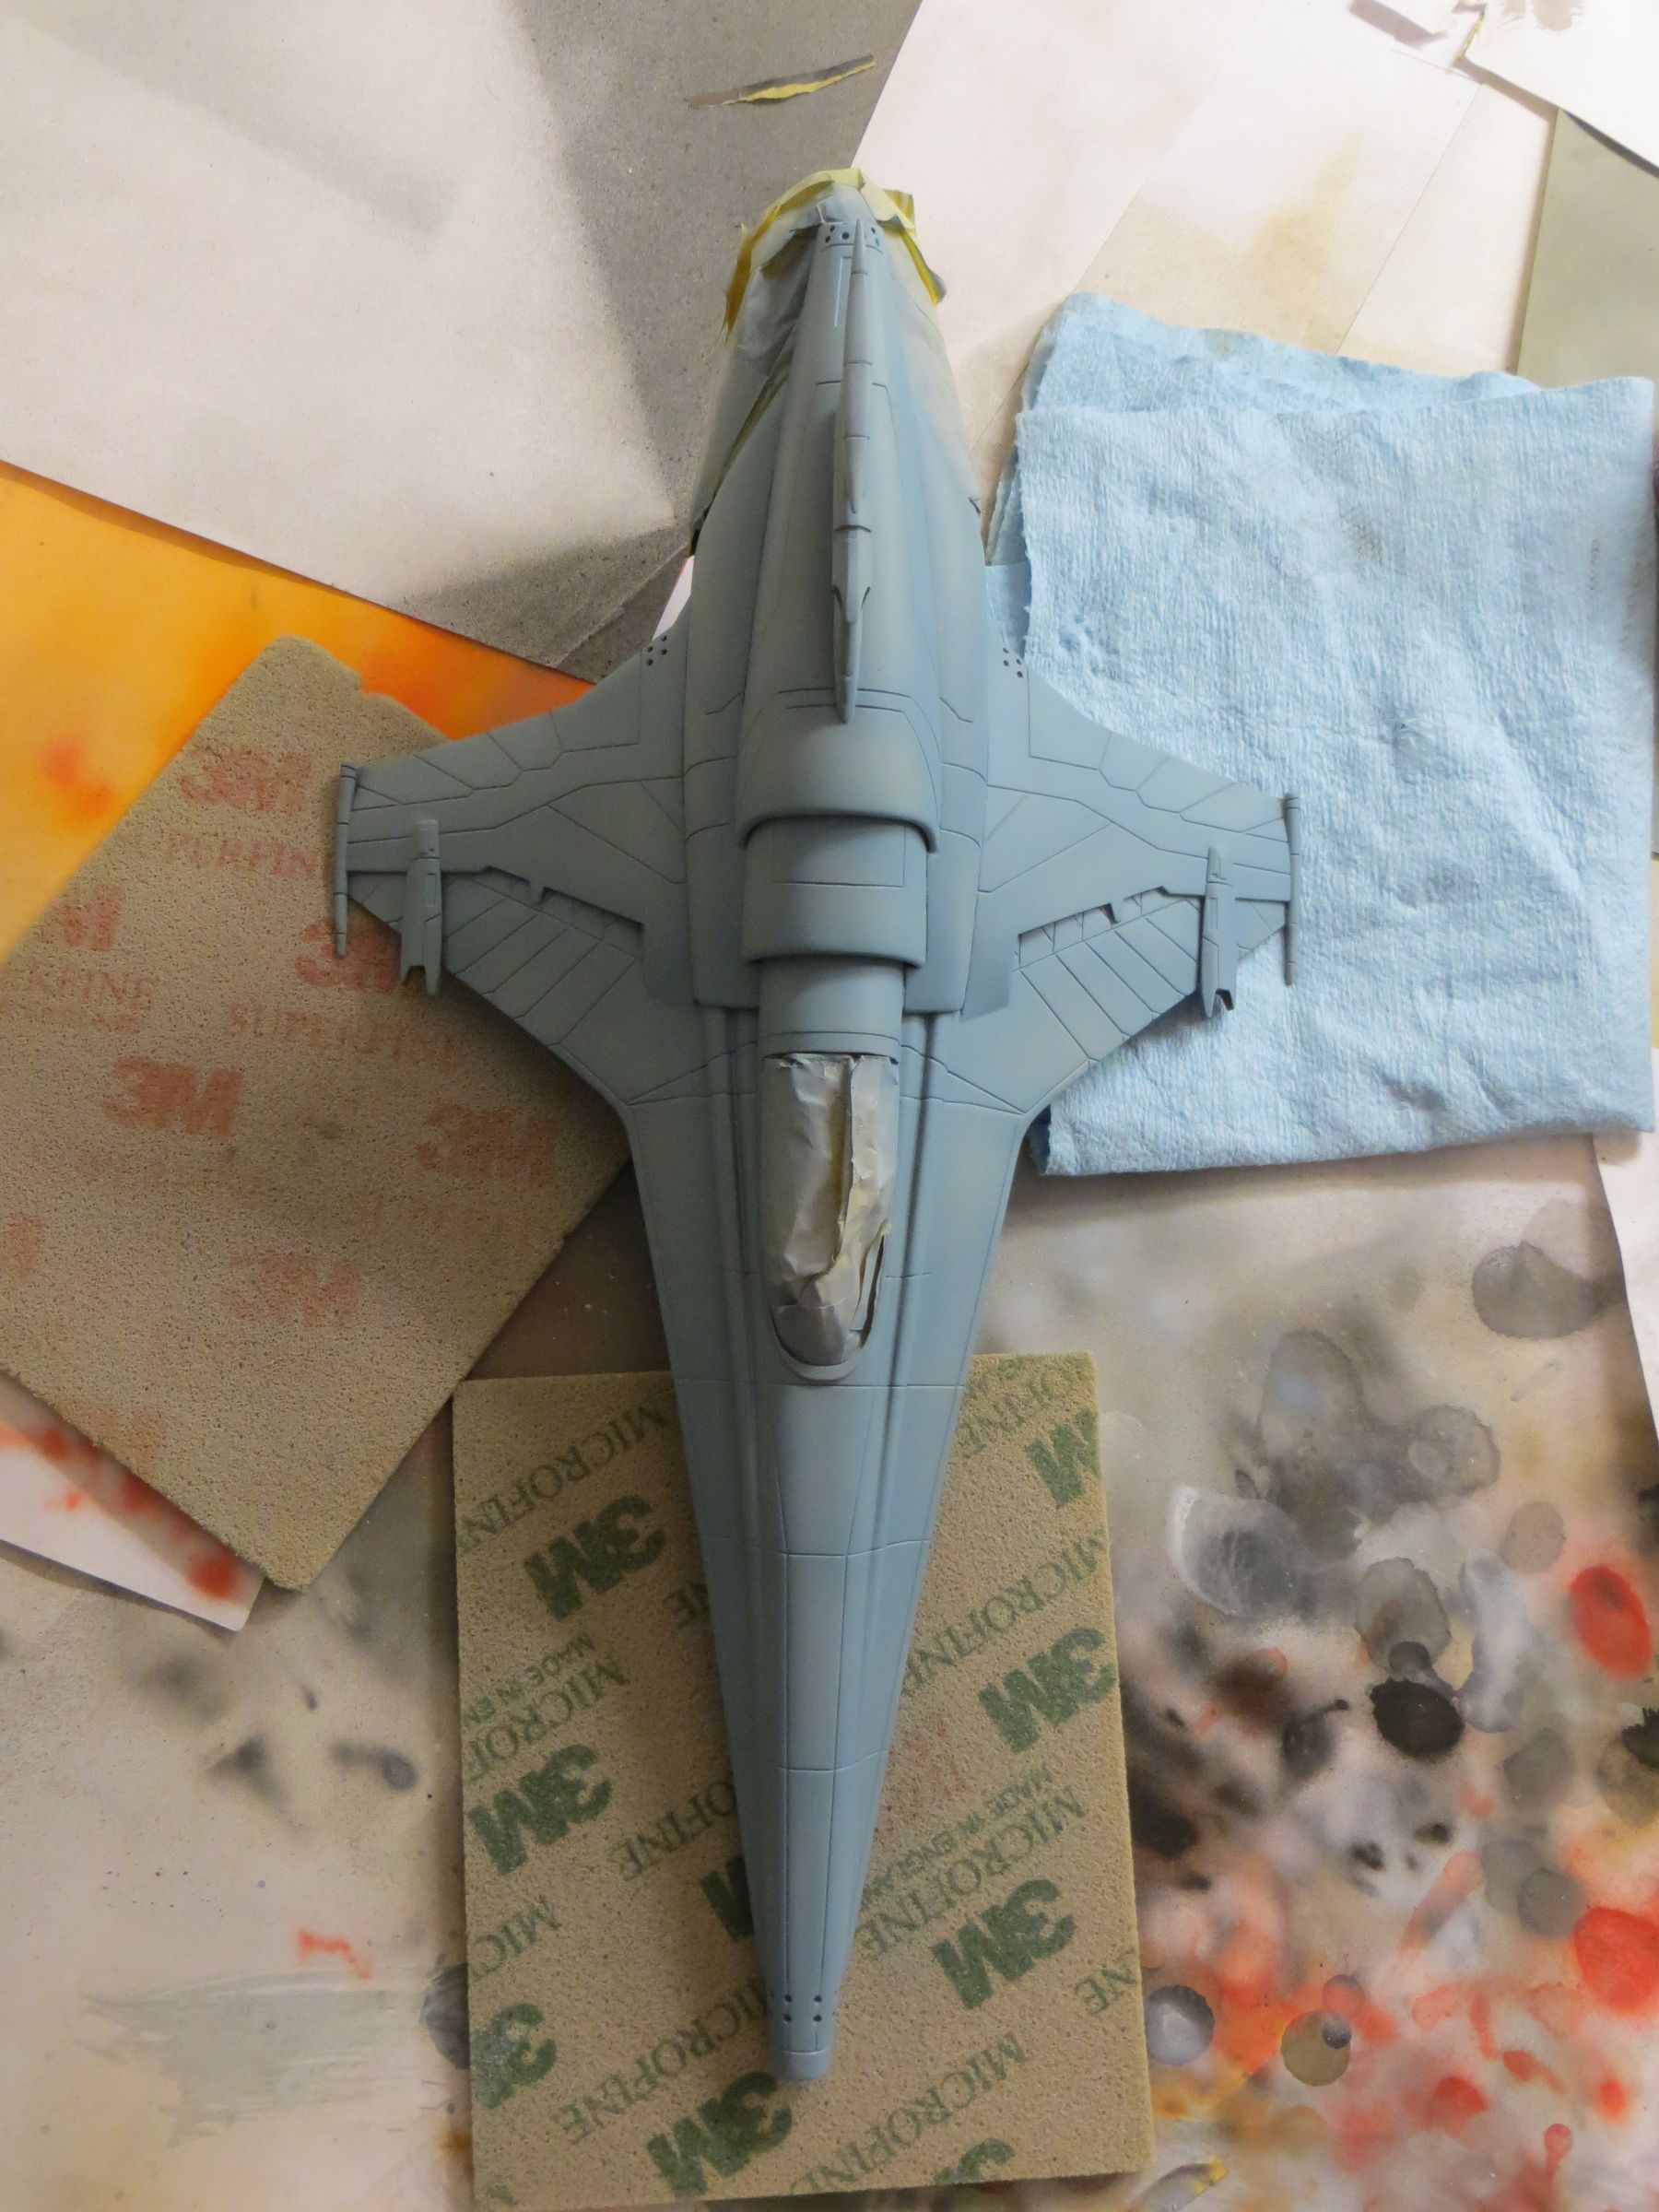
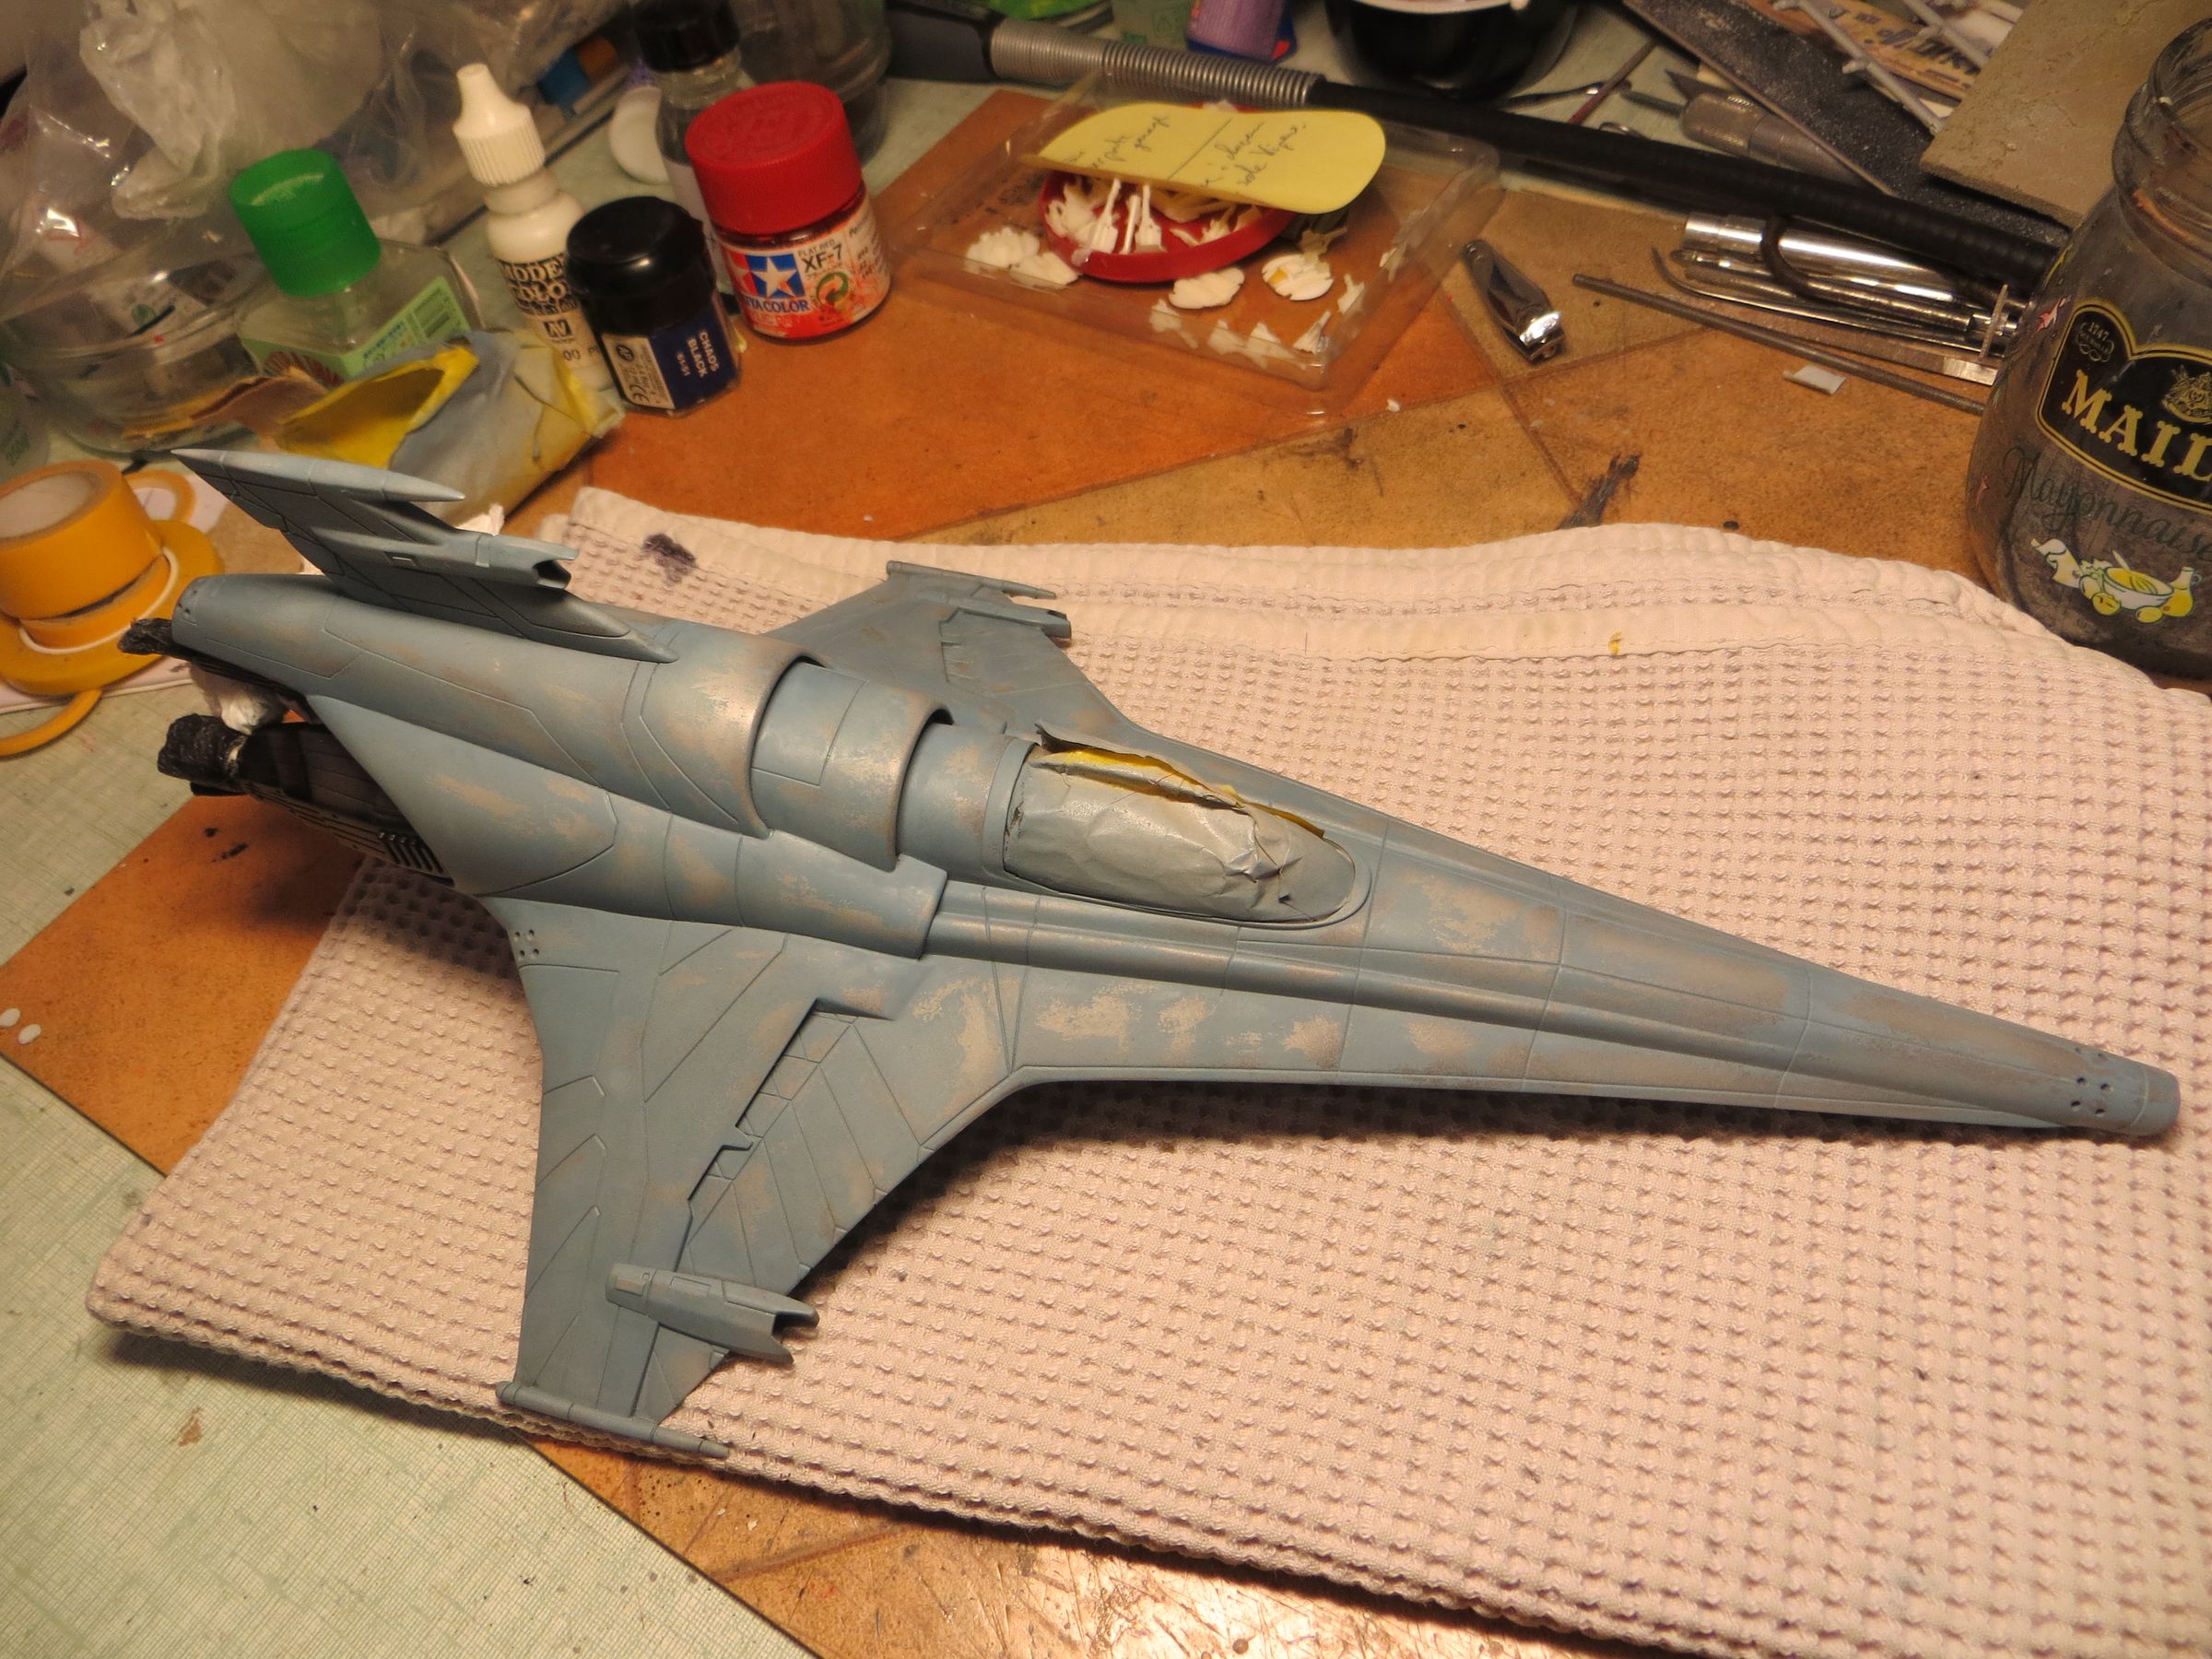
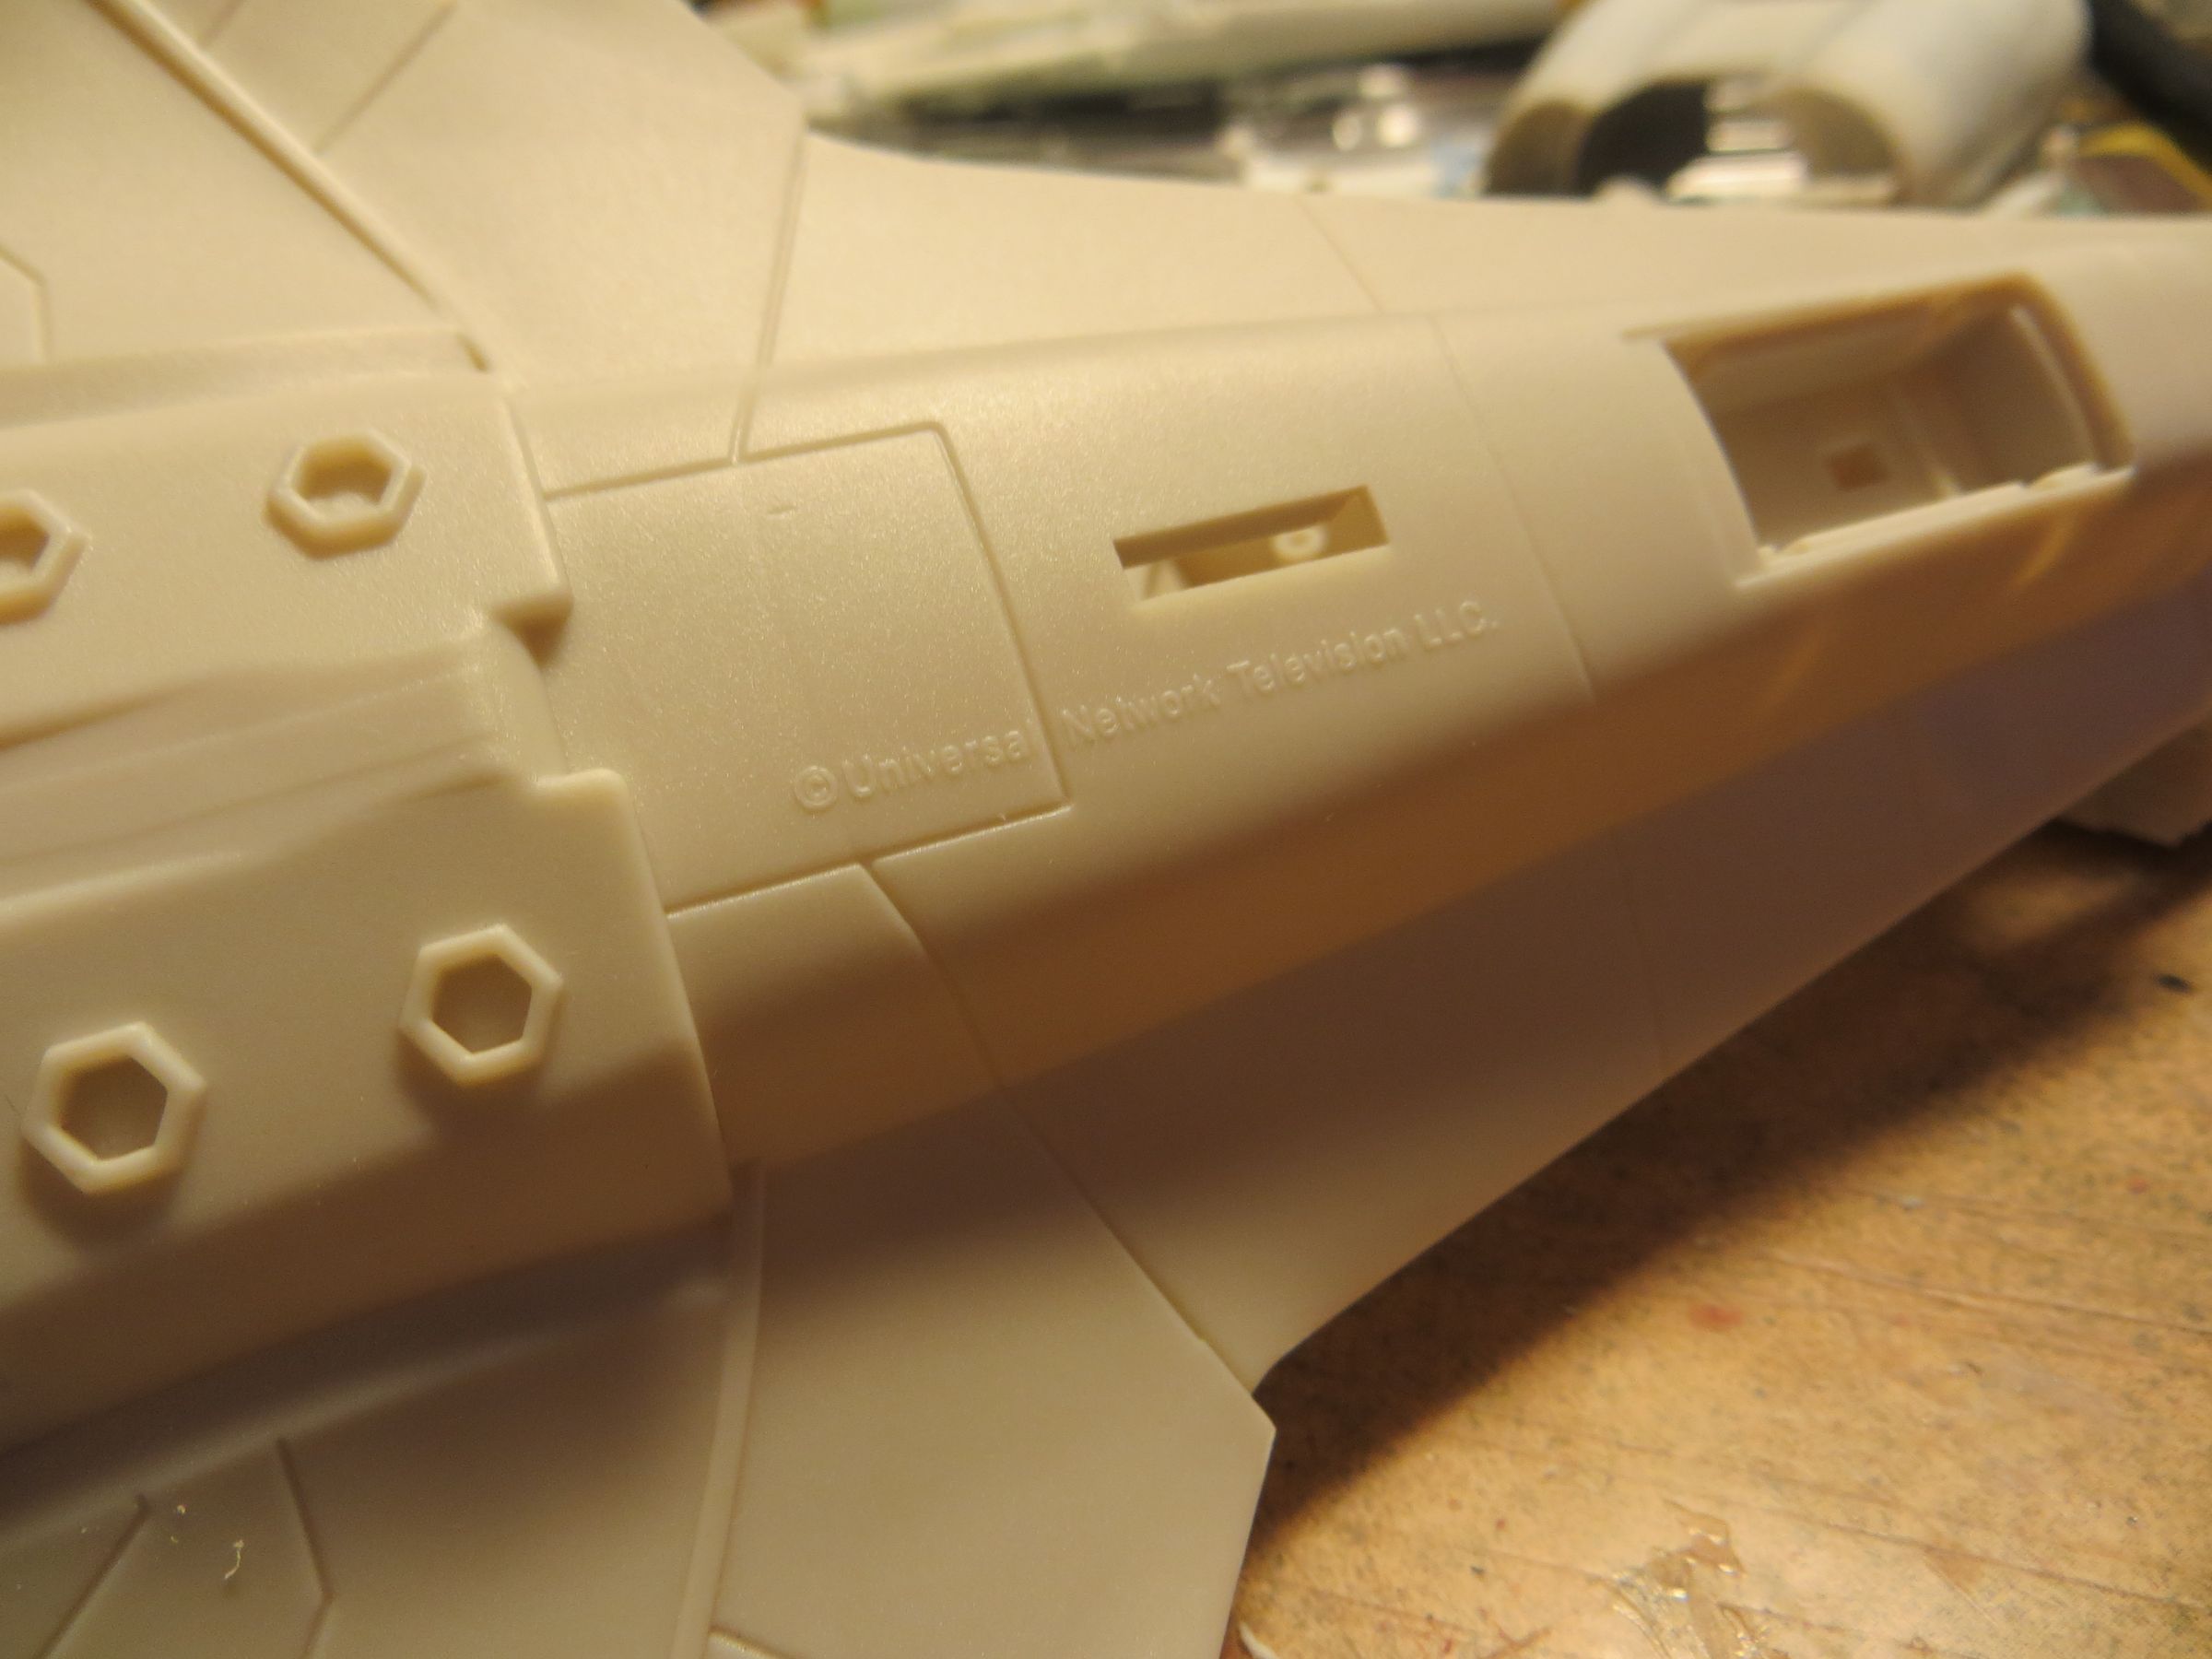
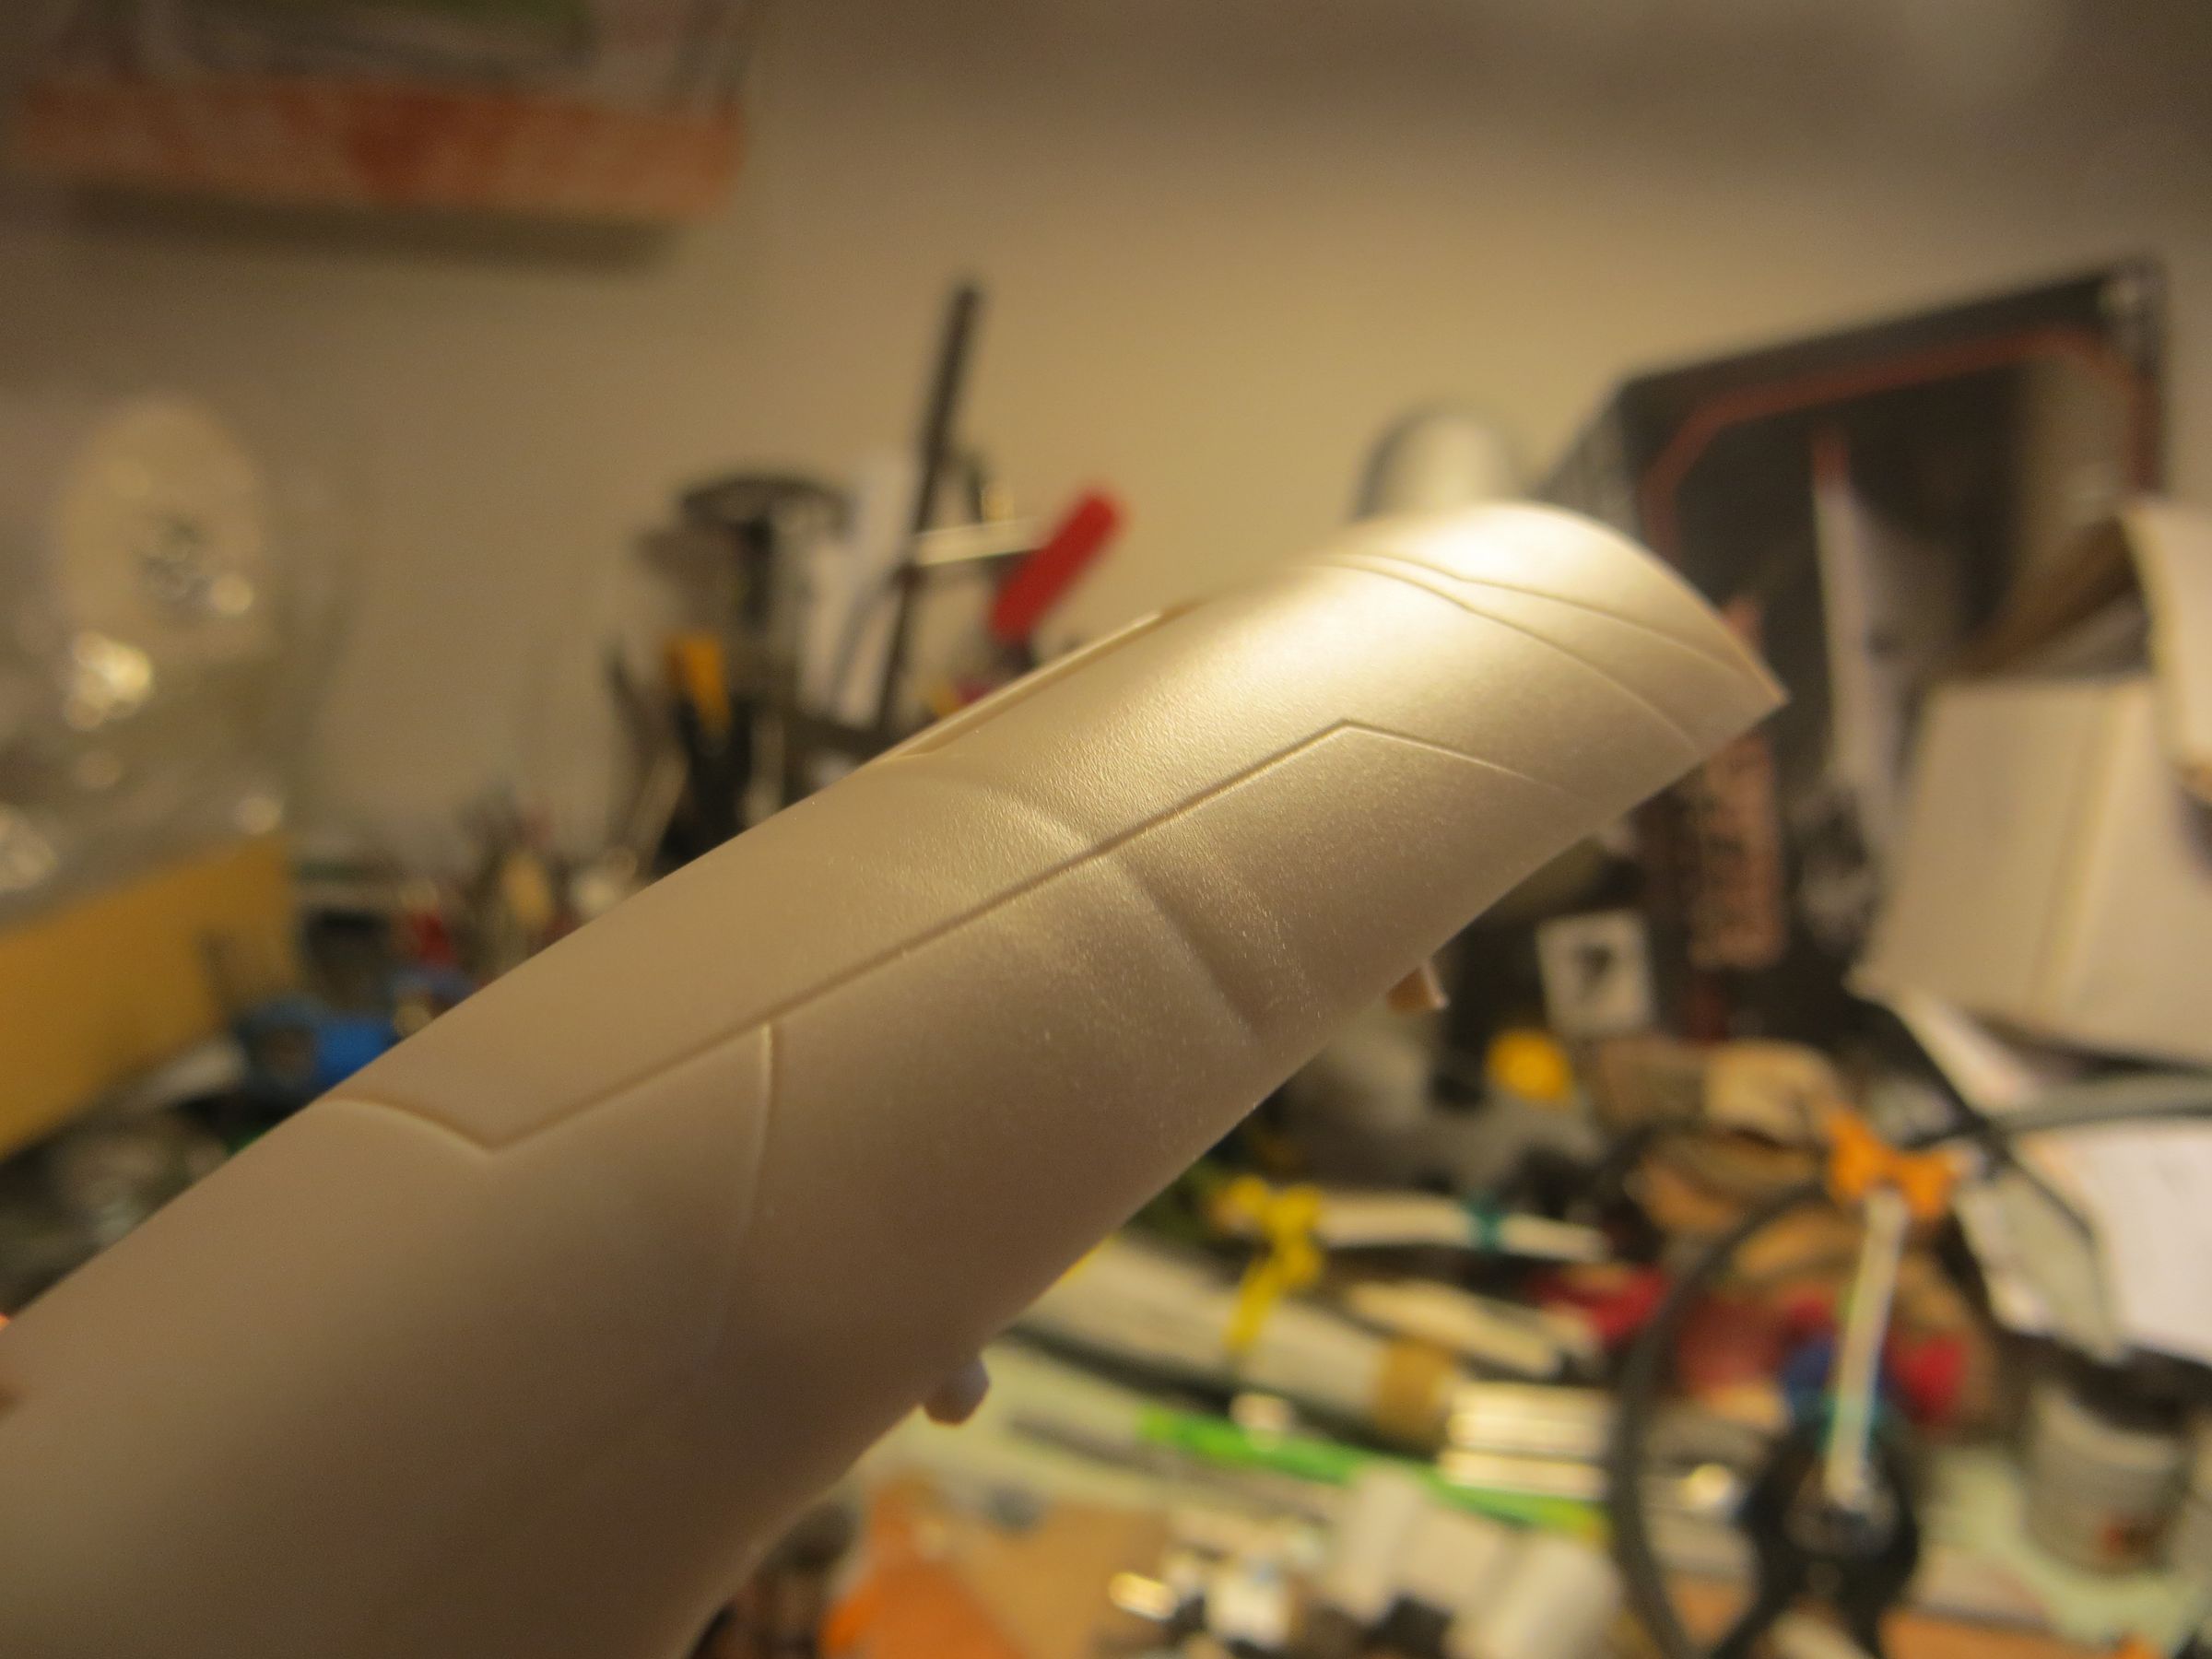
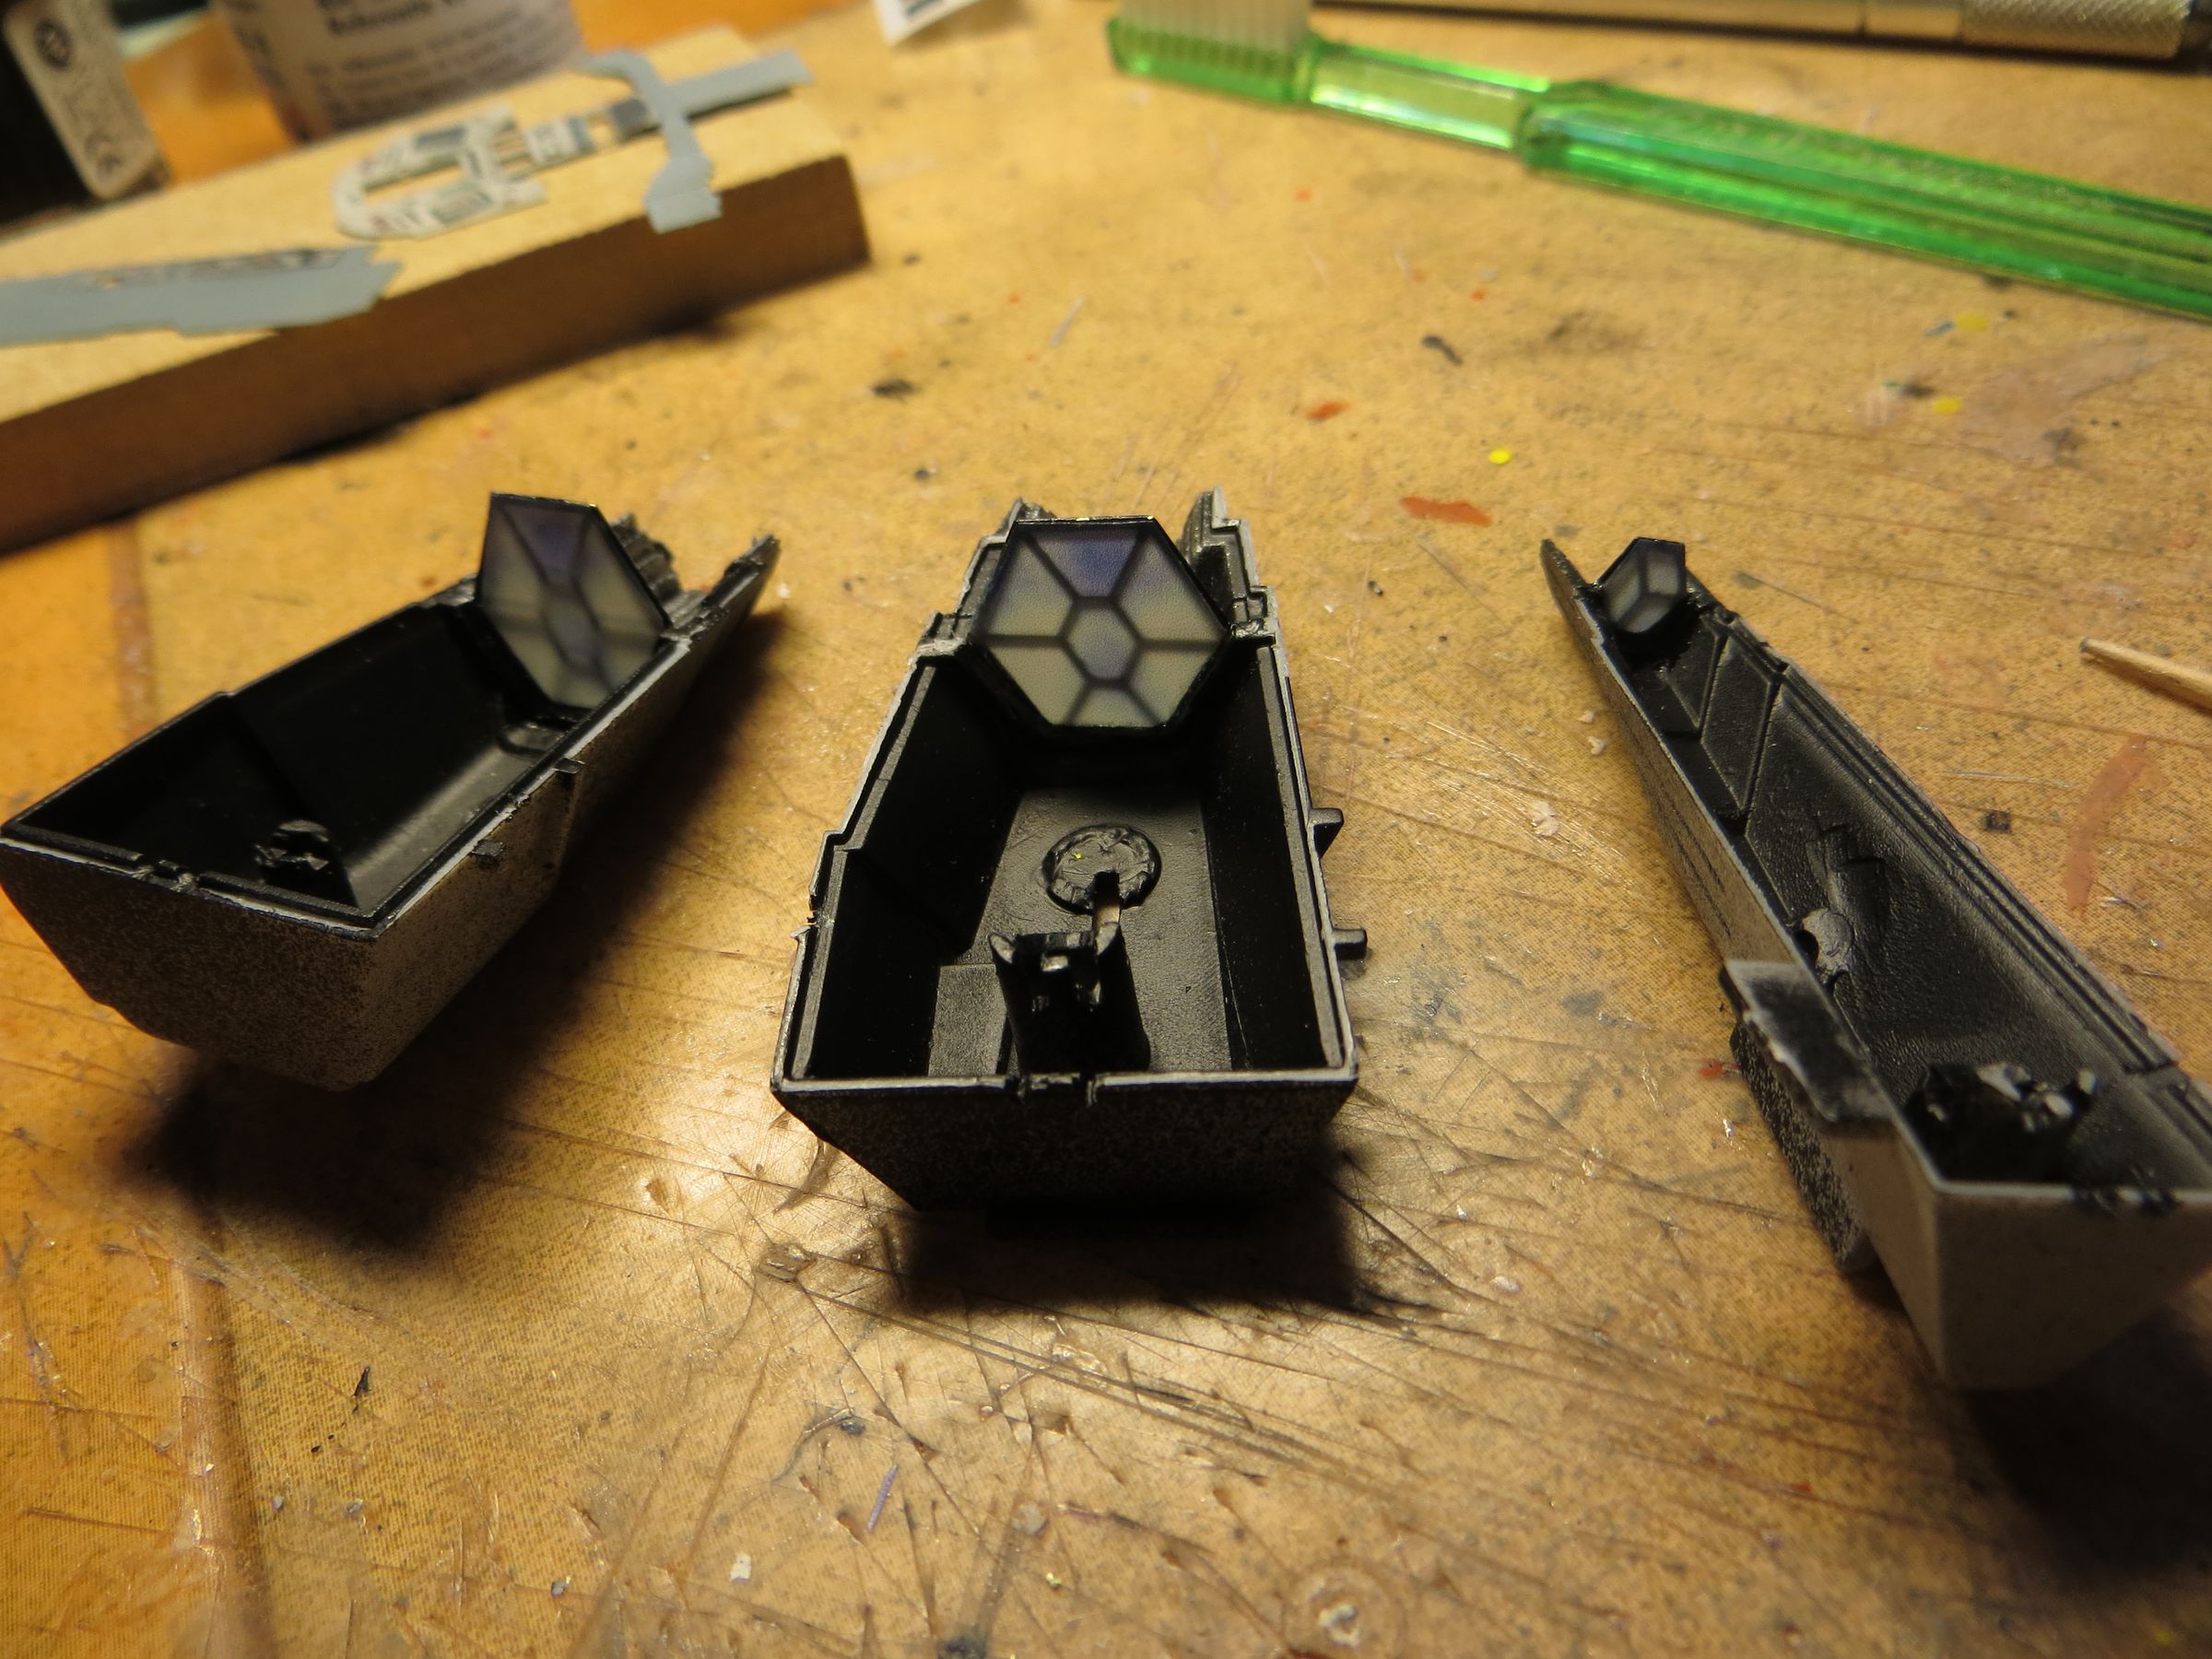
If it looks okay from a distance, this kit is very disappointing when studied closer :
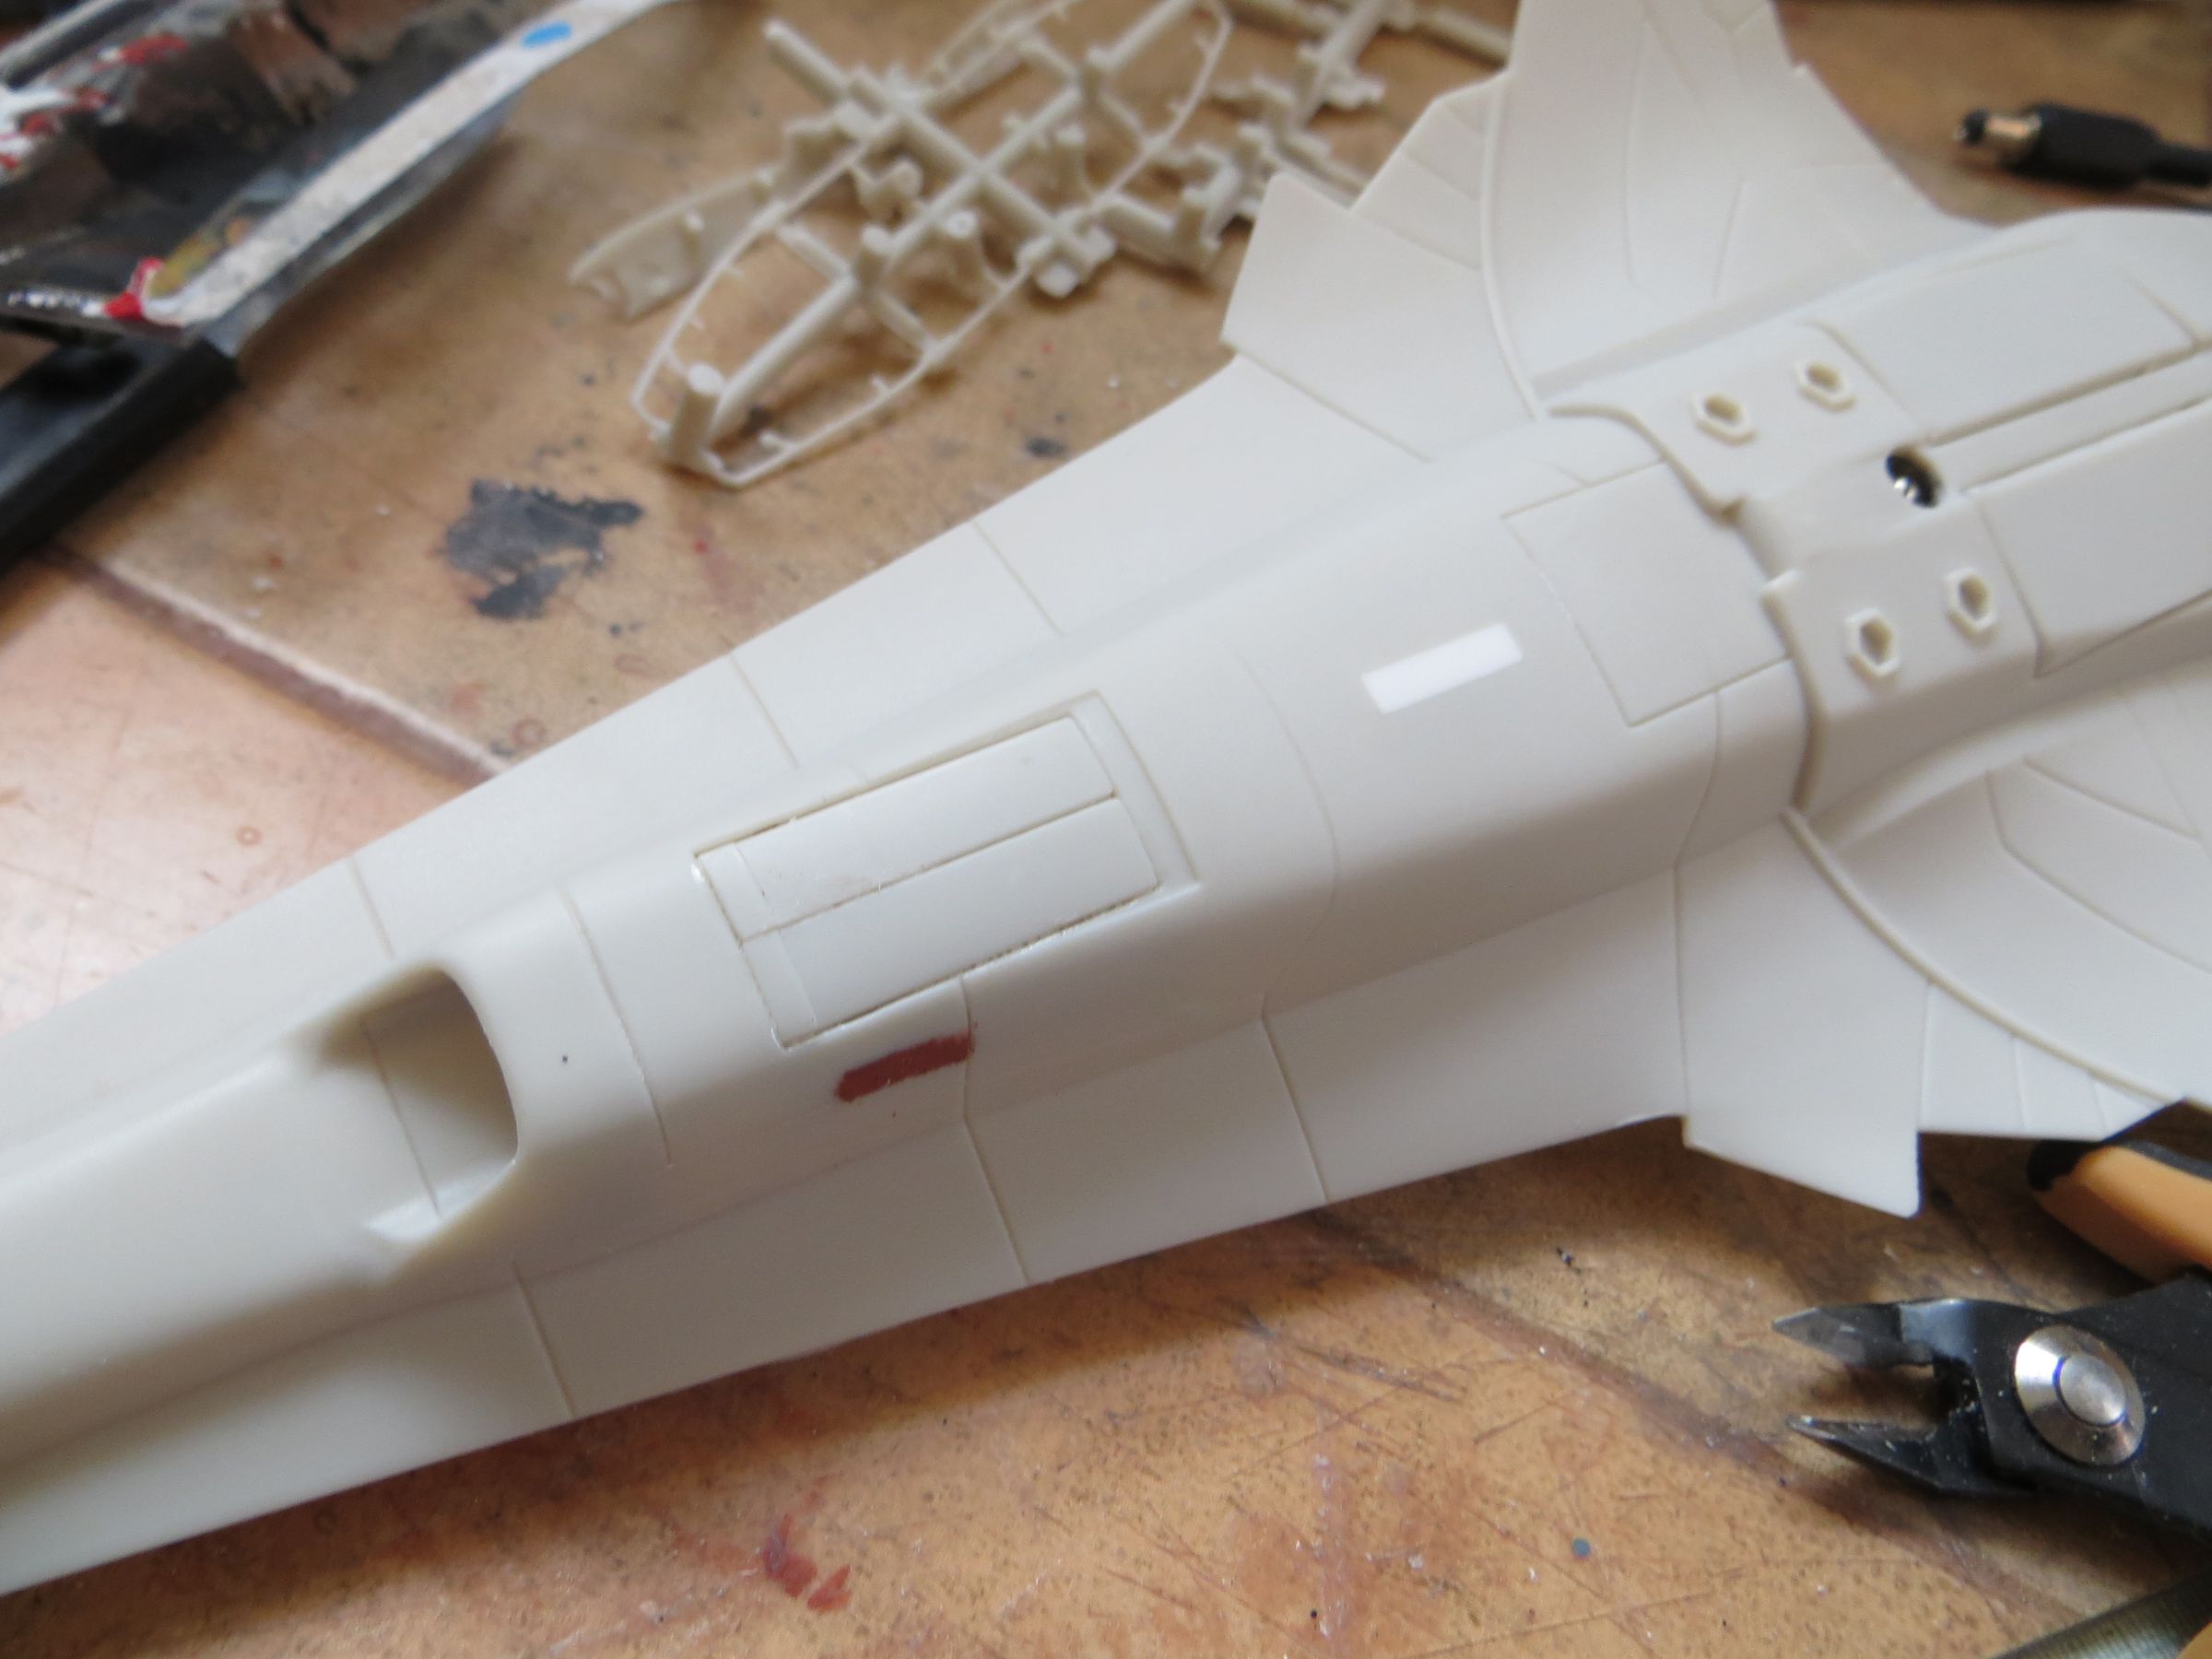
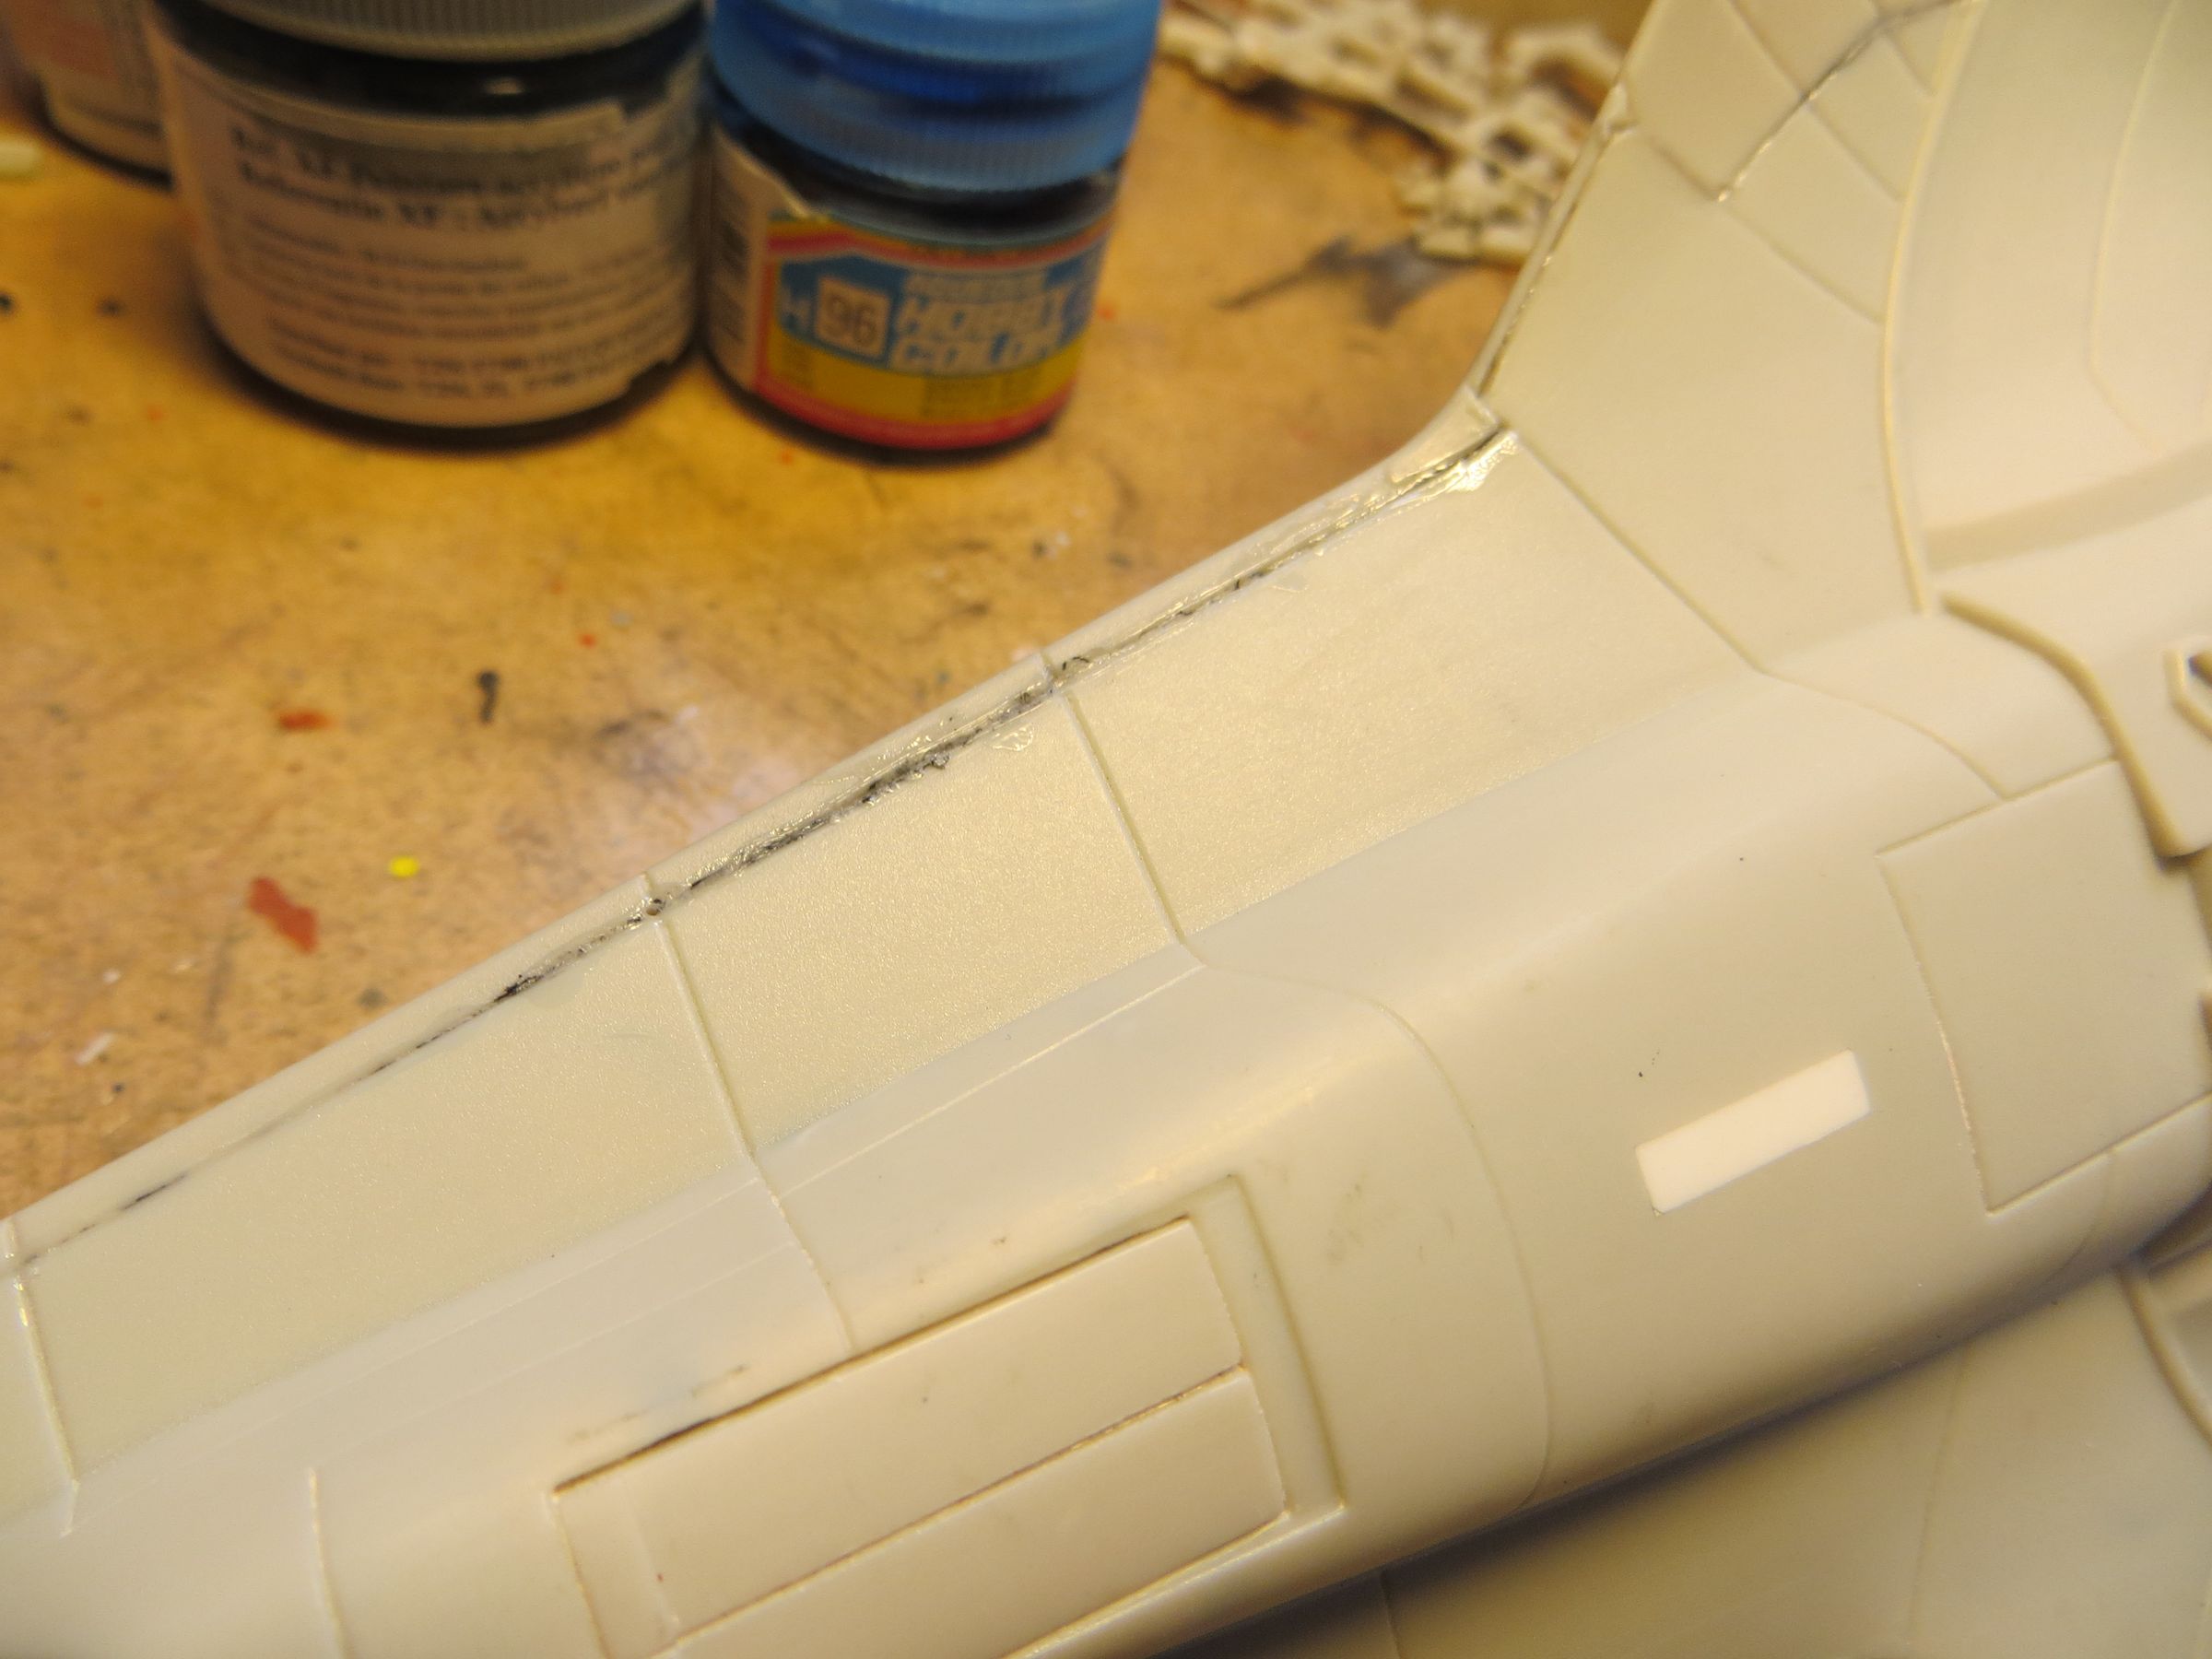
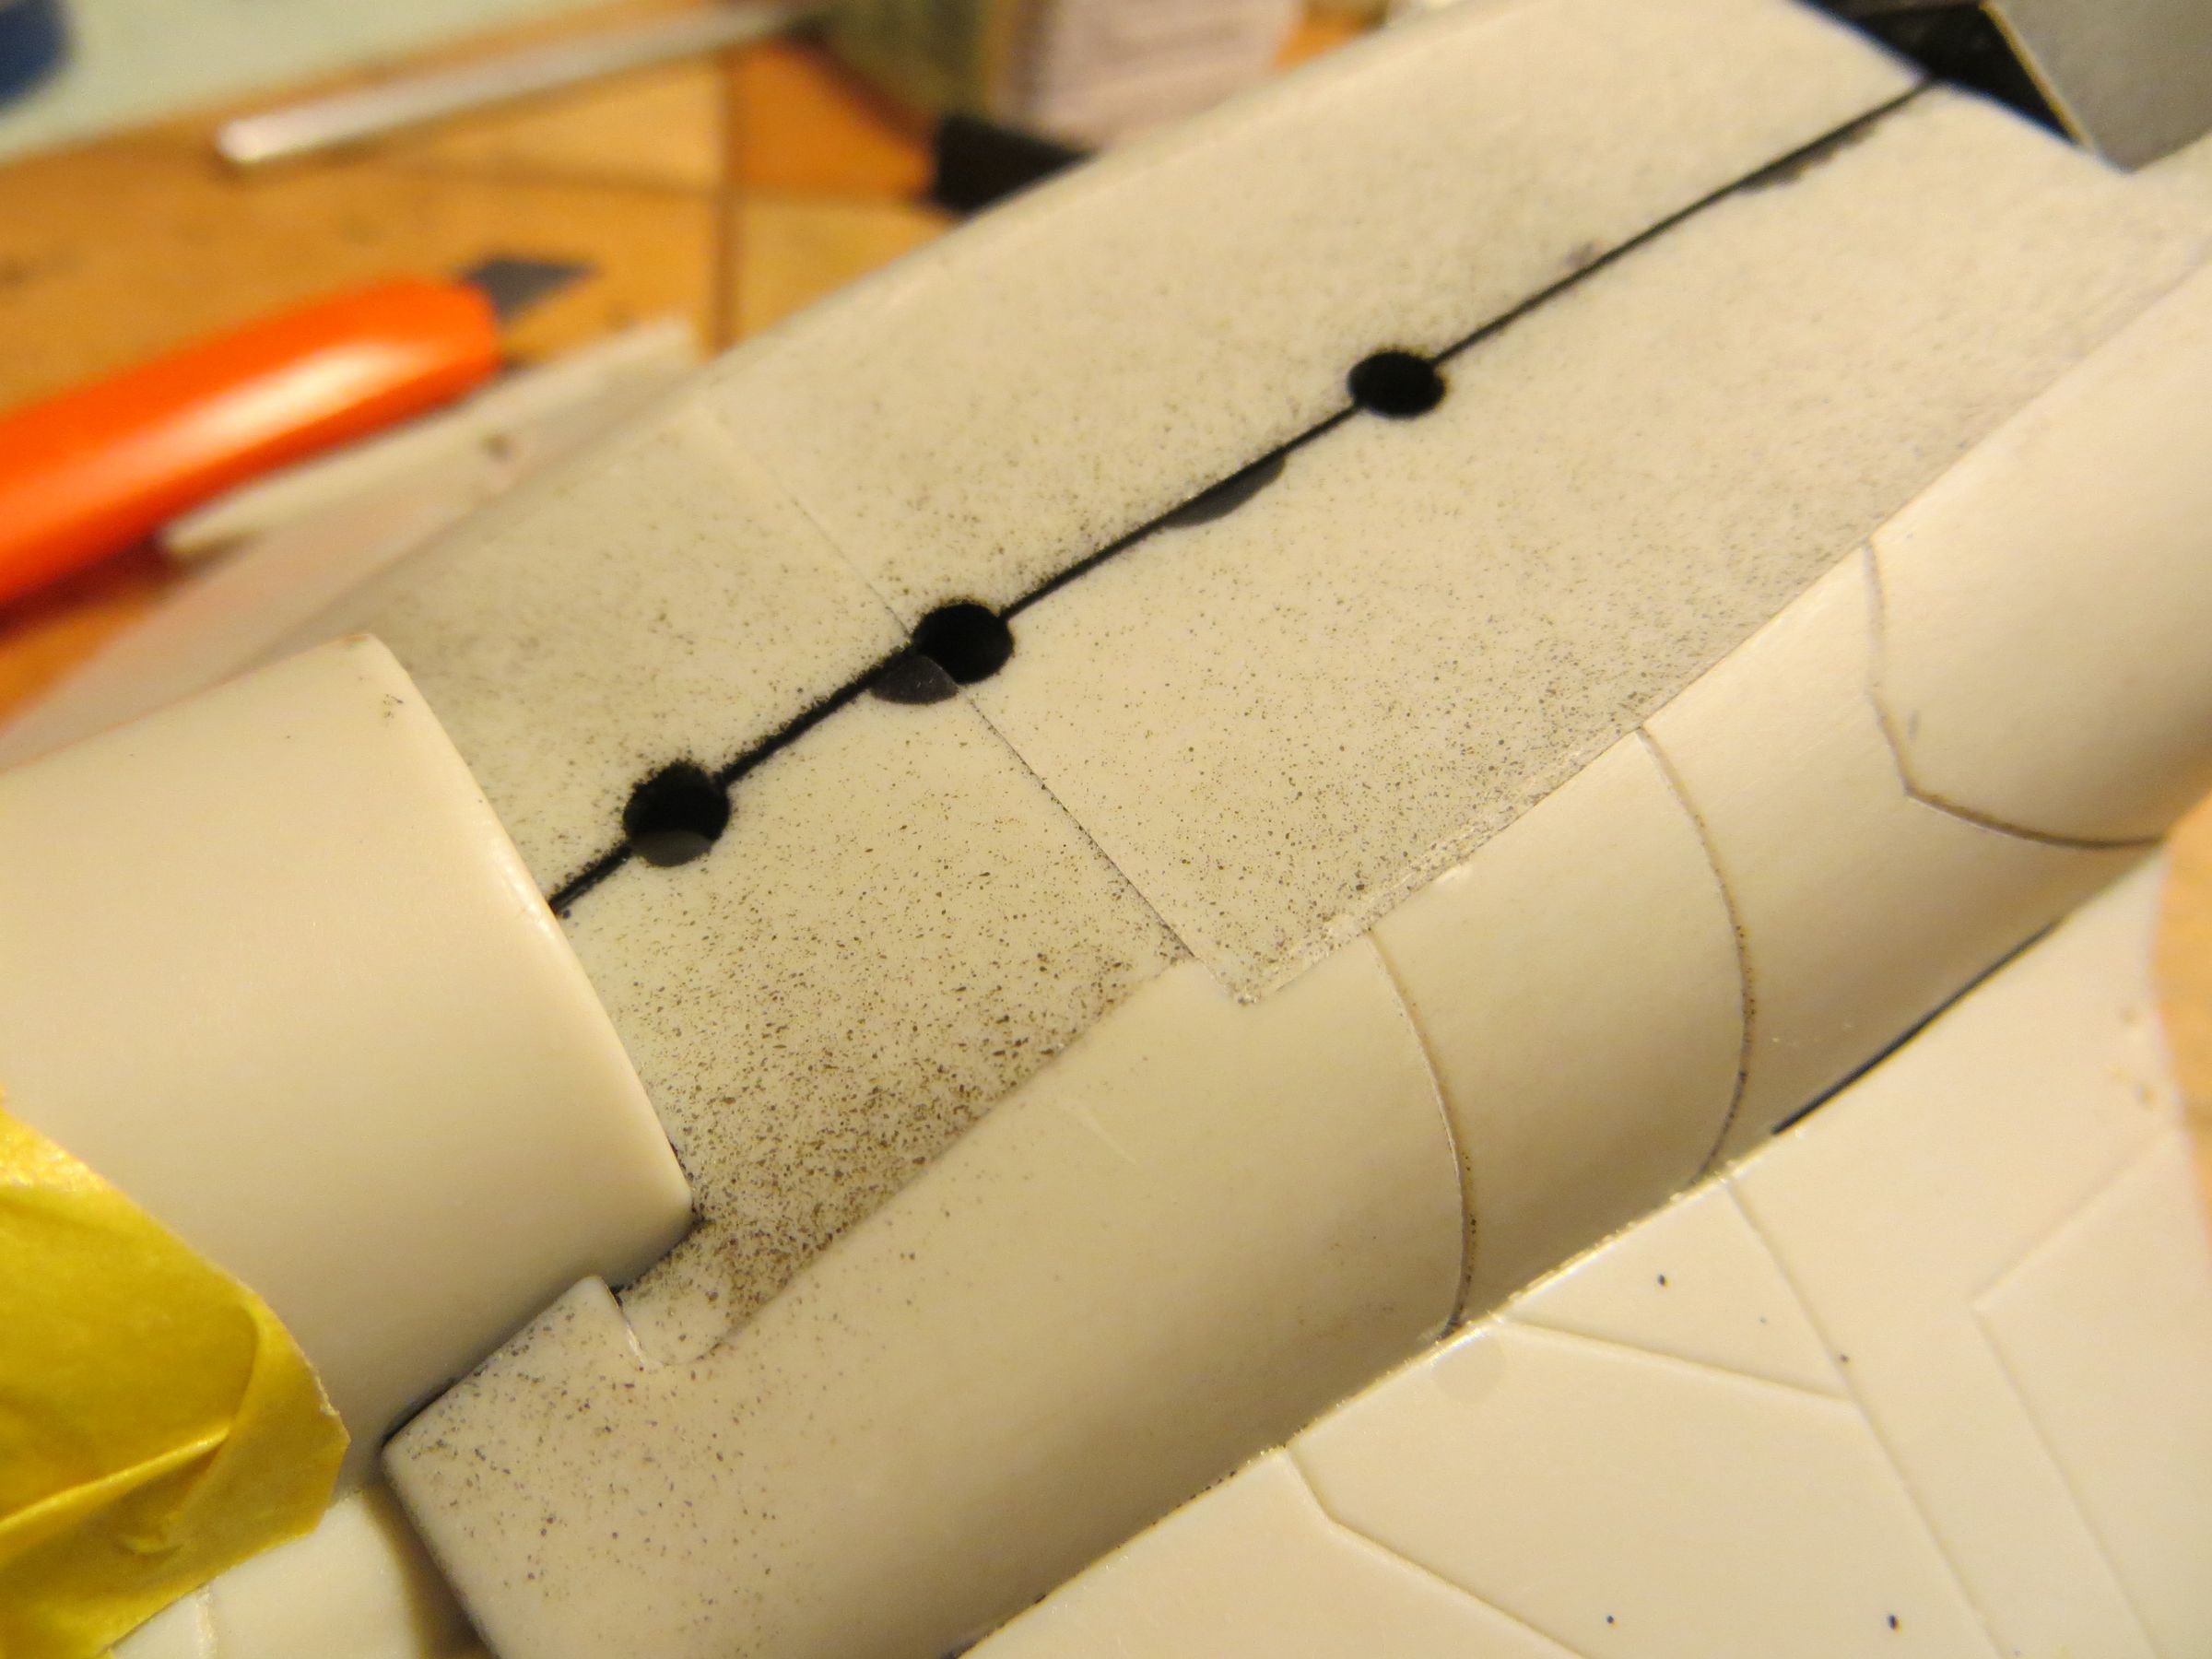
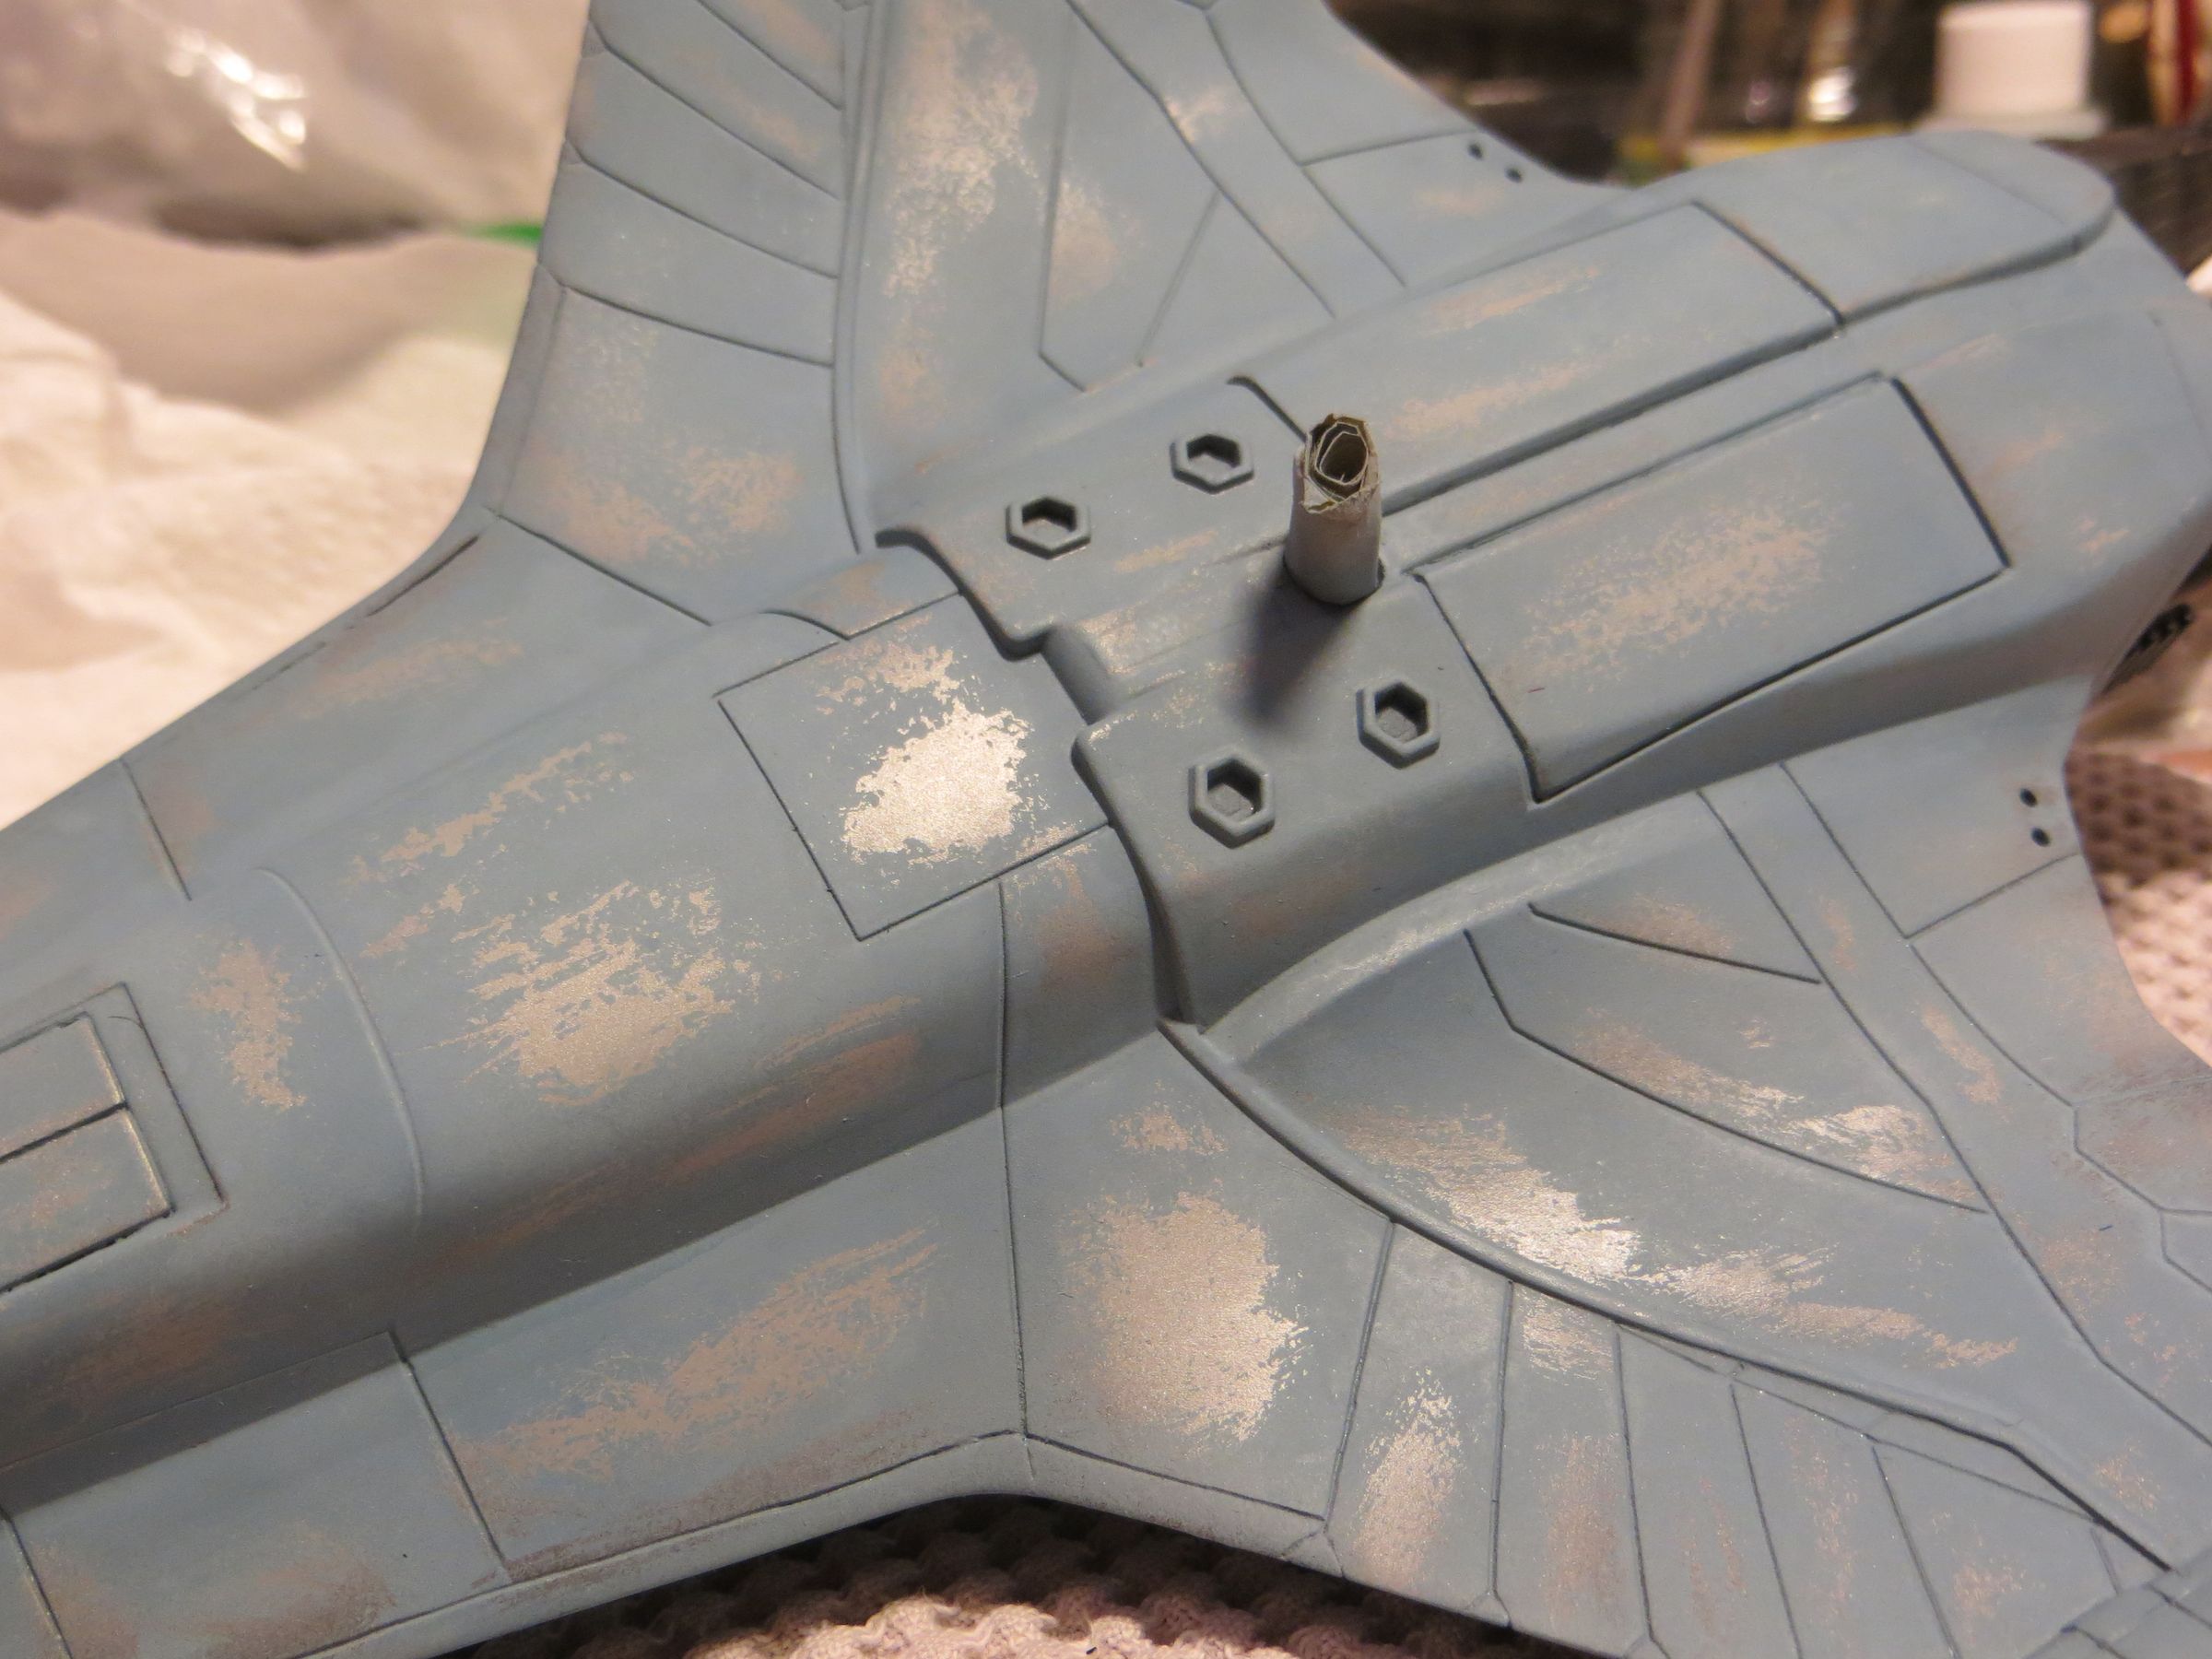
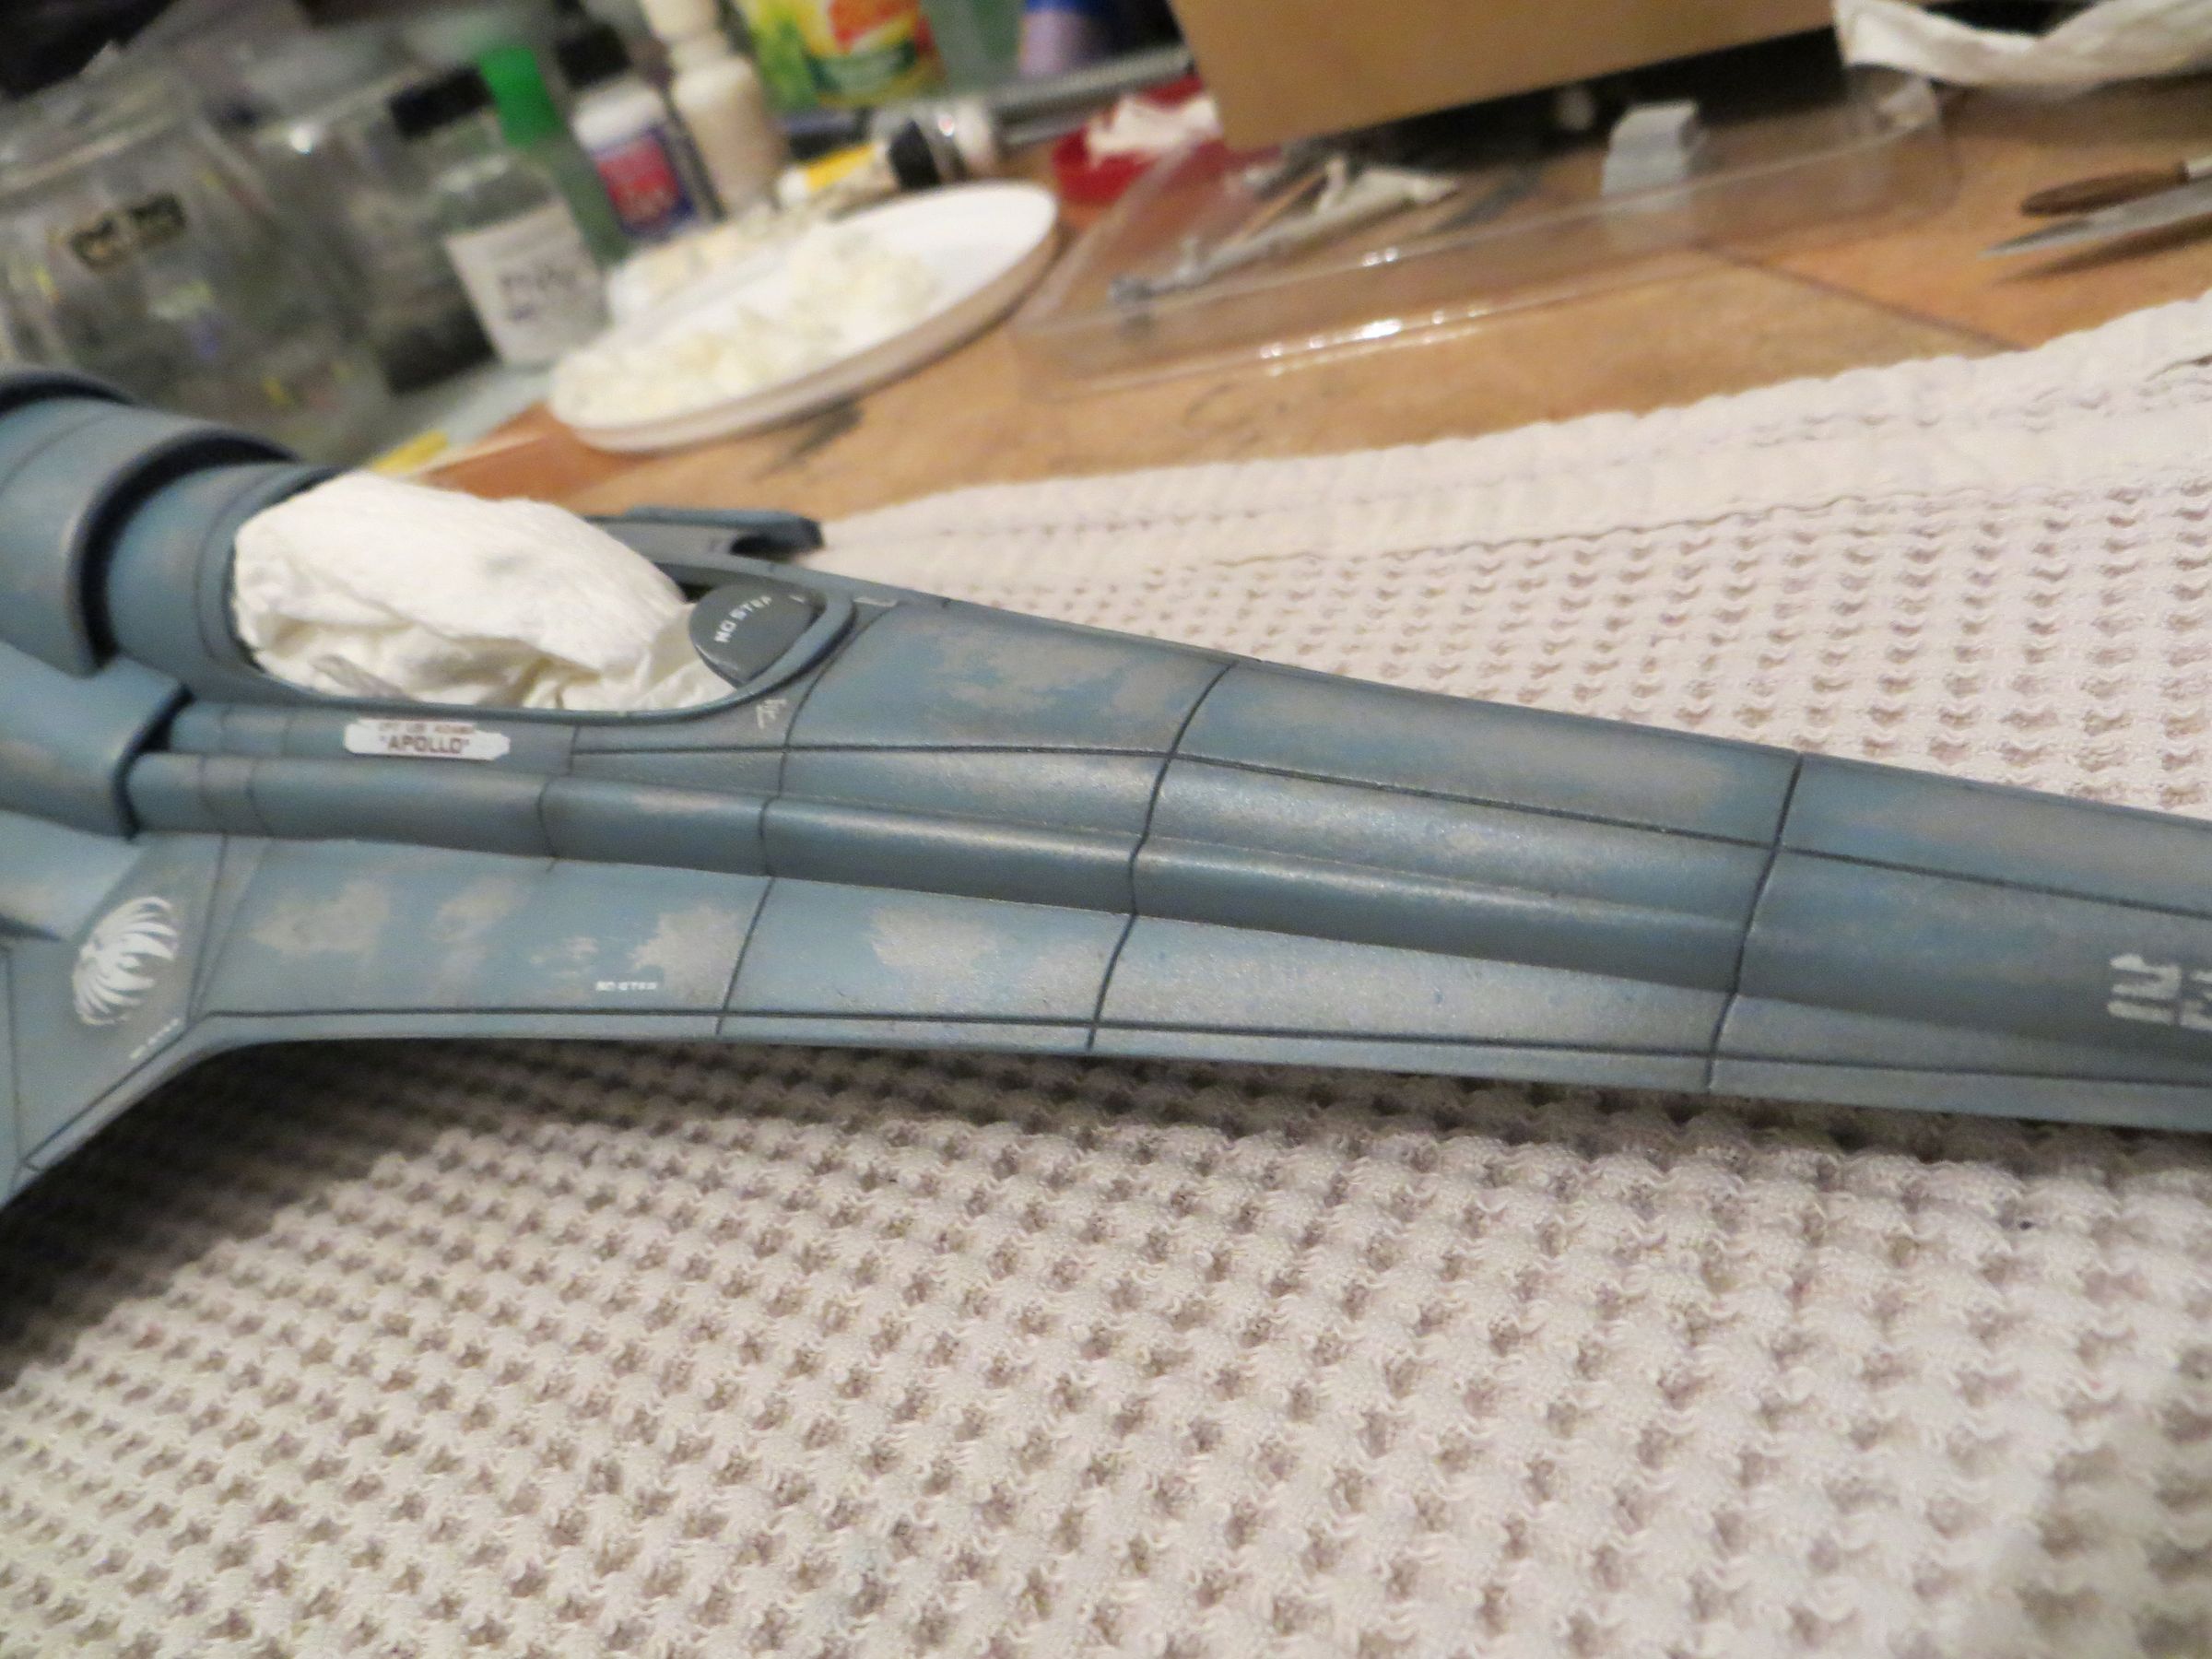
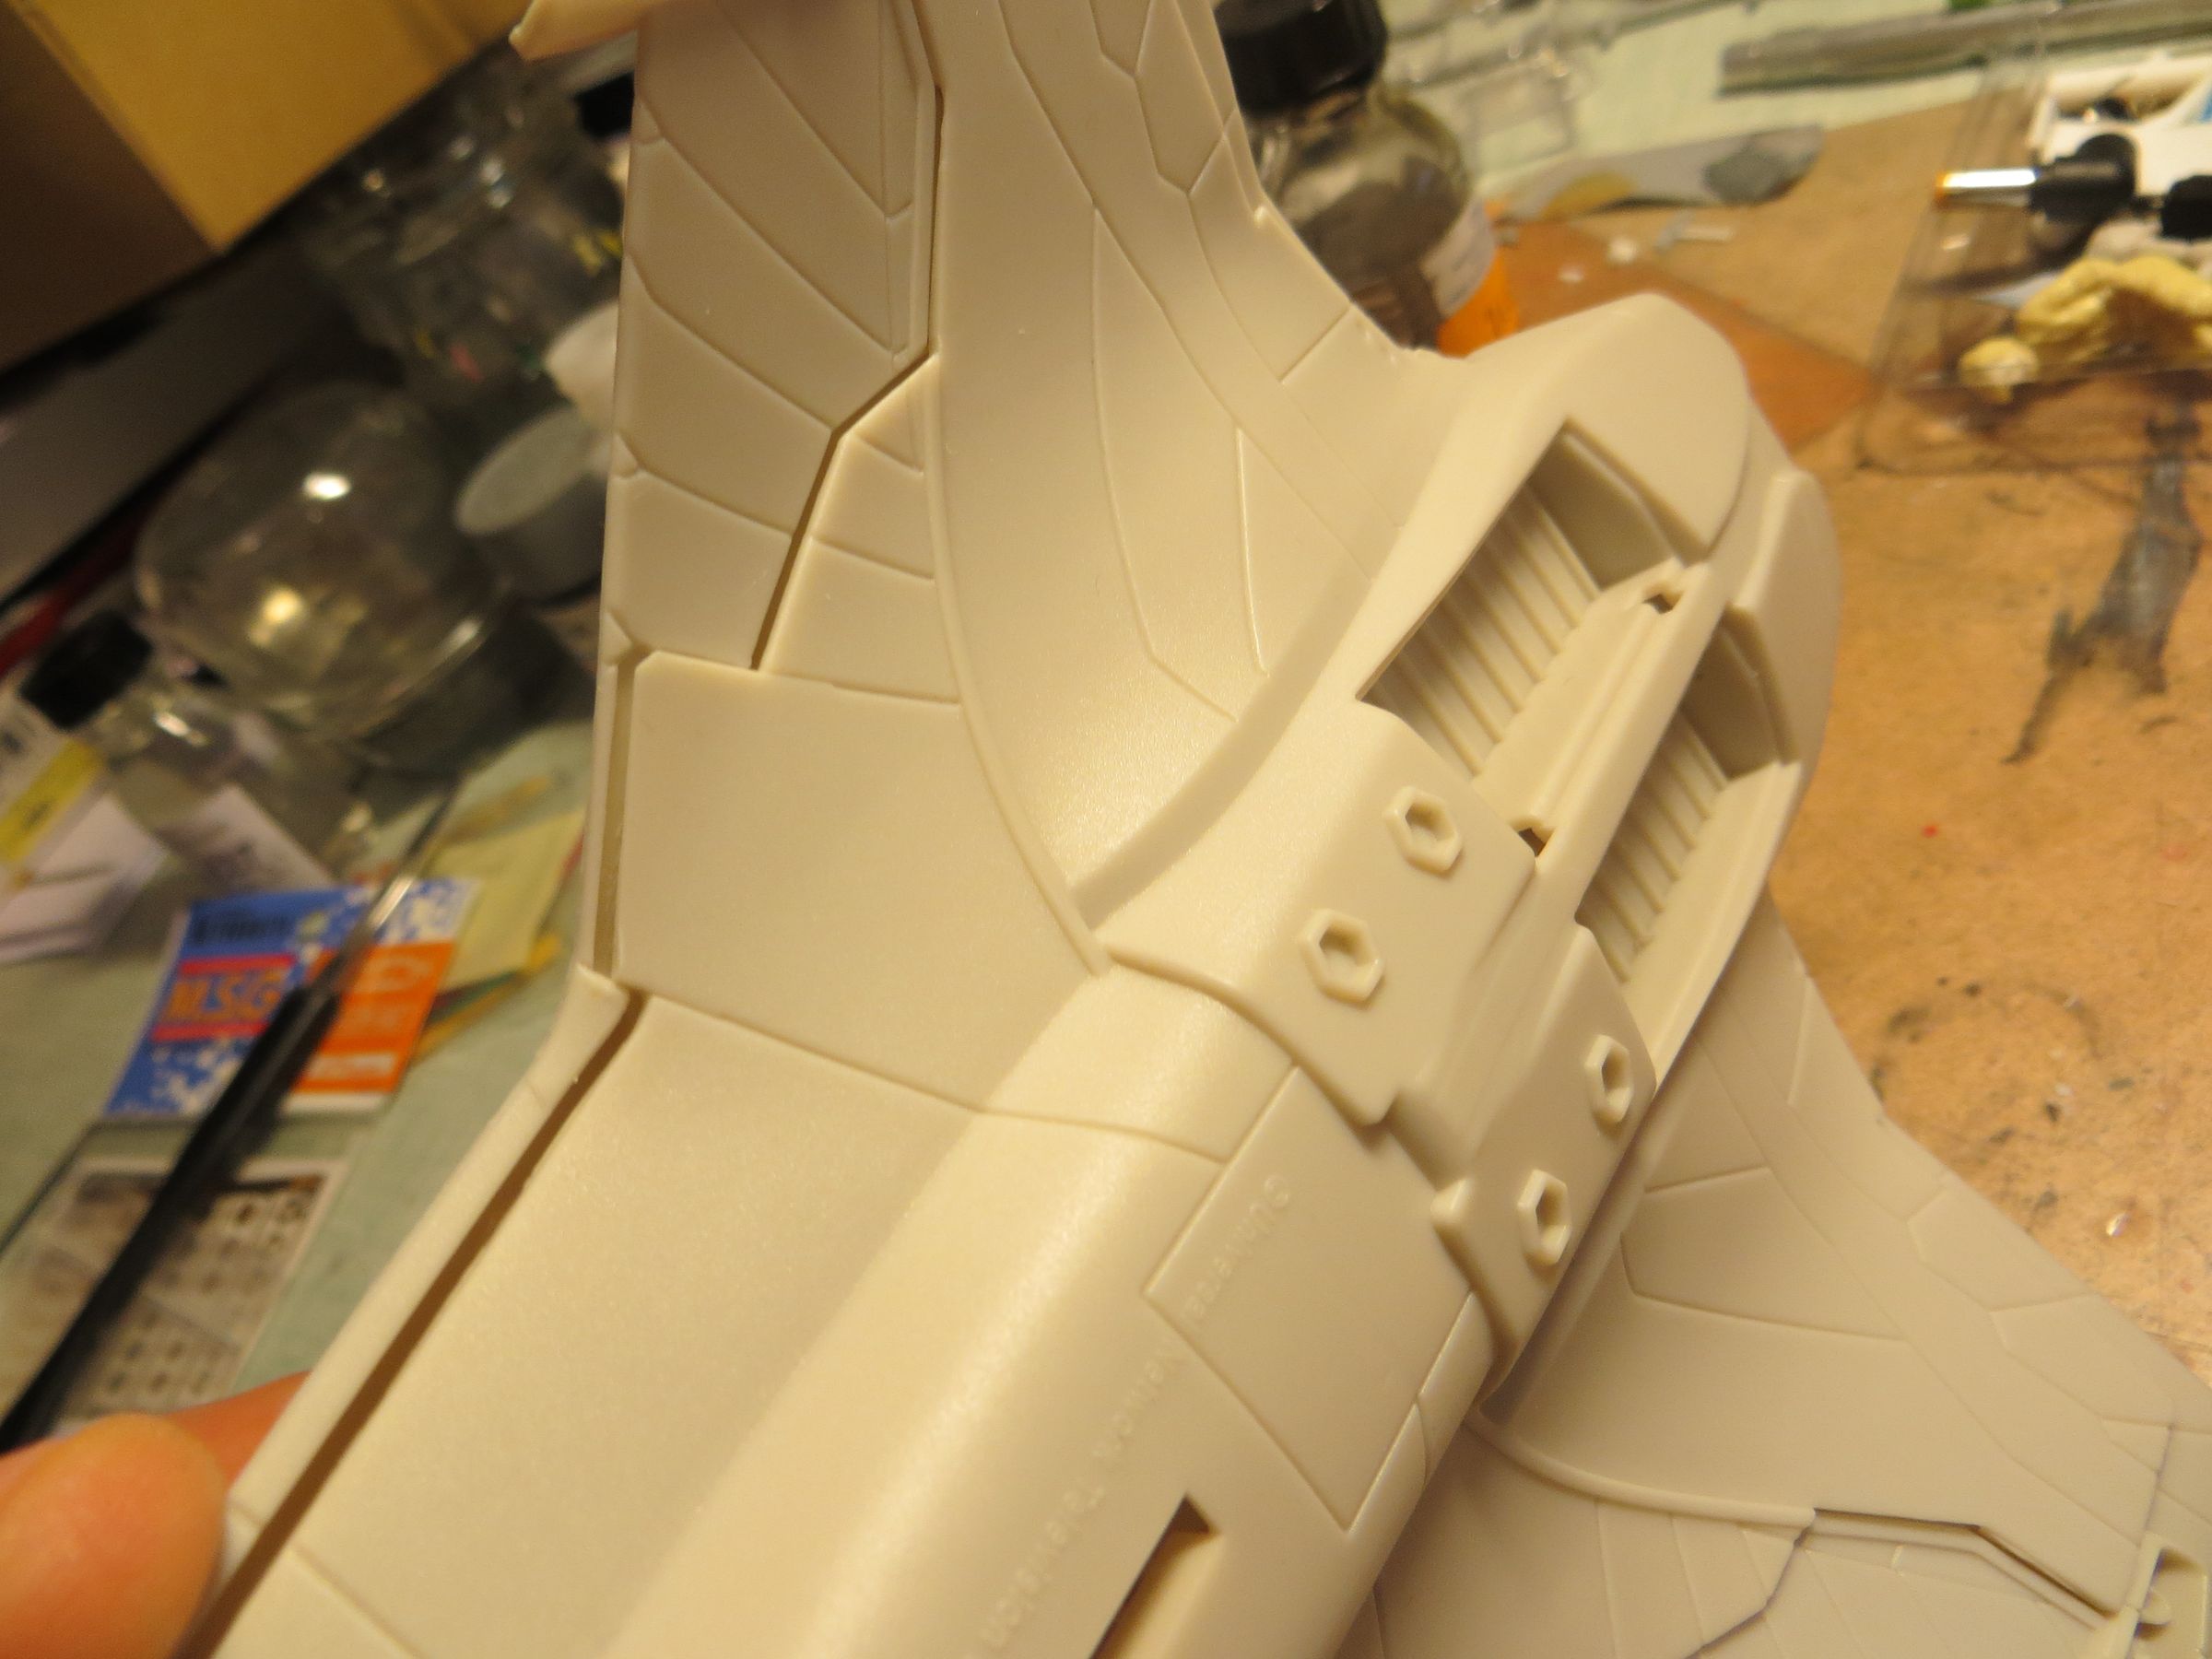
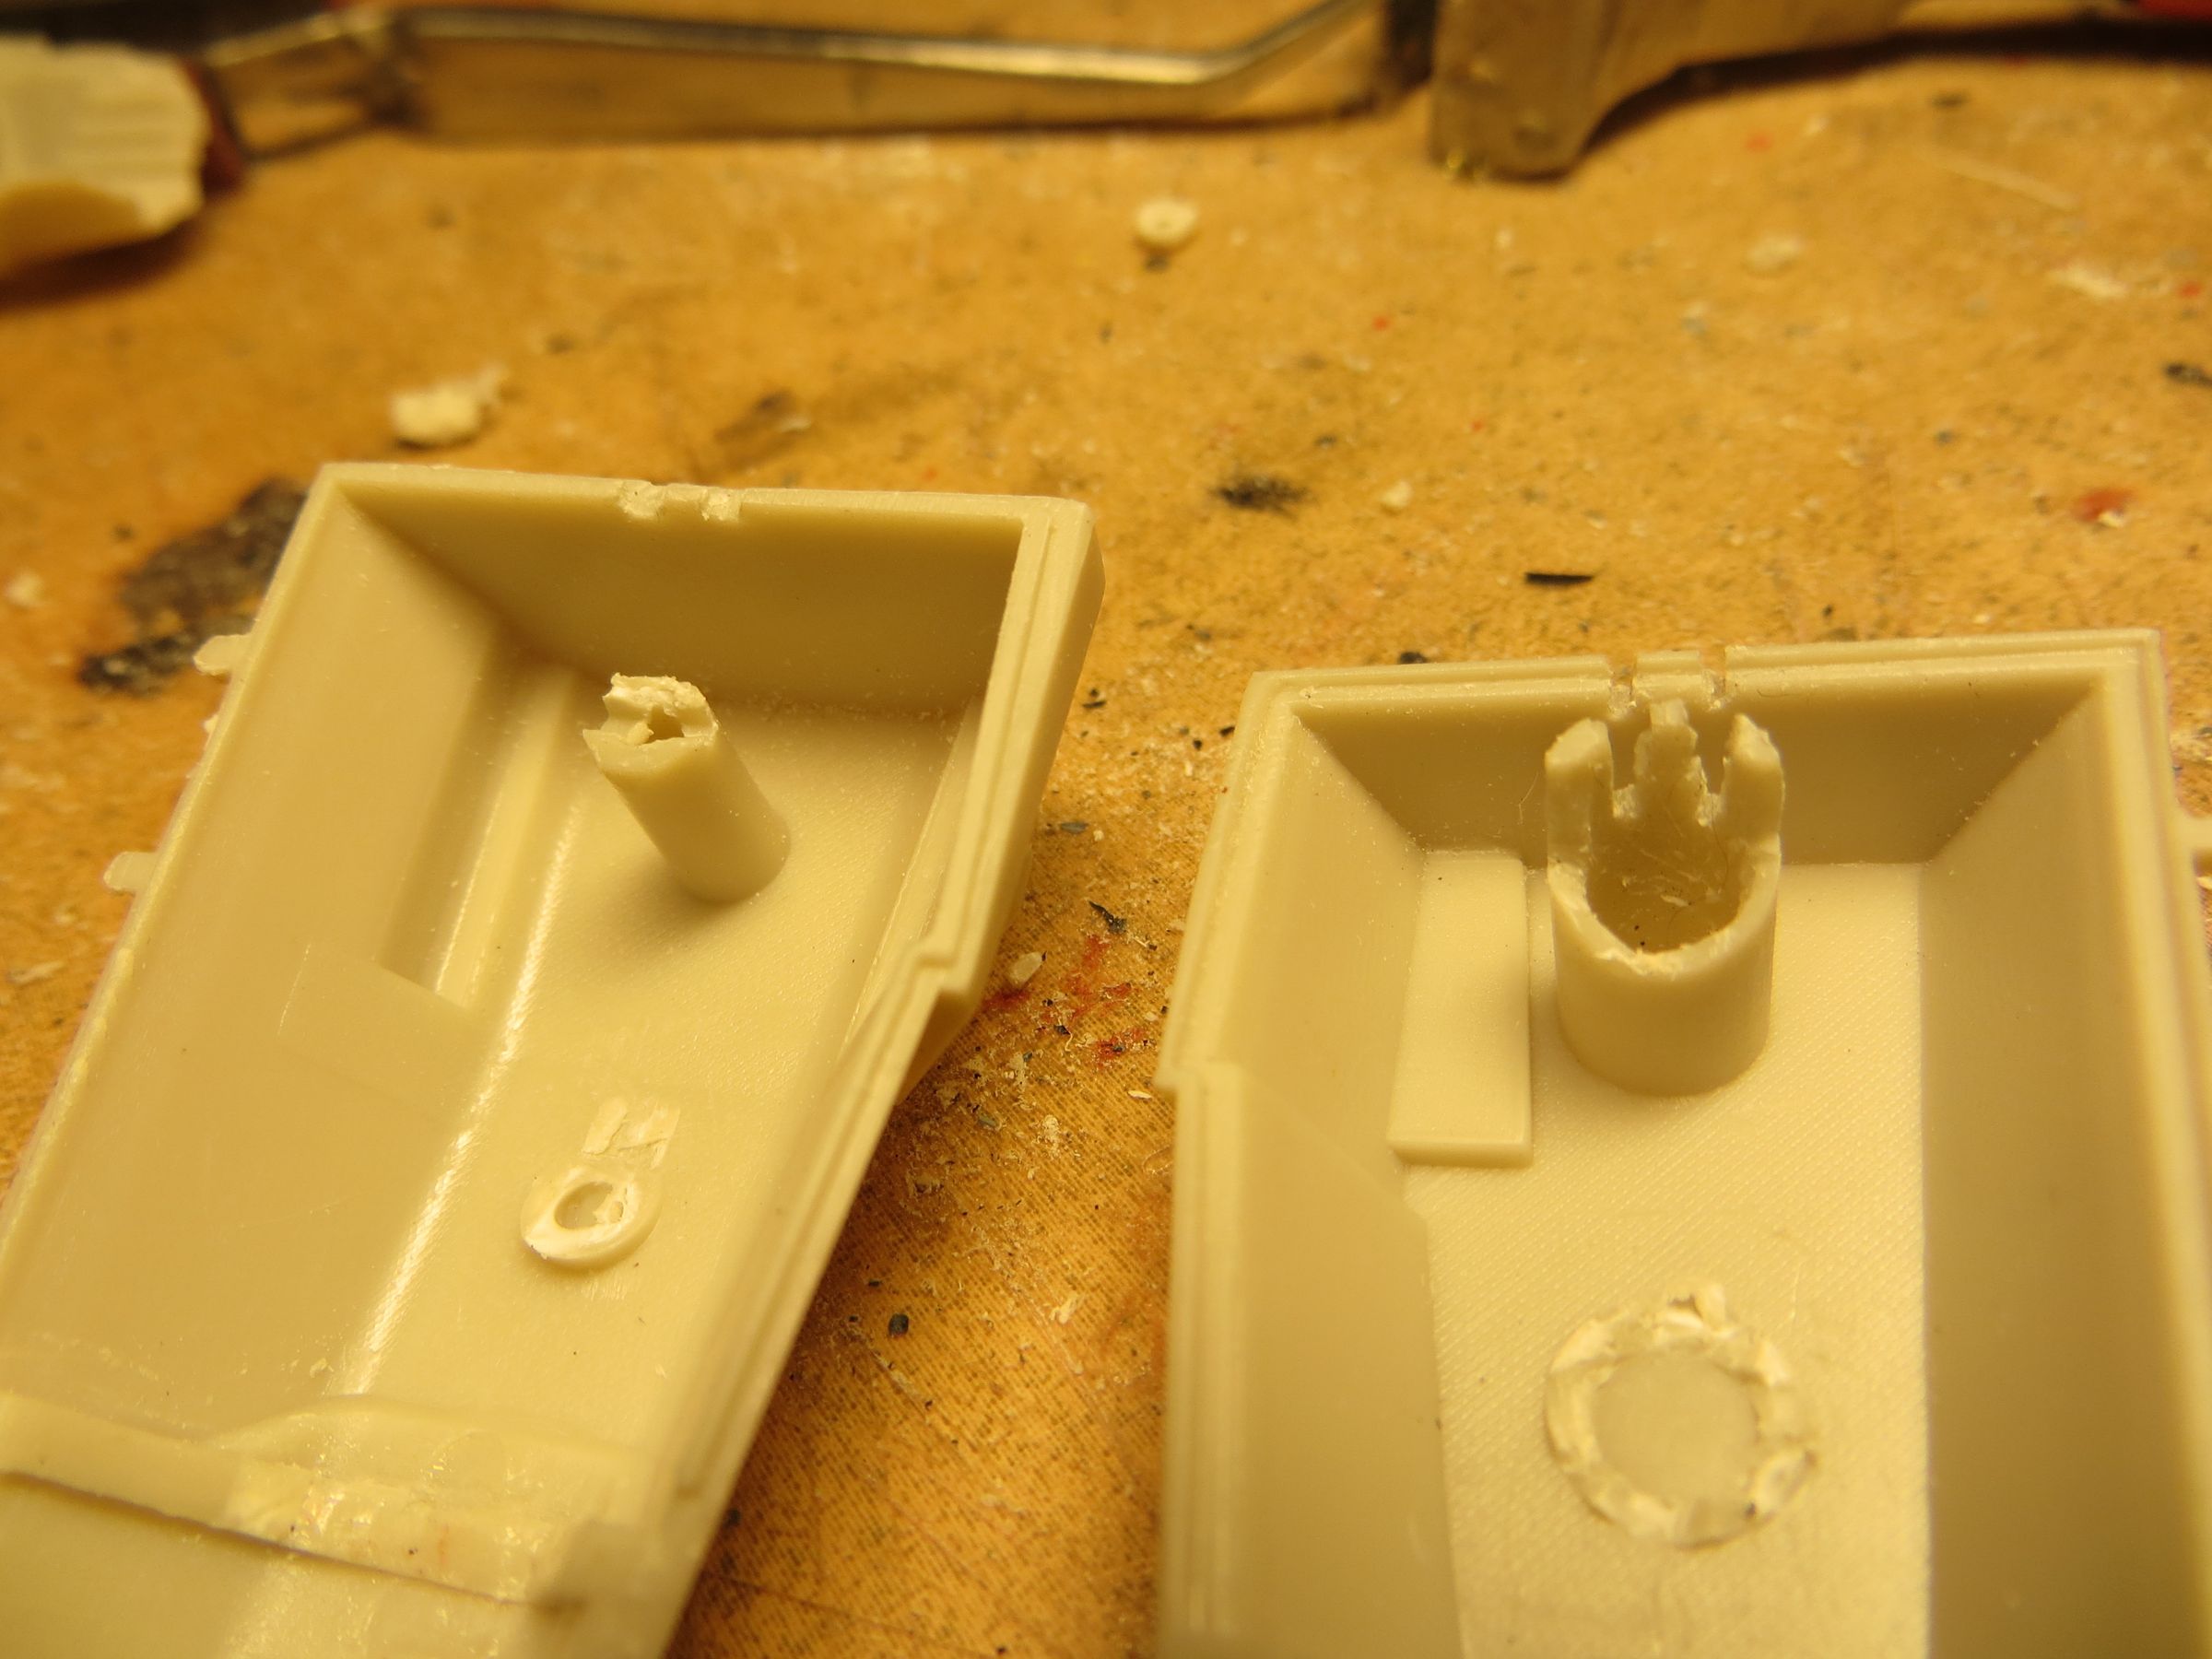
- Like the mk2, the surface is grainy and has some shrinkages.

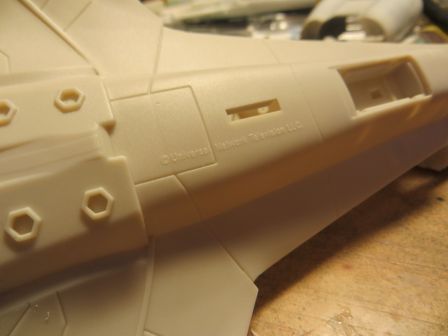

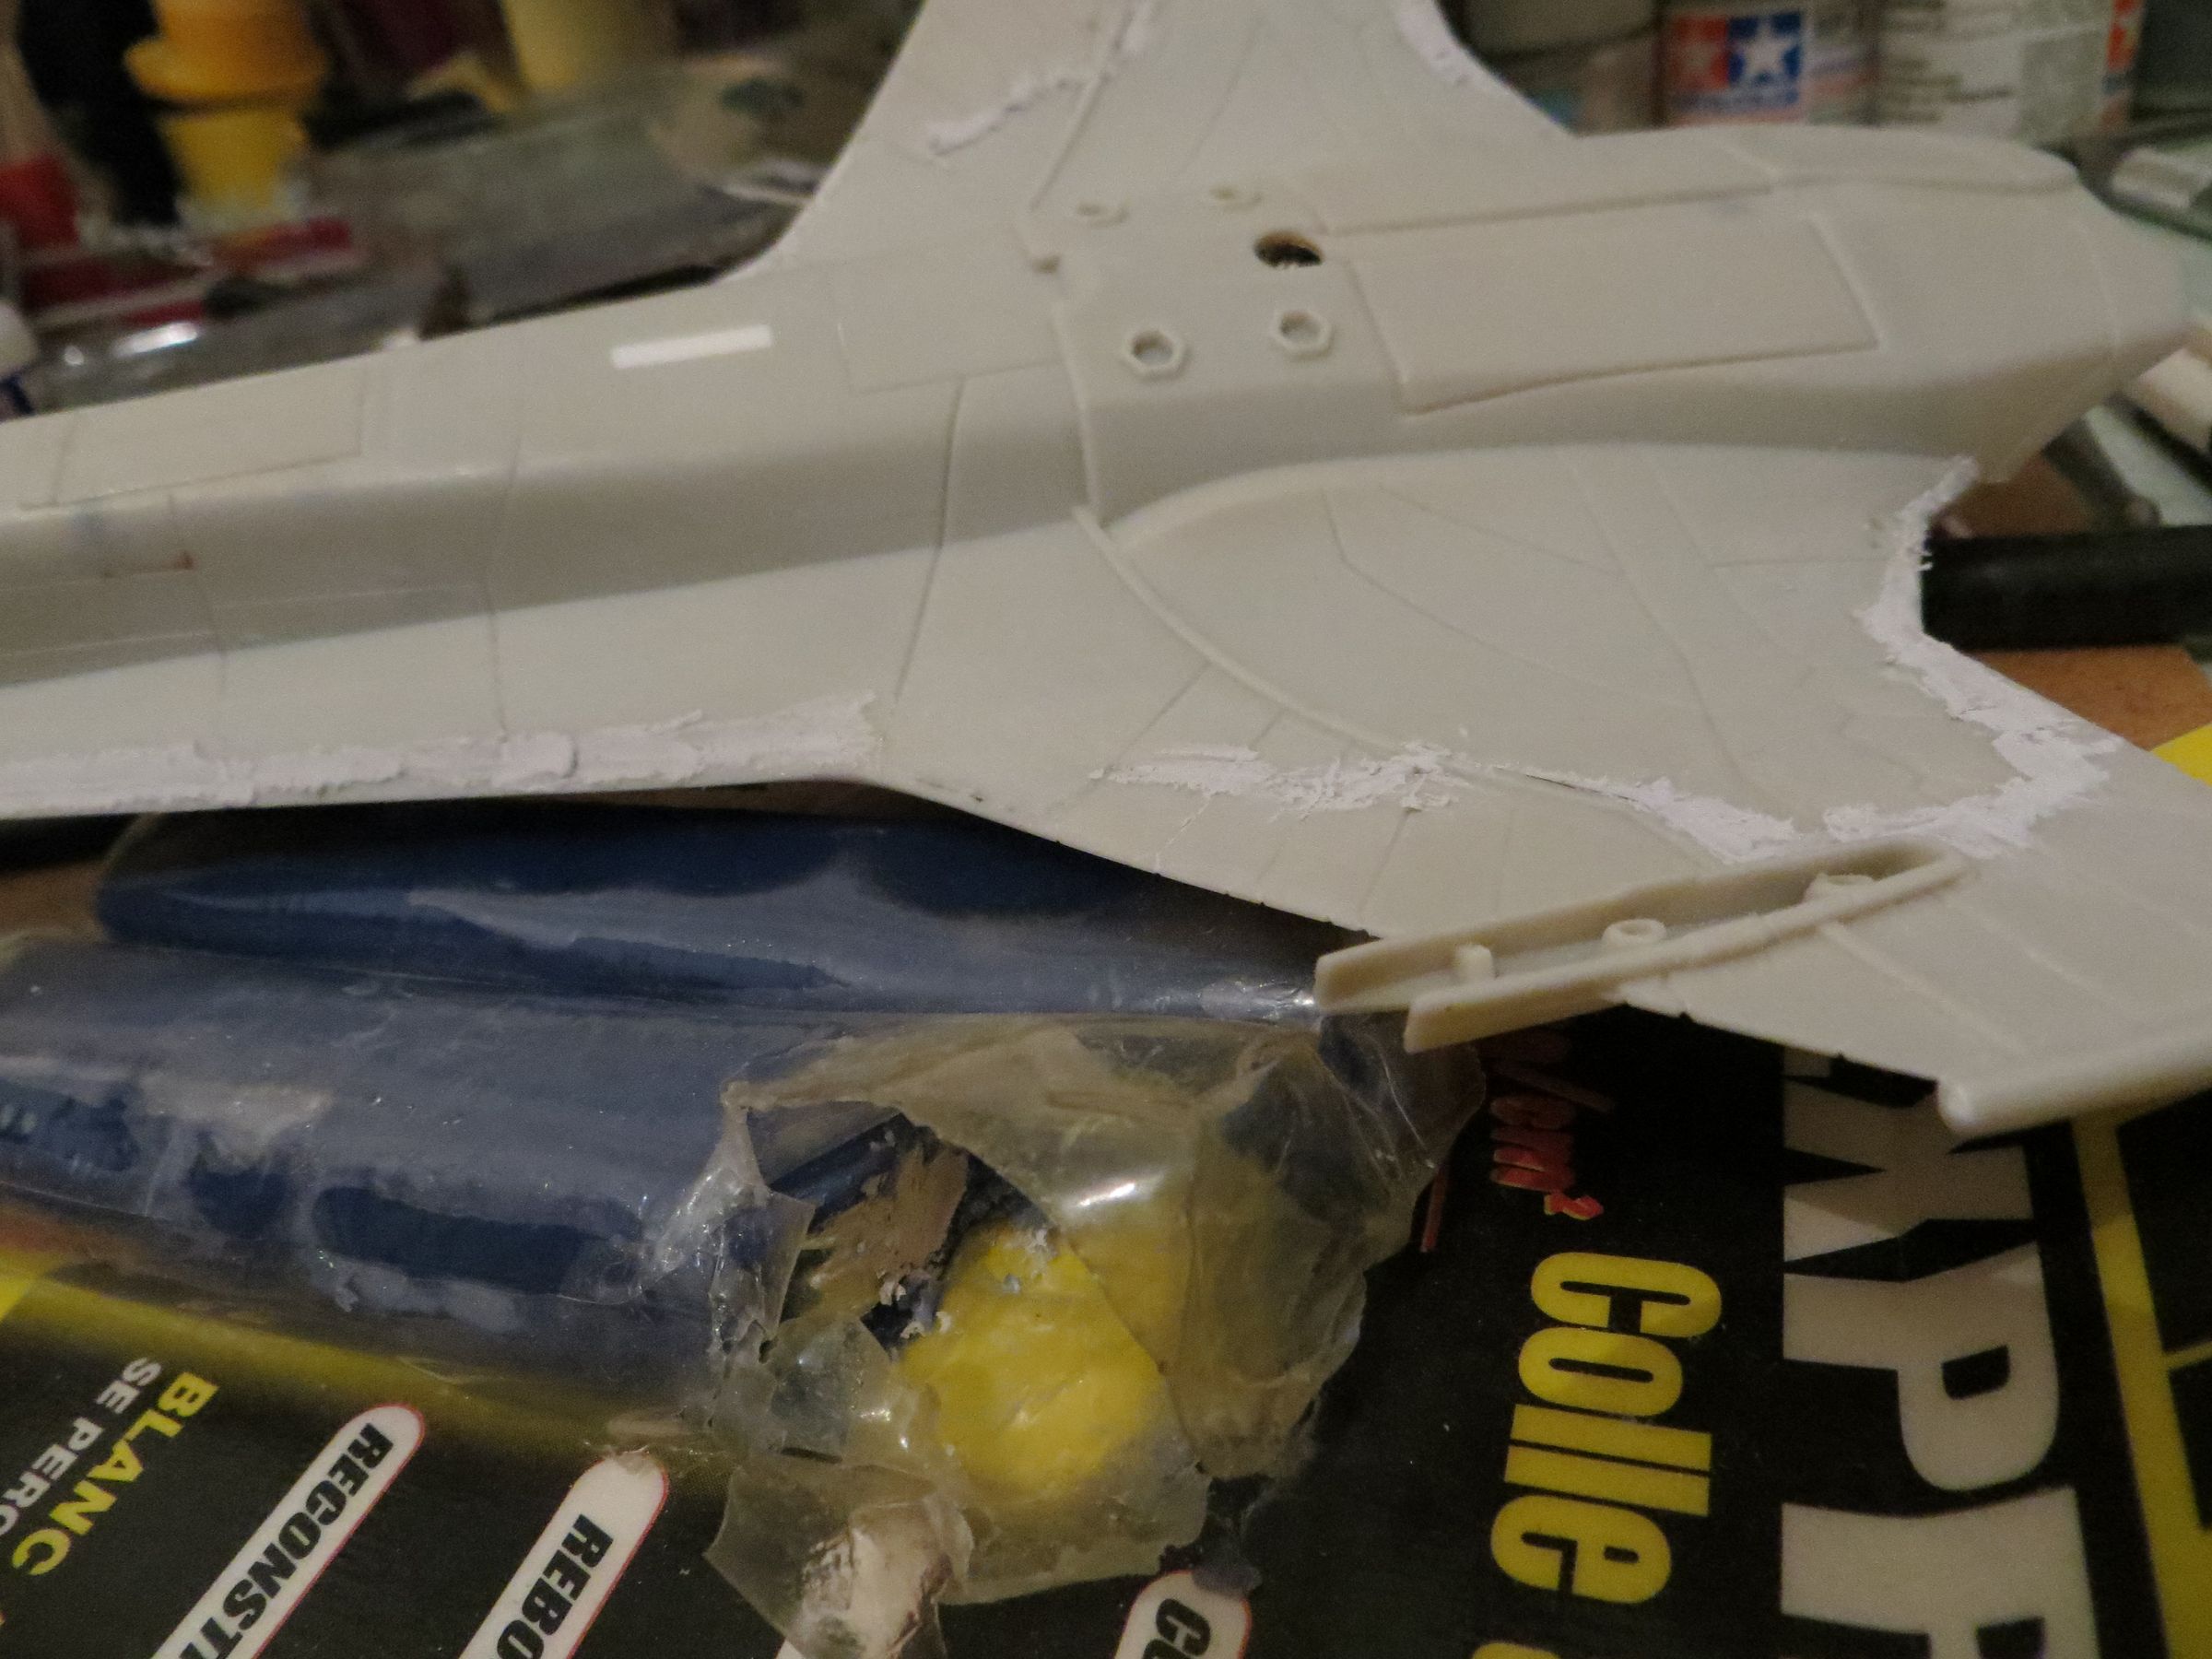
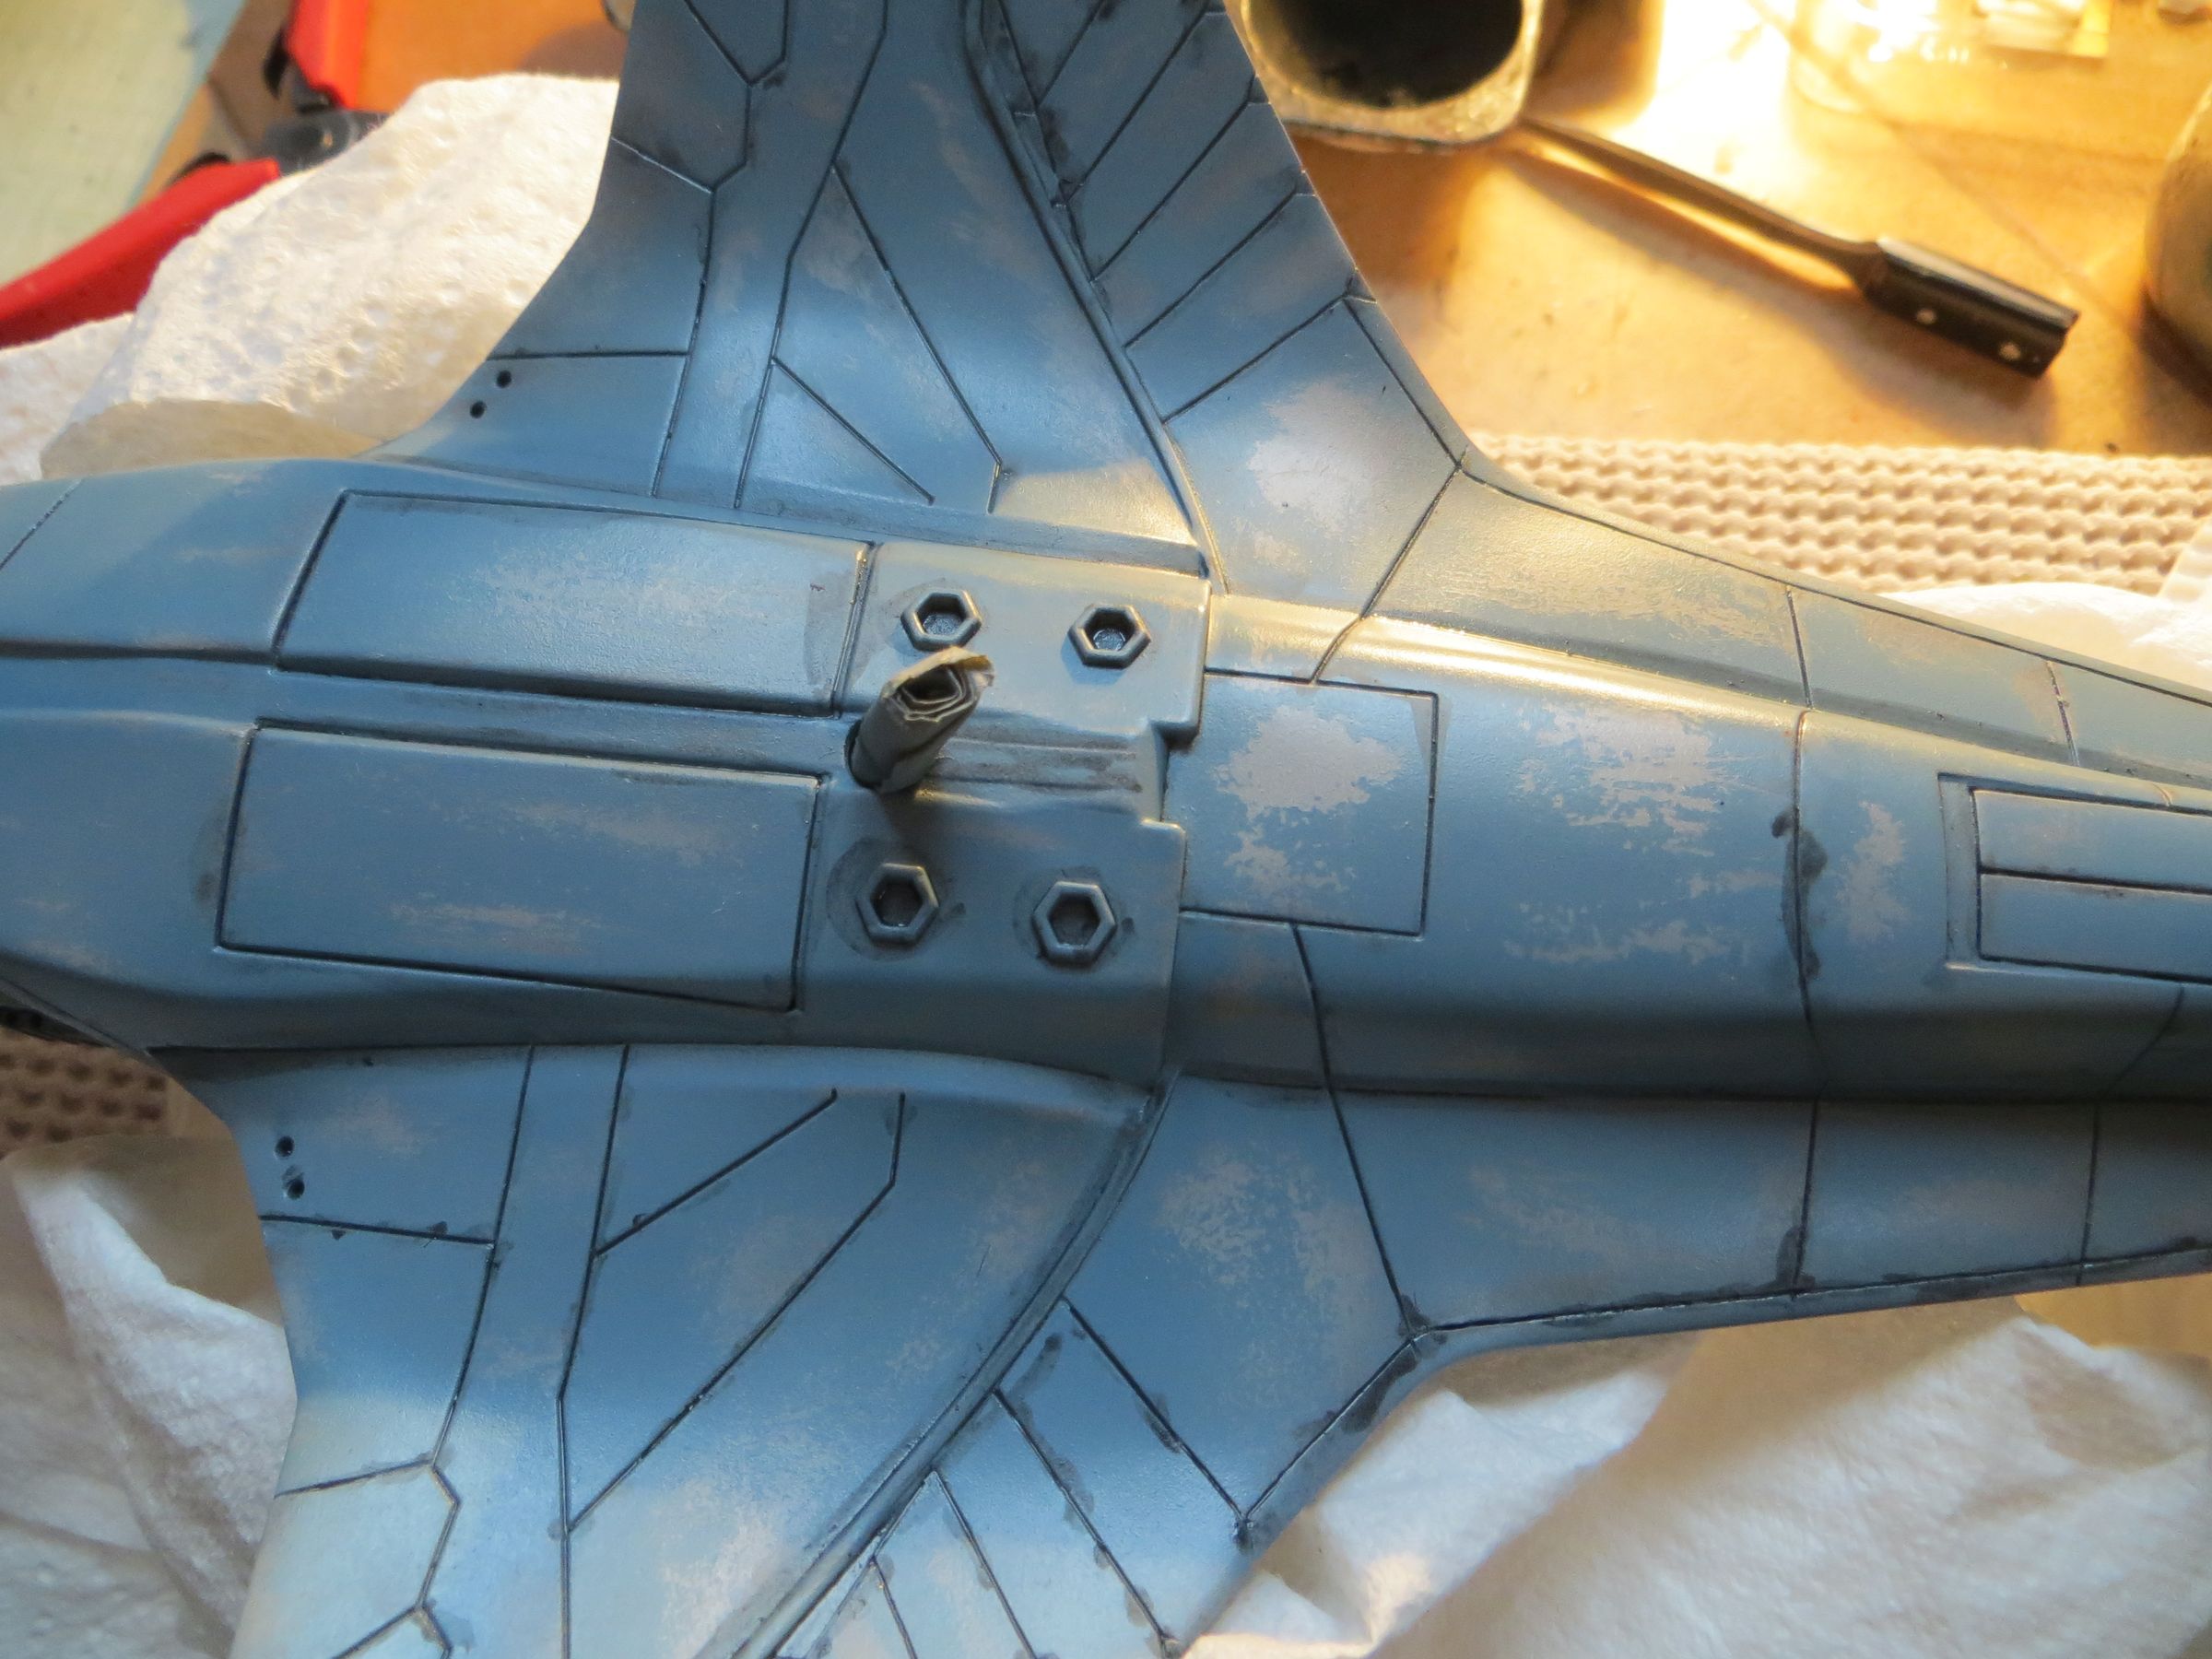
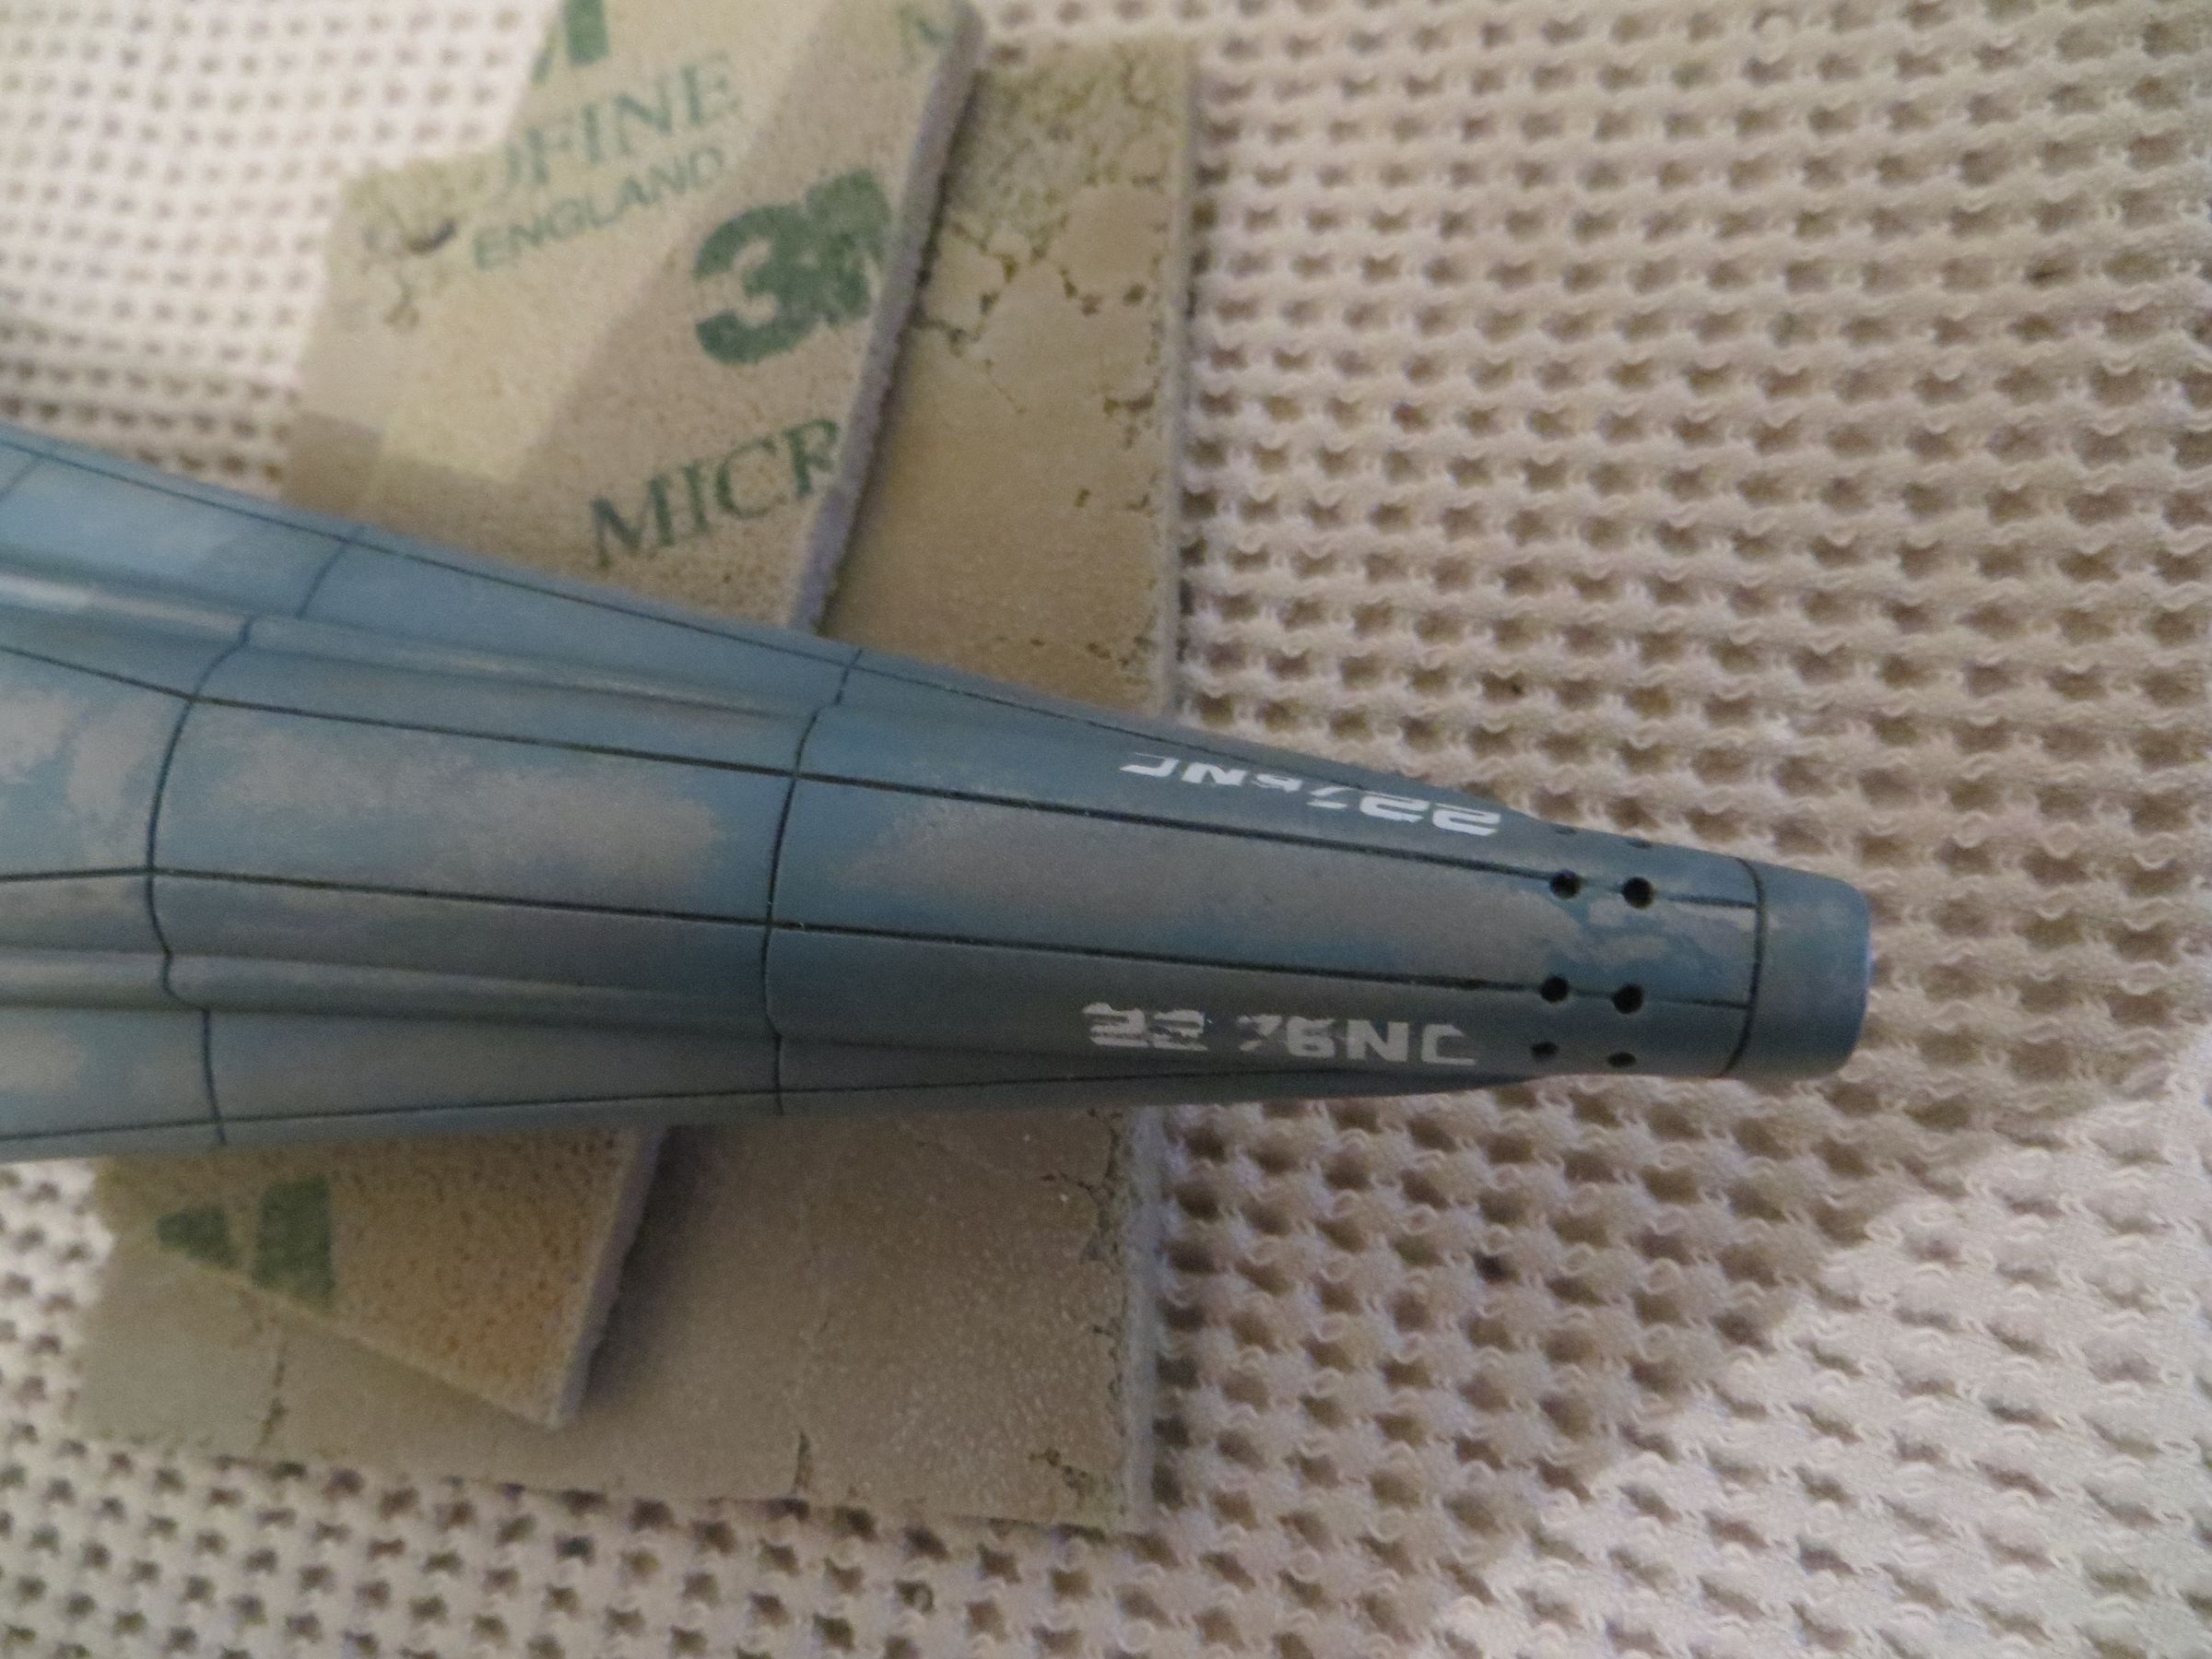
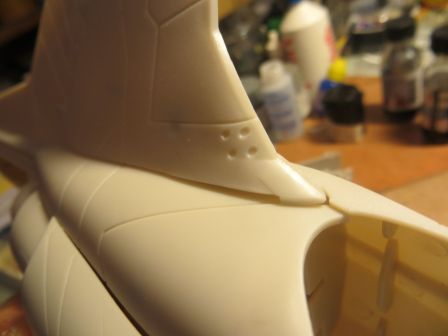
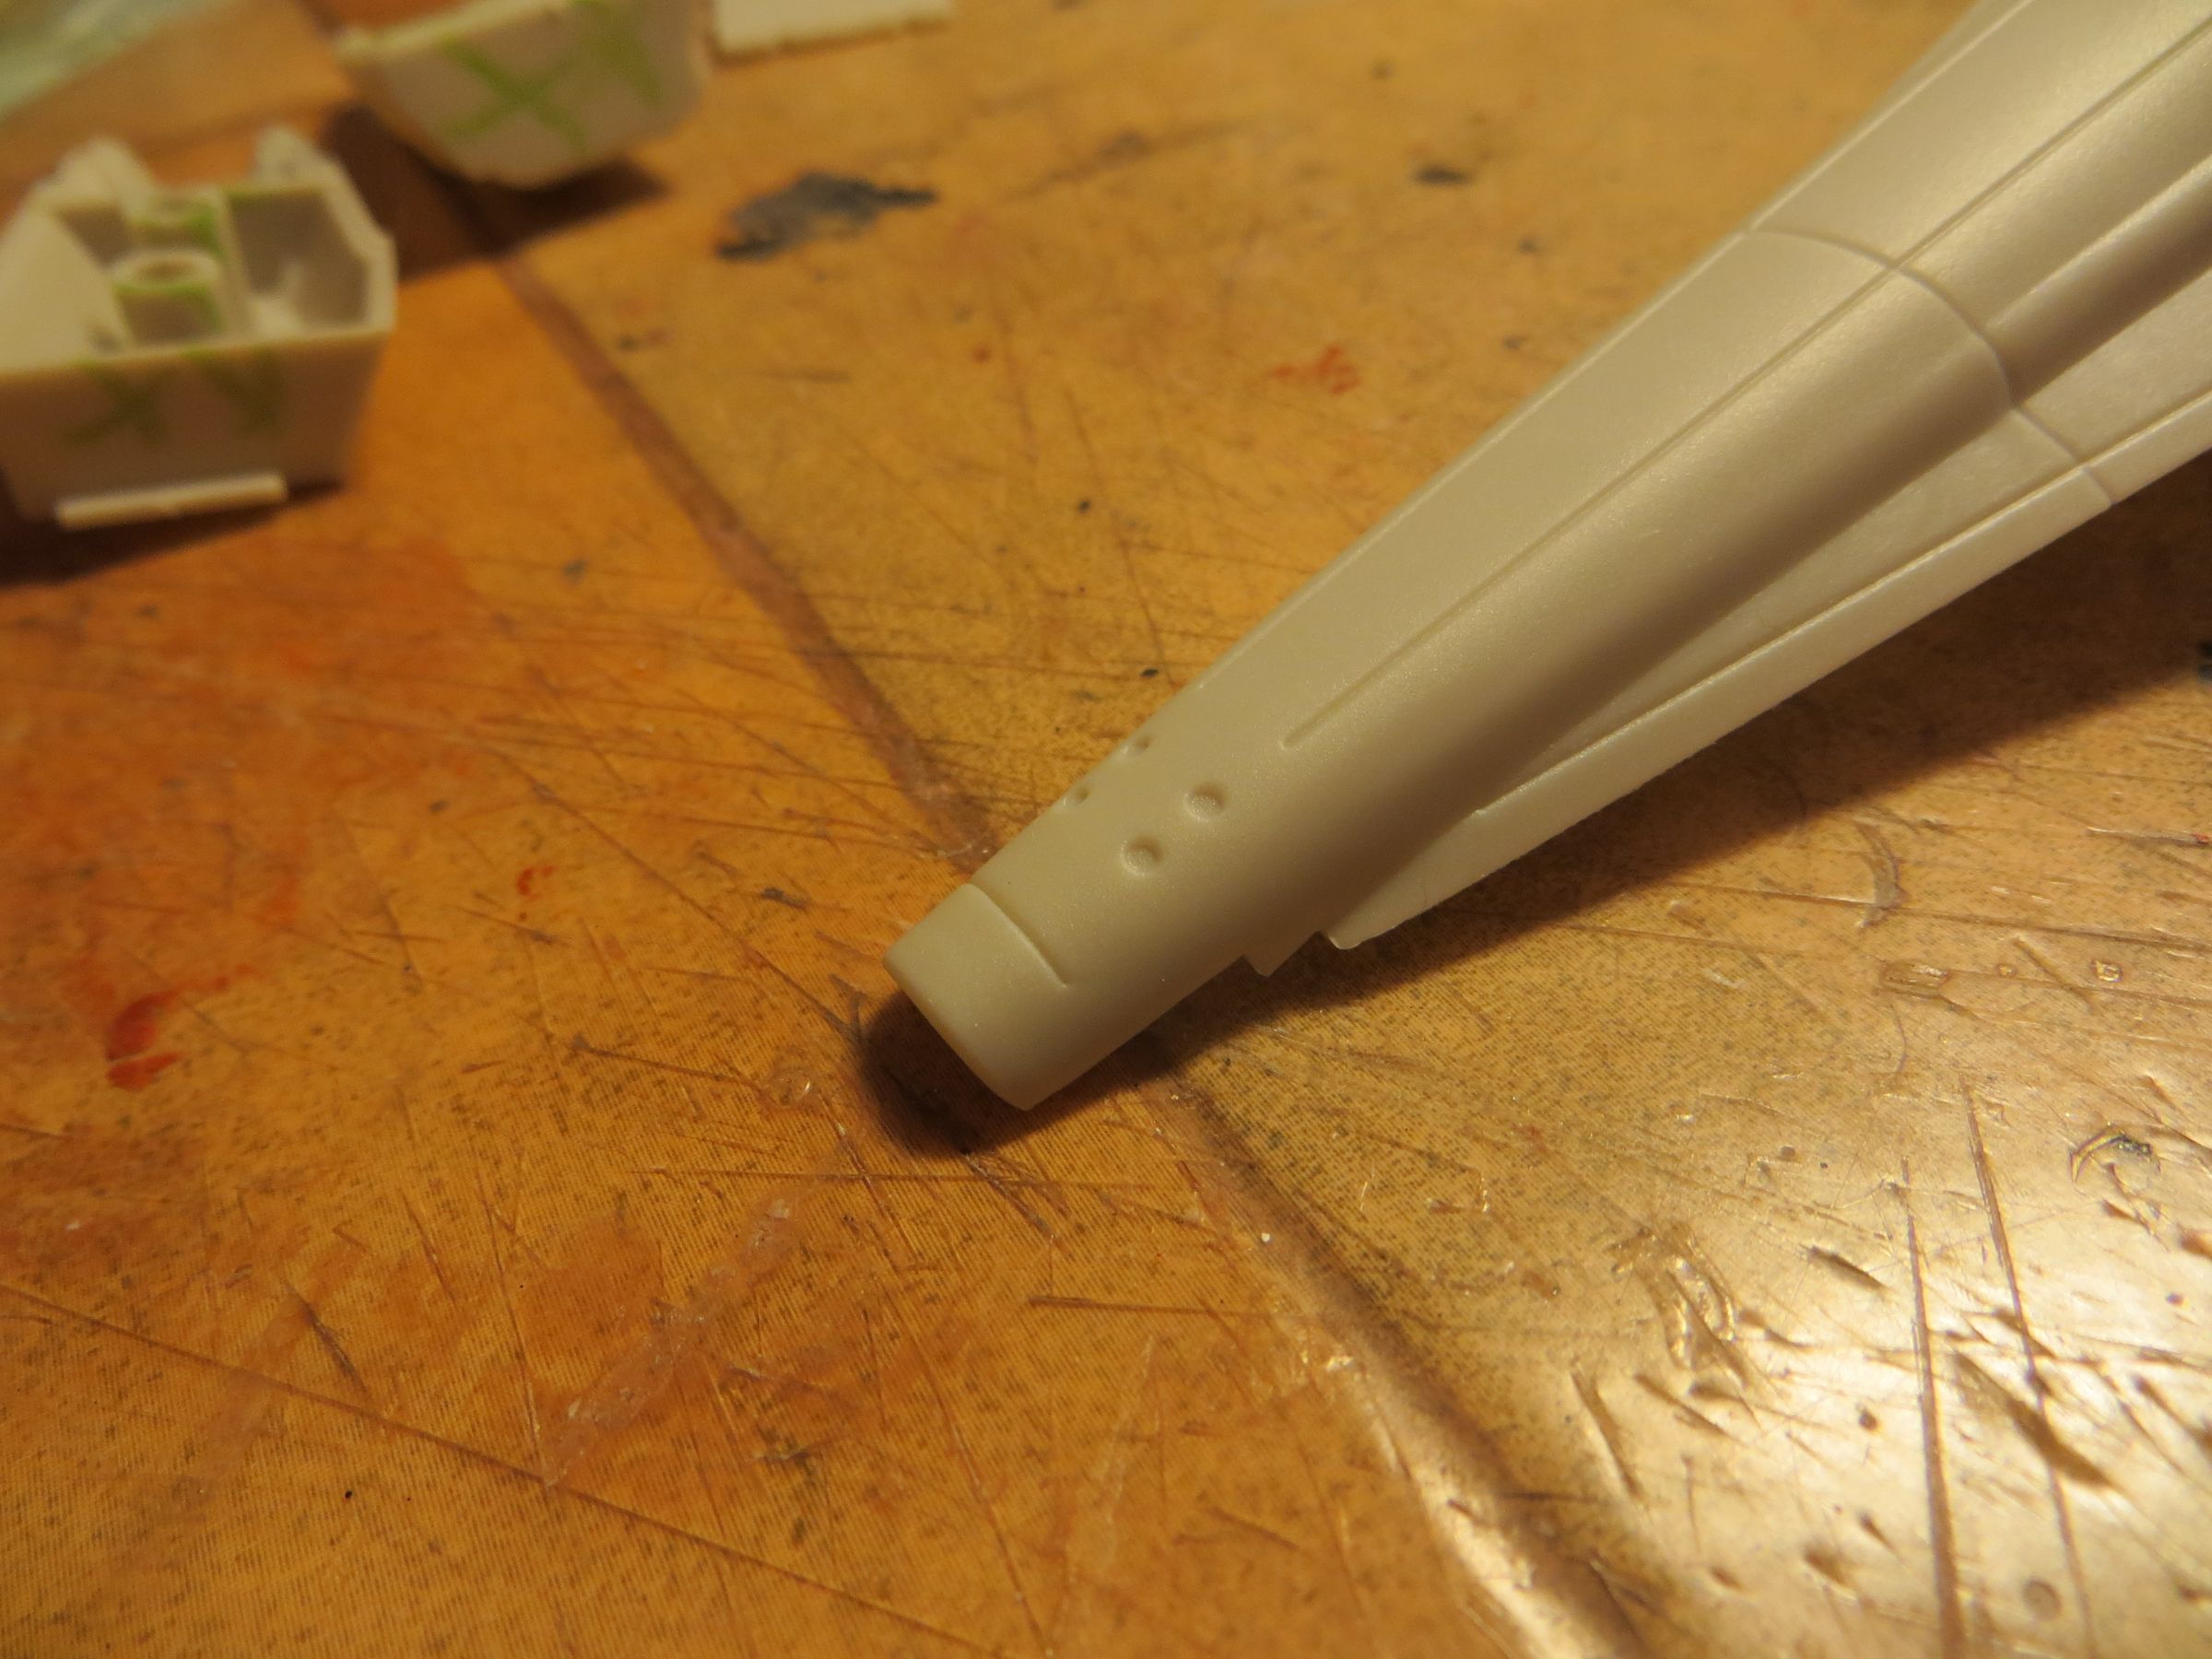
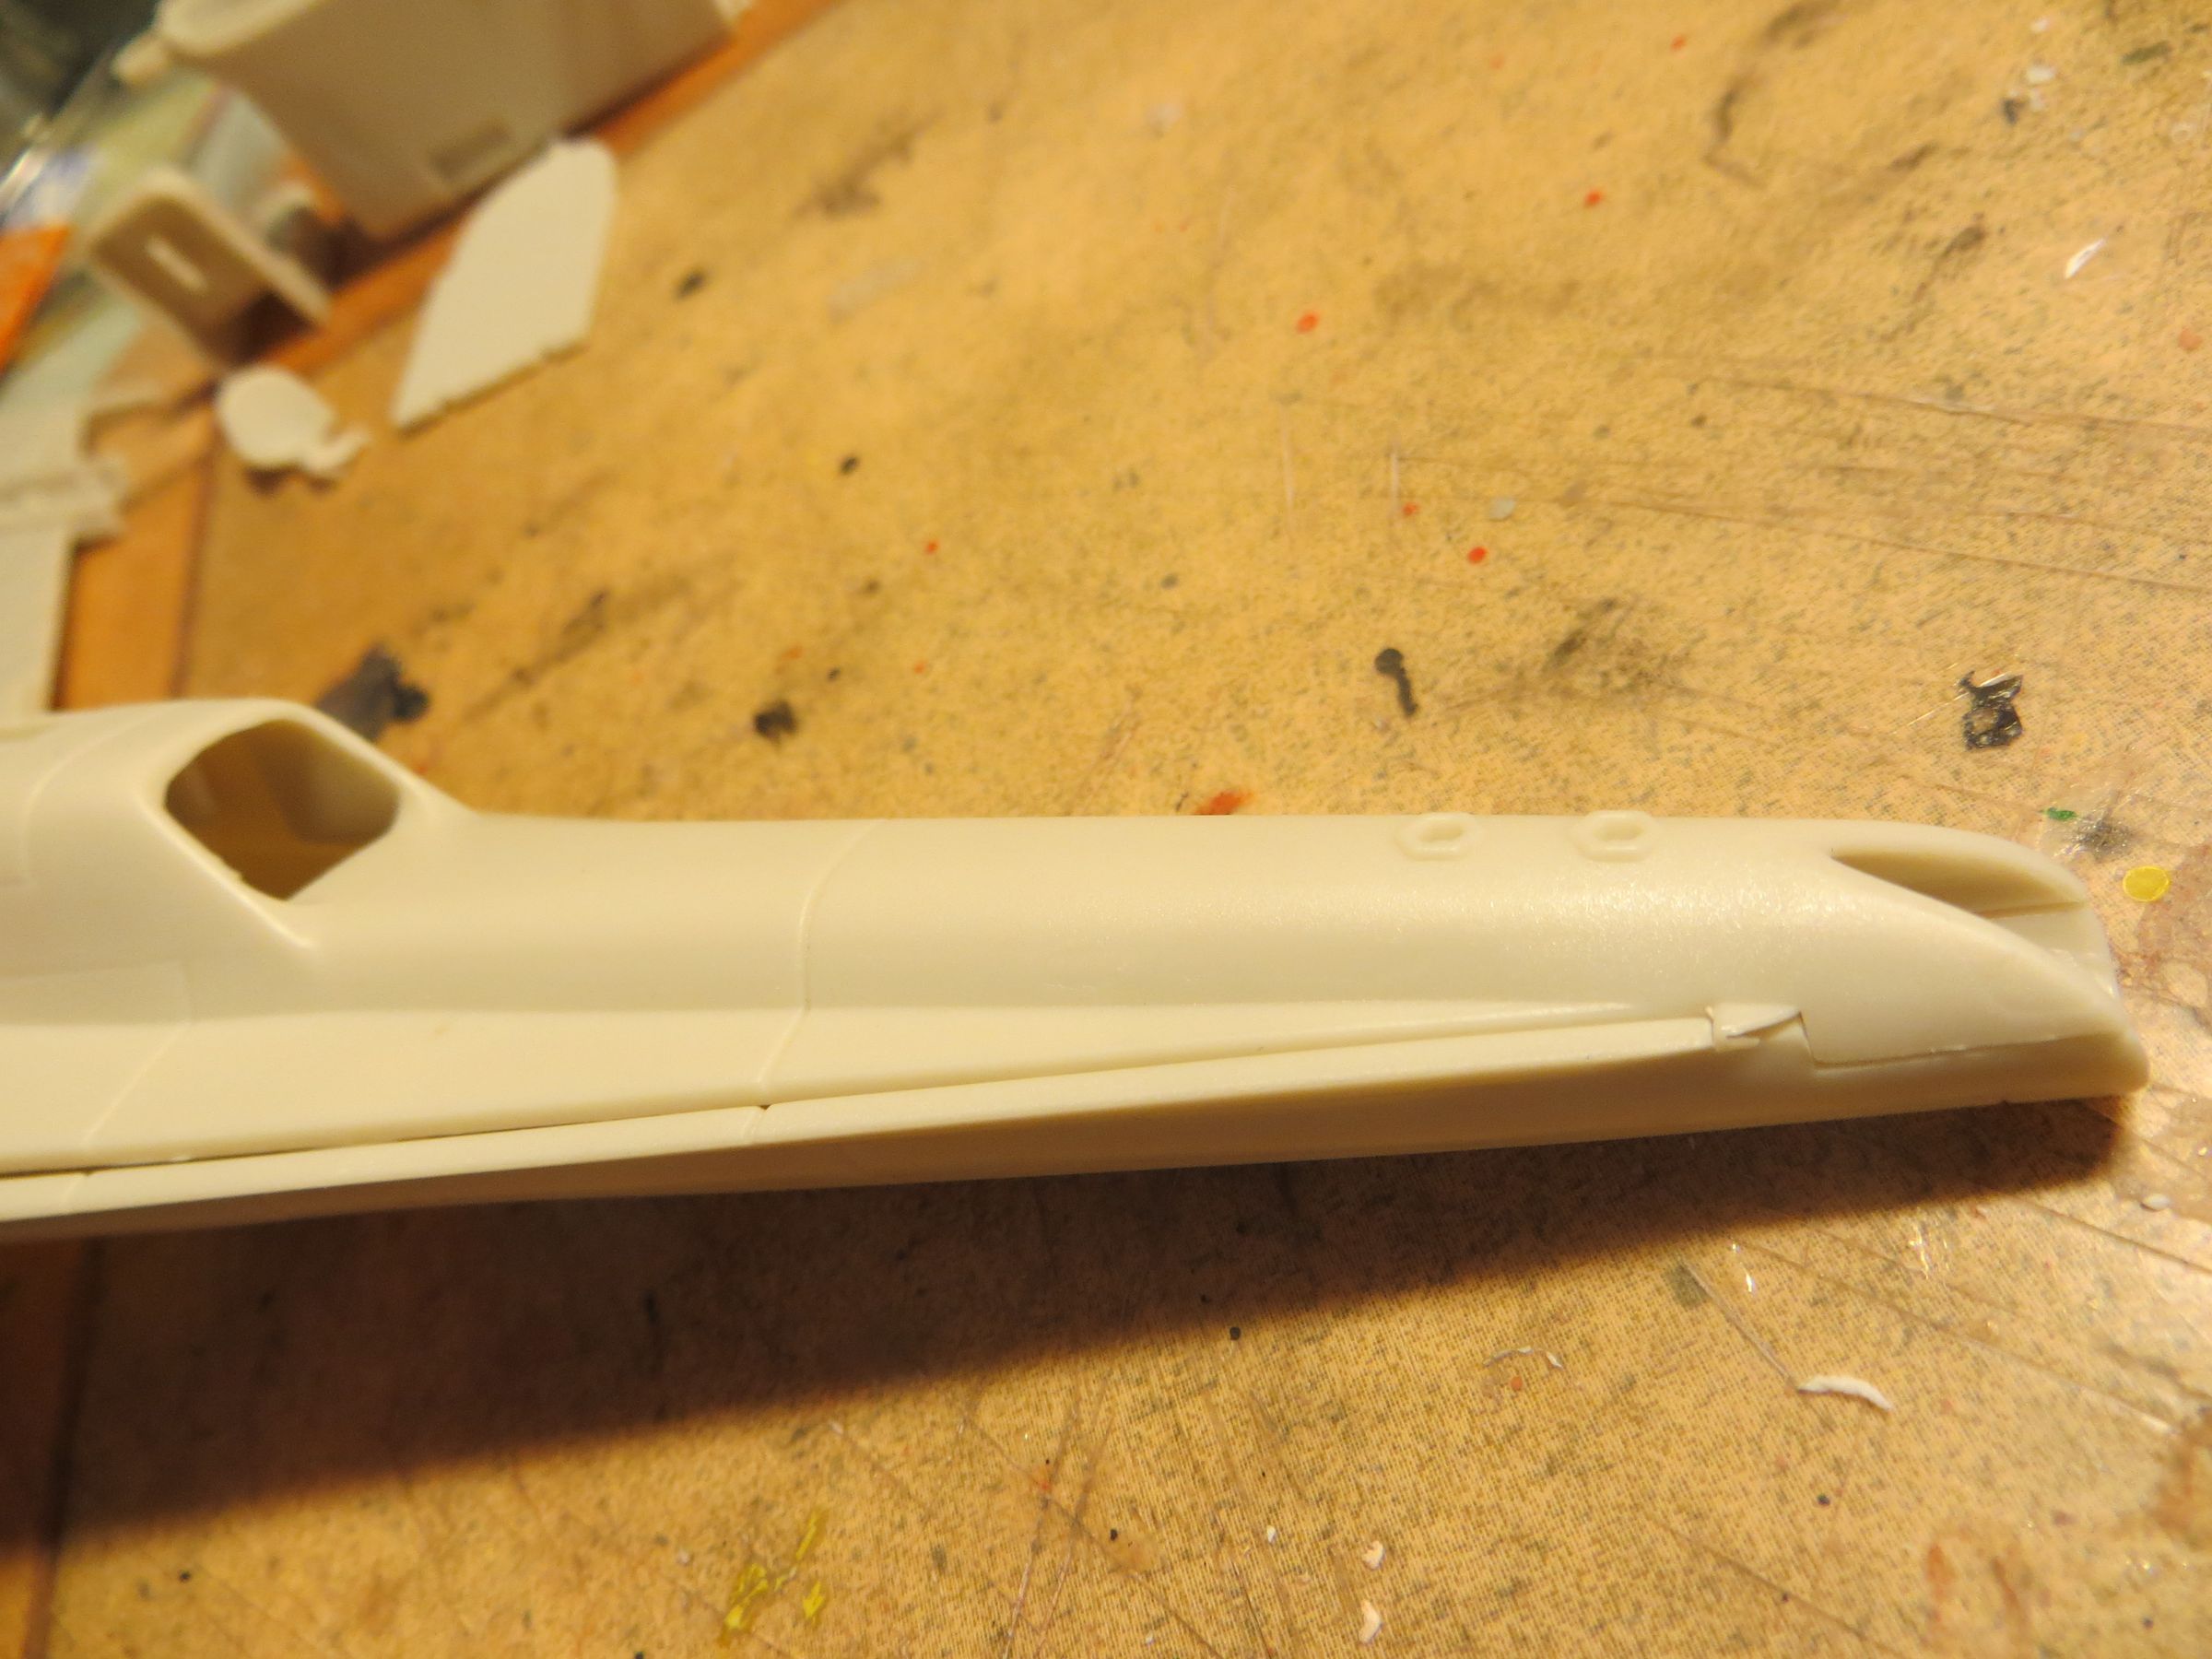
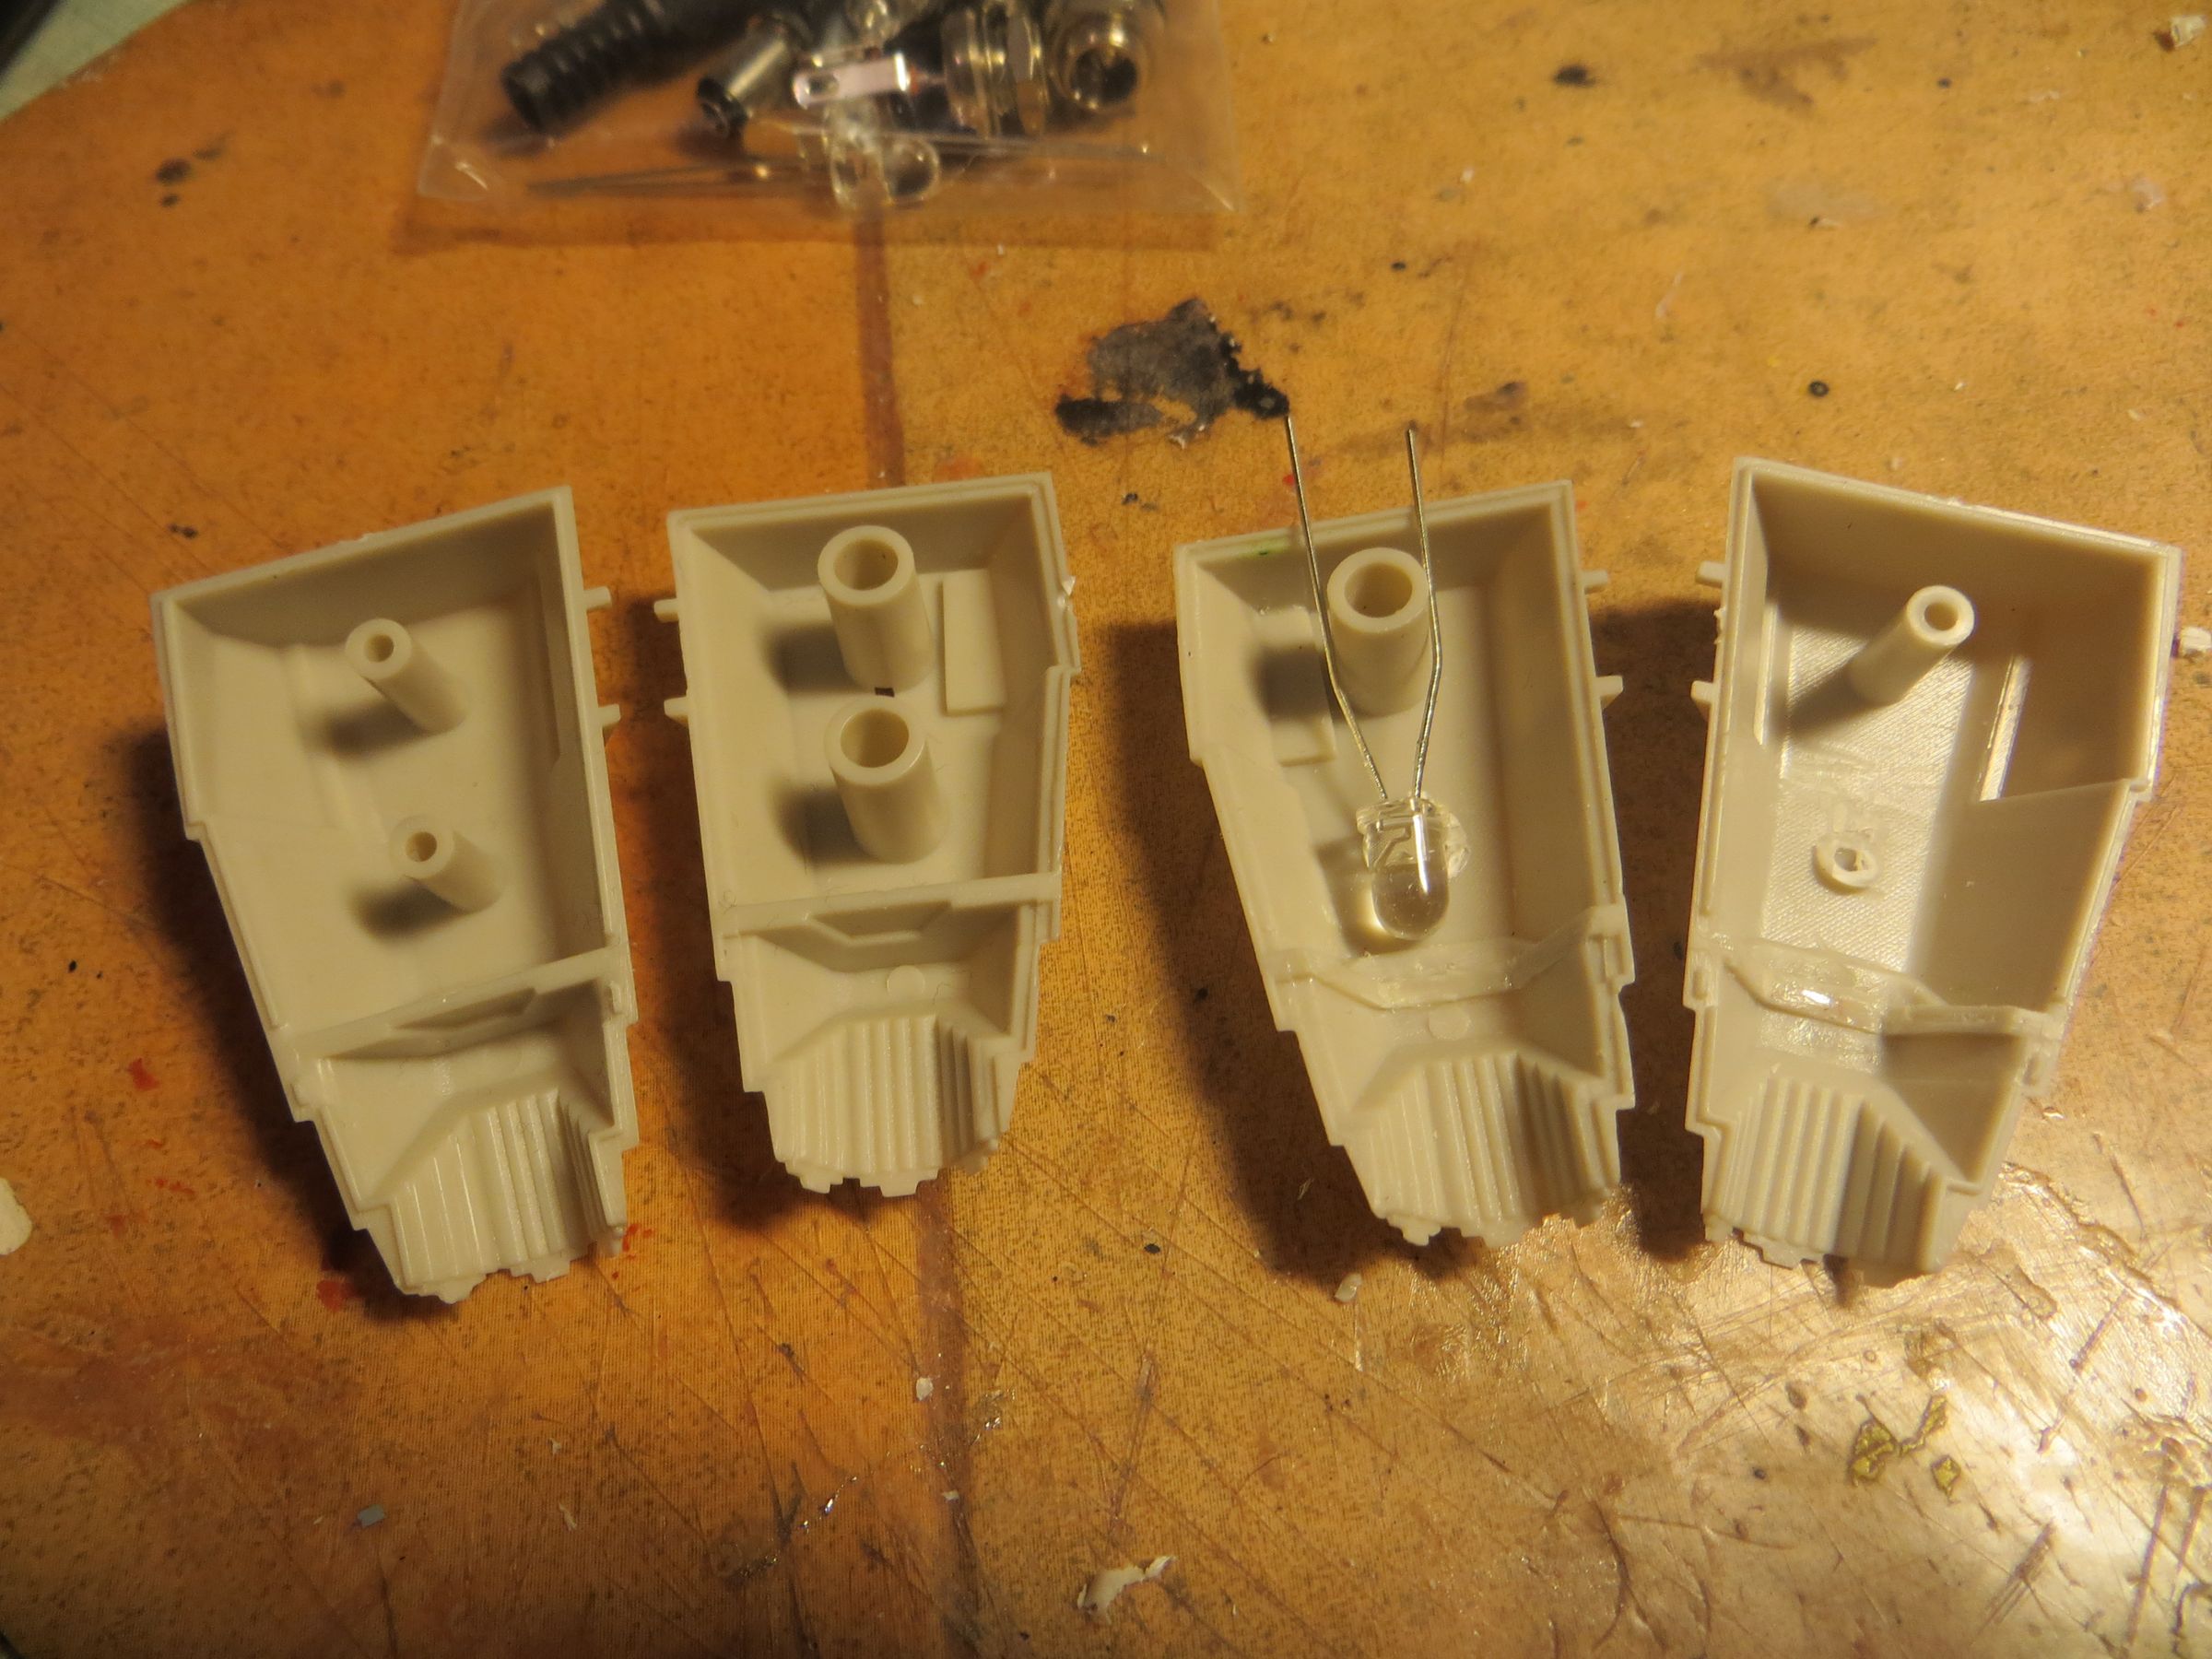
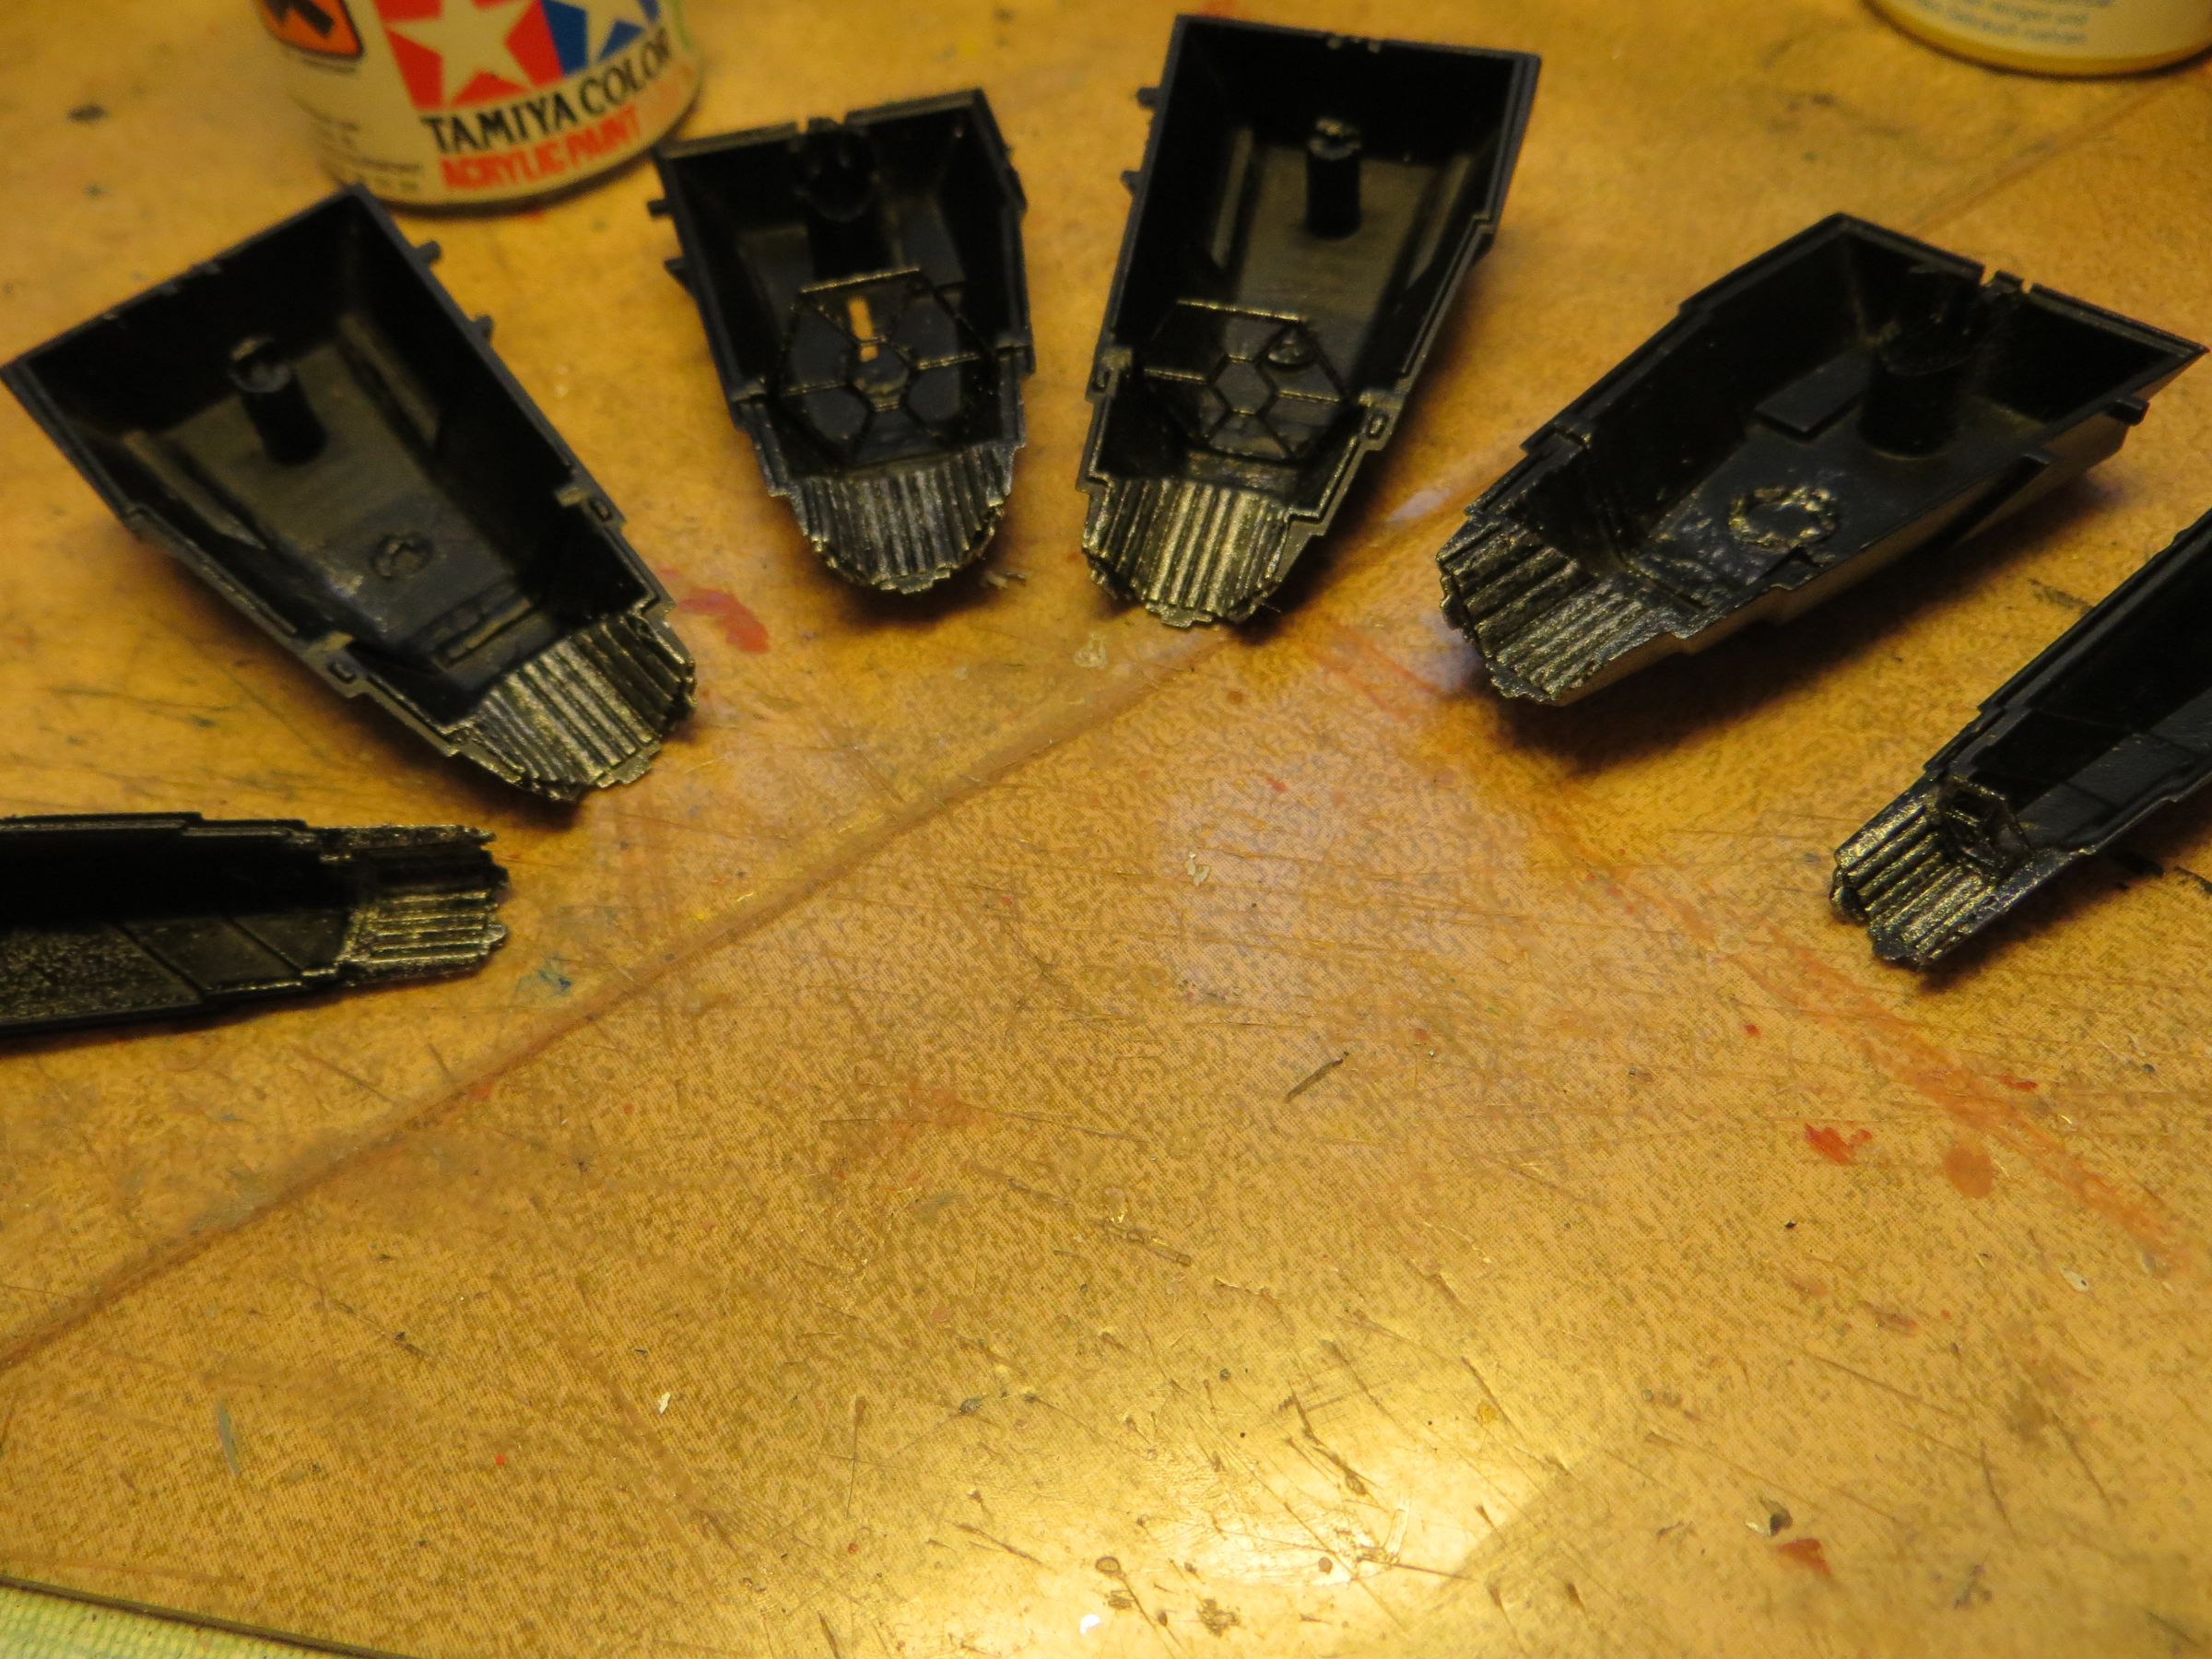
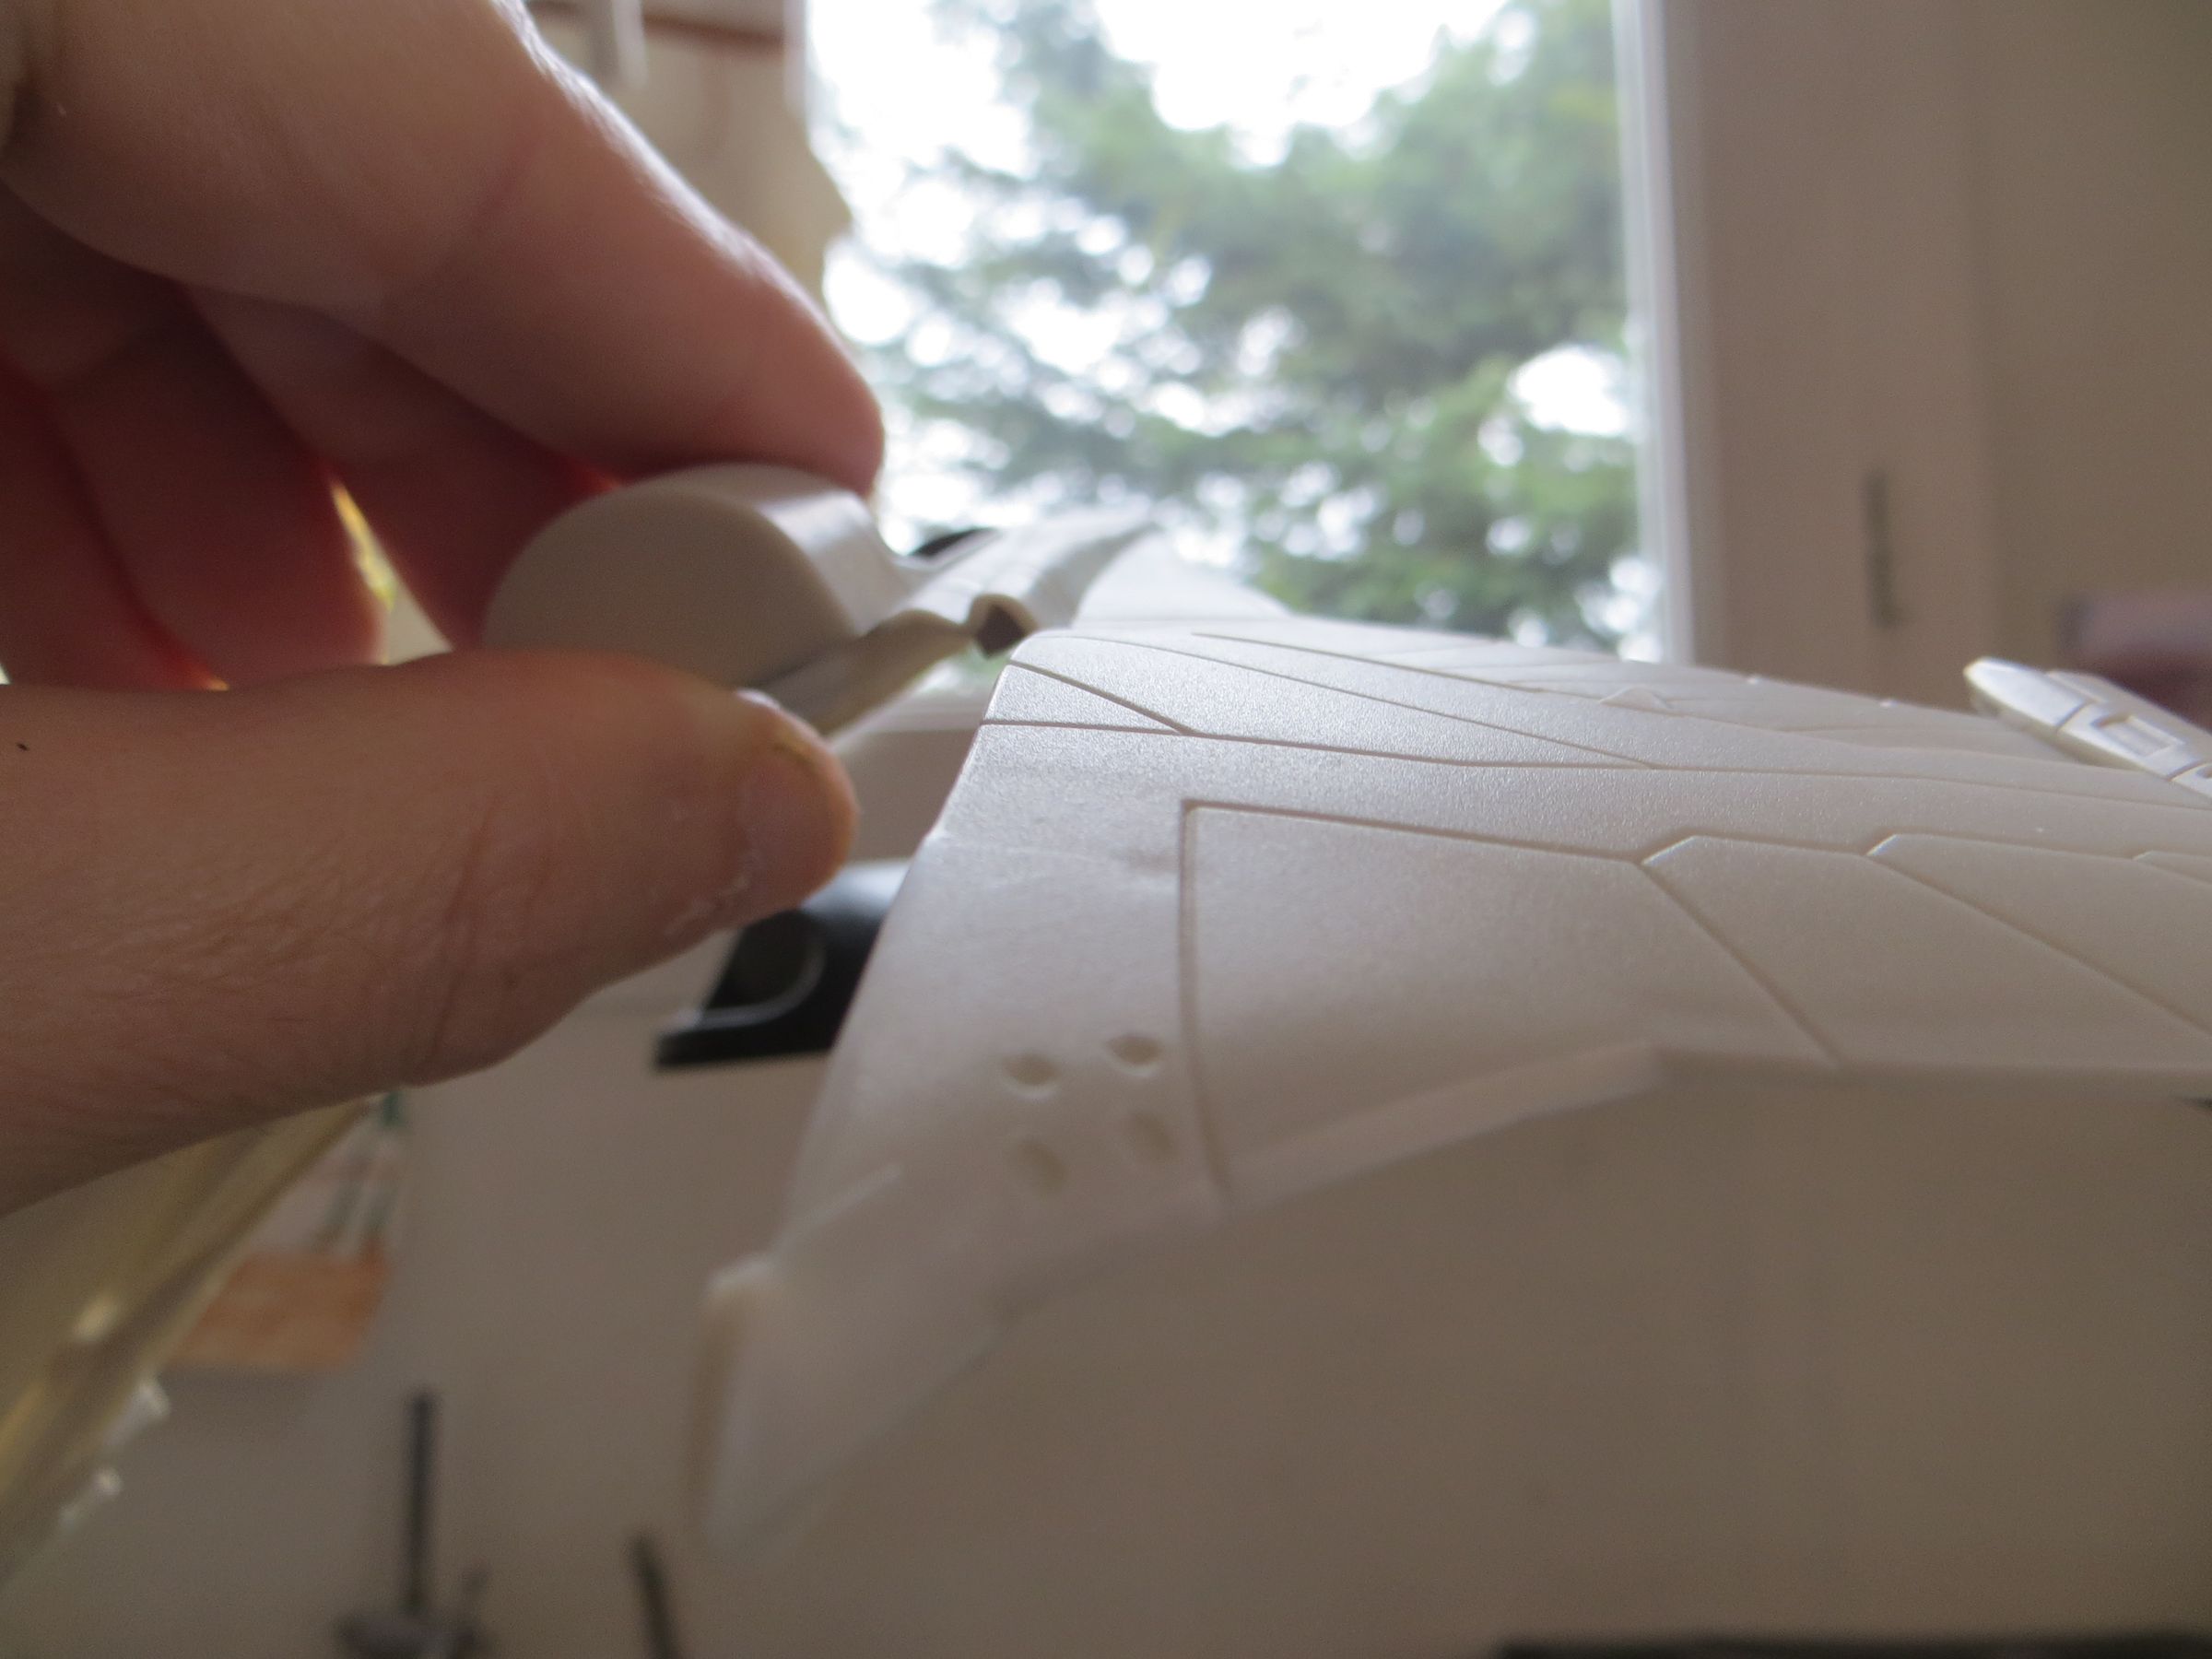
- Verniers are there this time (though not deep enough for my taste). Curiously, two are missing on each side of the nose.
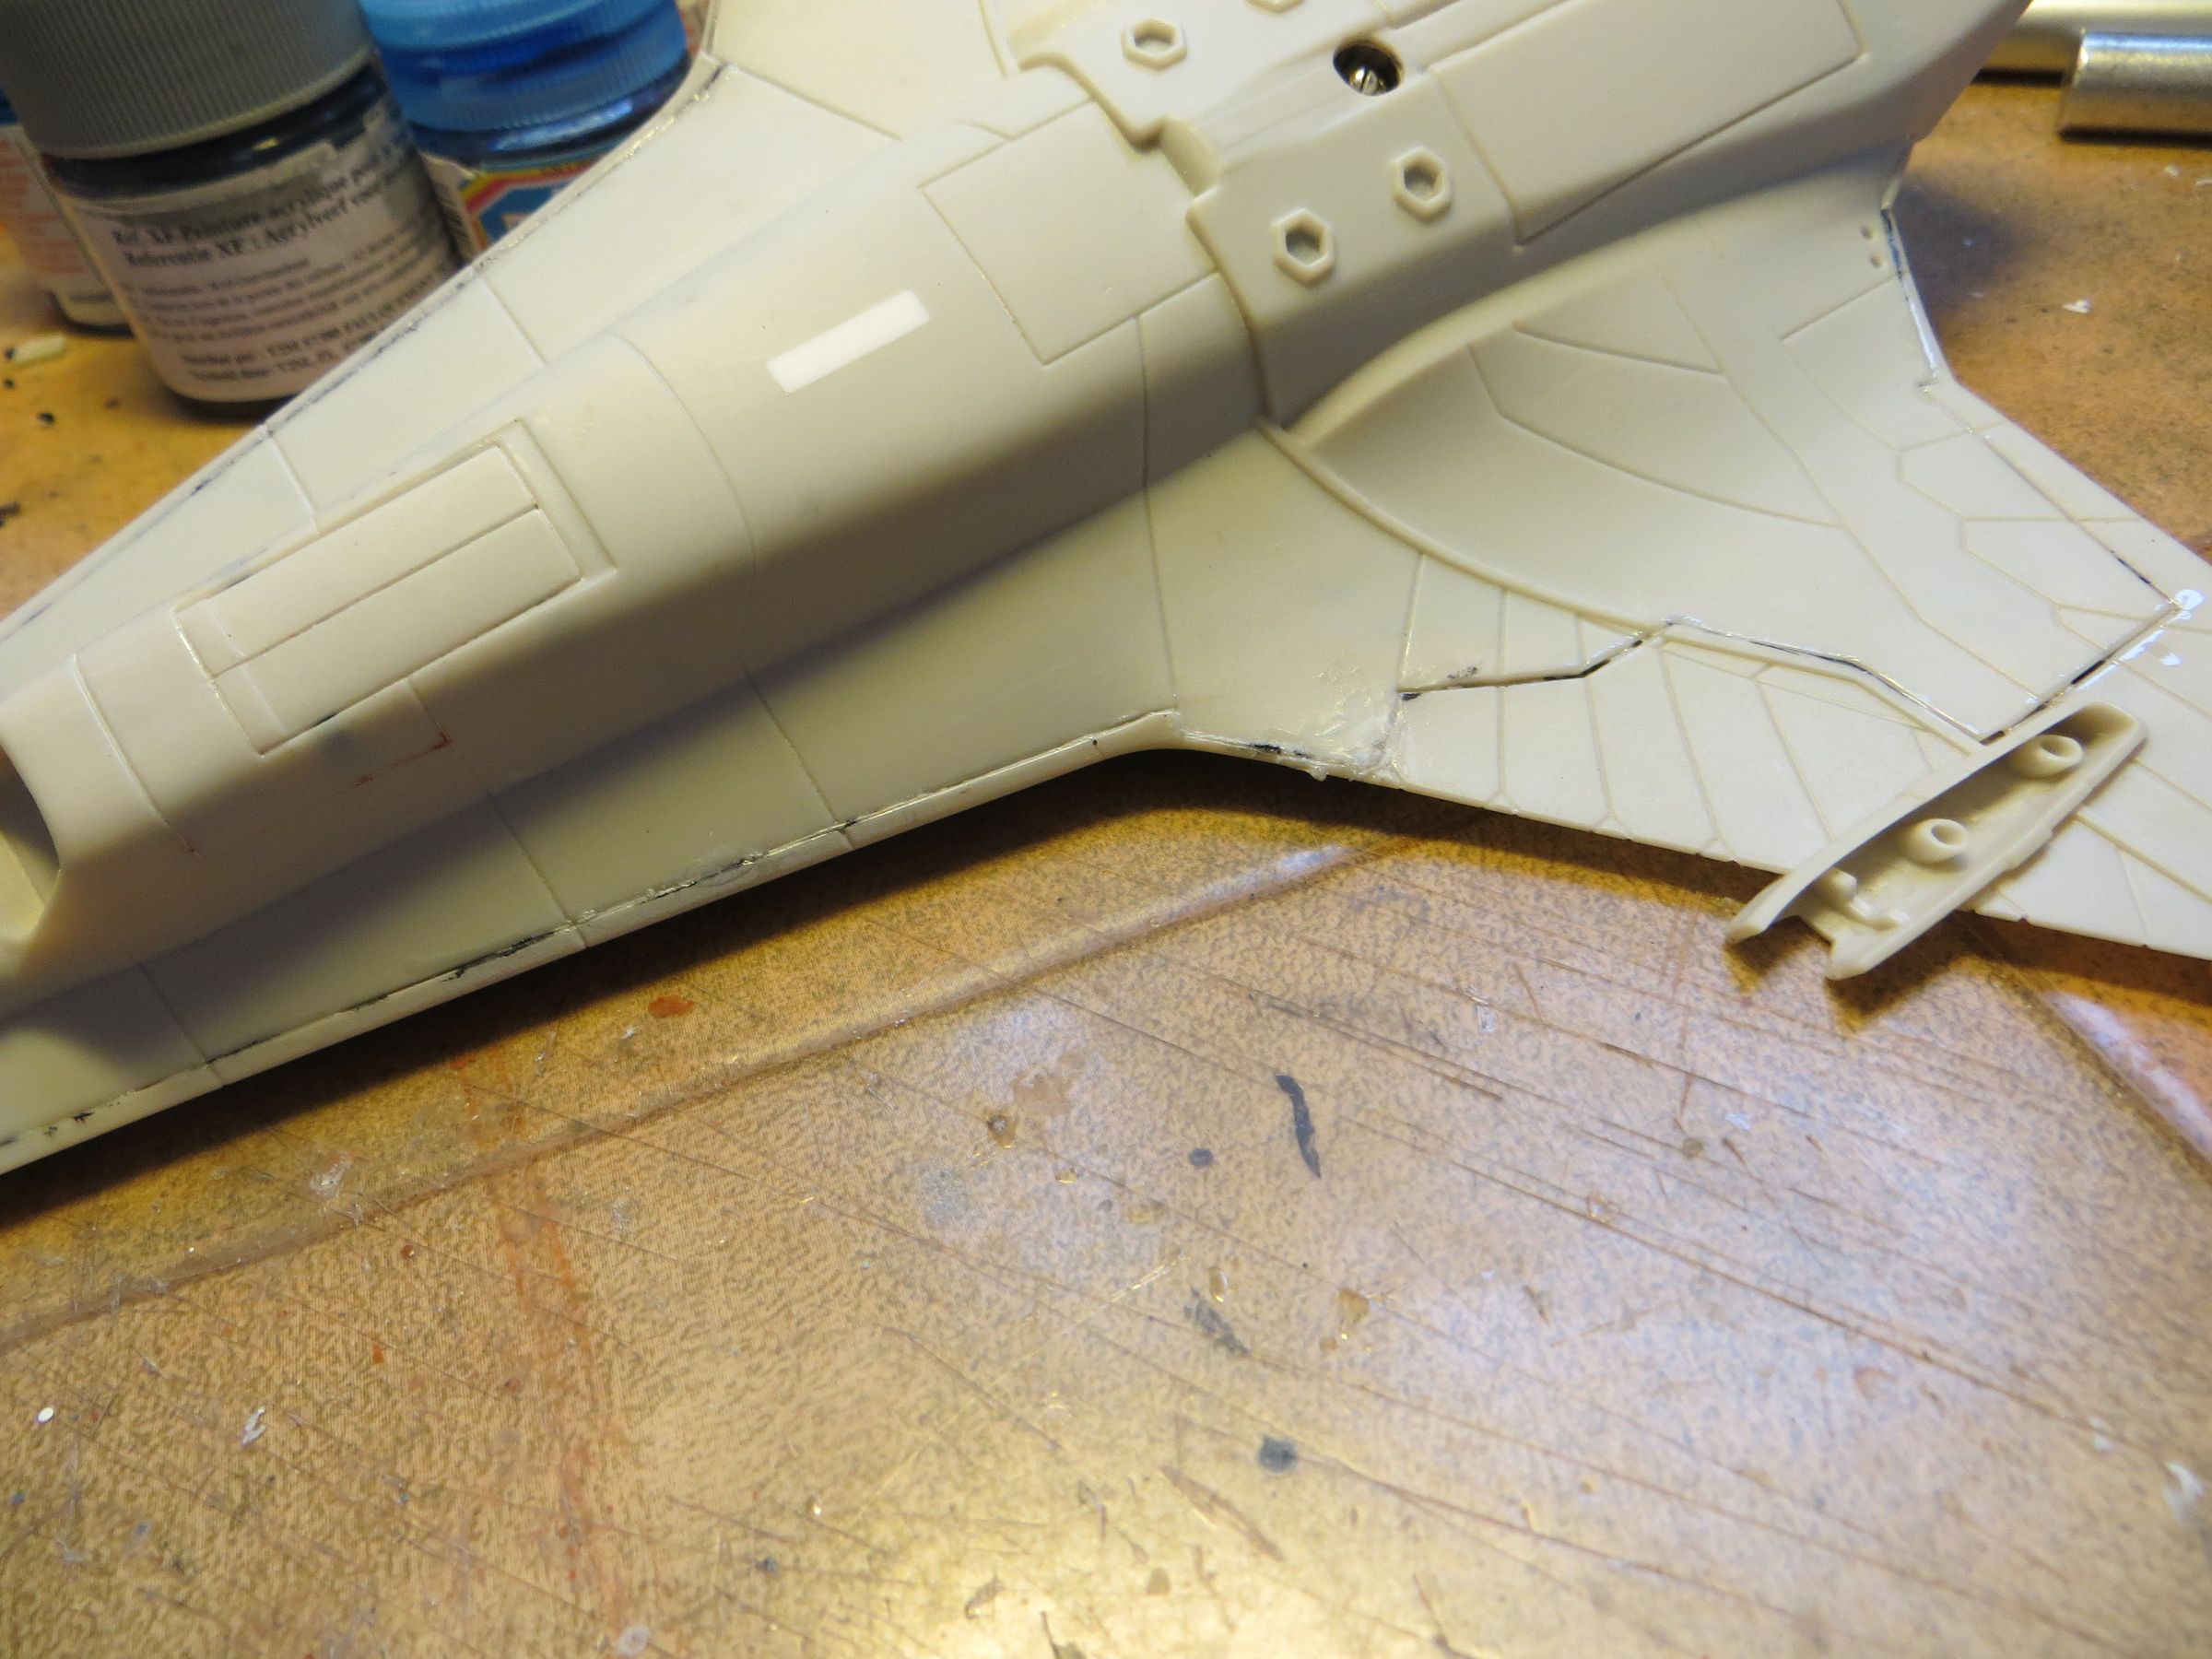
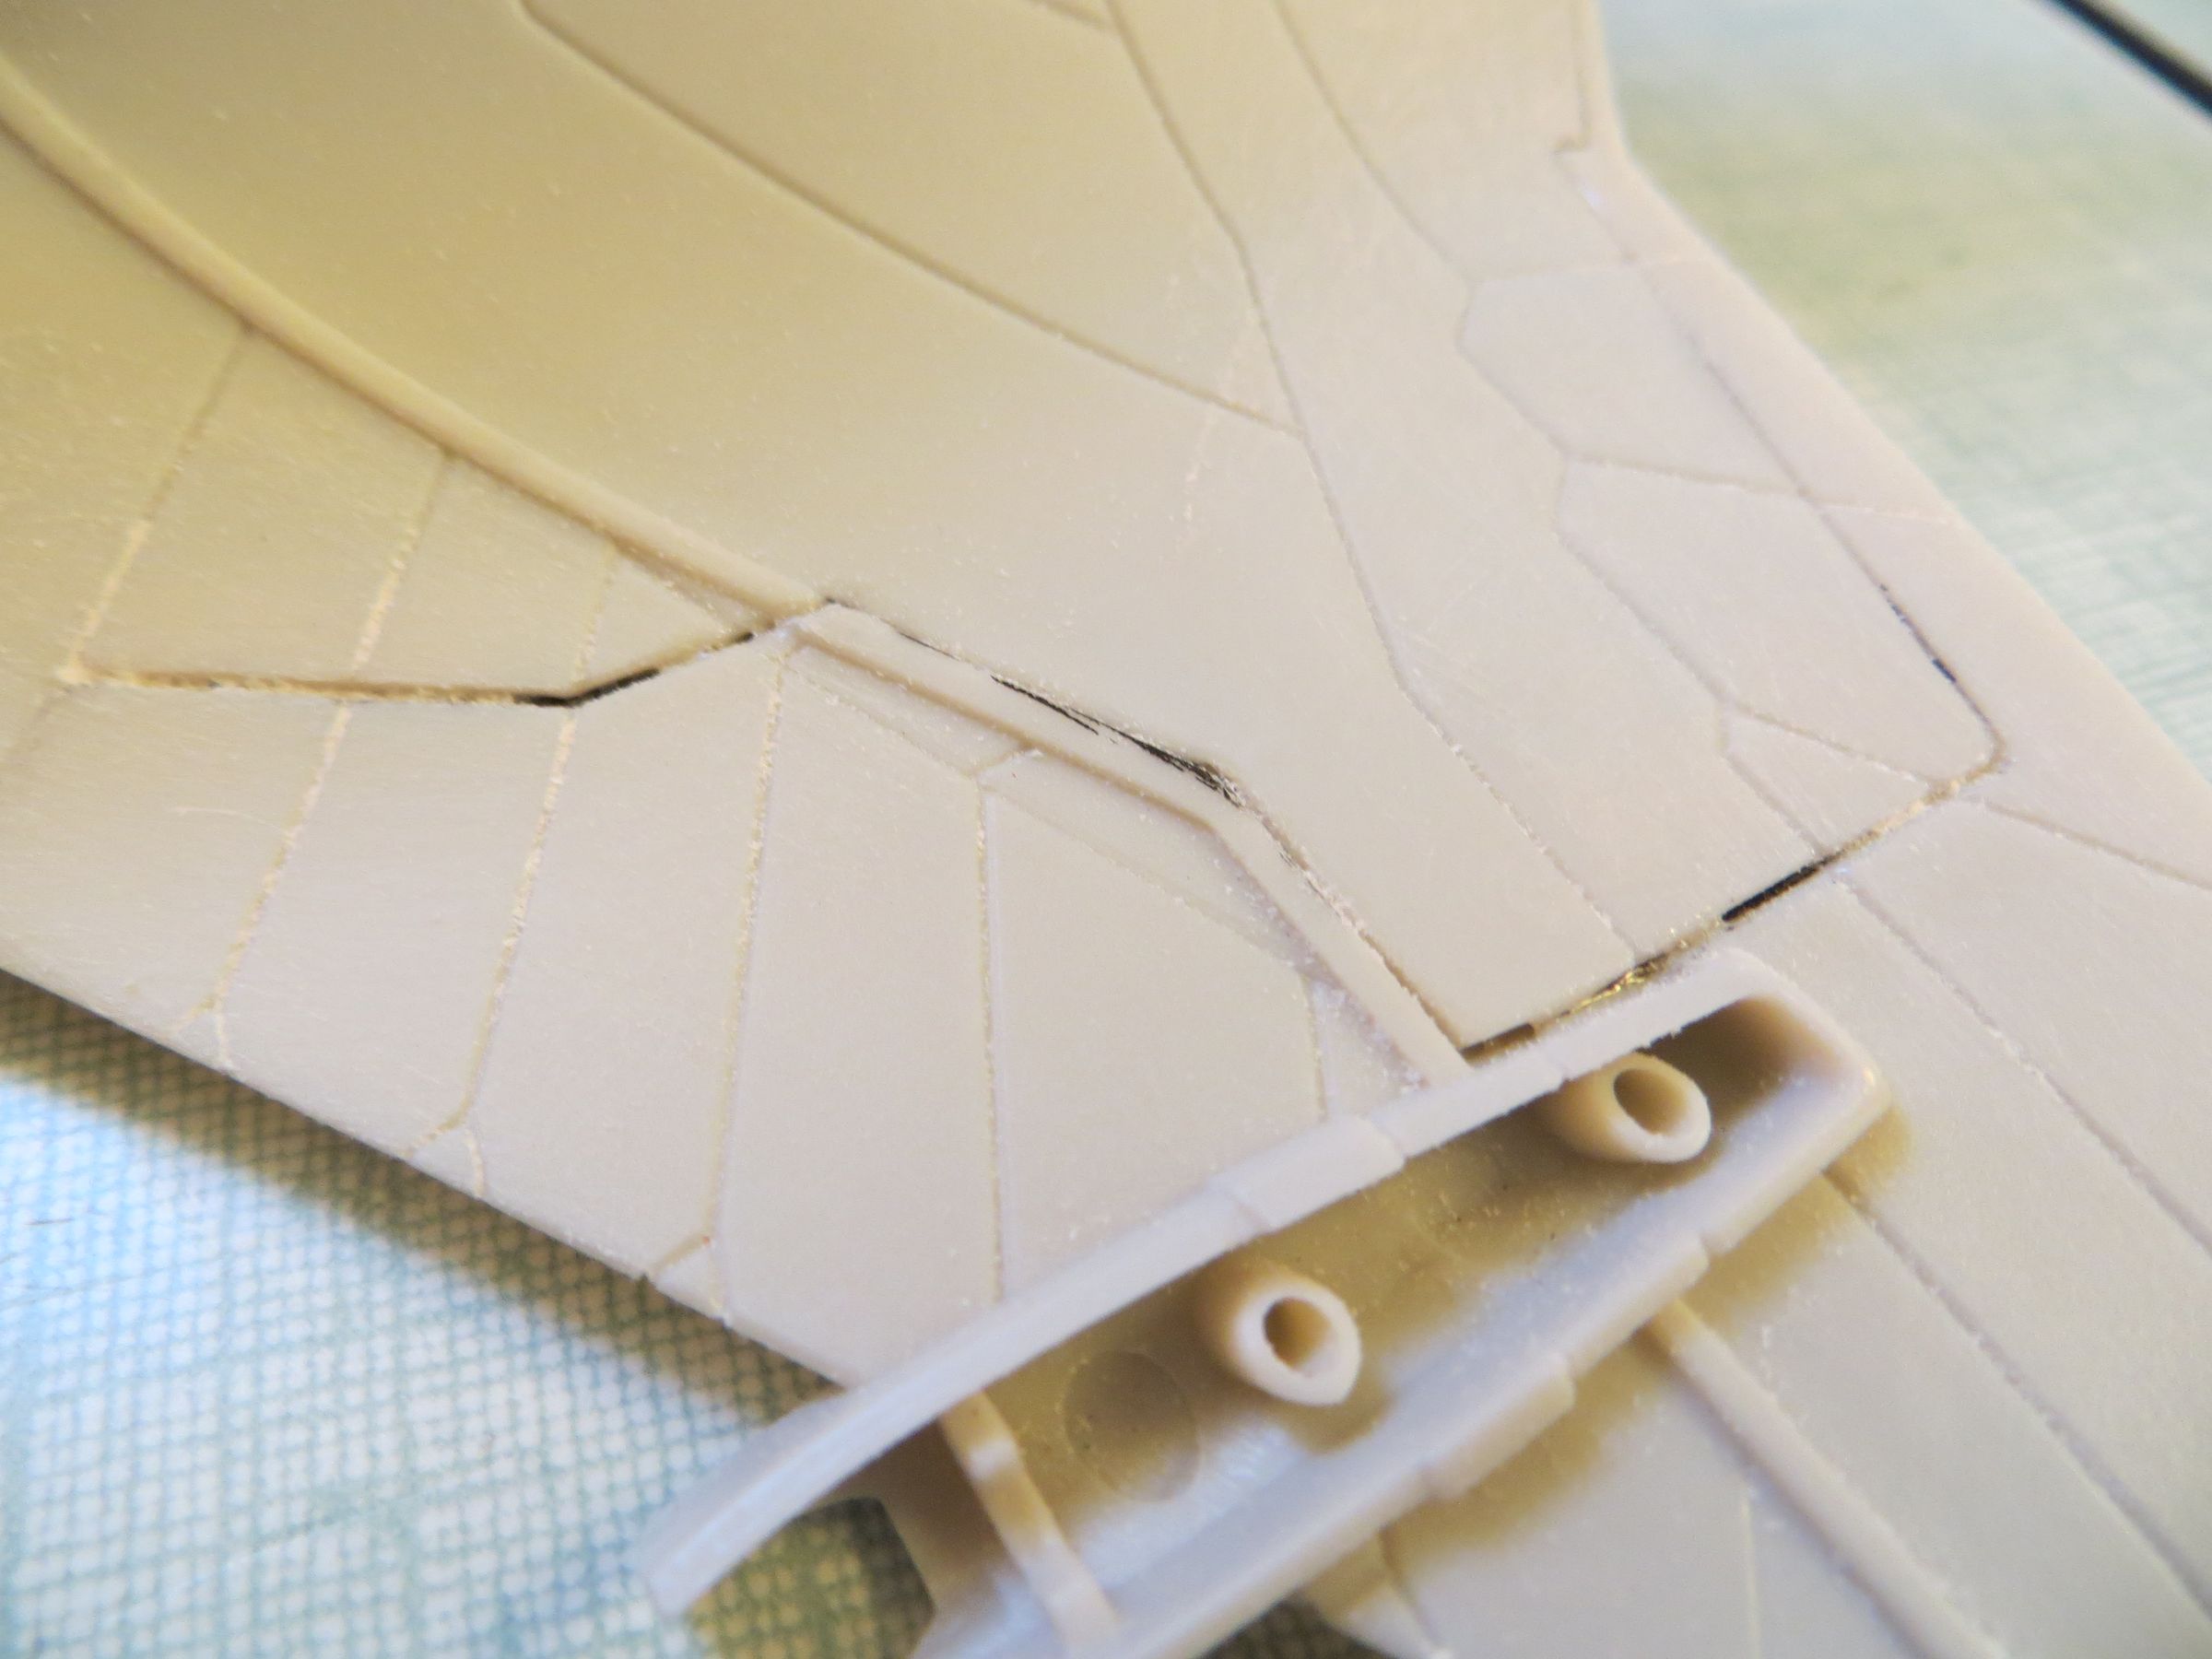
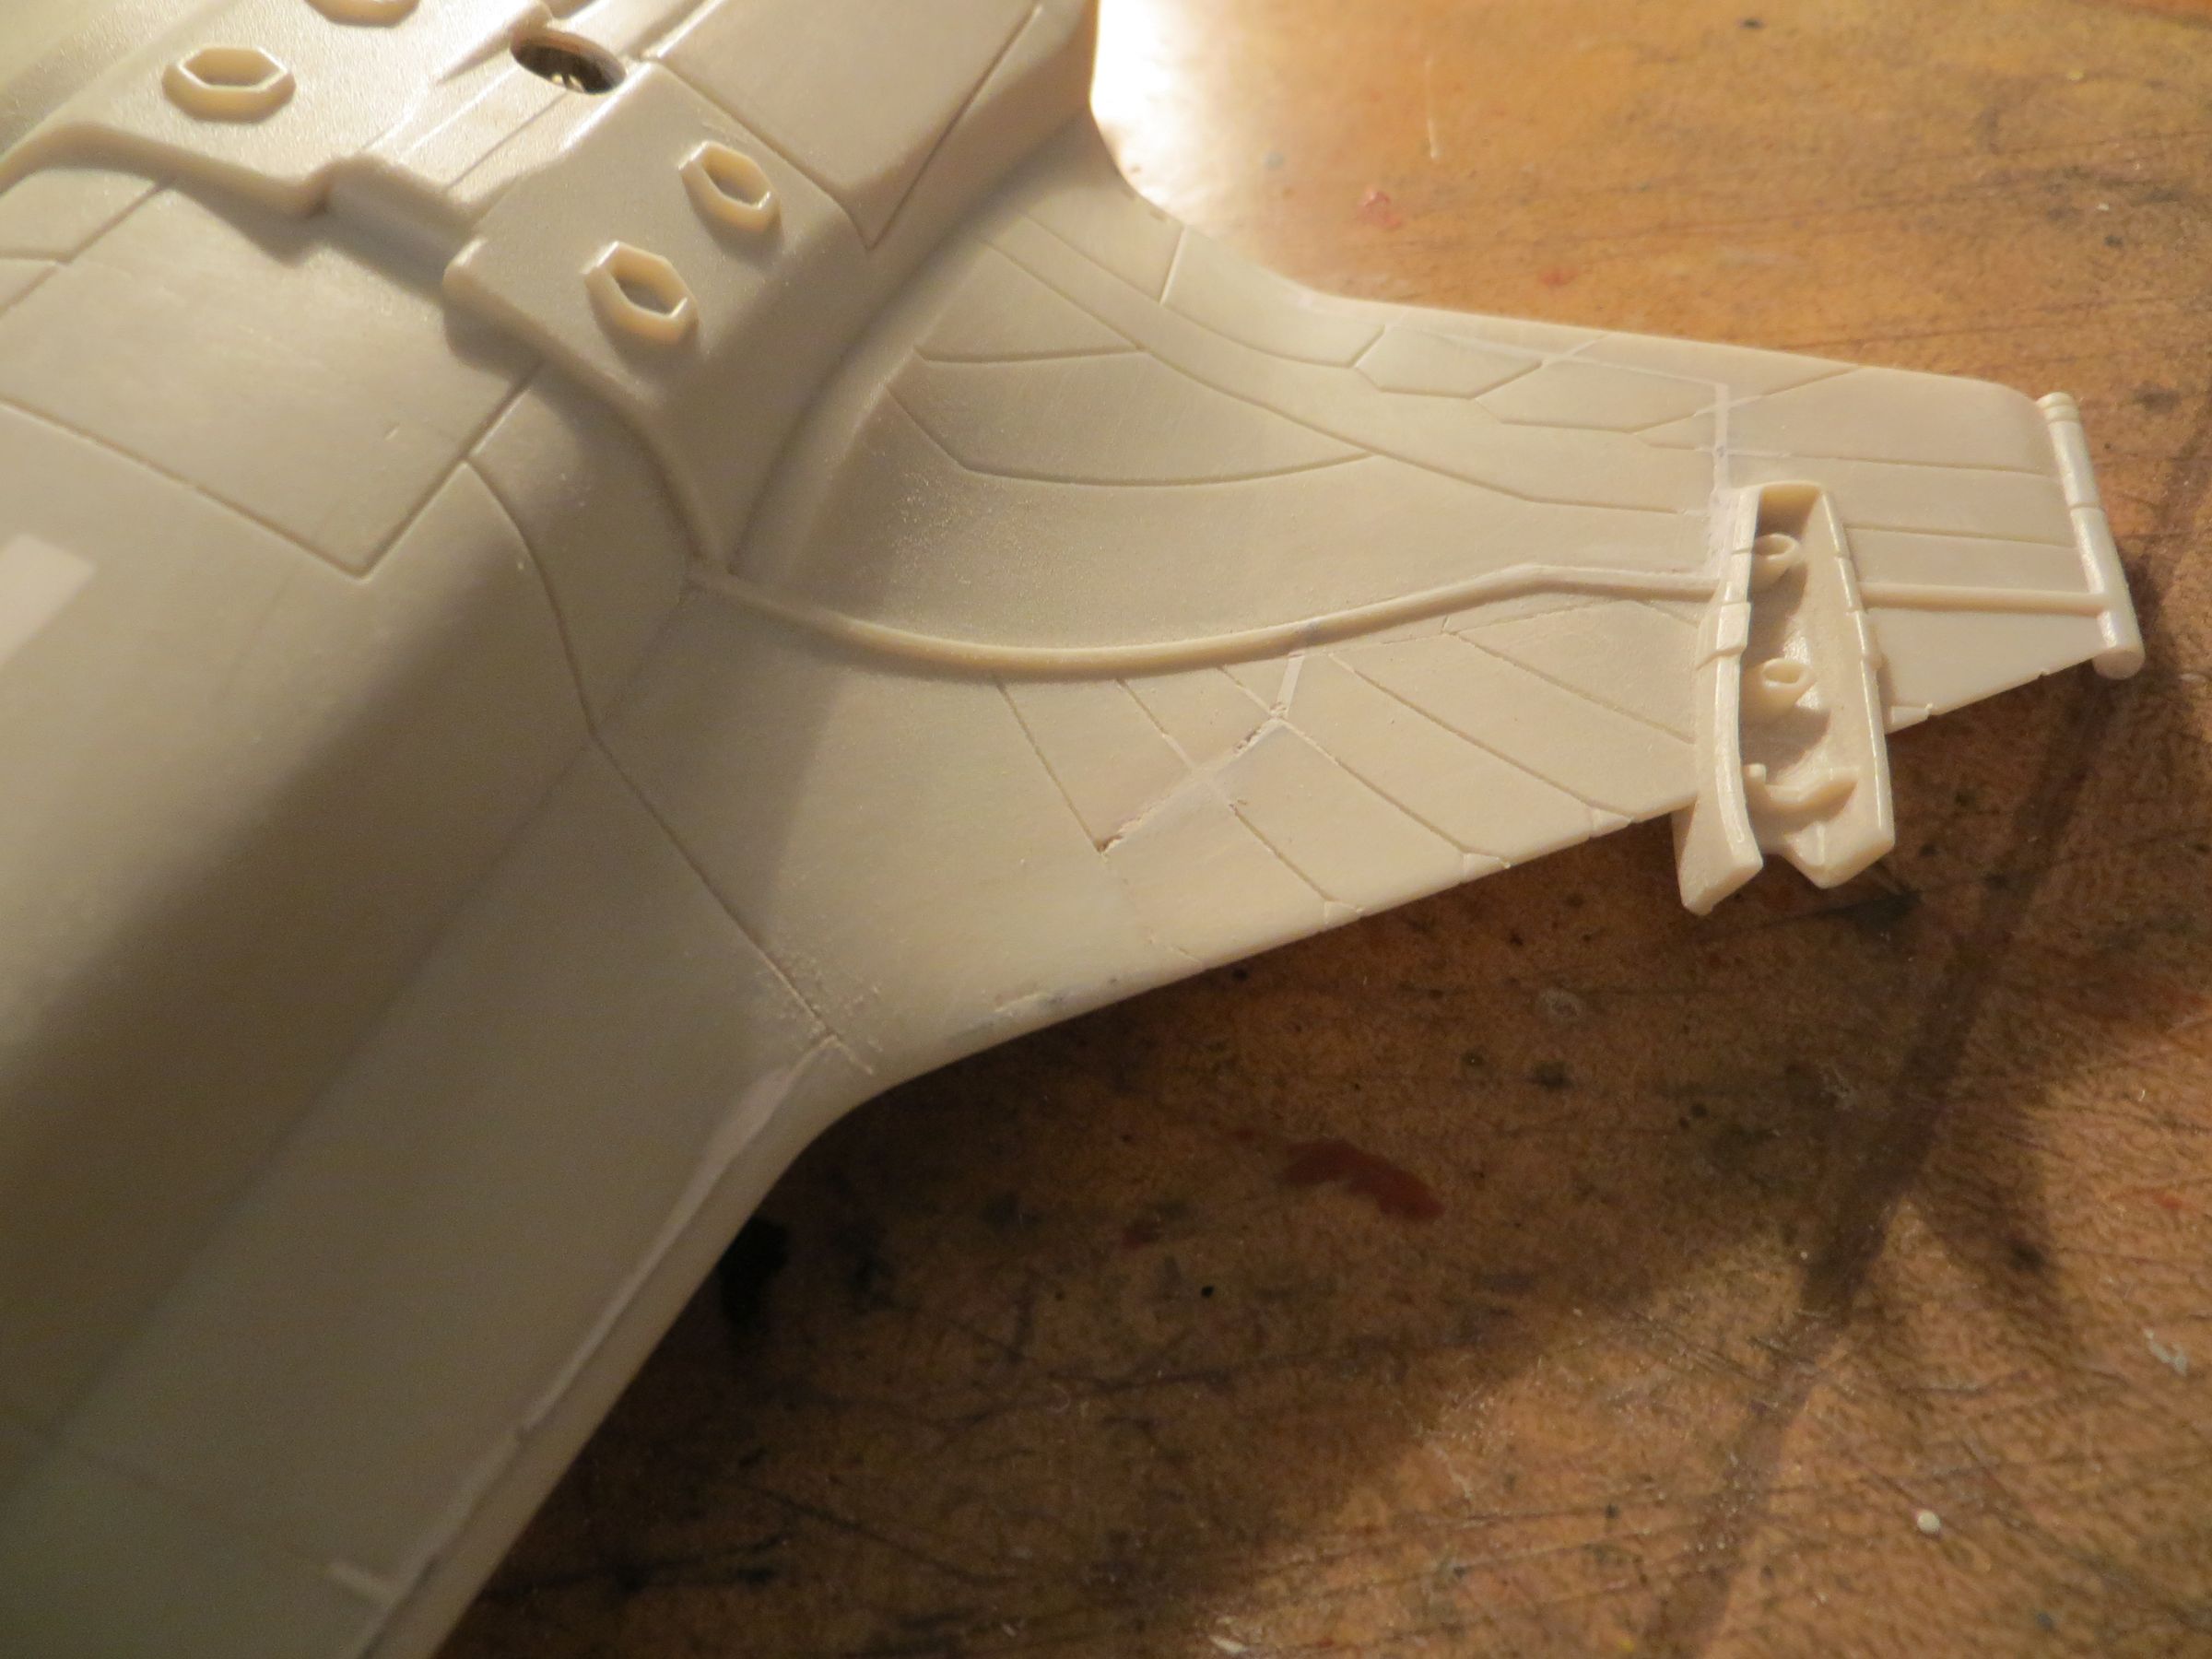
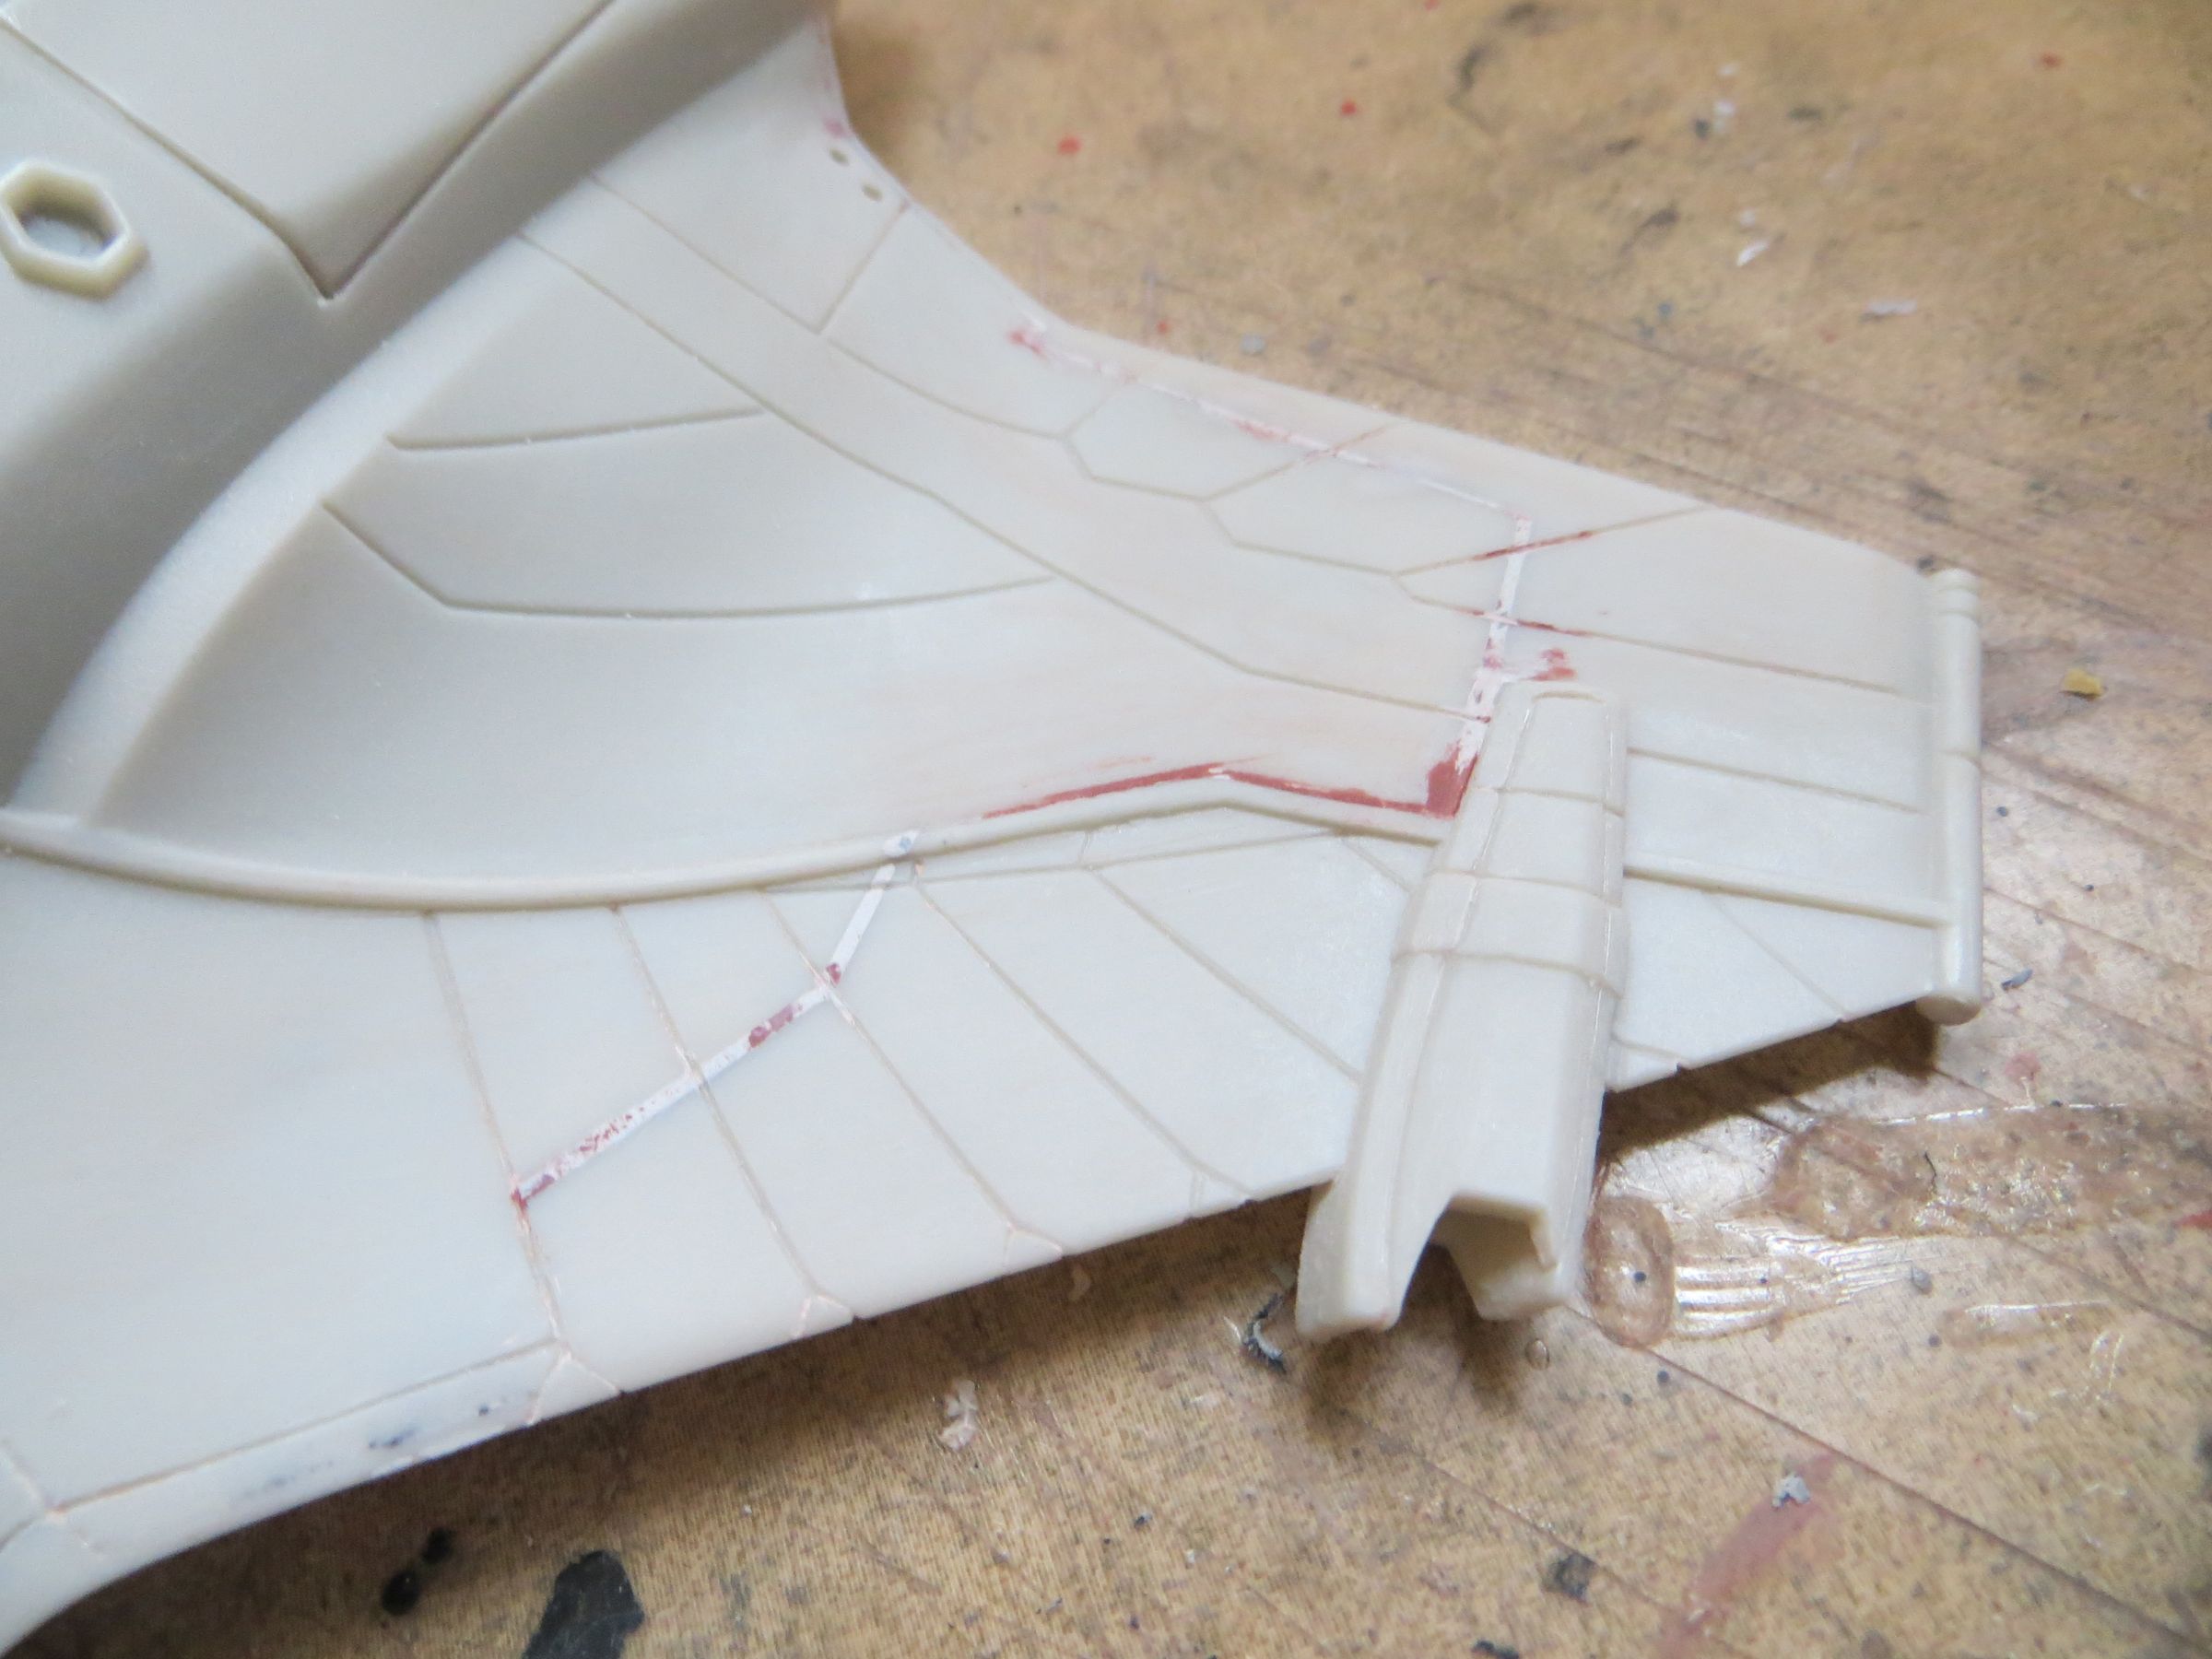
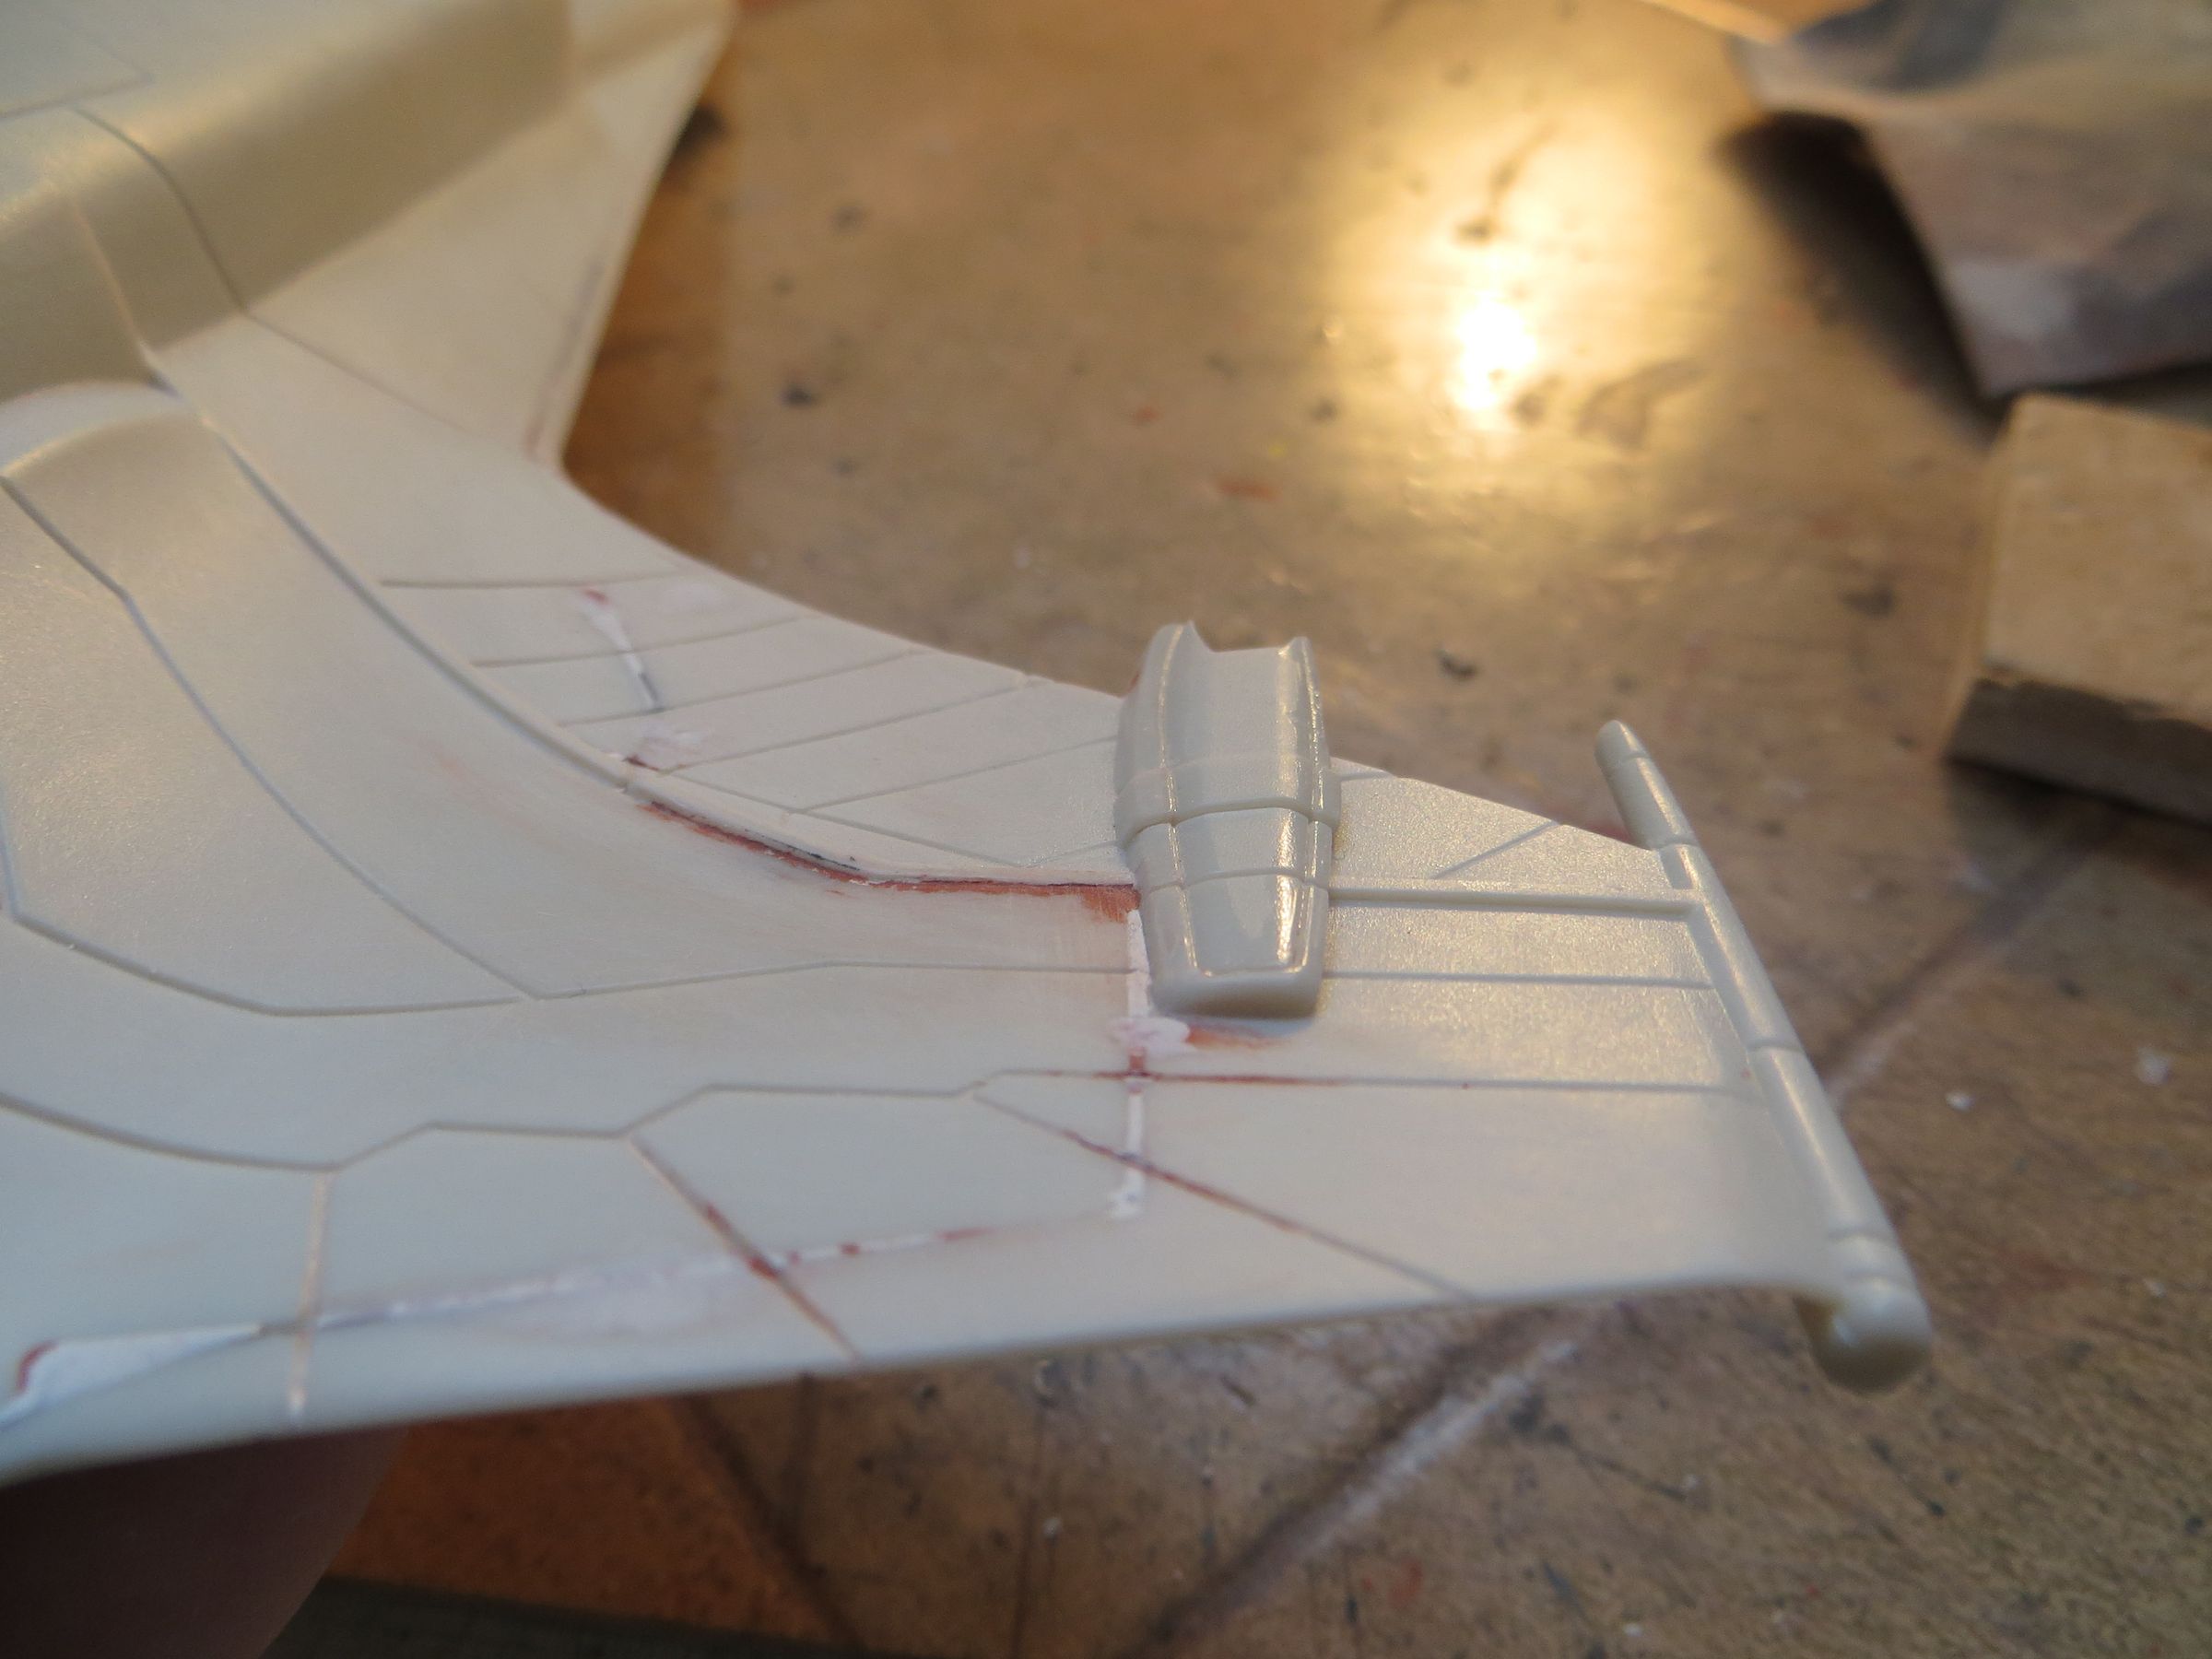
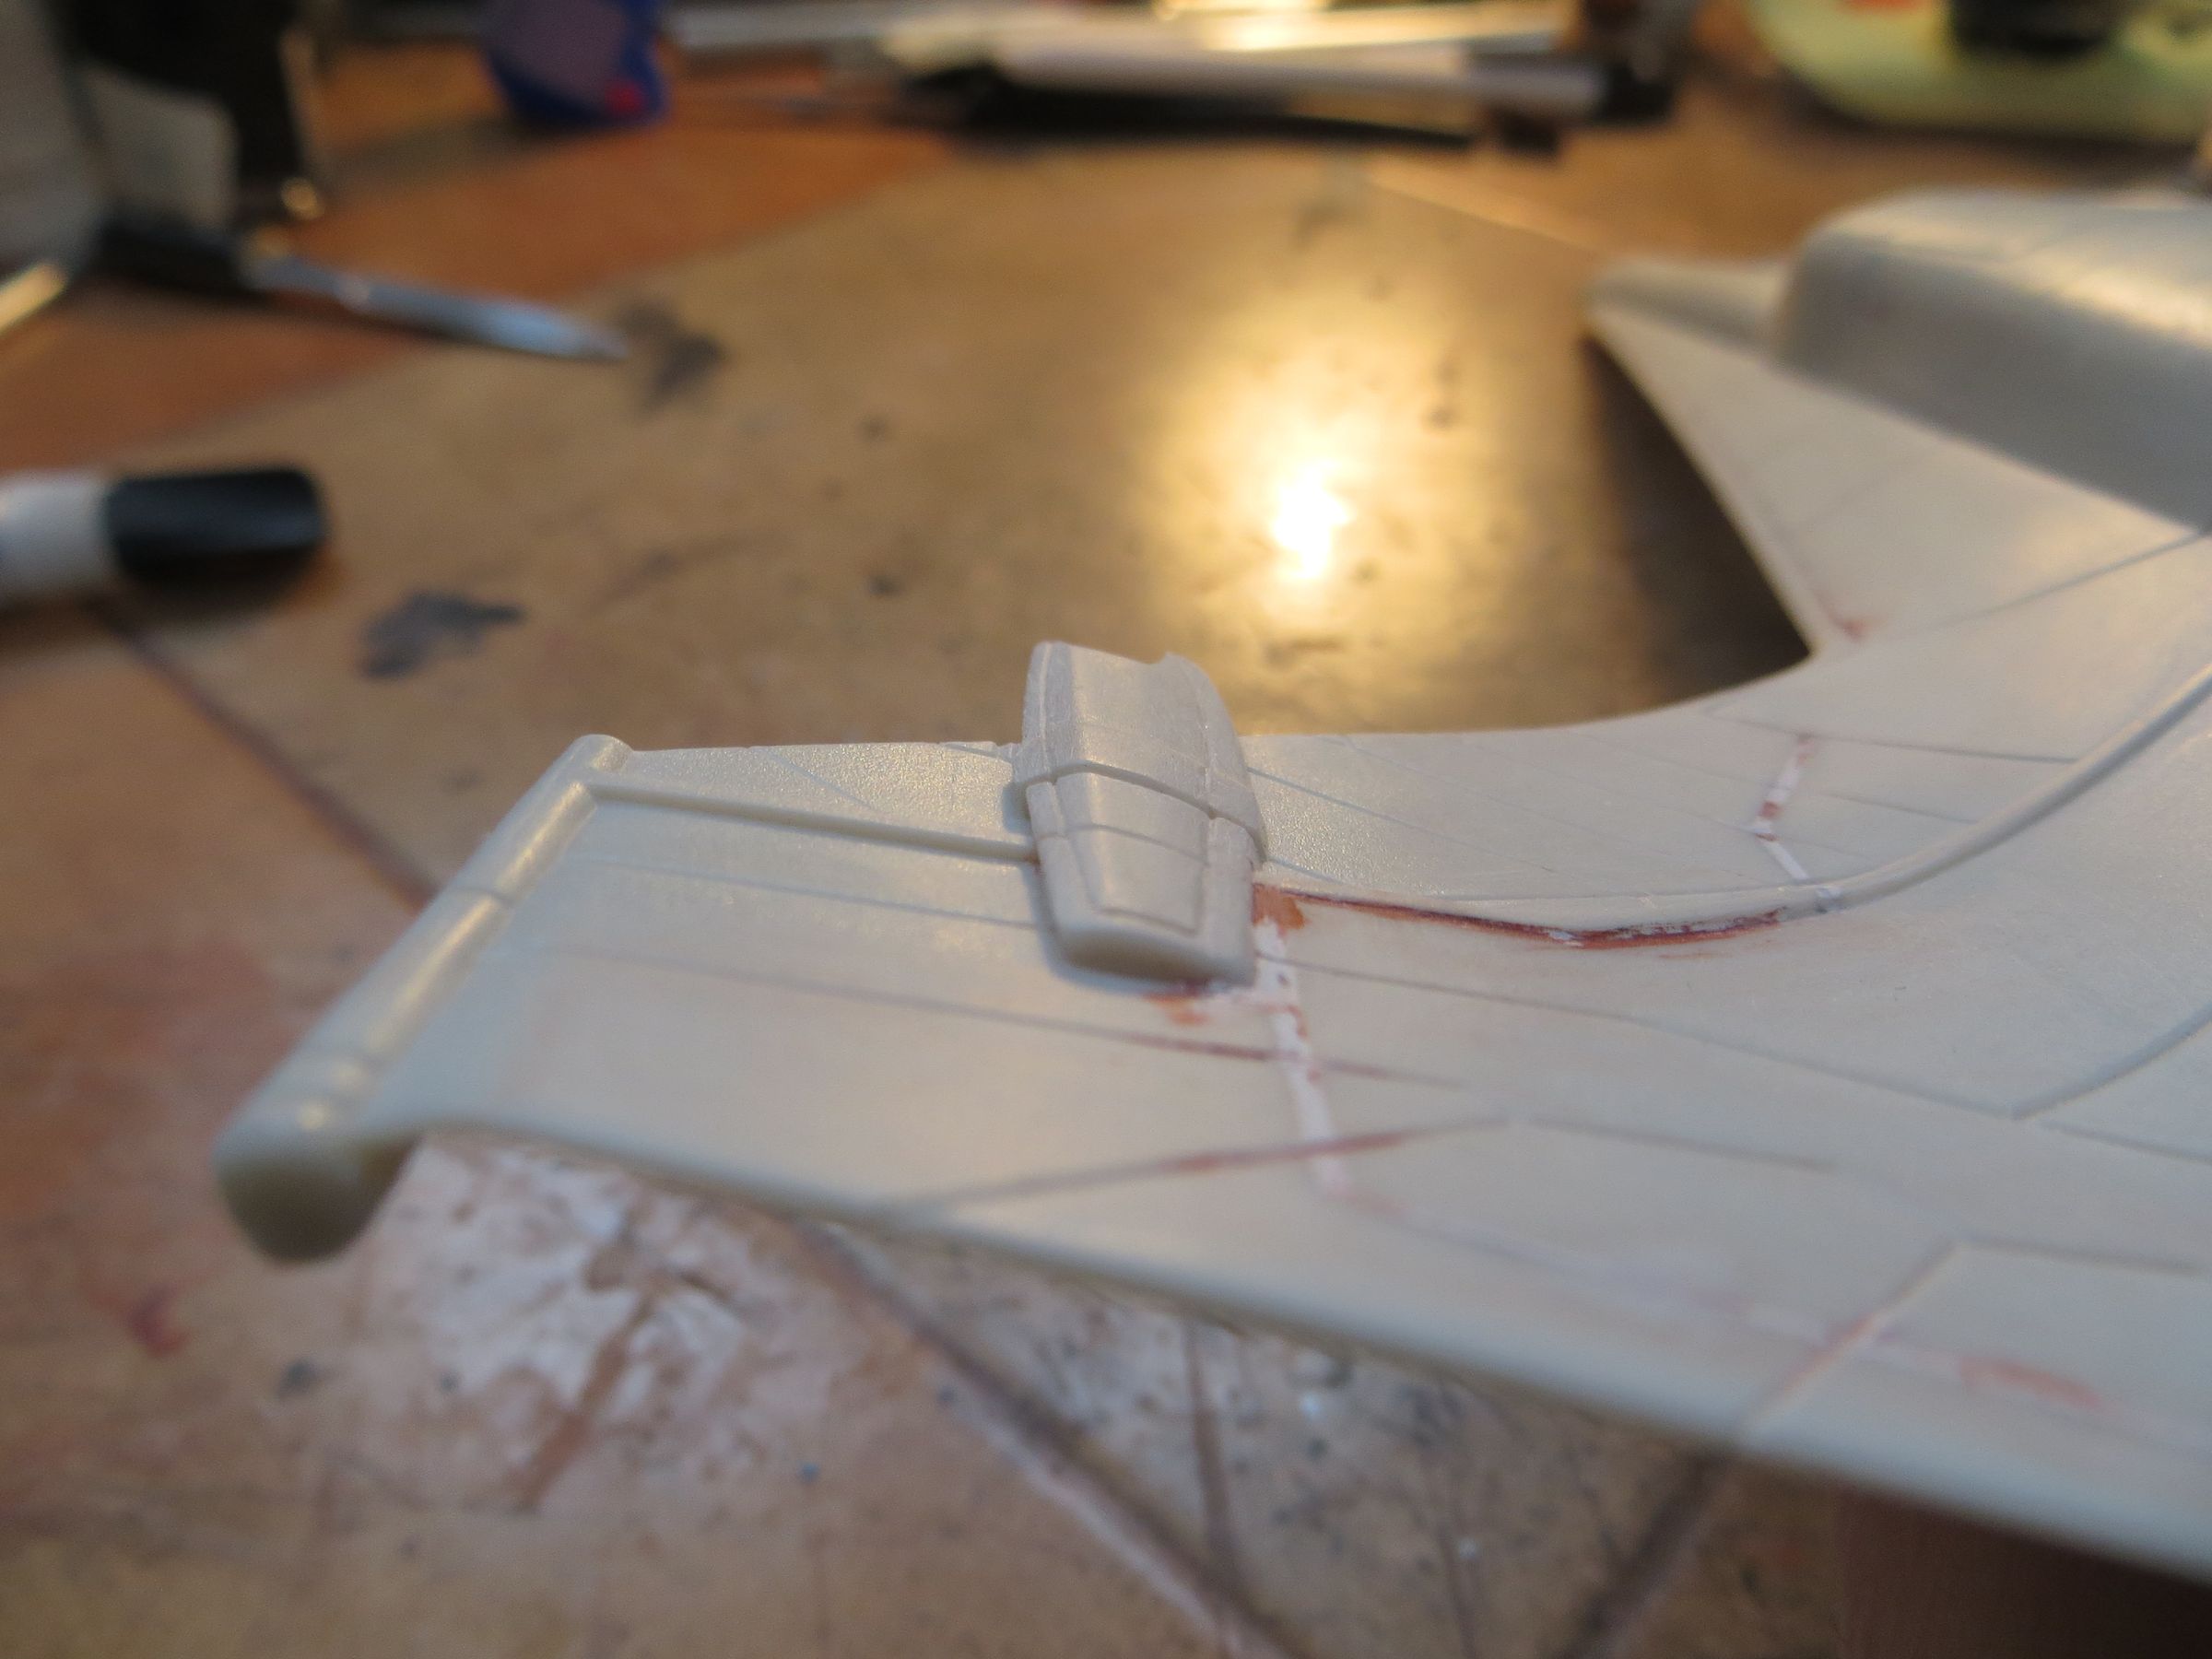
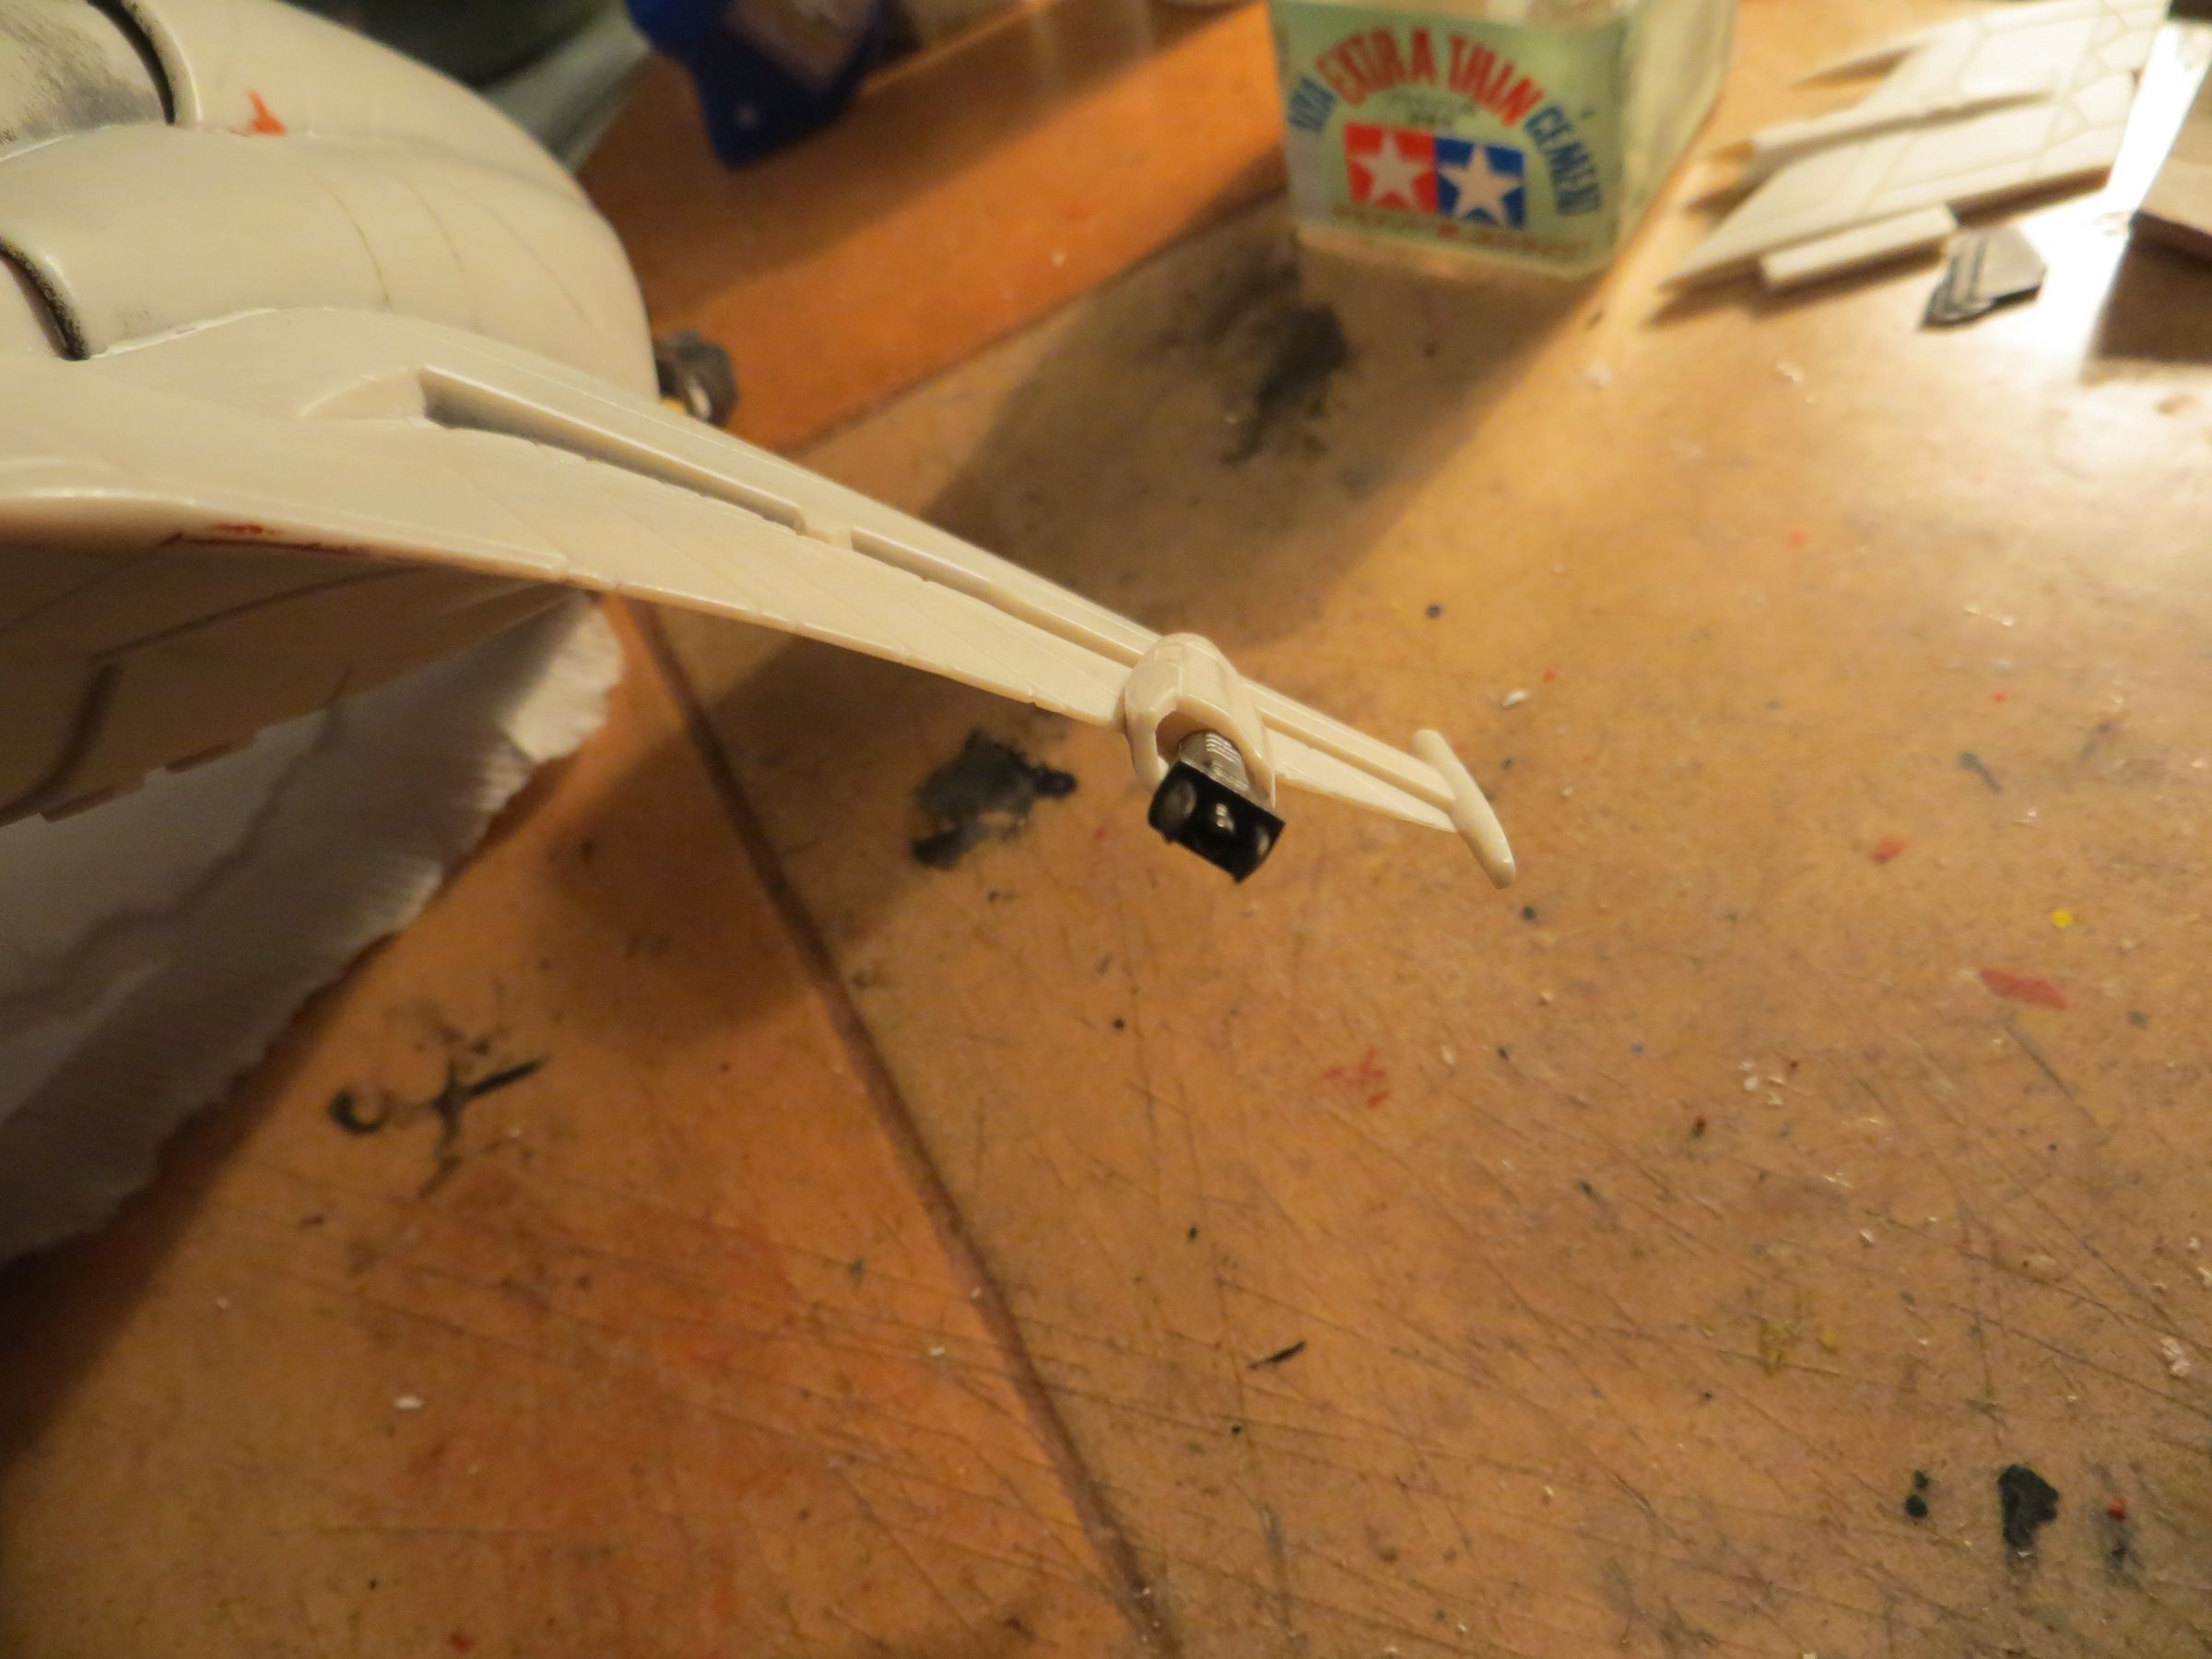
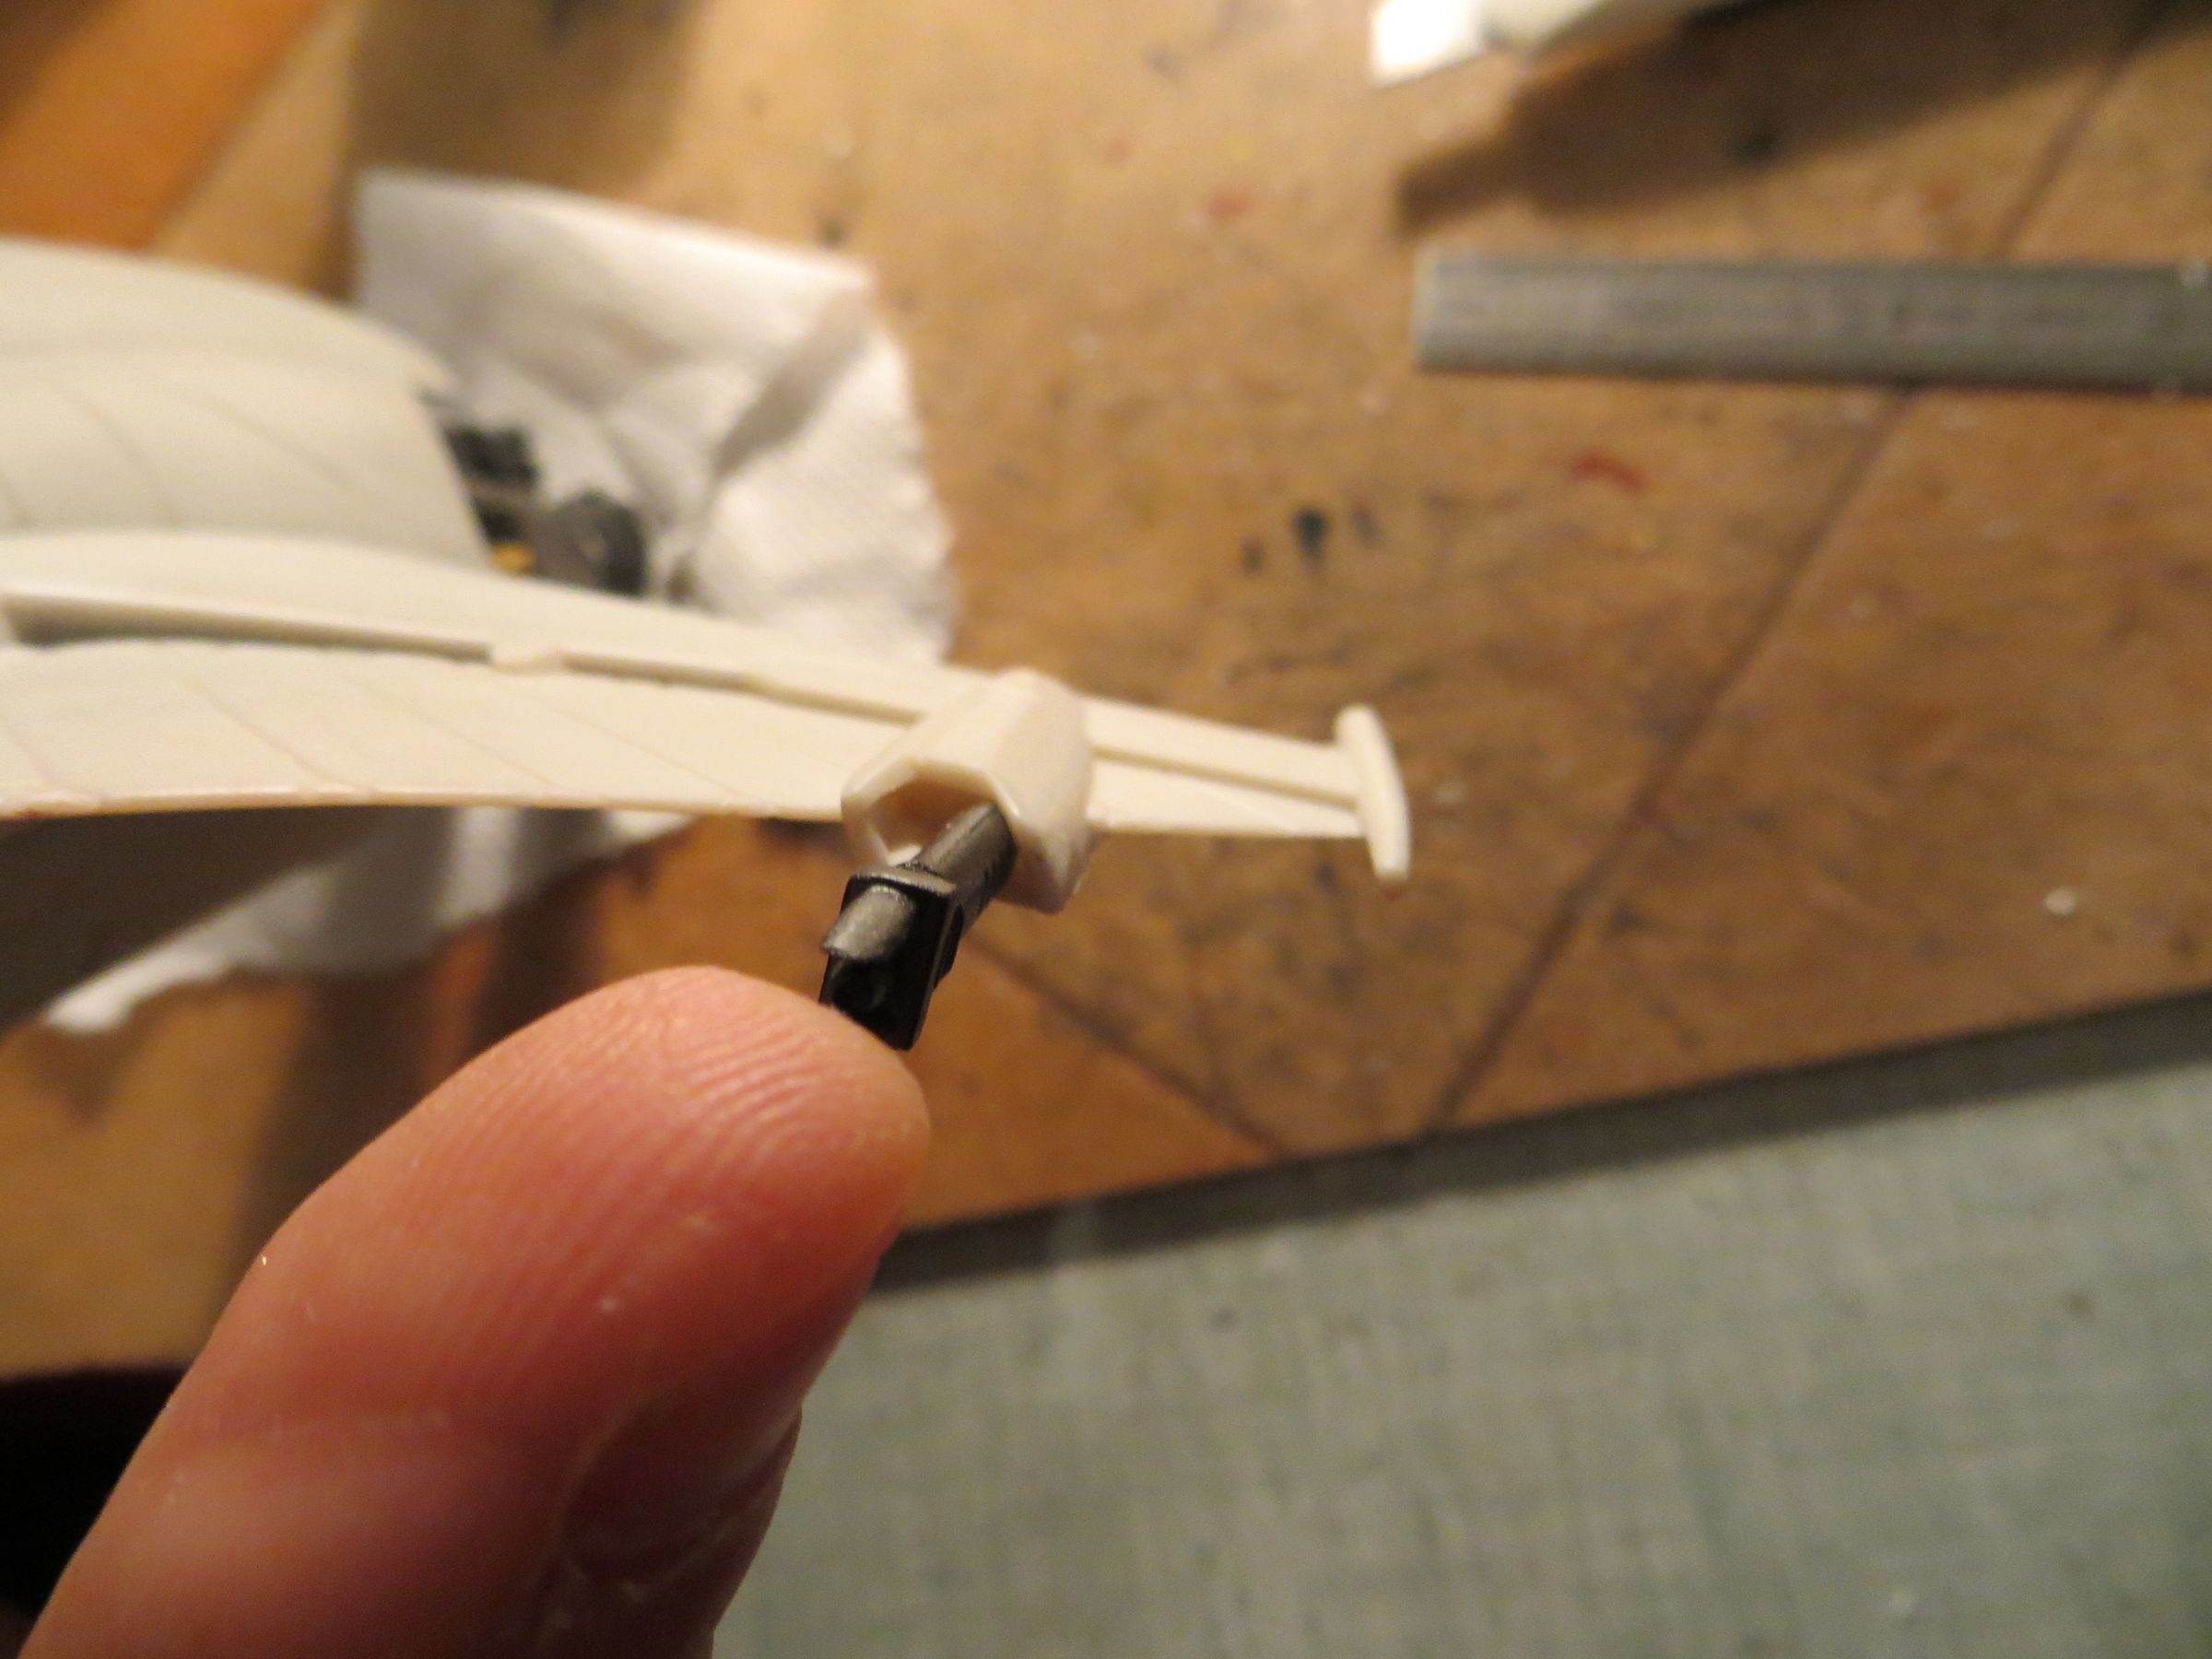
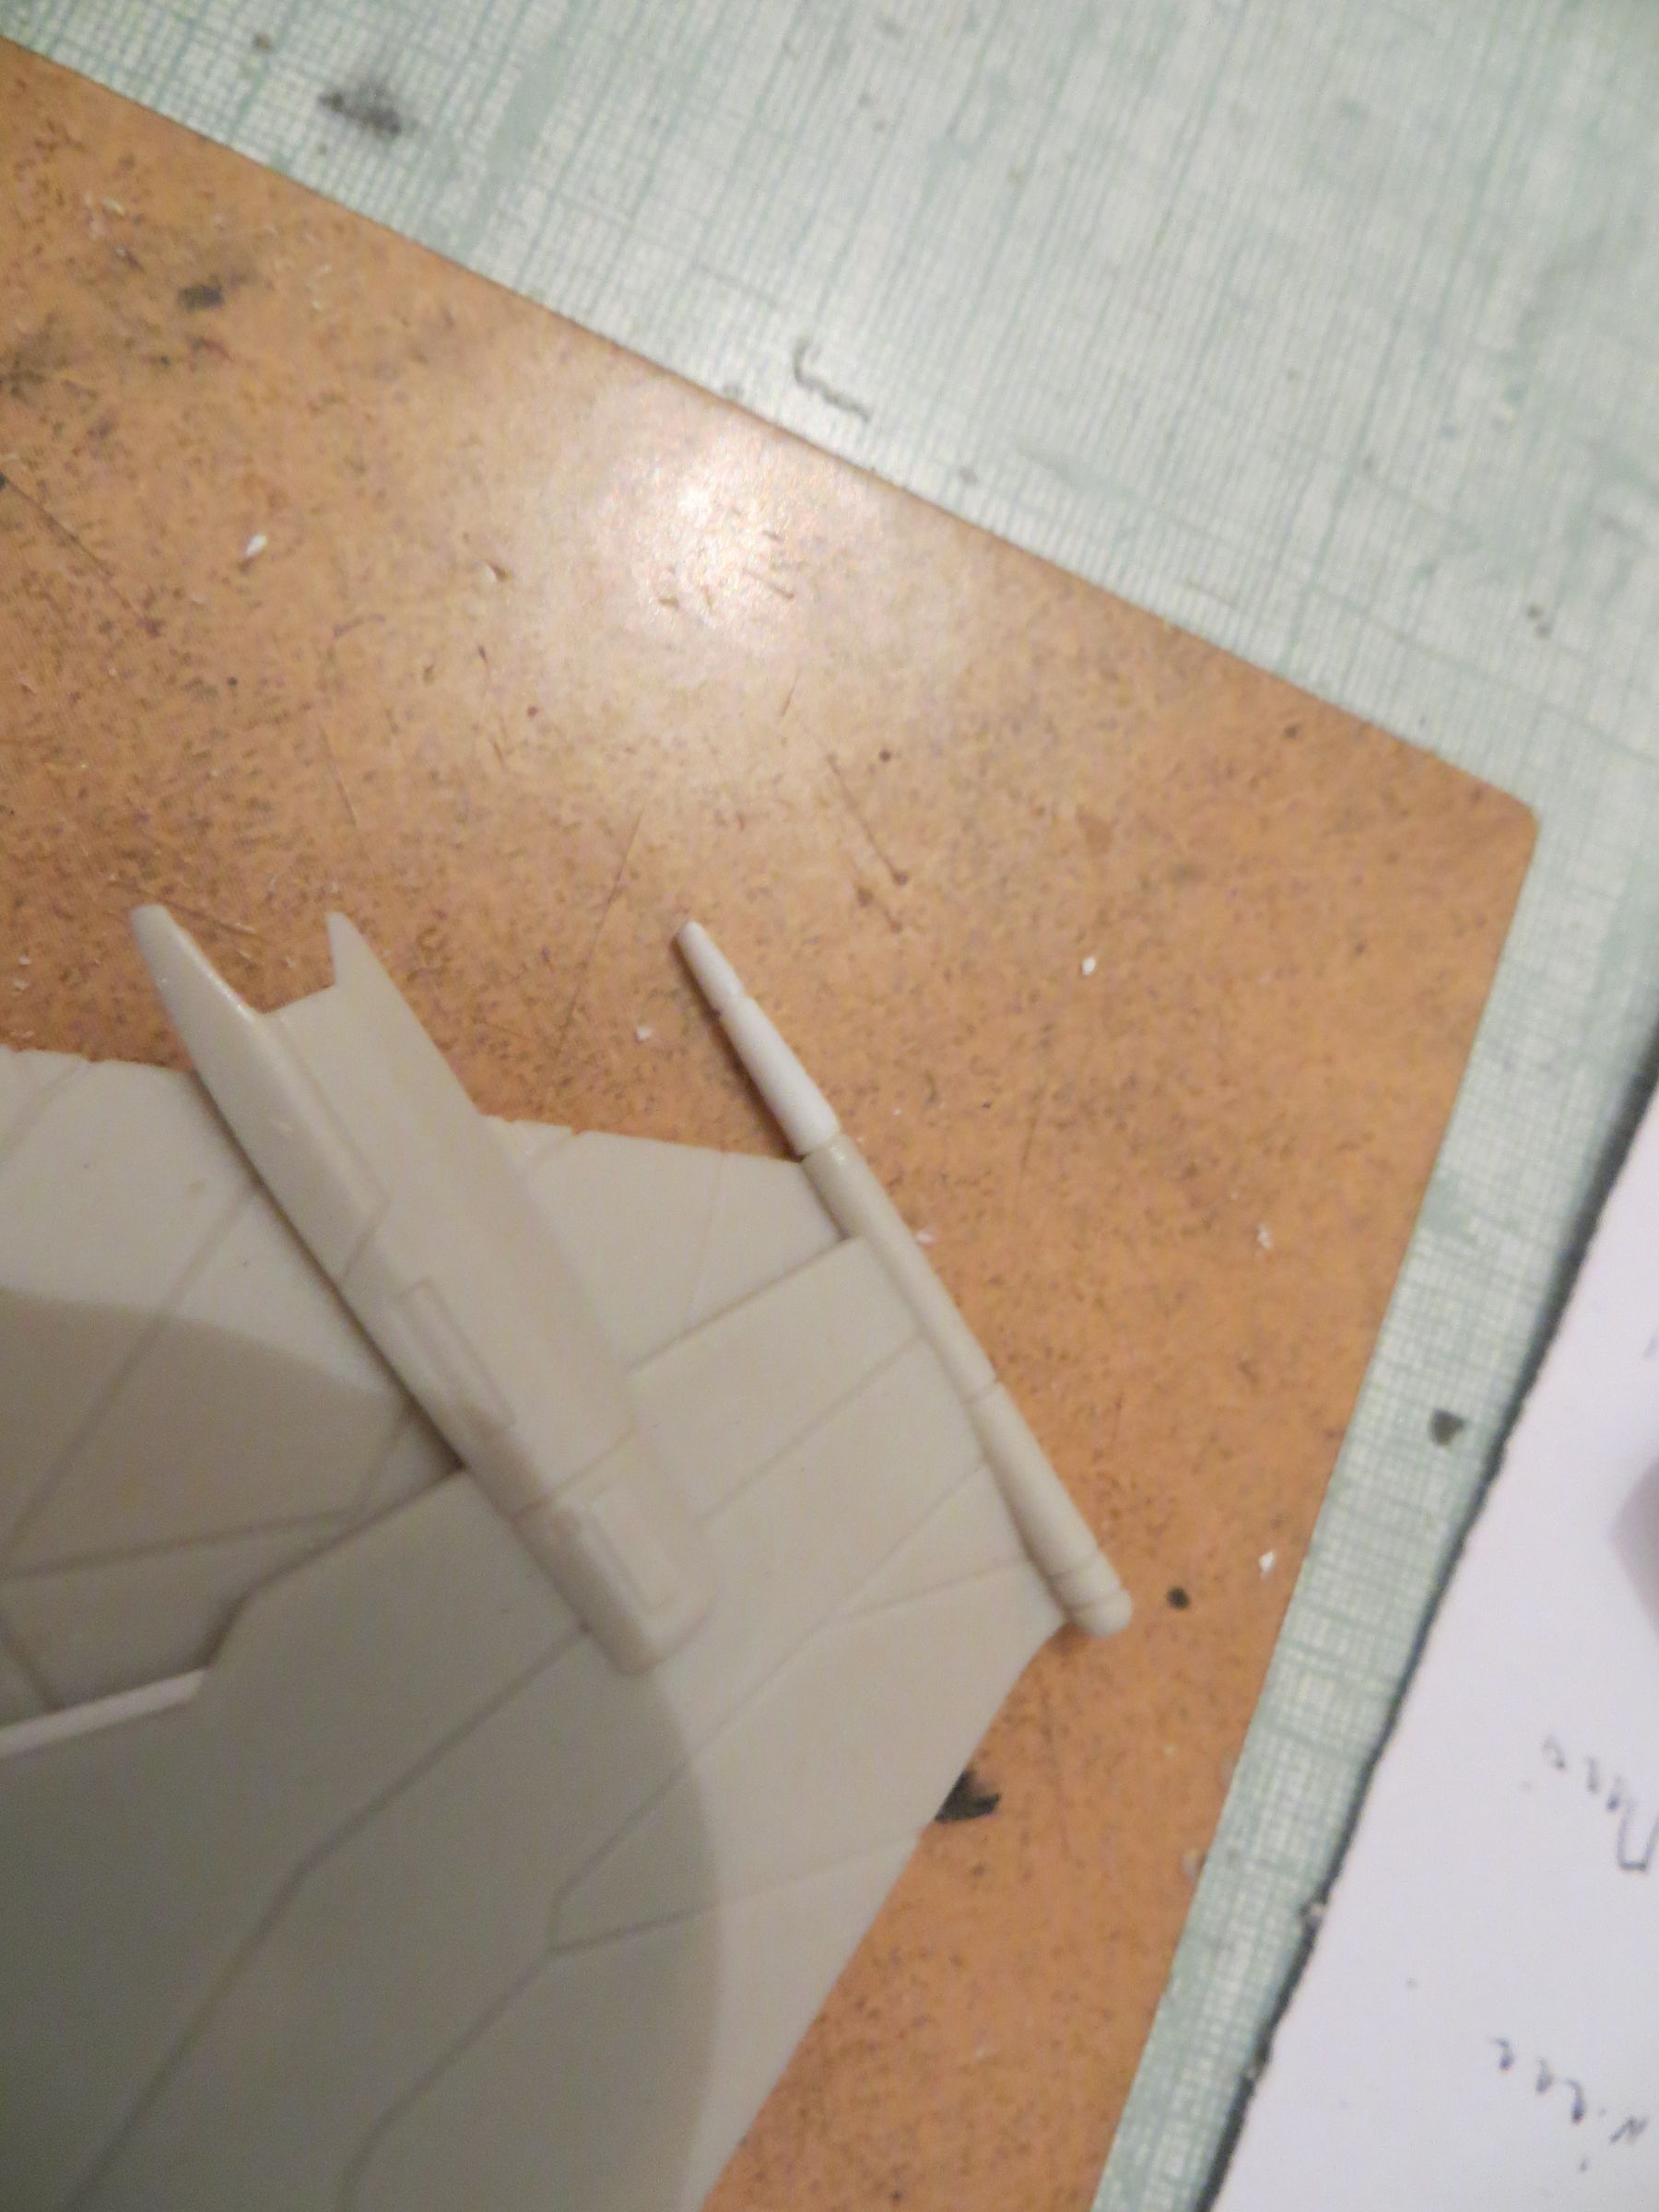
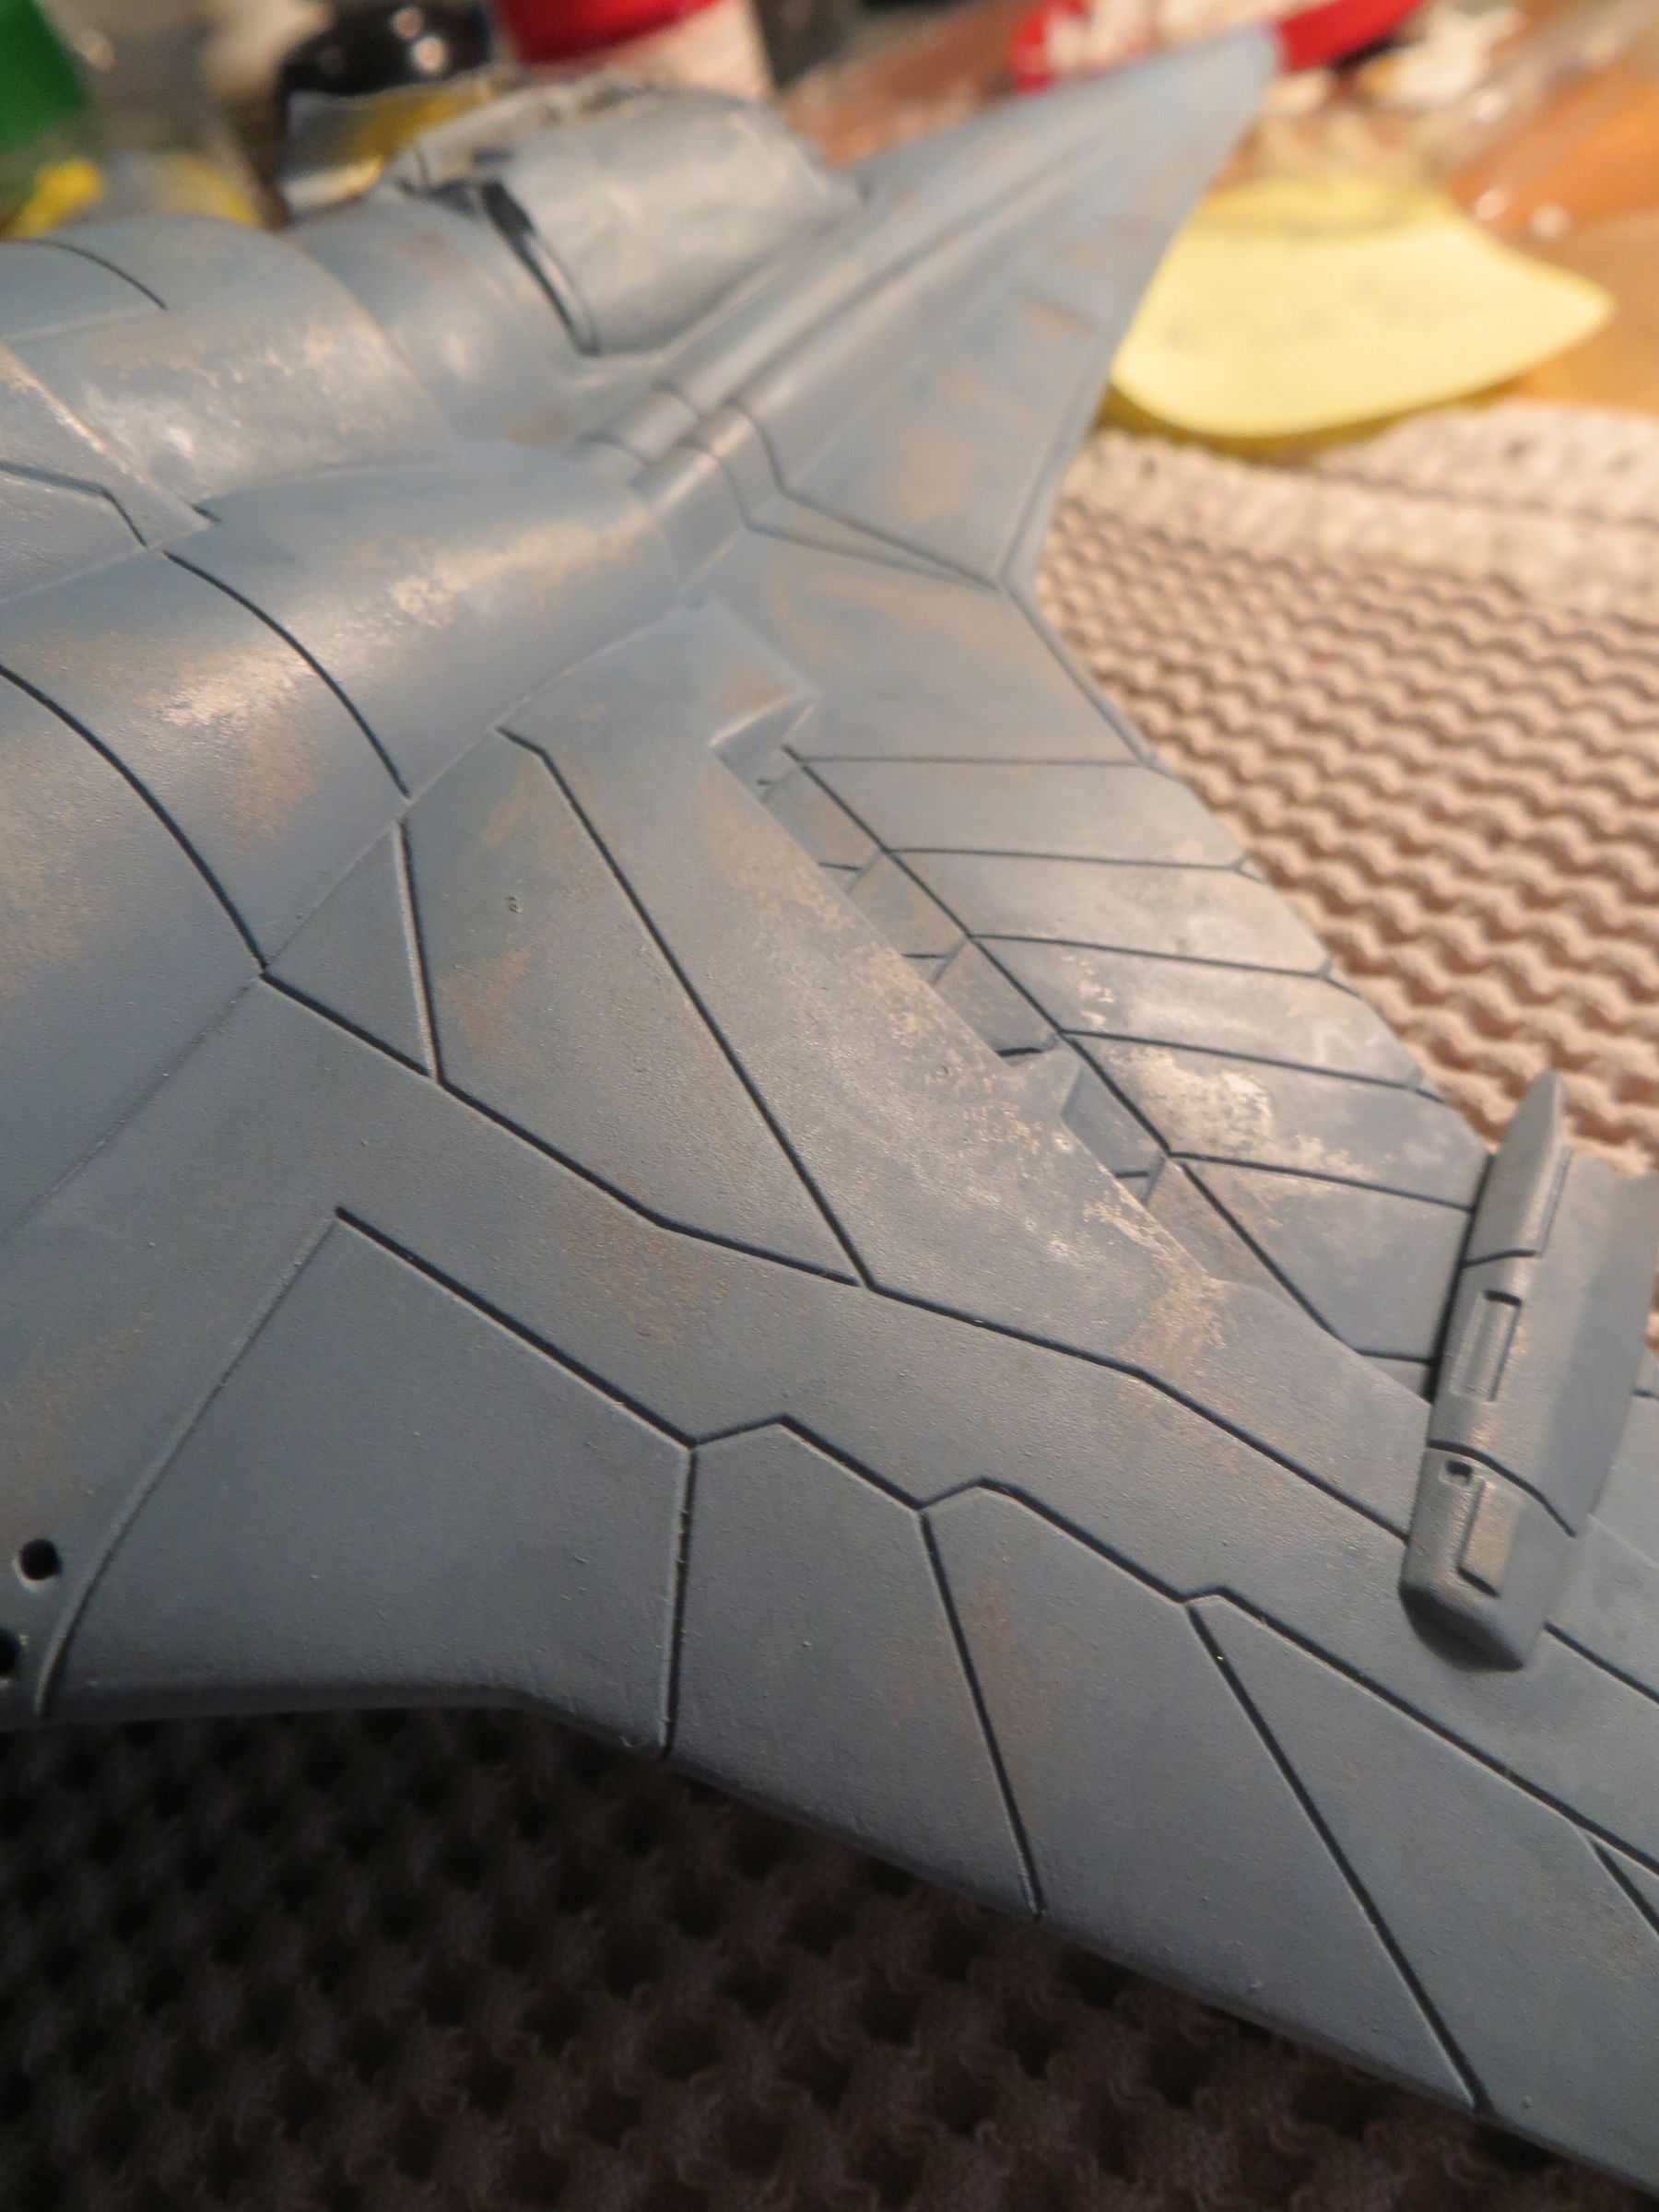
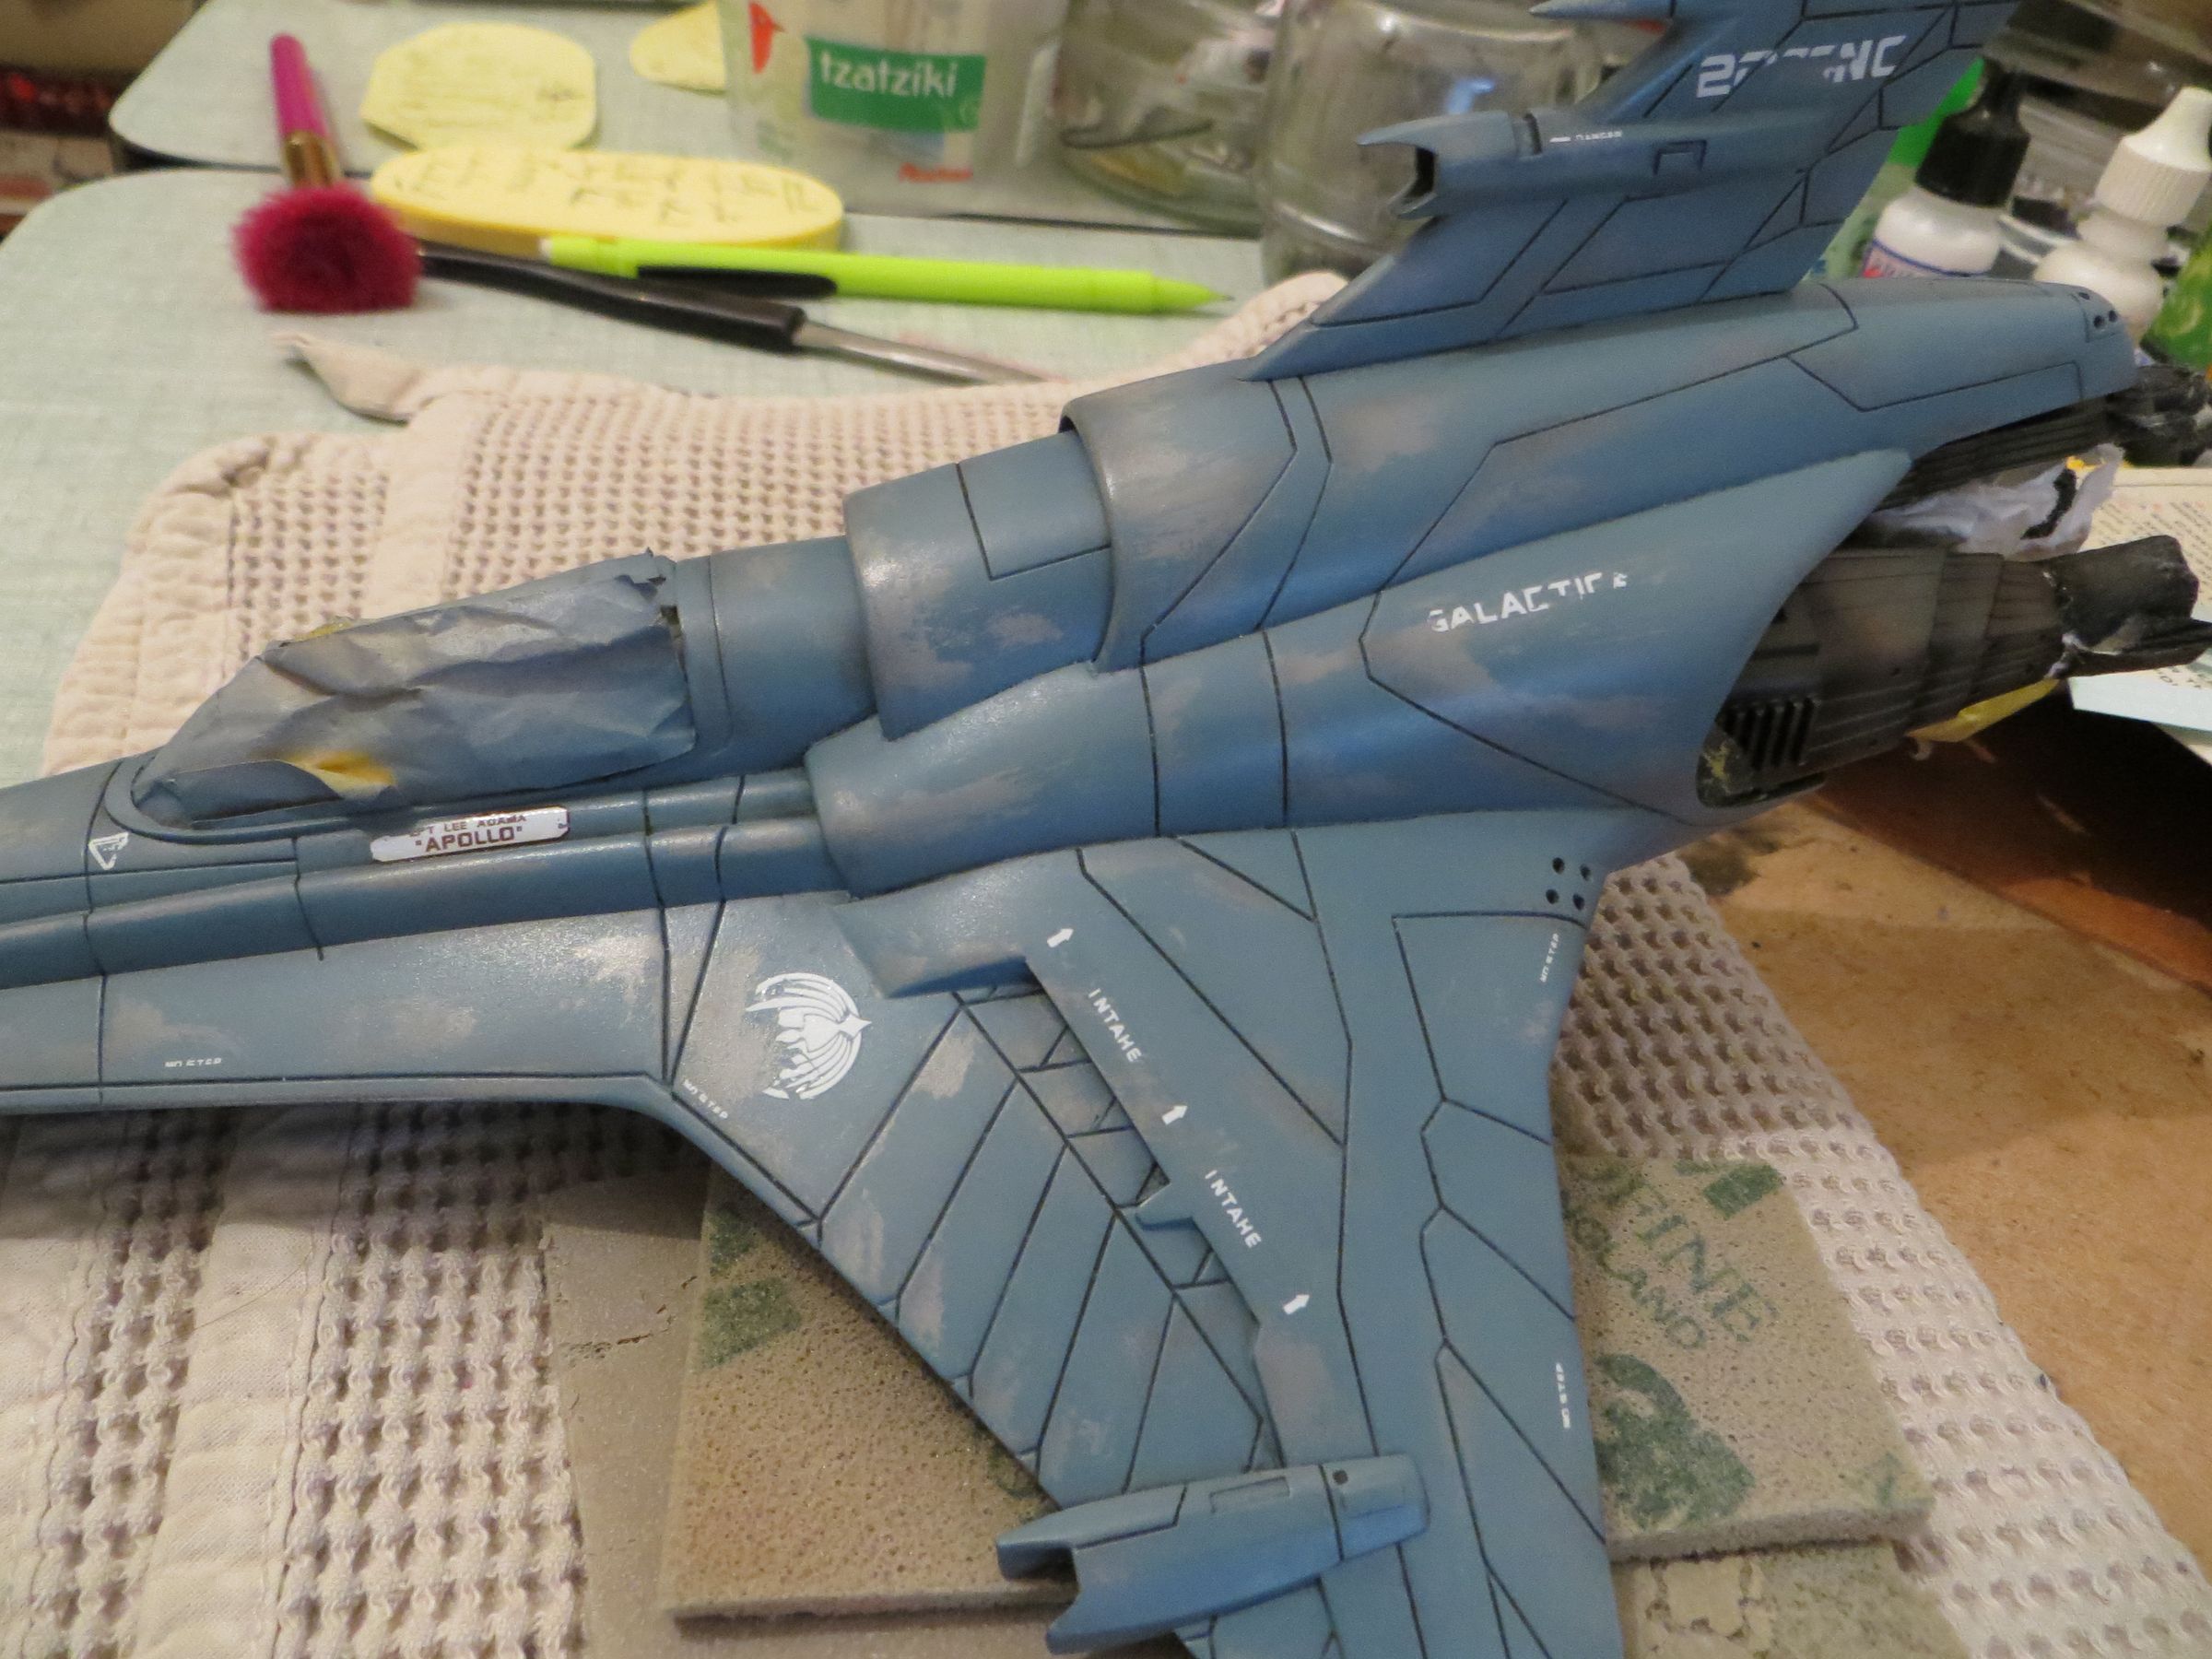
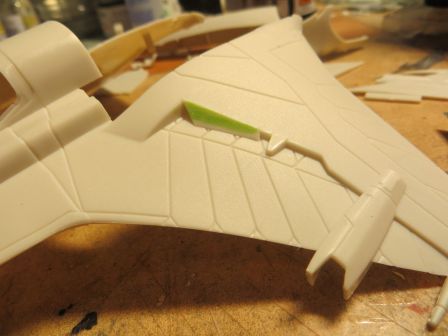
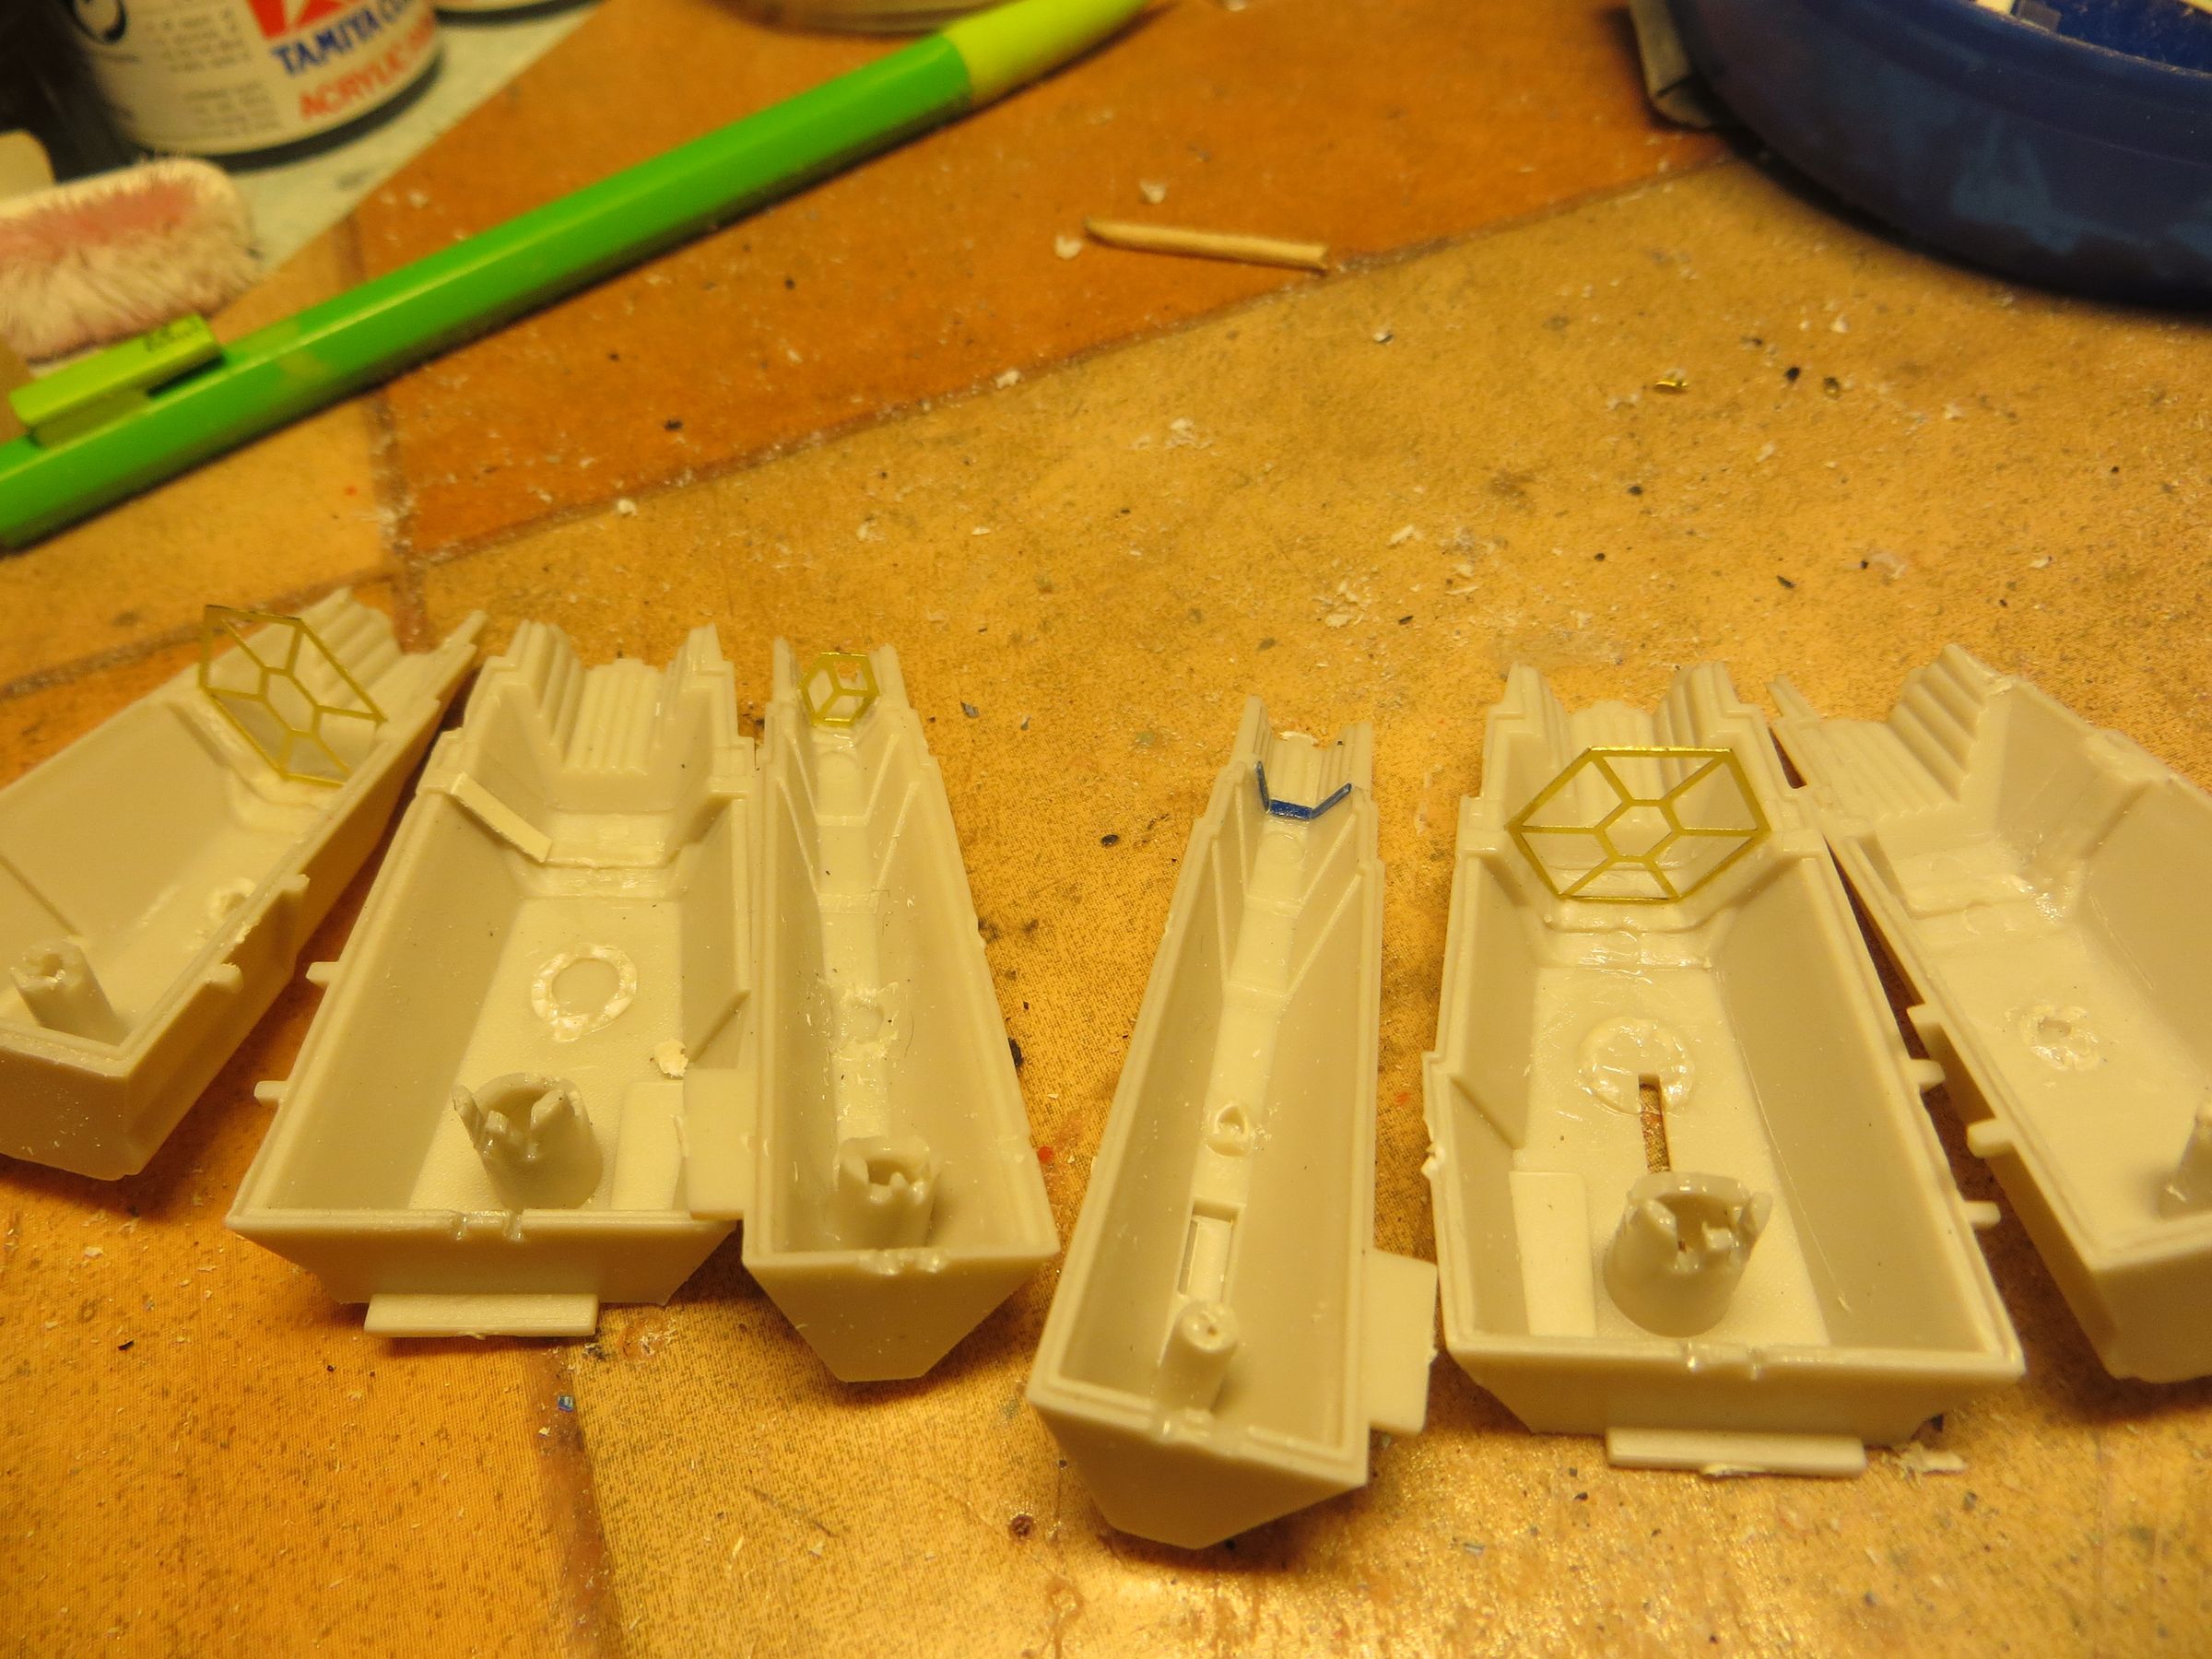
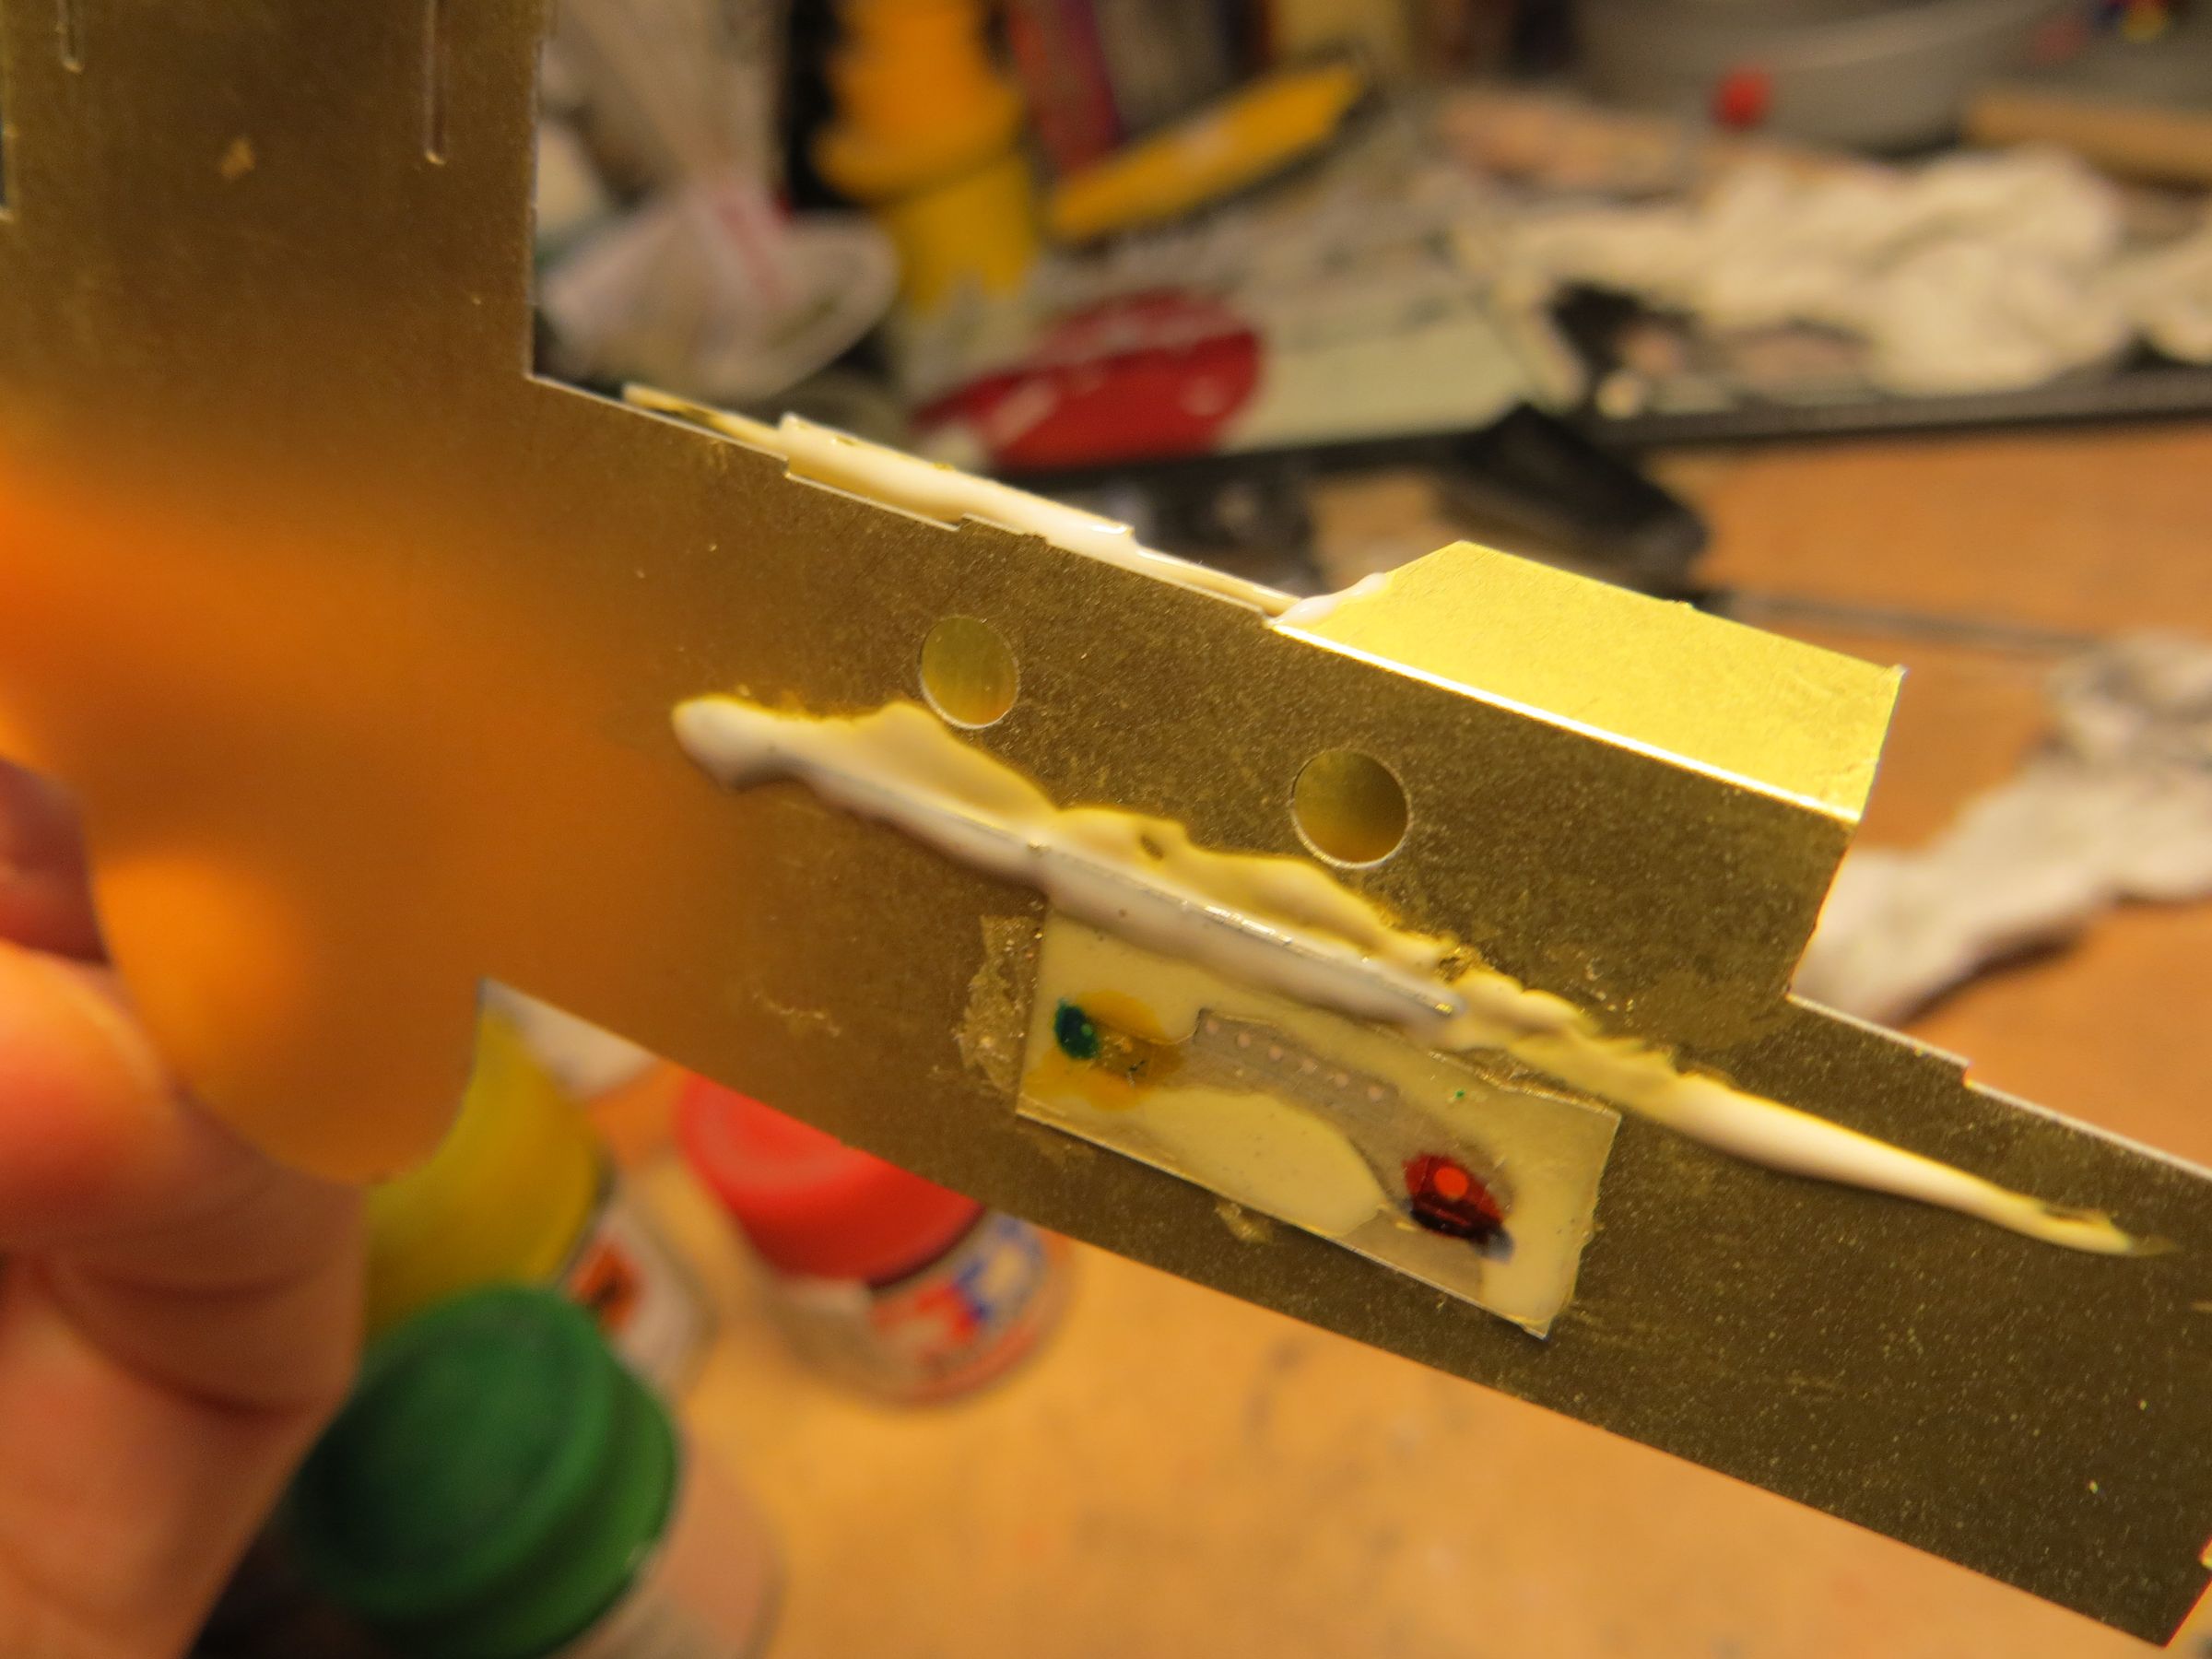
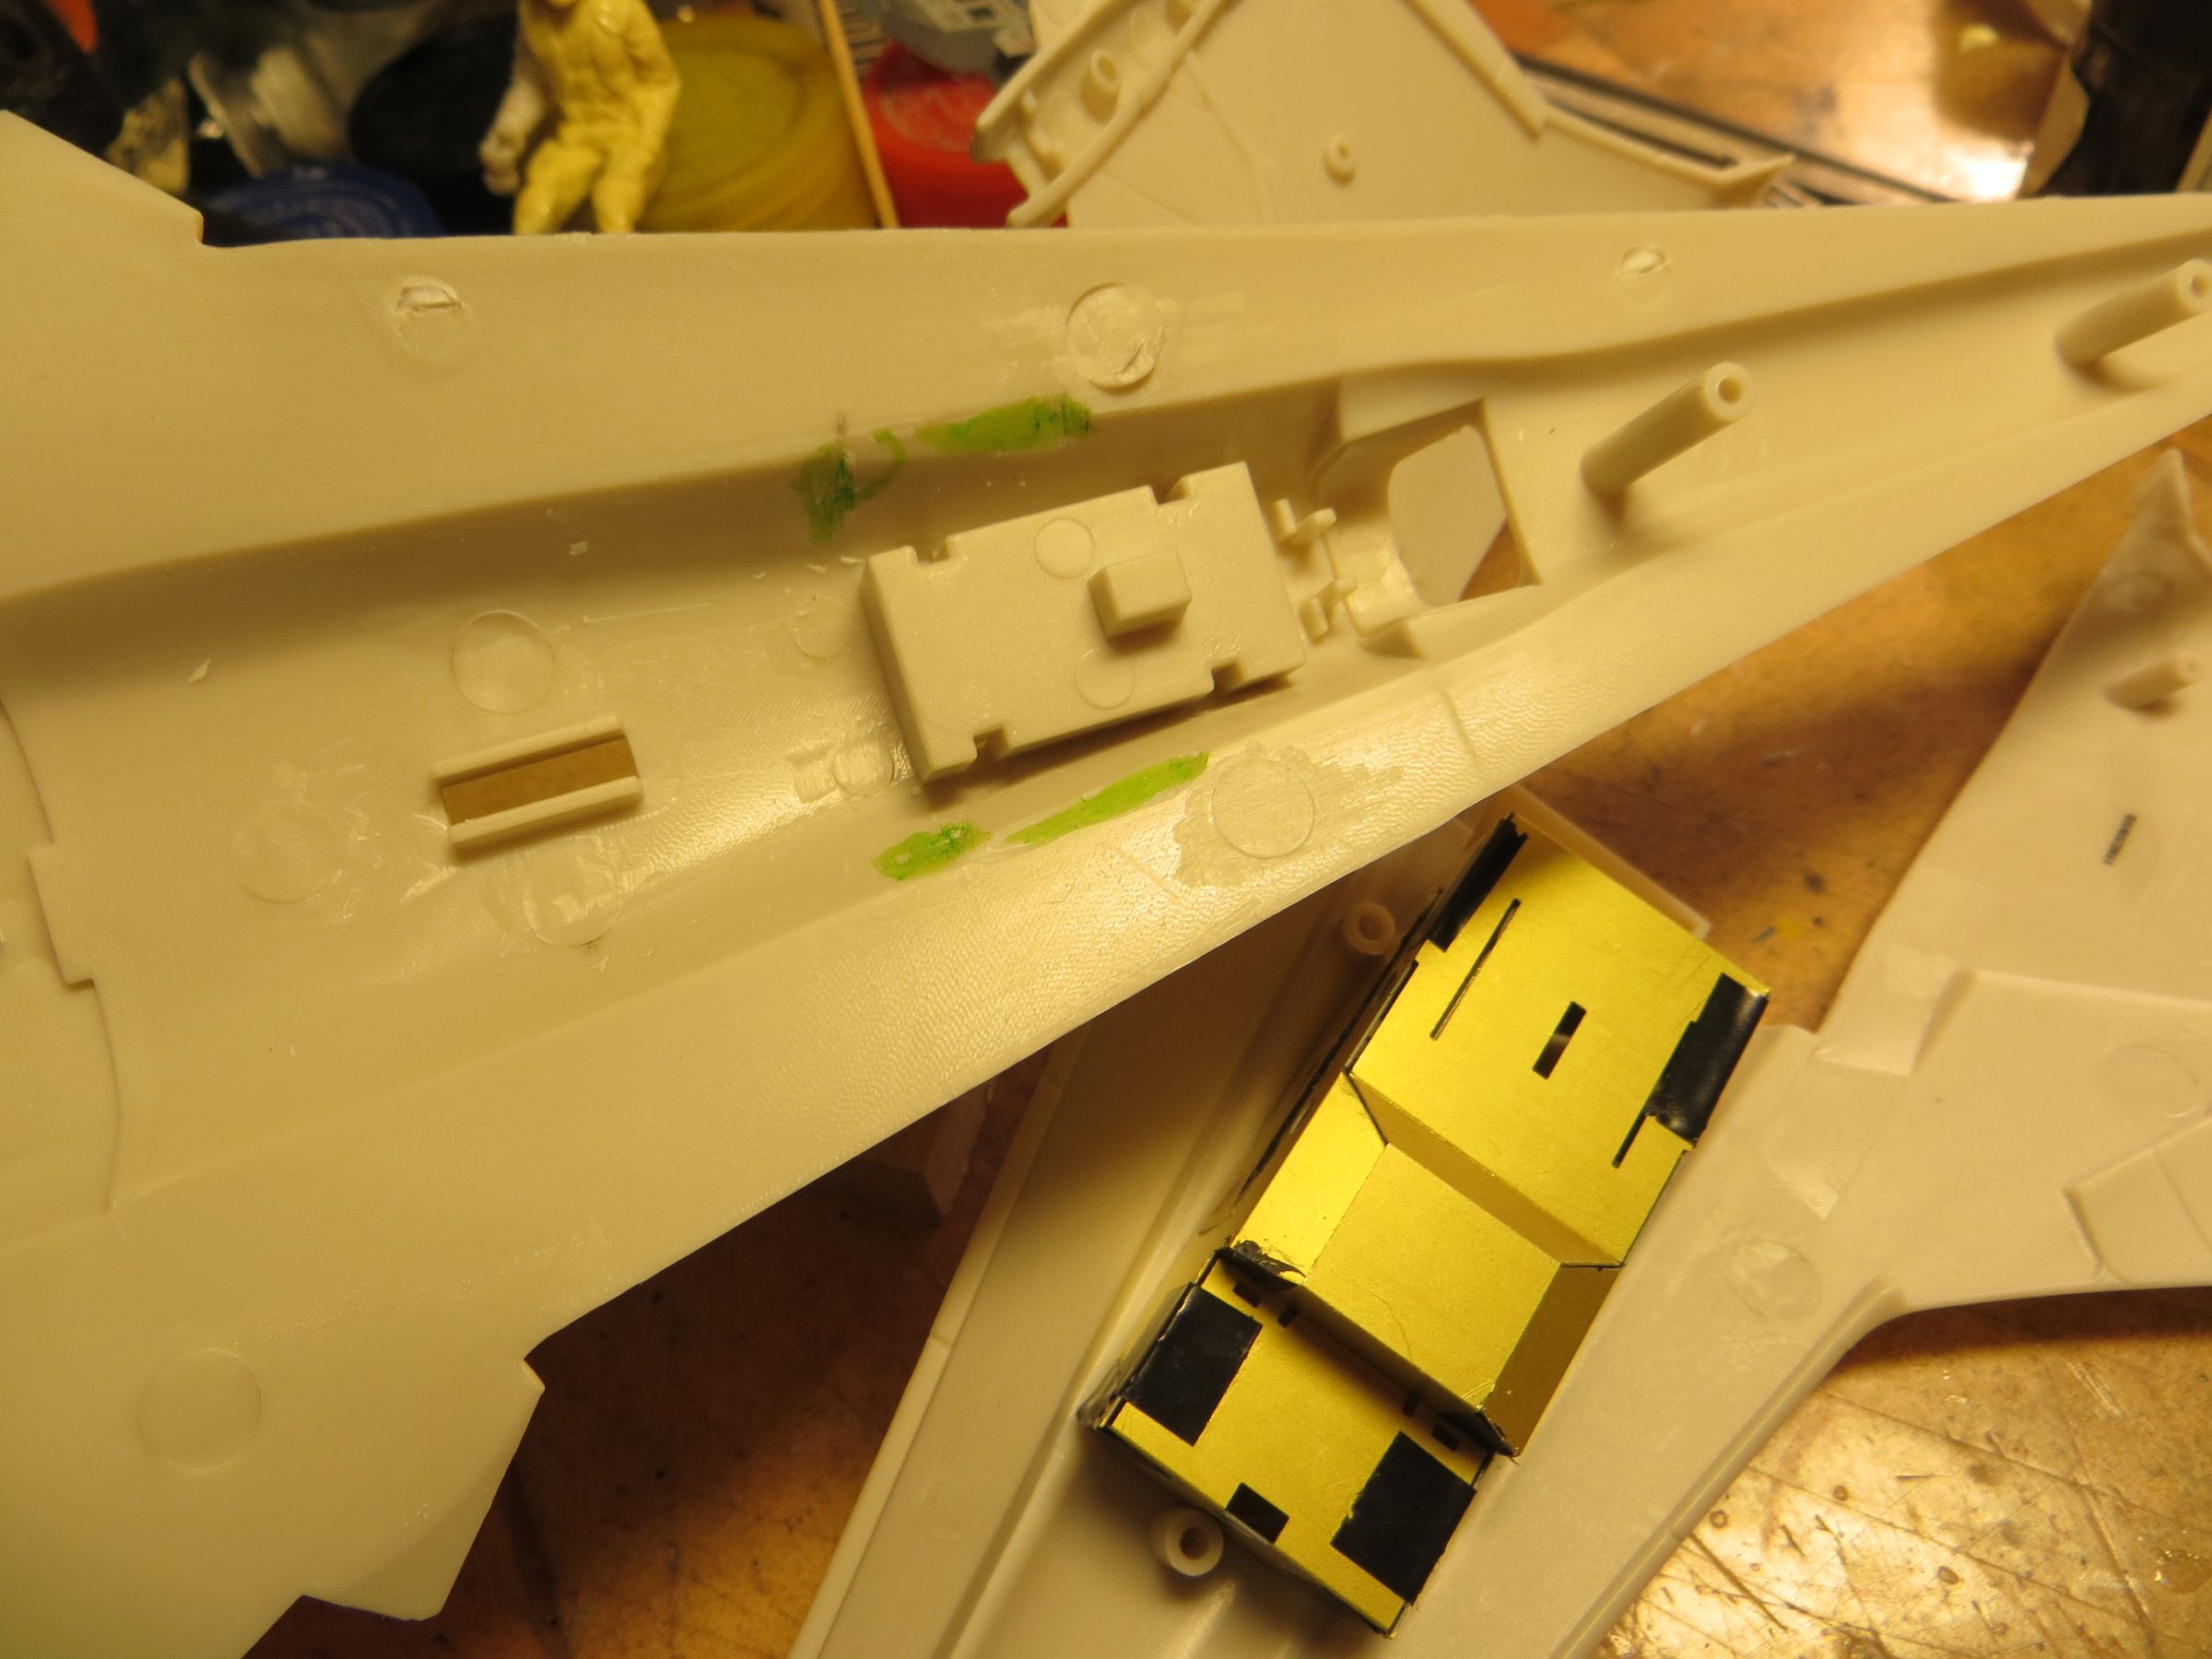
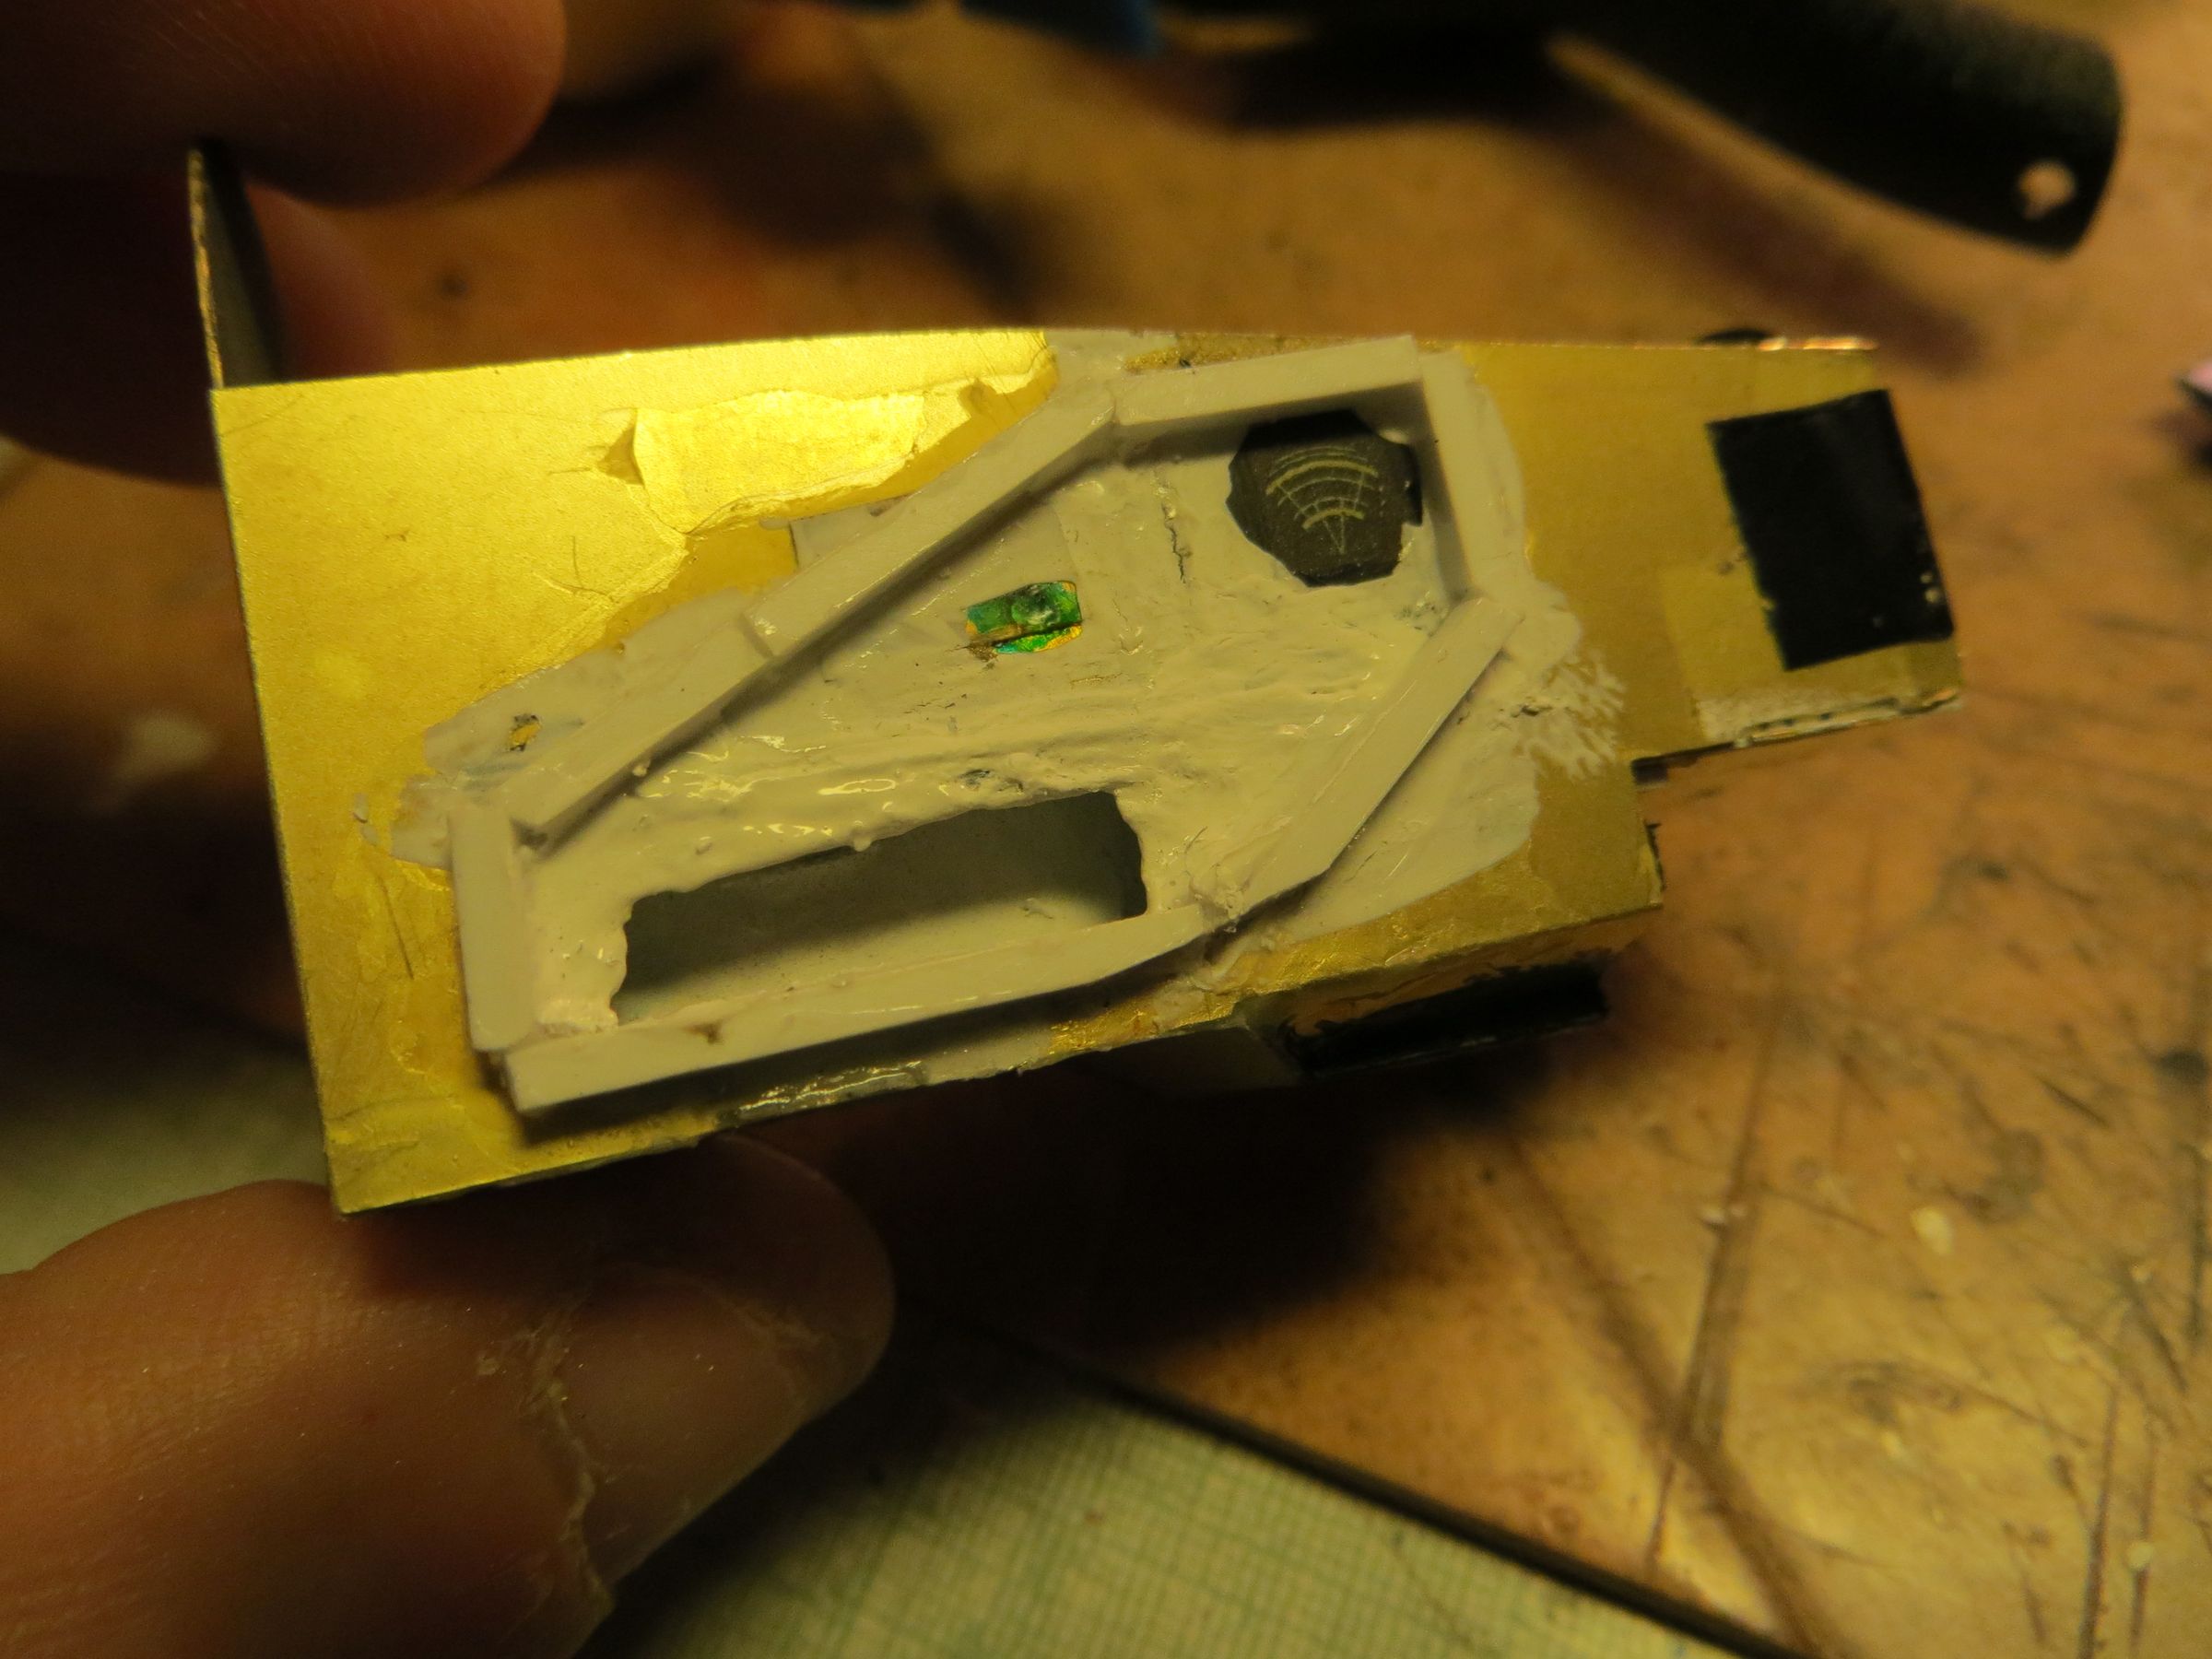
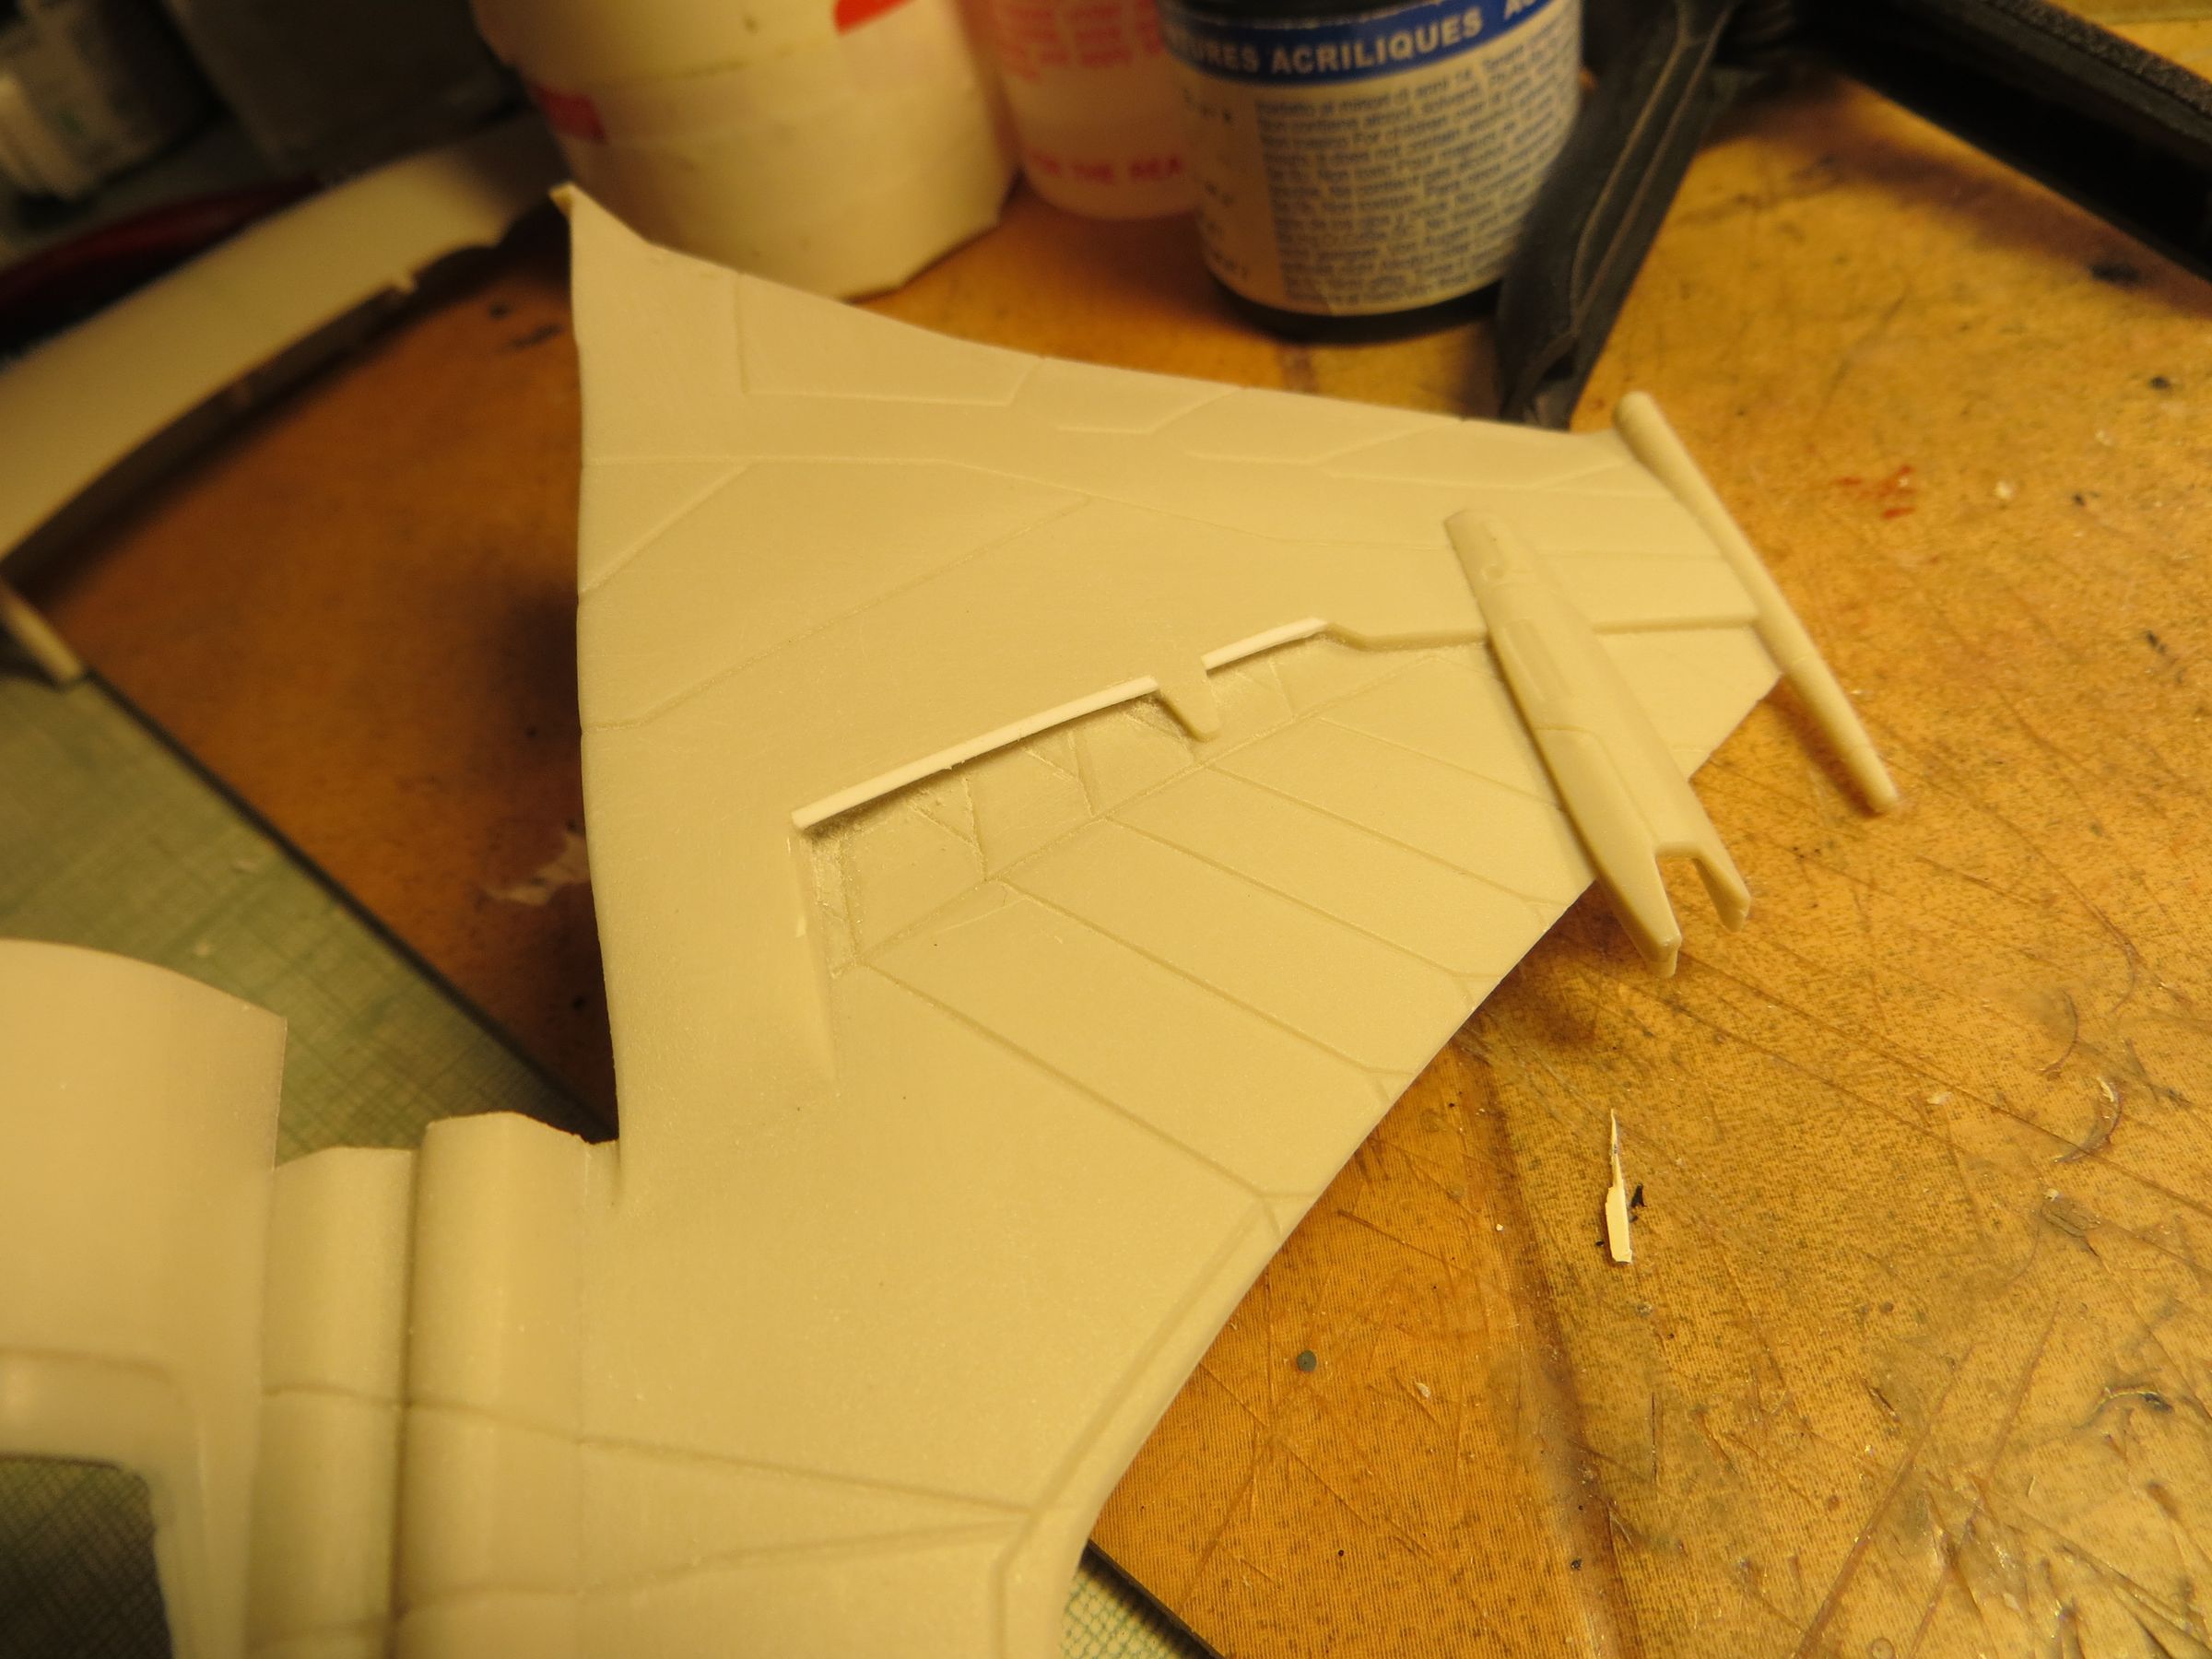
- This little plate (highlighted in green) on each wing is curious. It seems to have nothing to do here !
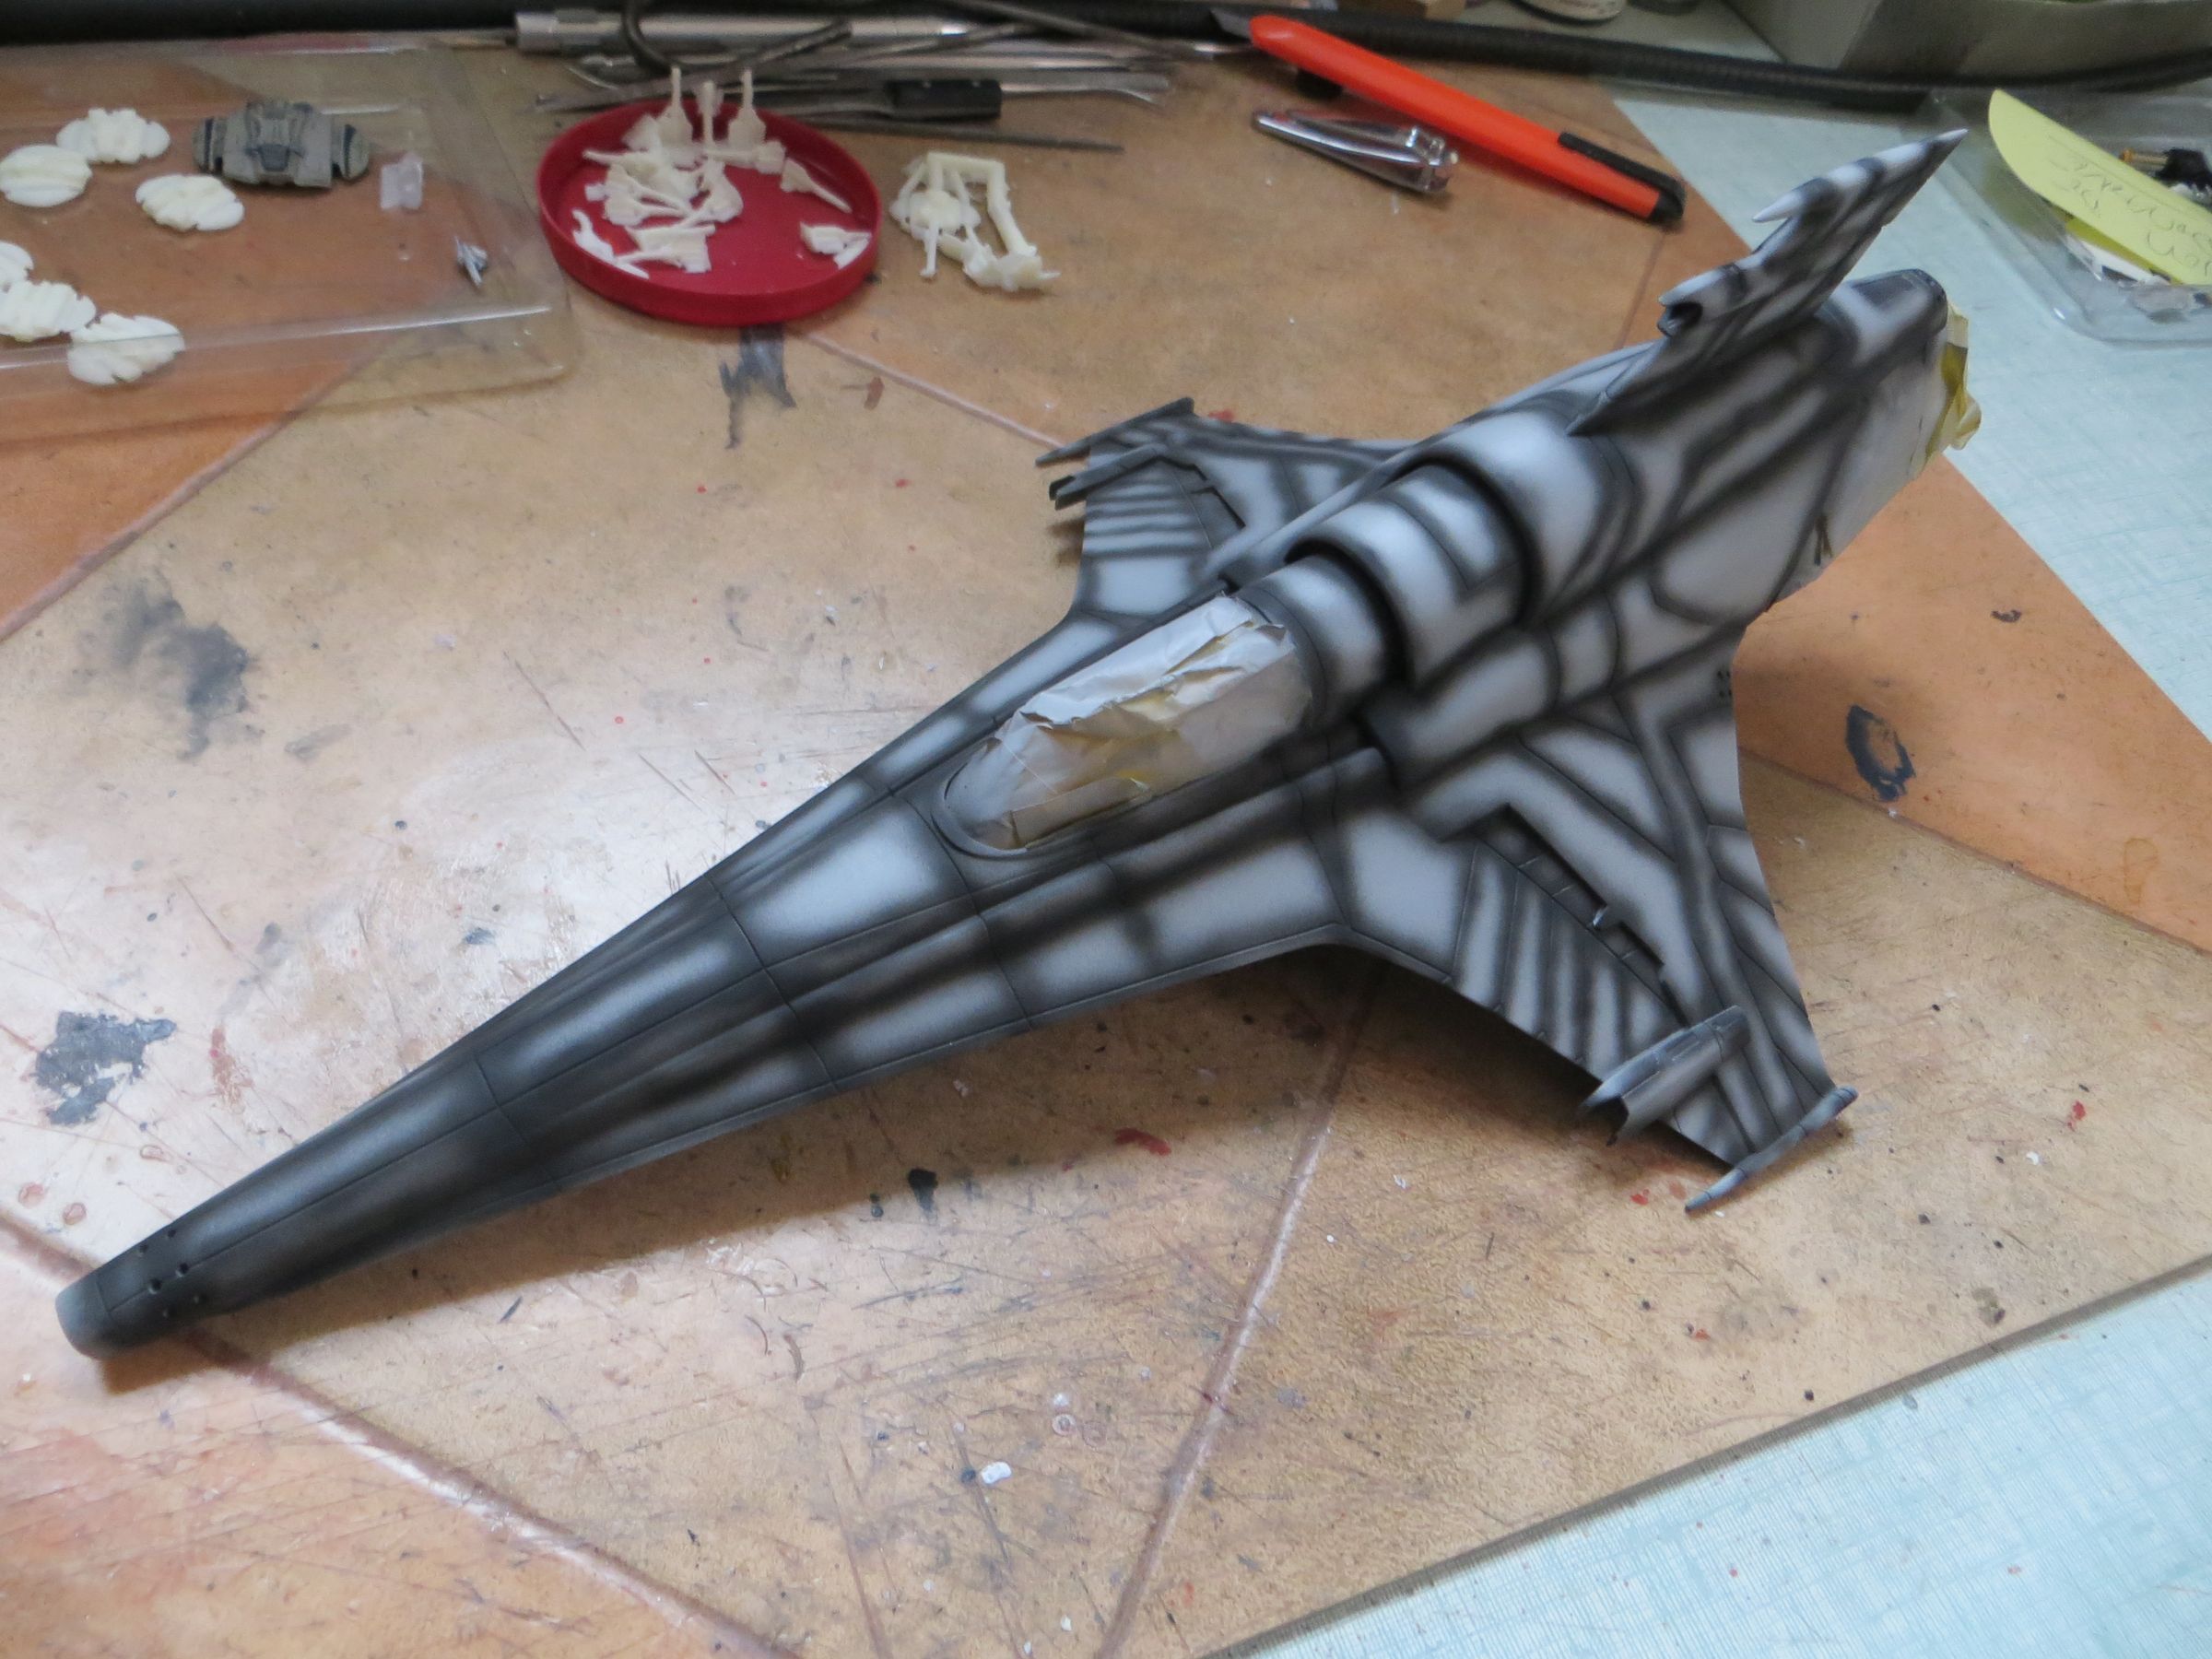
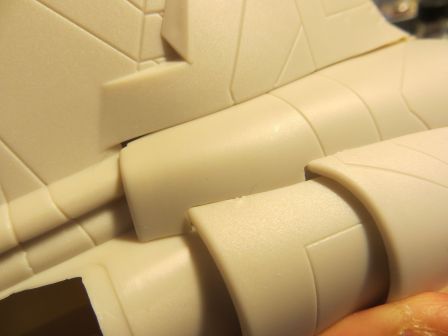
- the panel lines are a little plump.
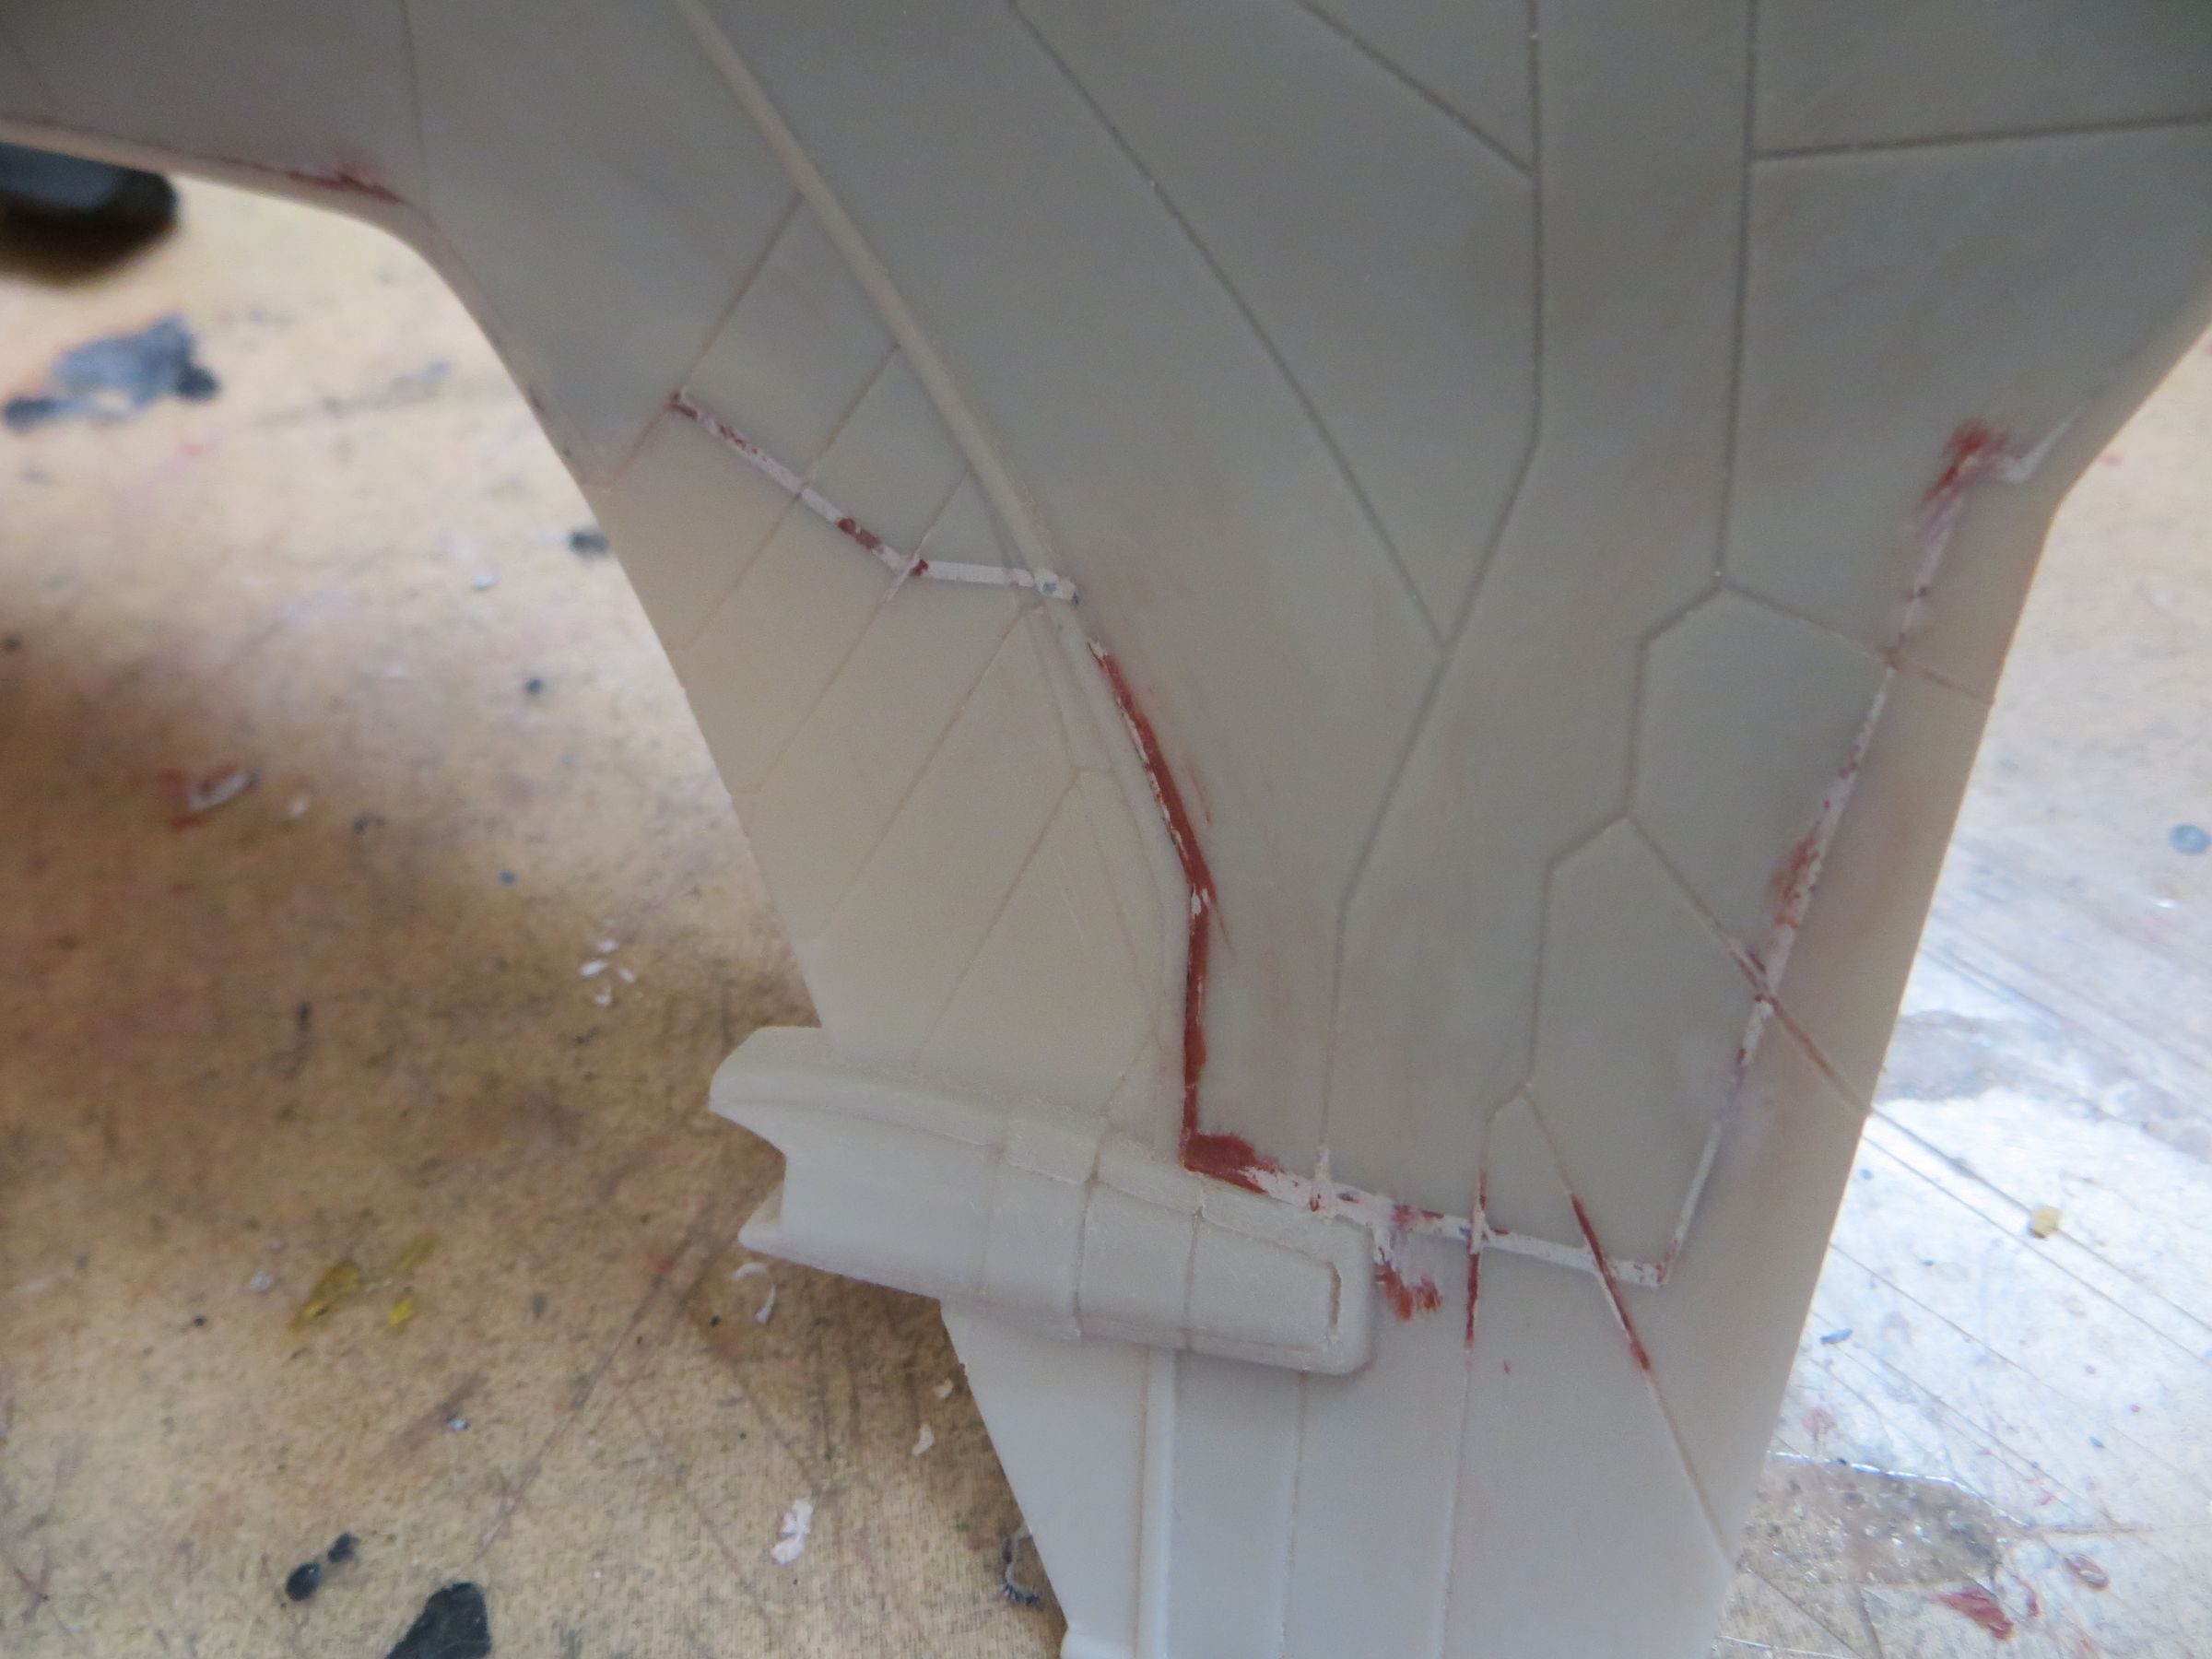
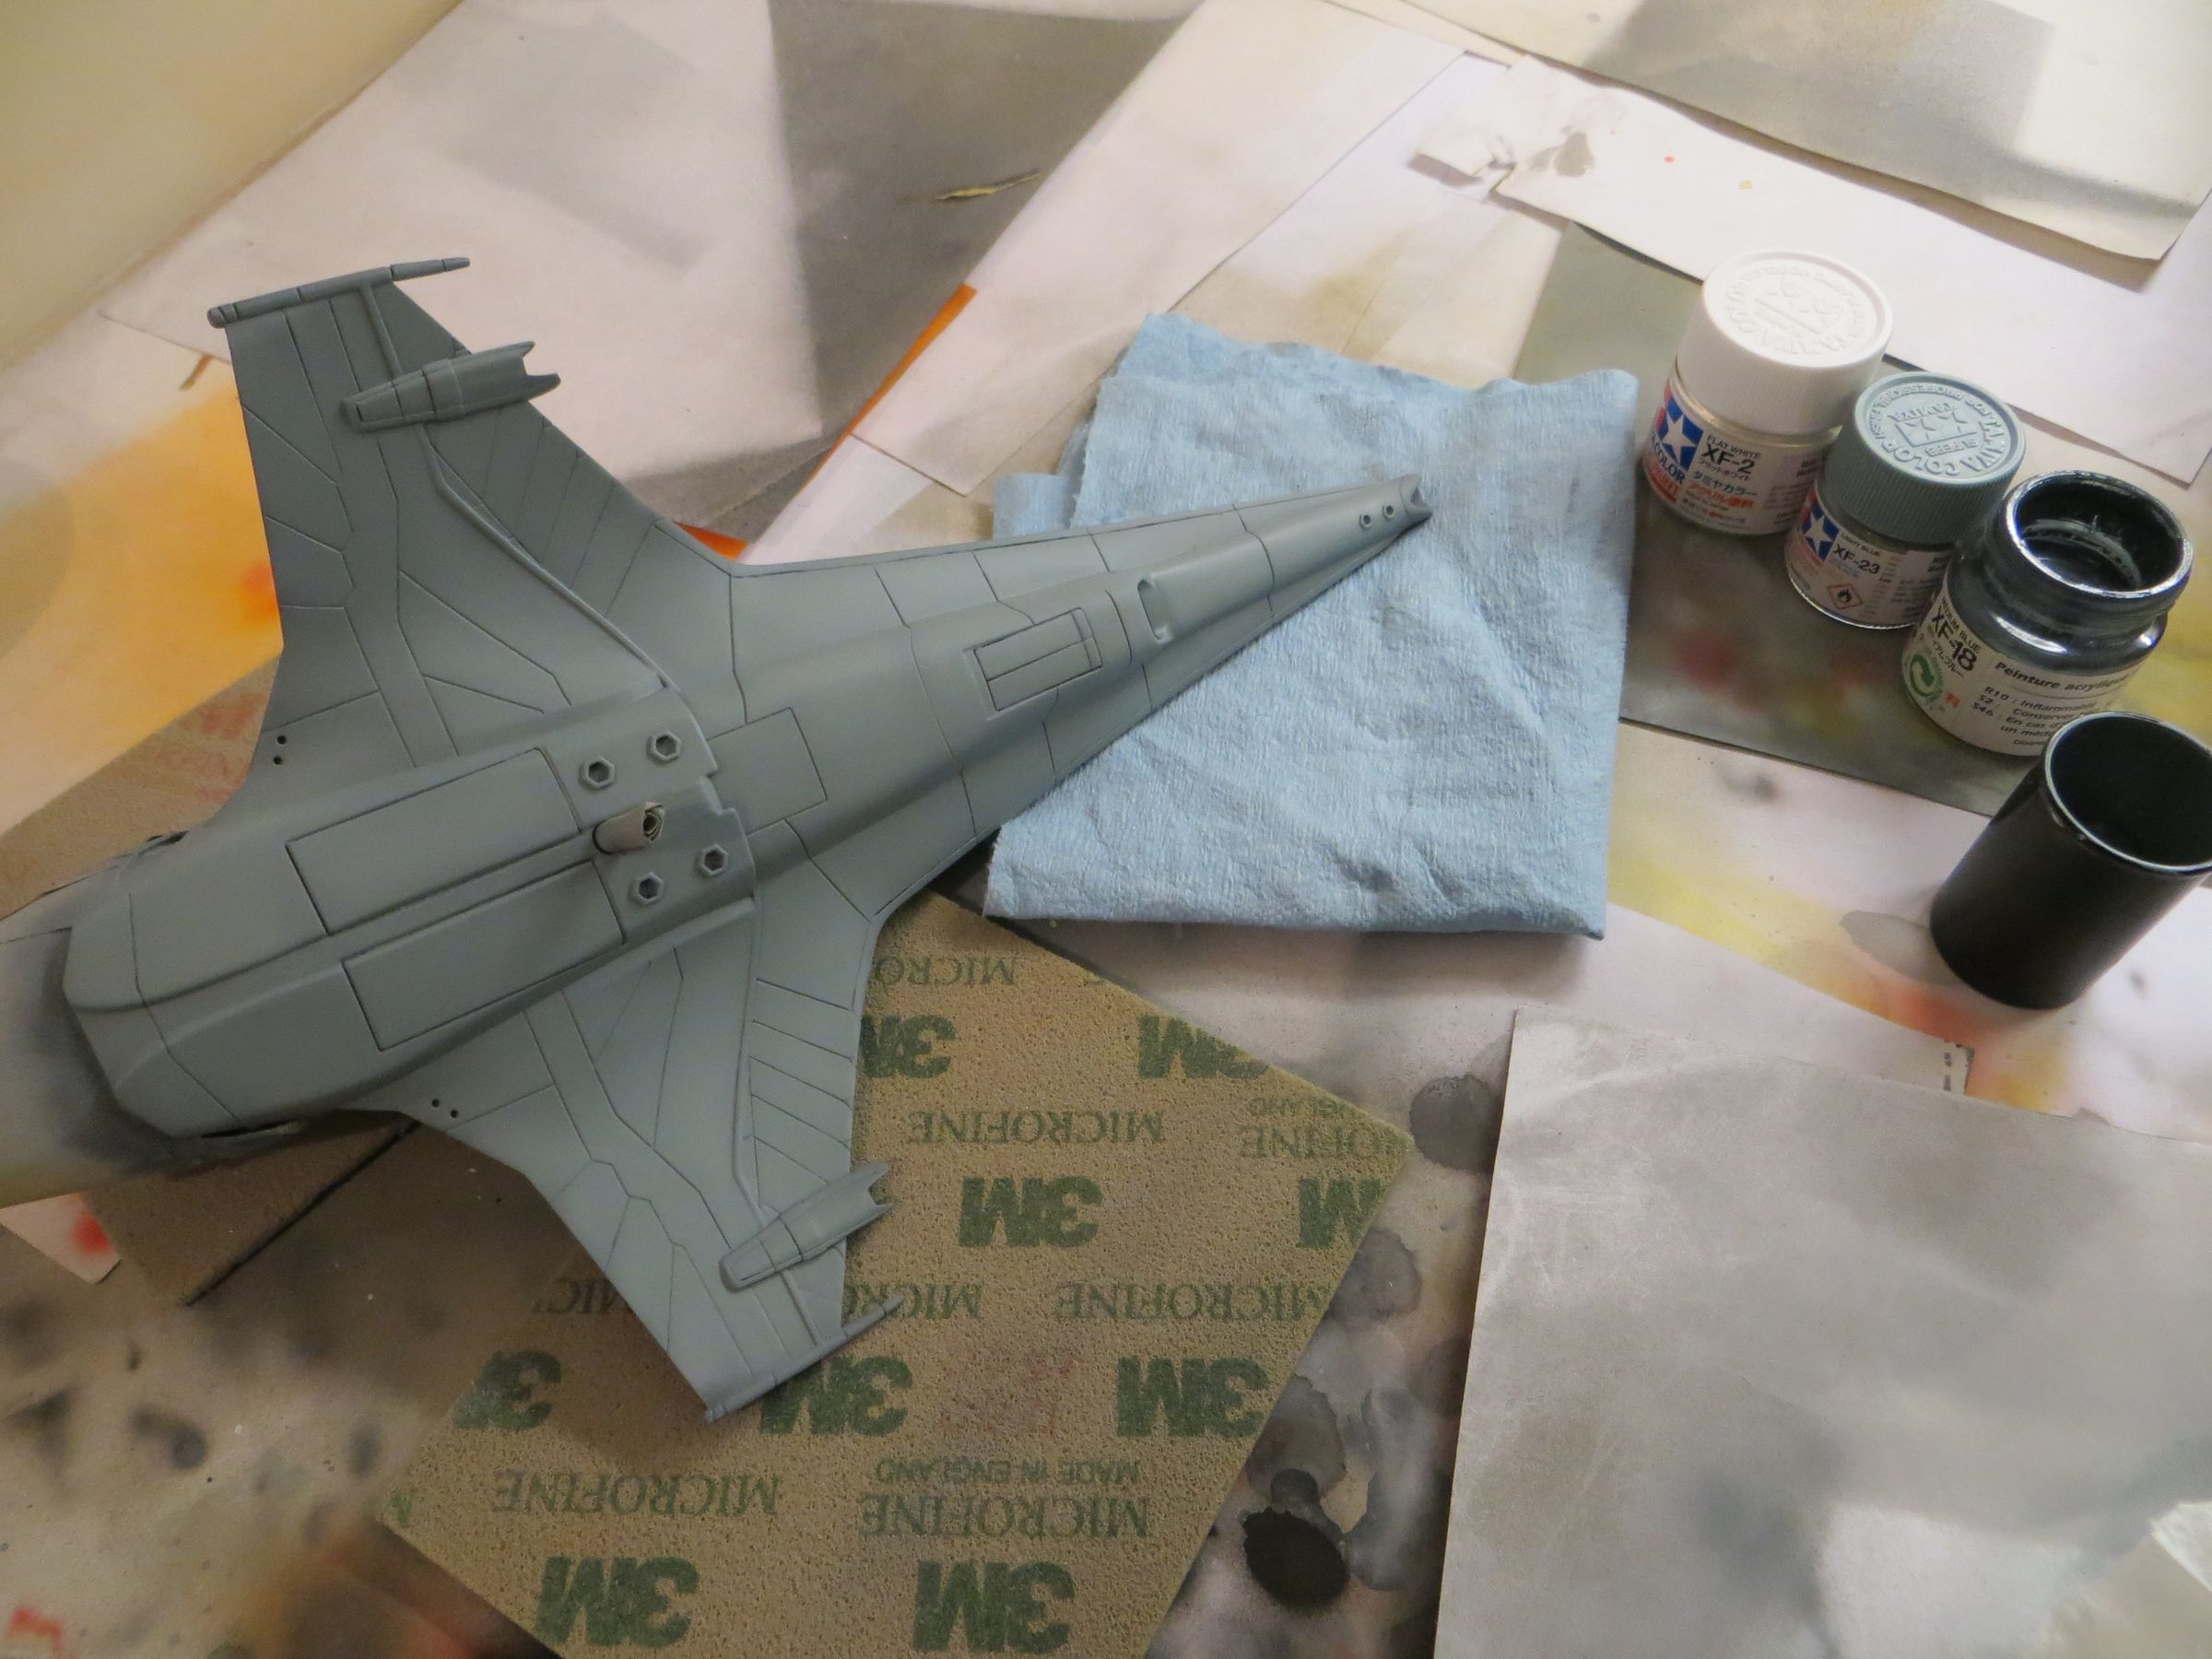
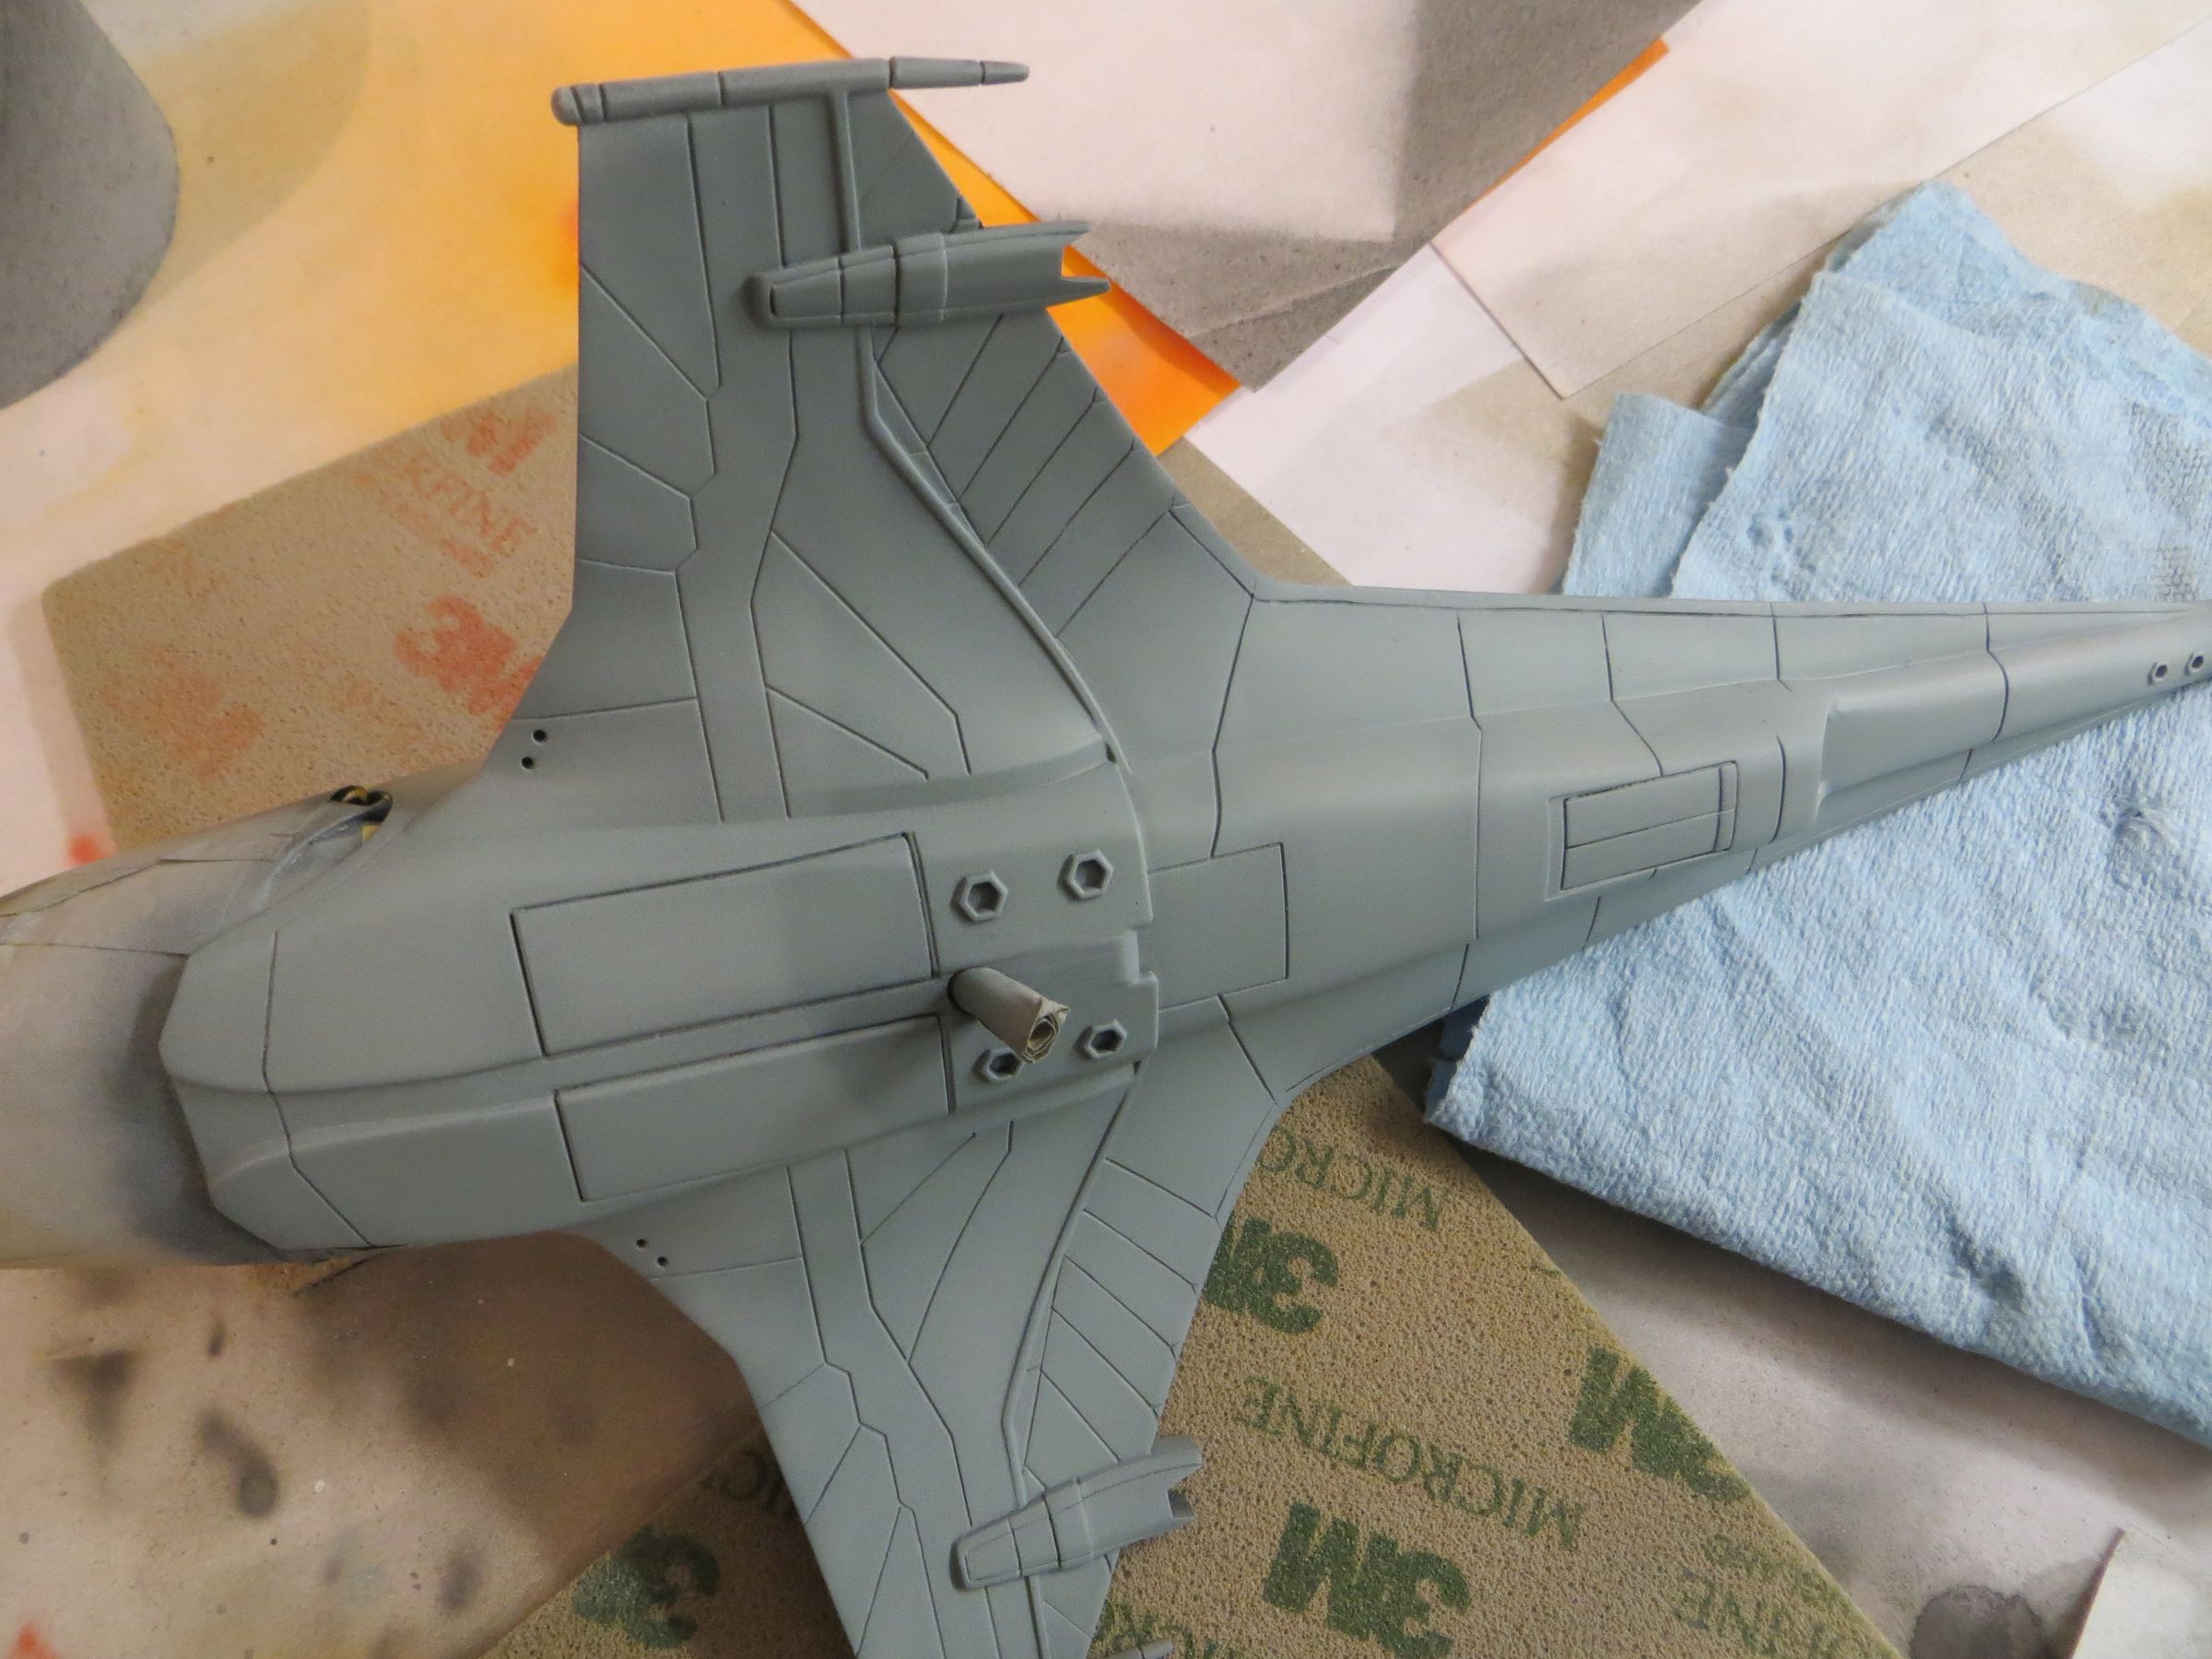
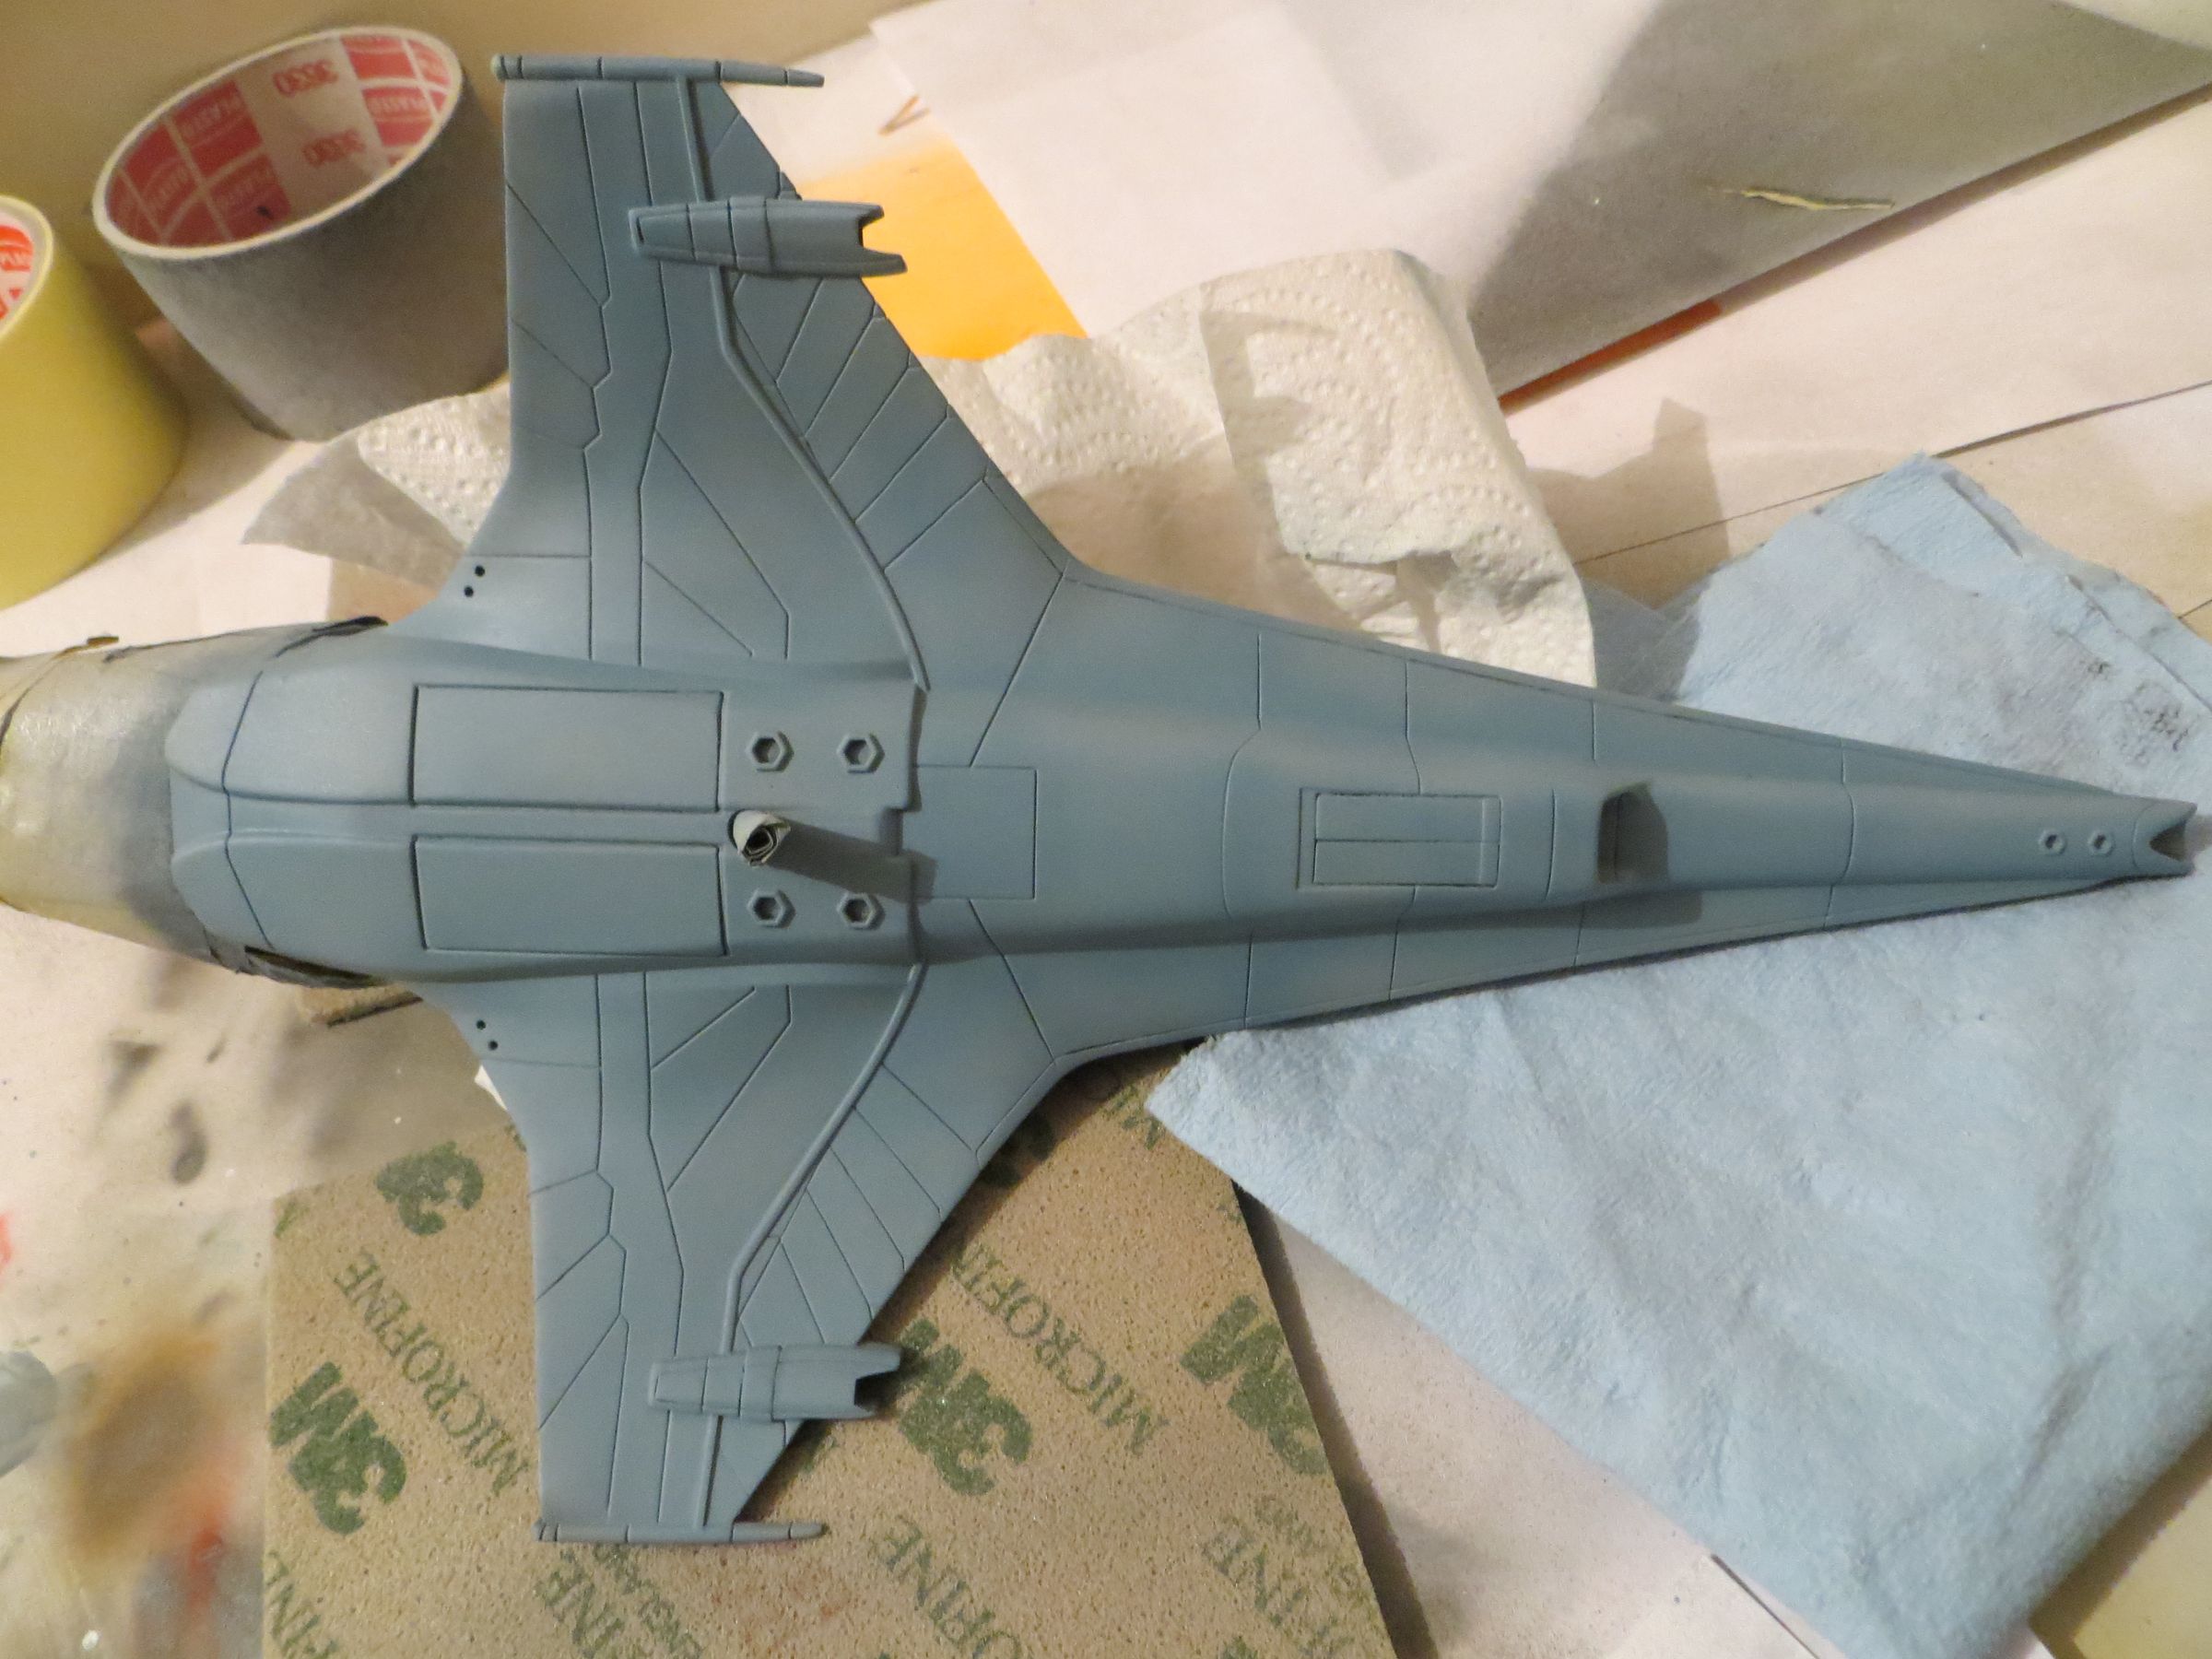
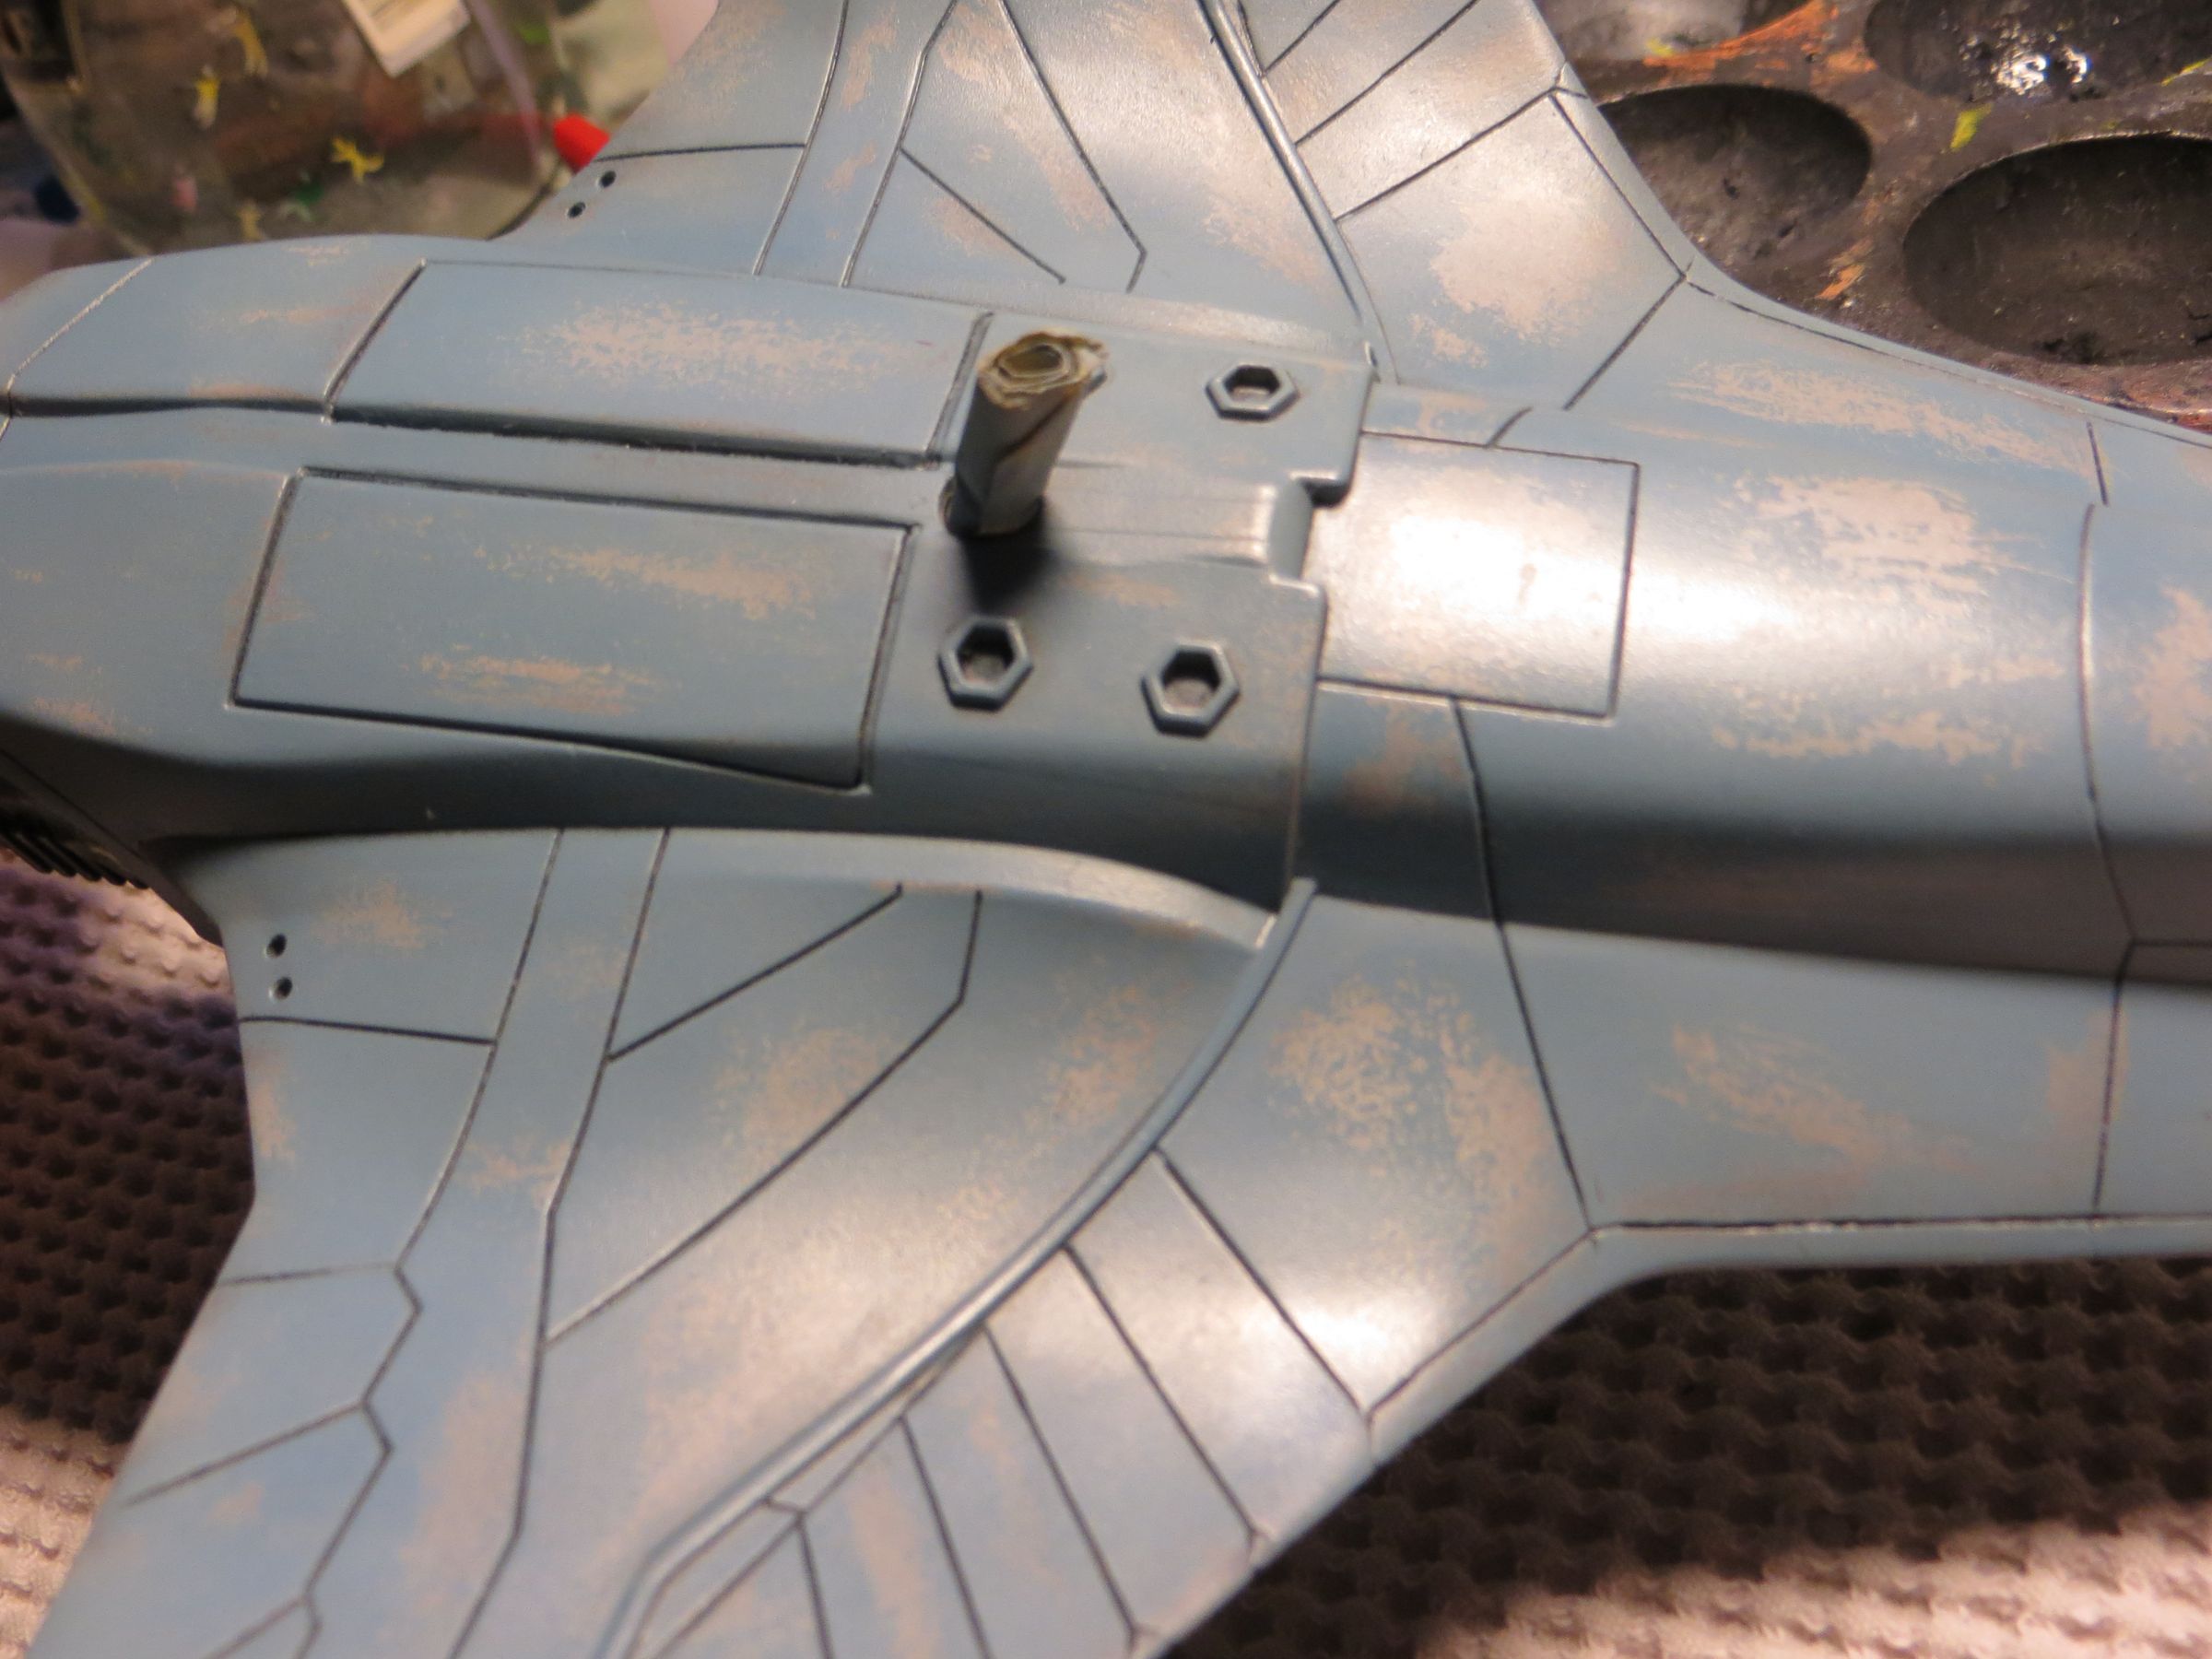
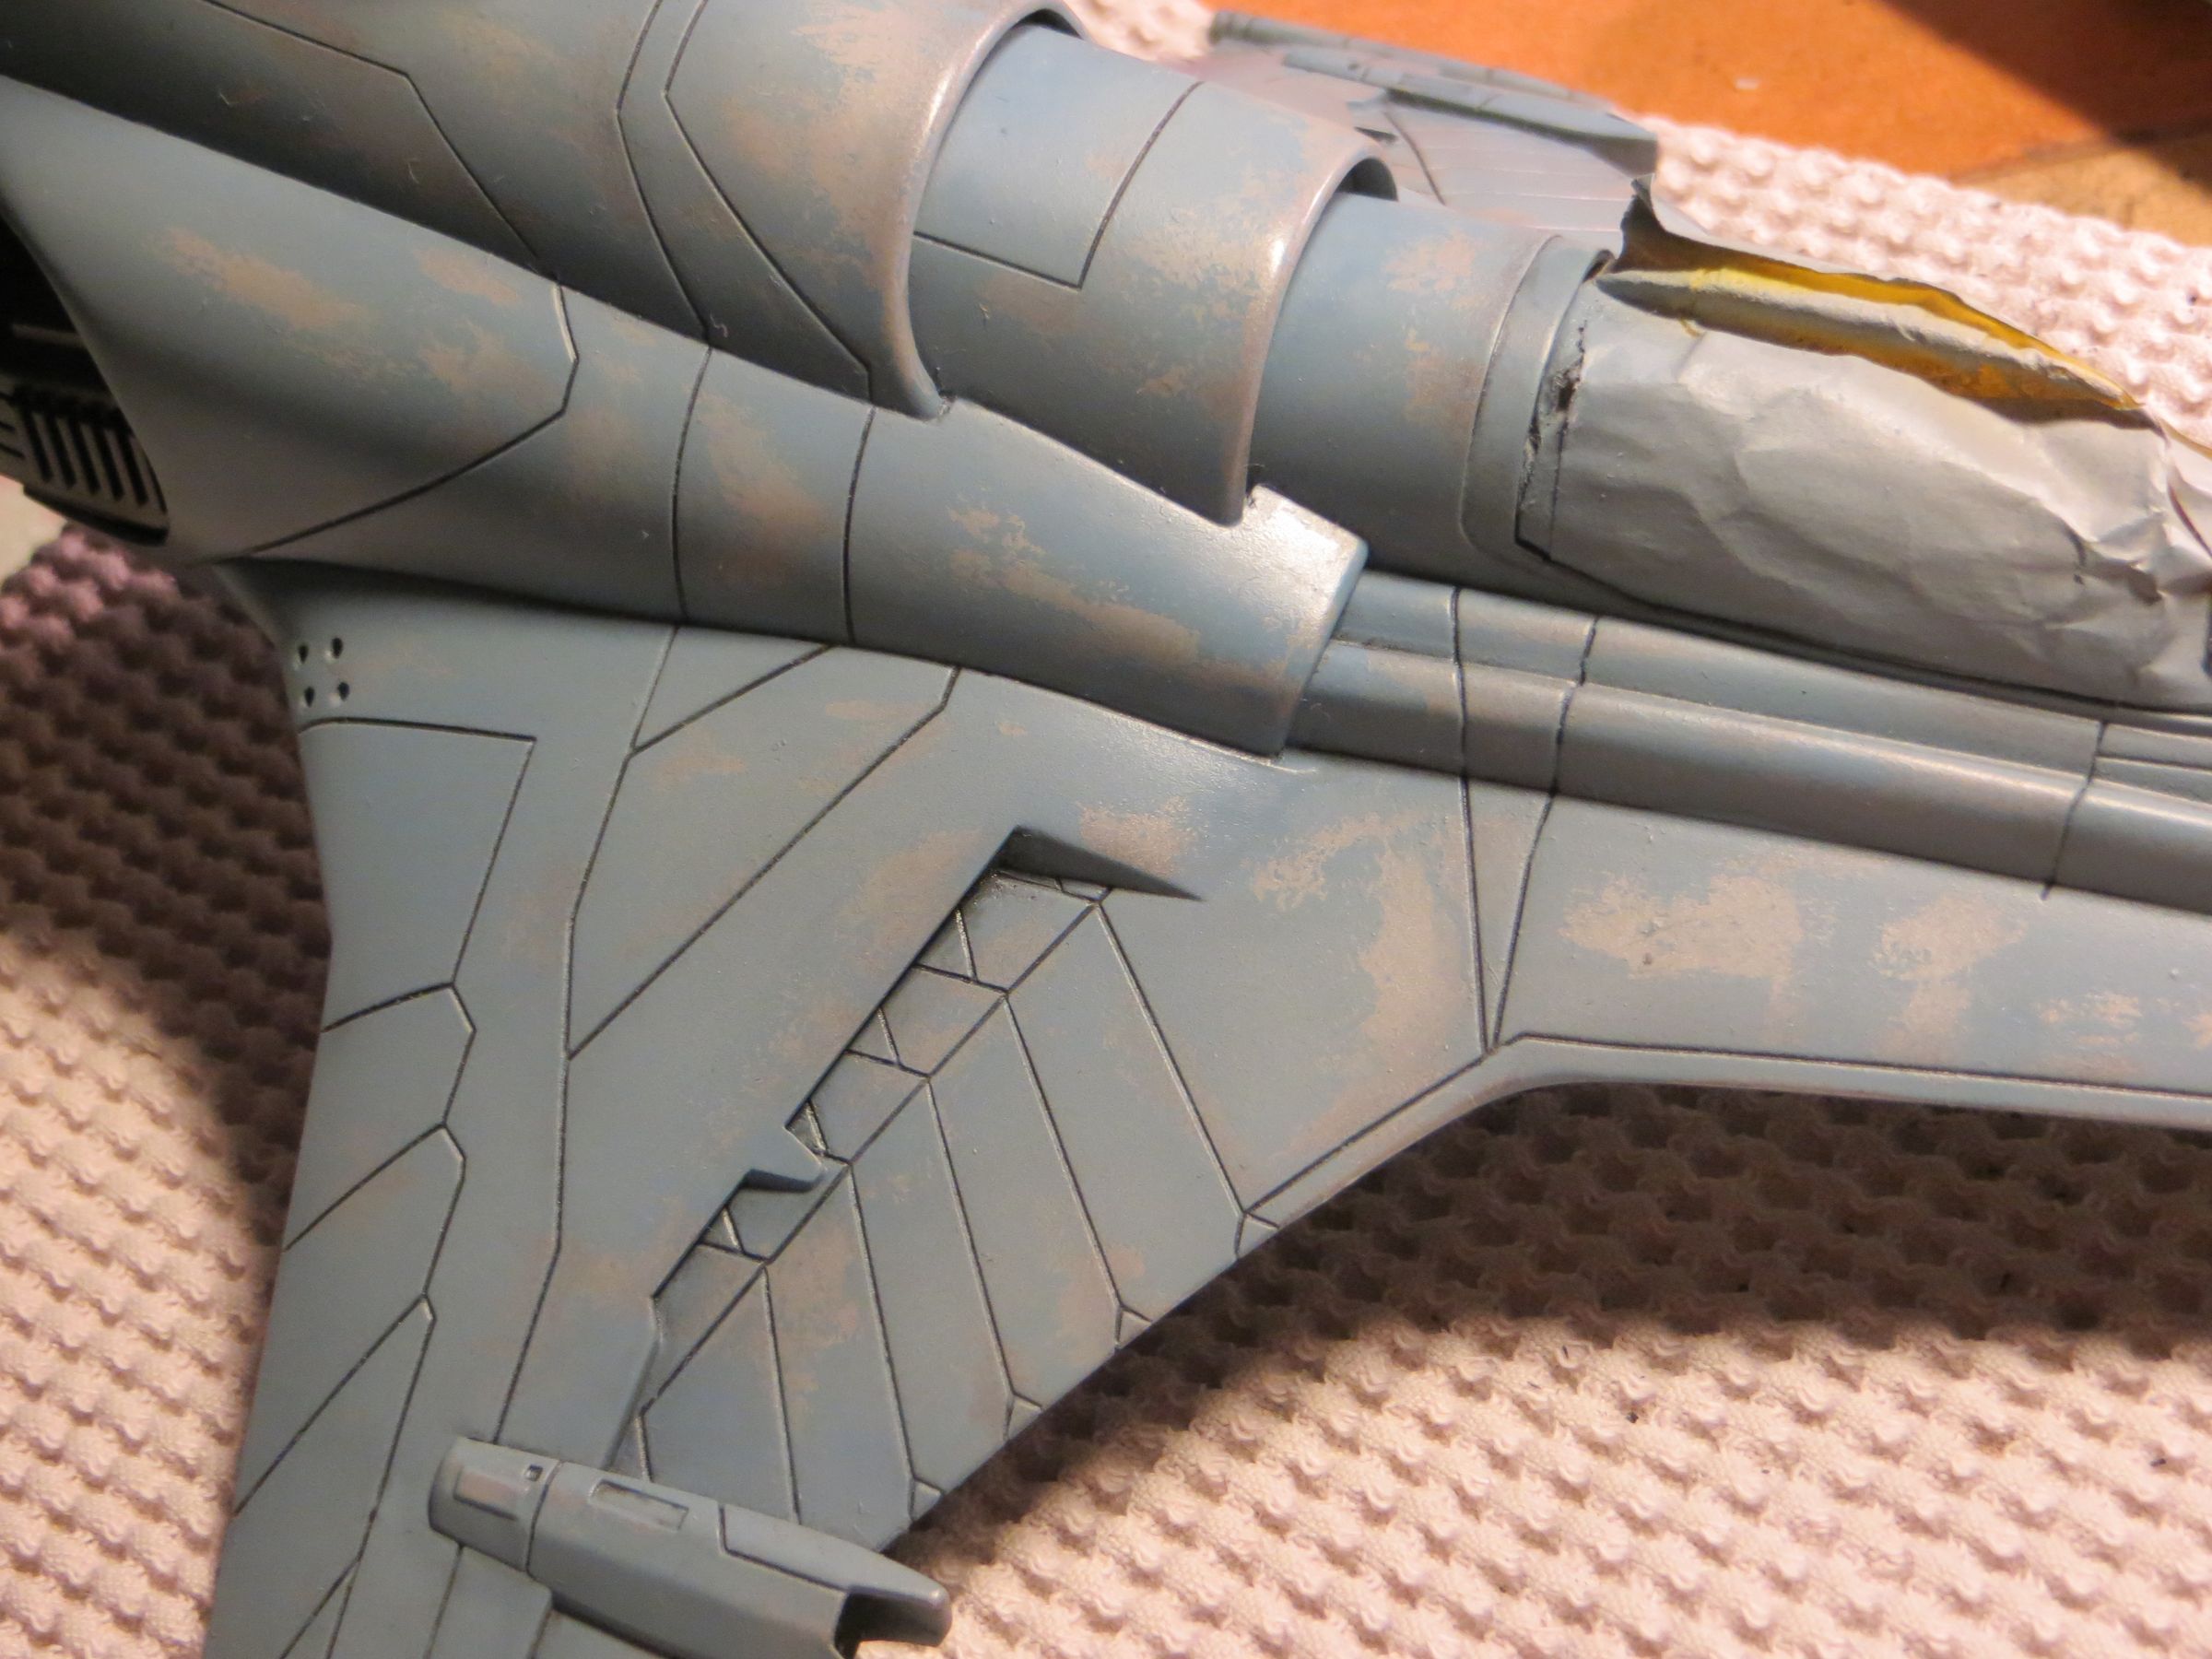
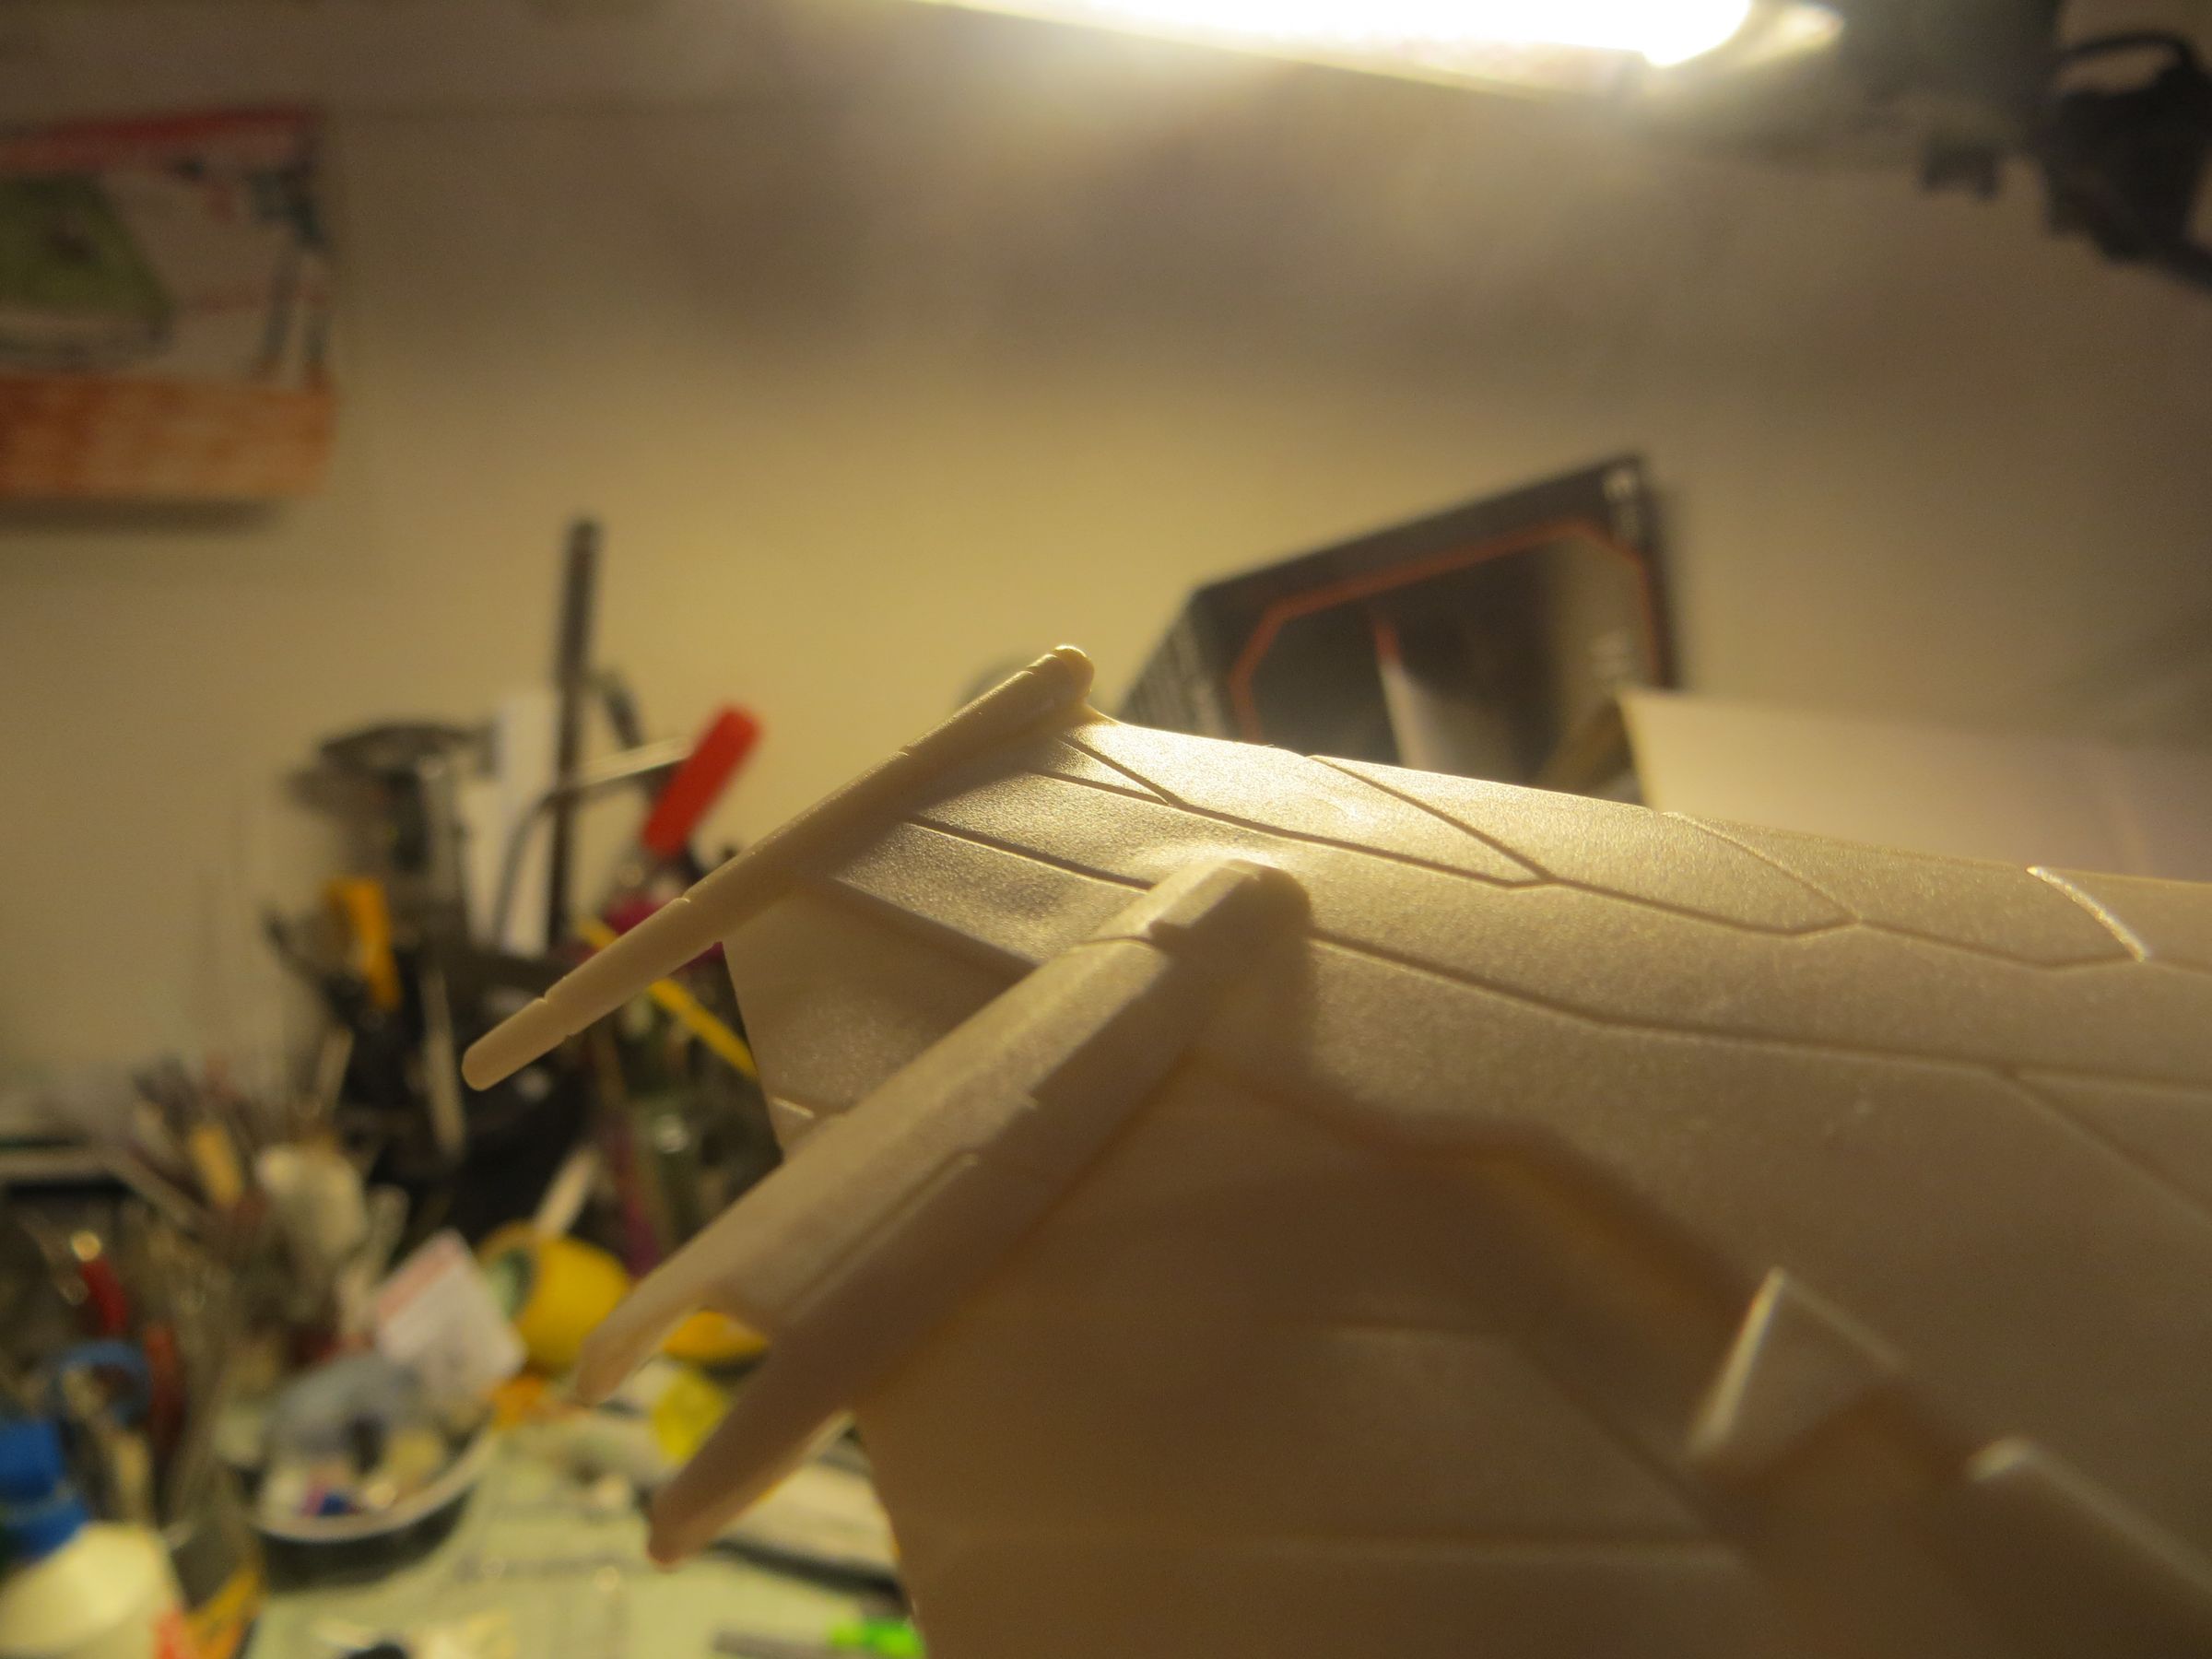
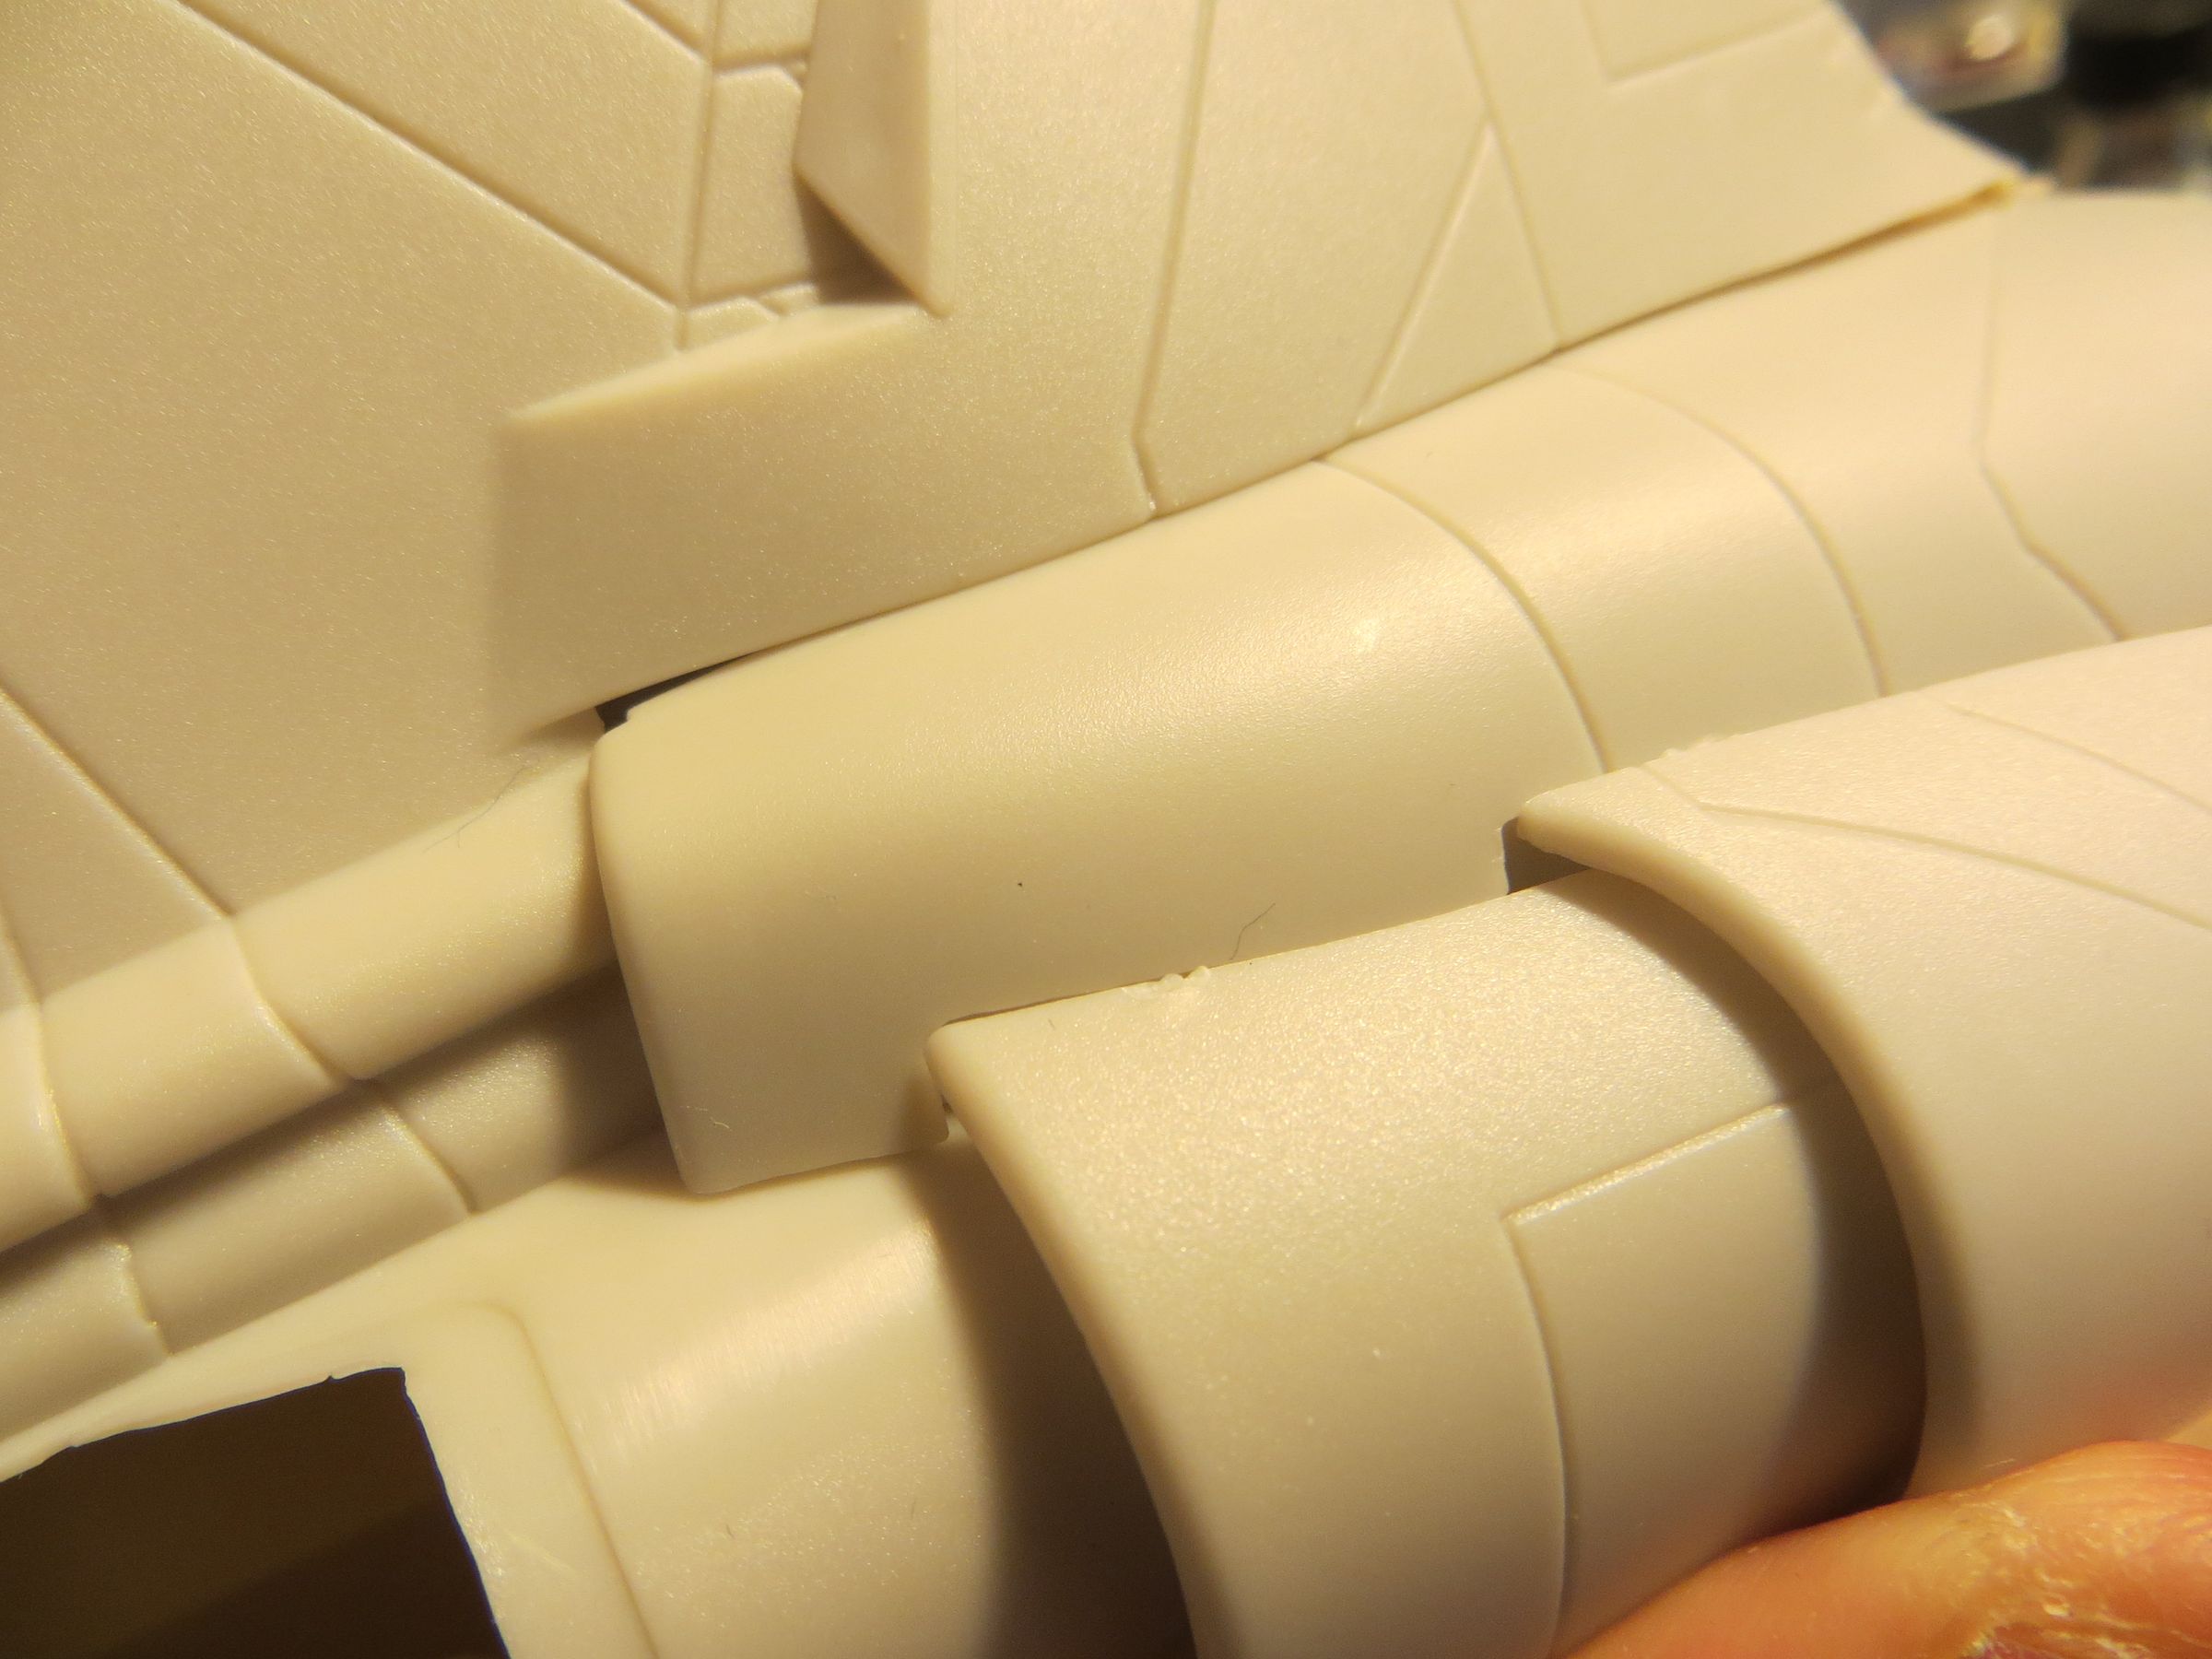
But the two major weaknesses of the kit are :
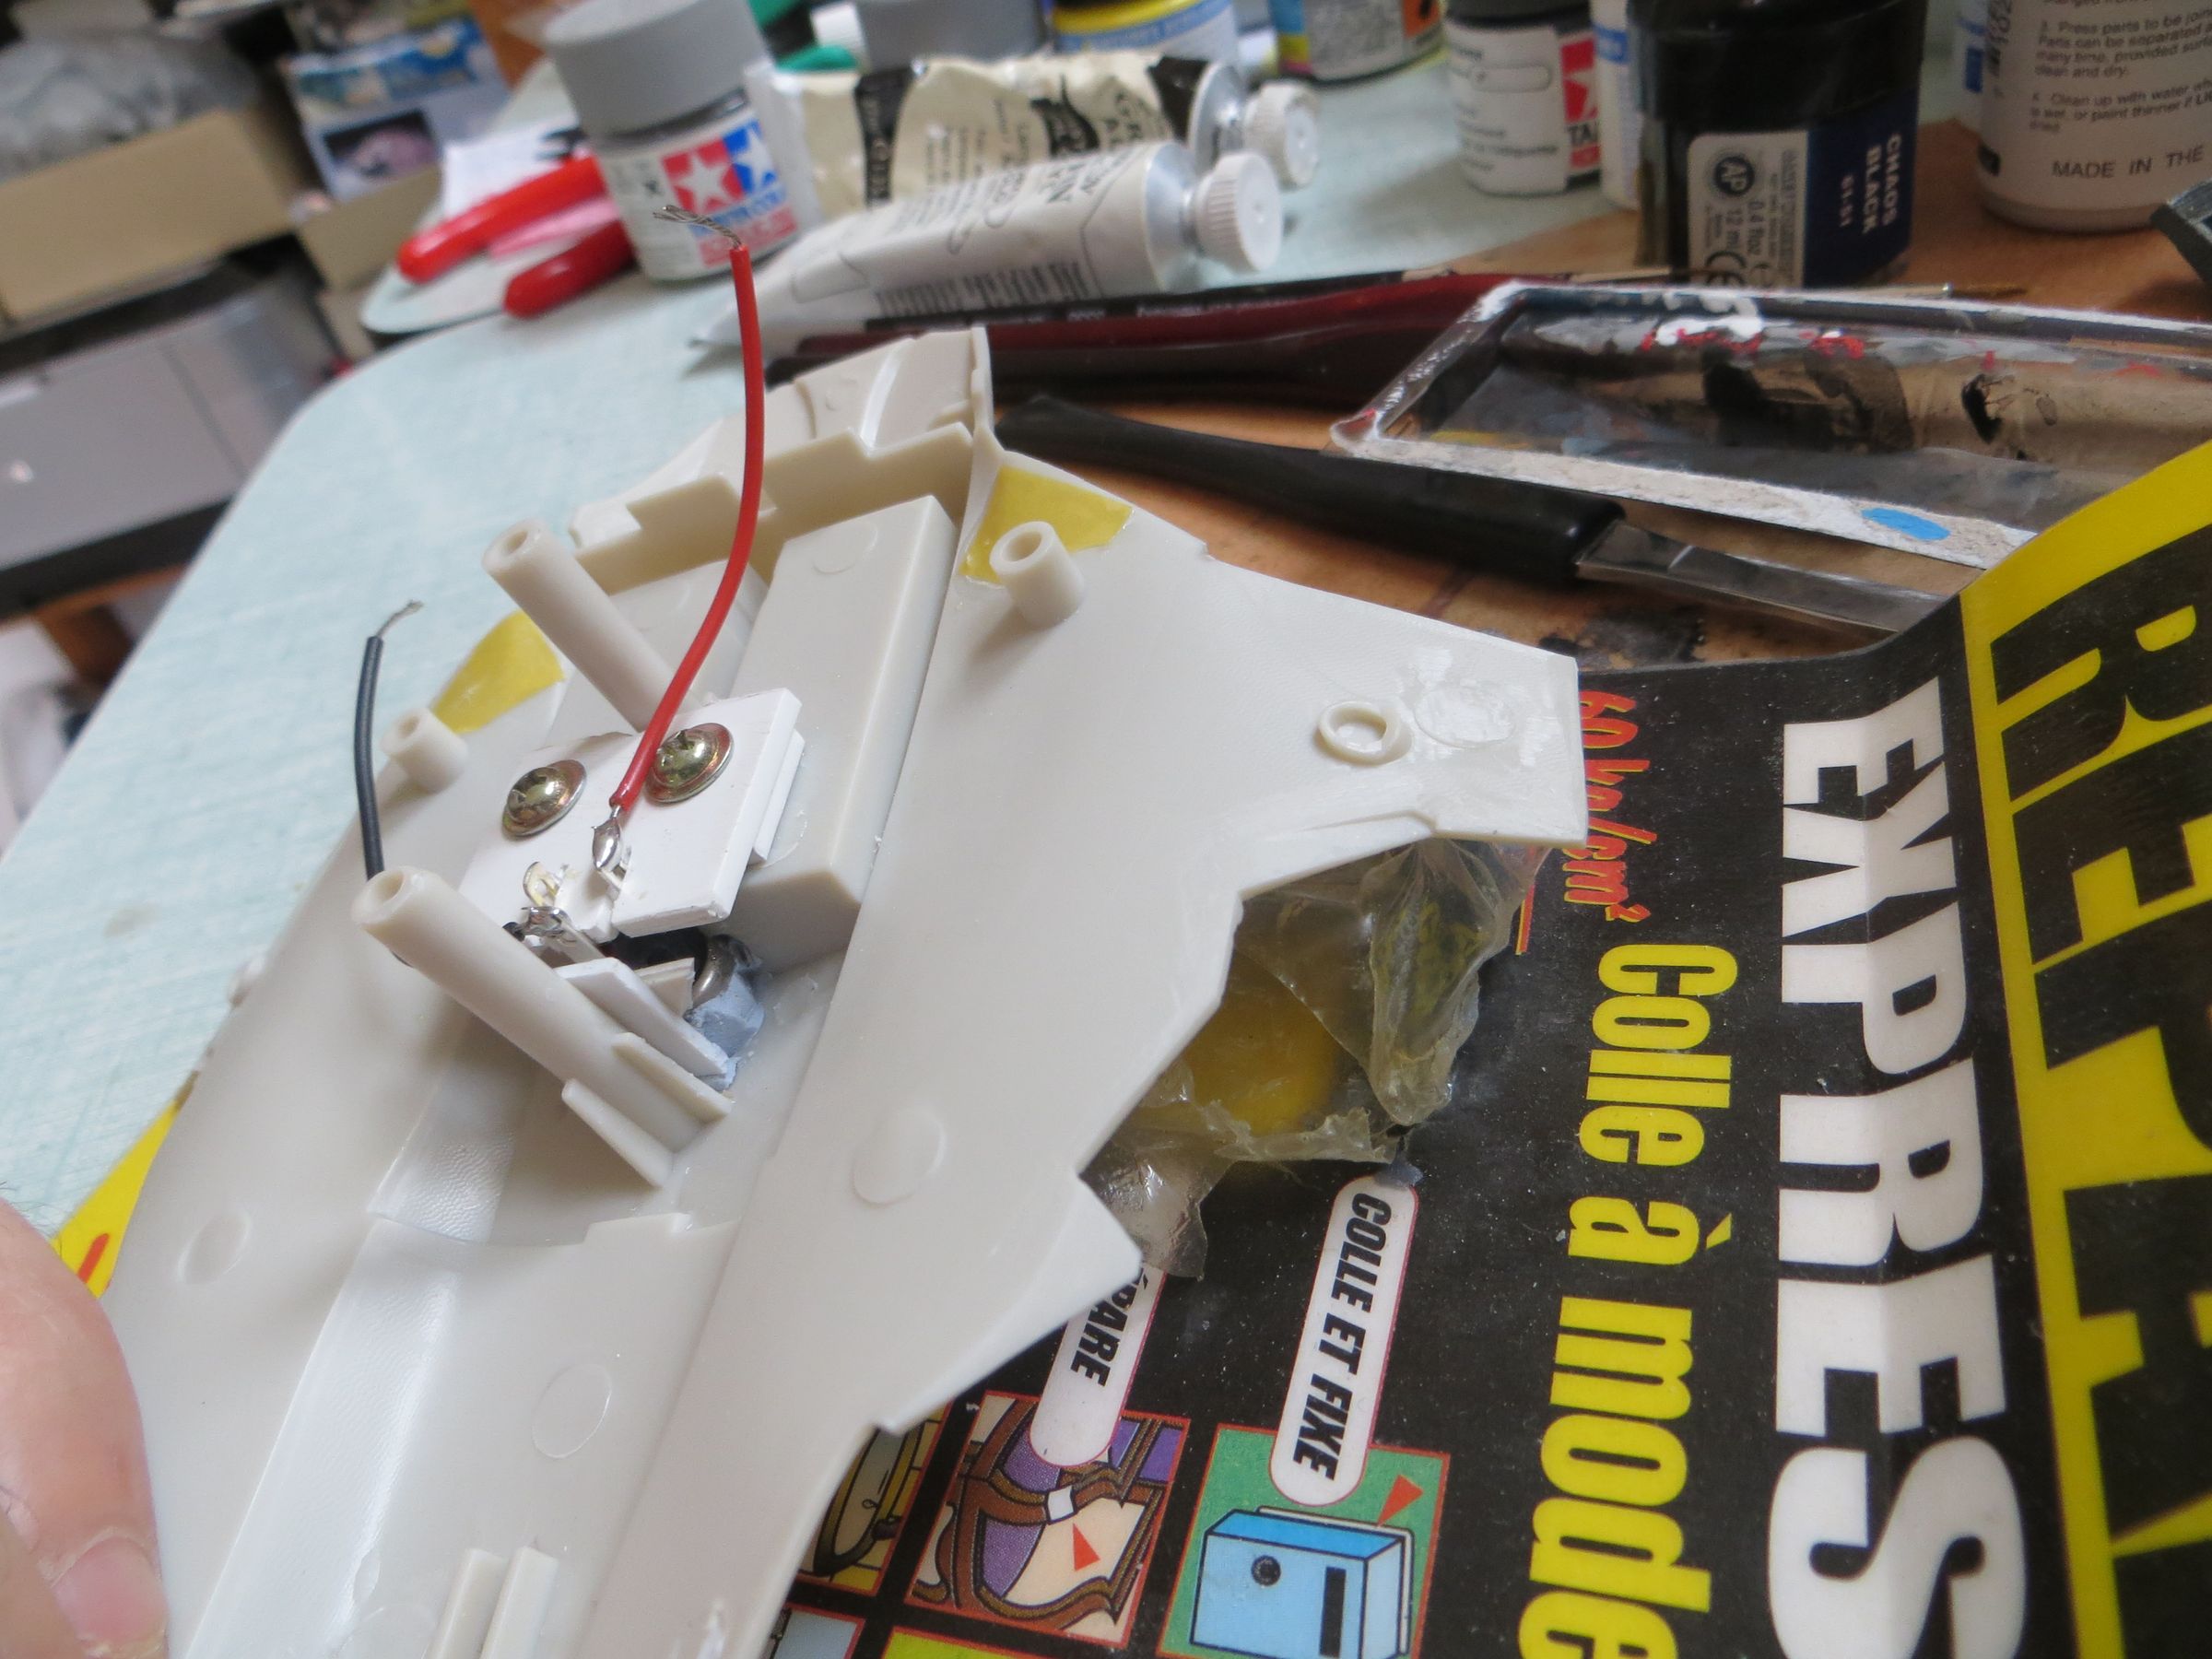
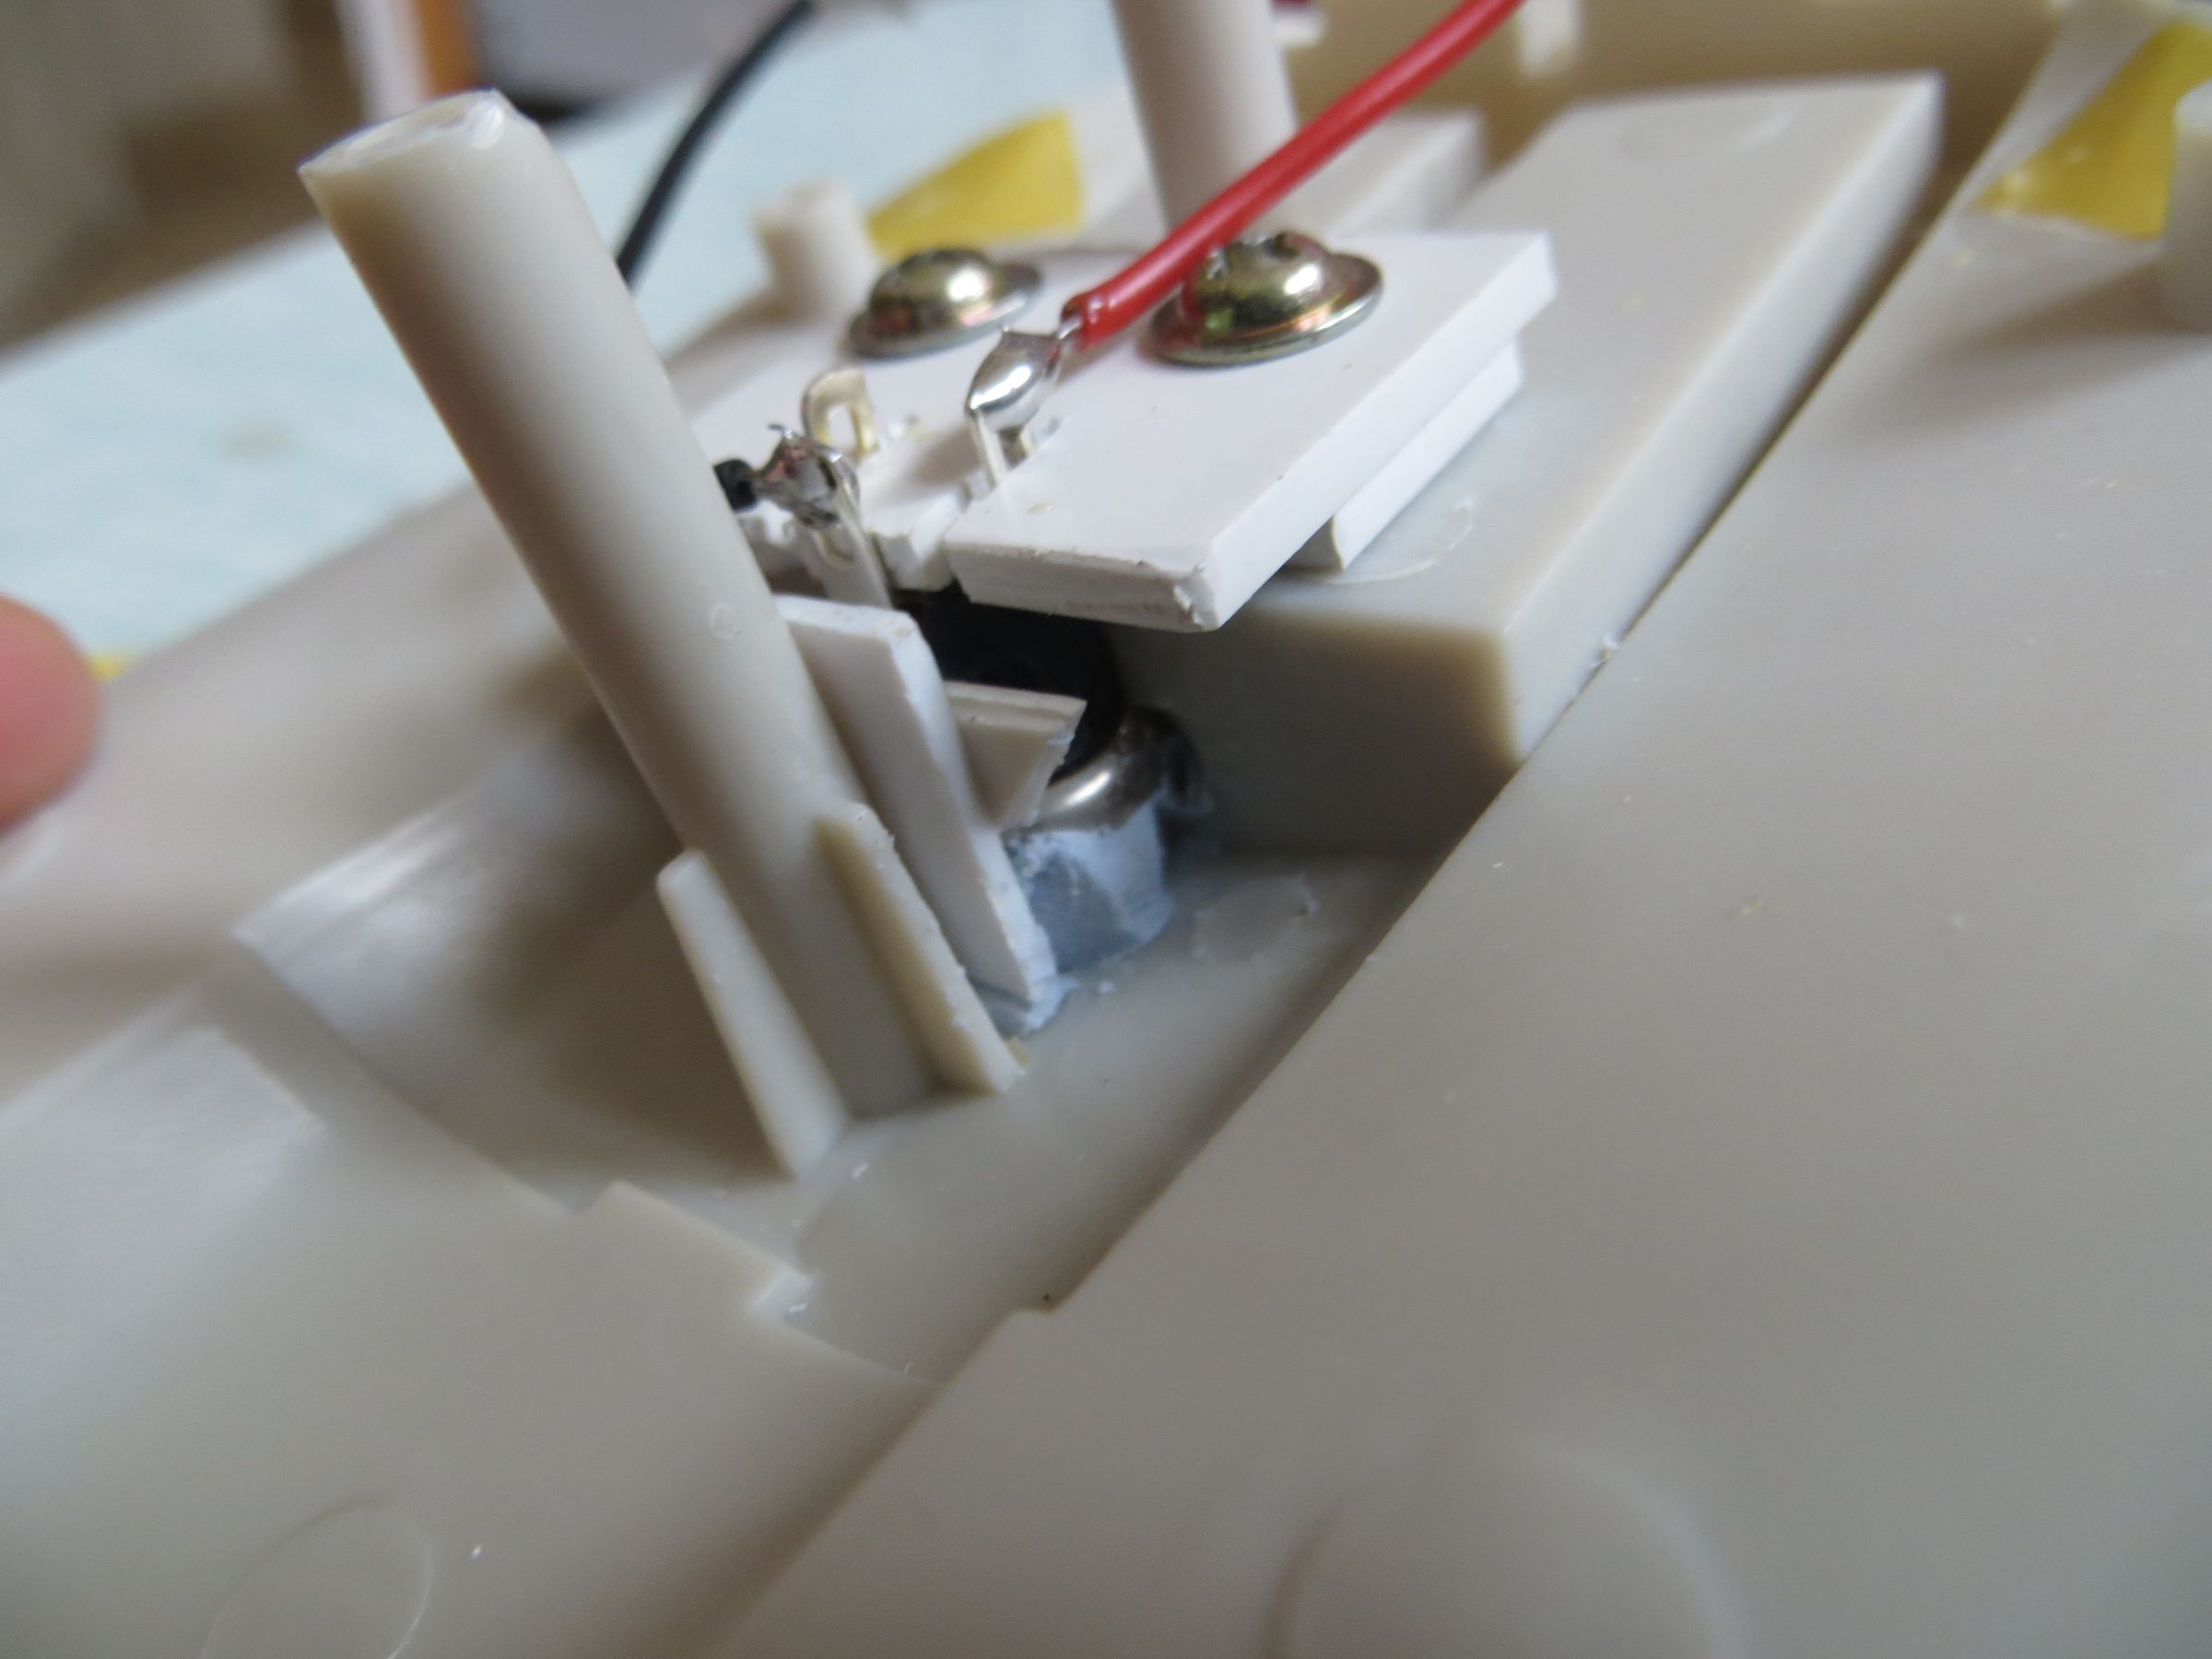
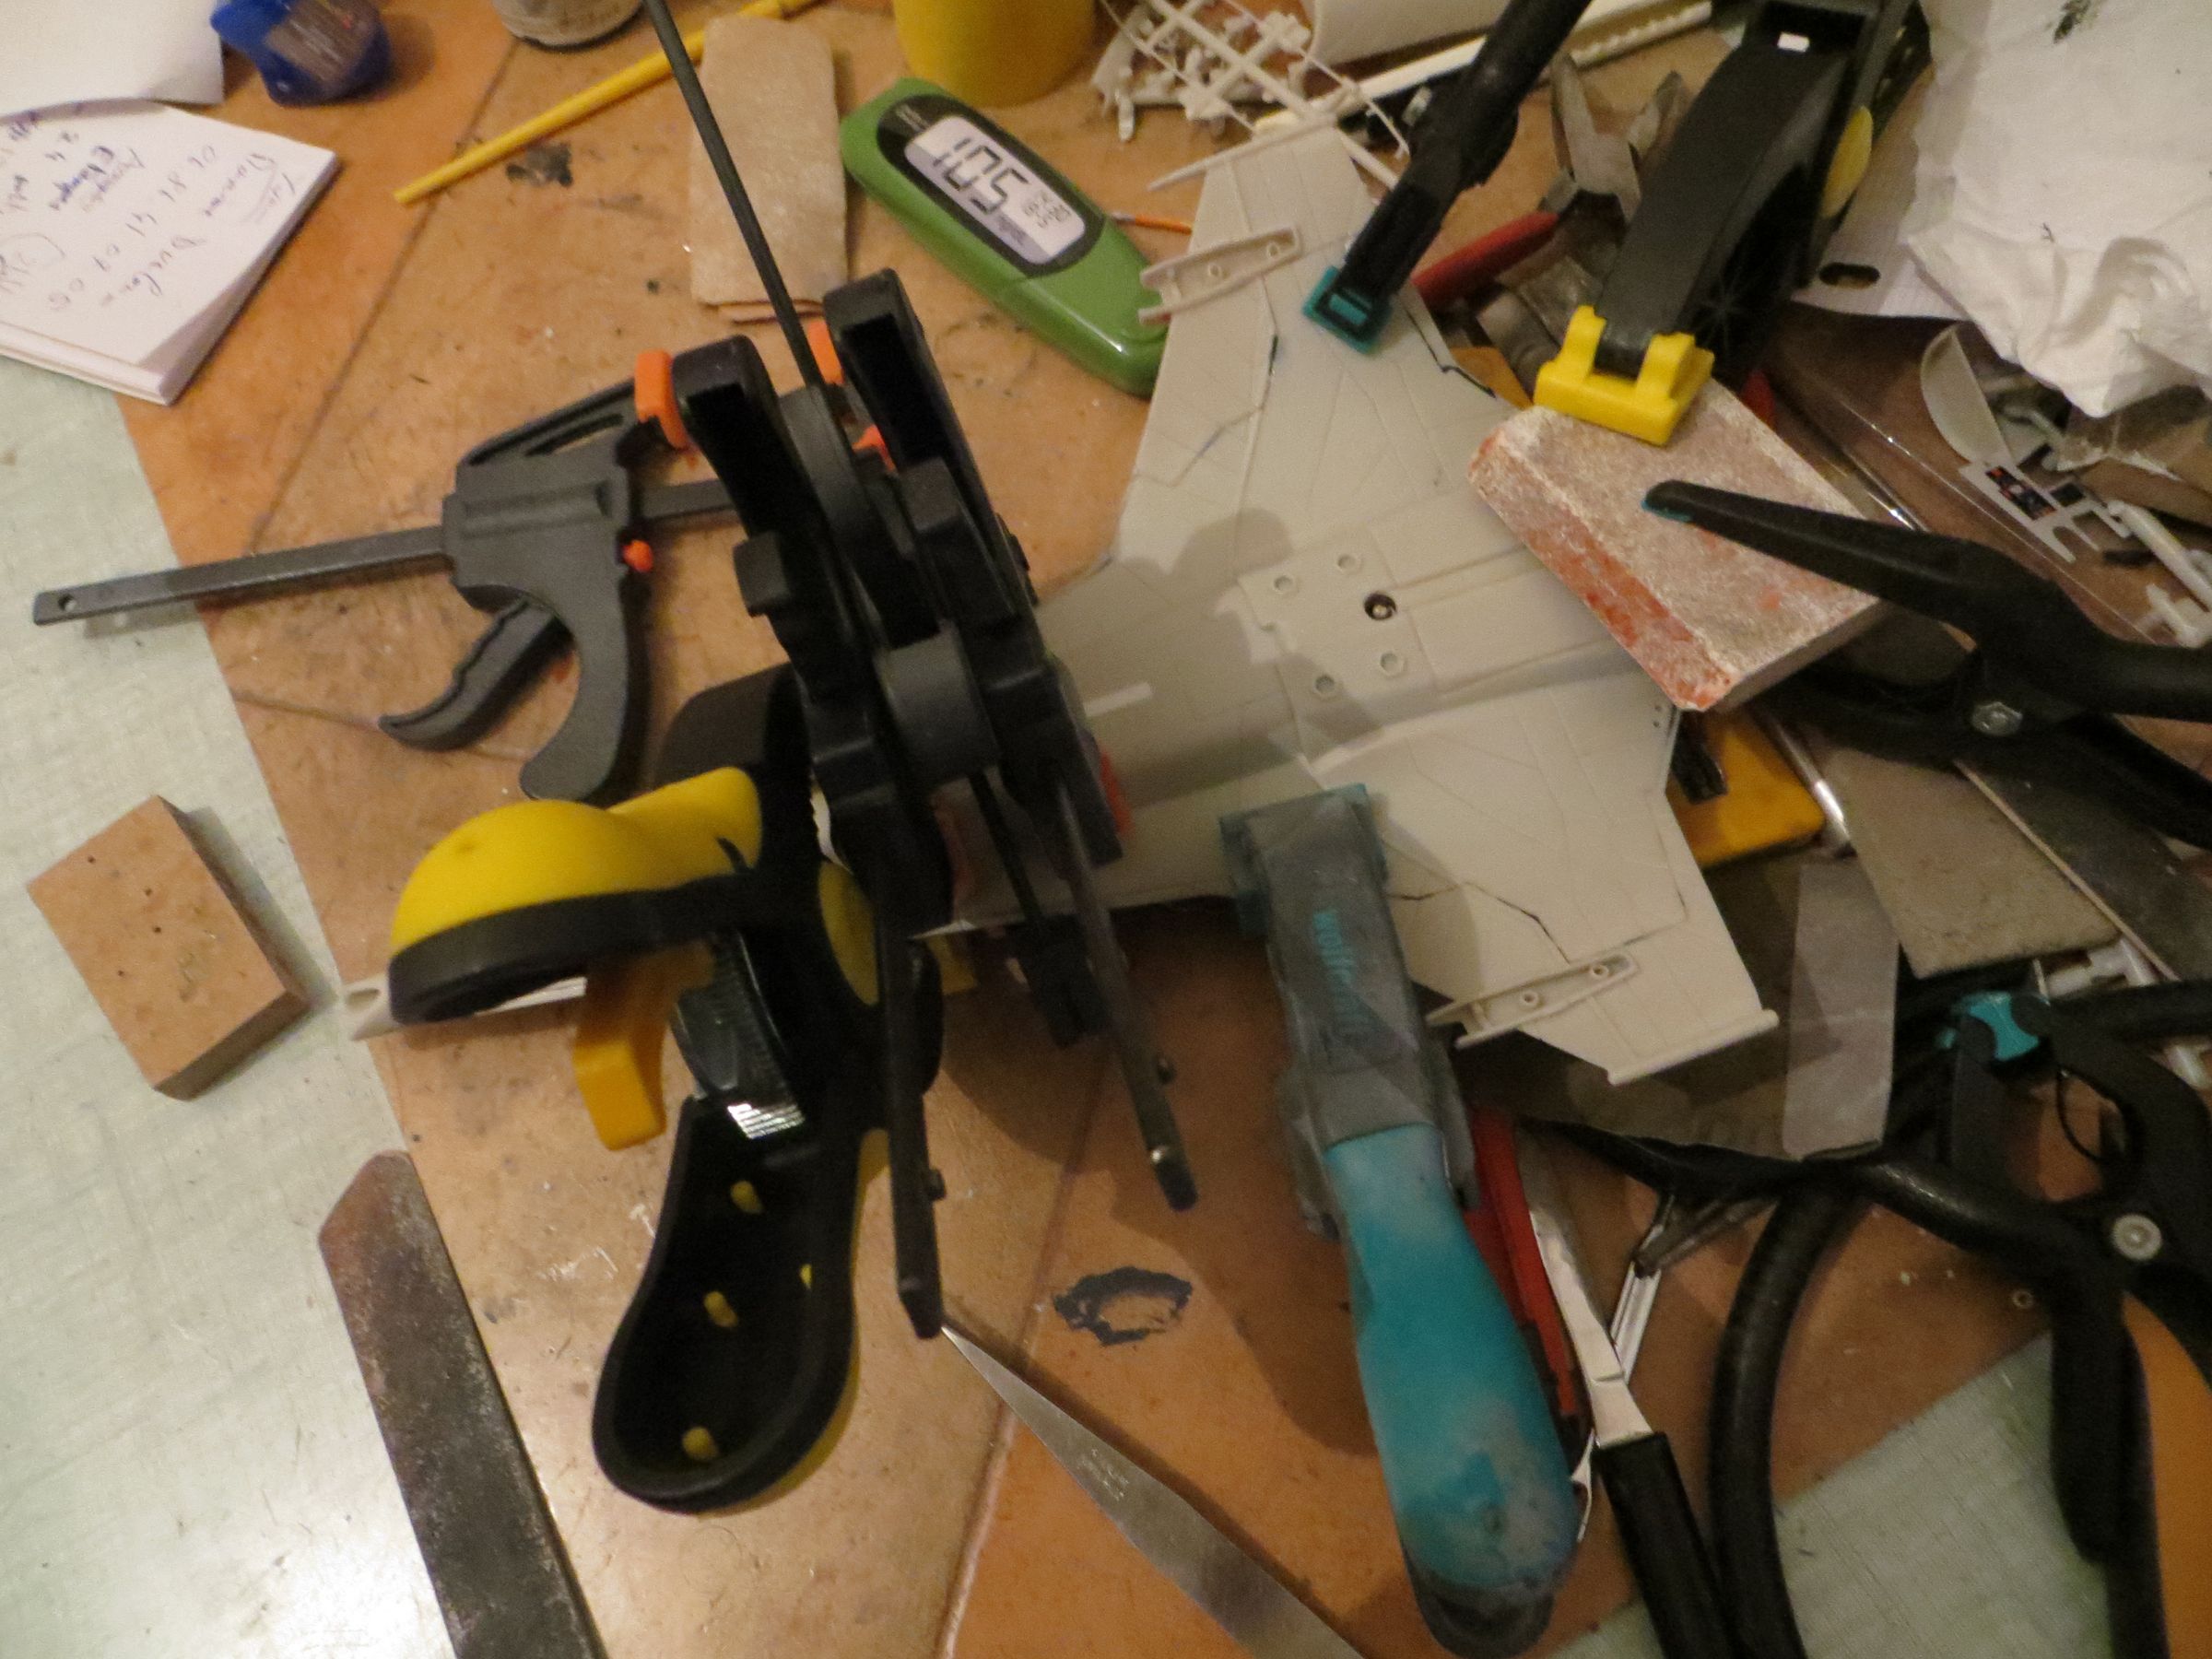
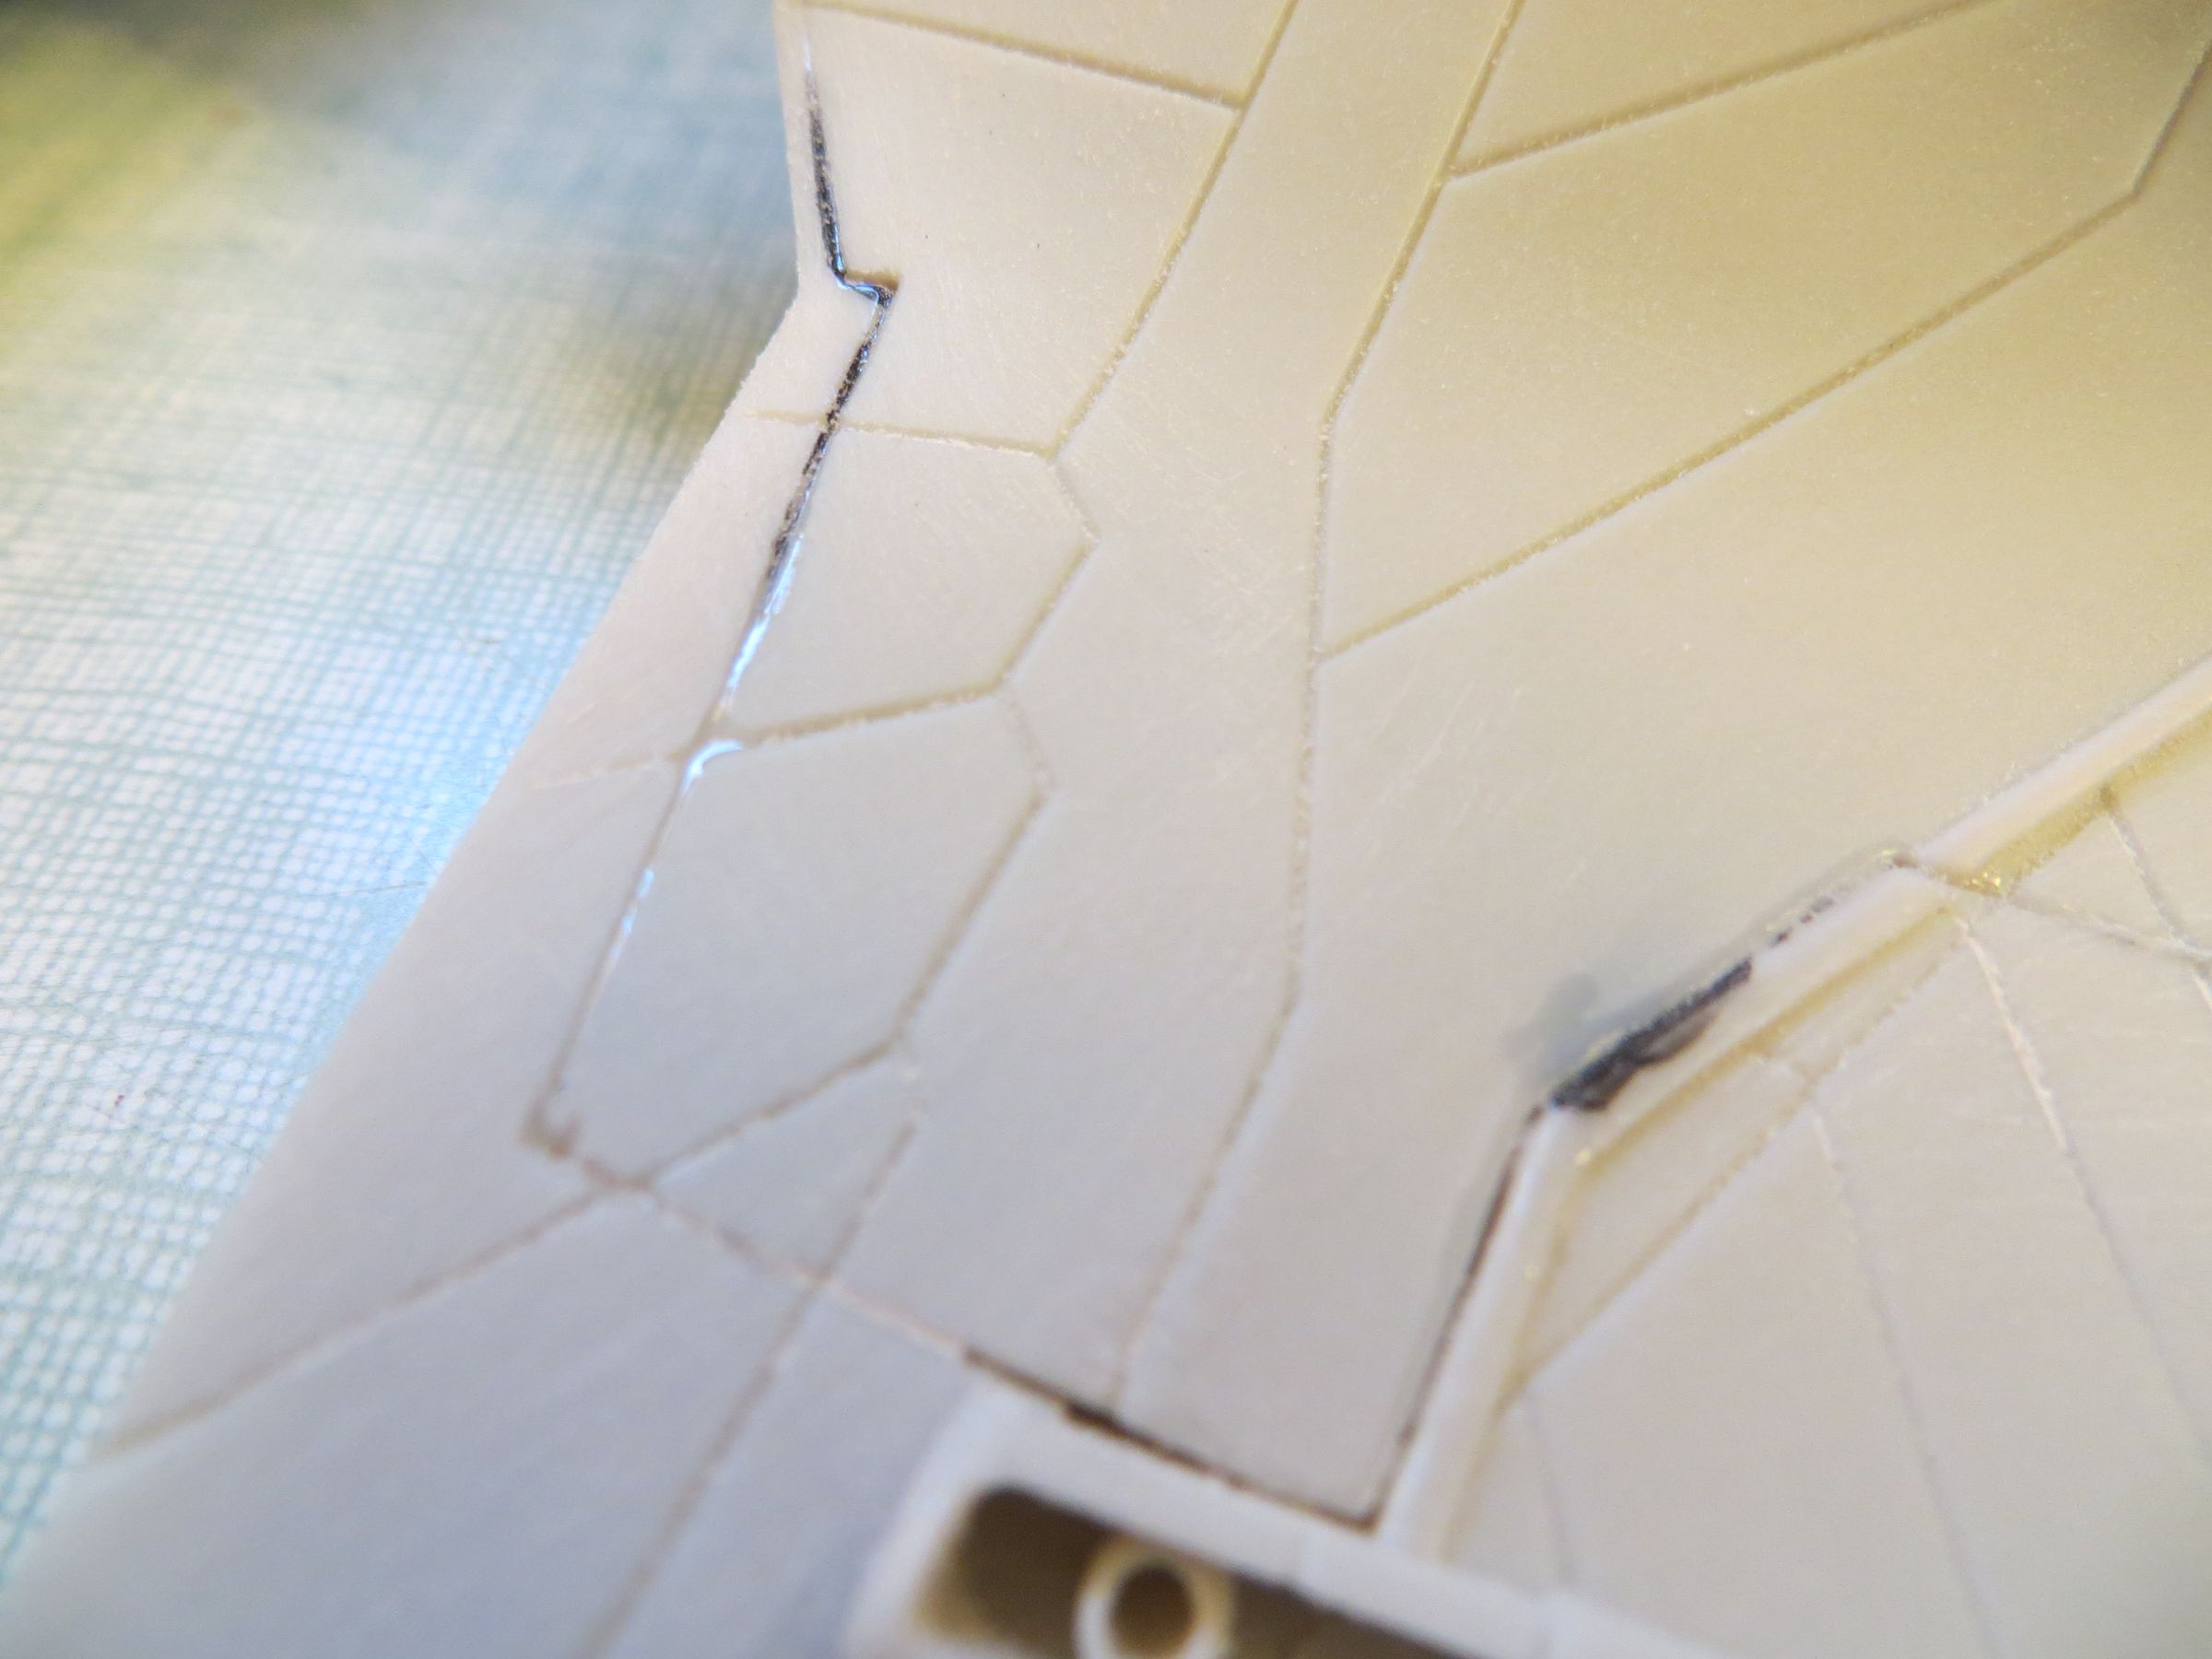
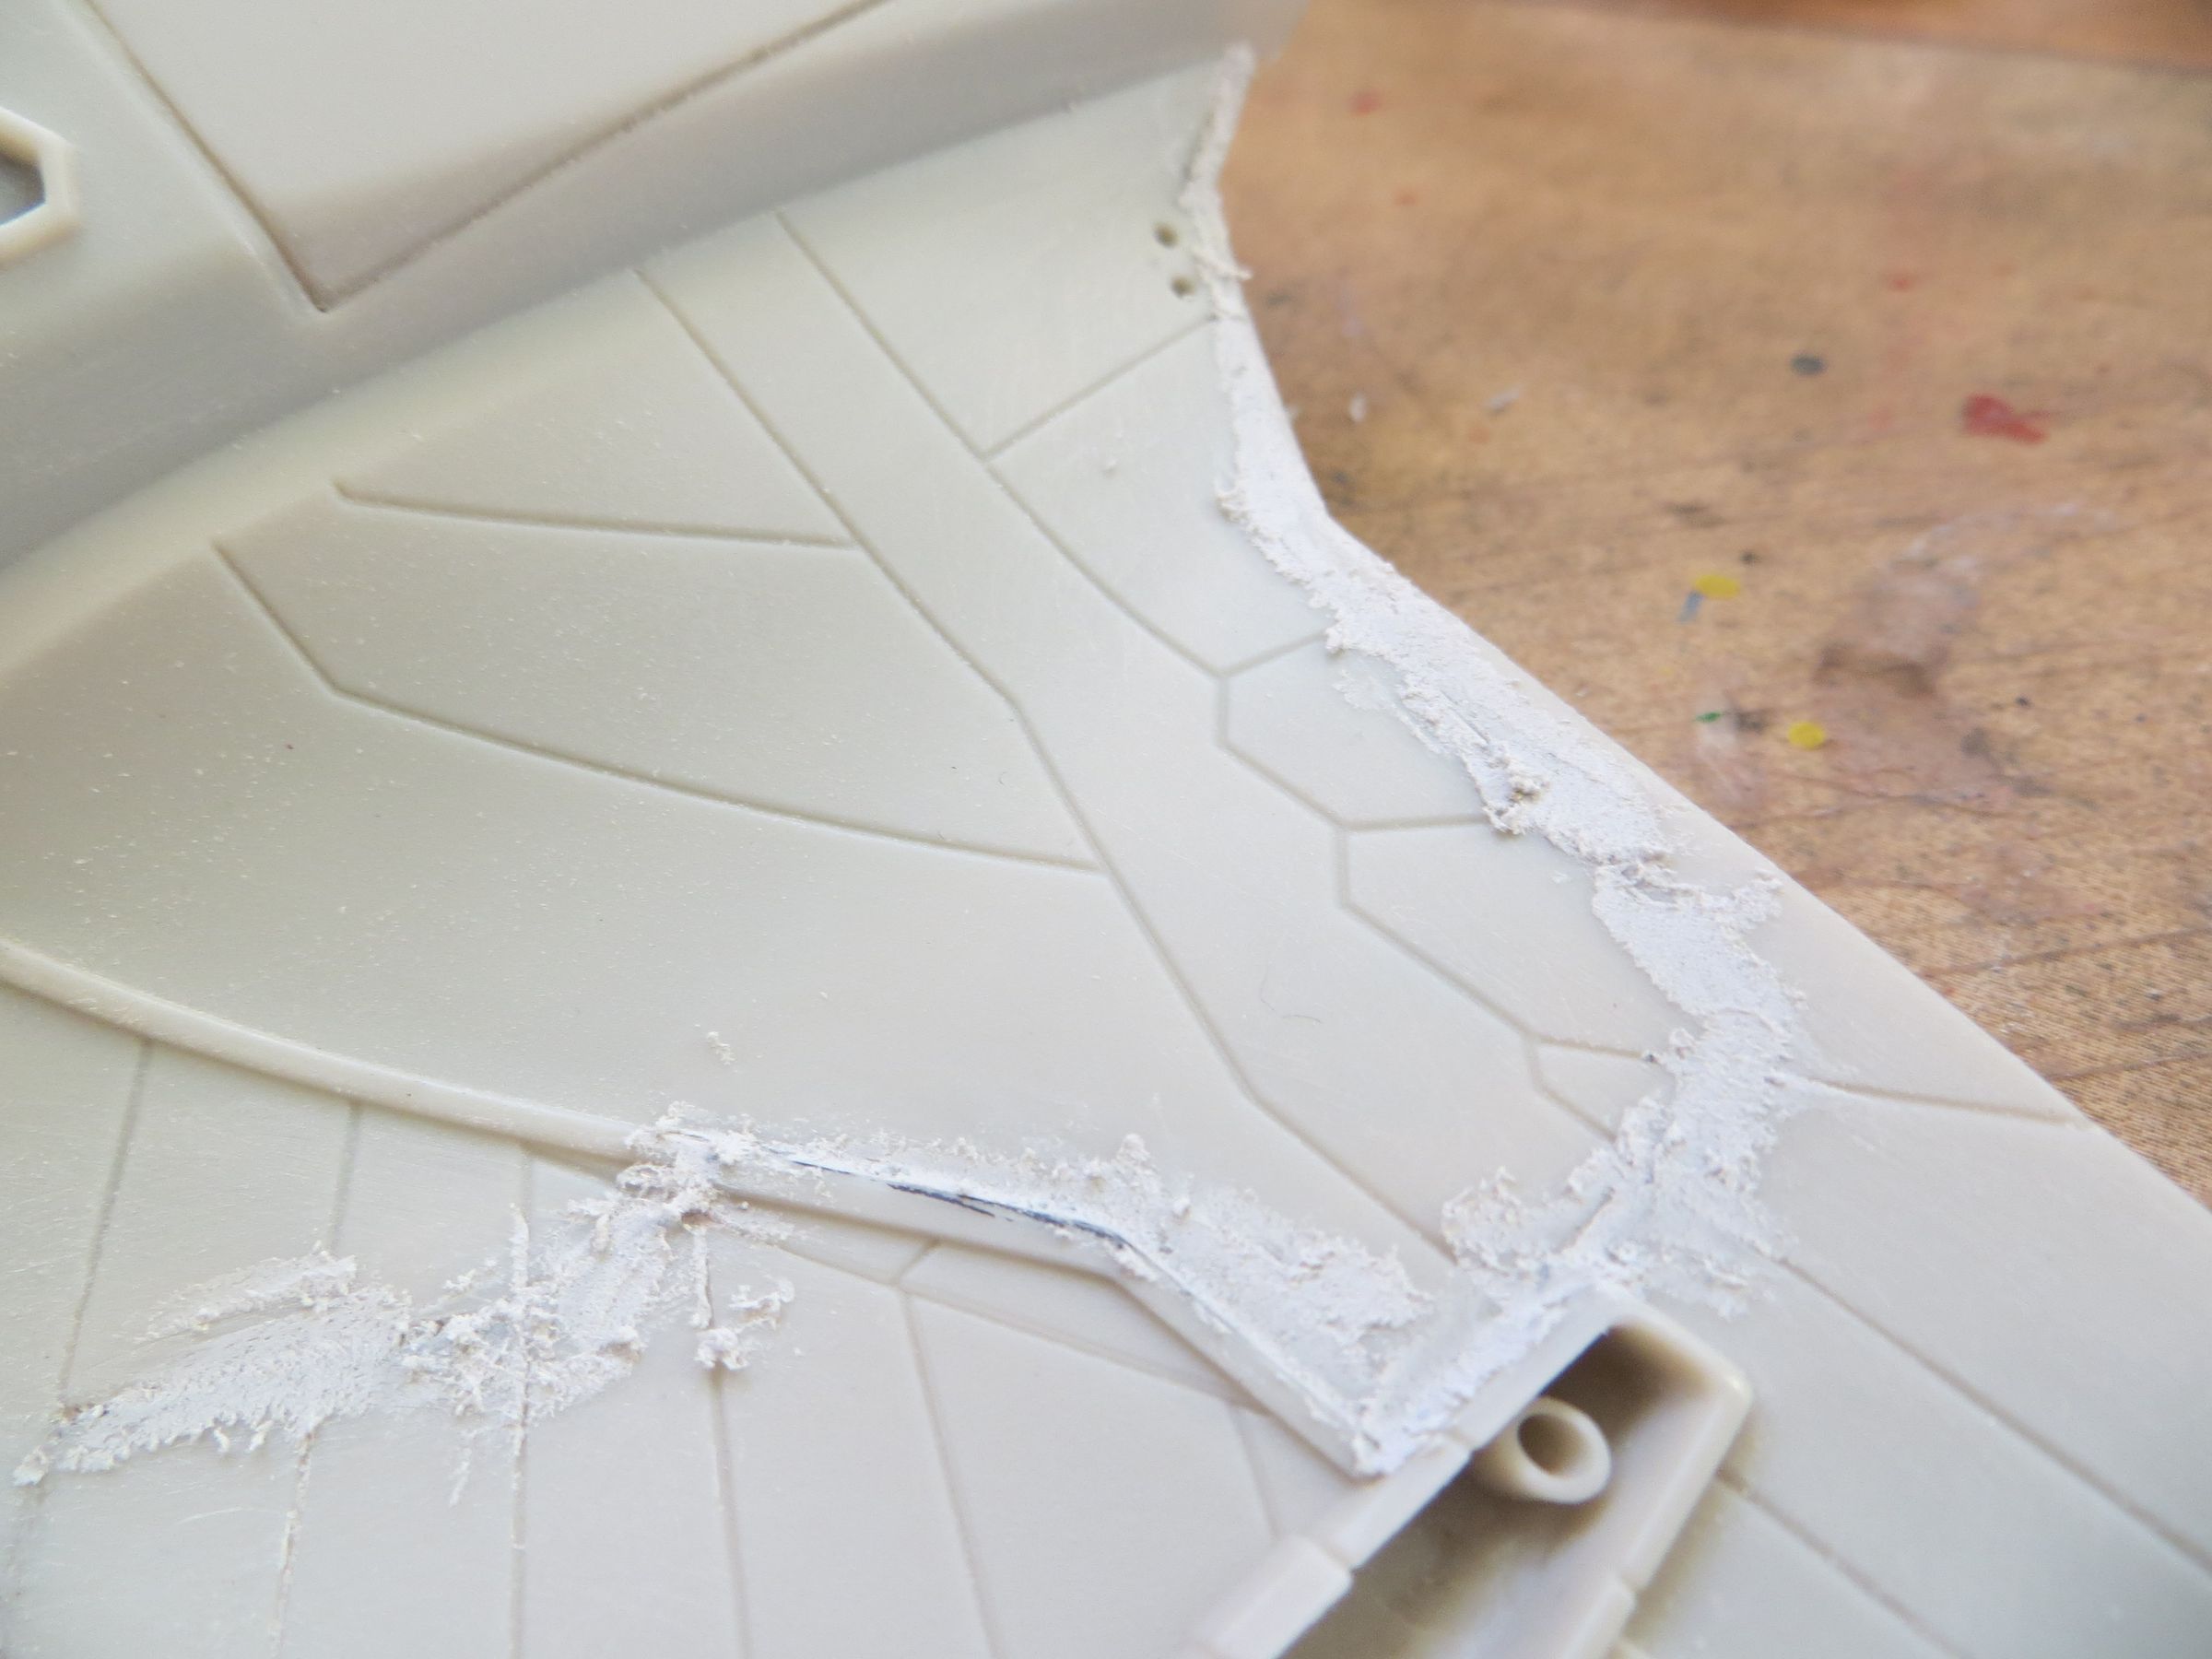
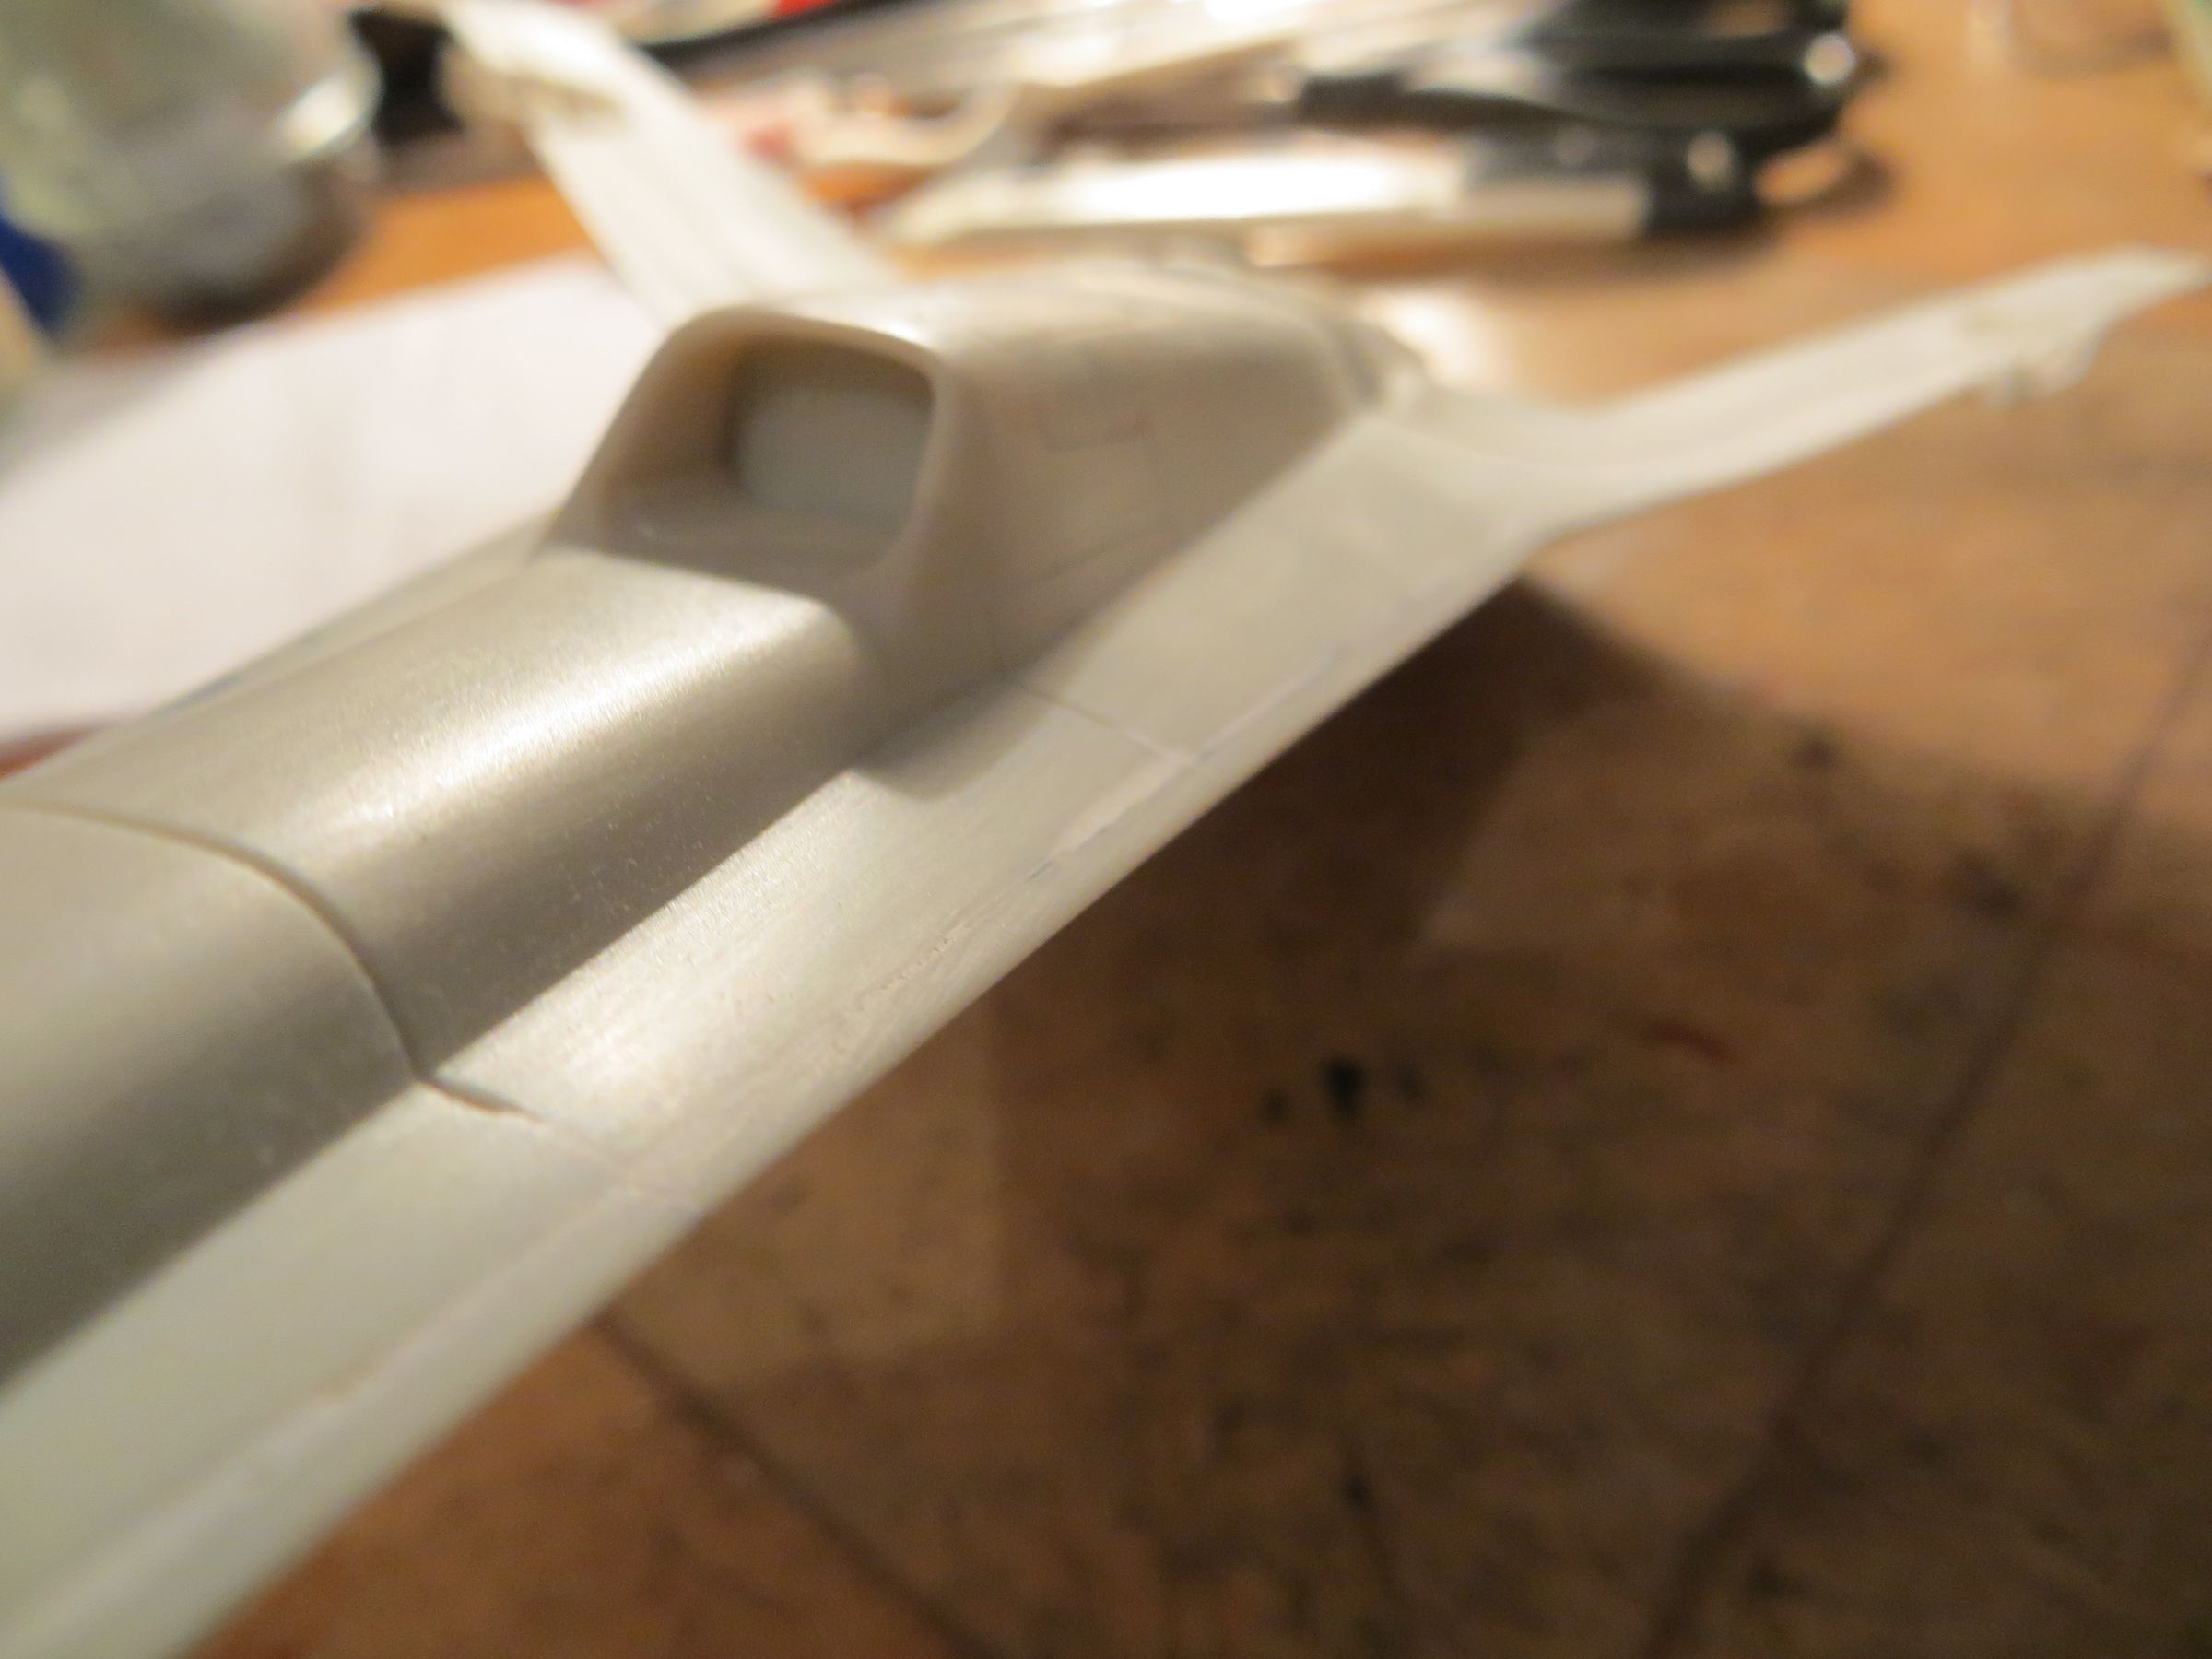
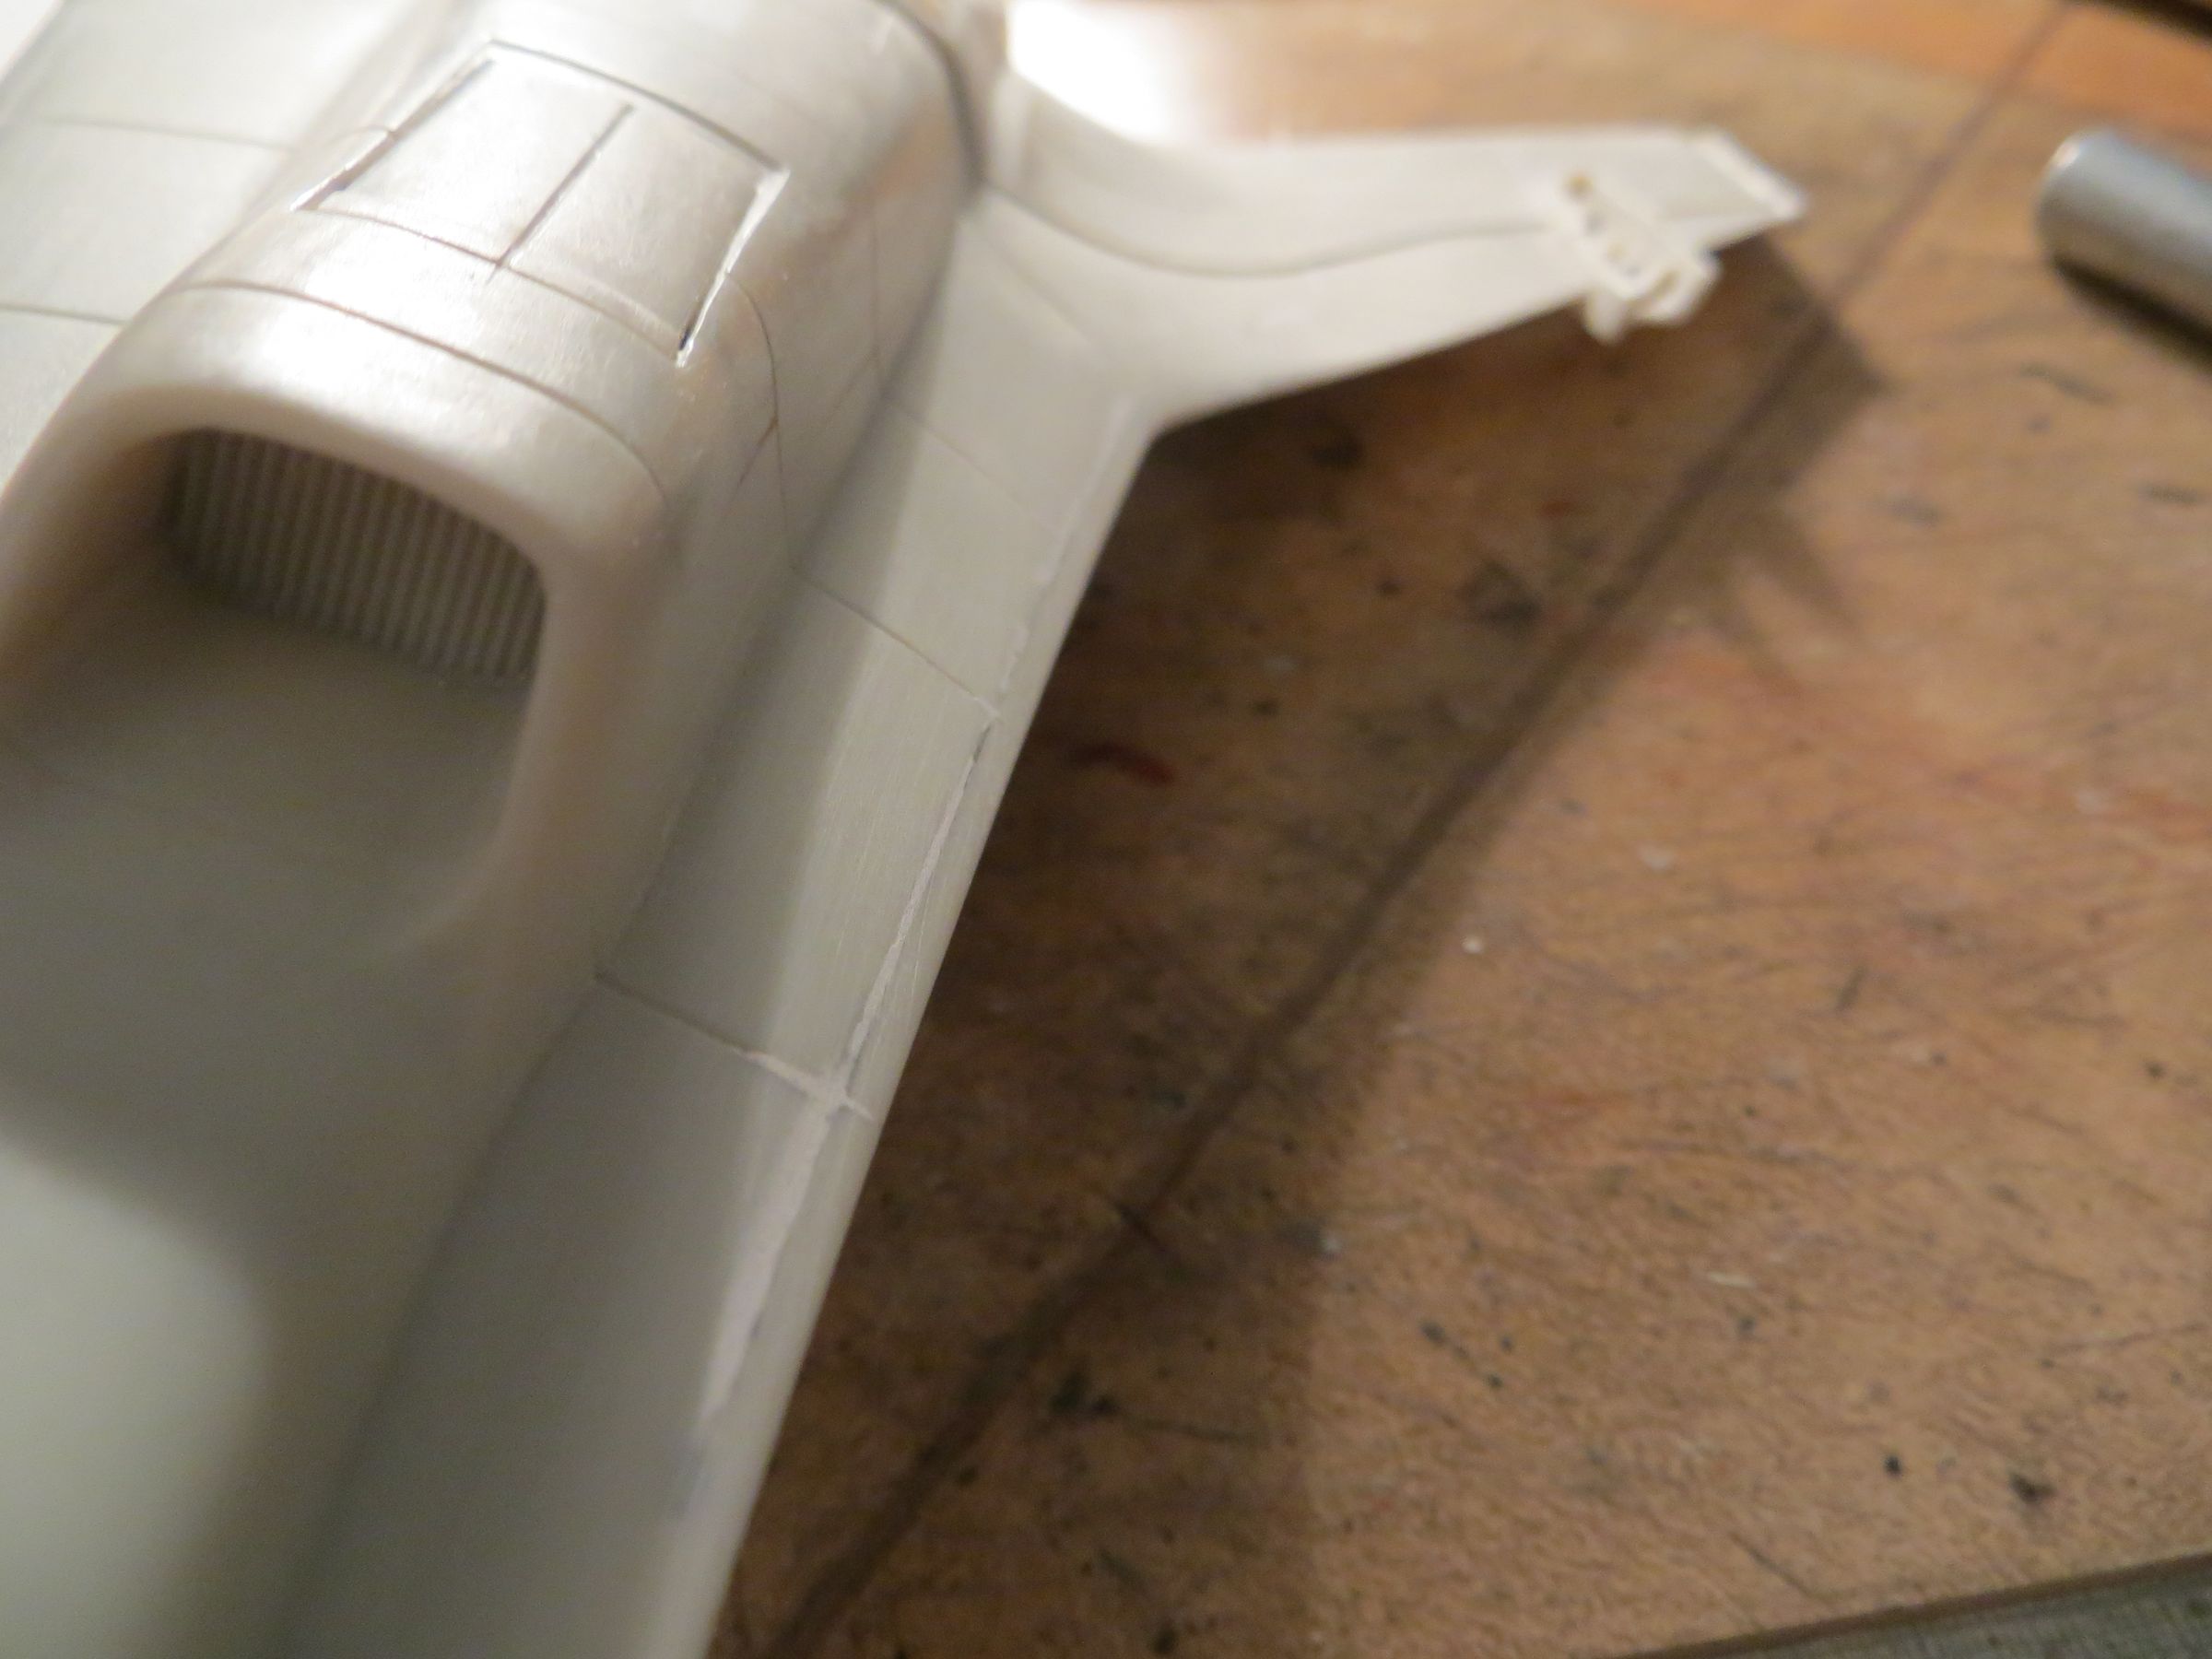
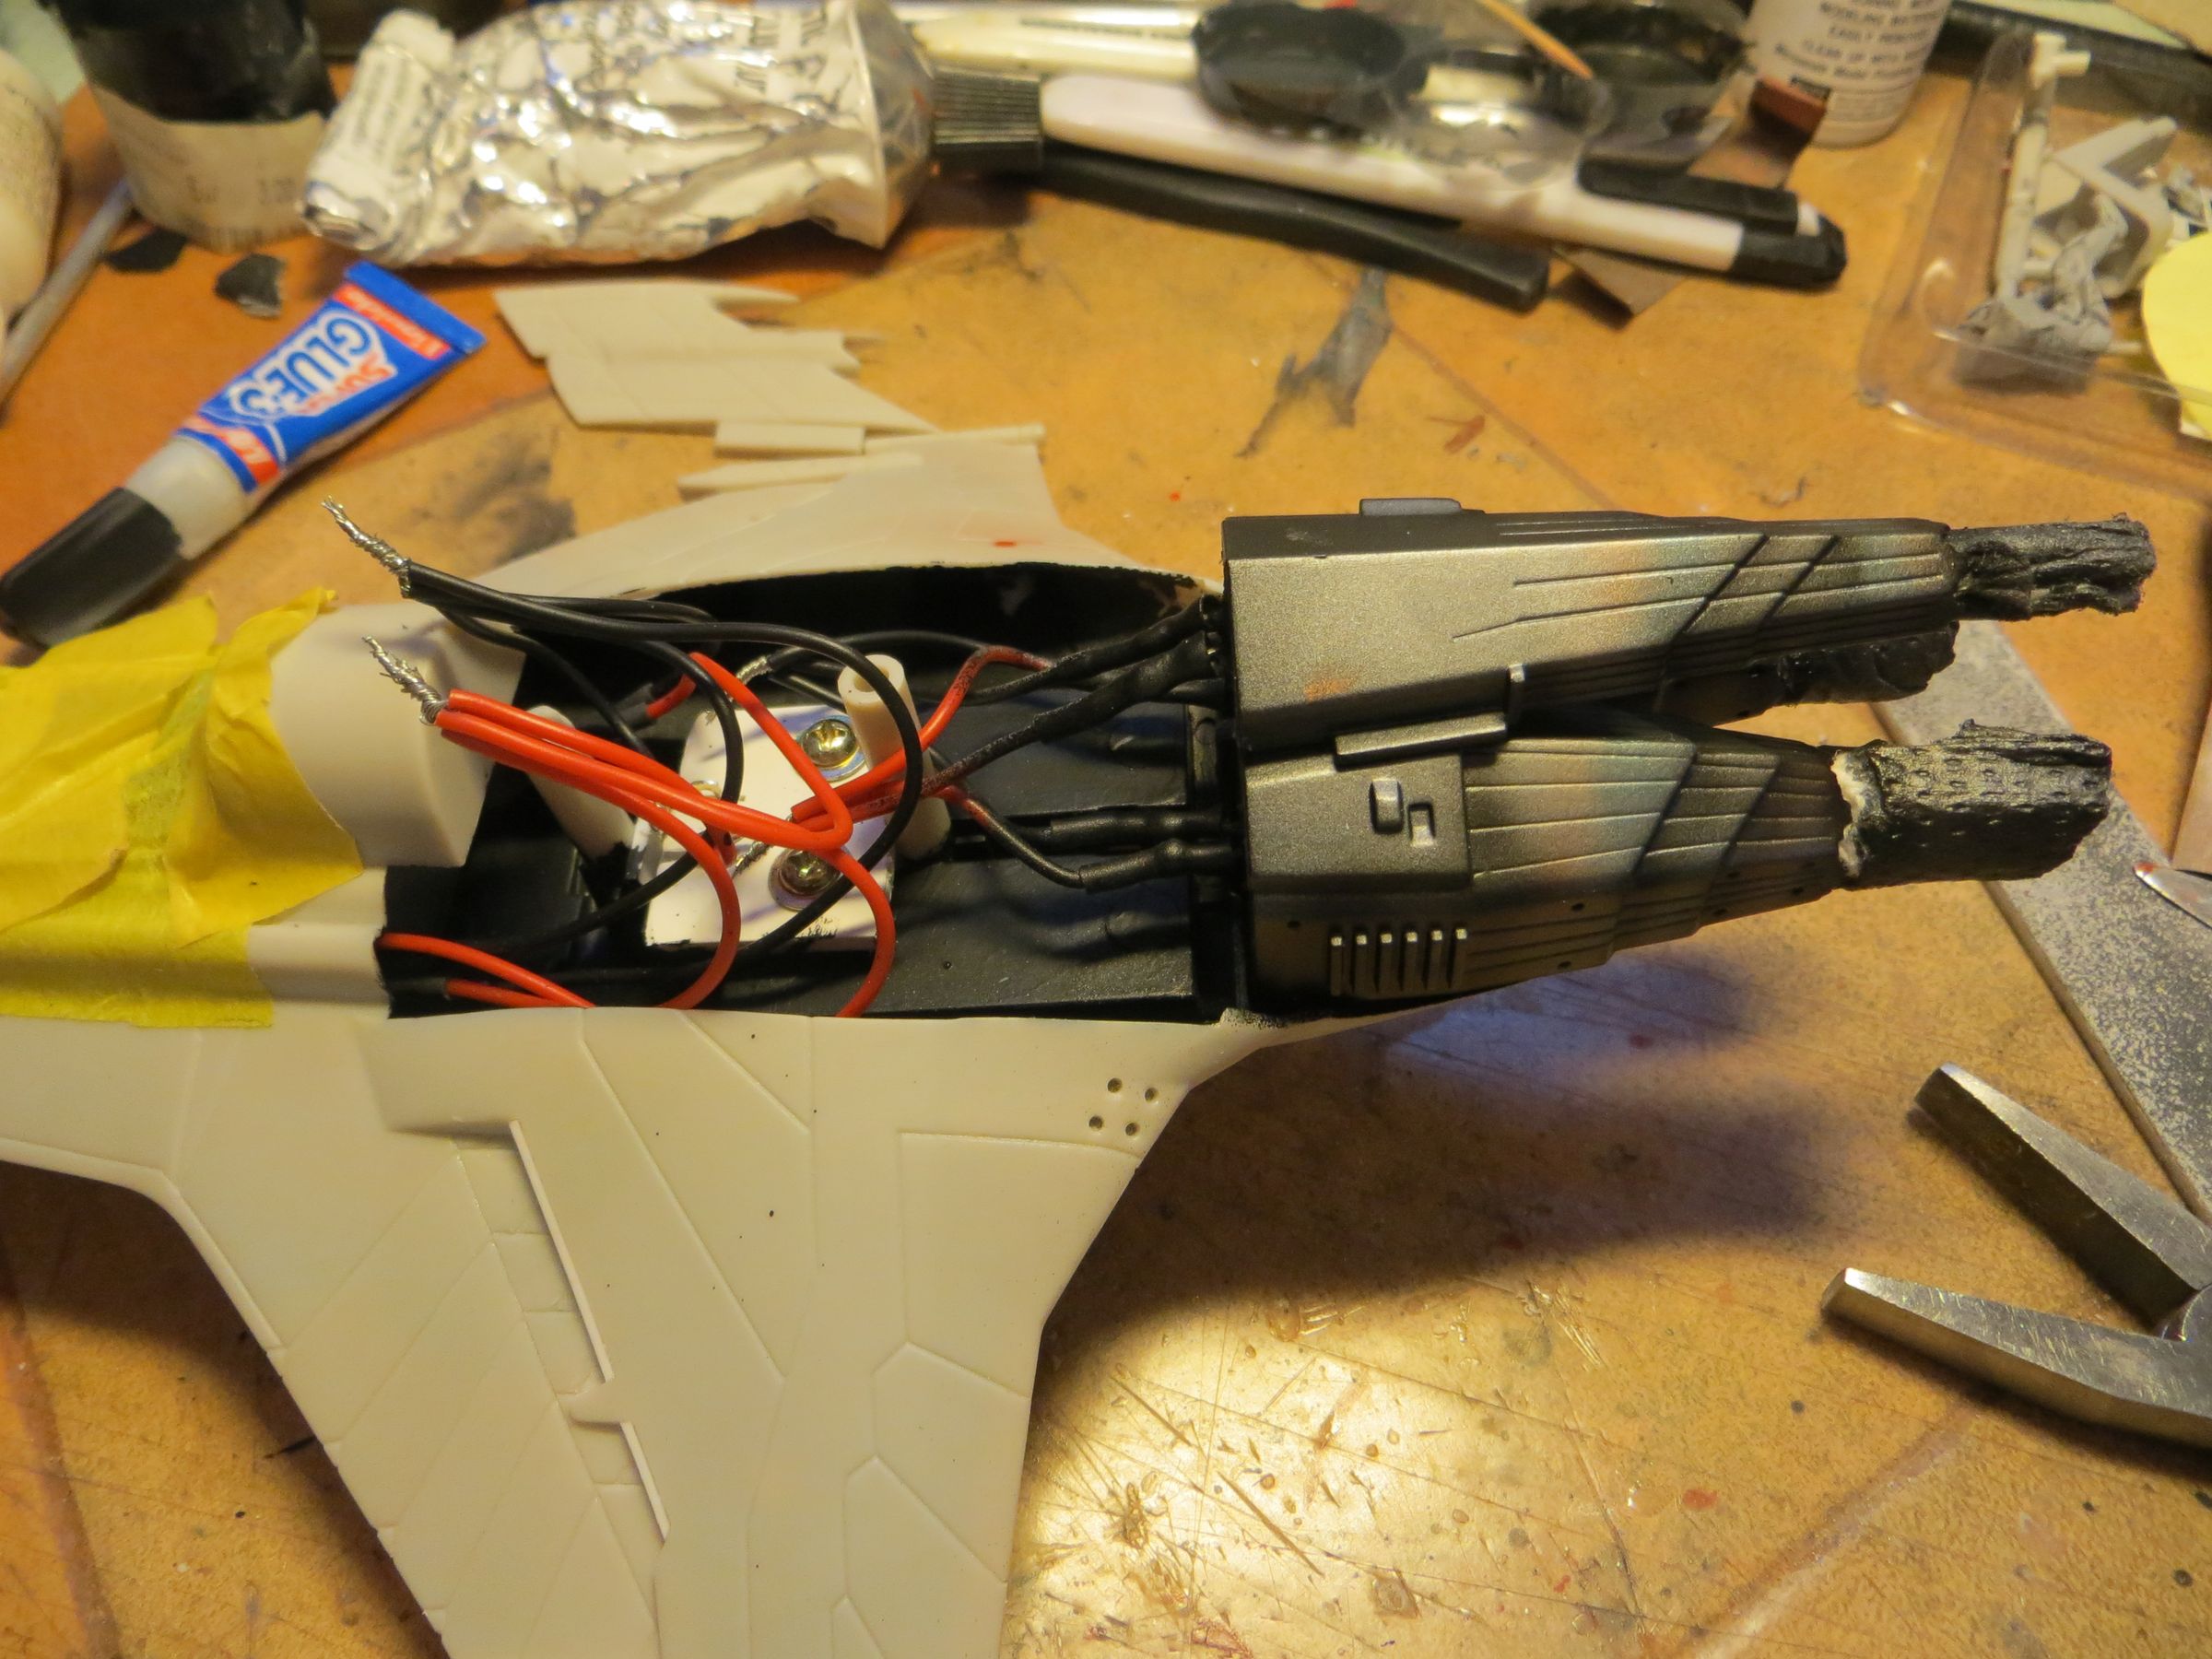
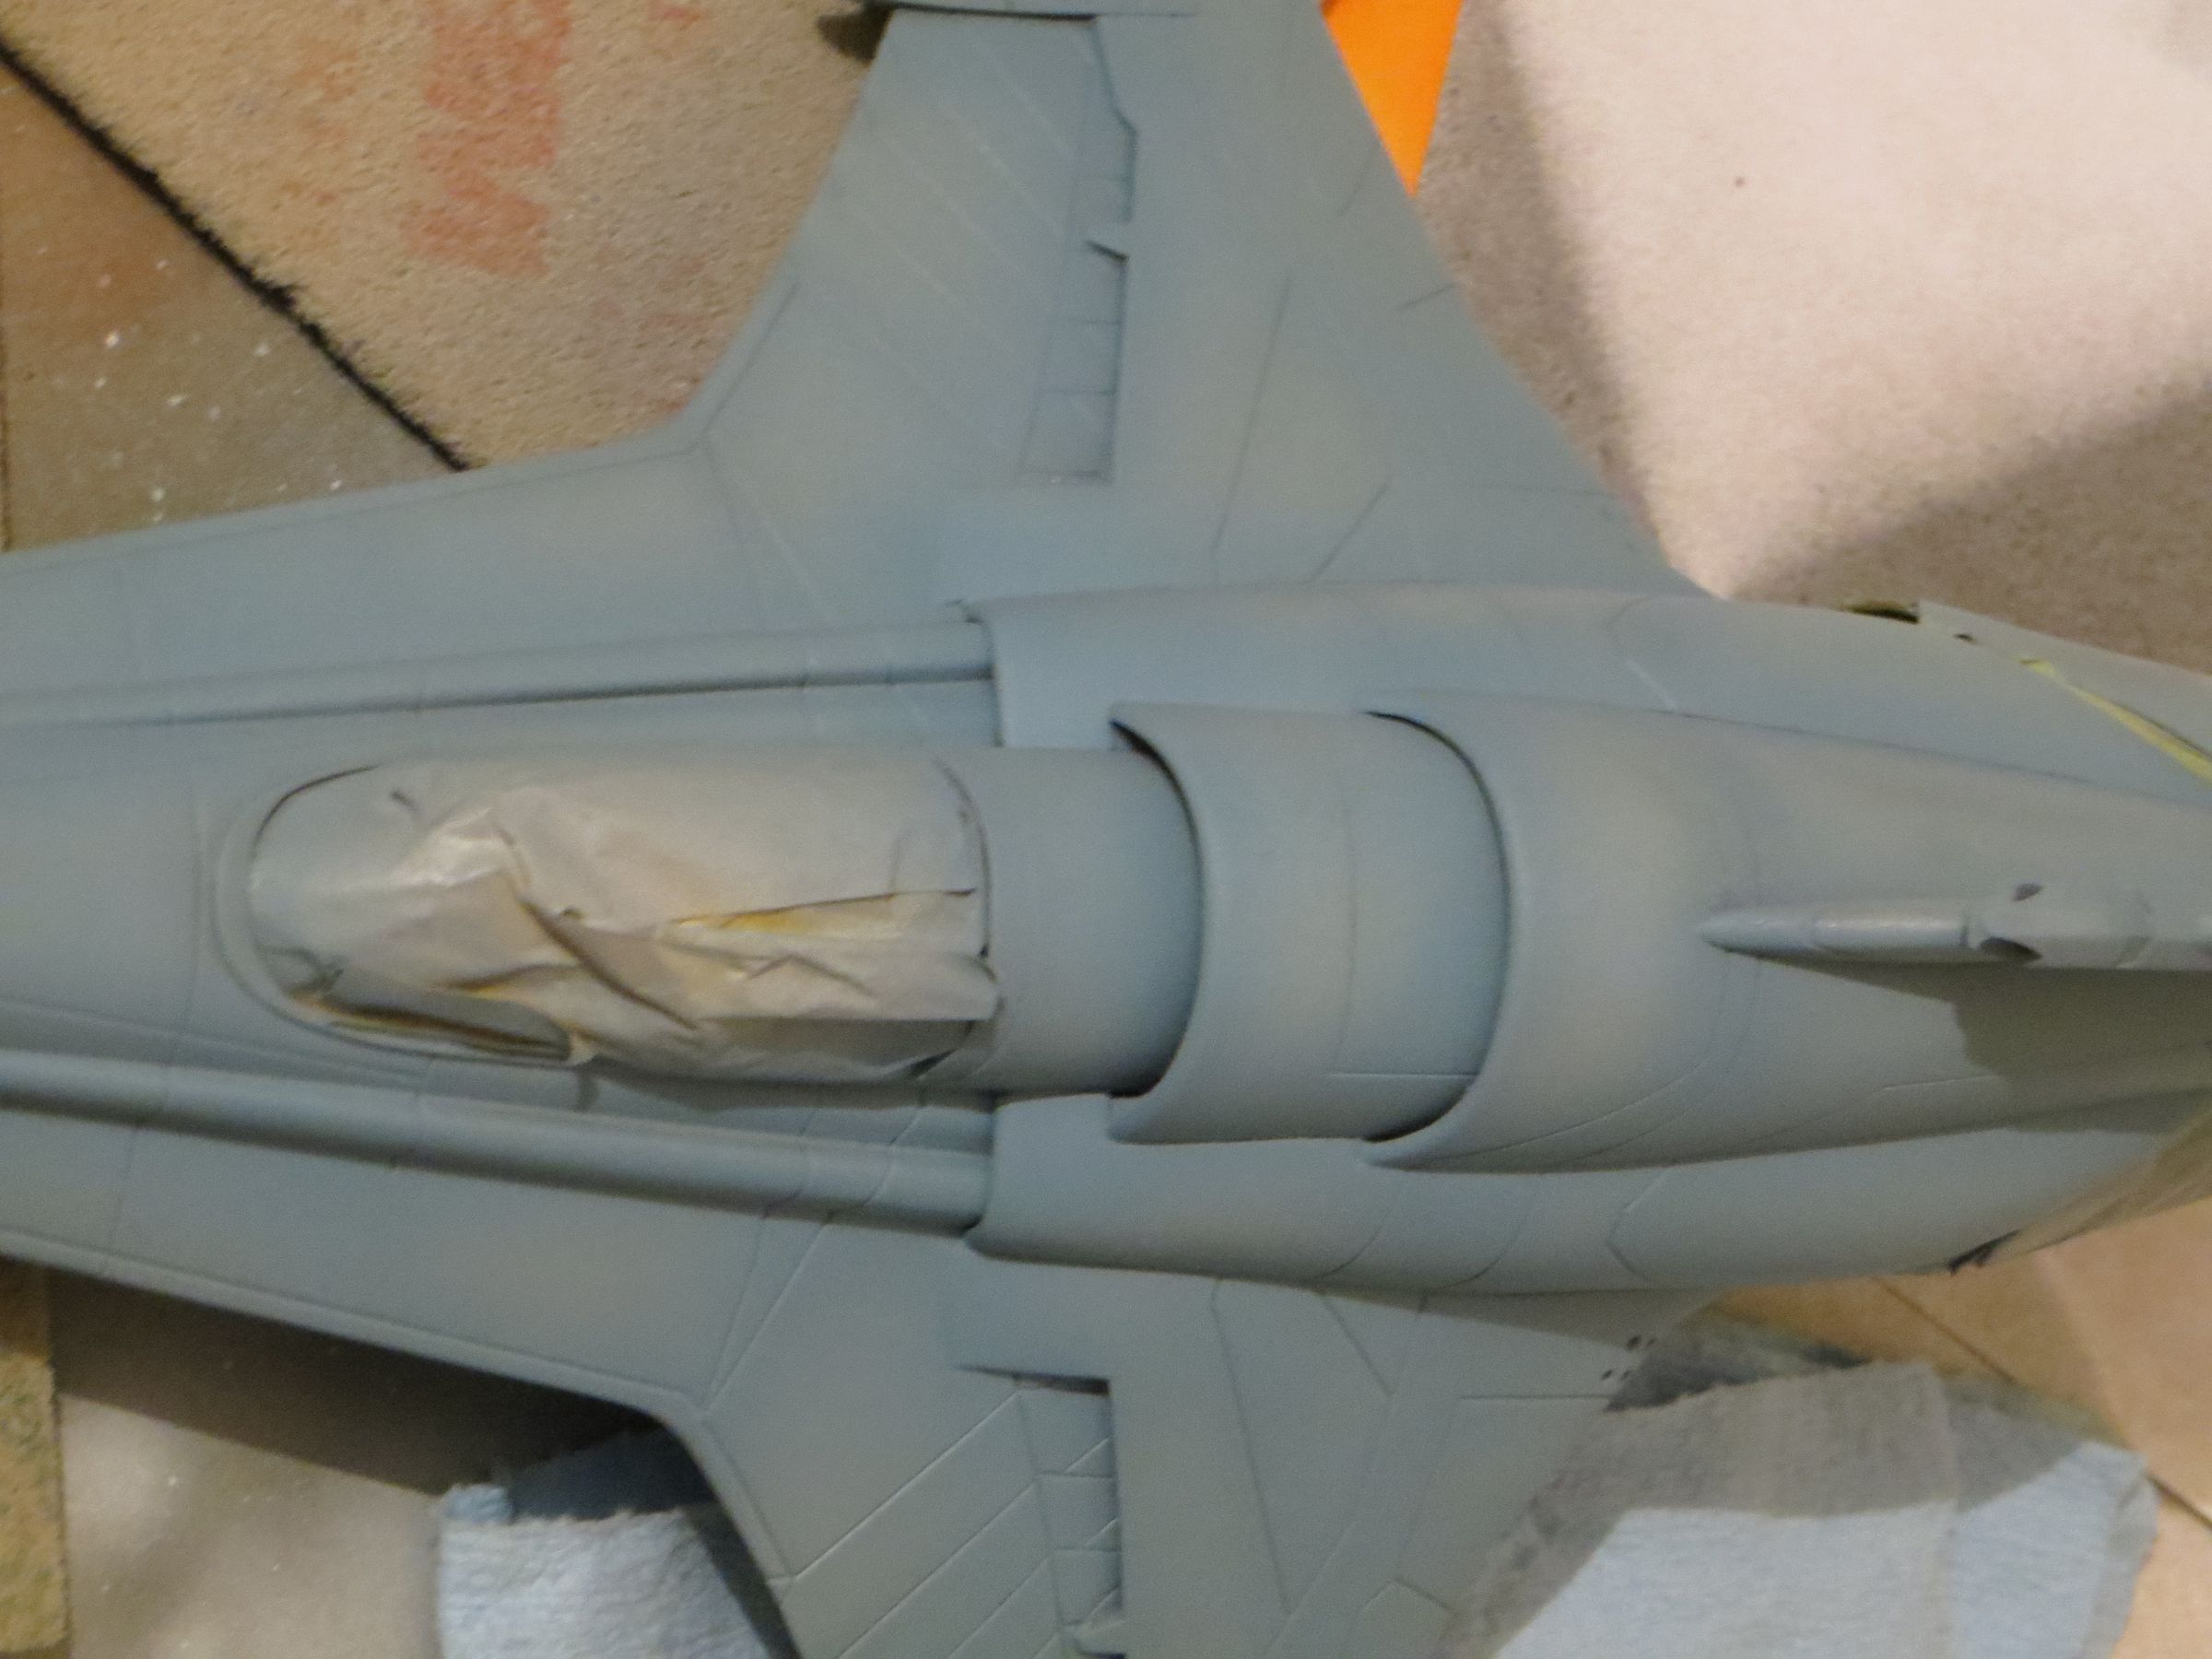
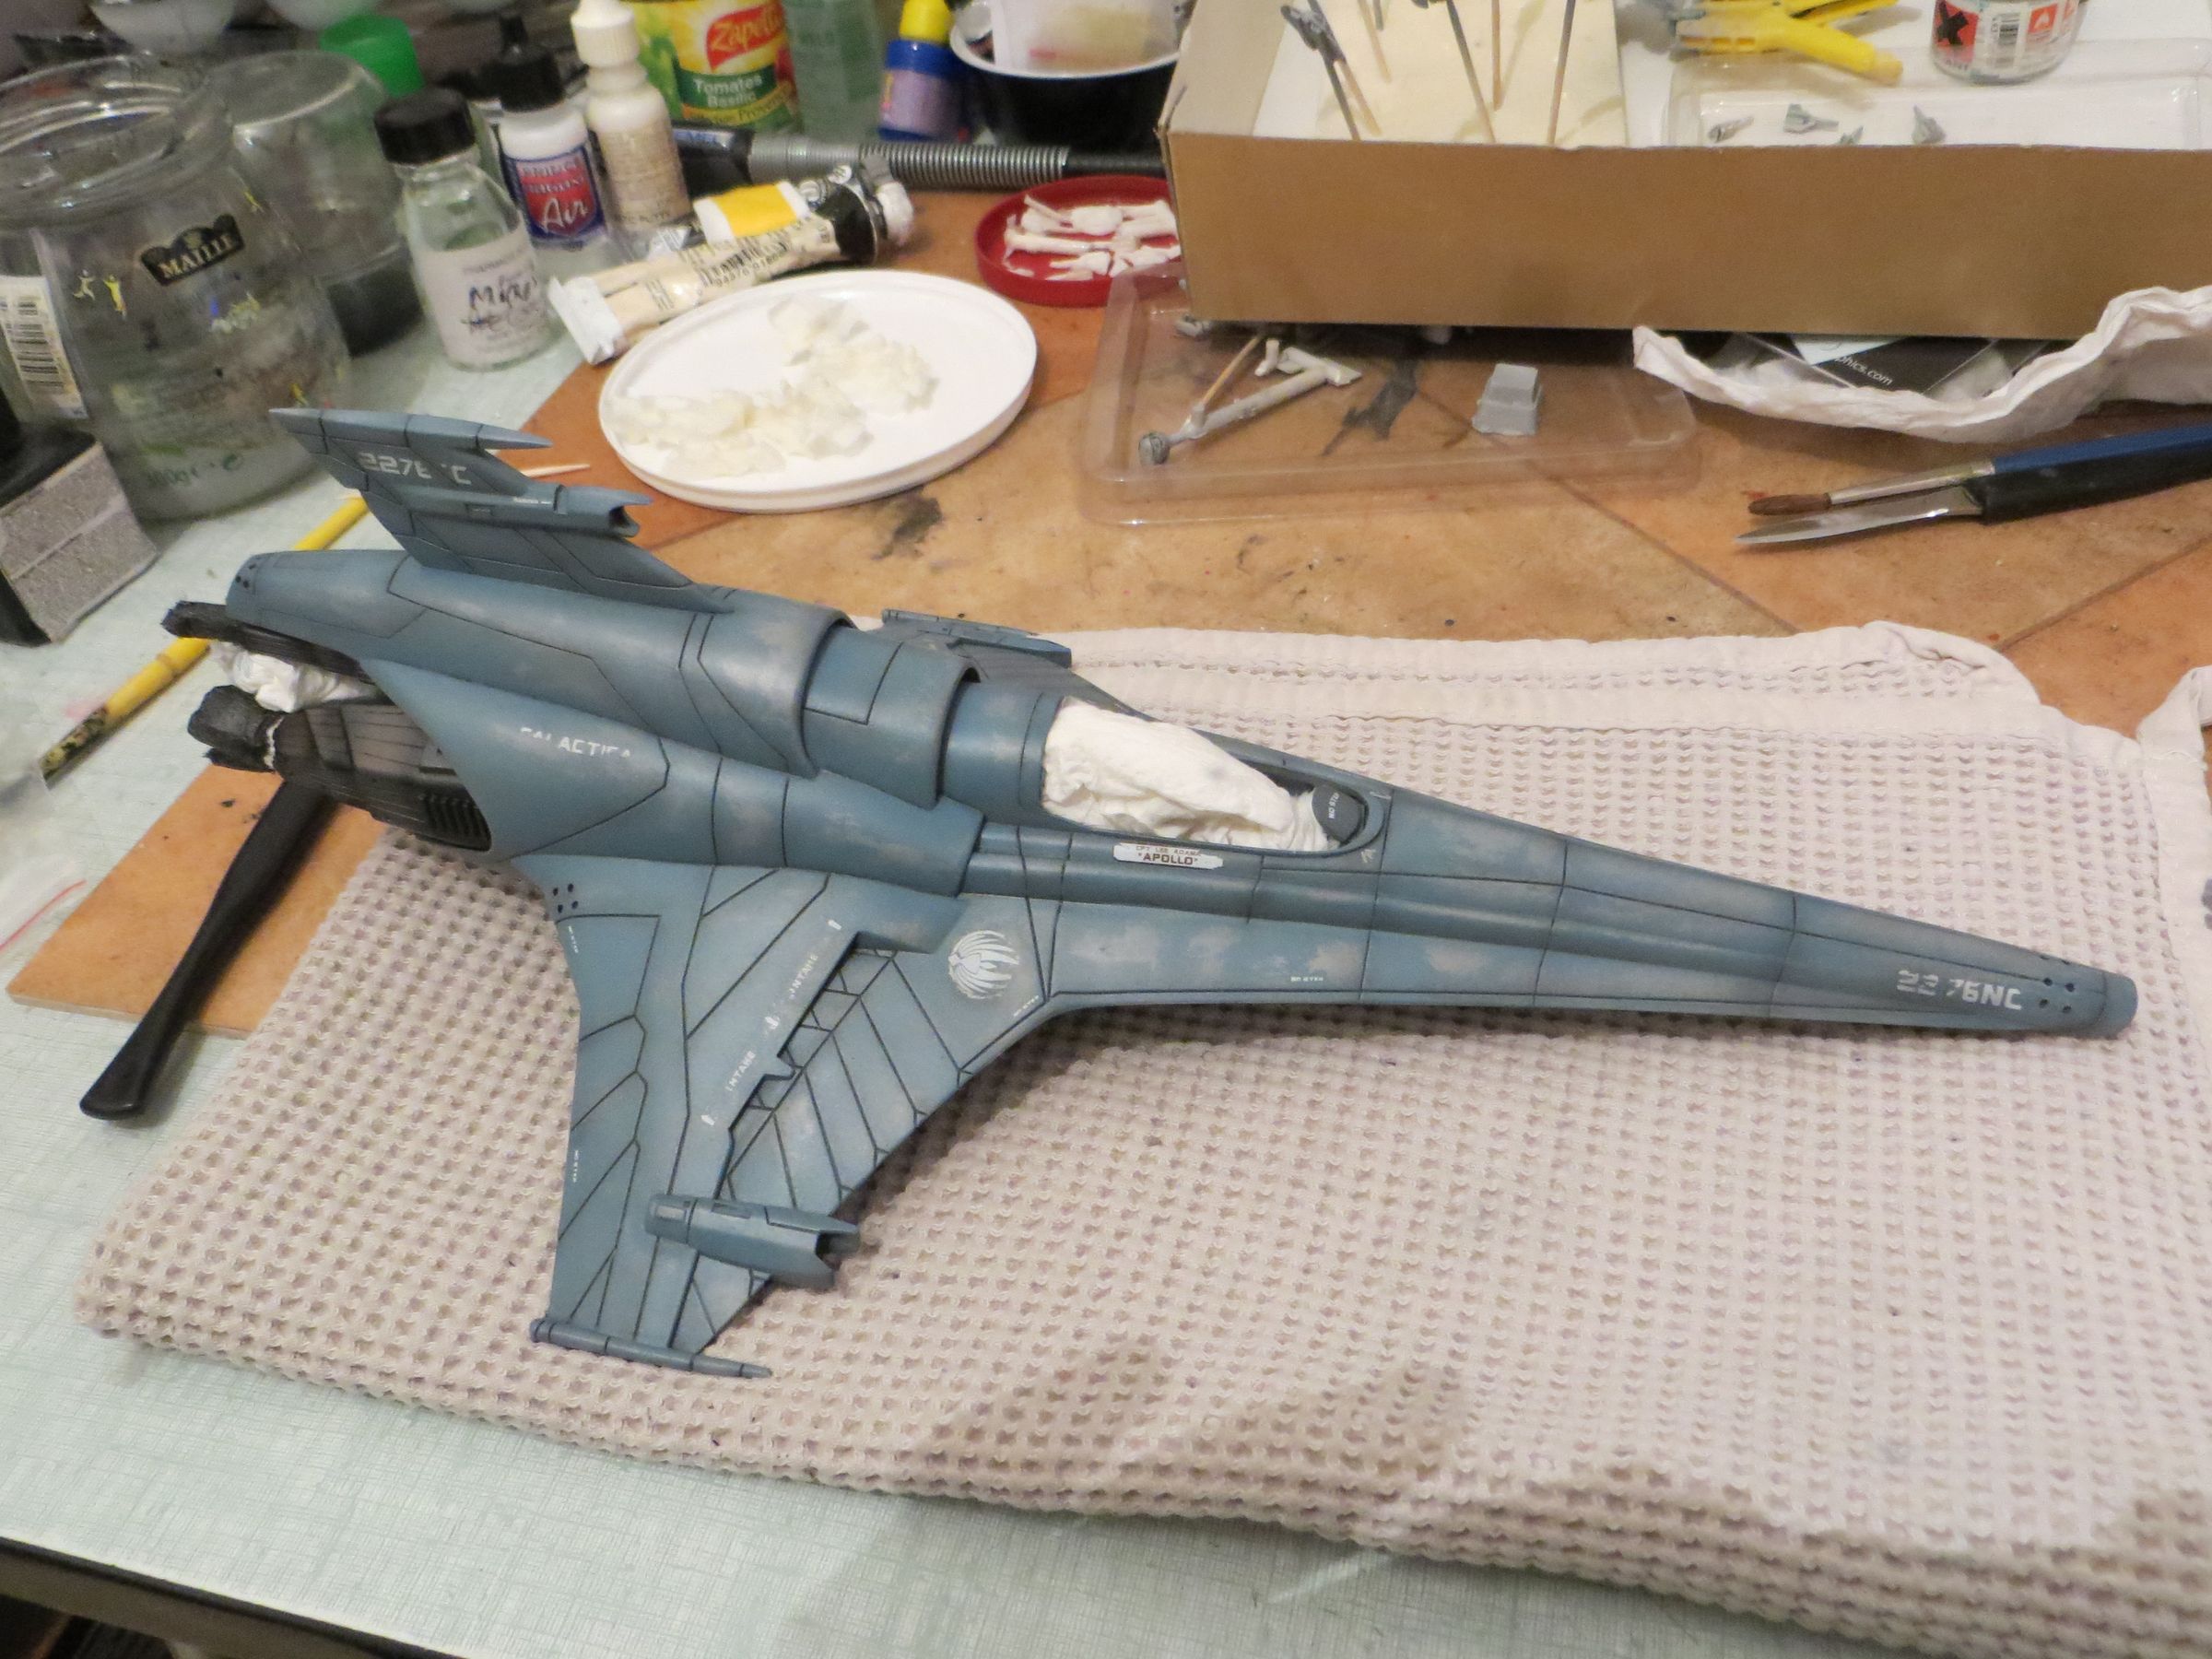
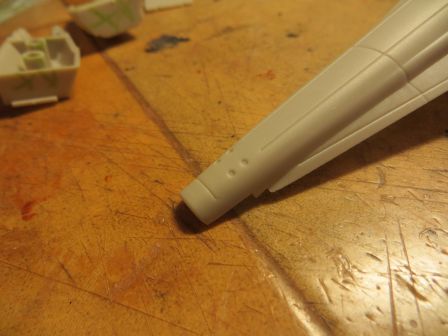
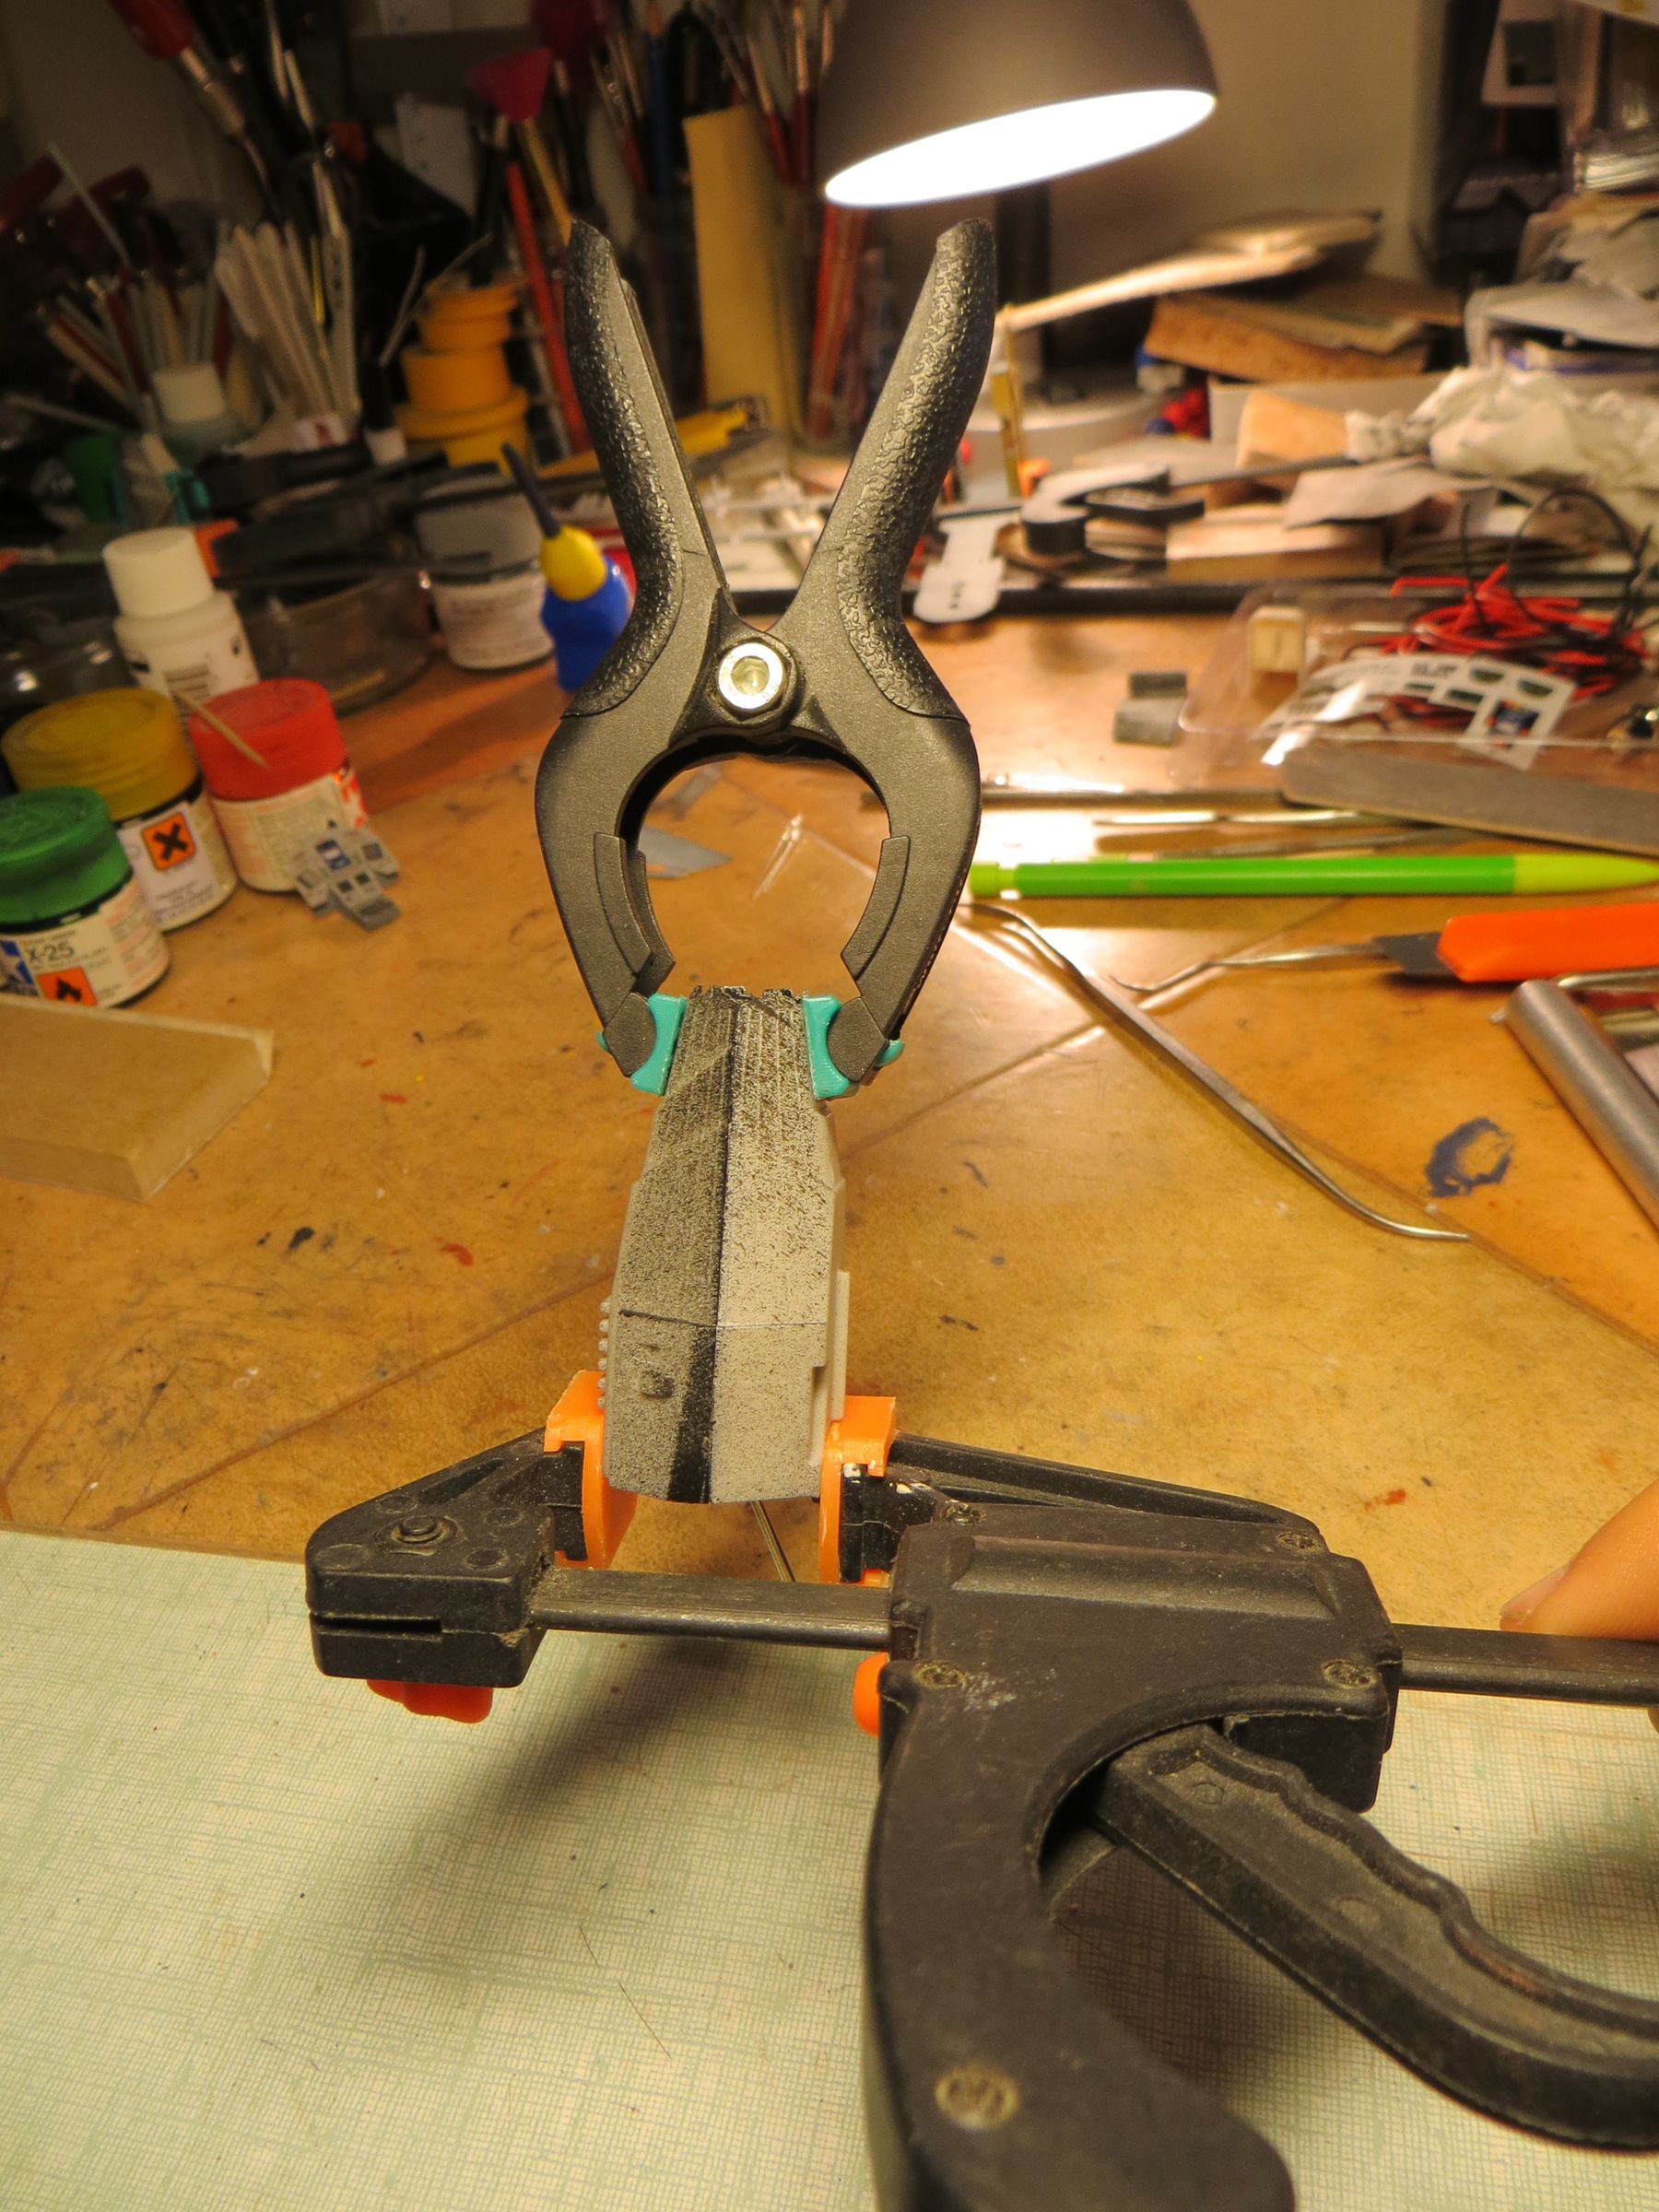
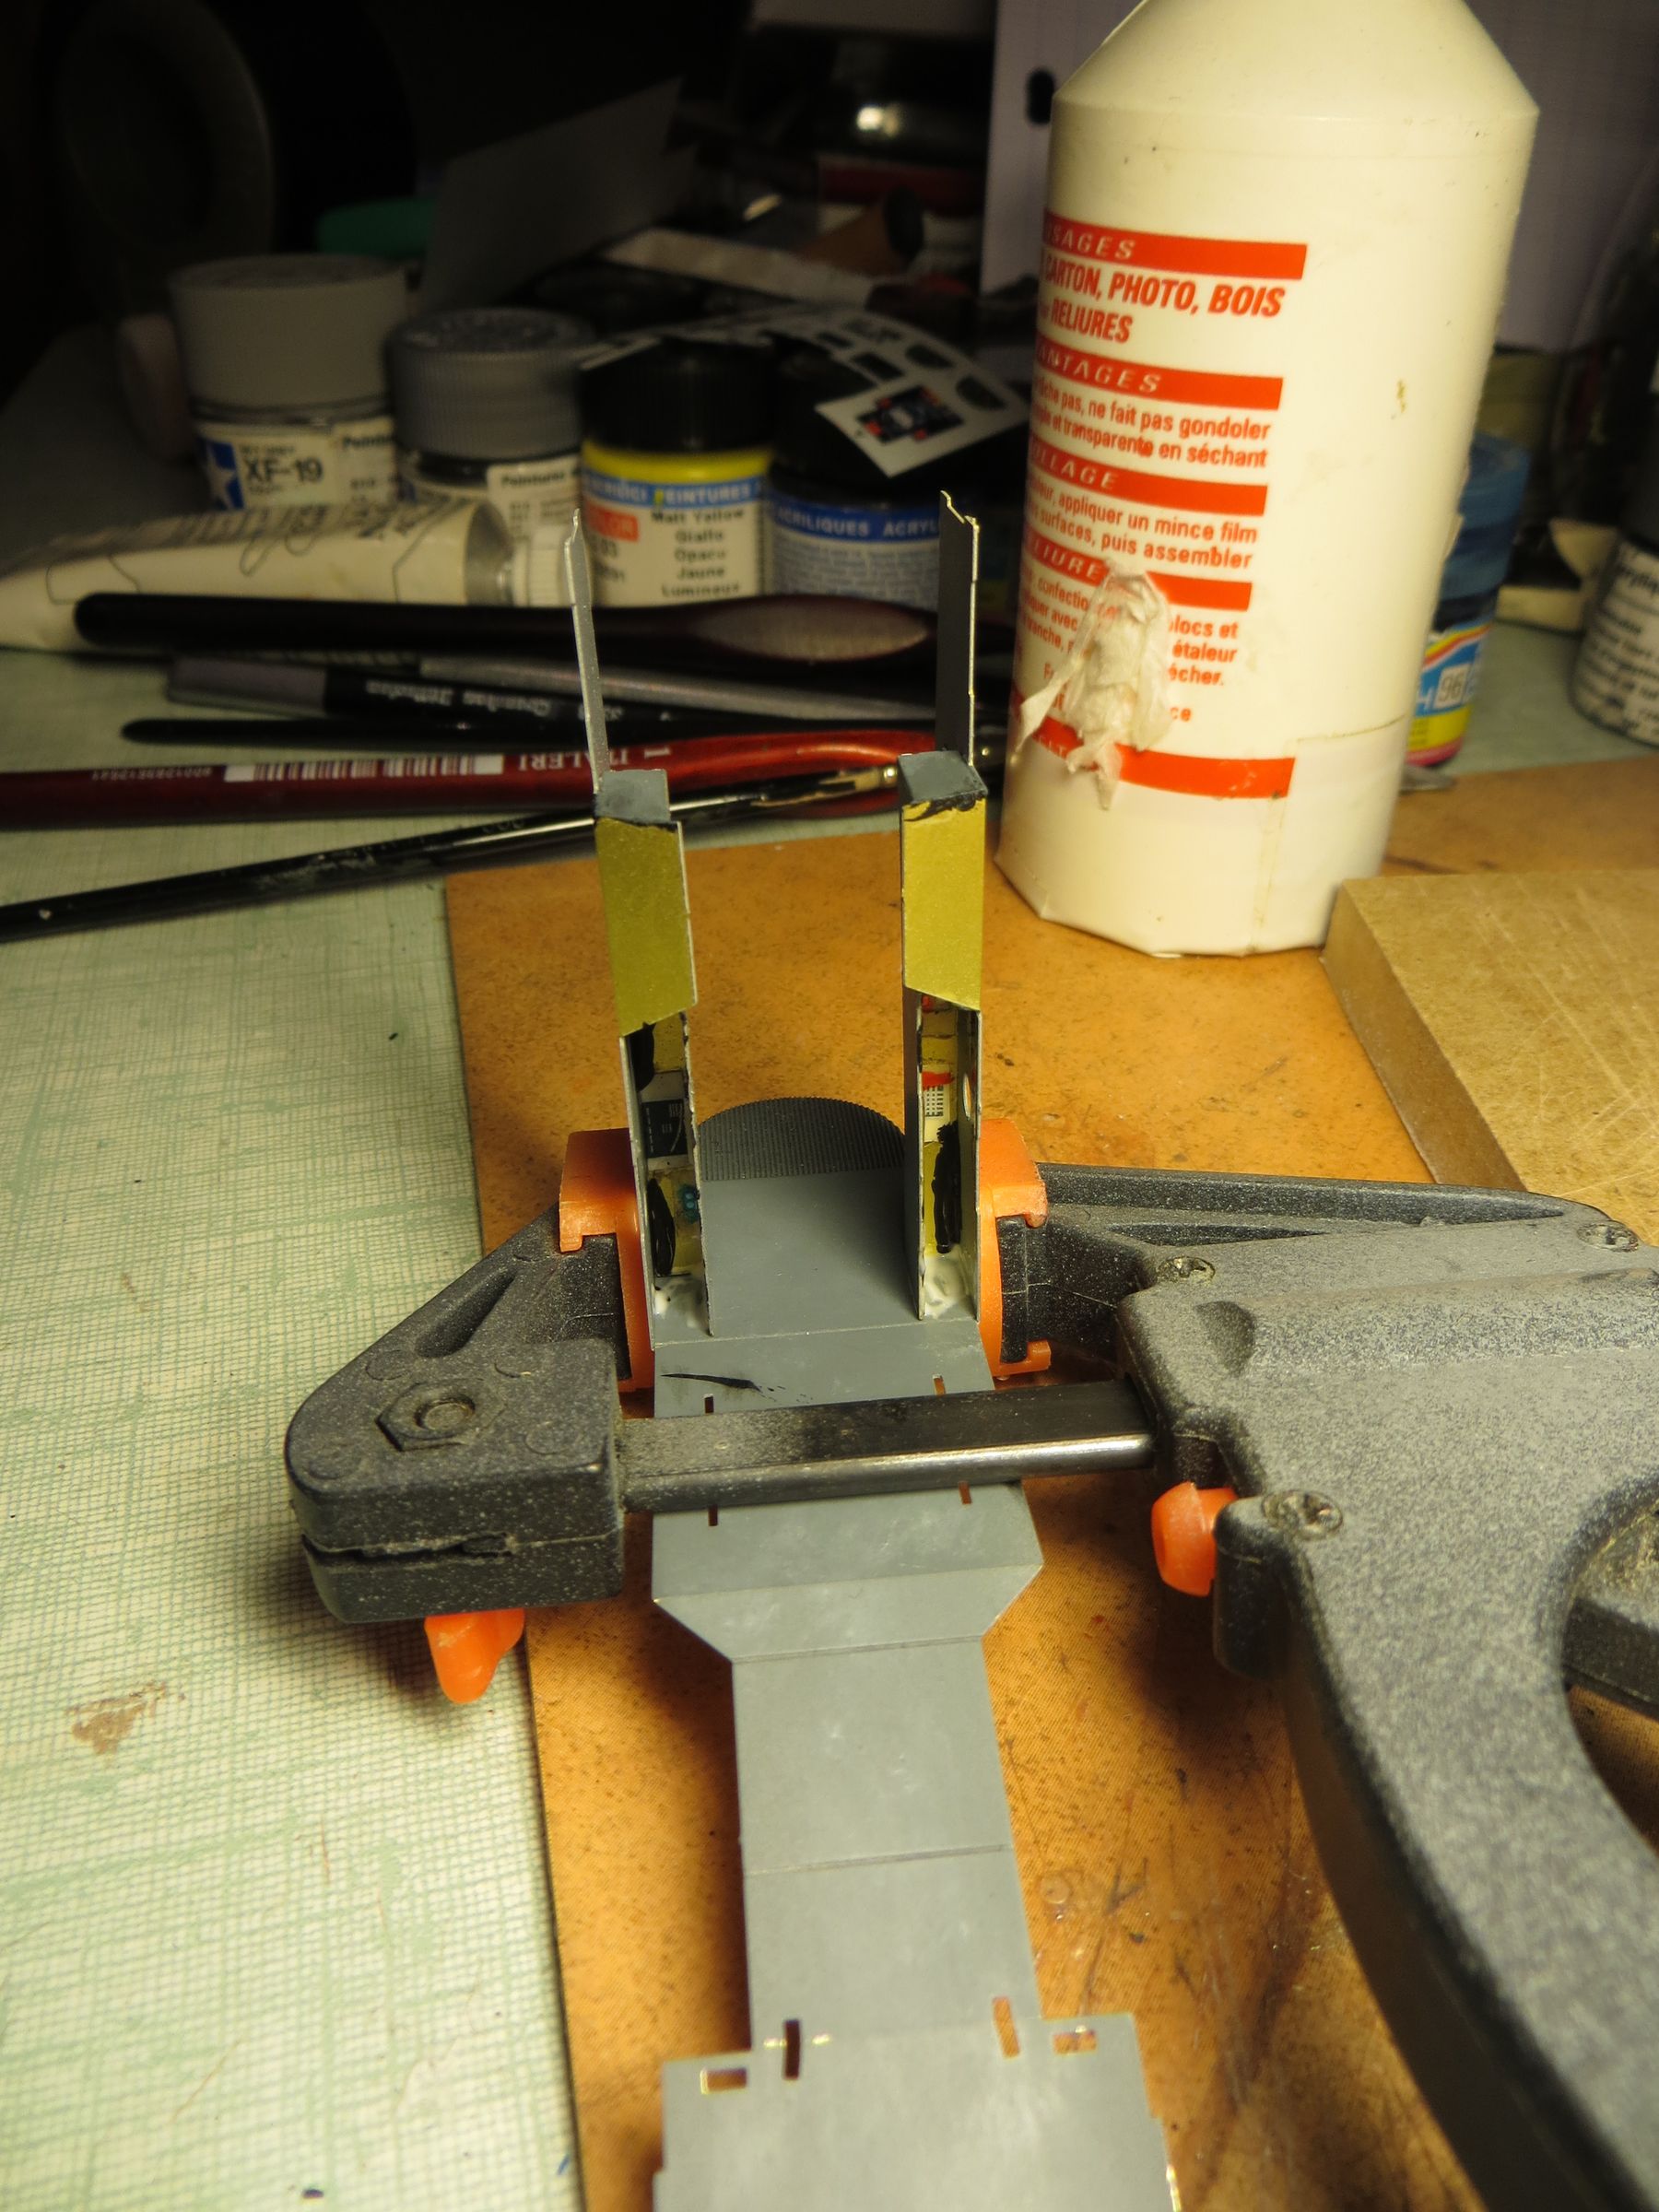
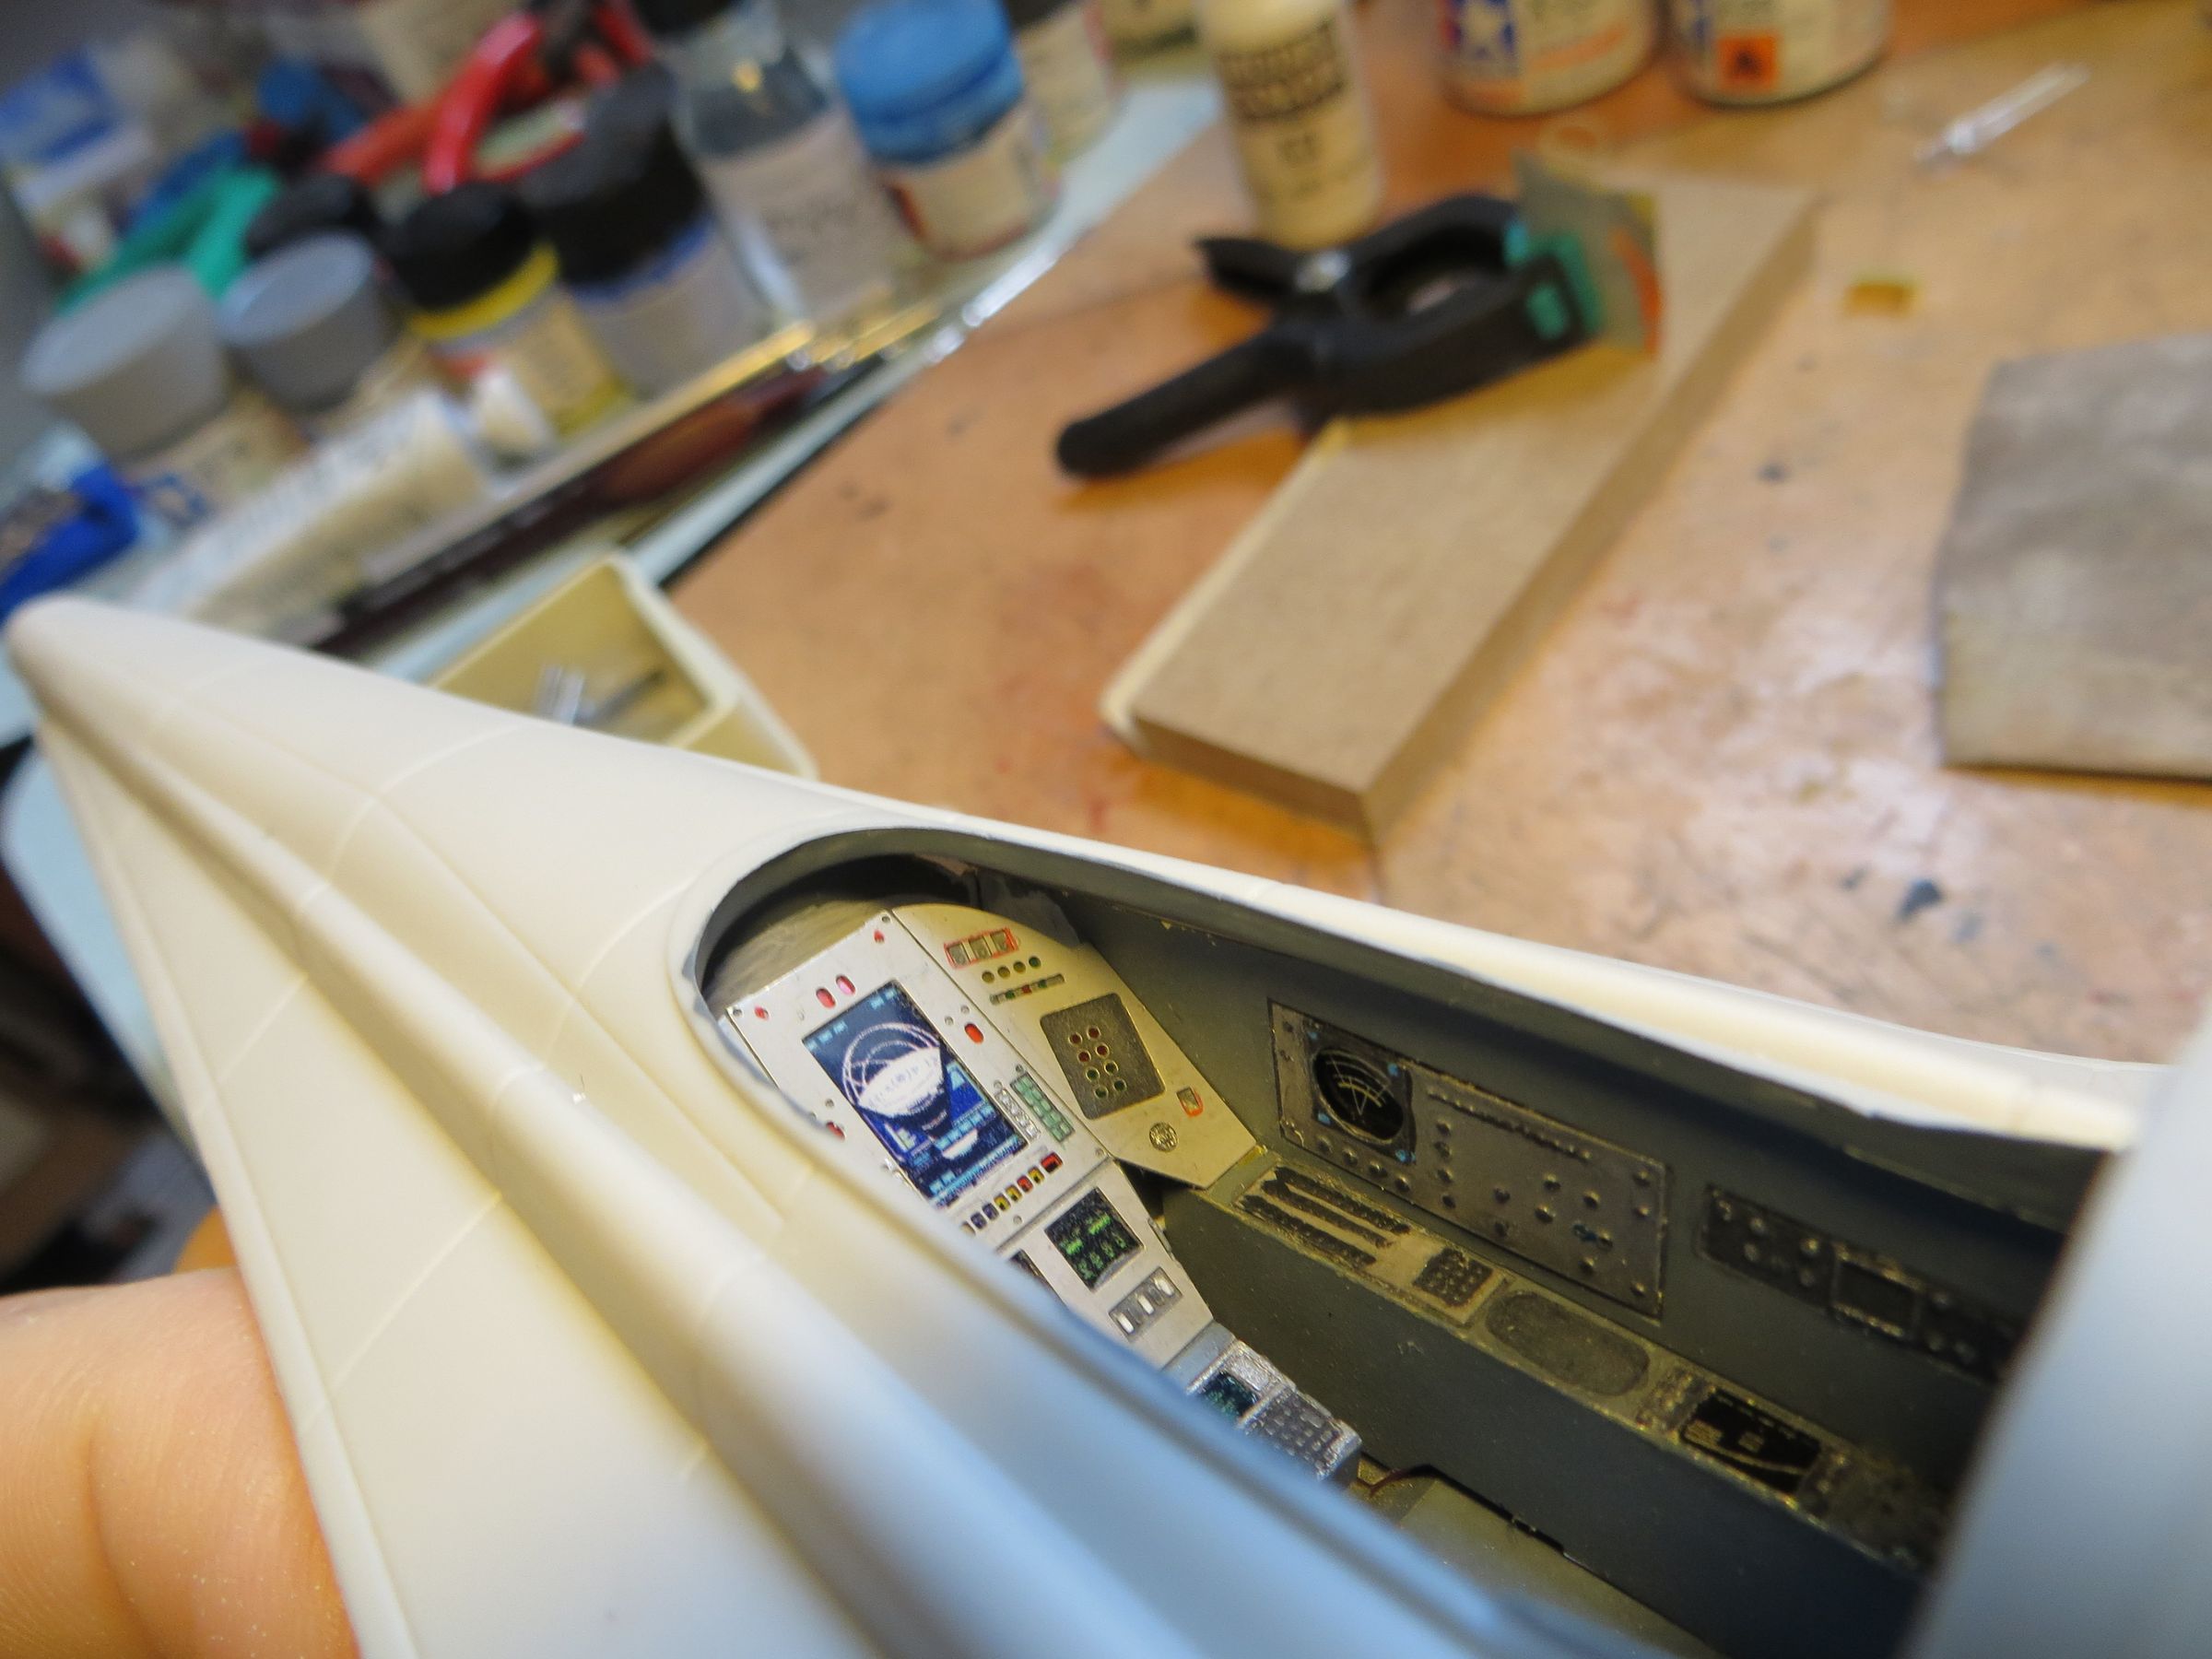
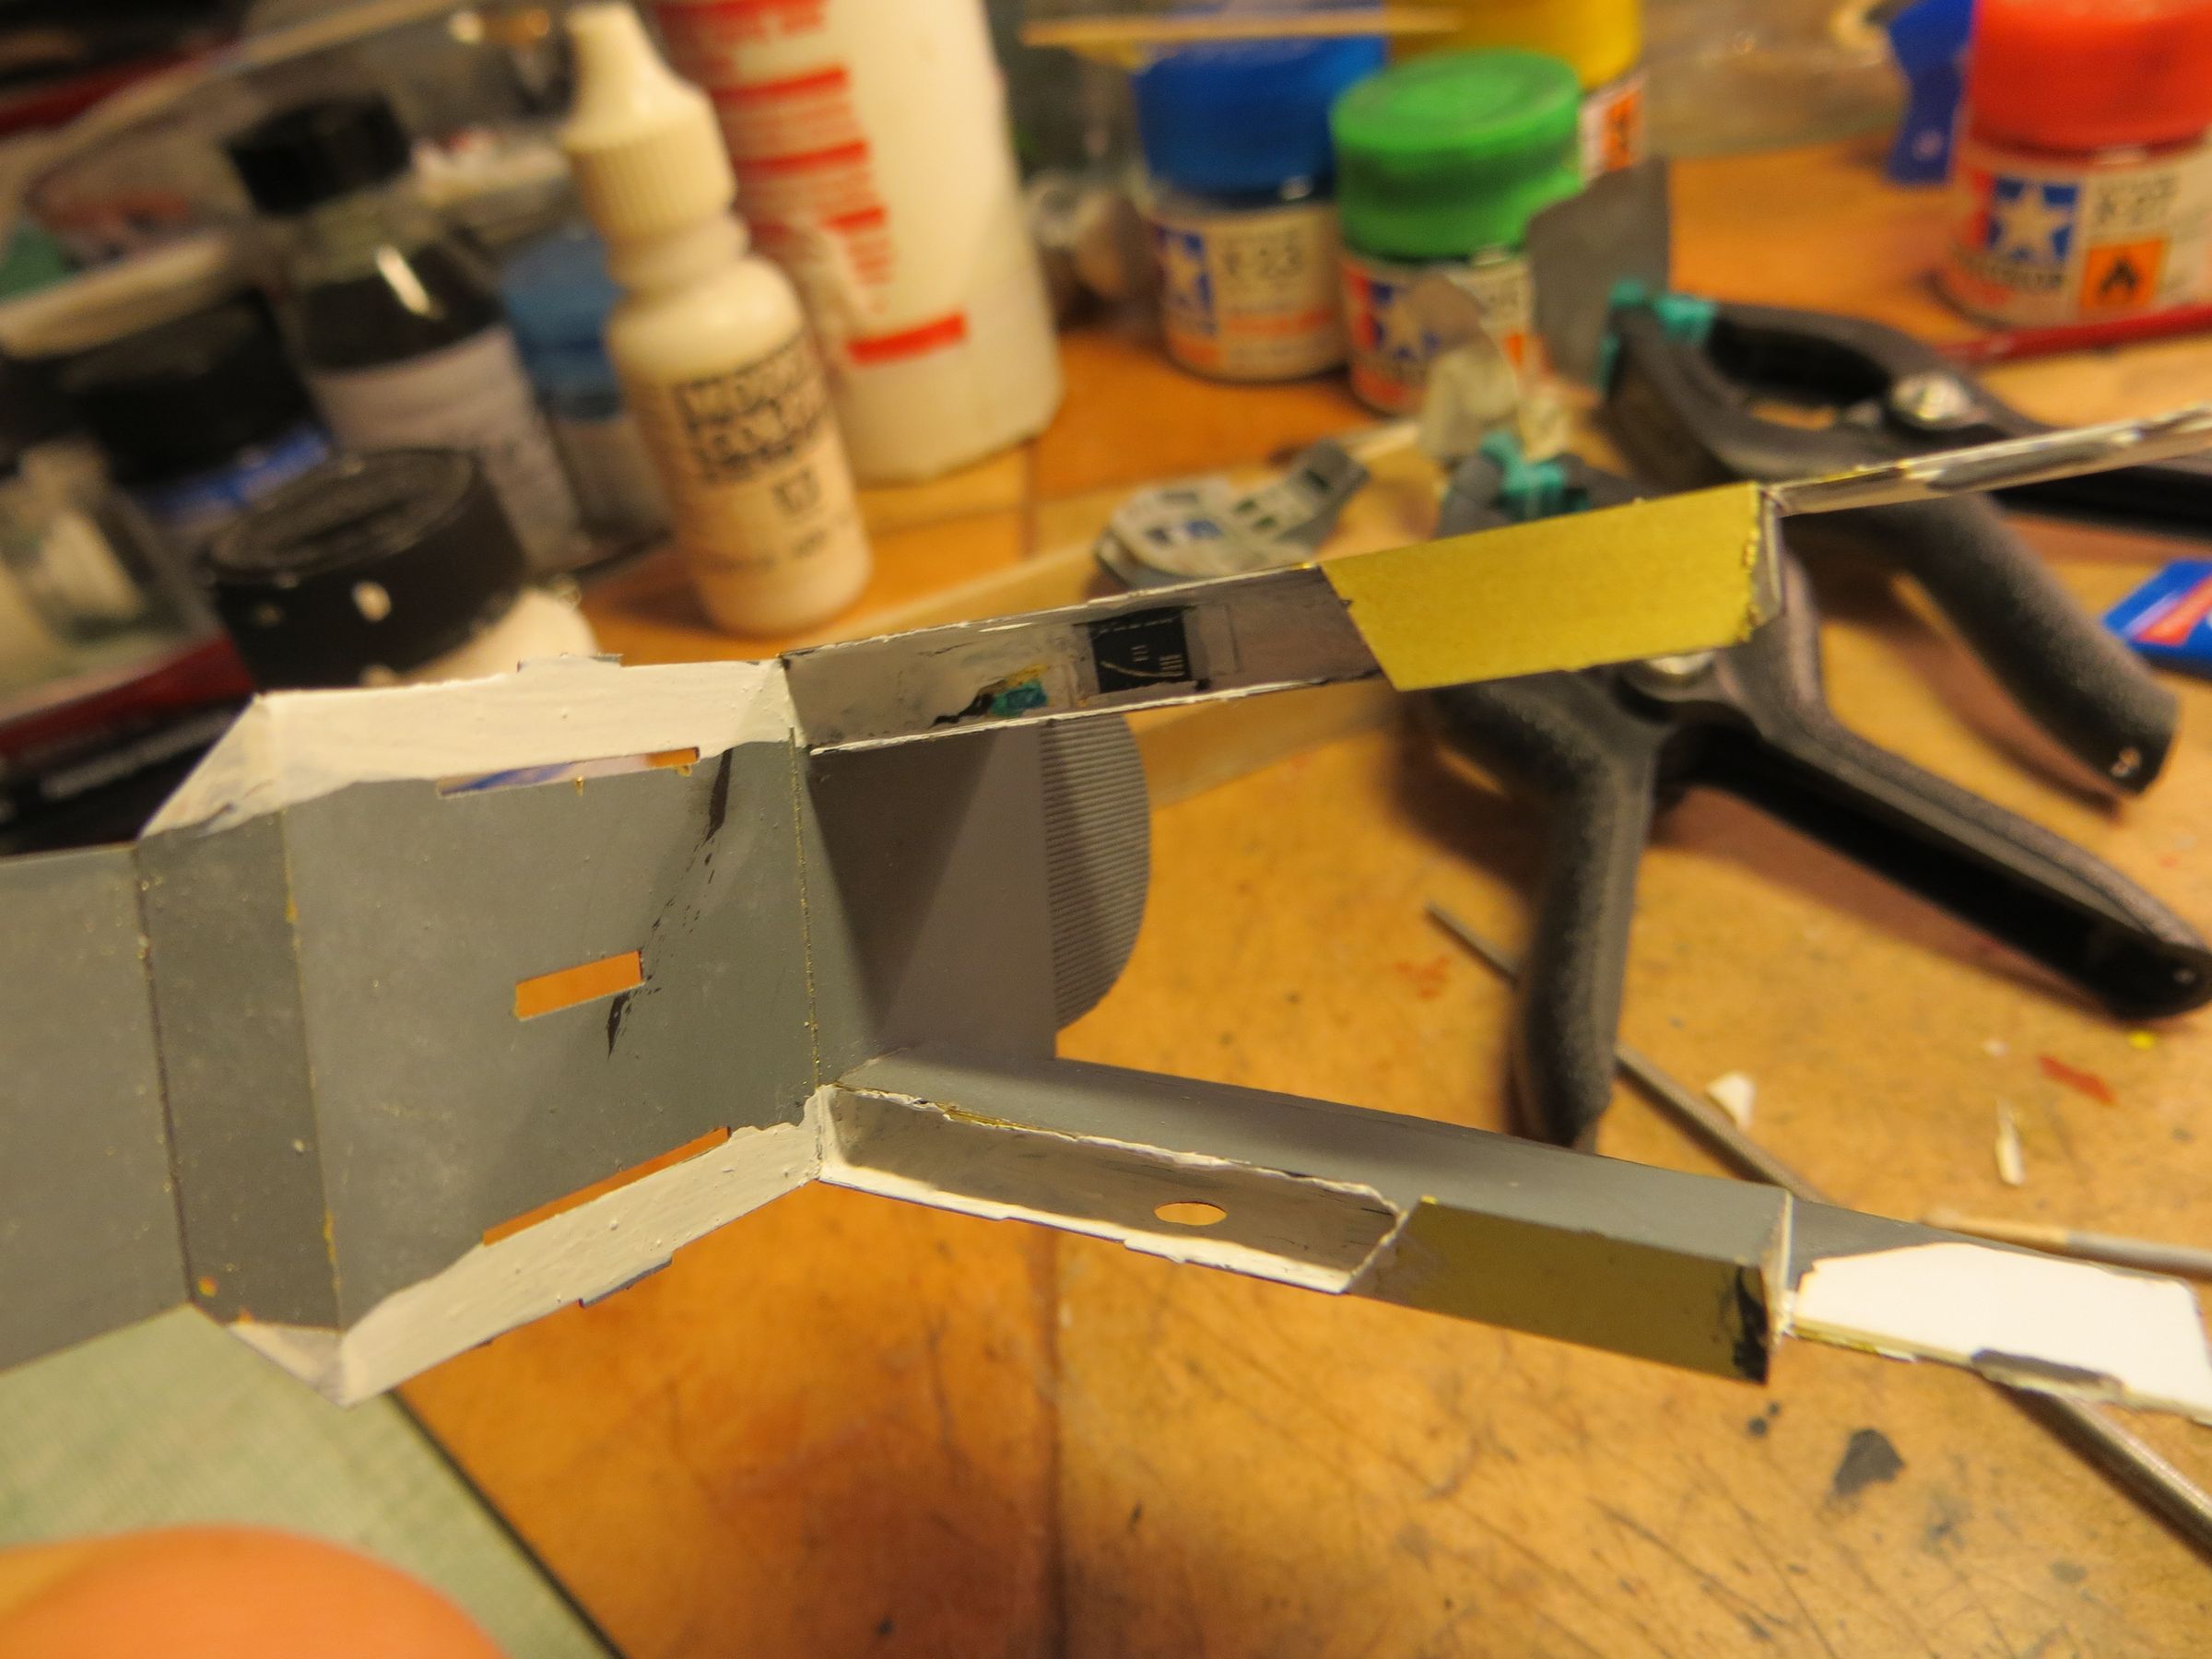
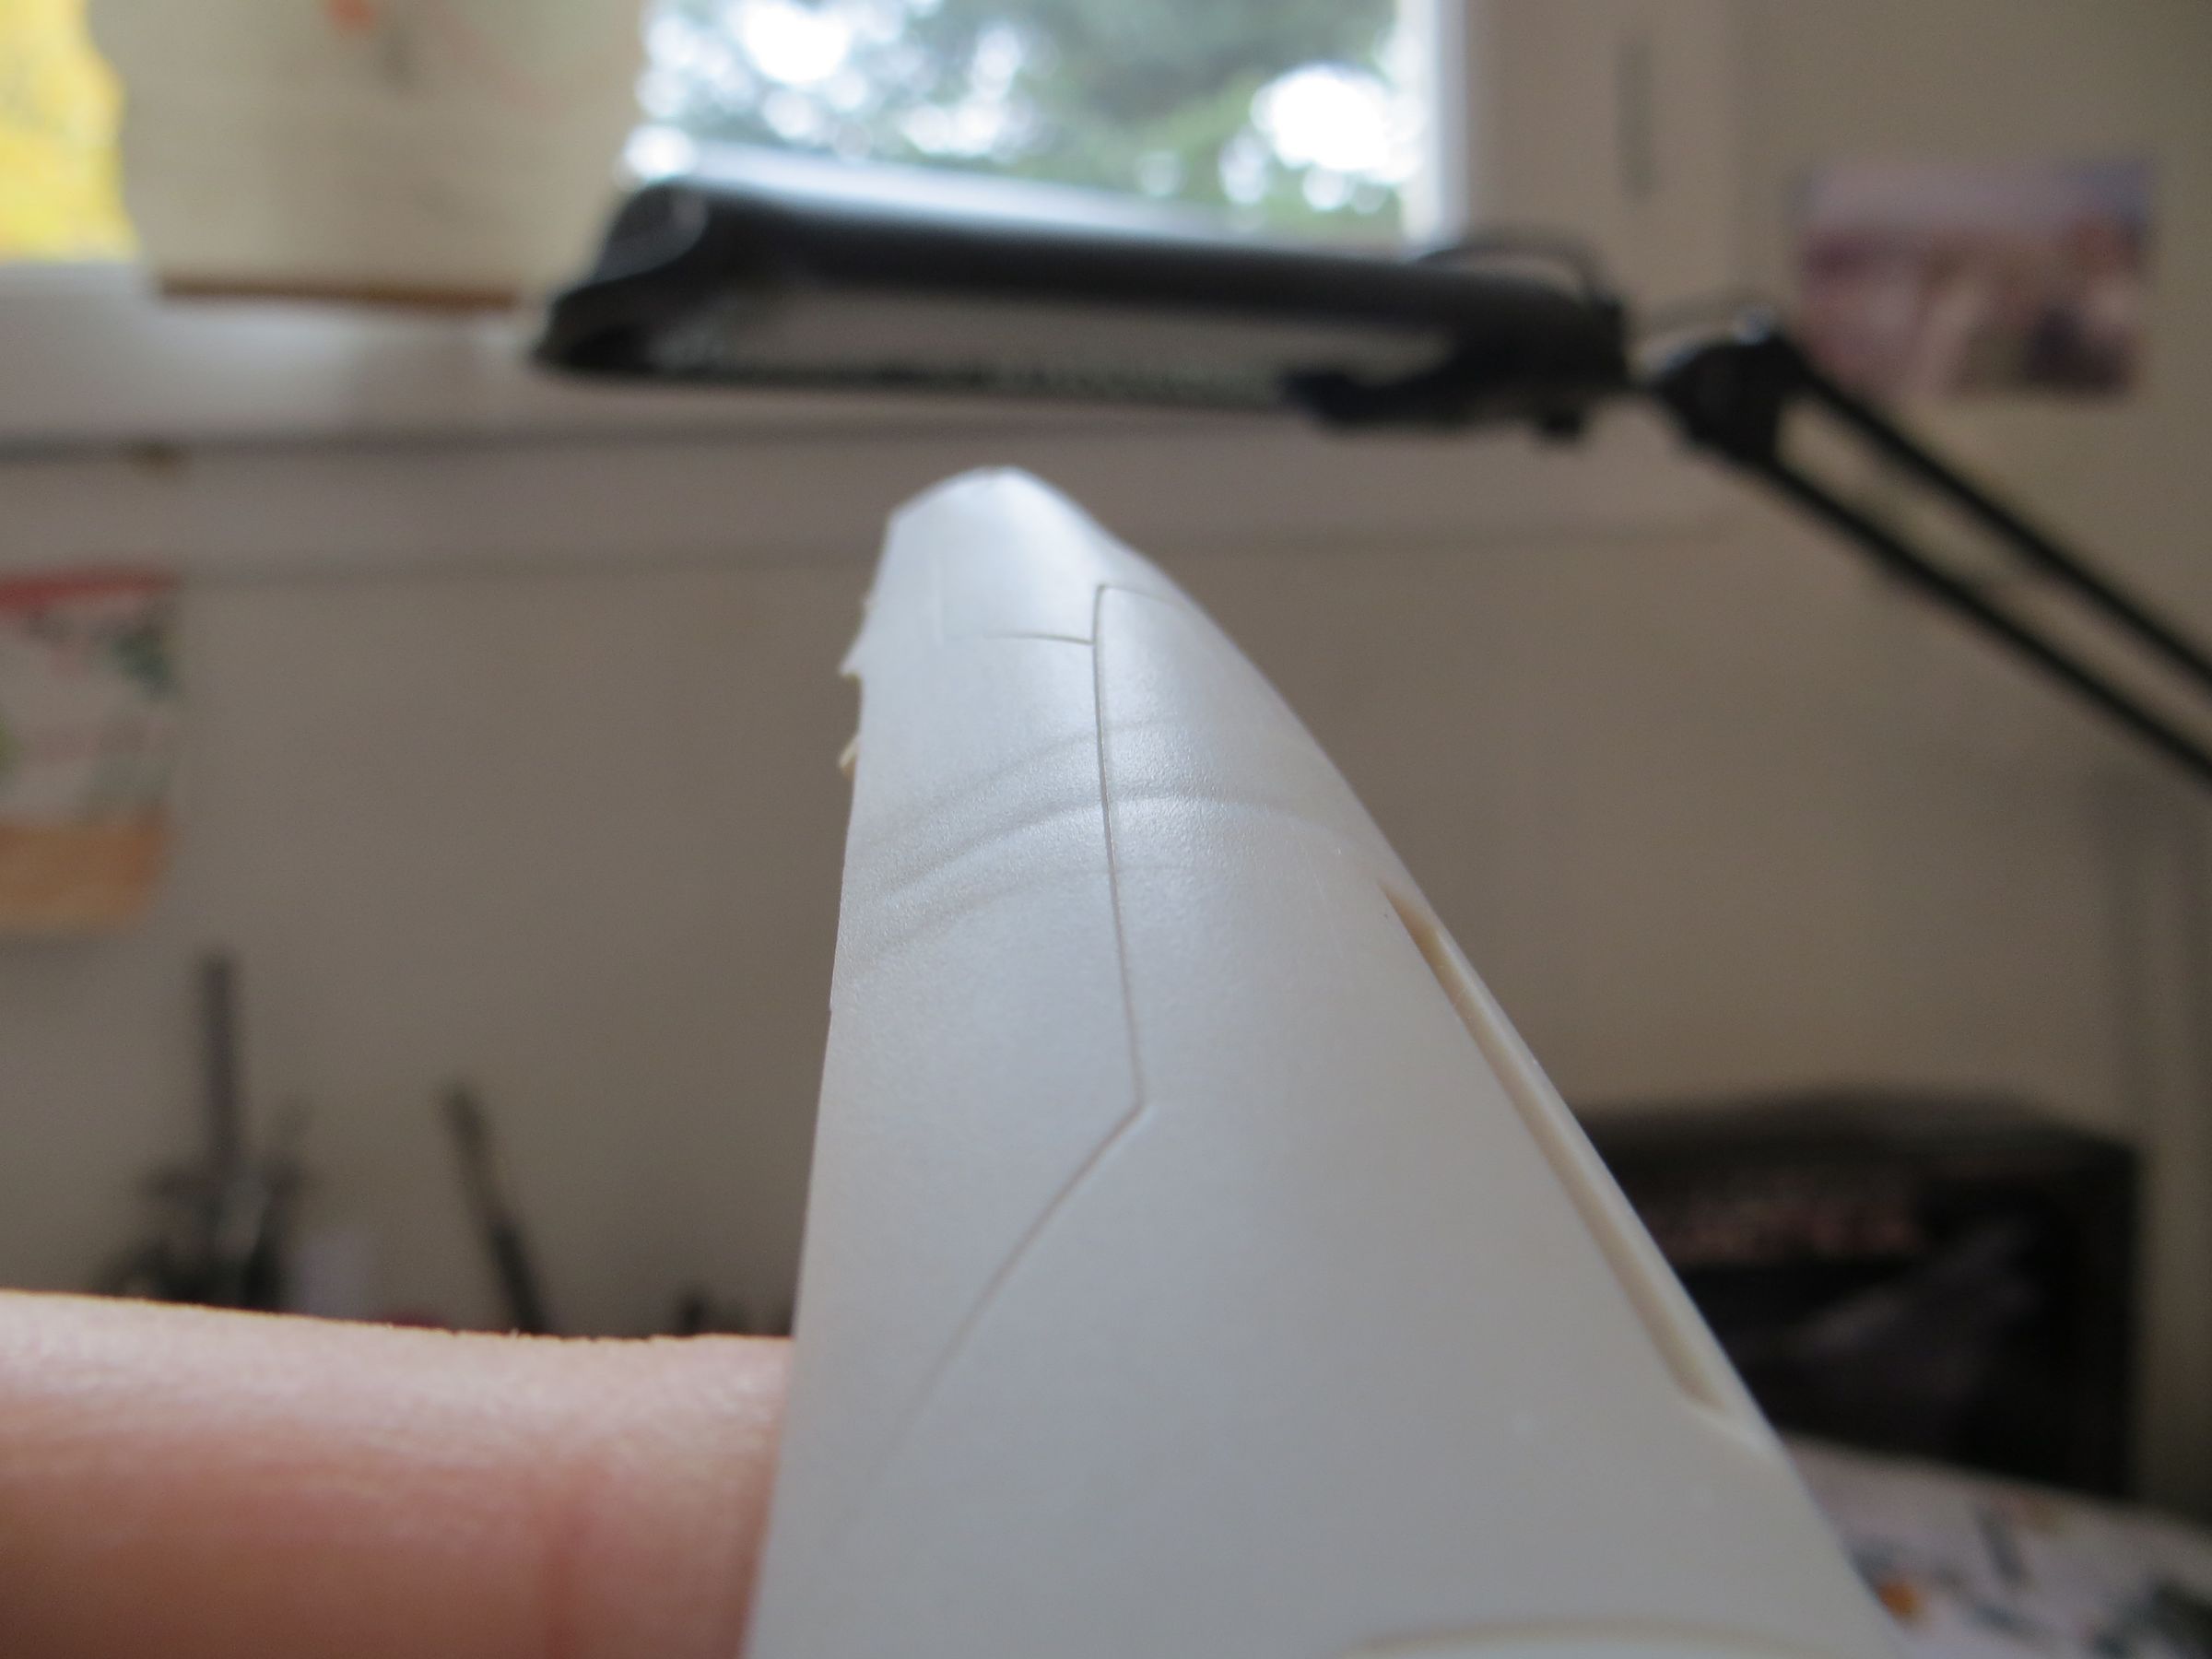
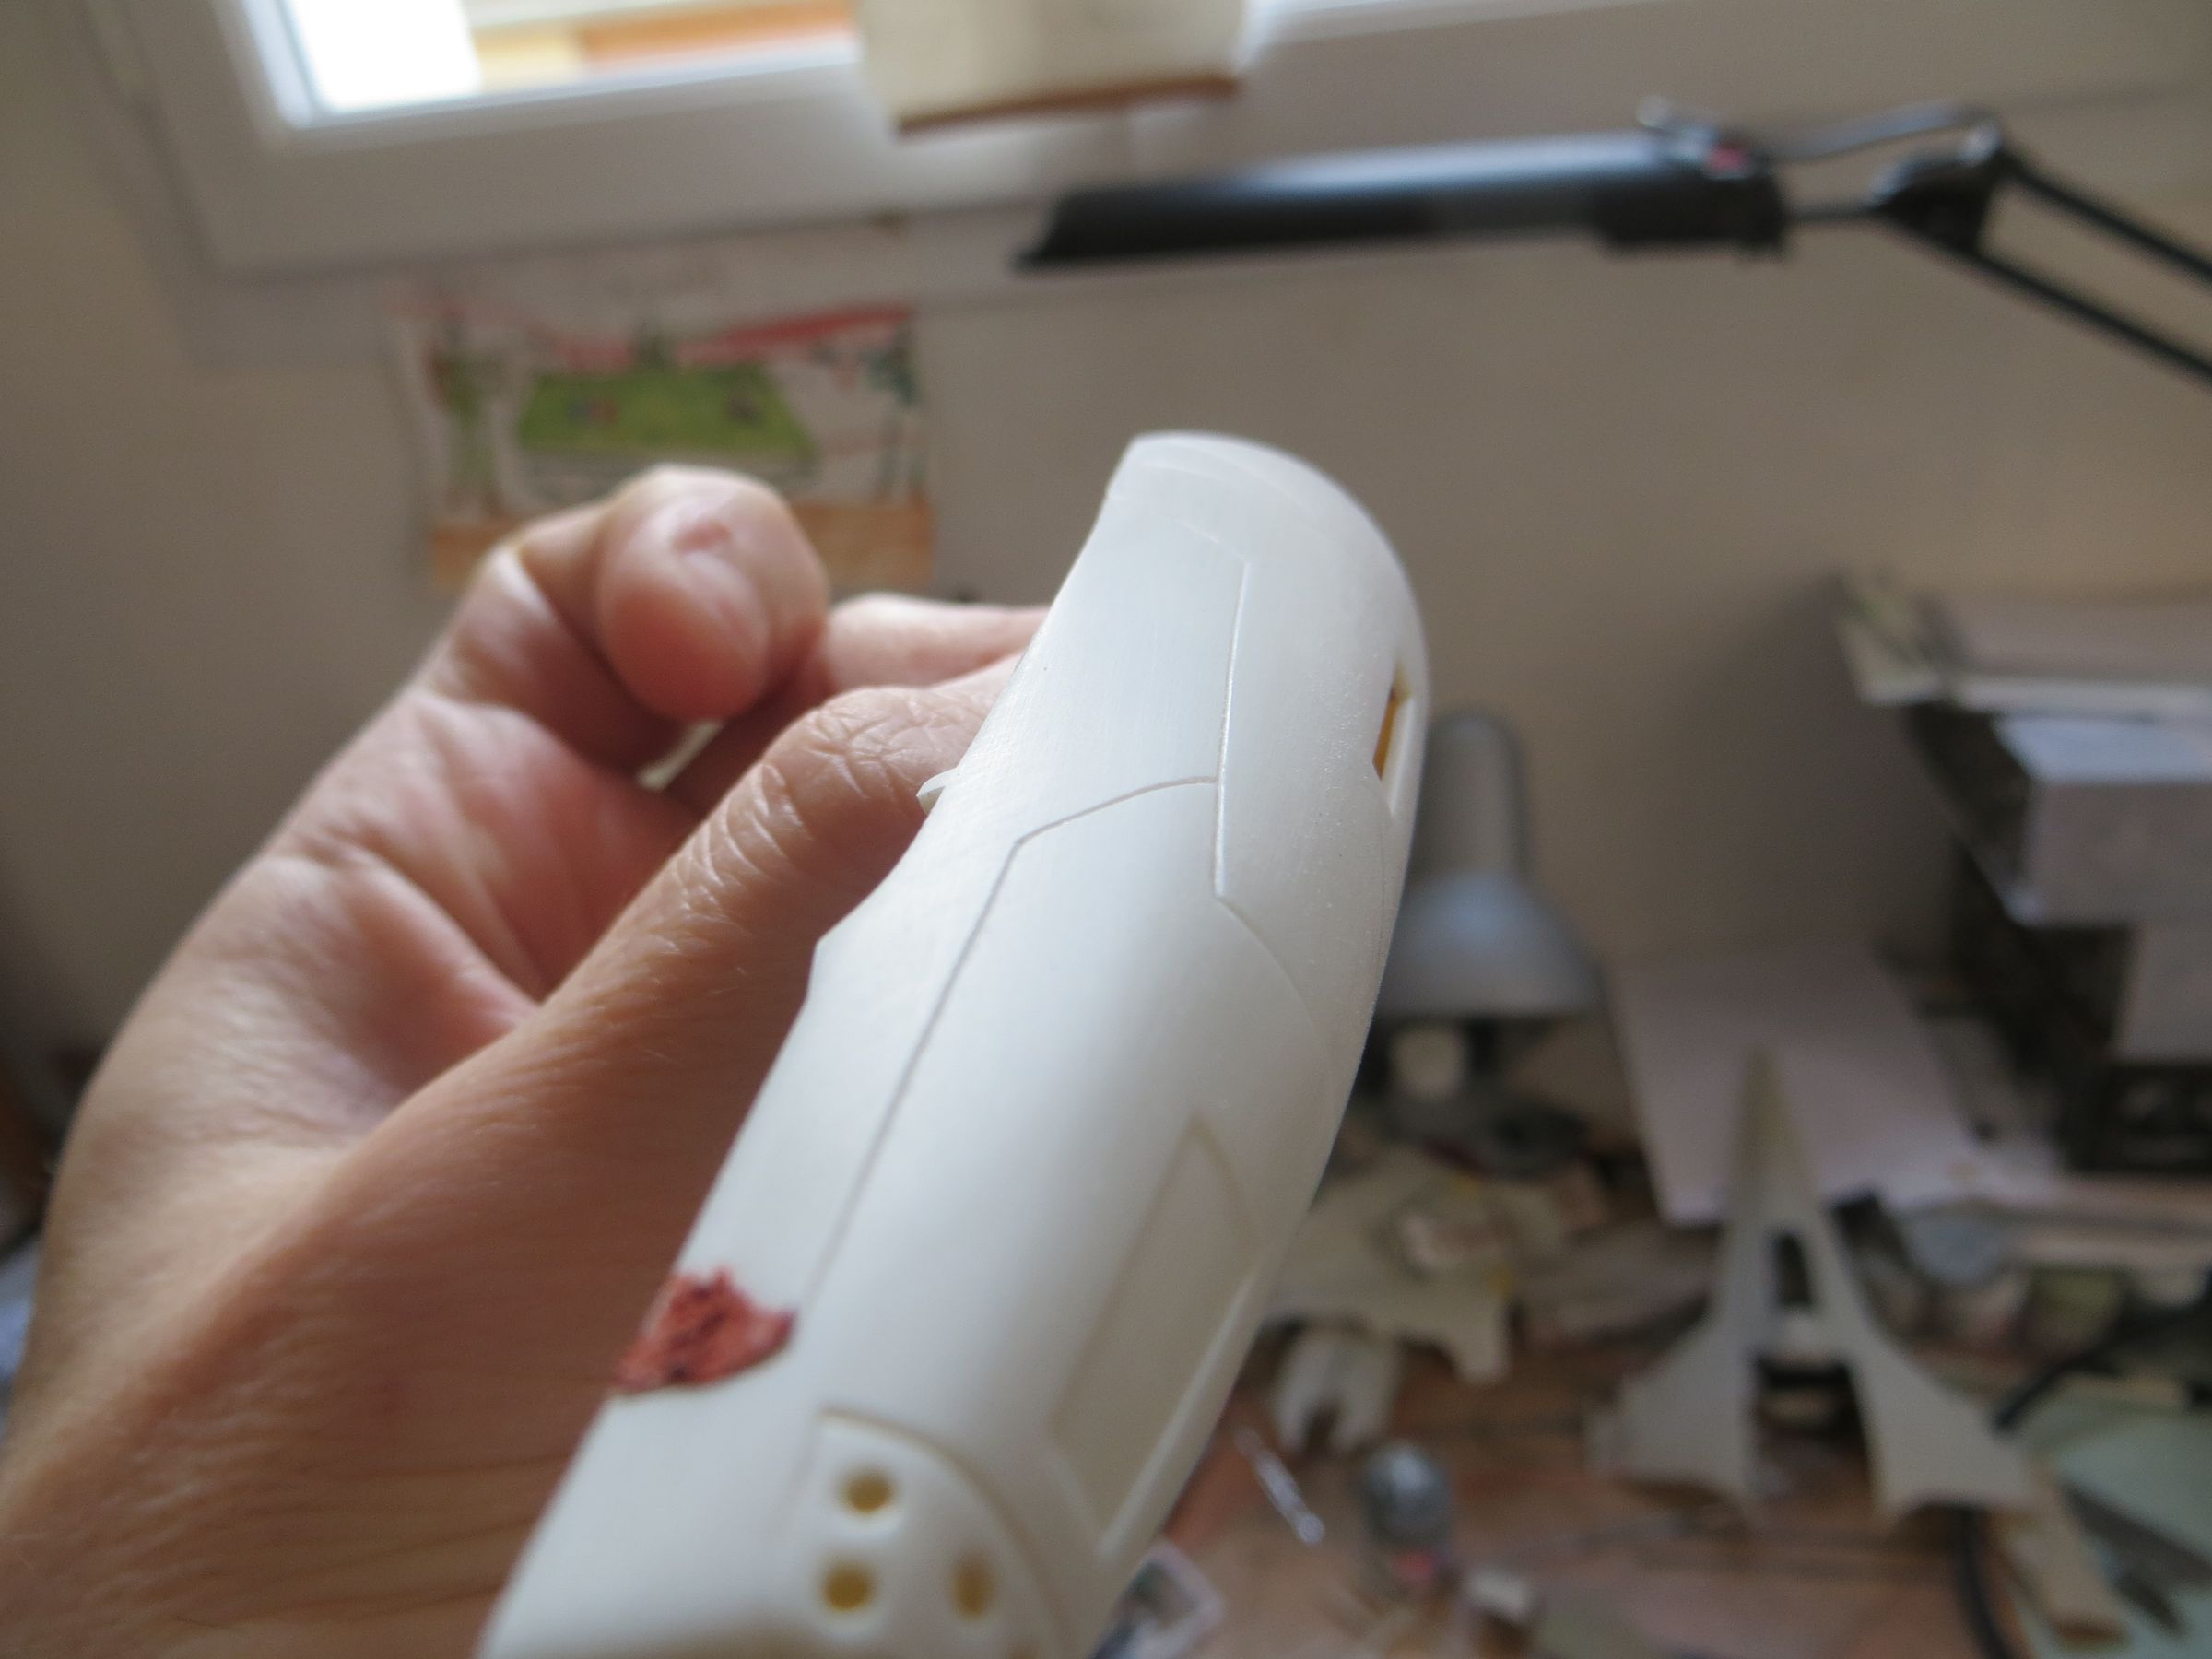
- the horrible seam that run from the wings to the nose of the cabin. Parts design is unwise.


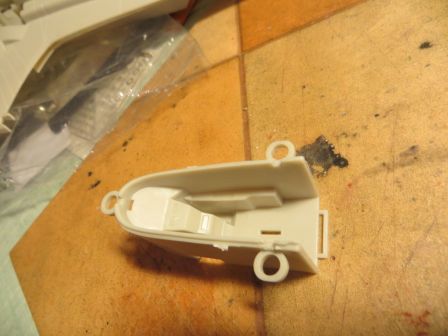
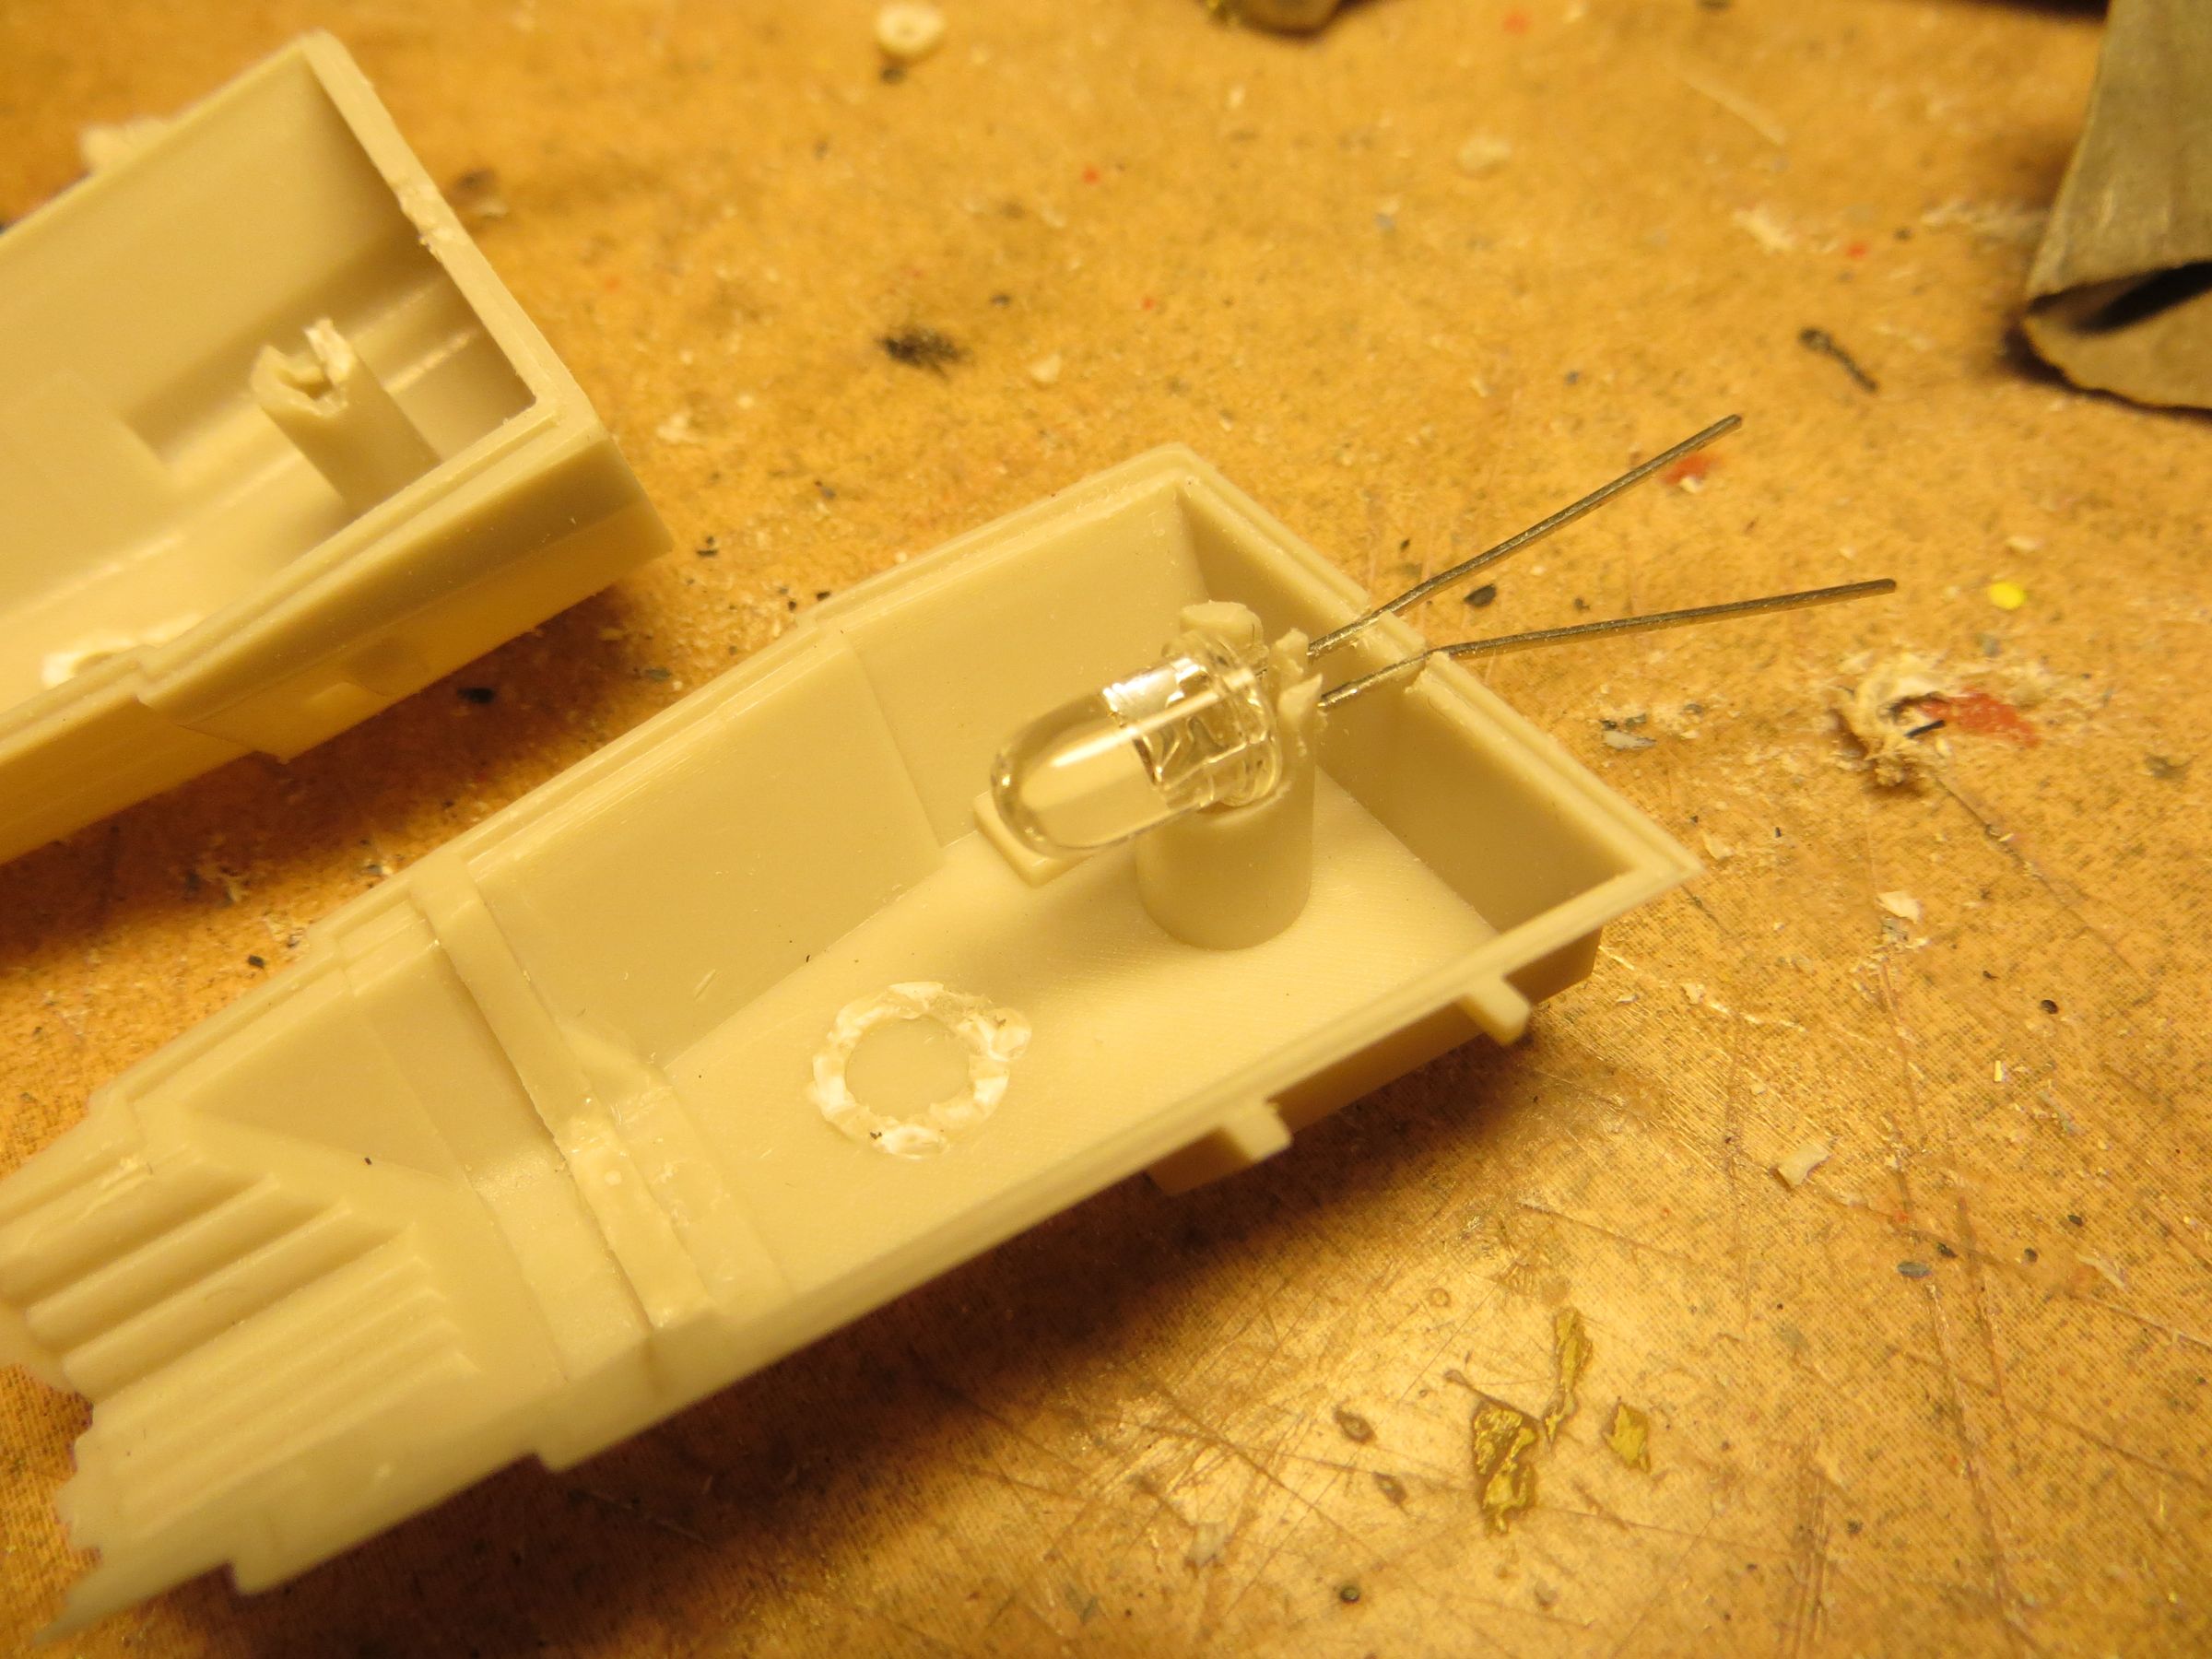
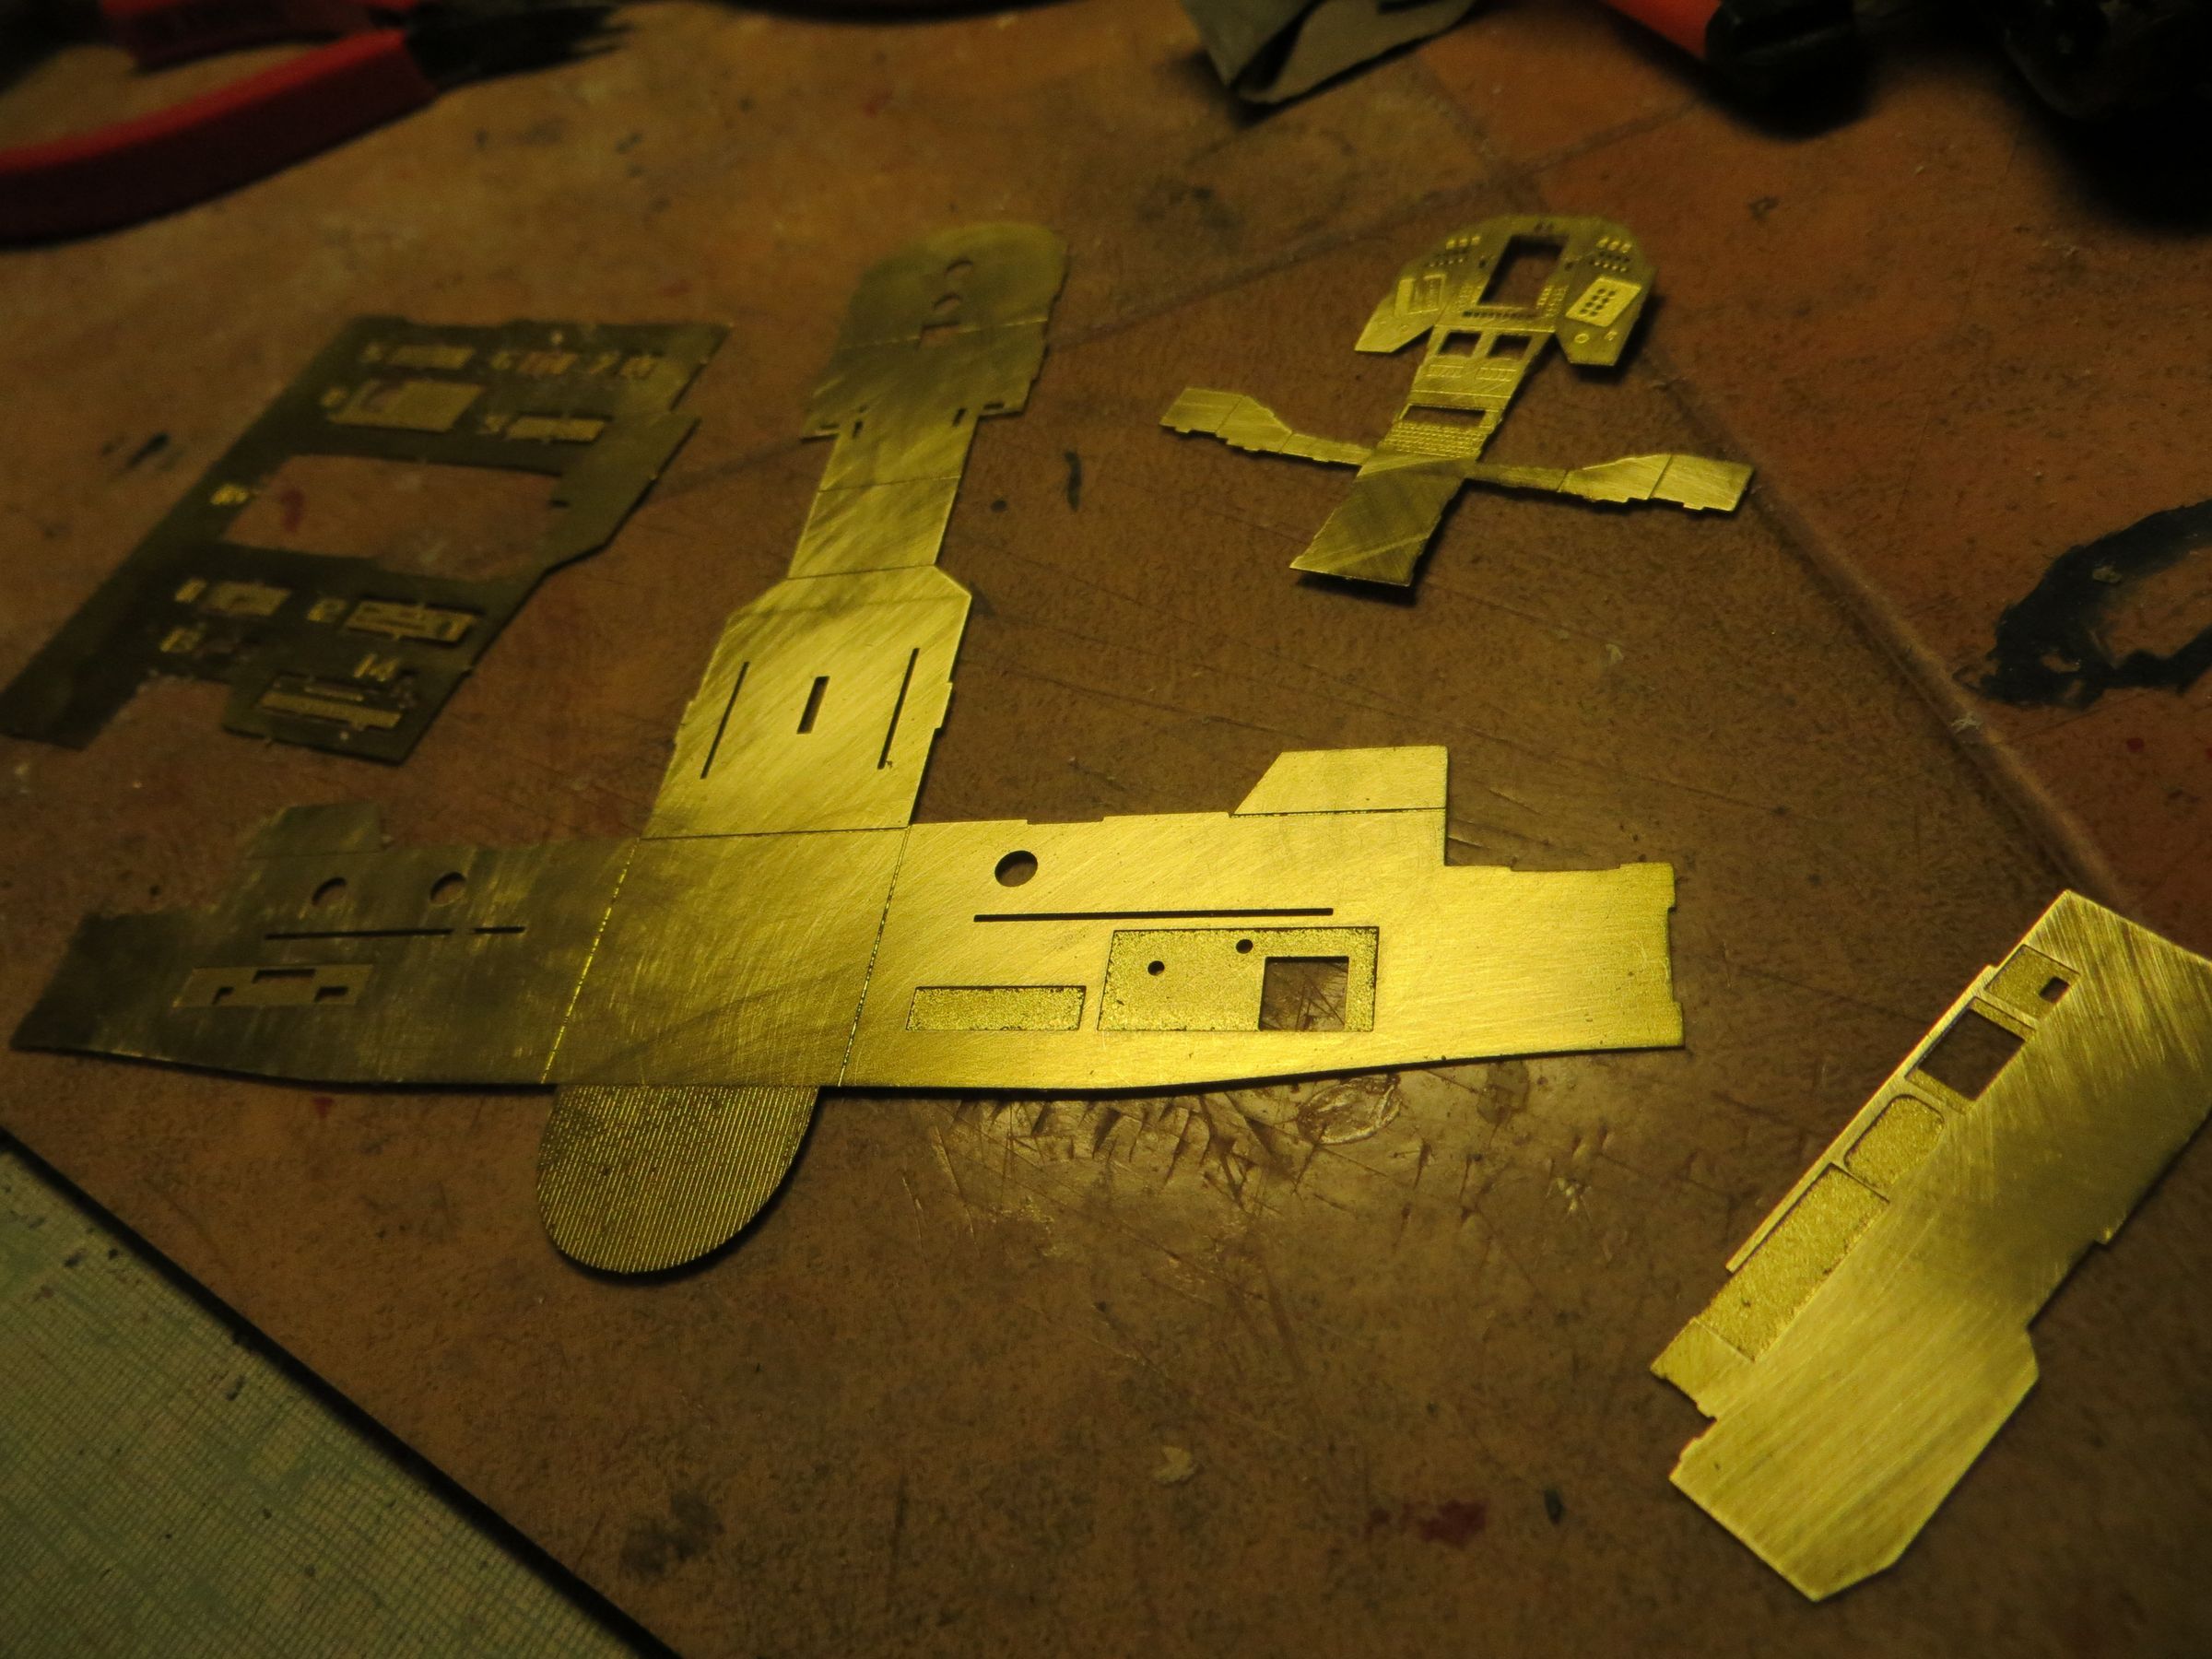
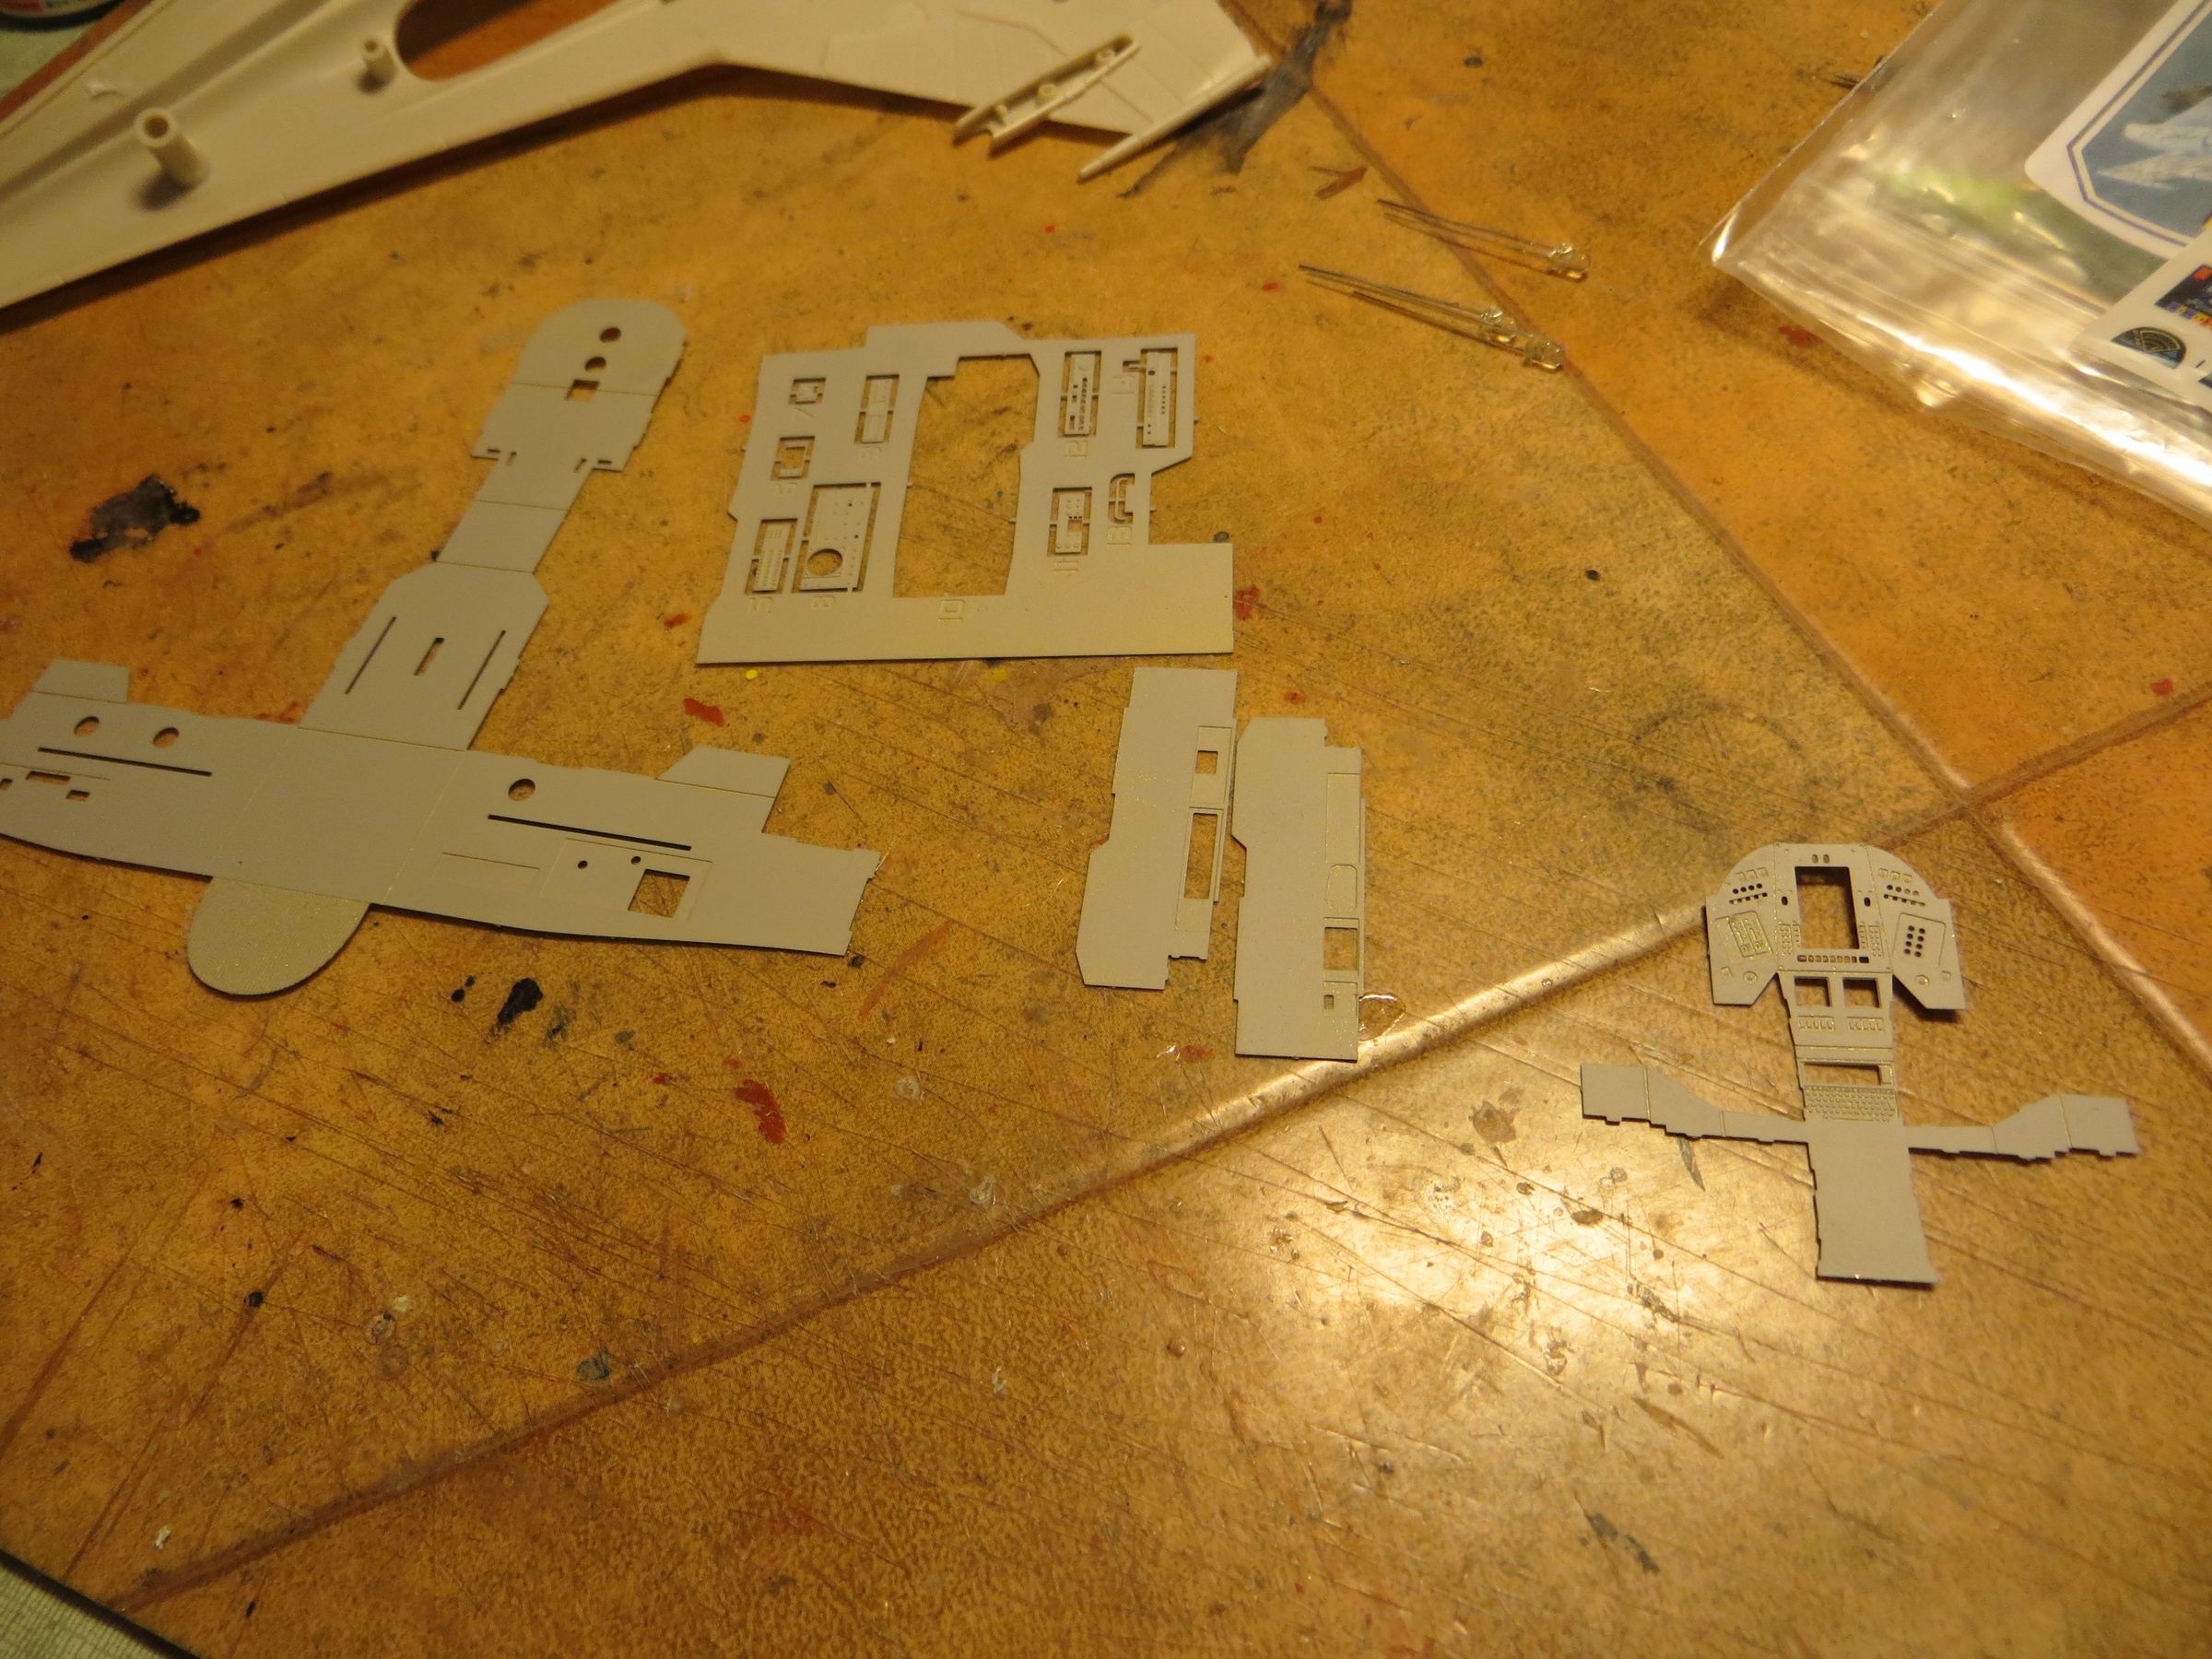
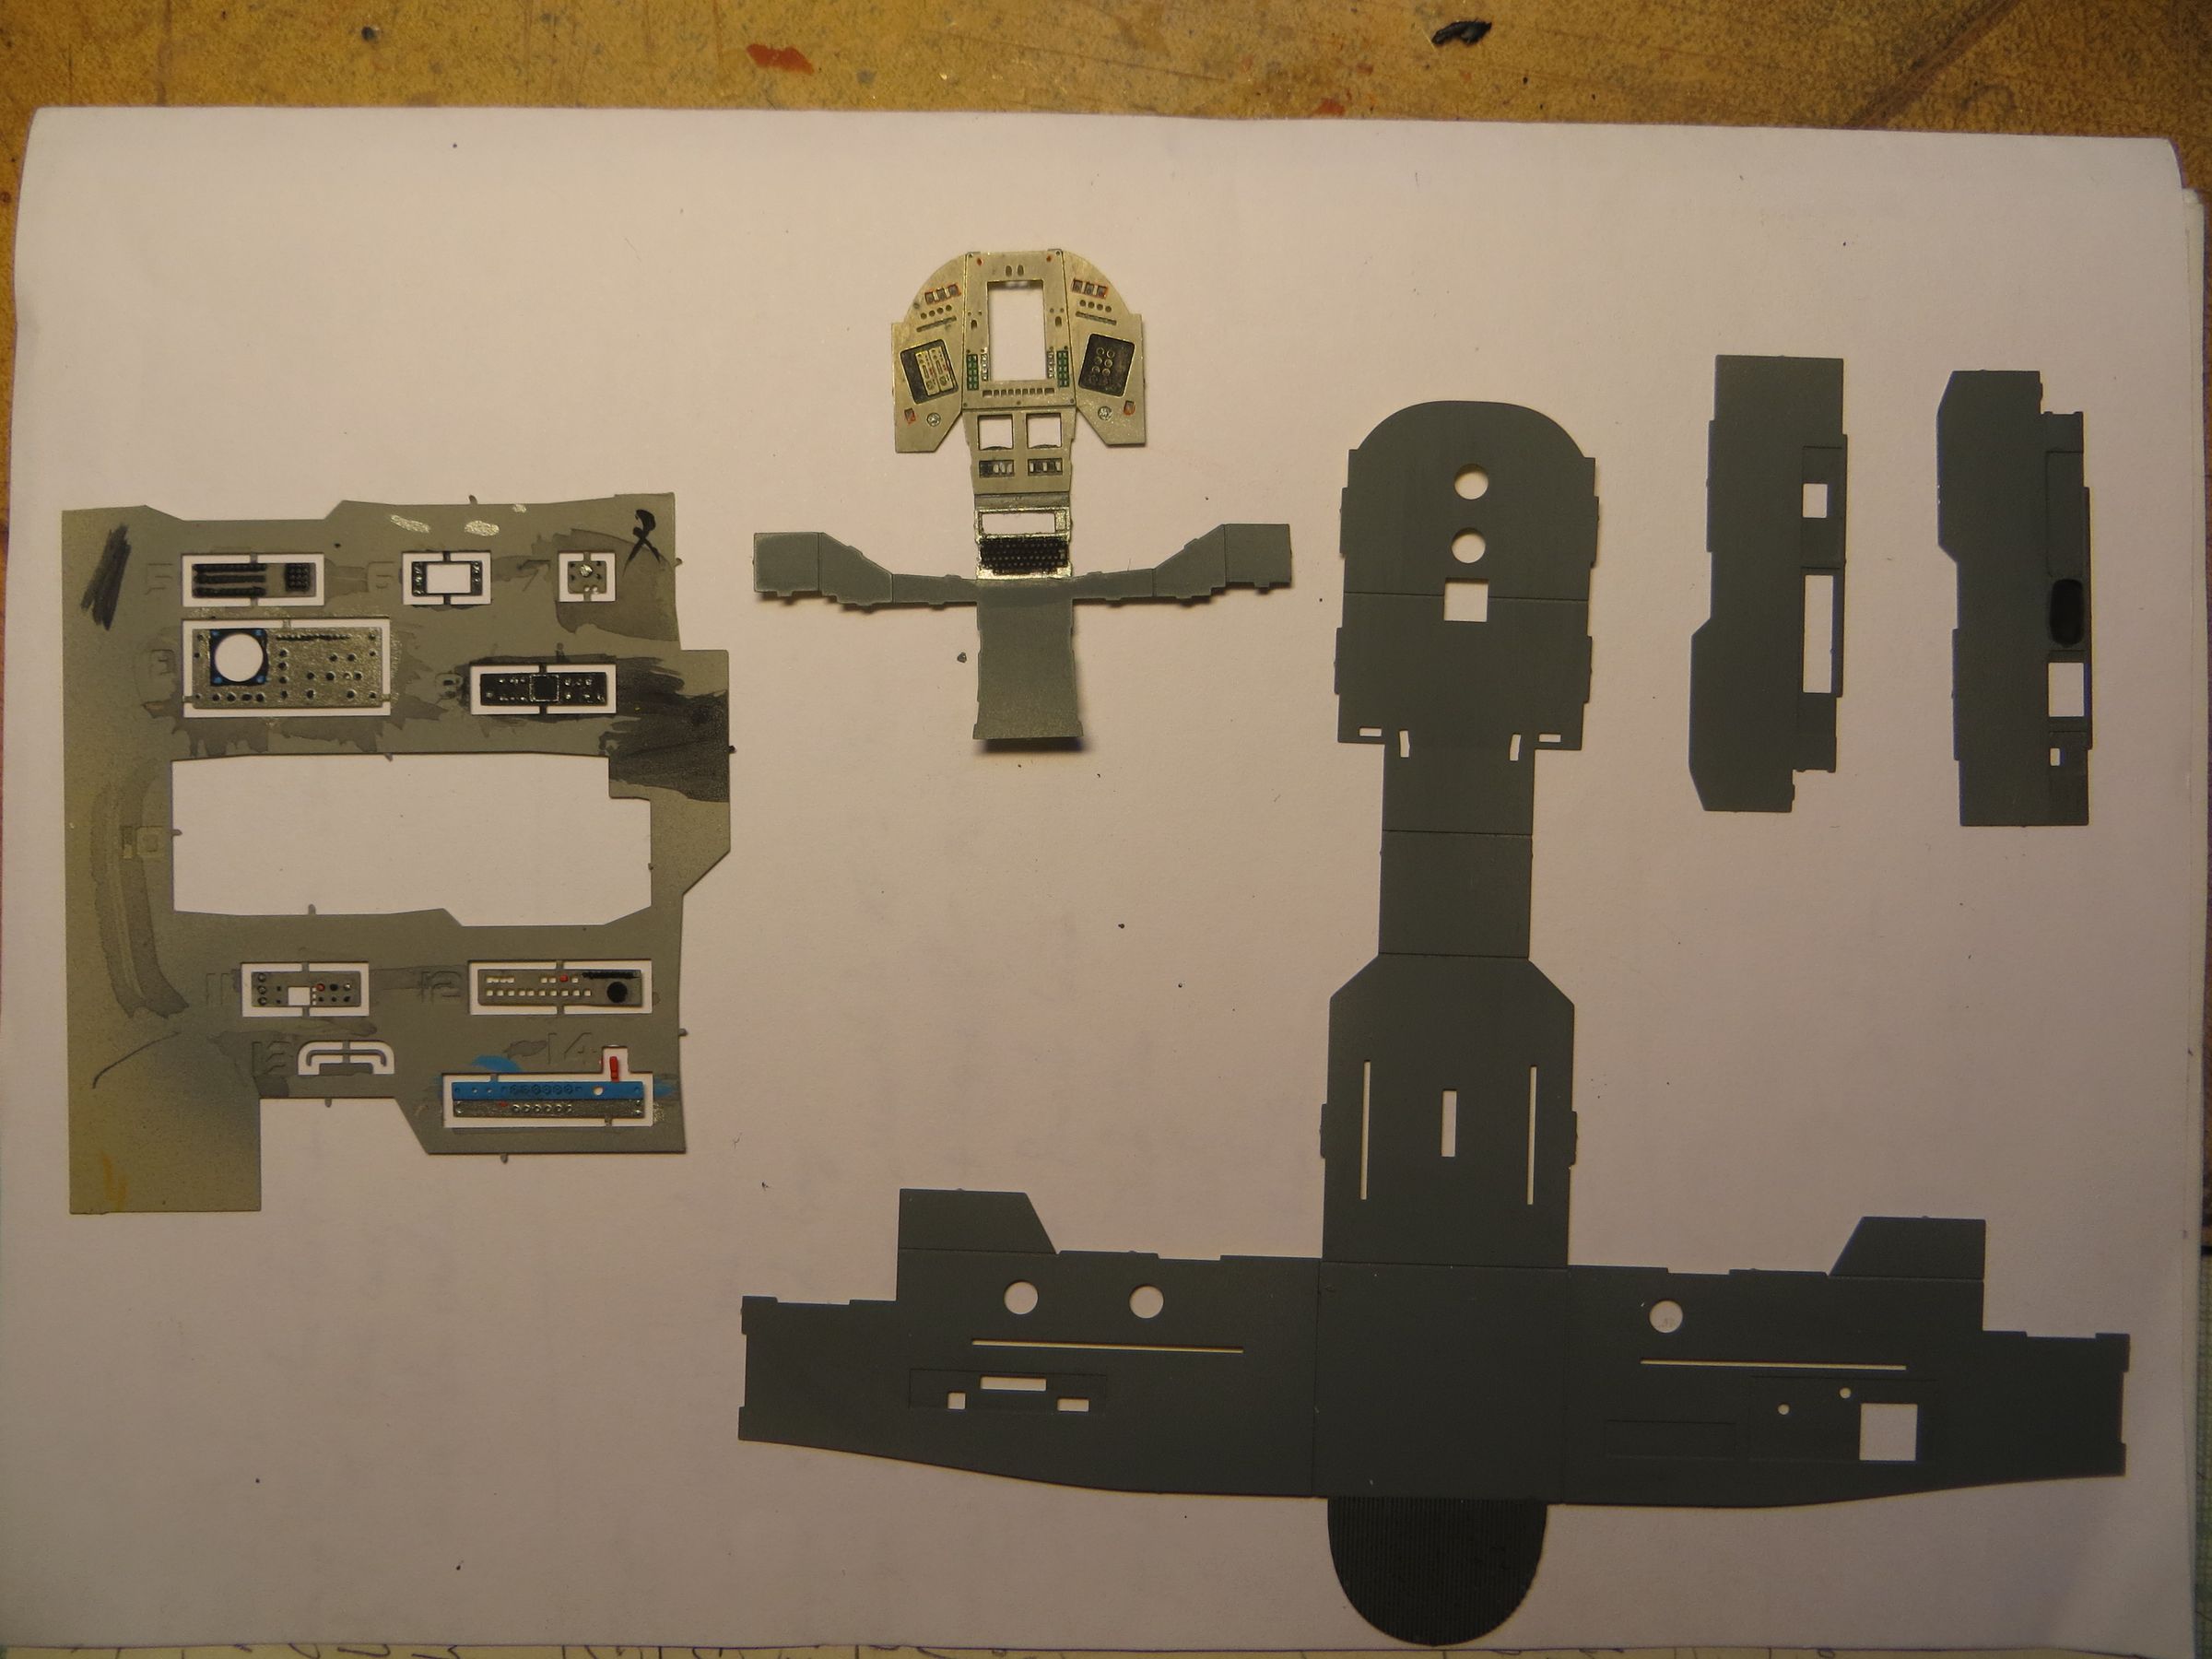
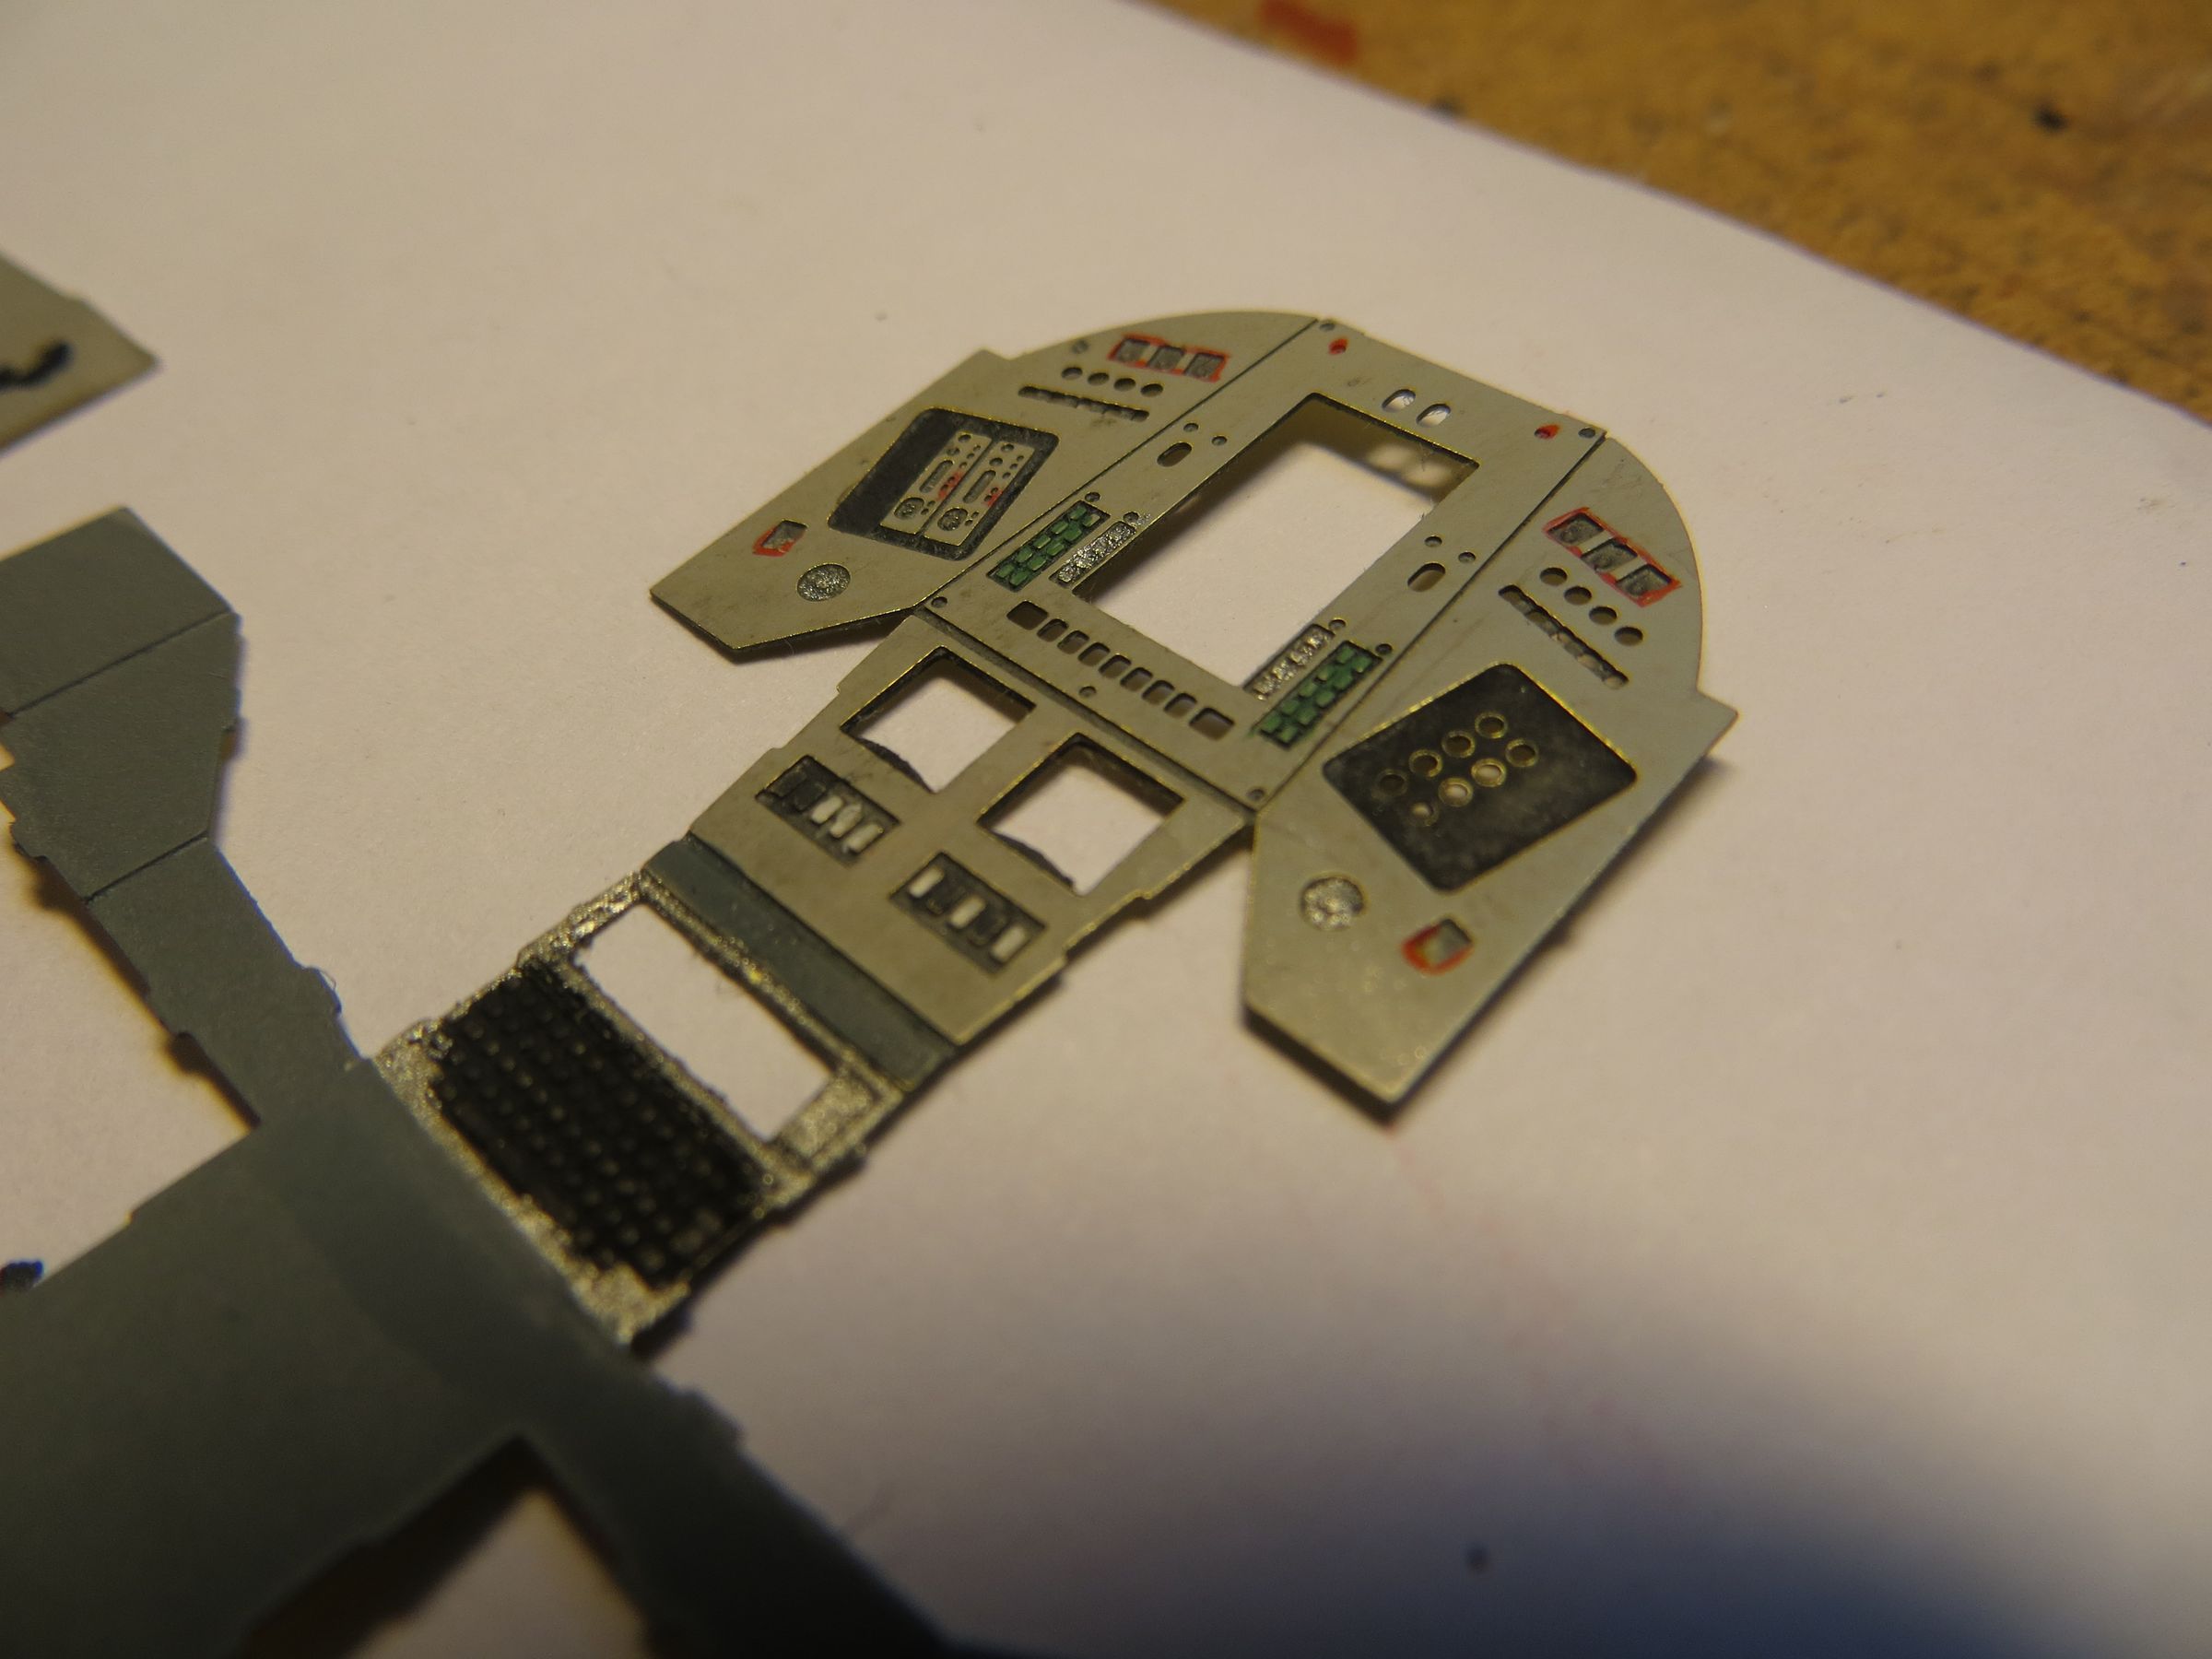
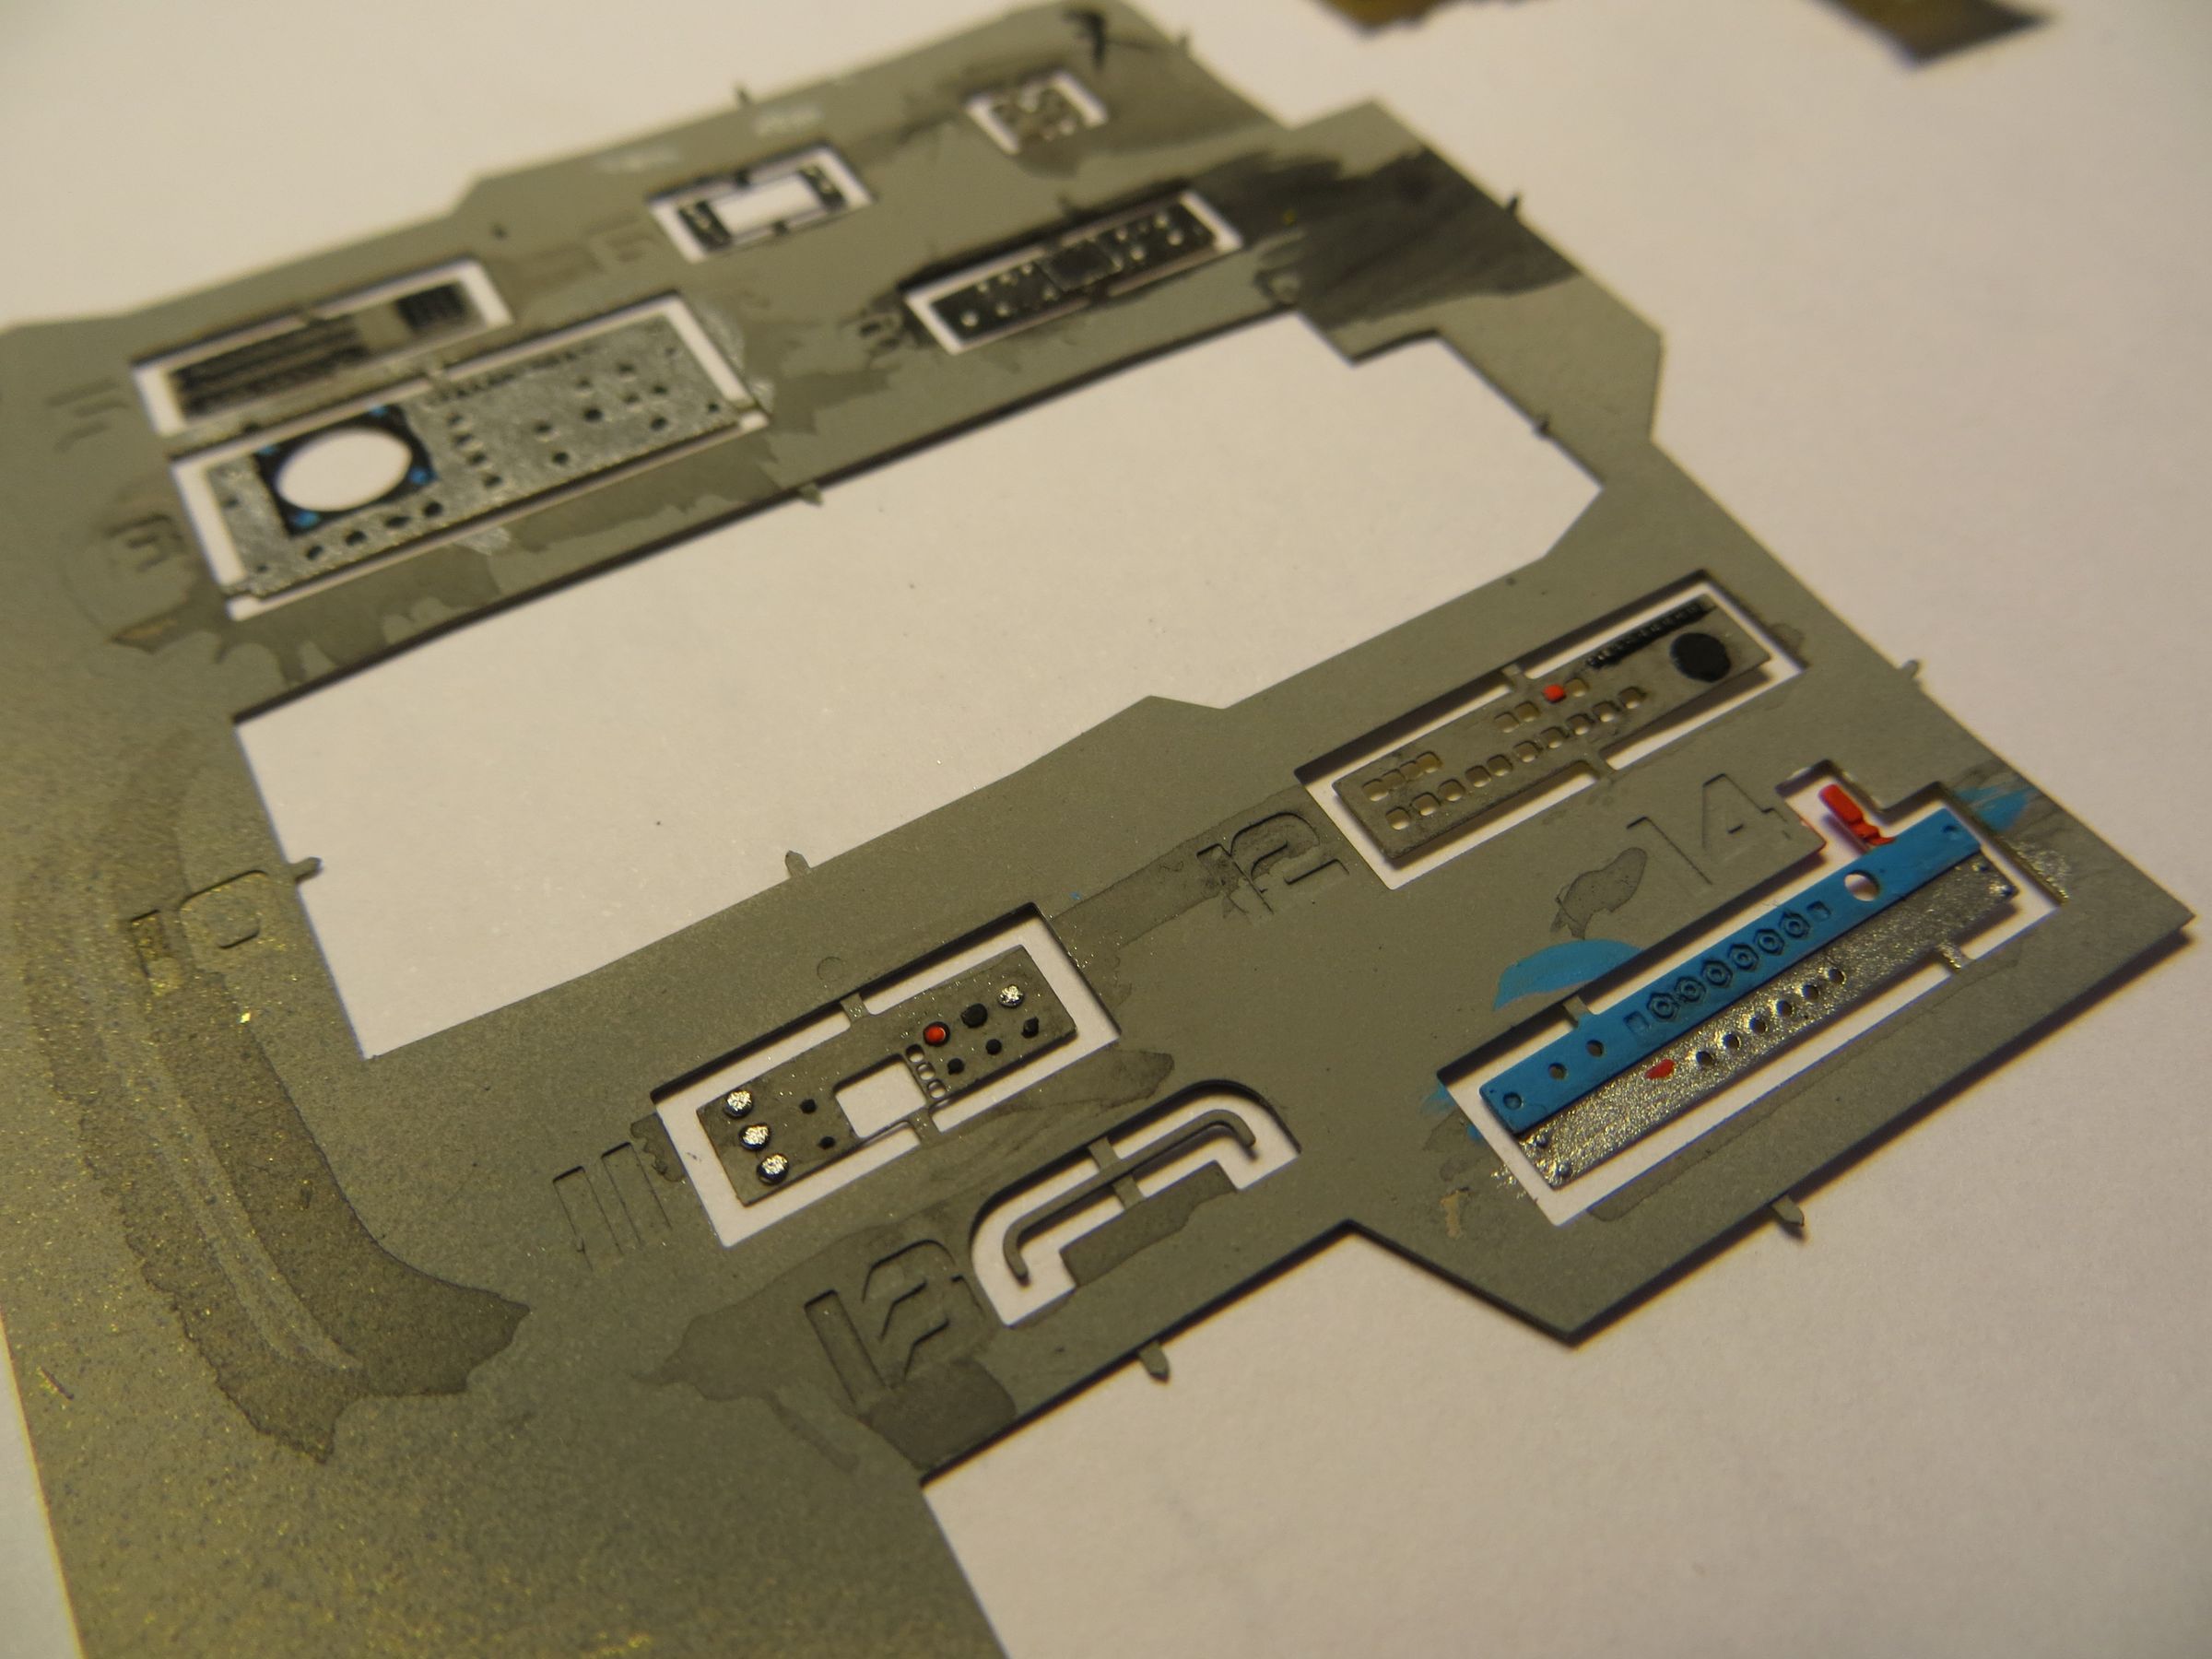
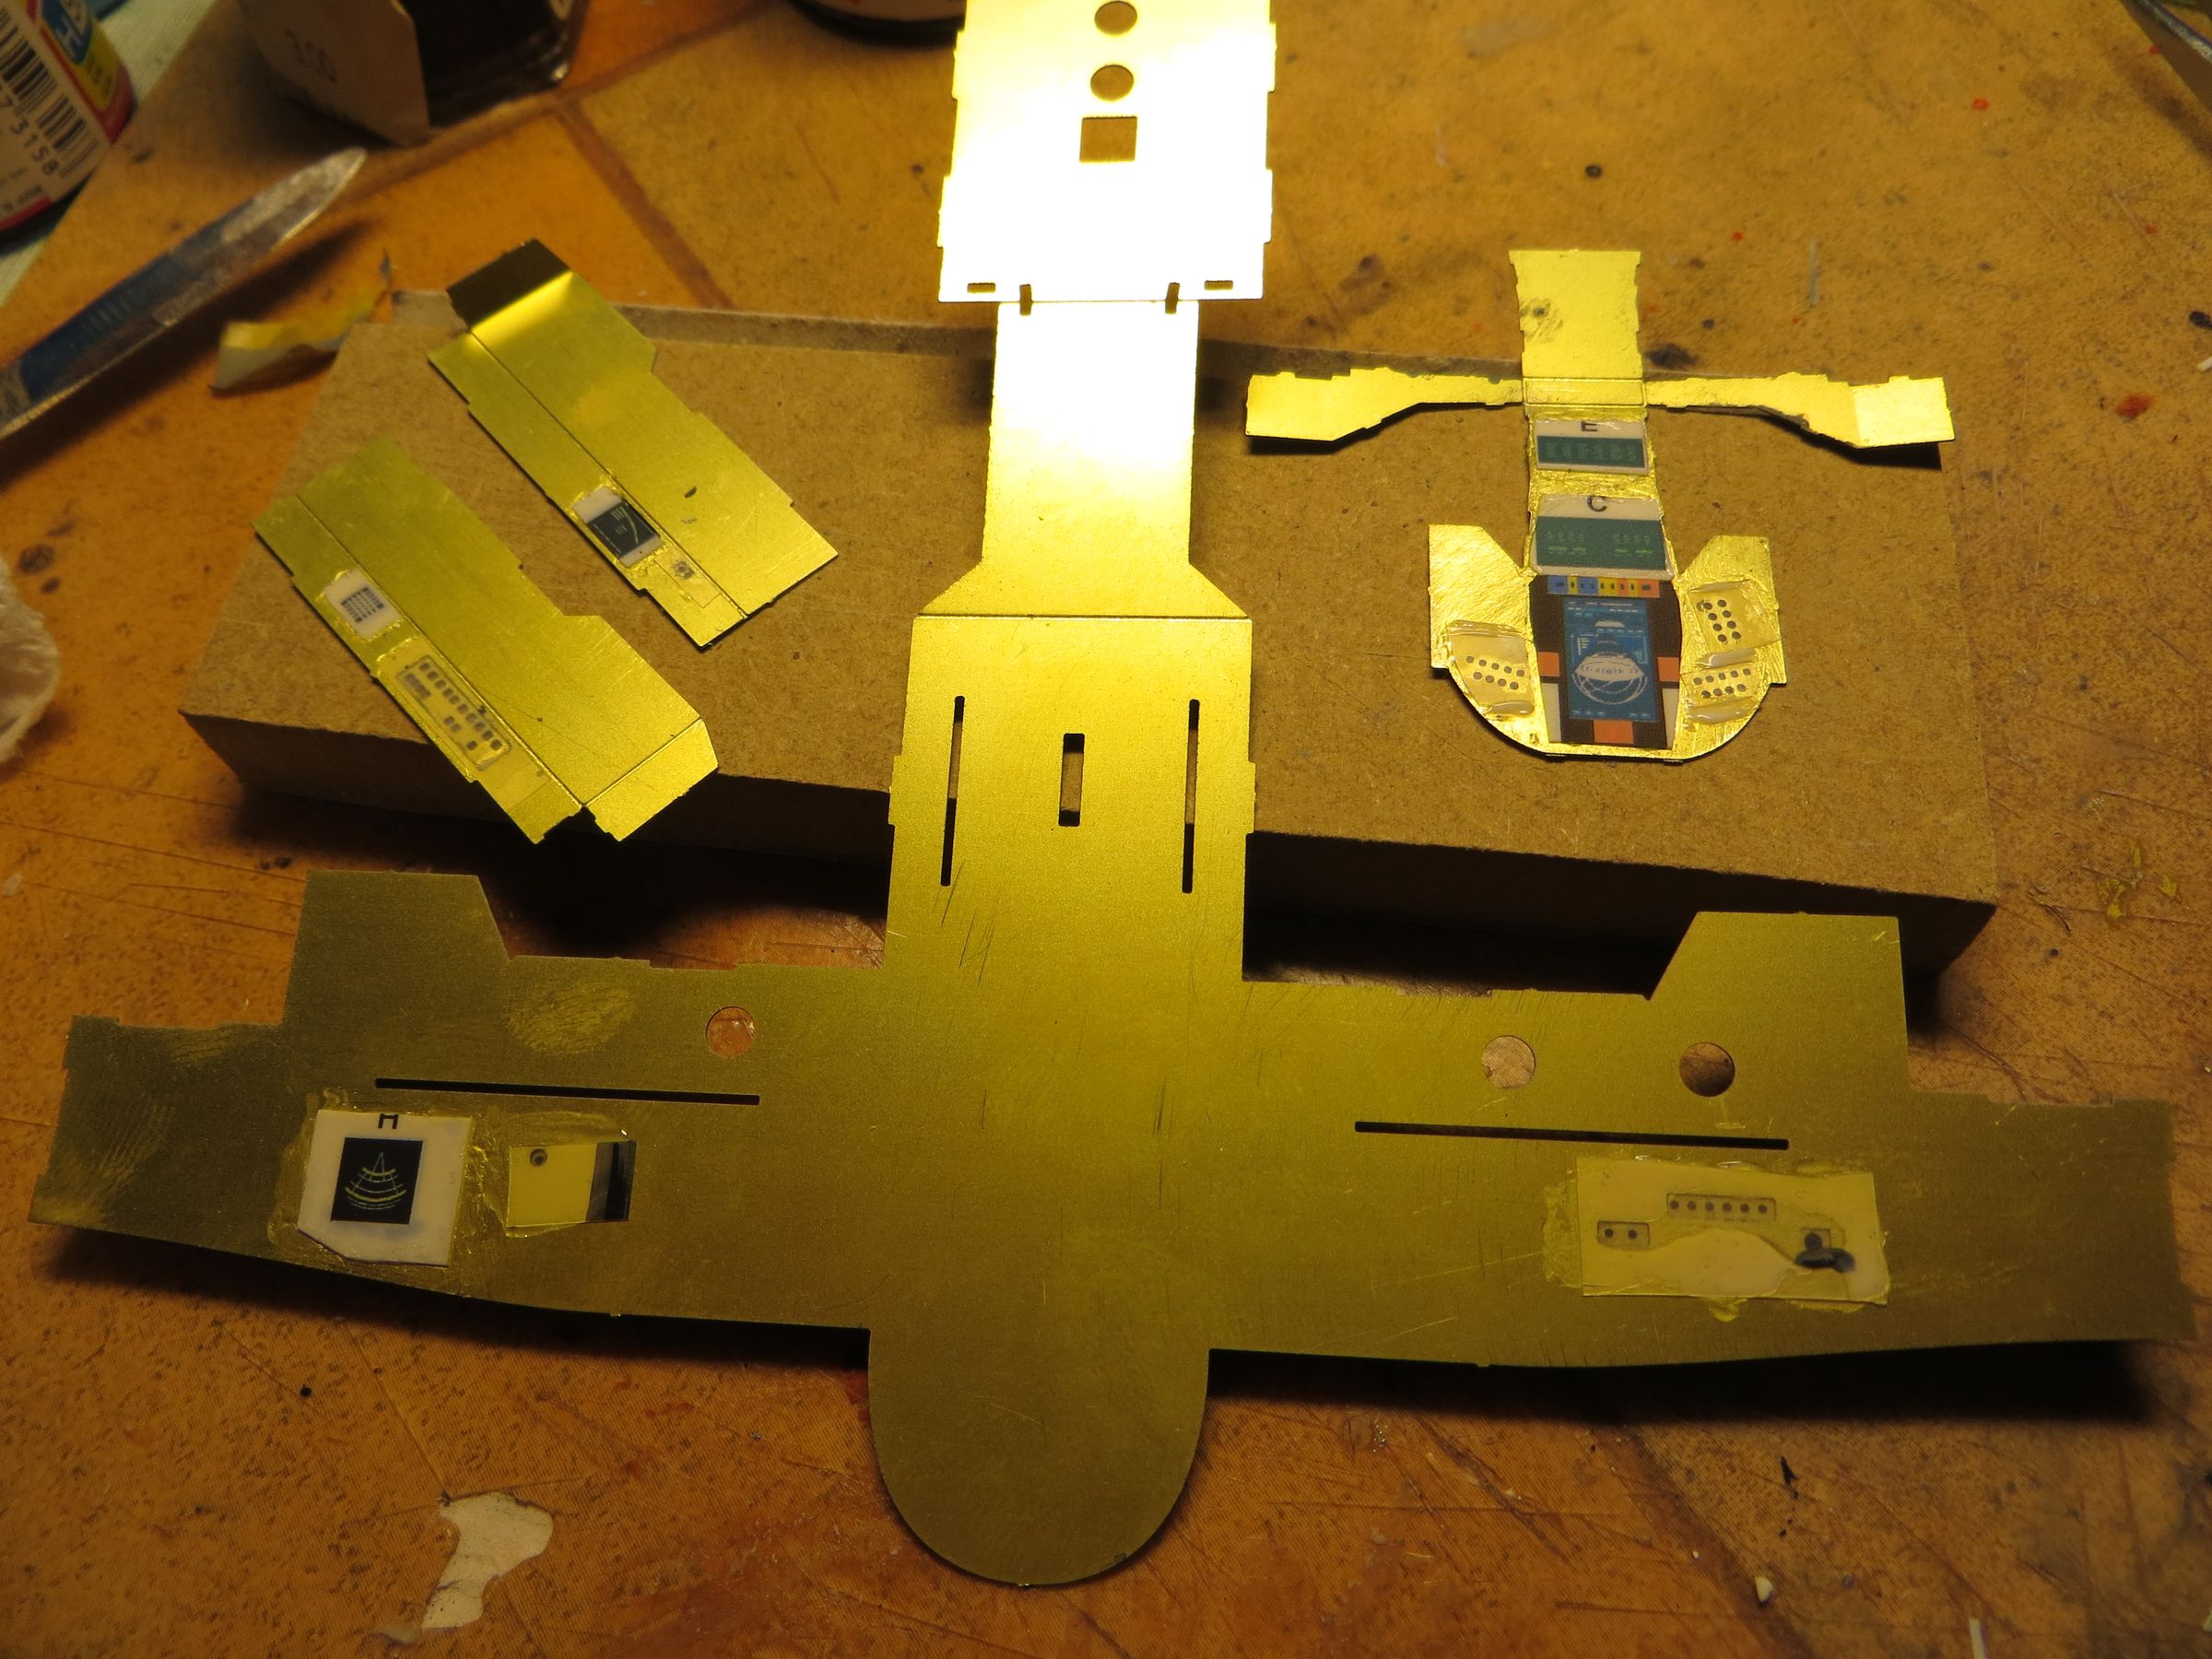
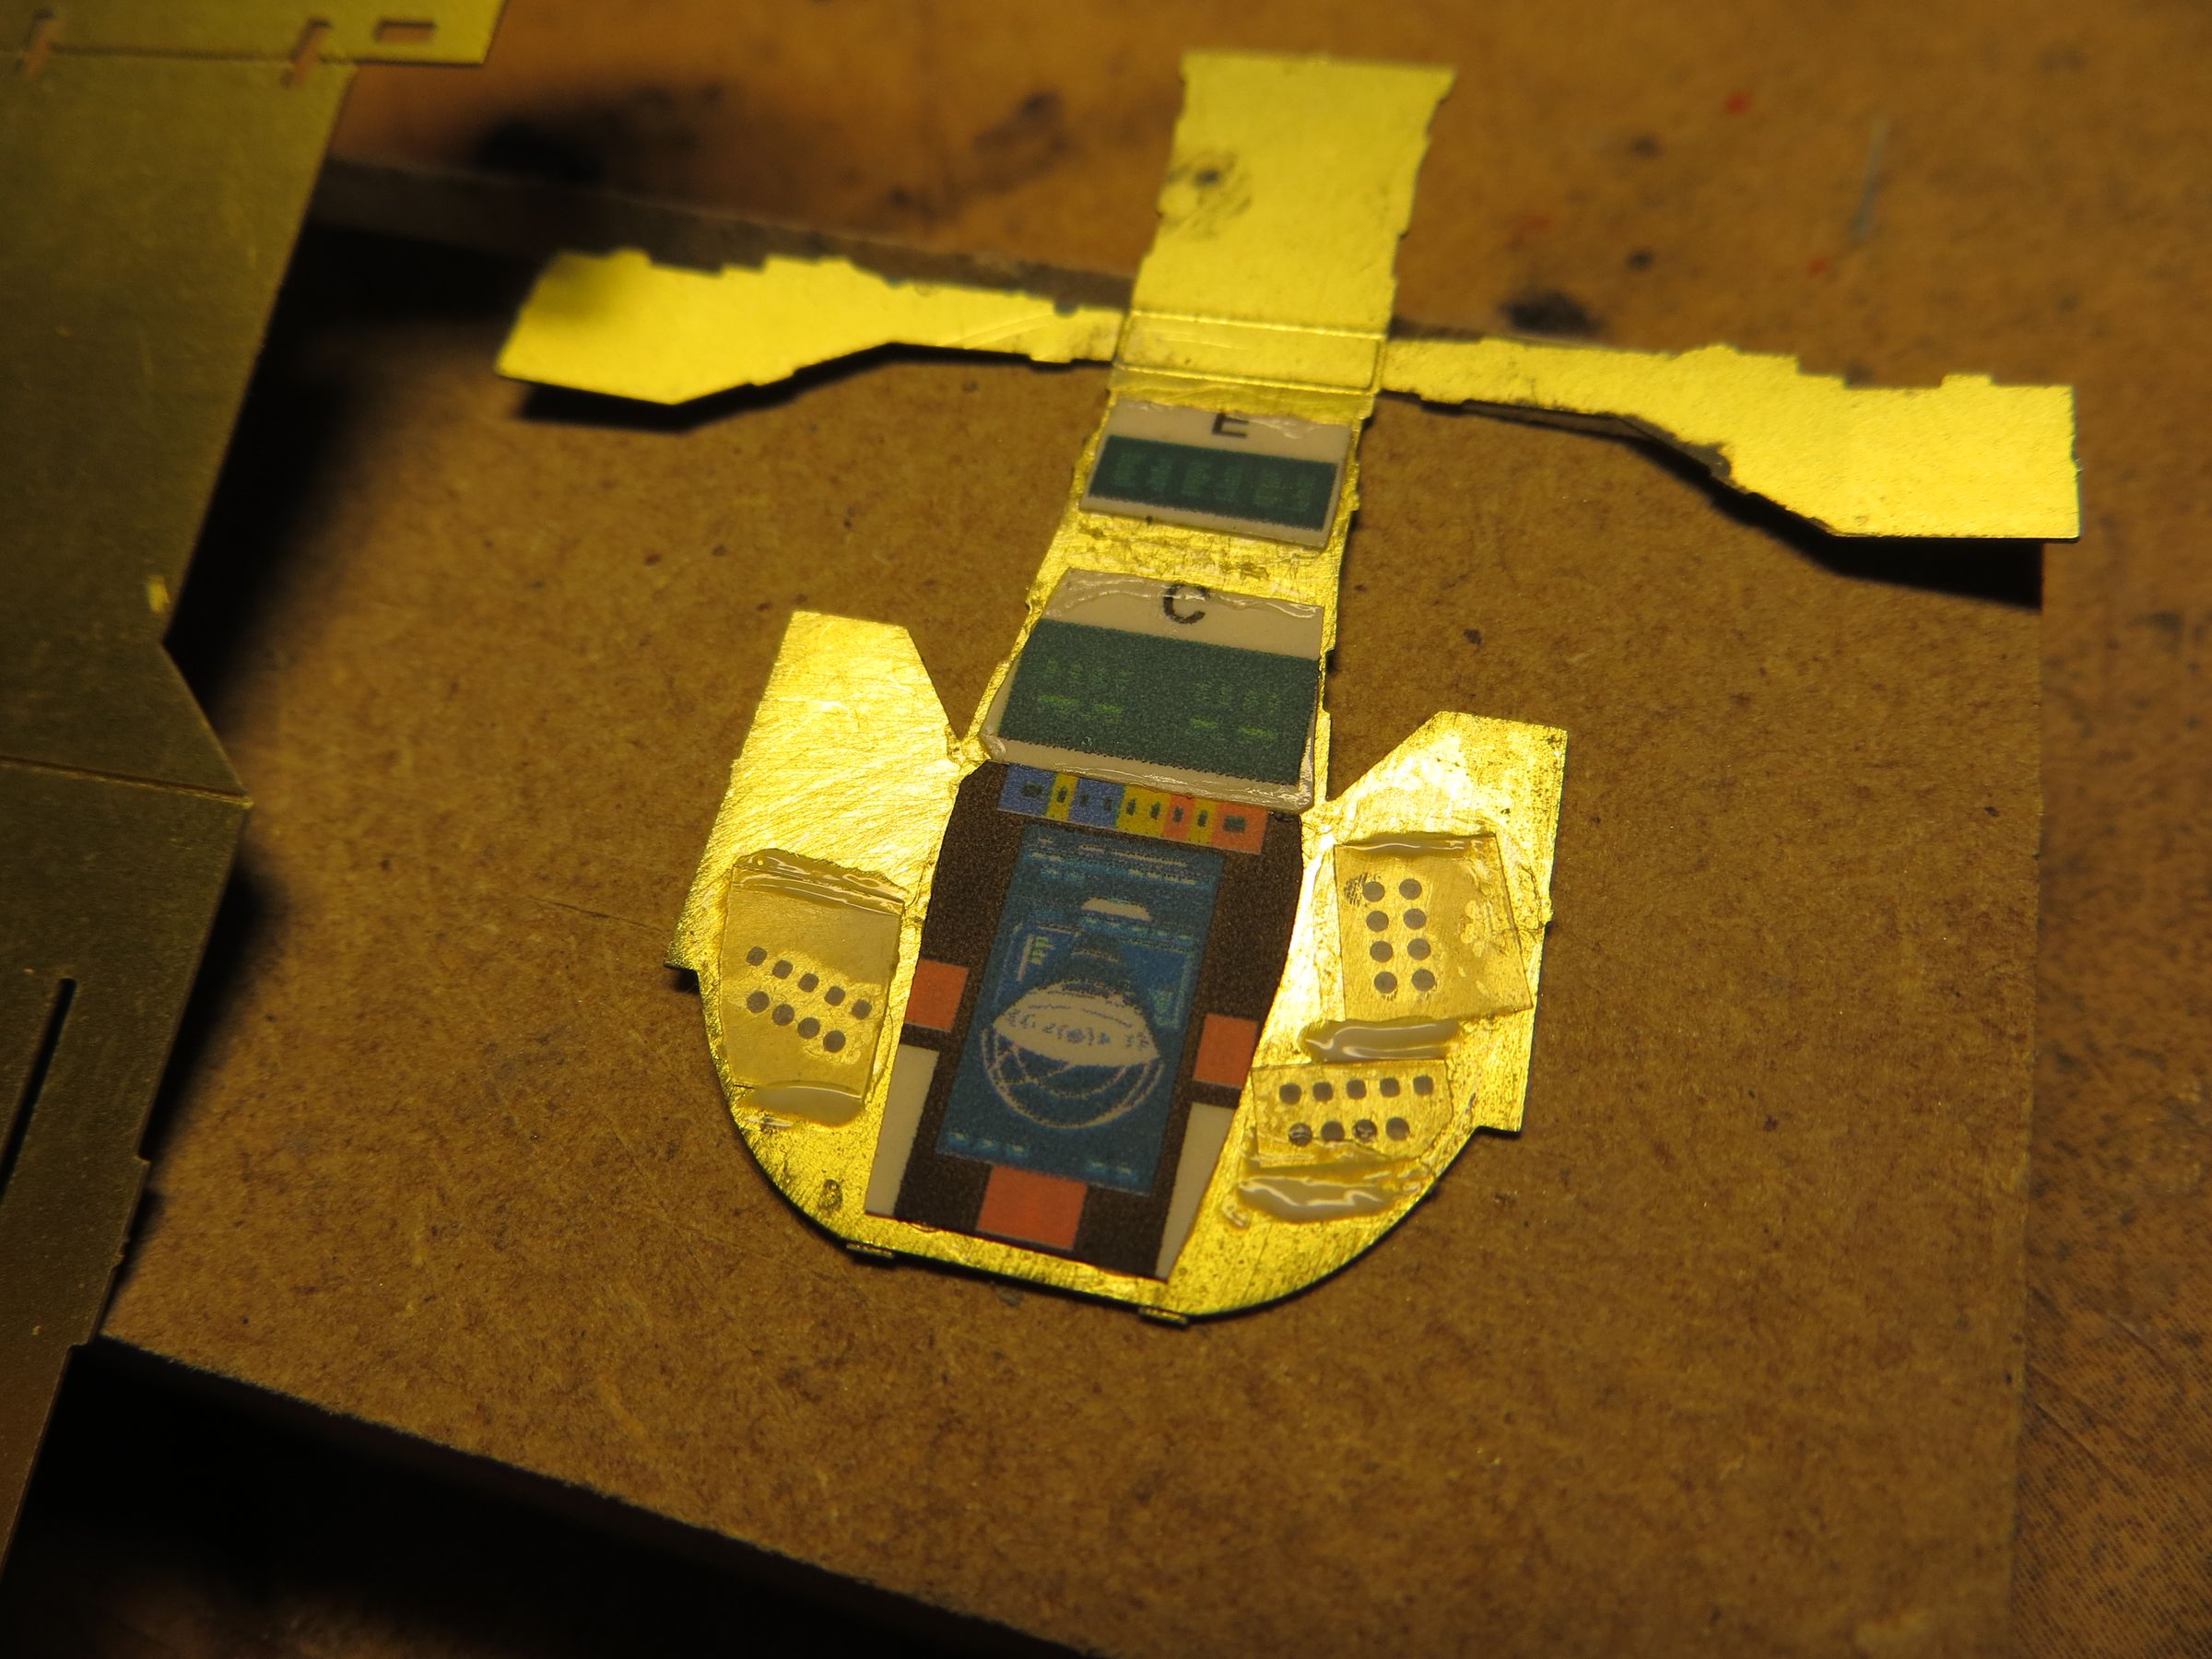
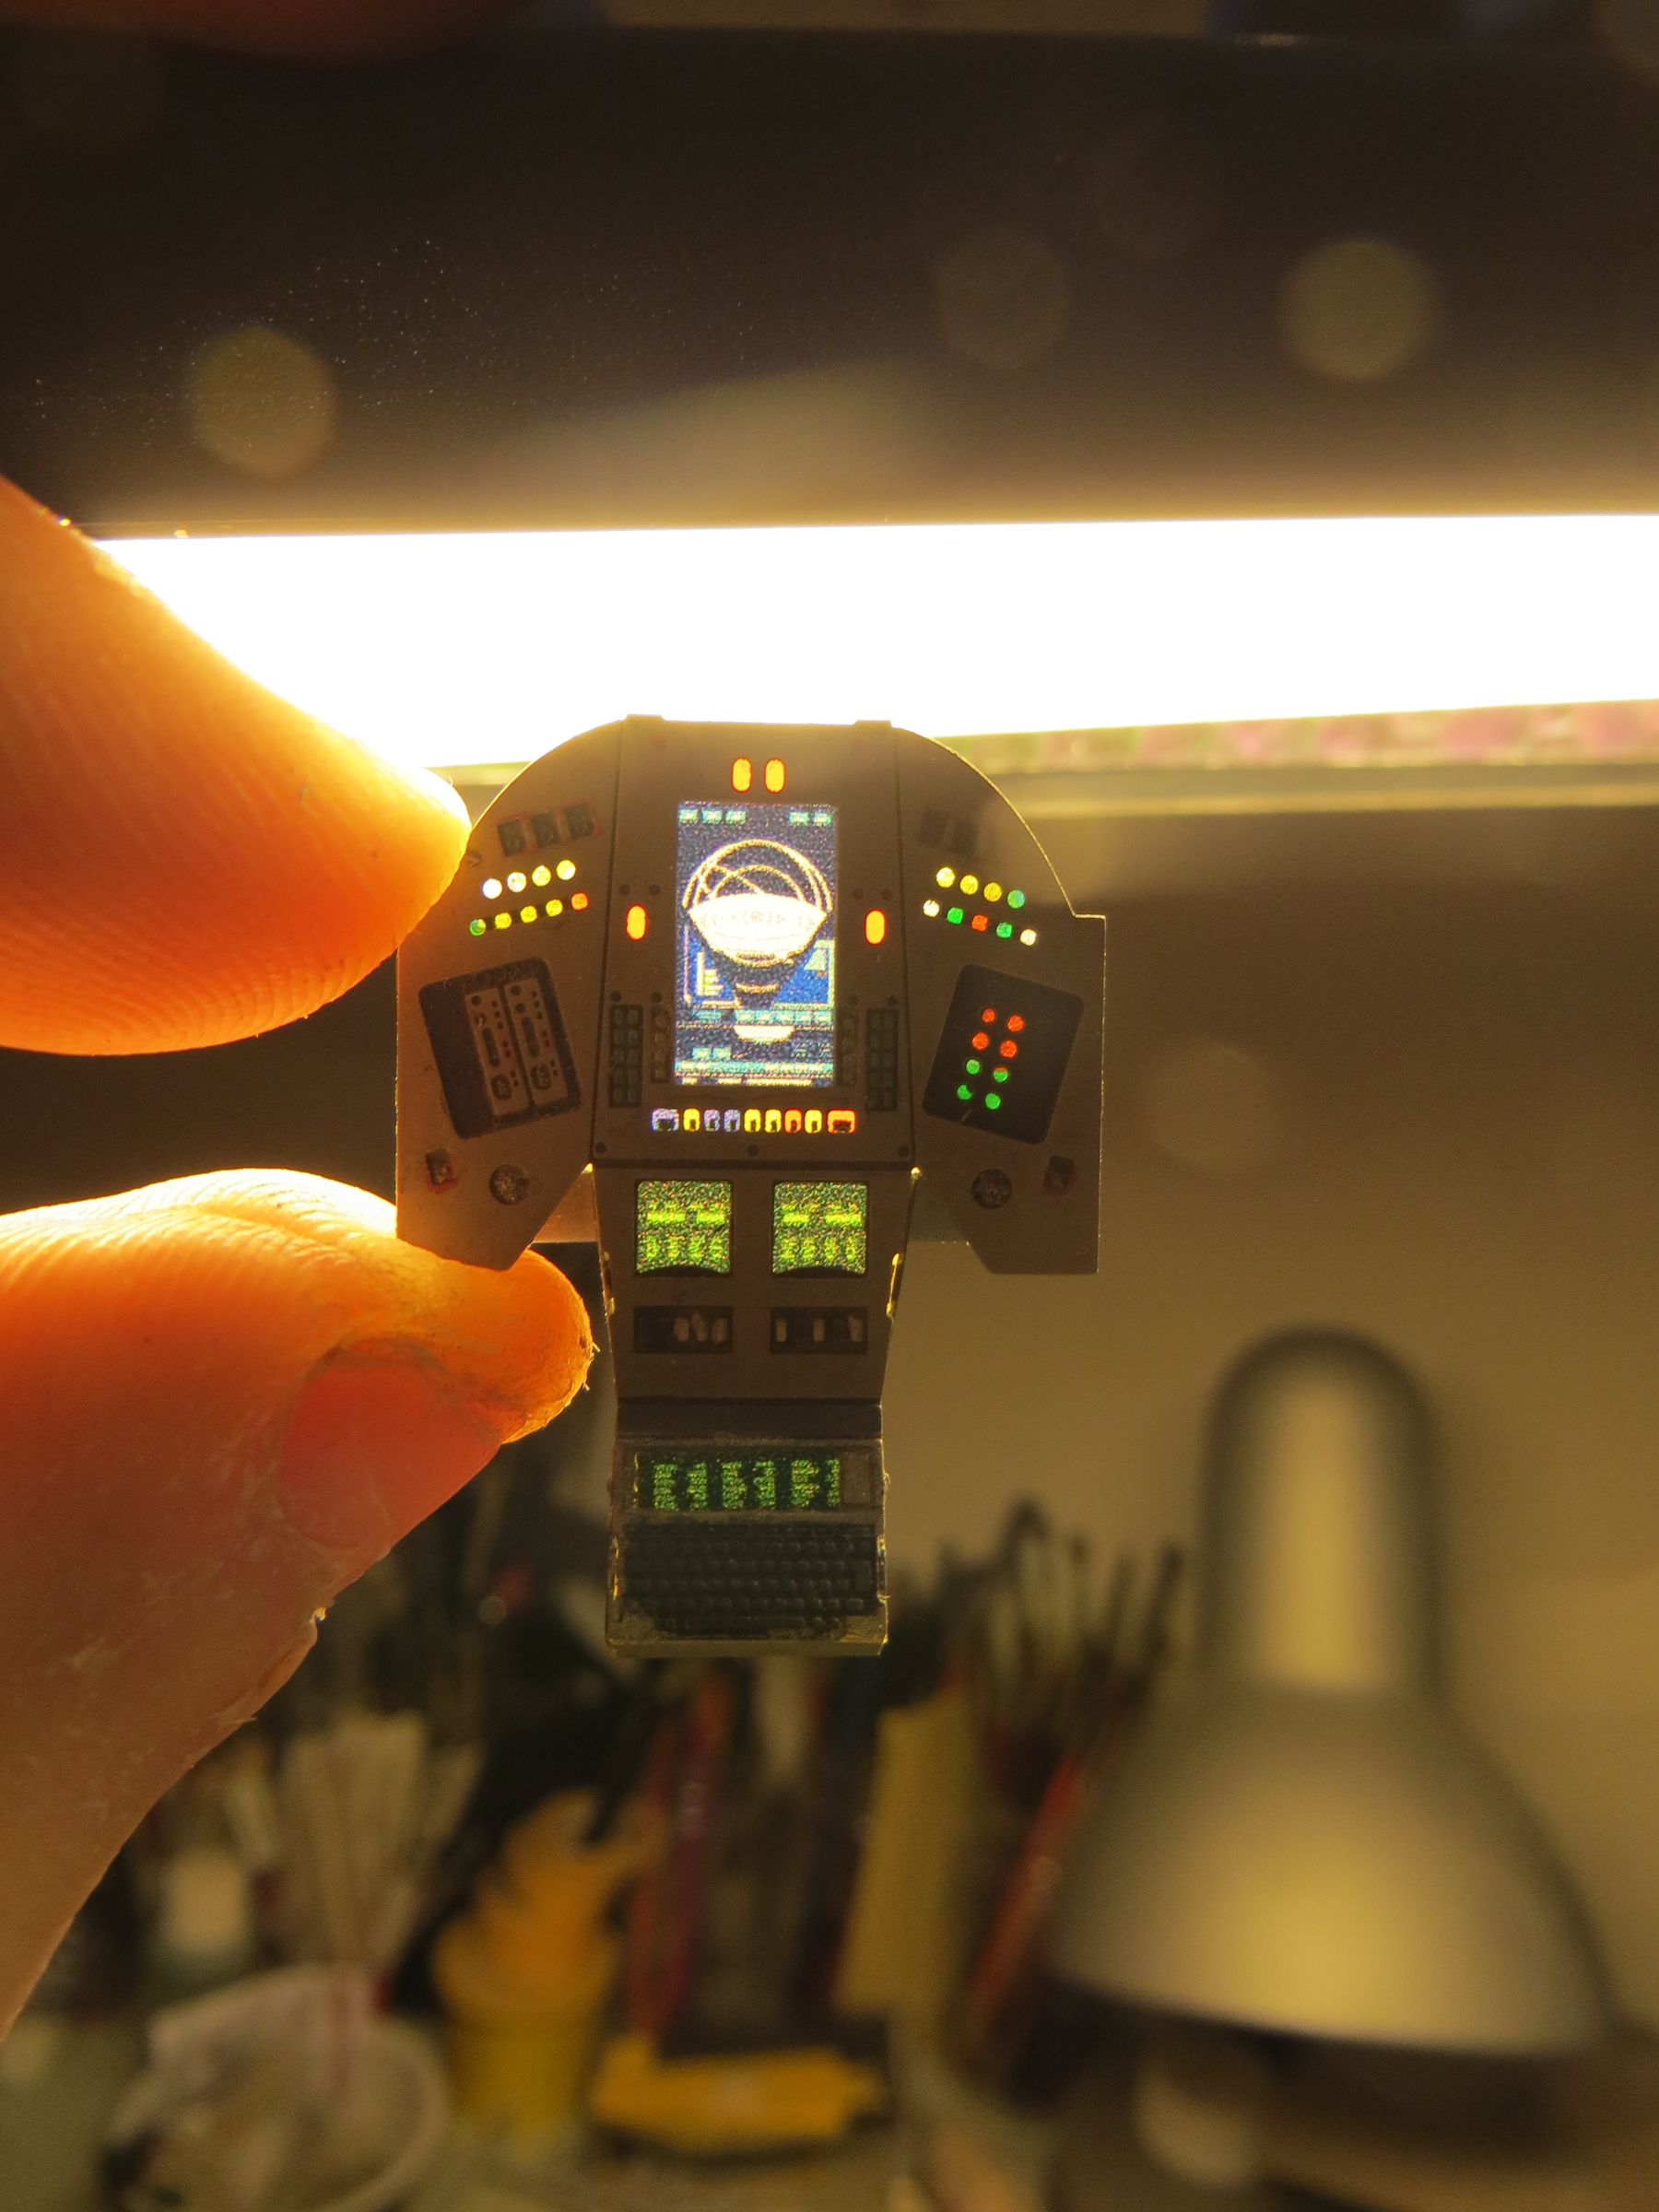
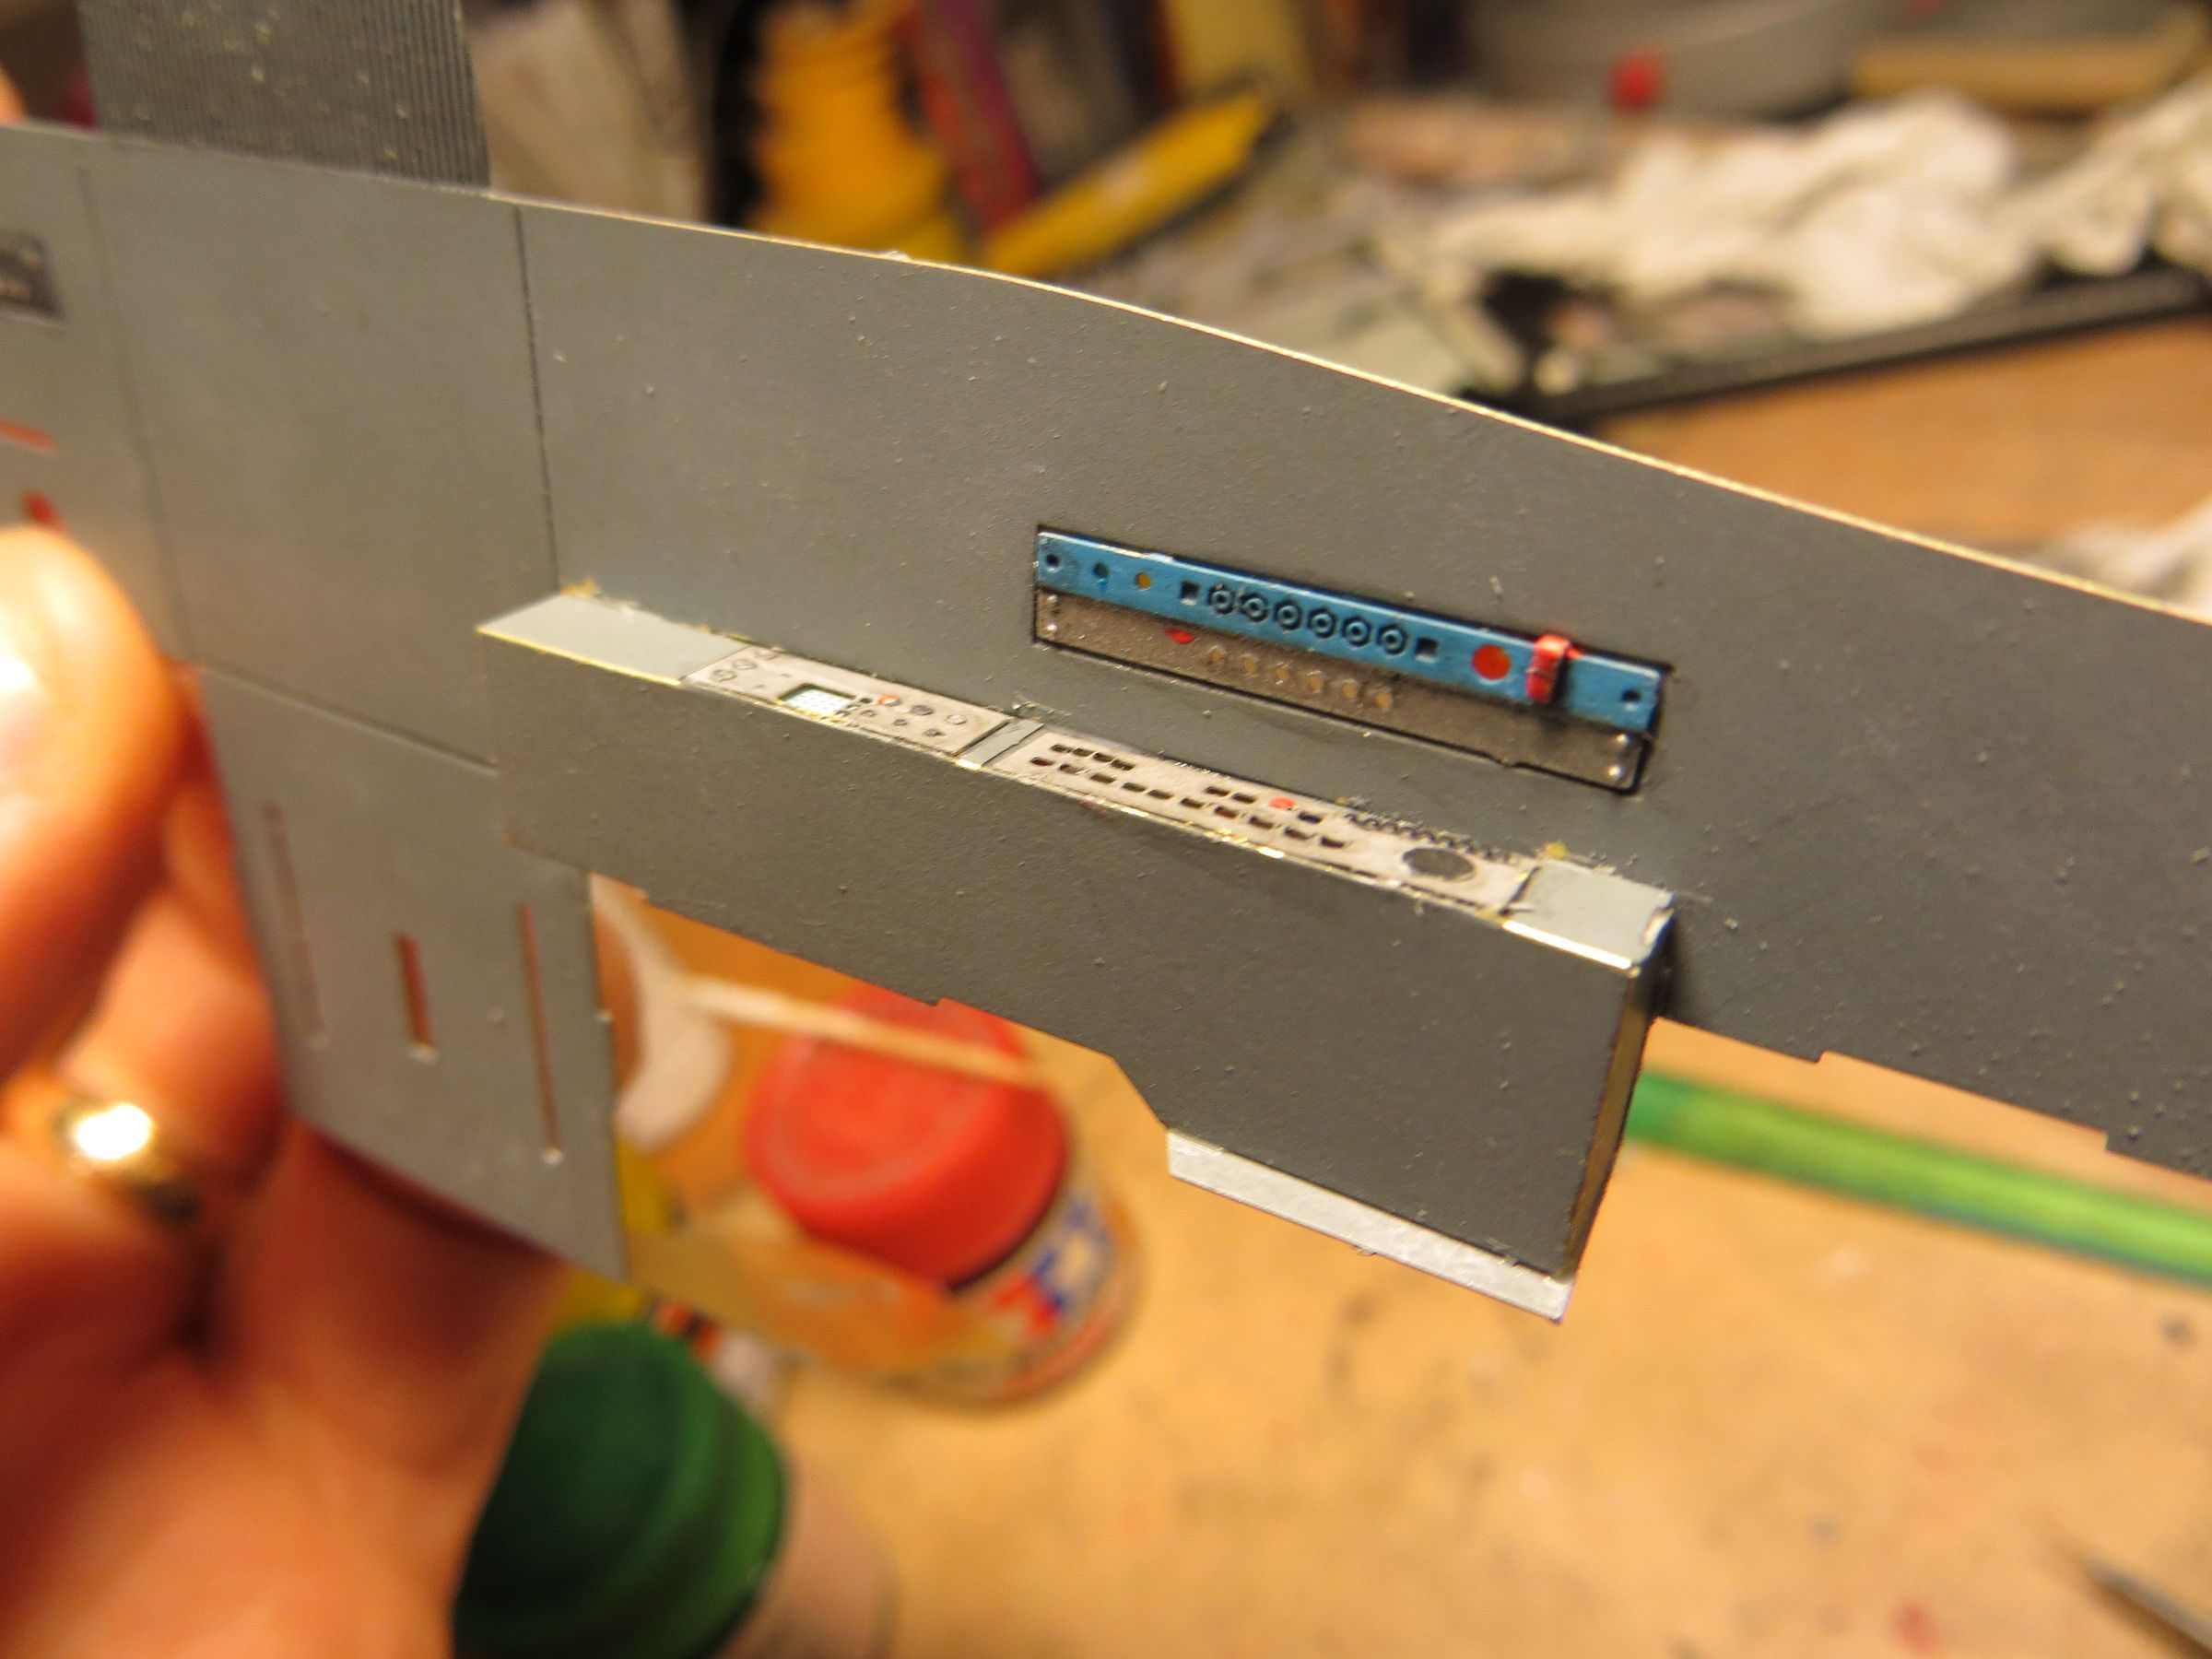
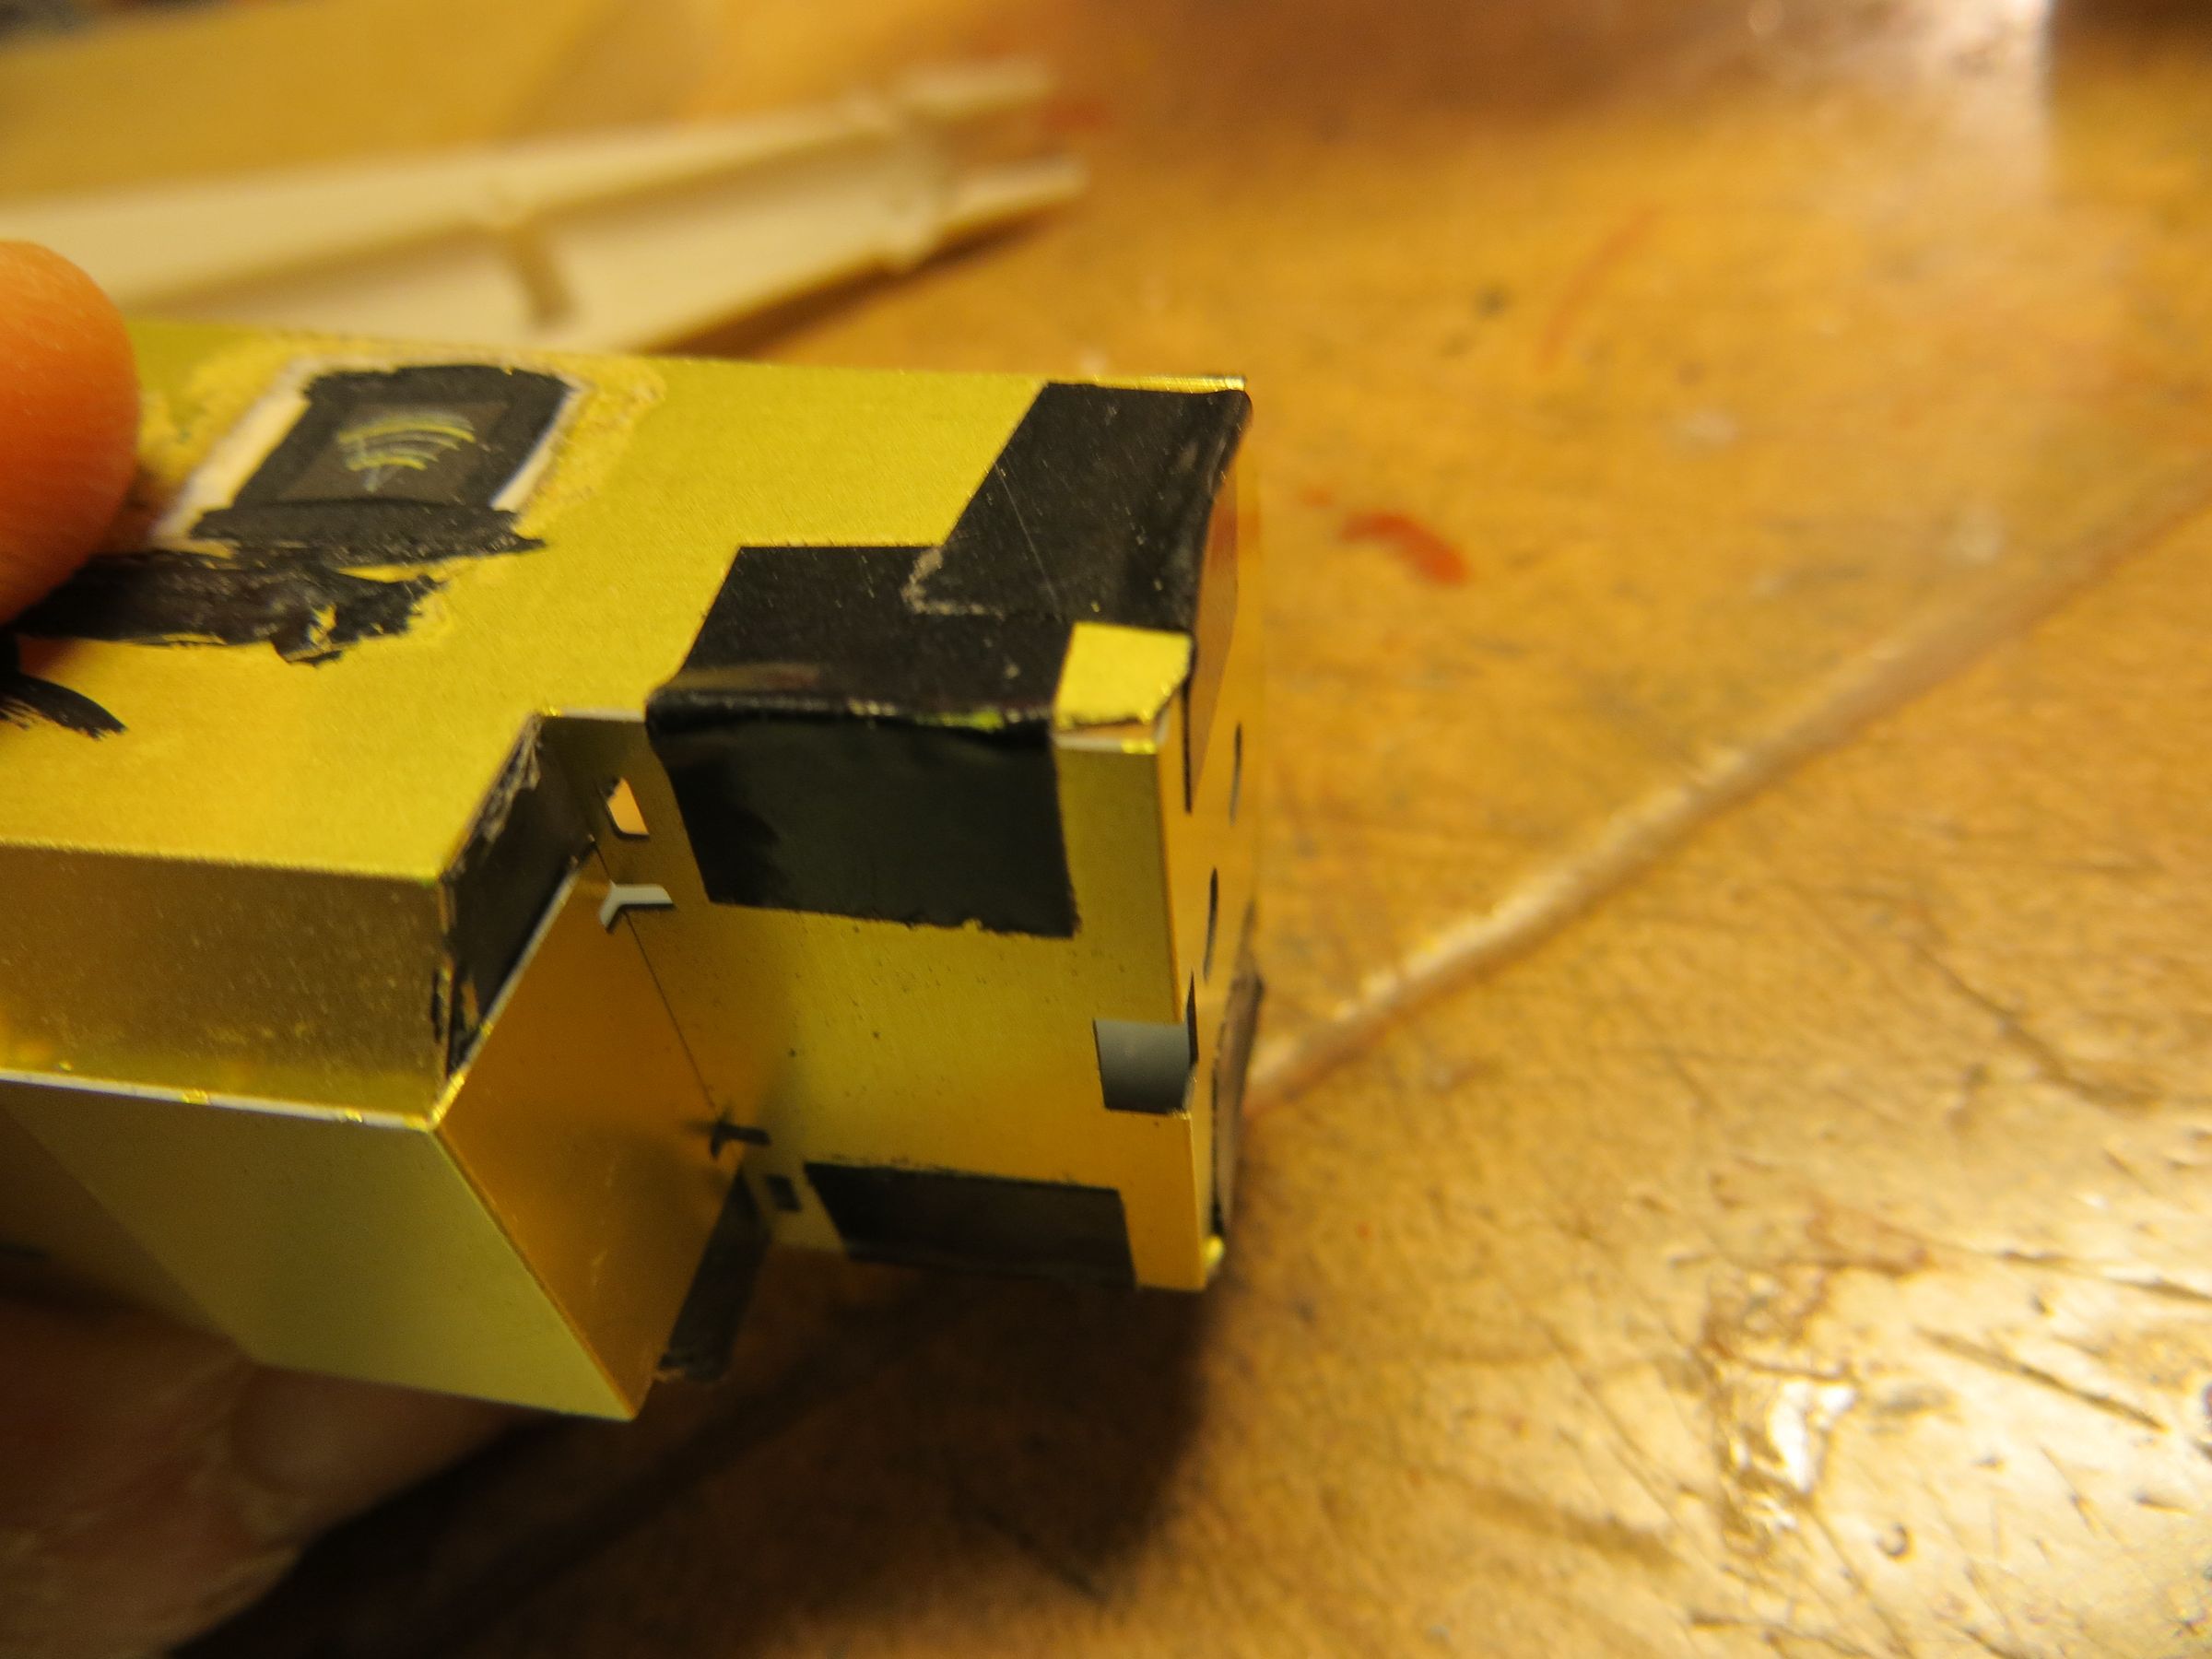
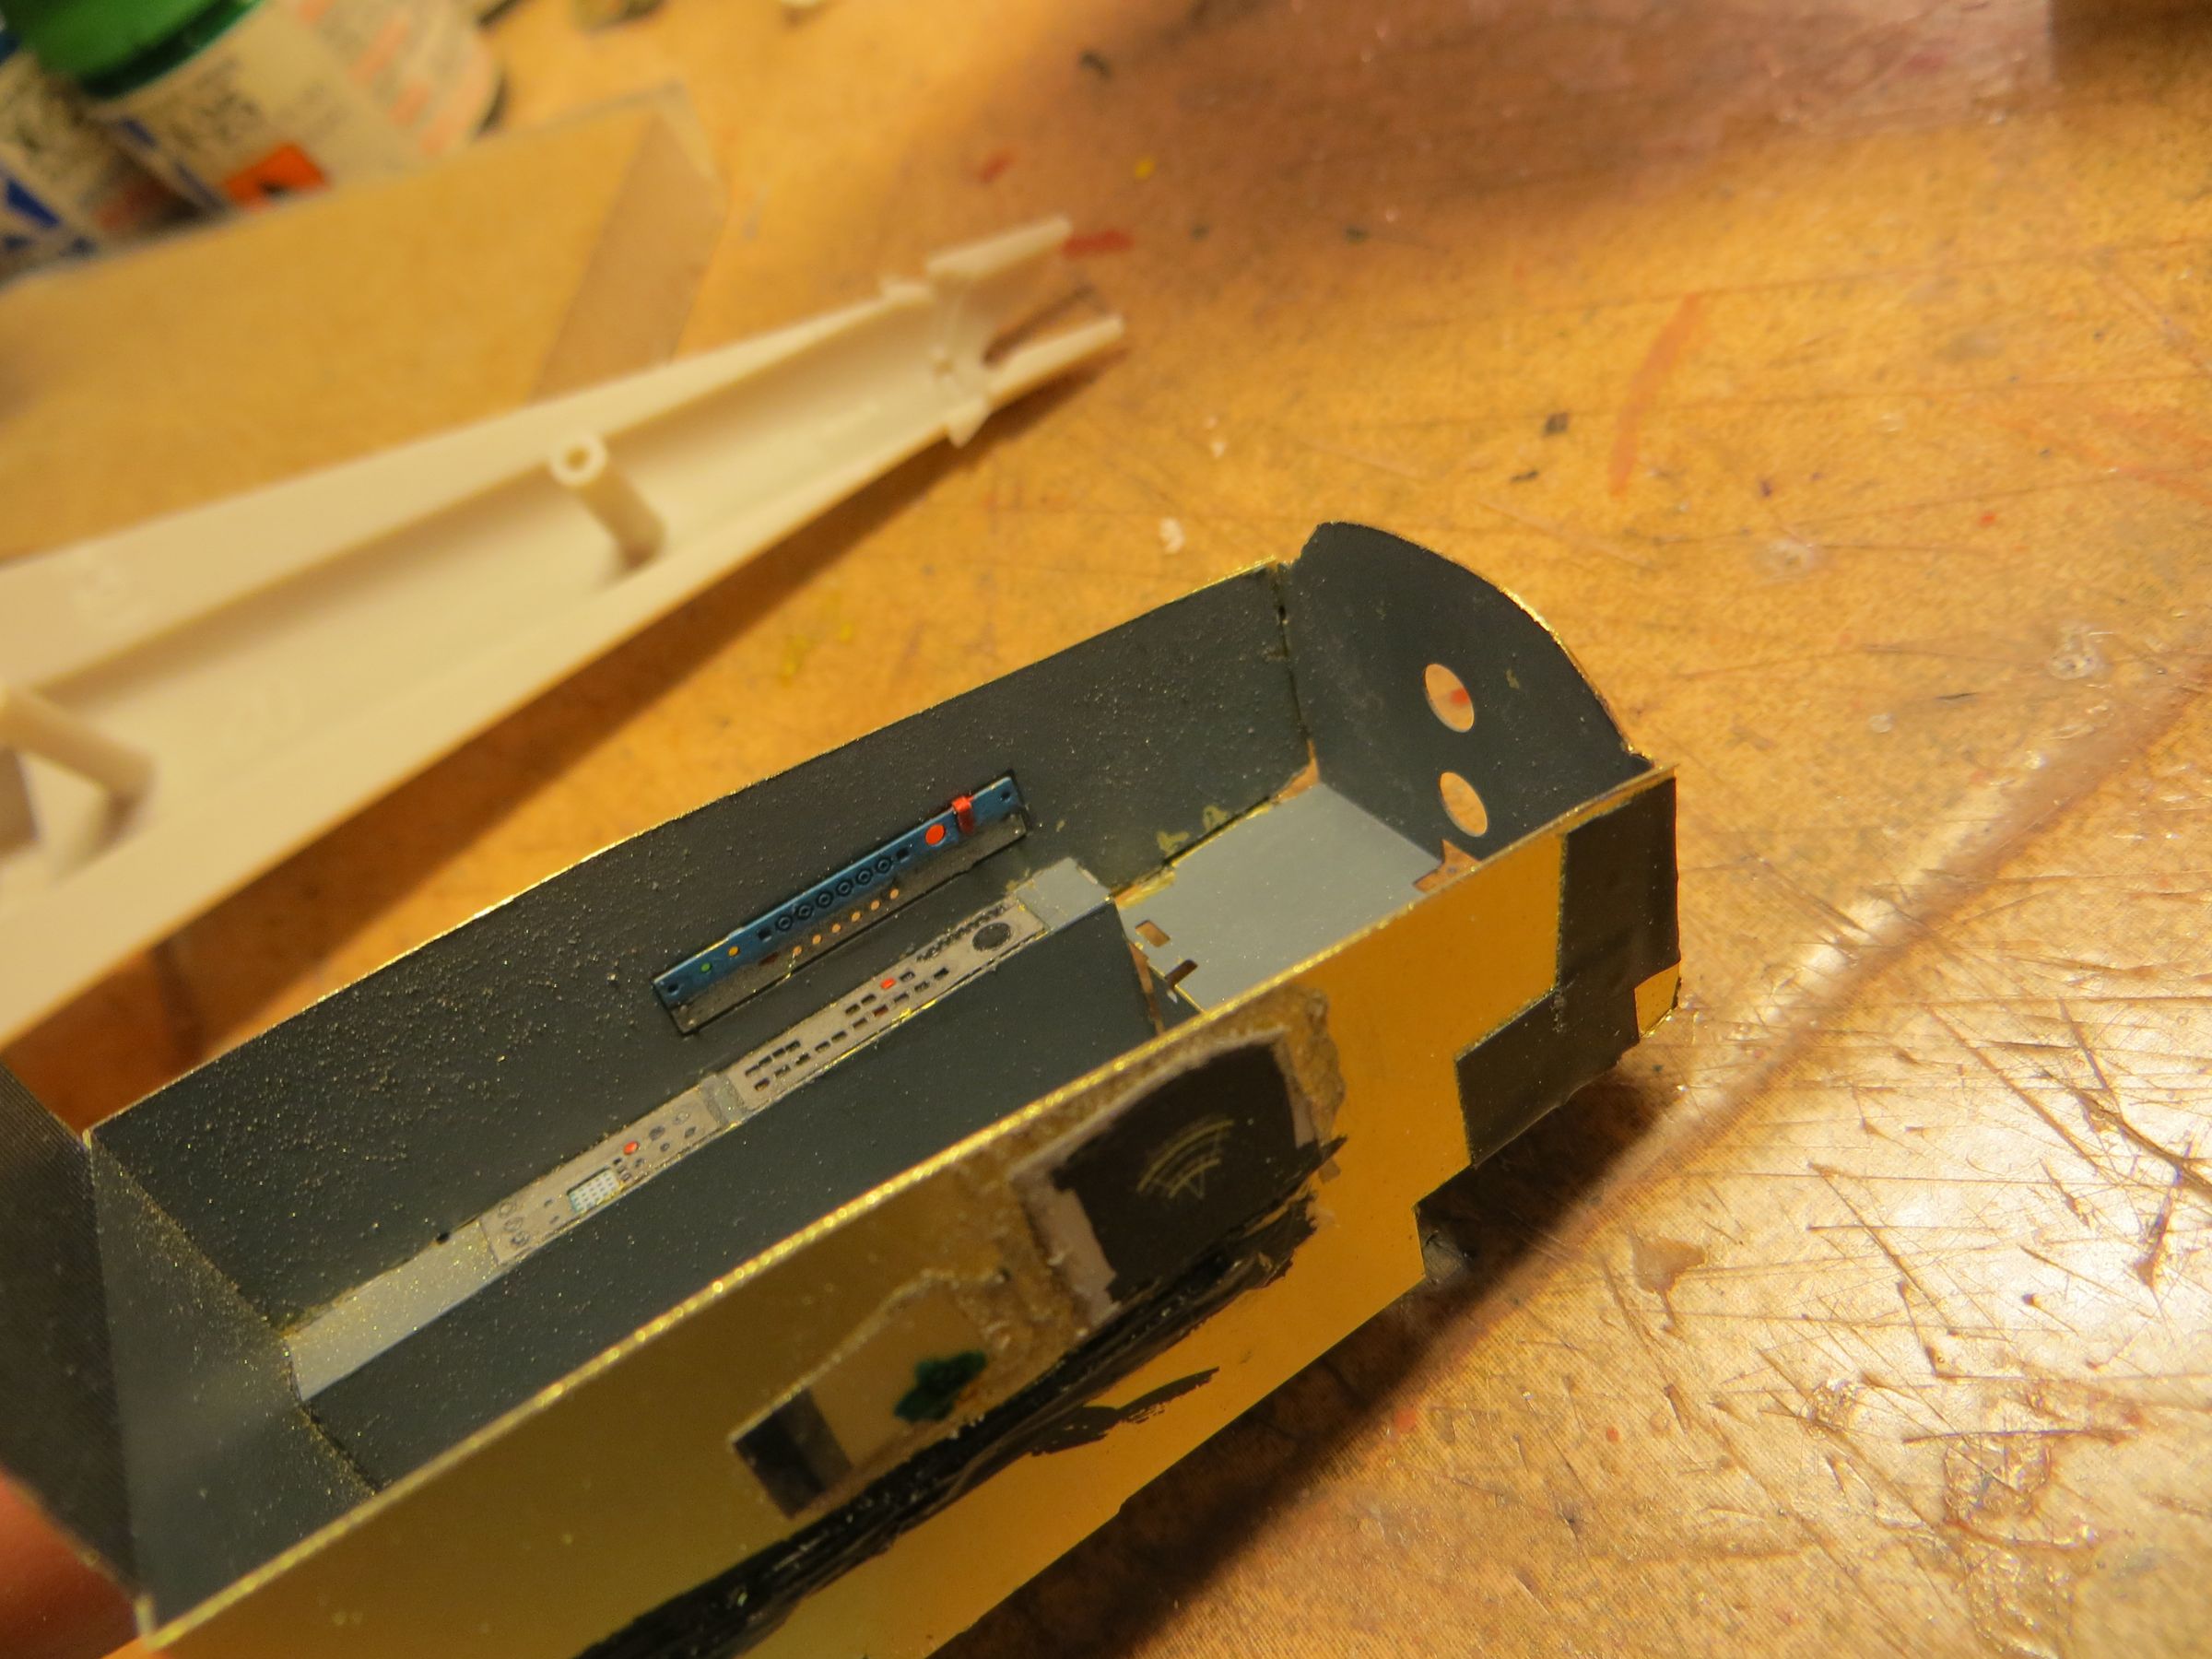
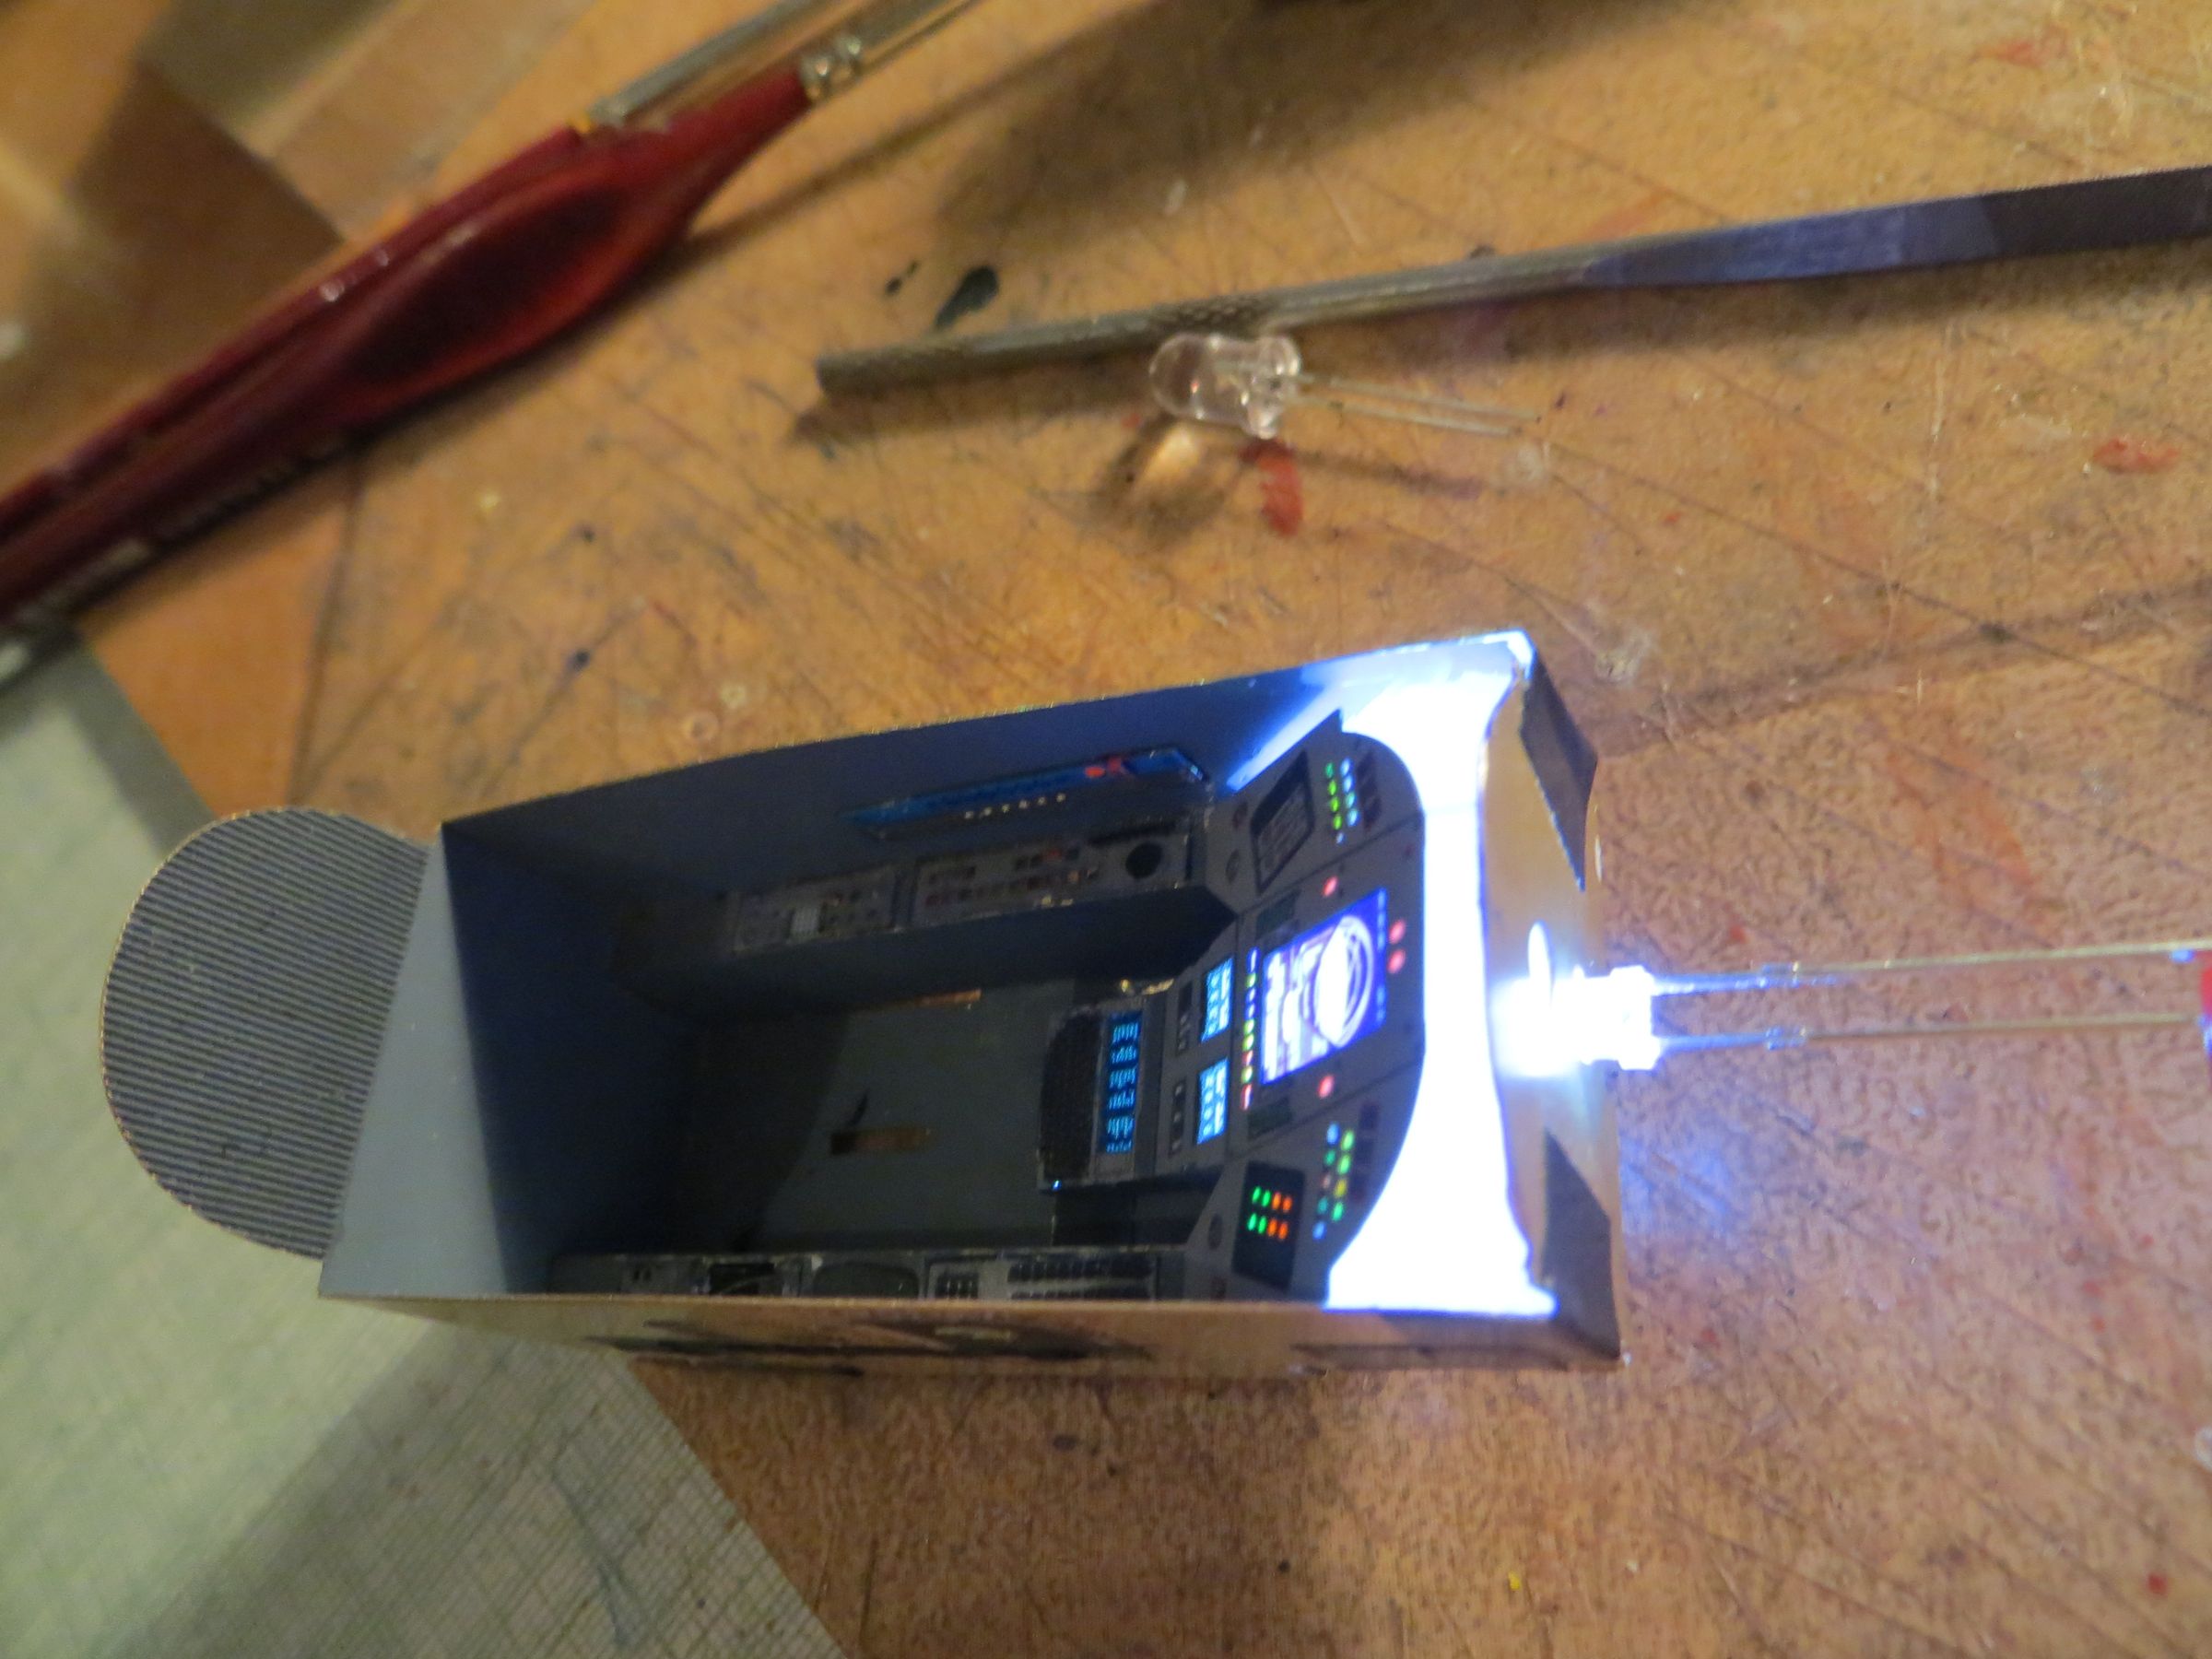
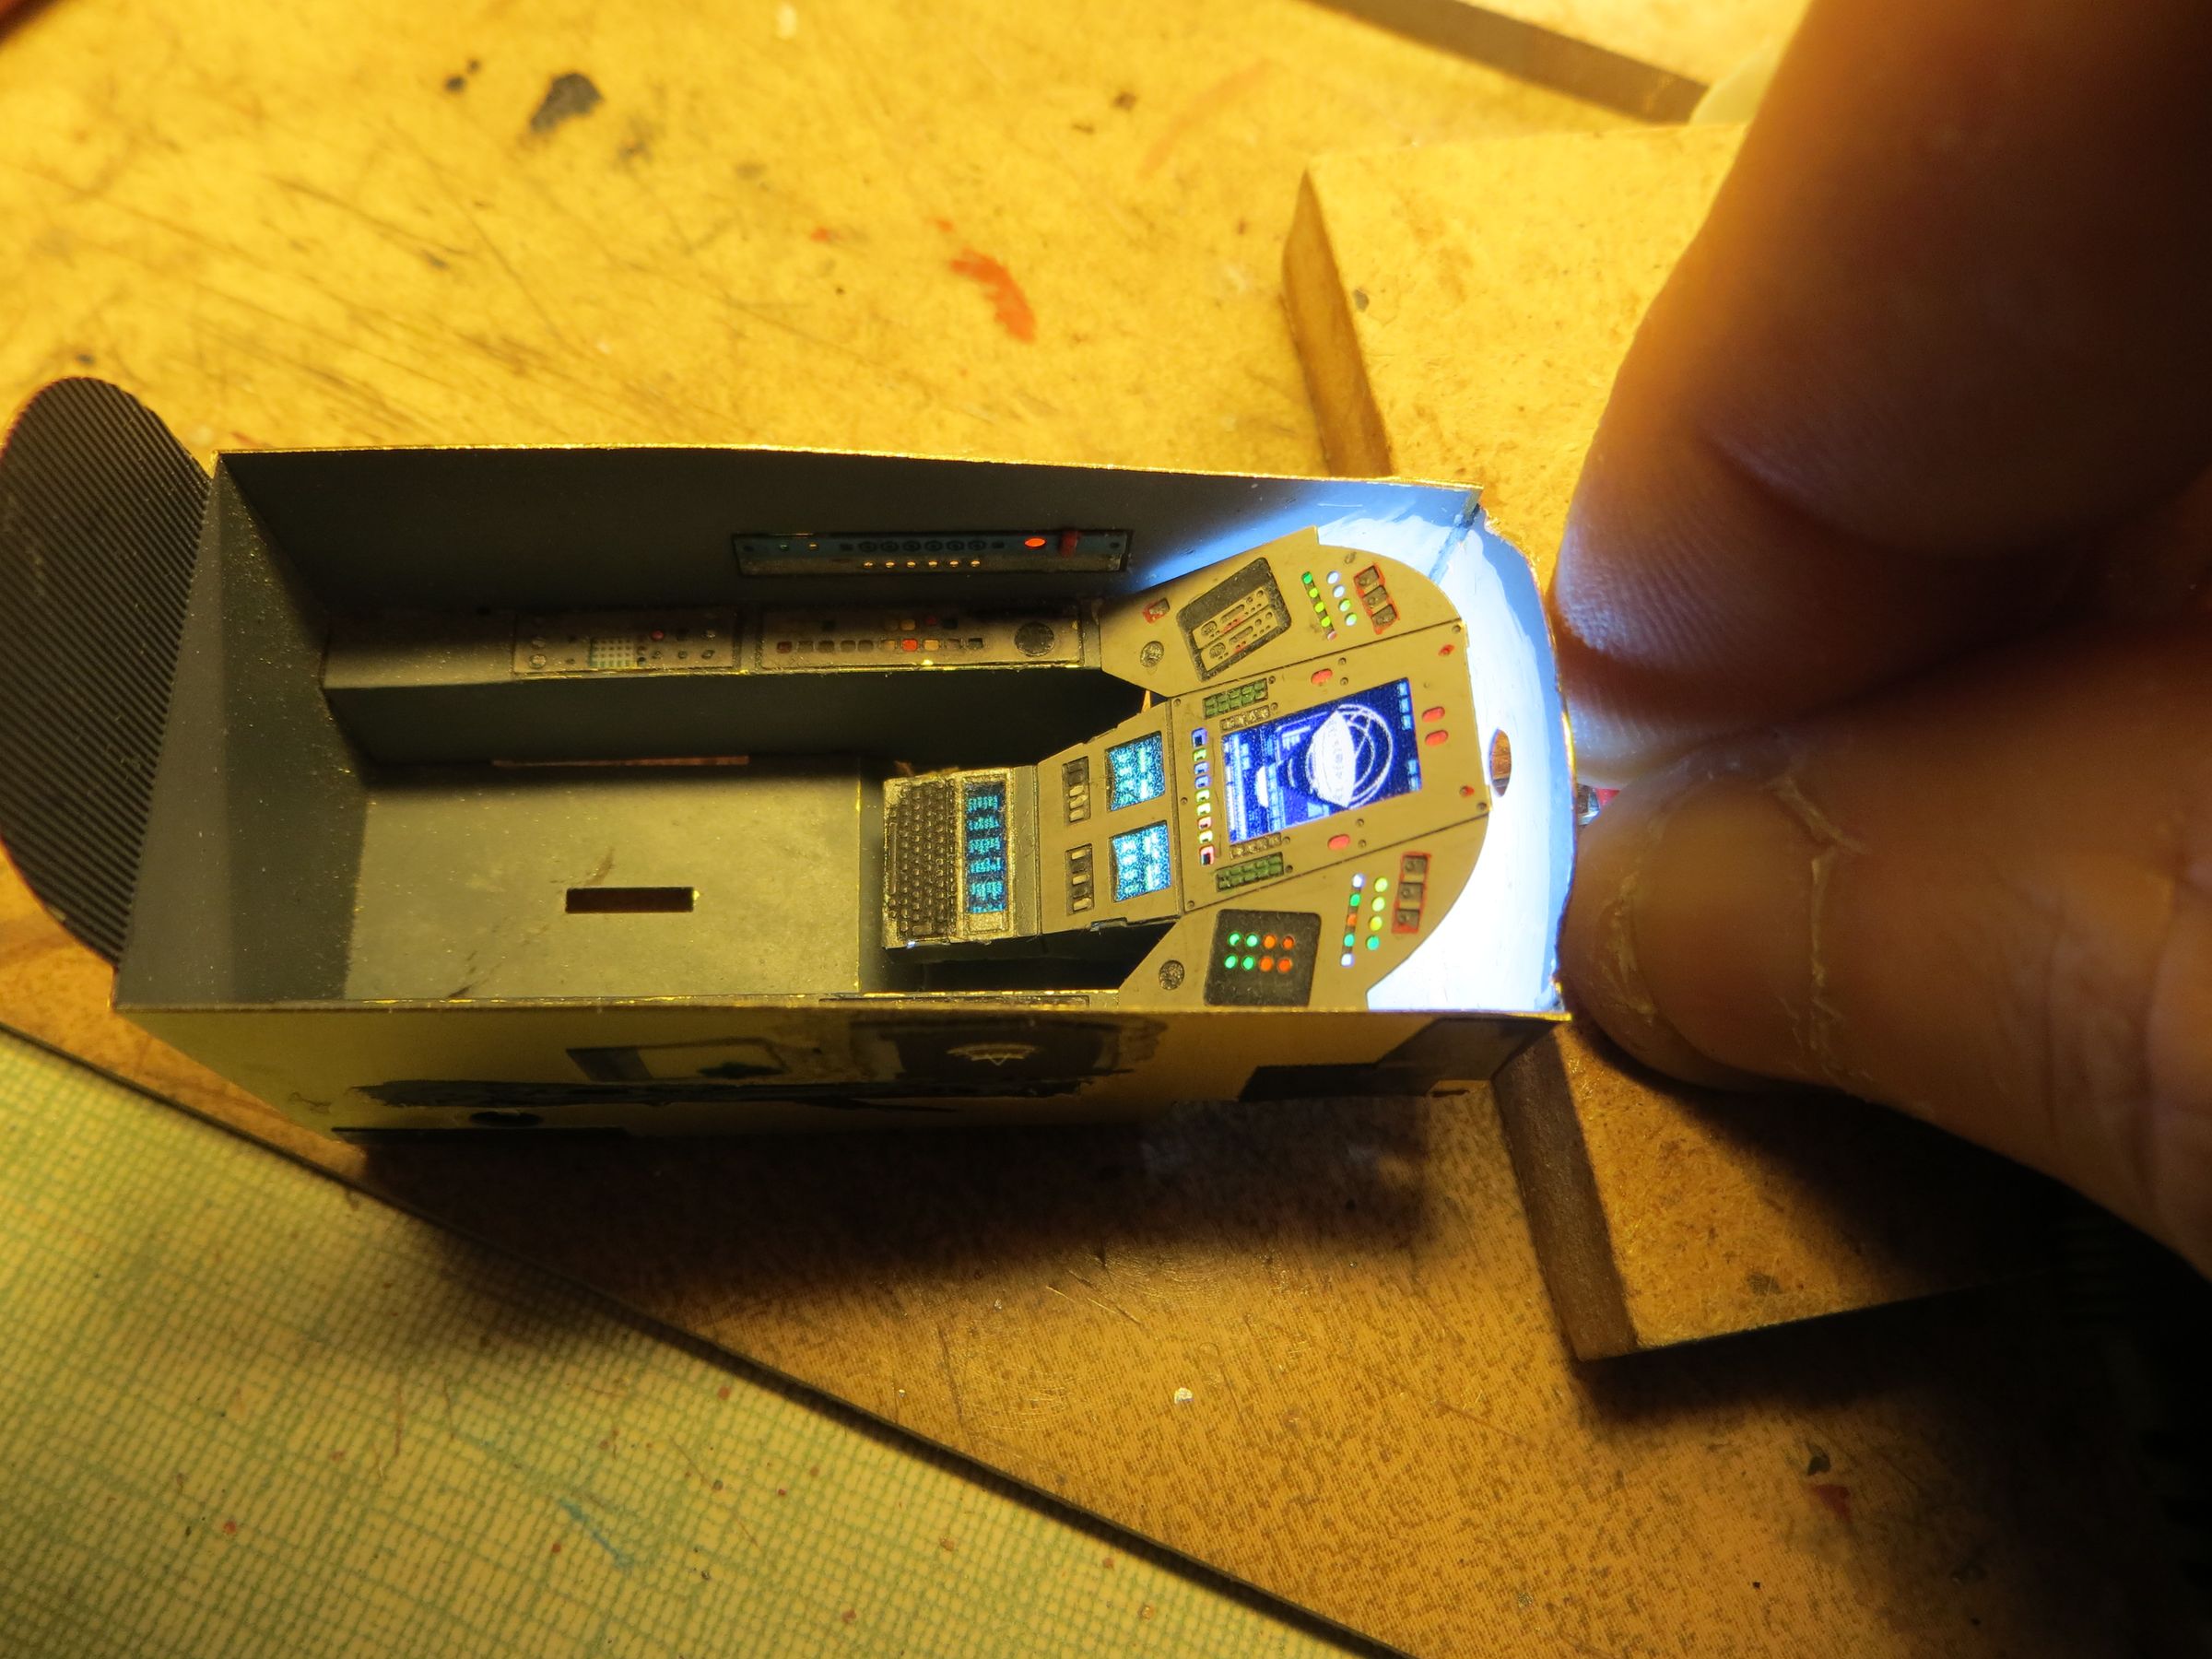
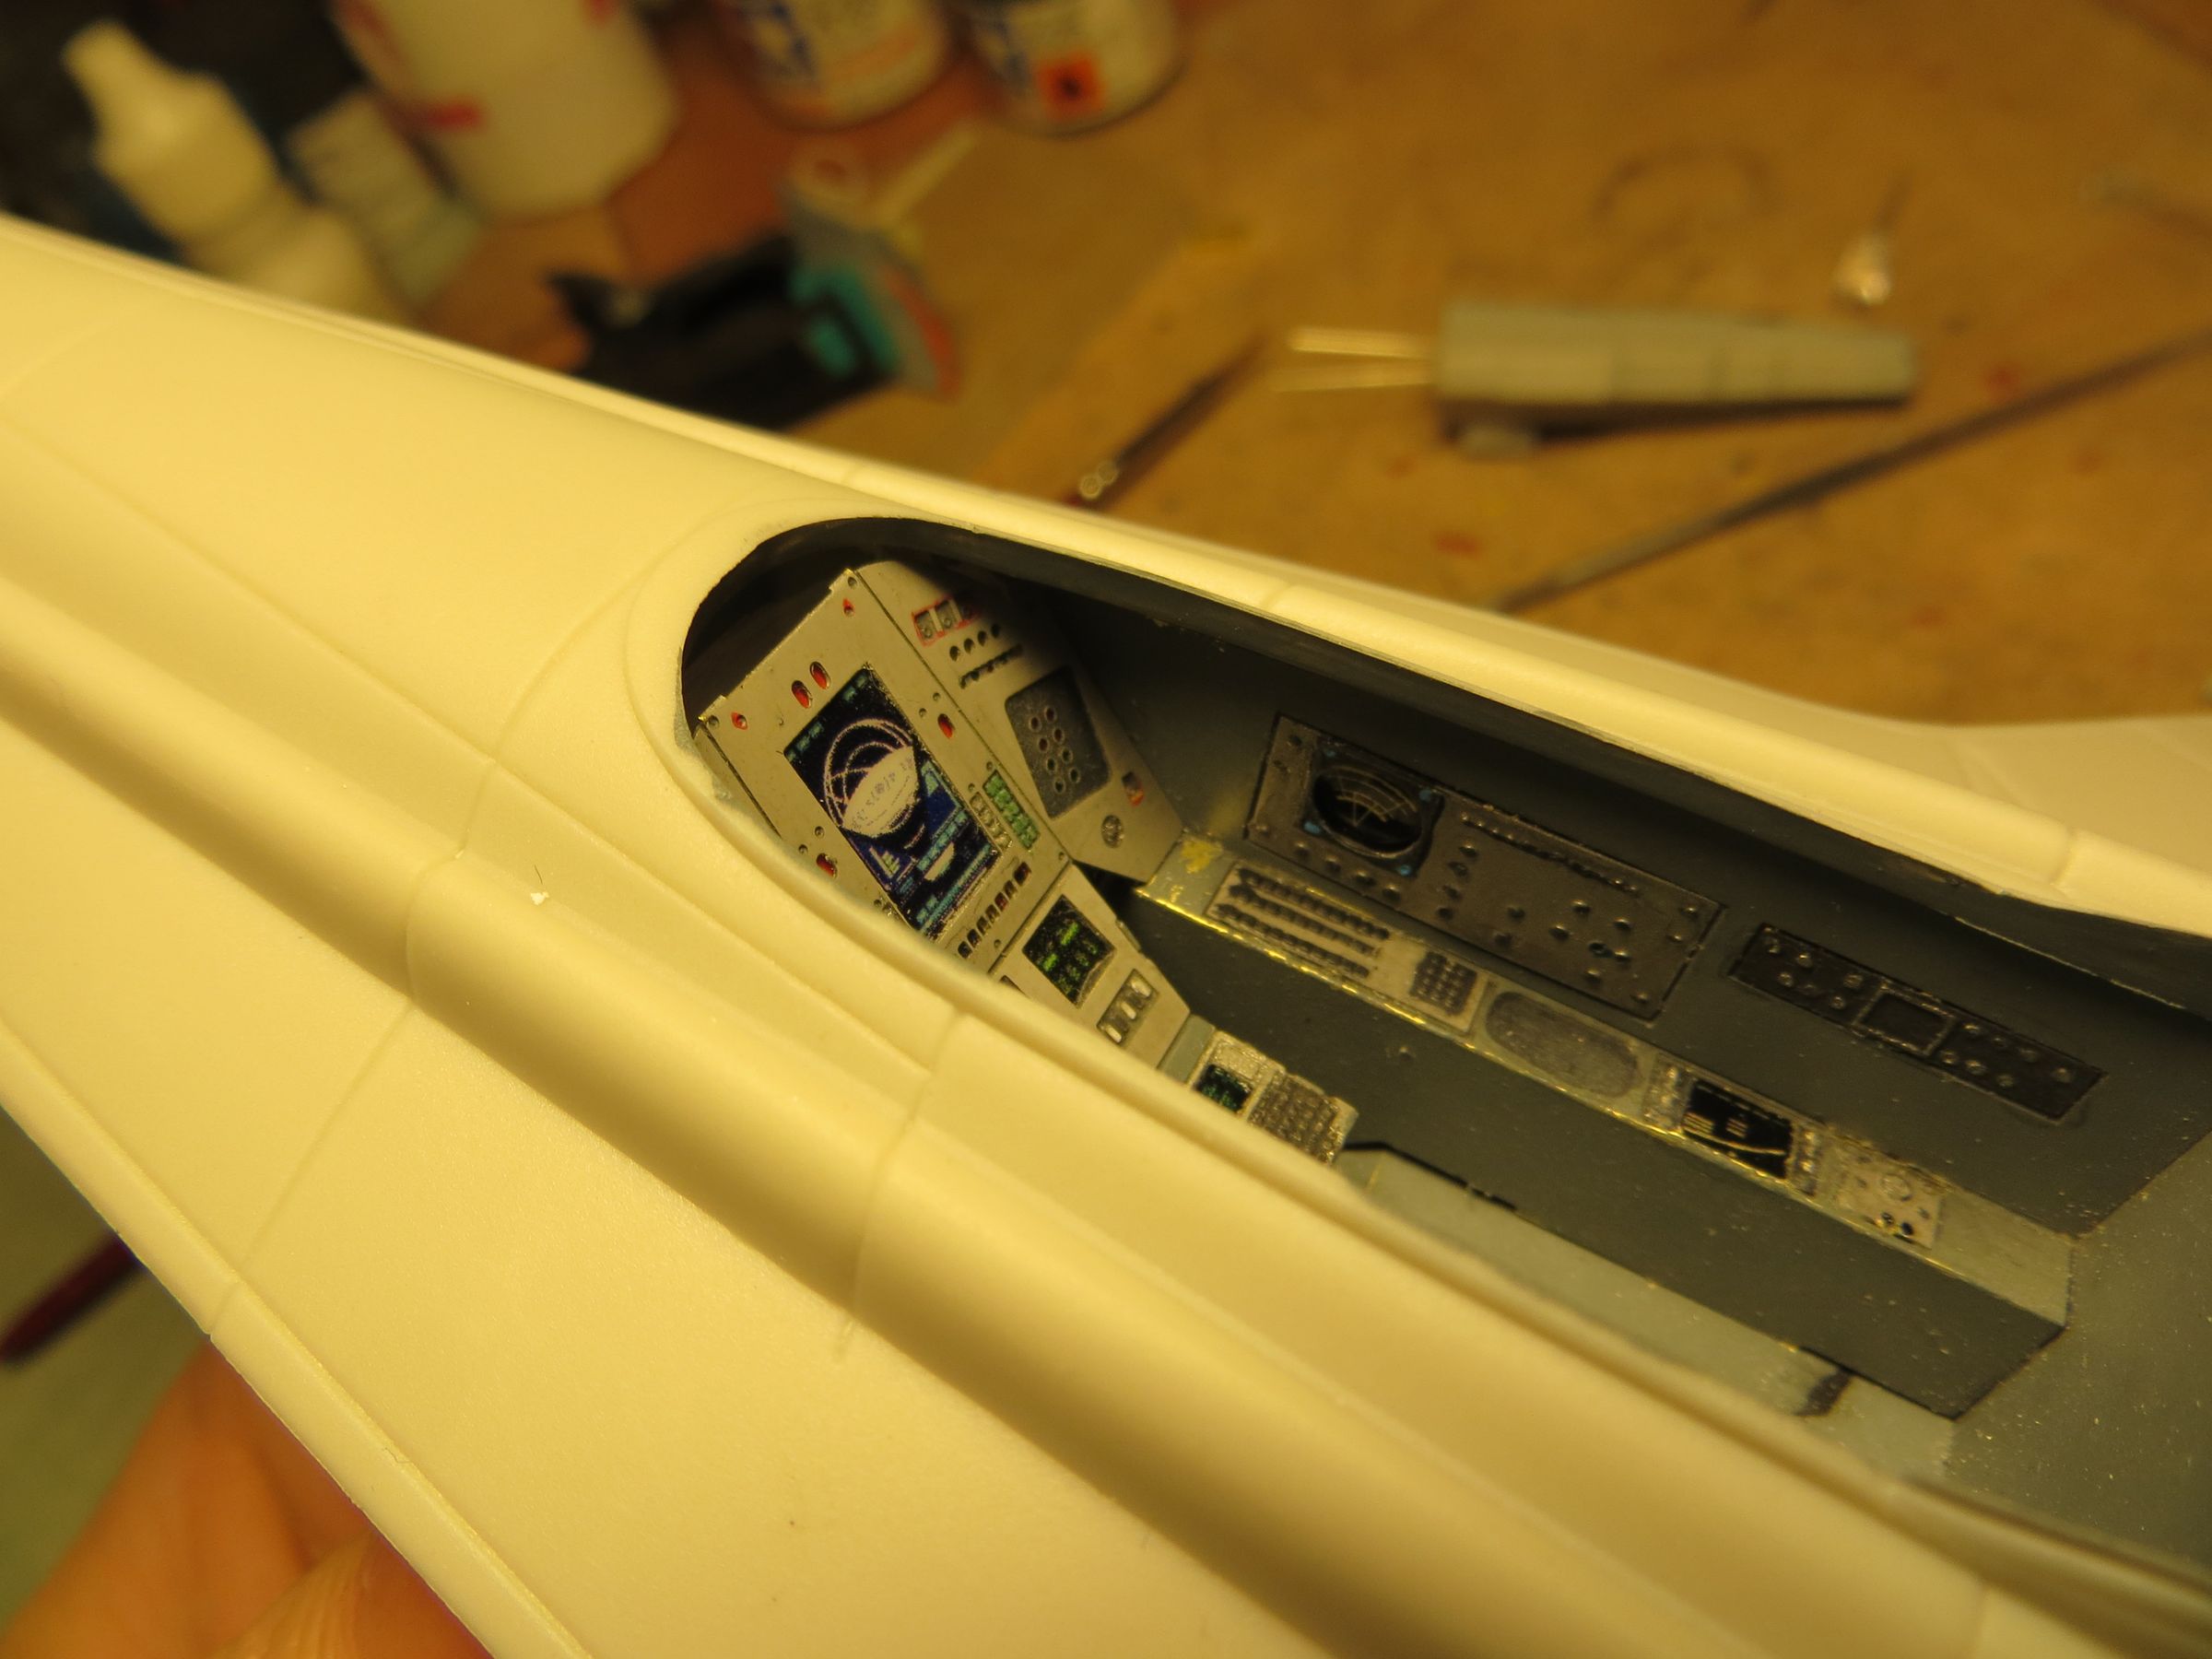
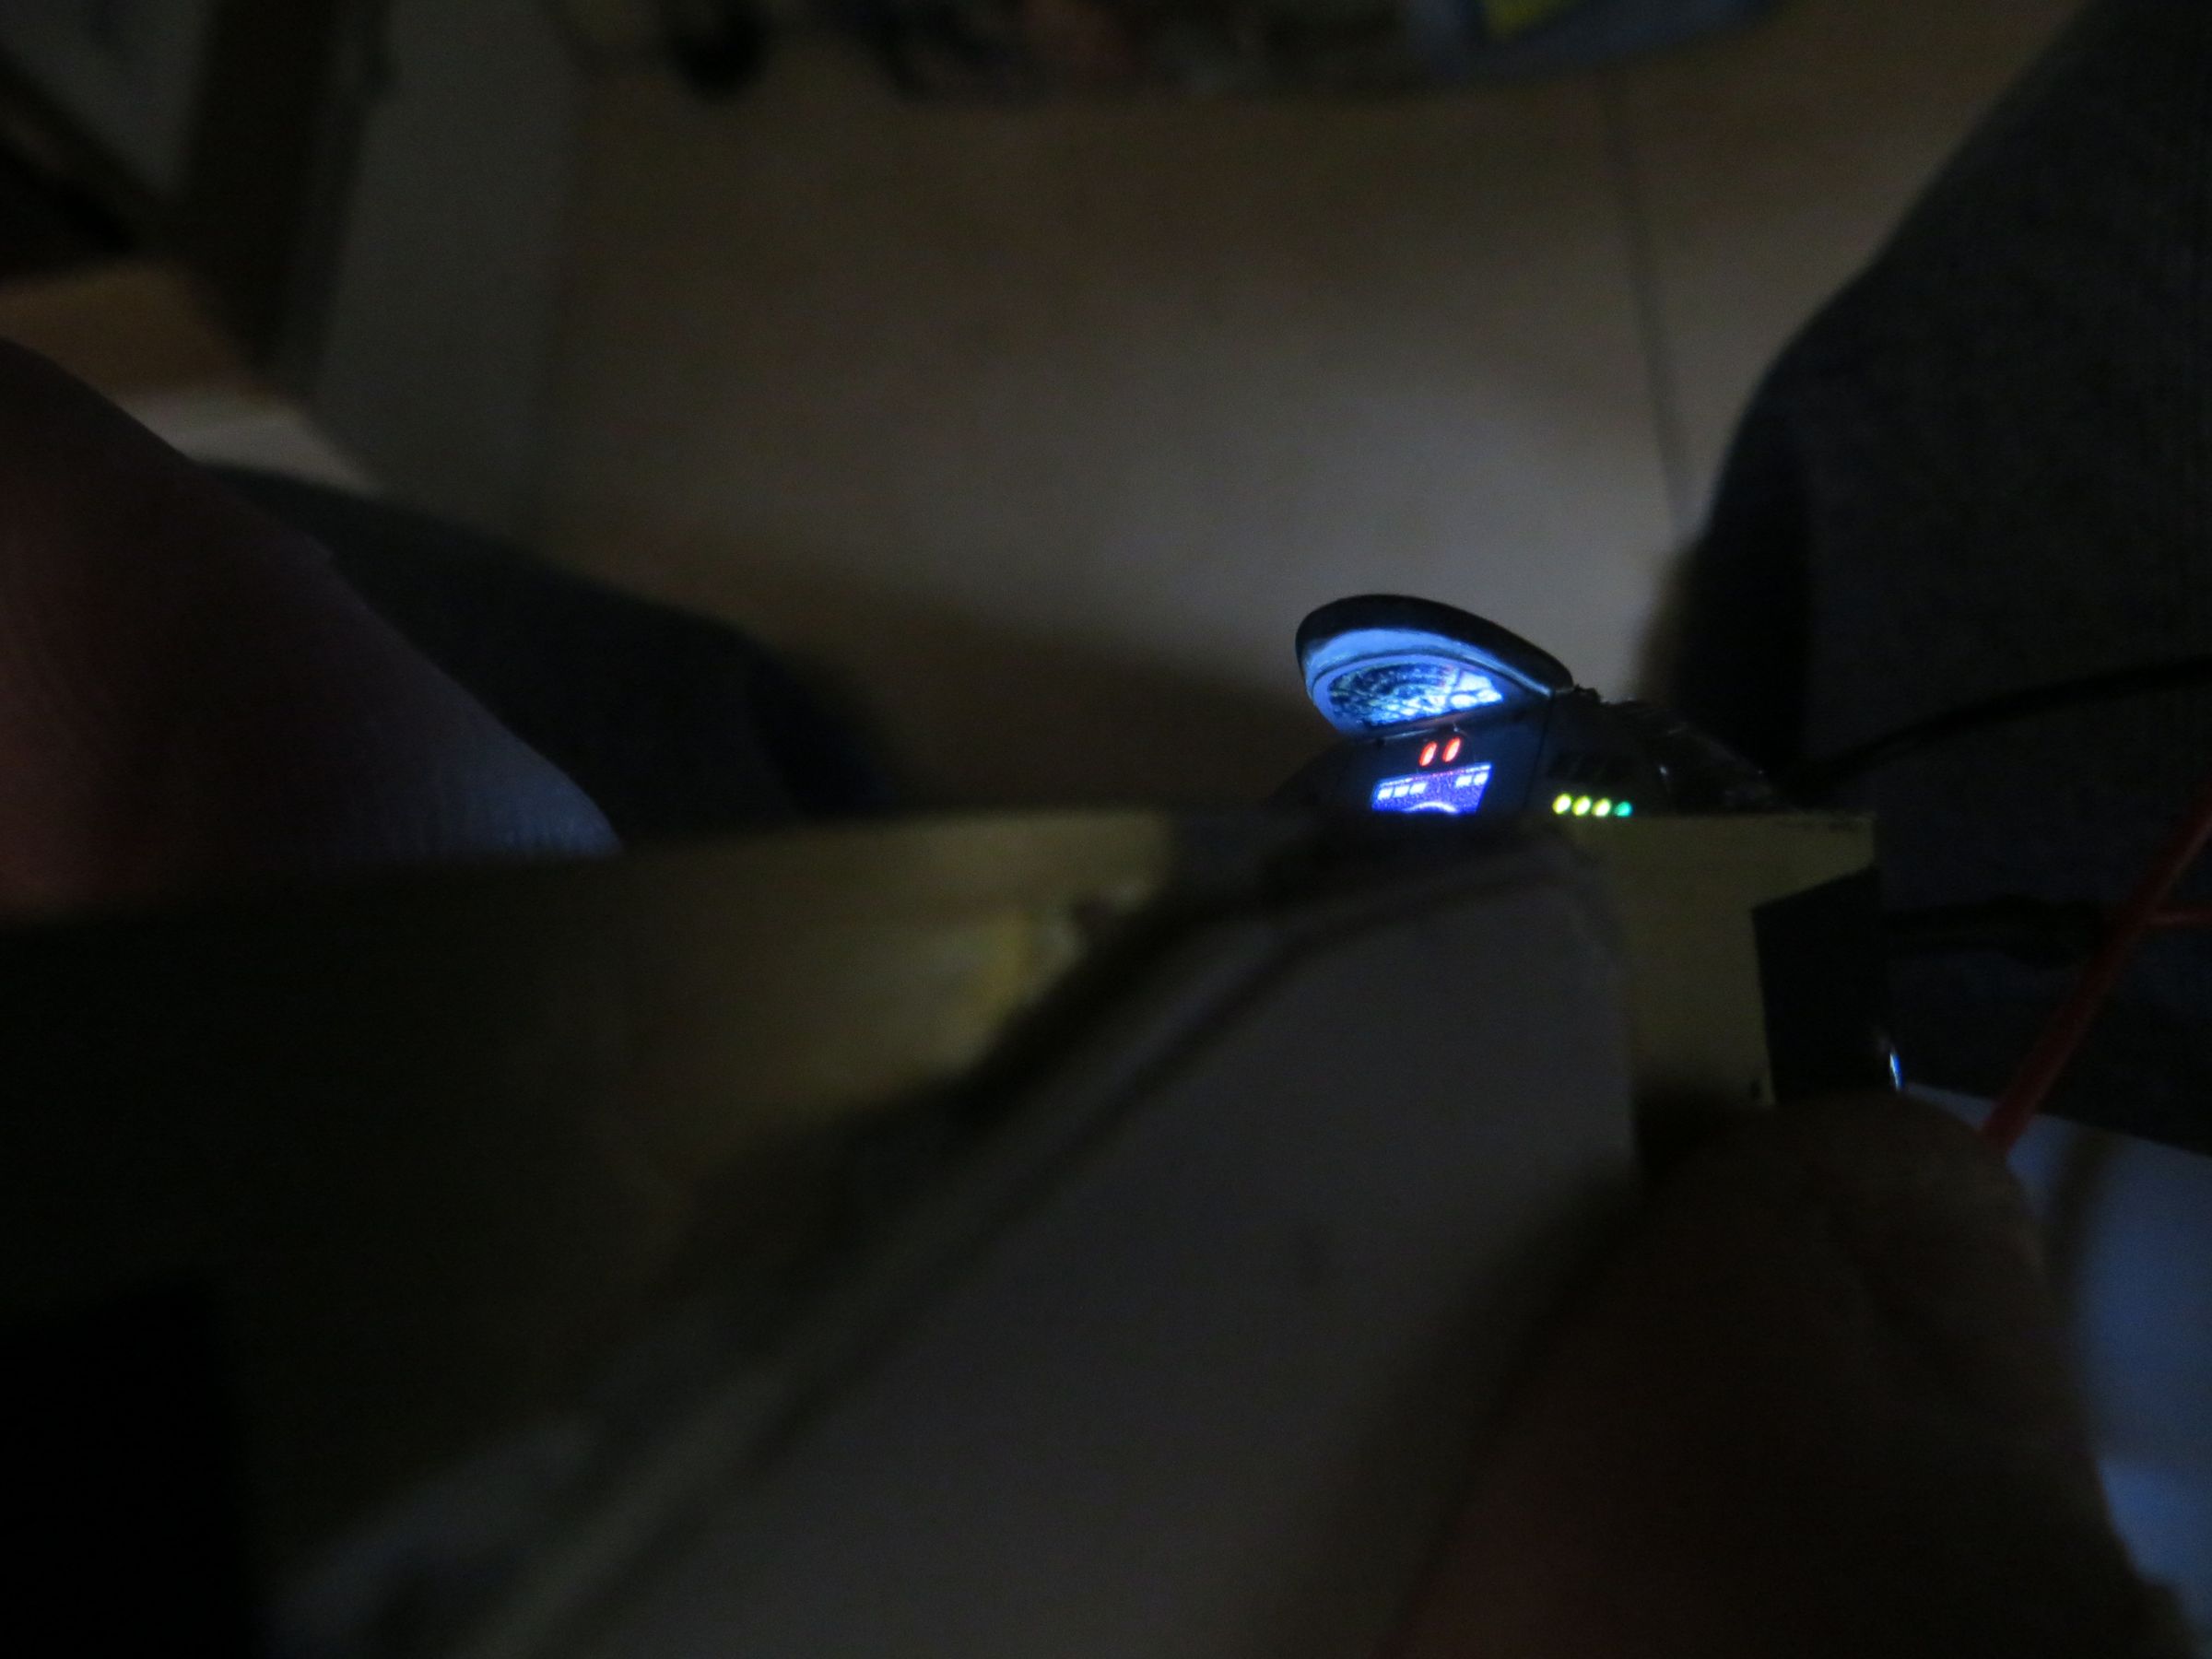
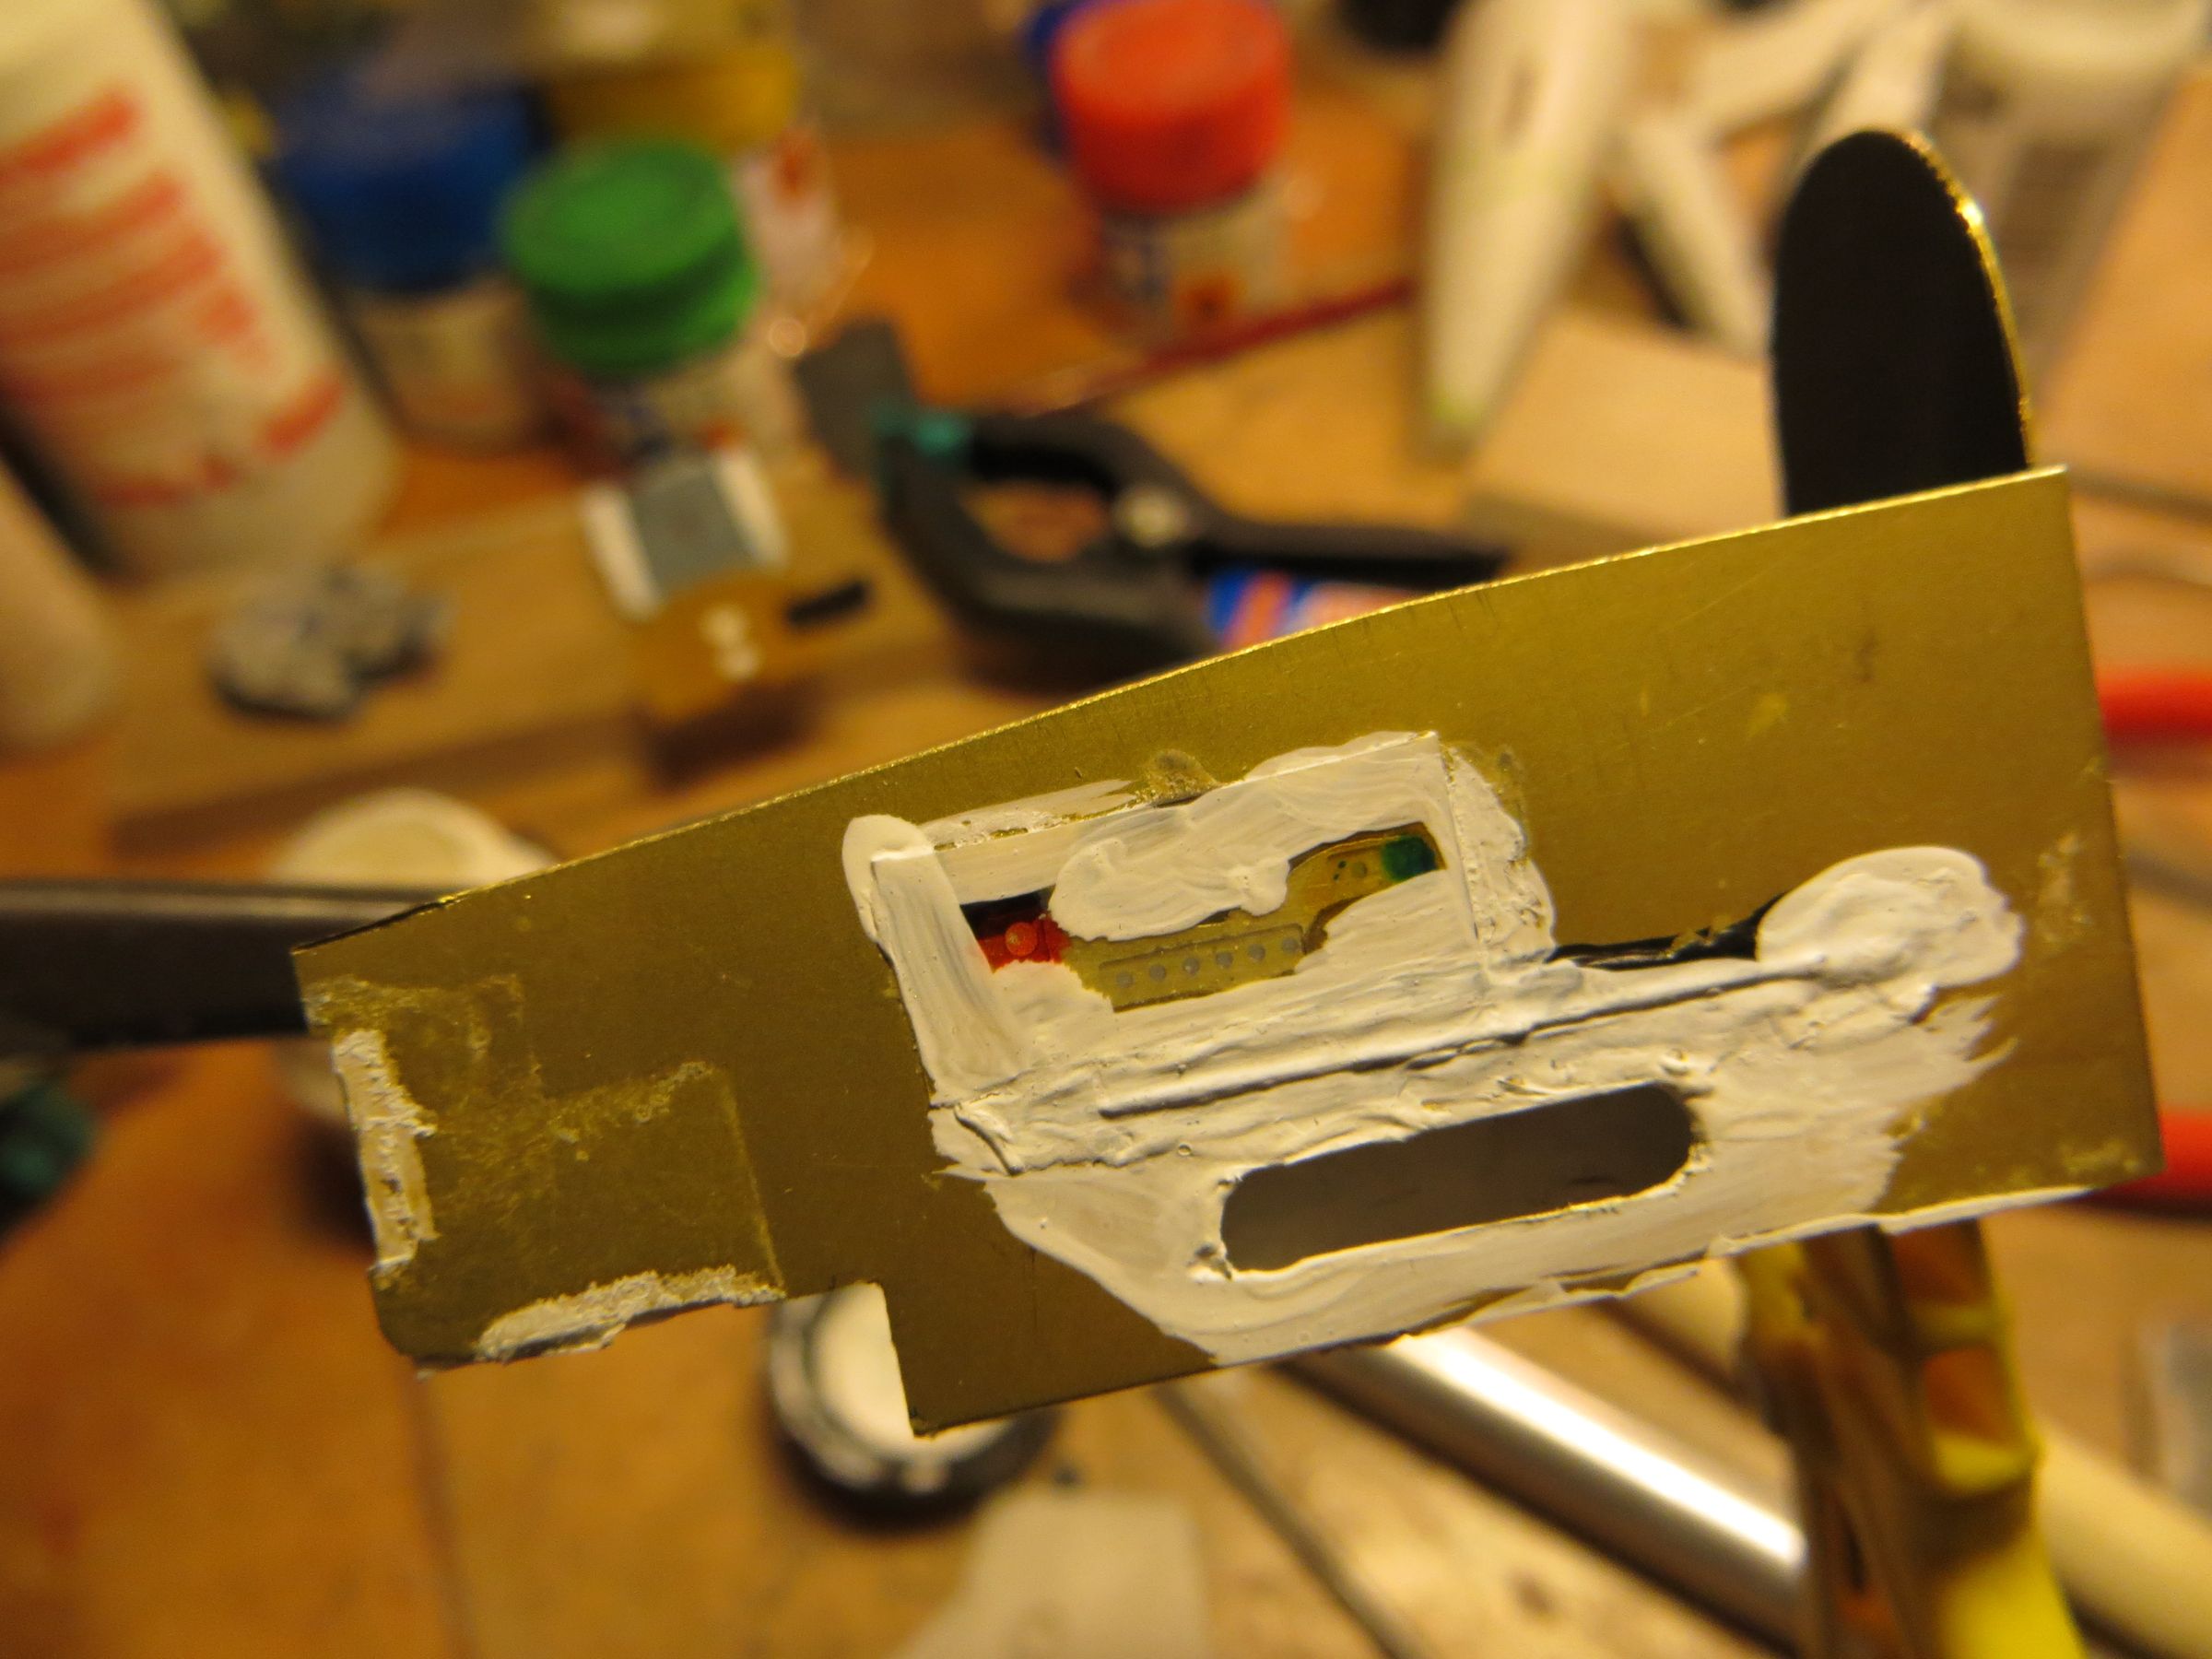
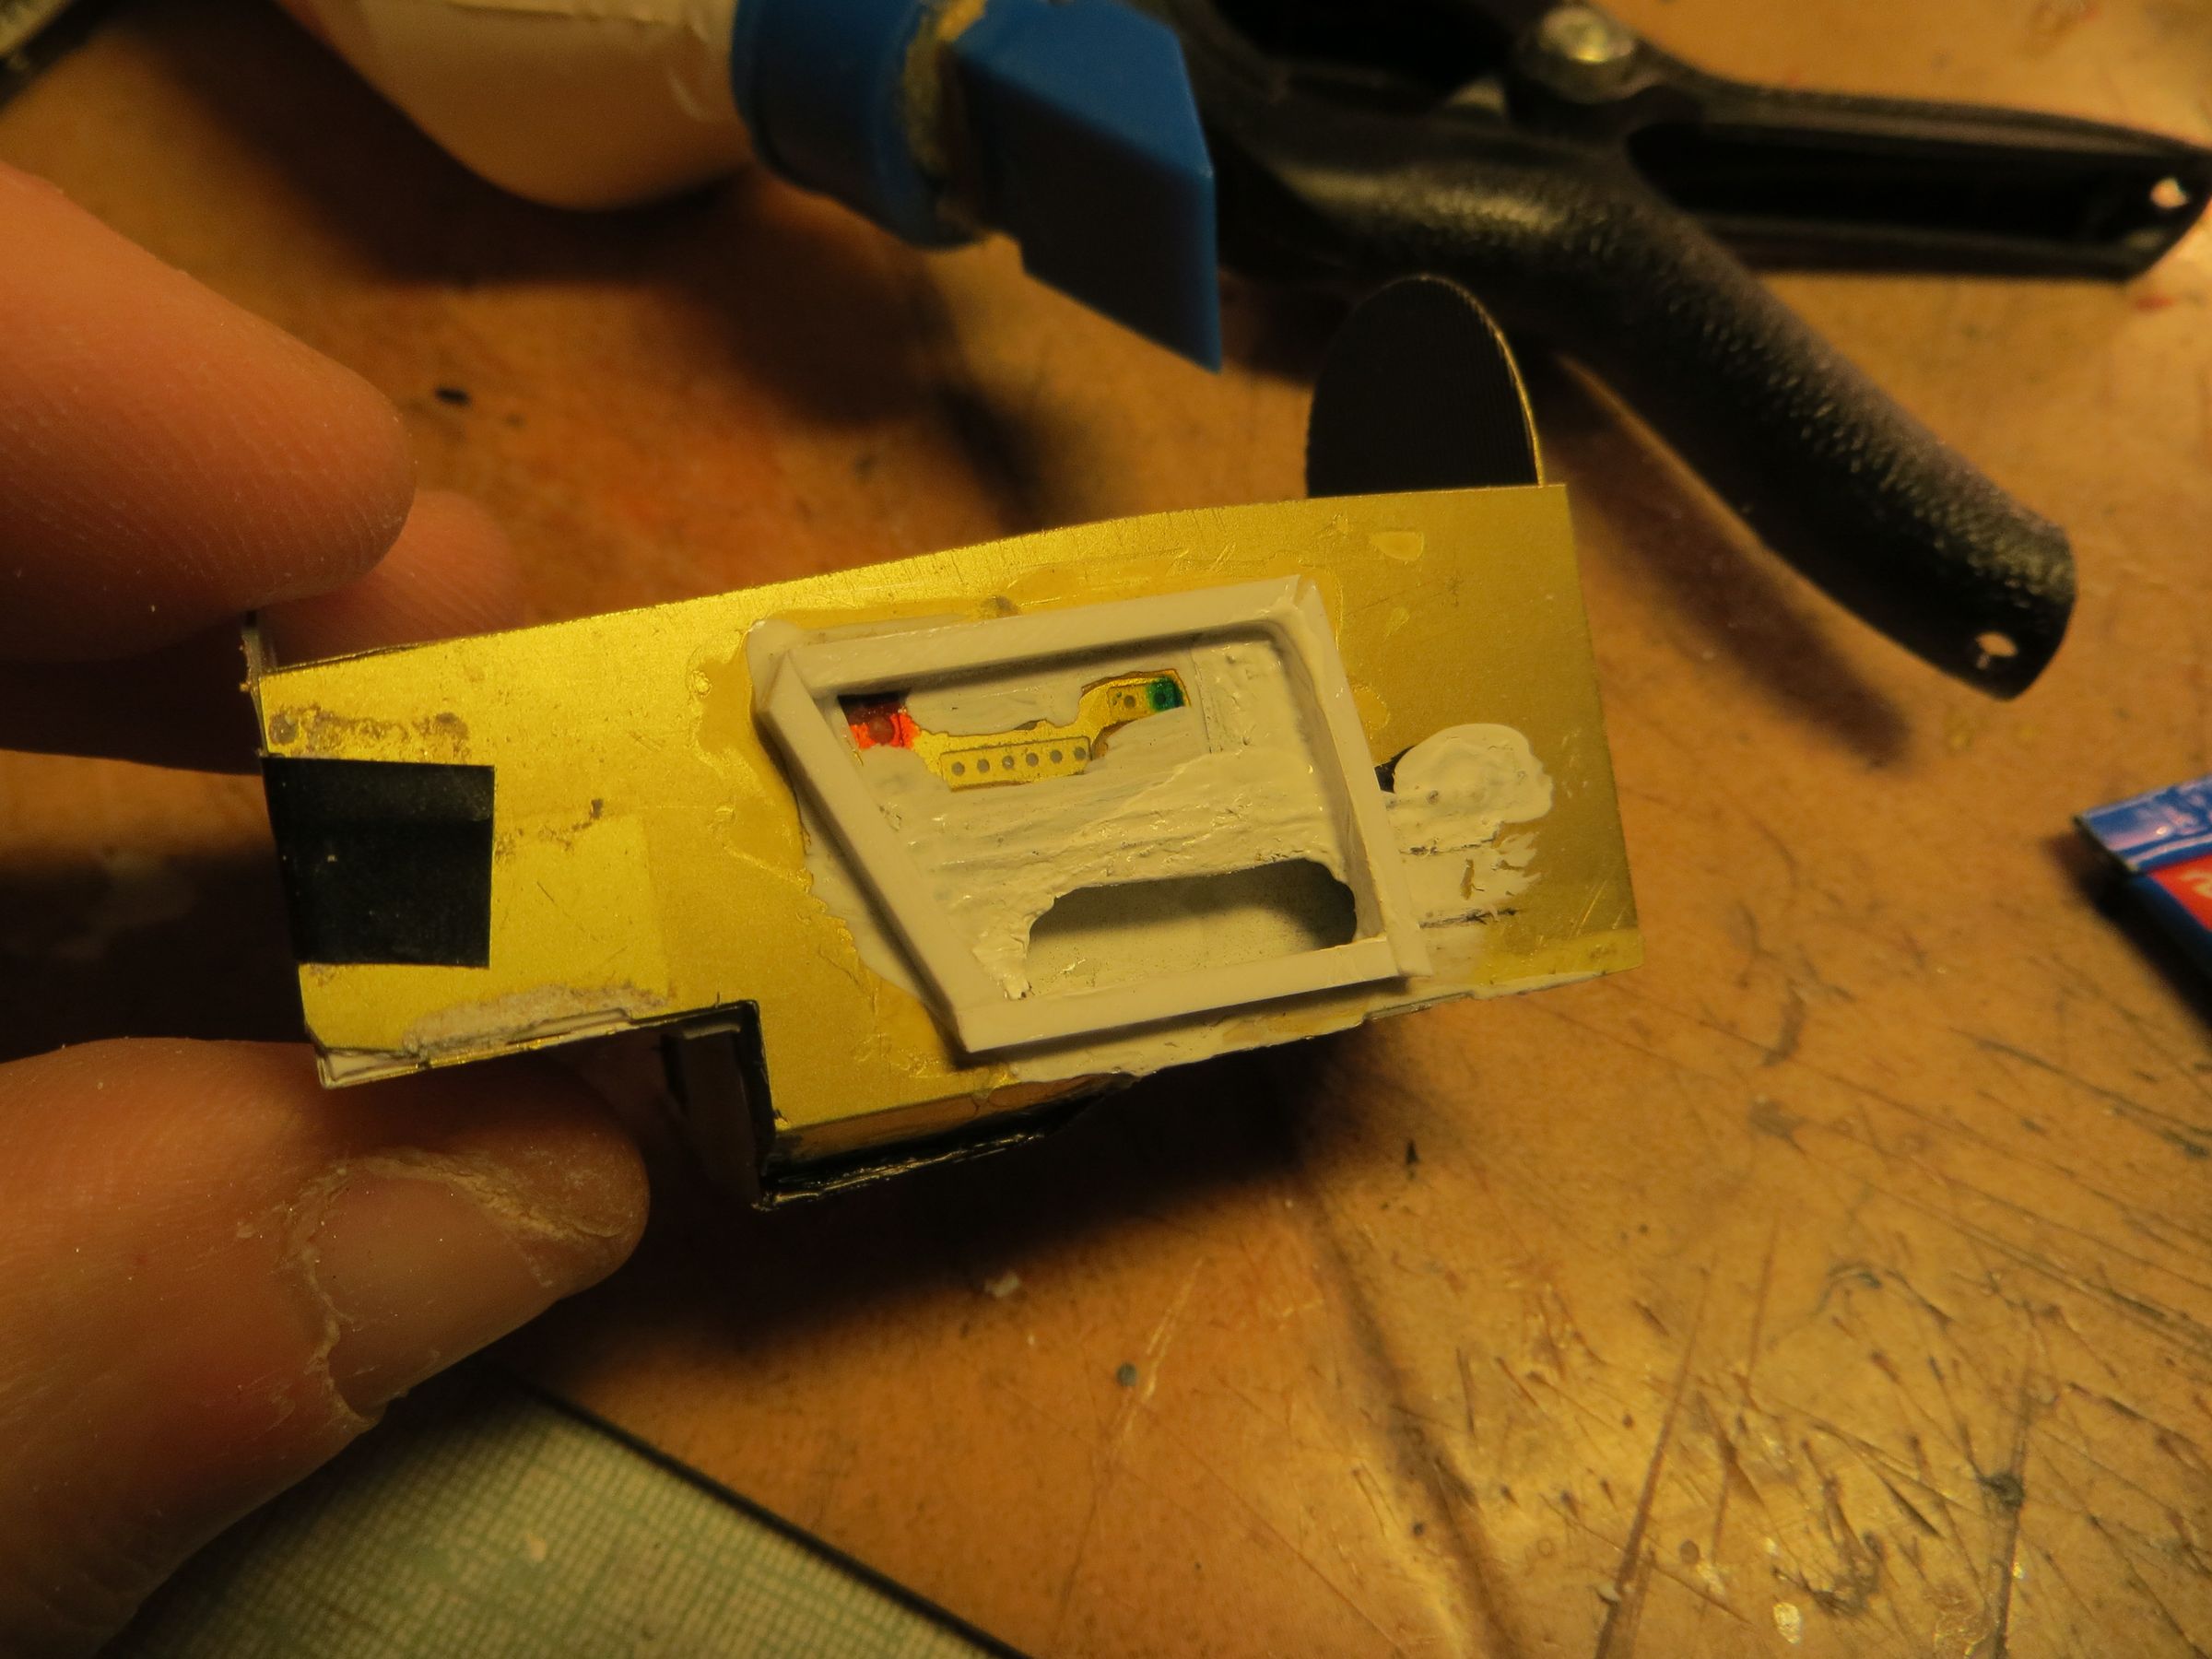
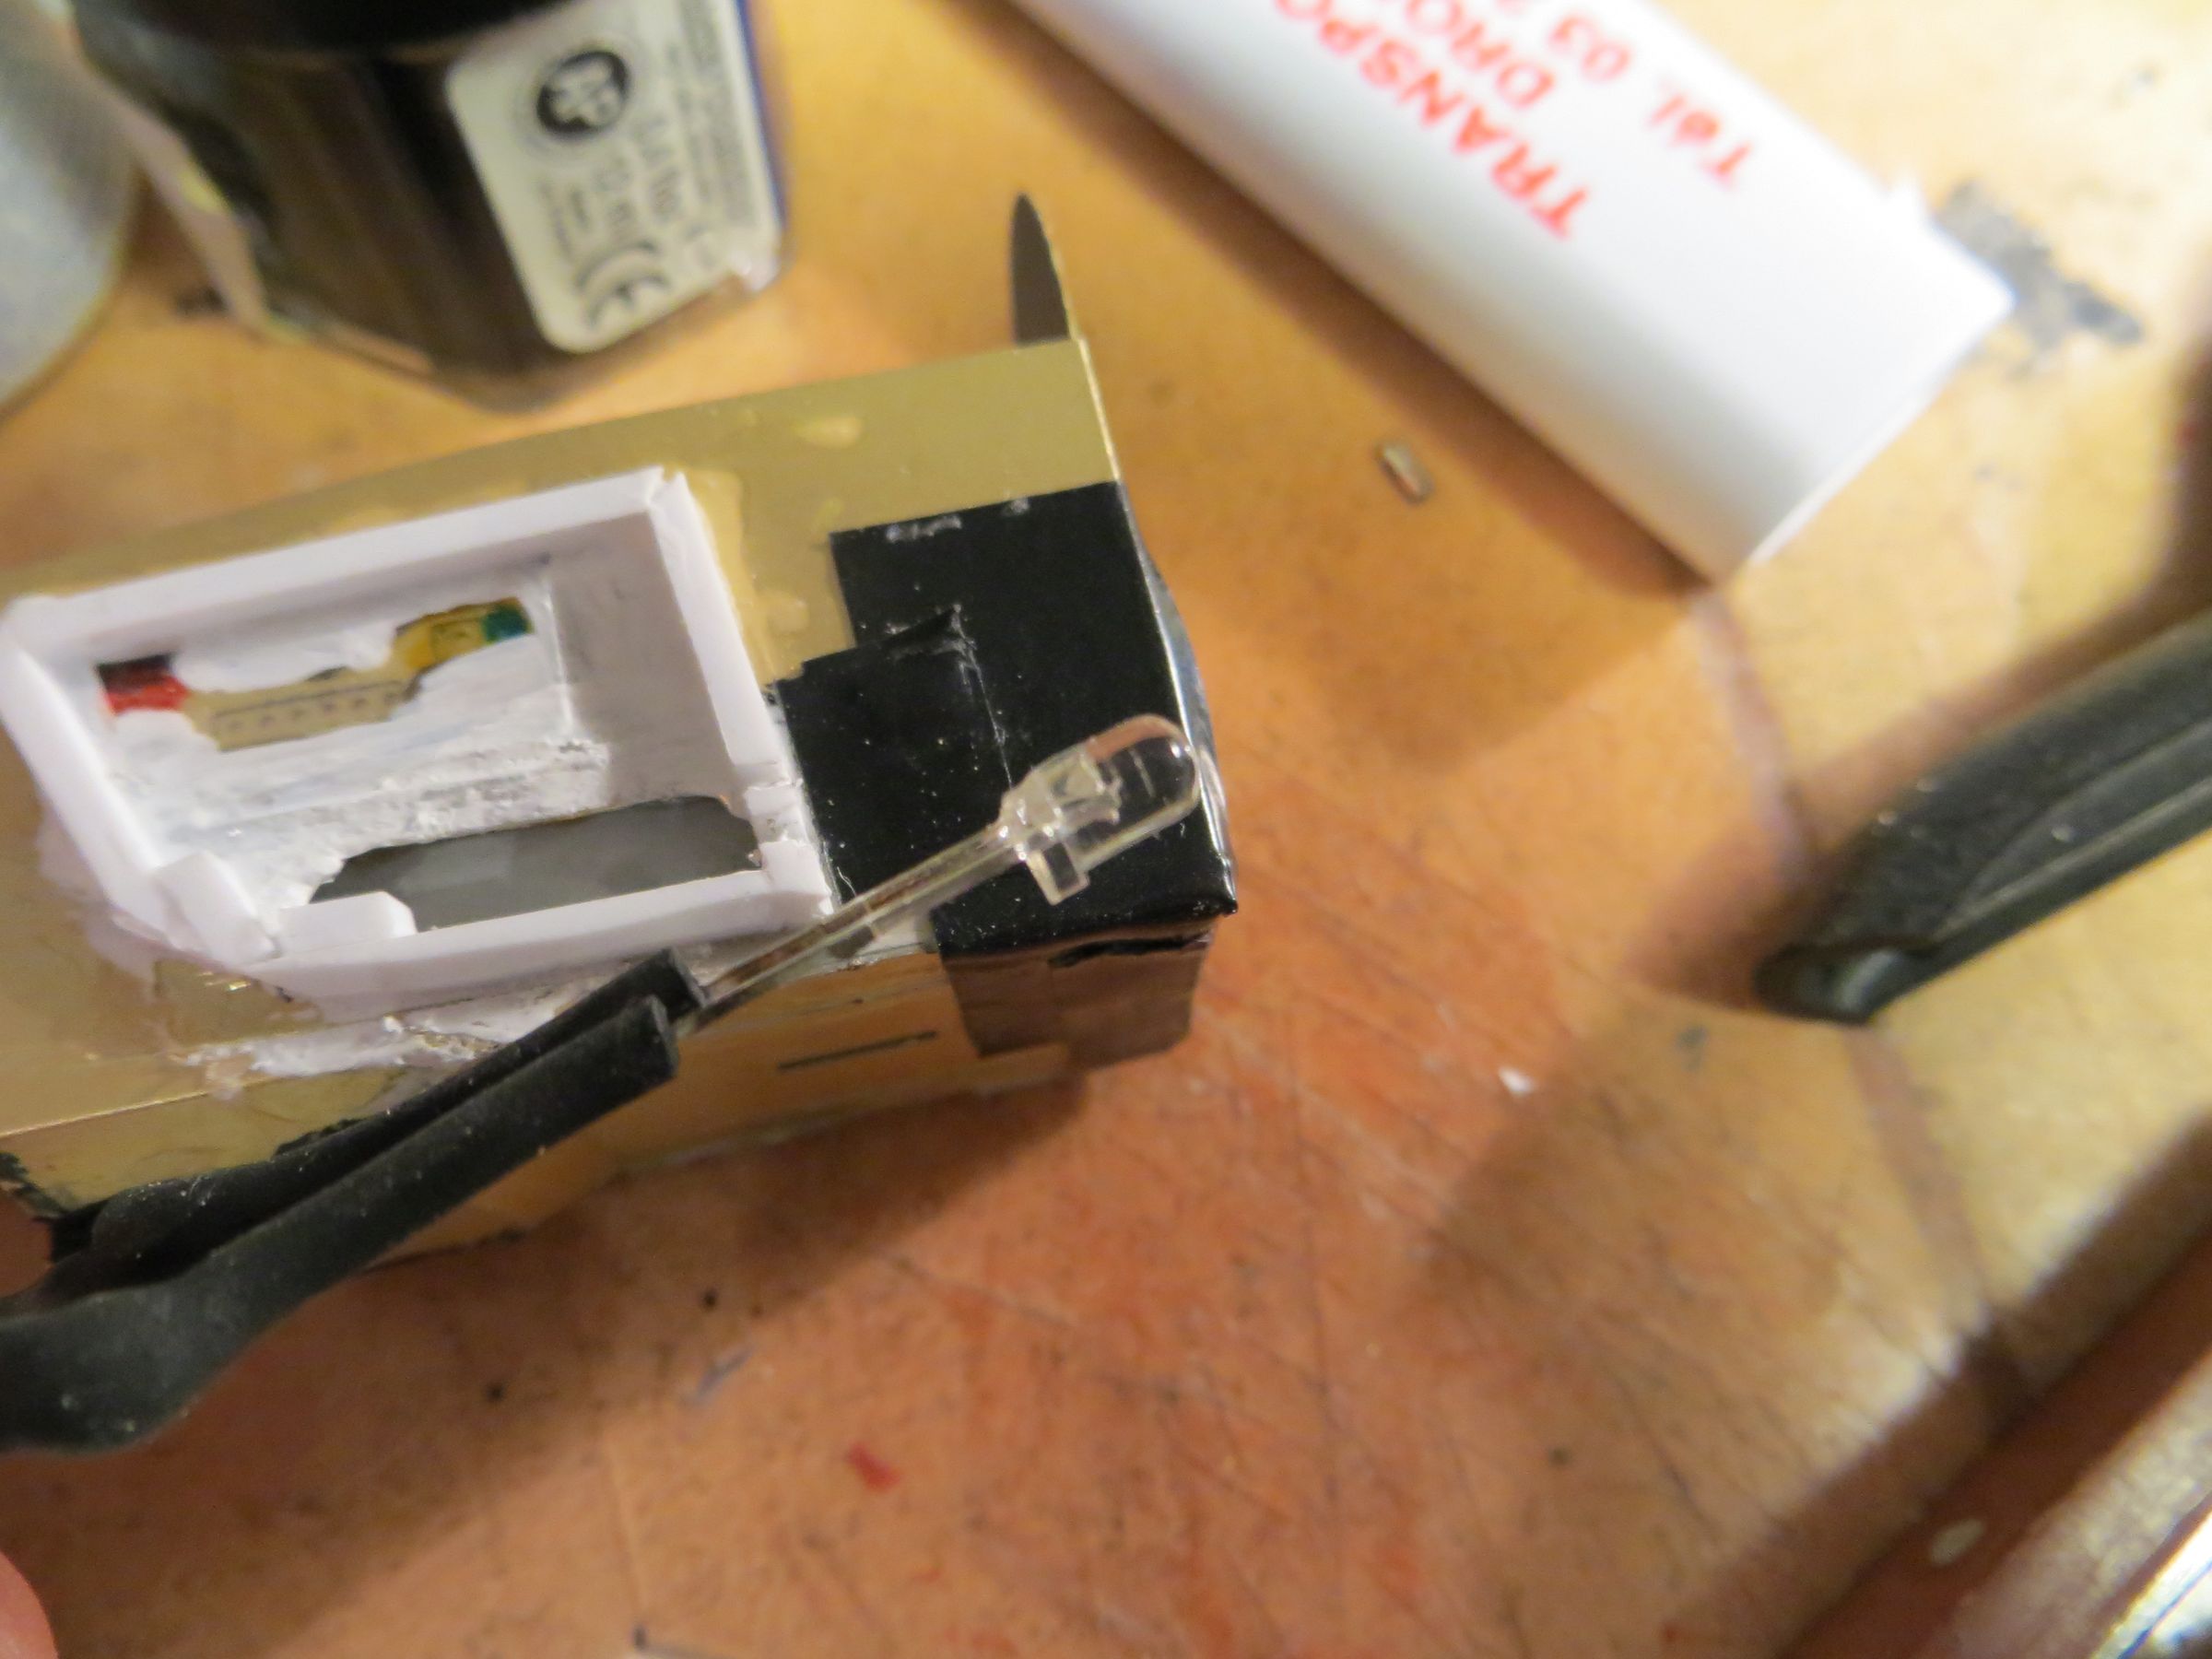
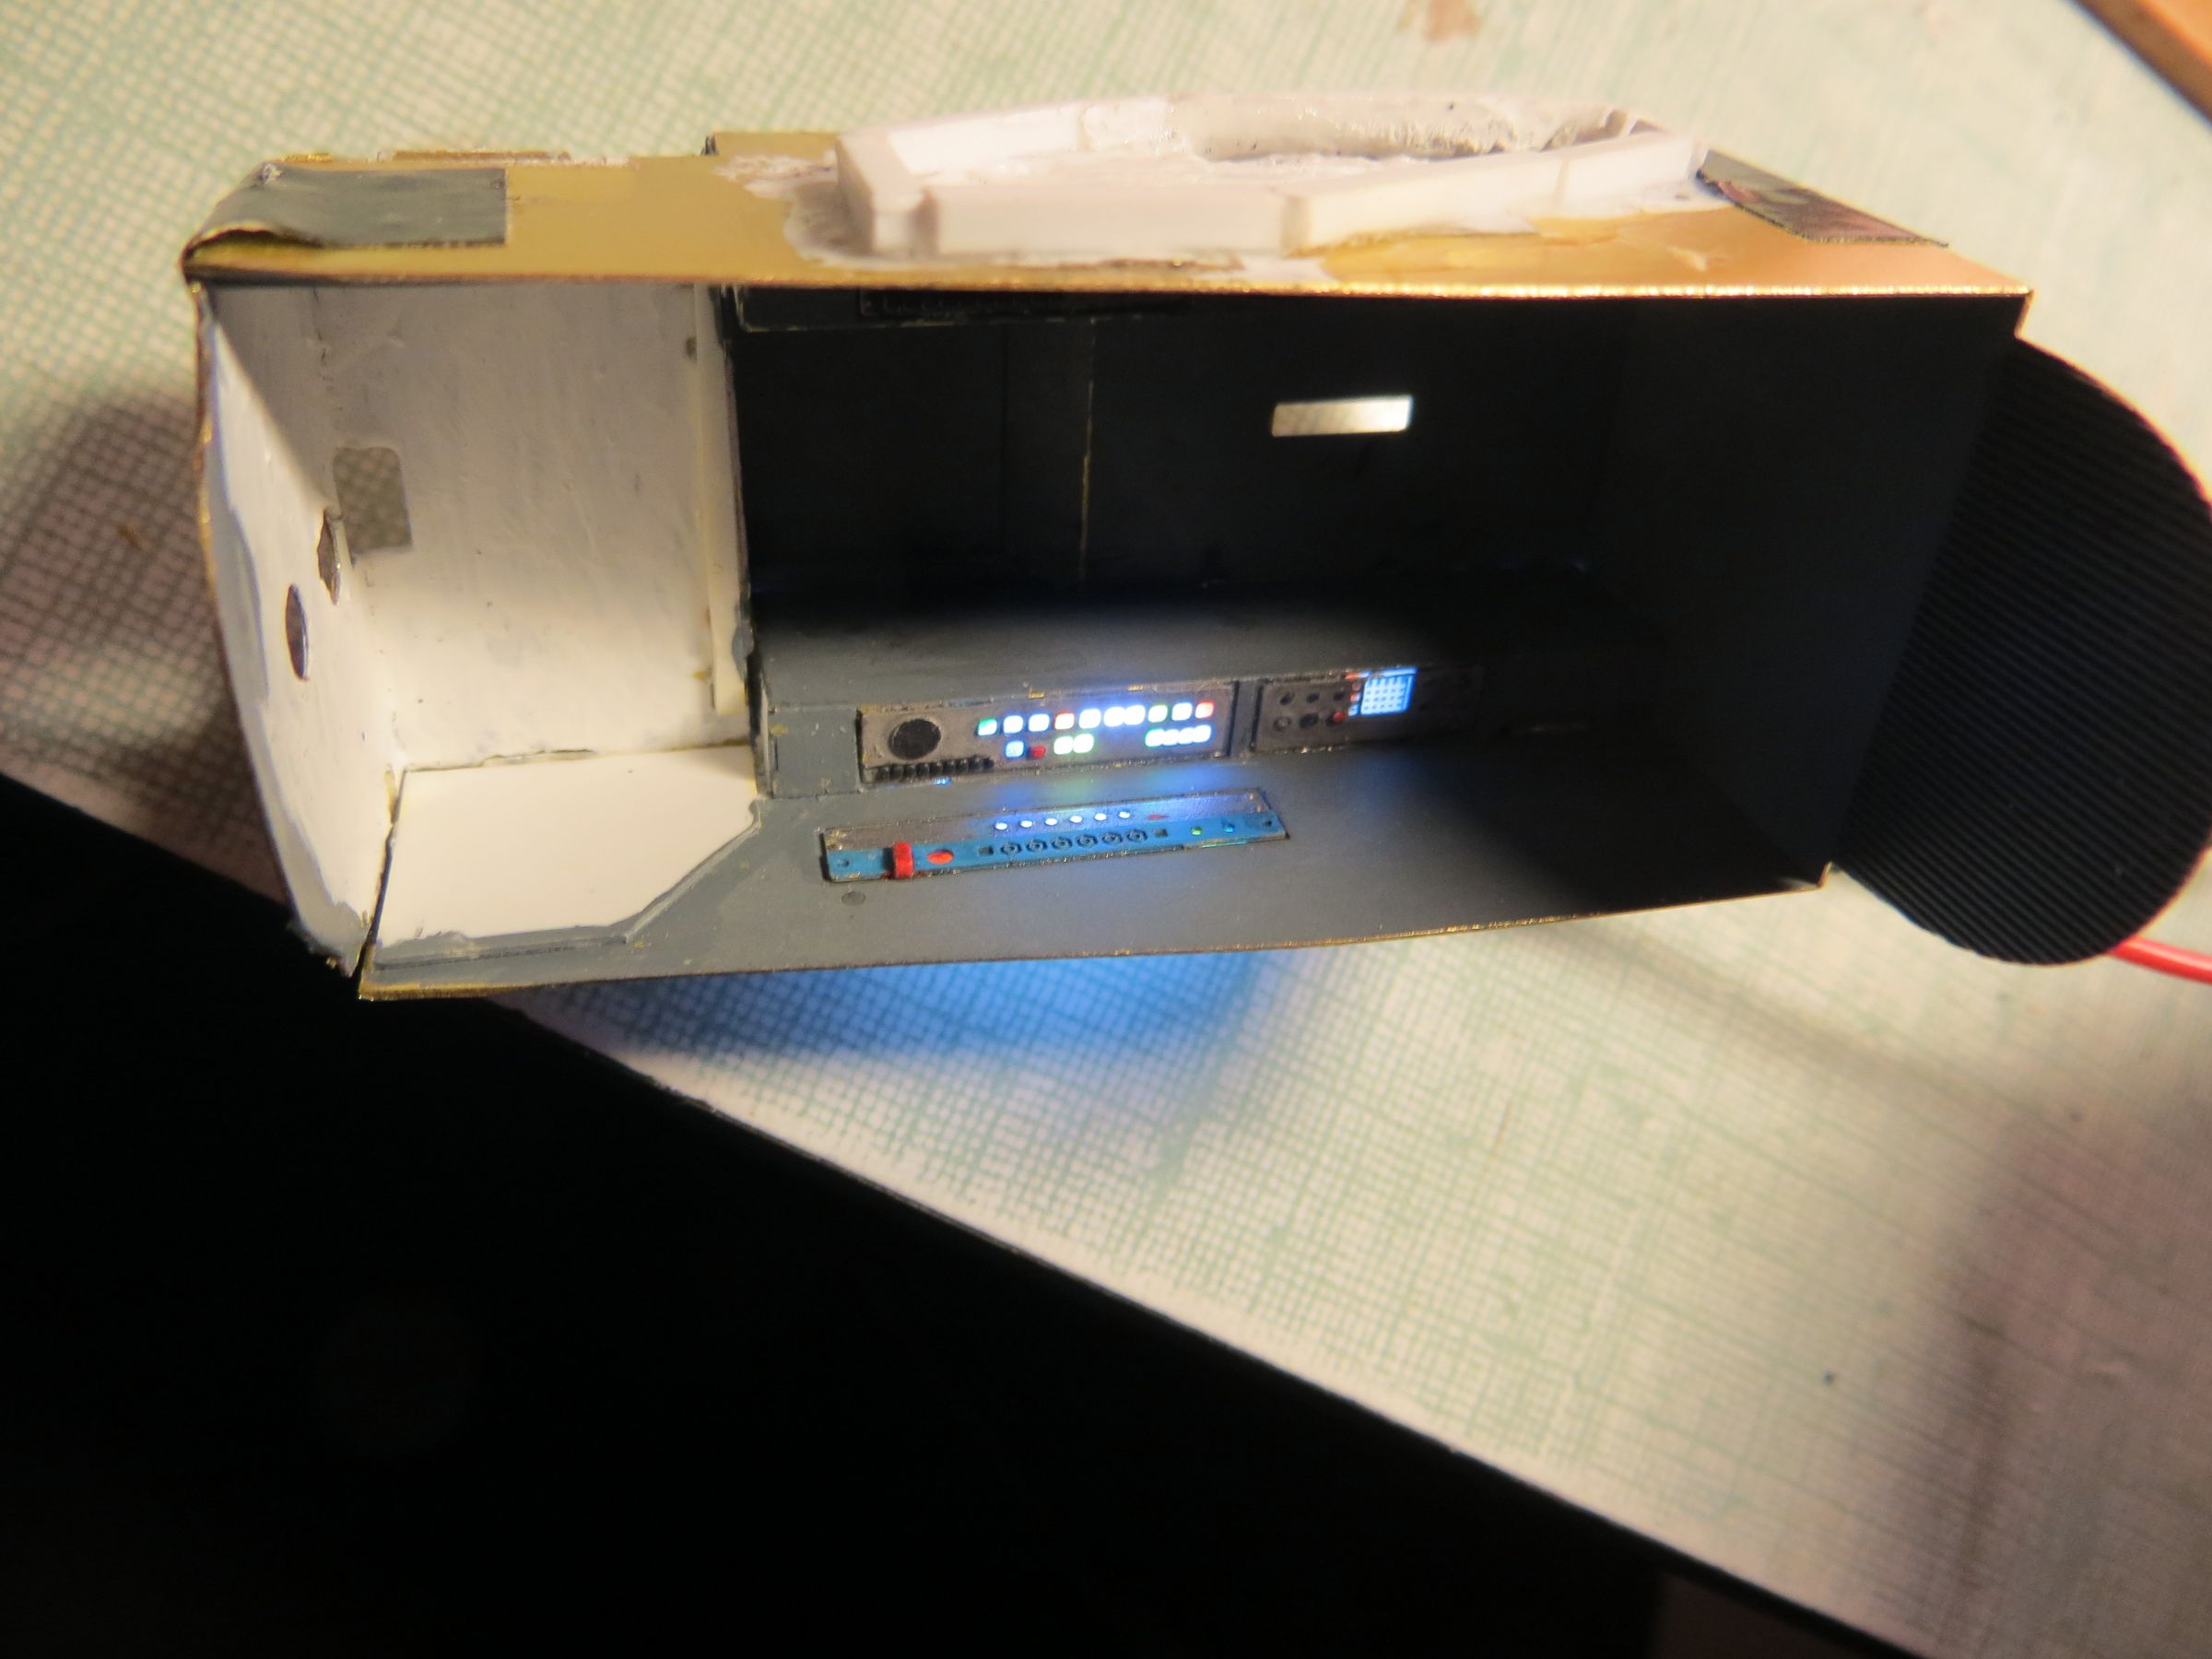
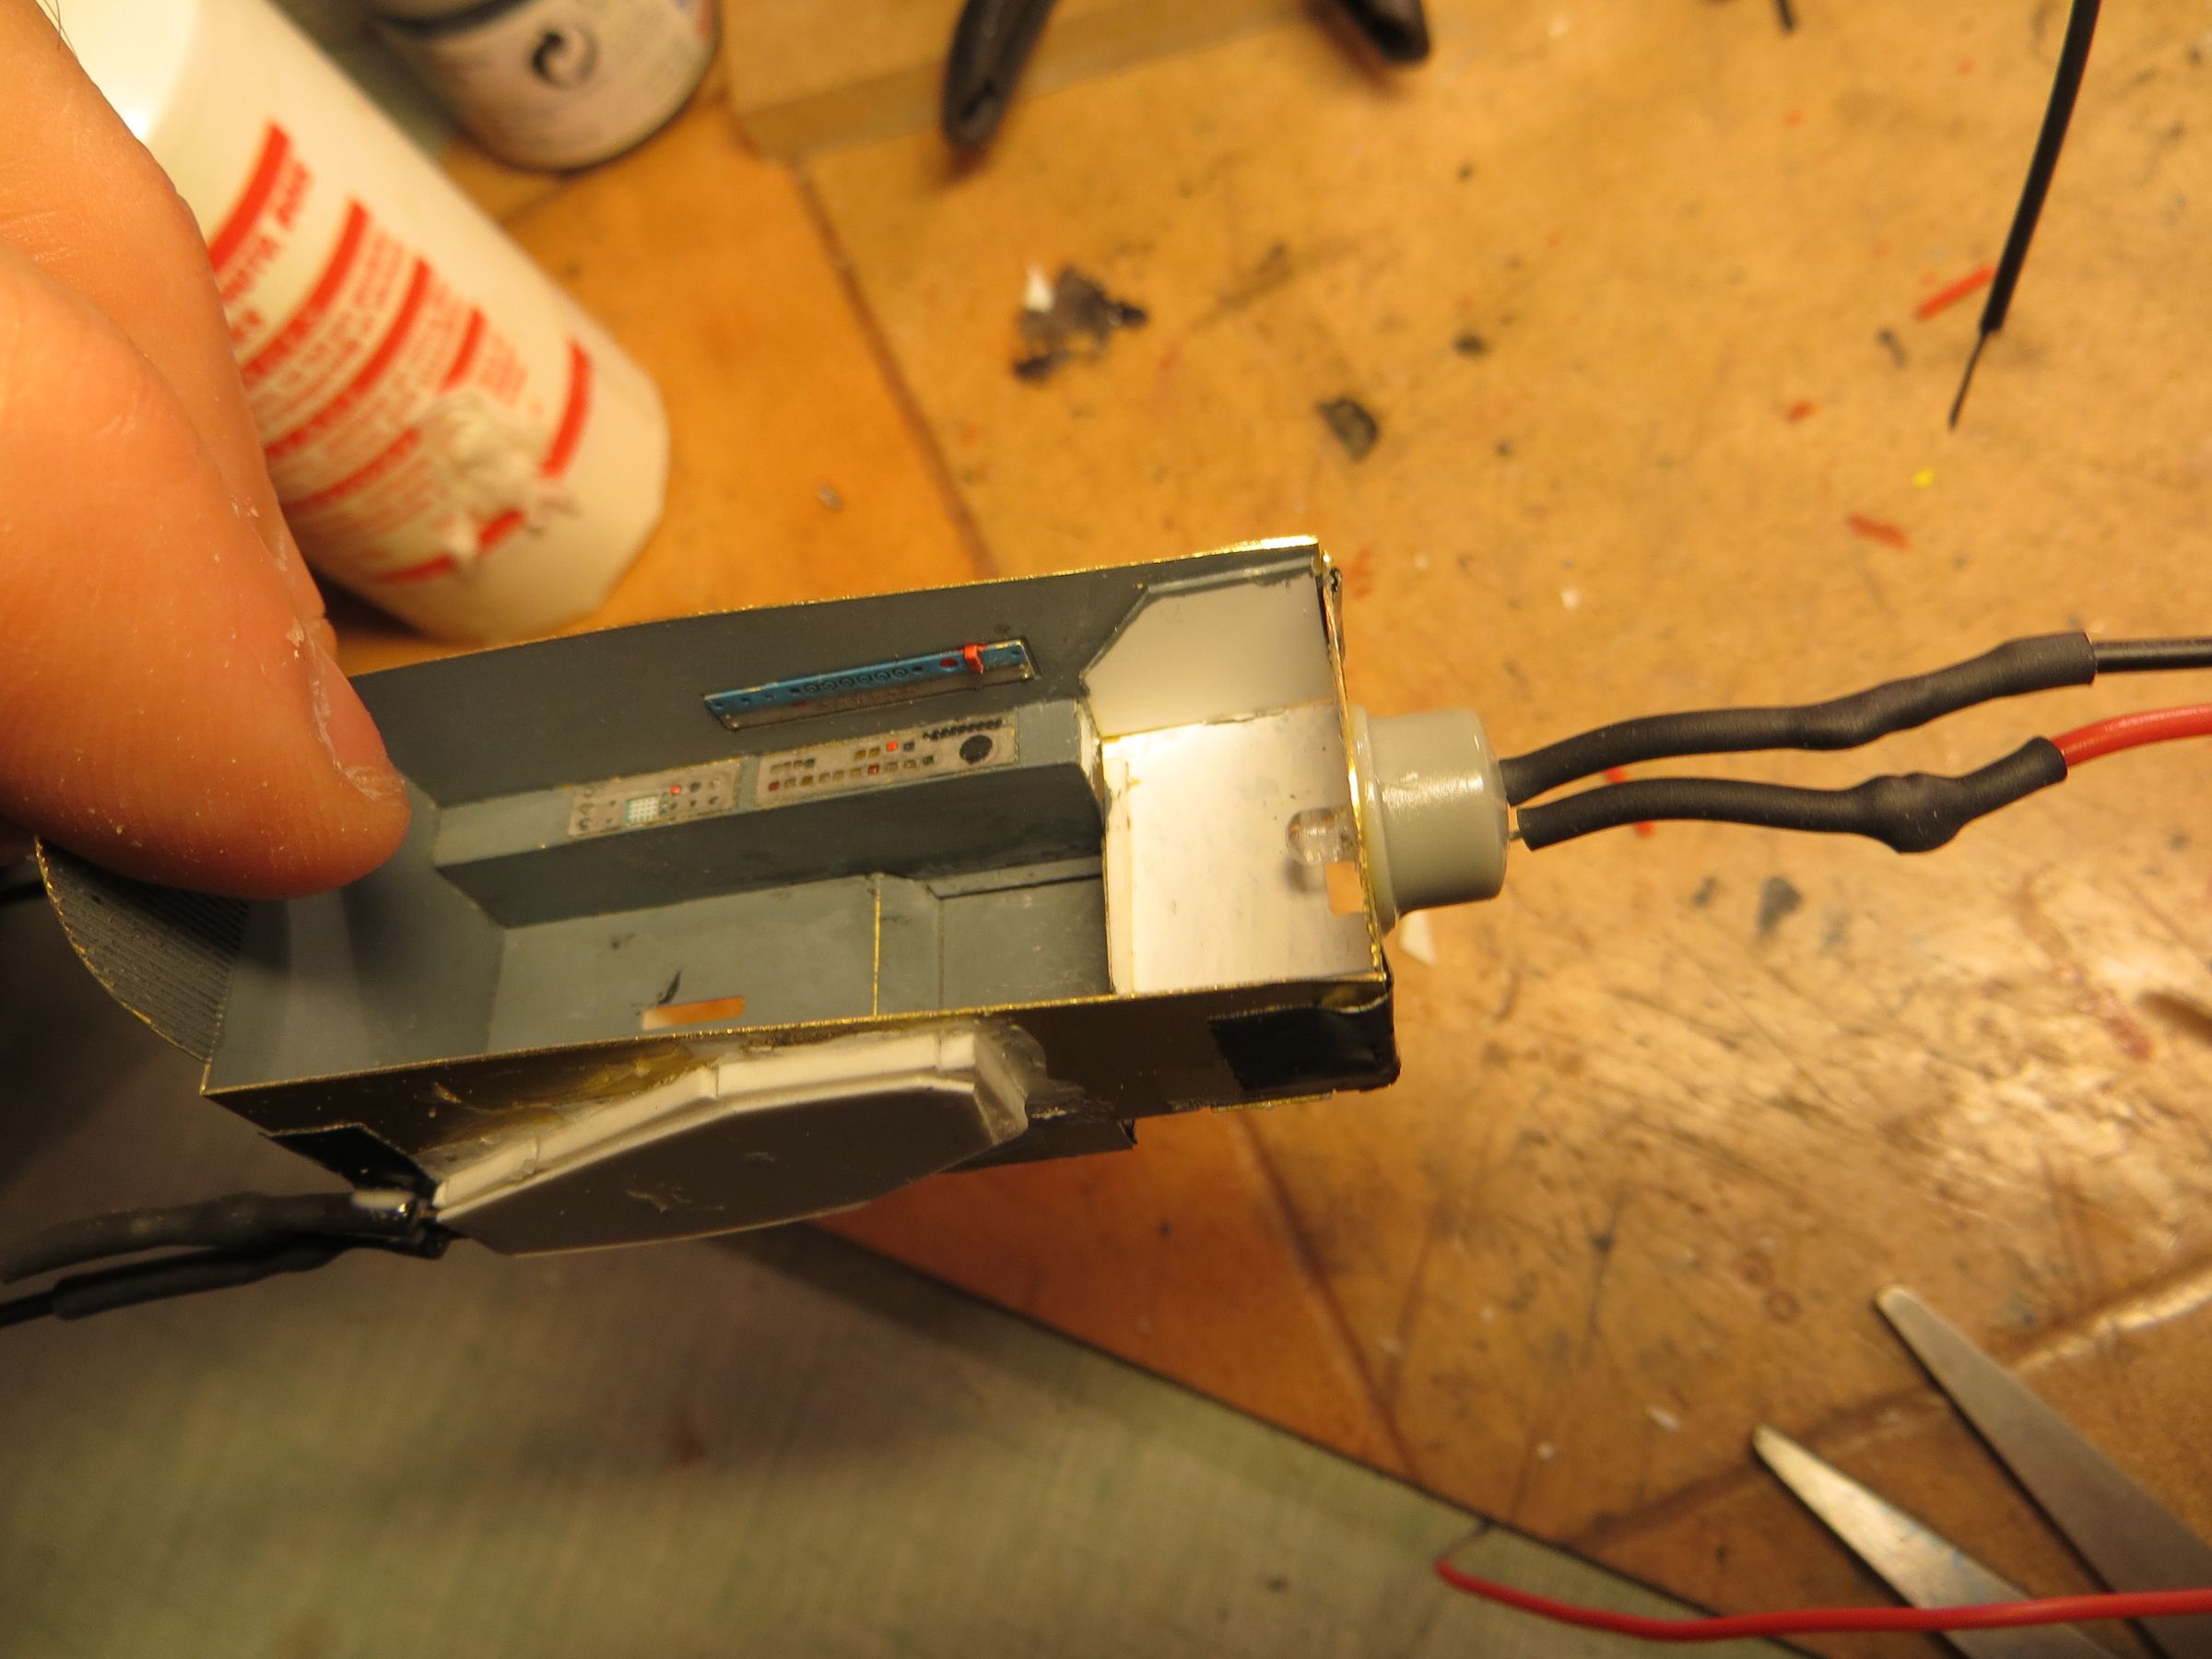
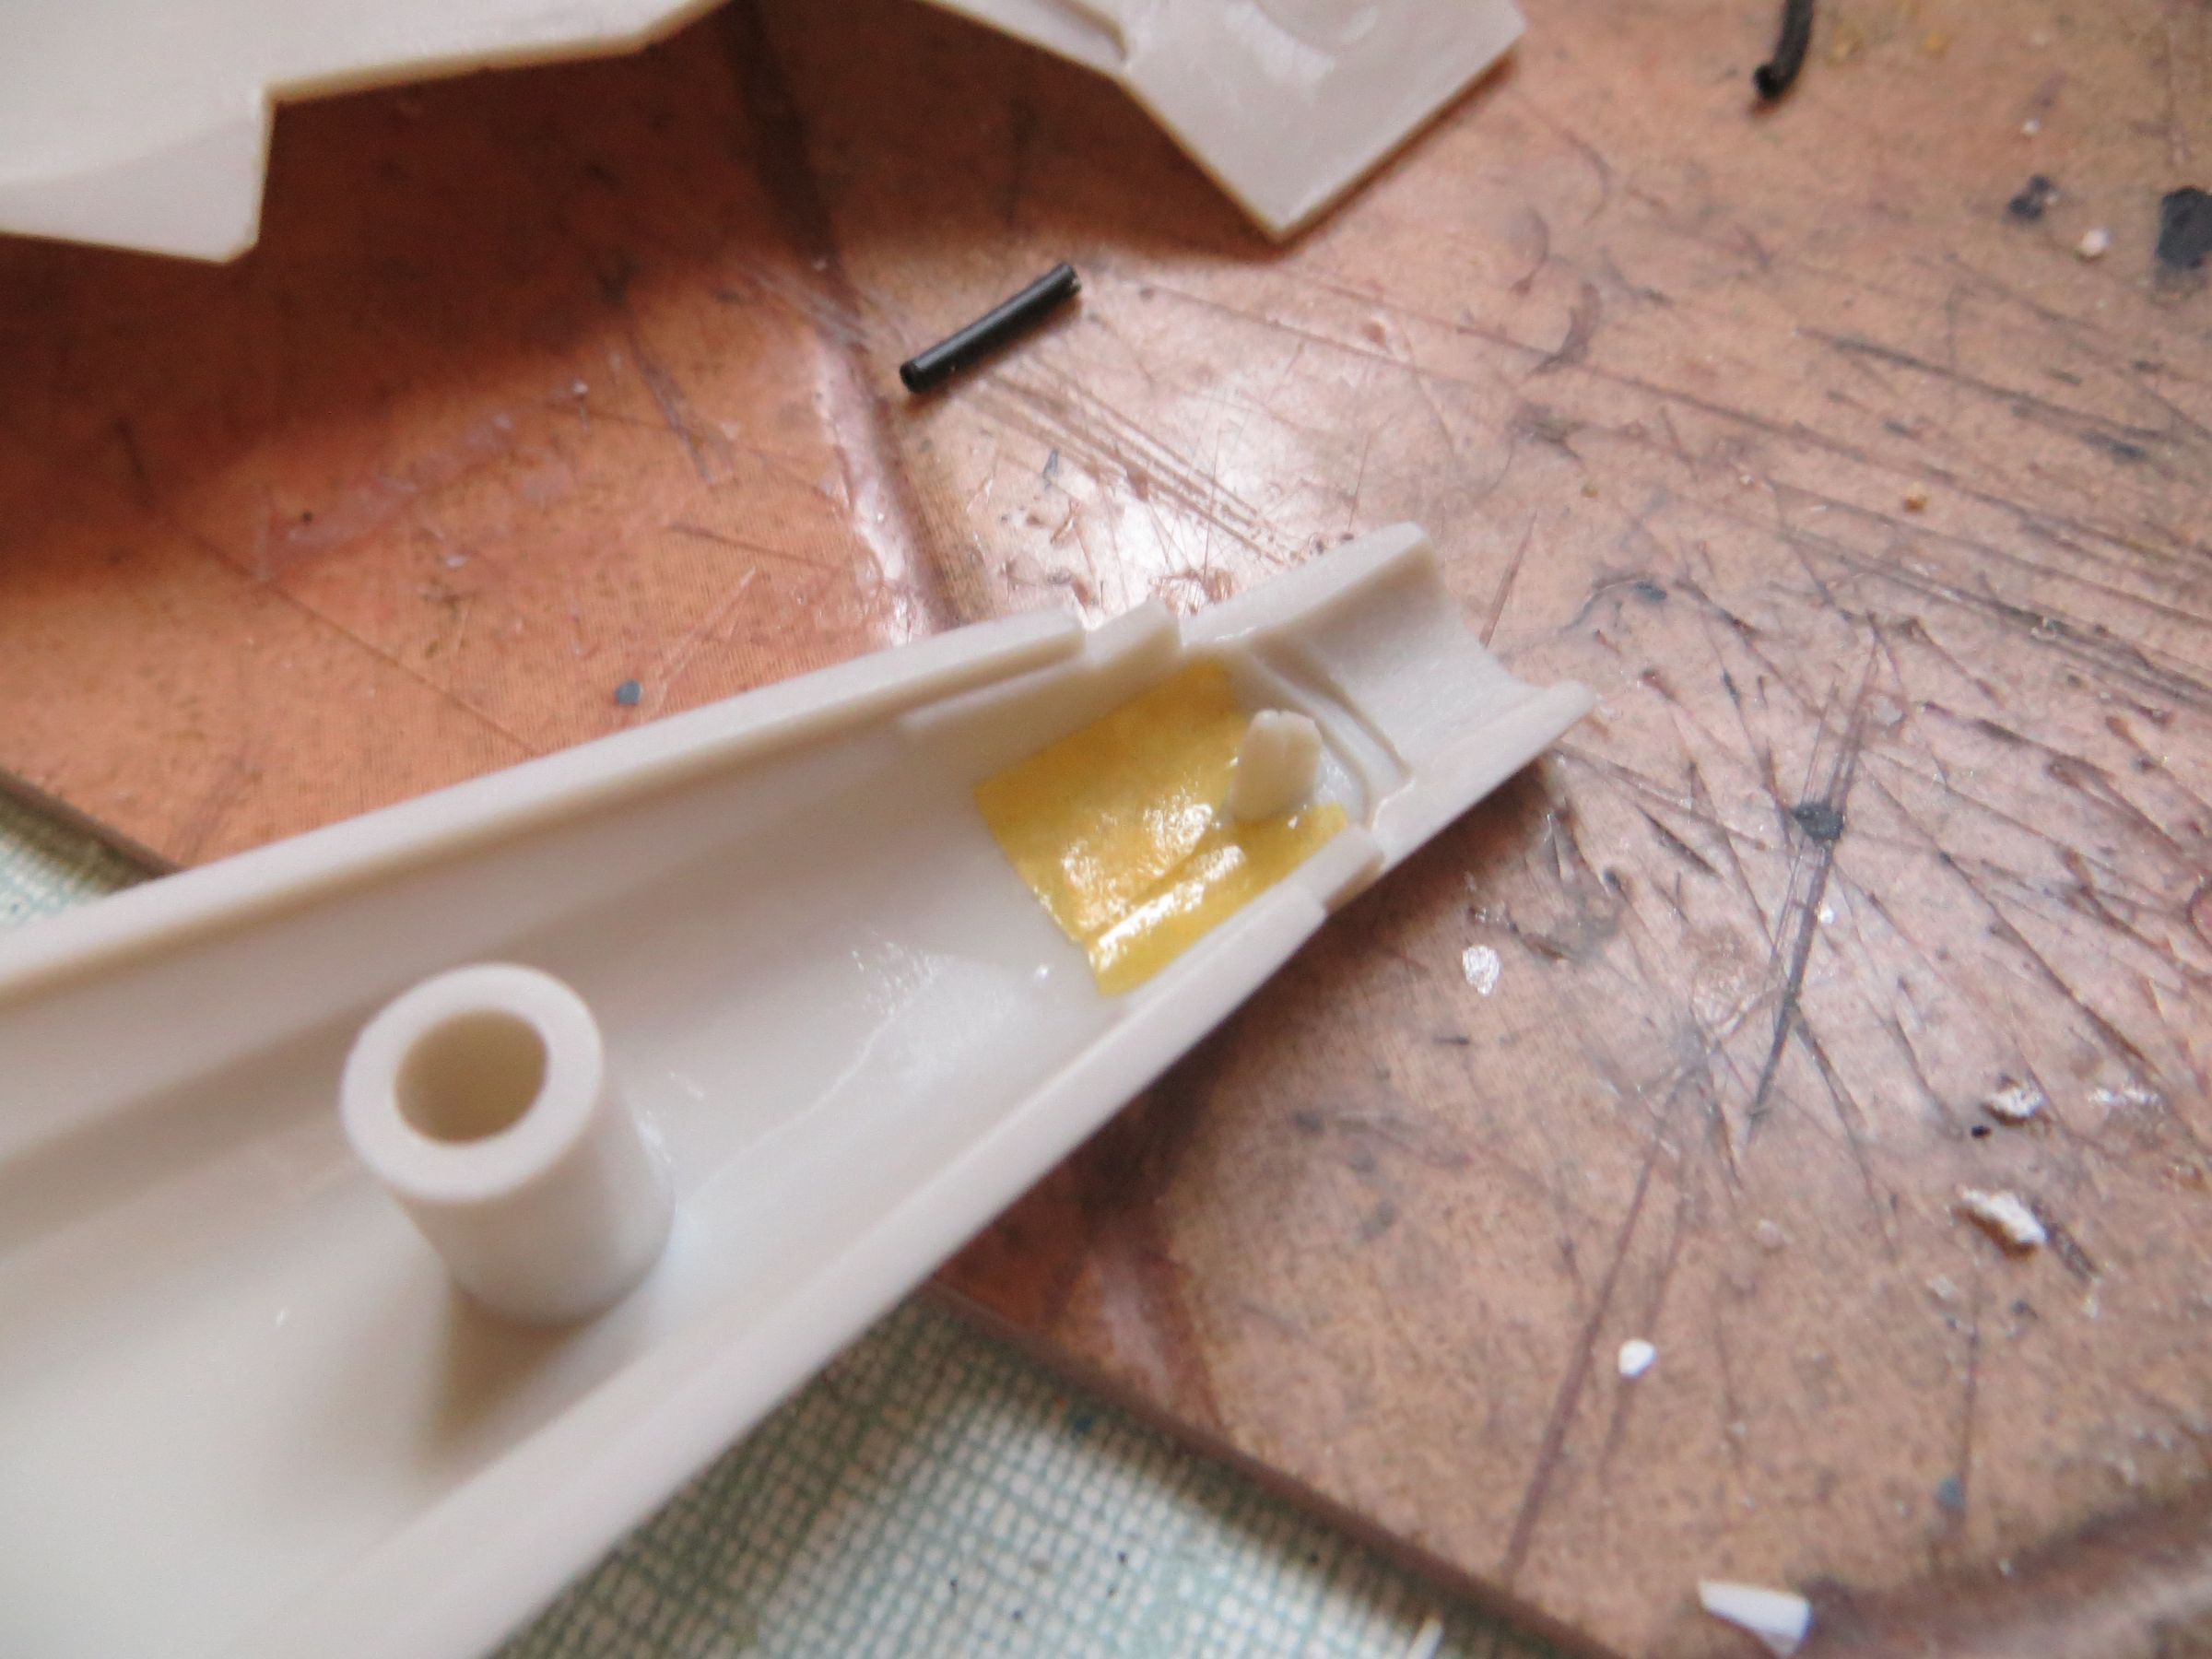
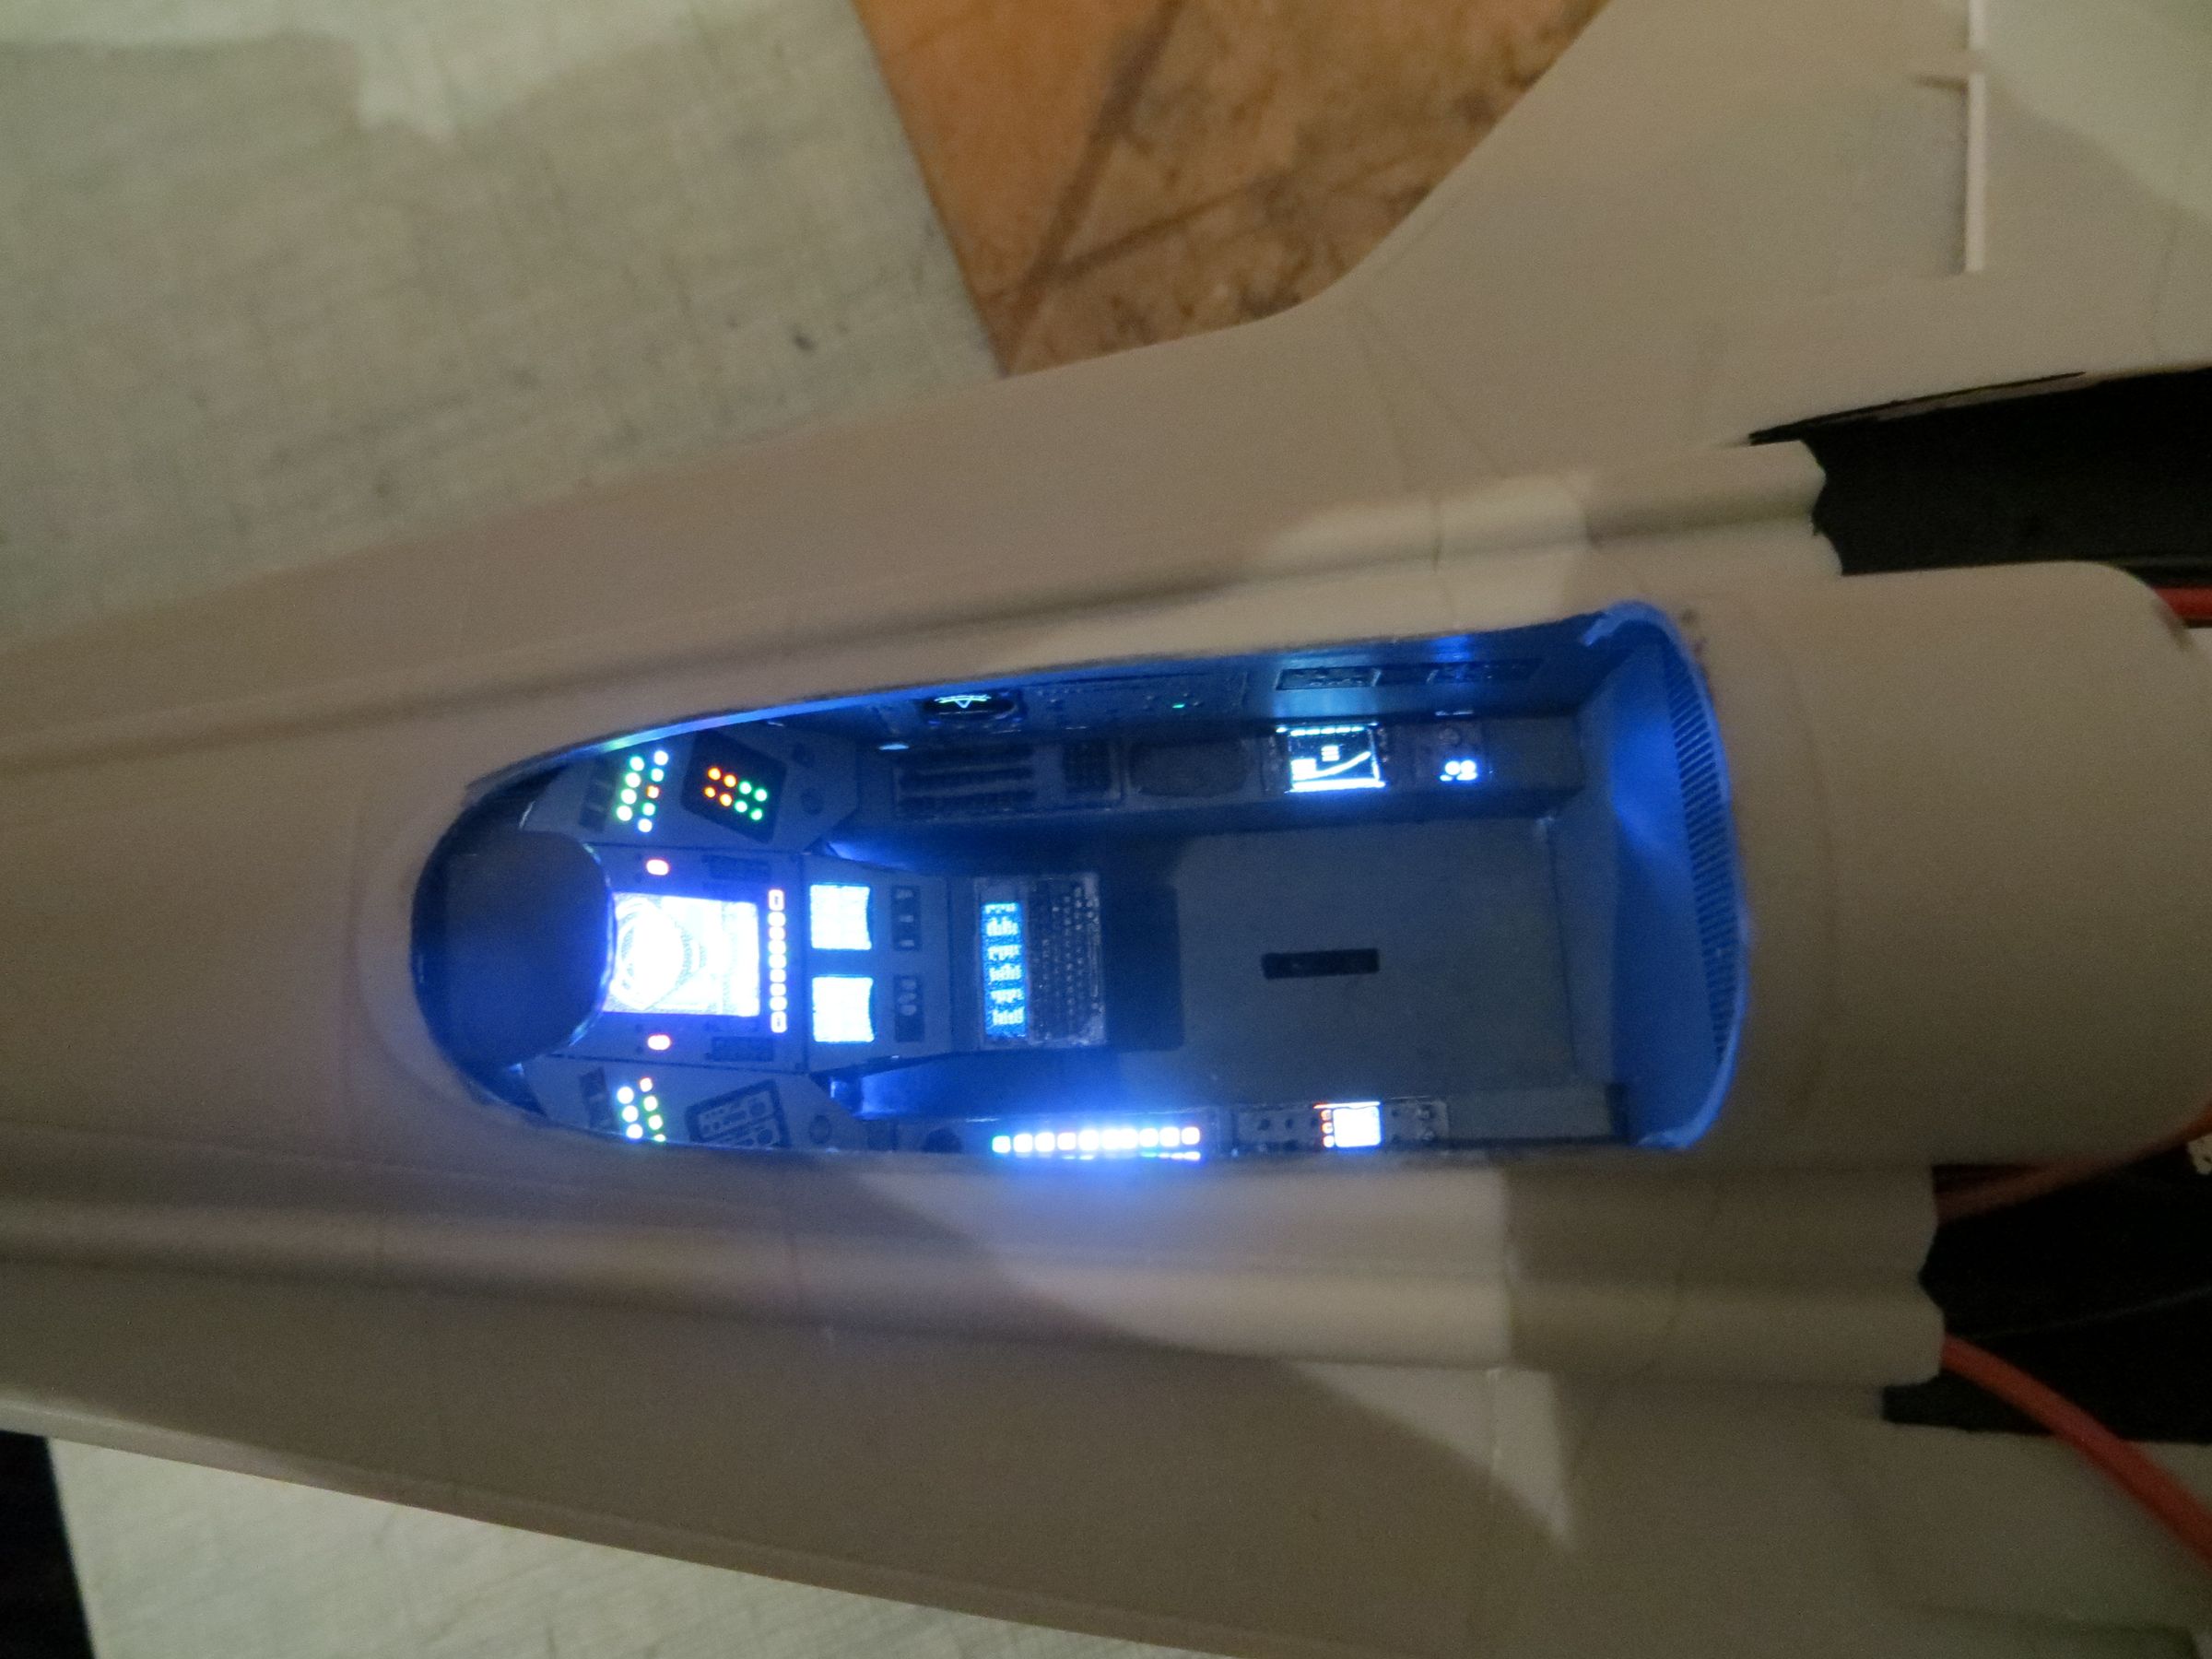
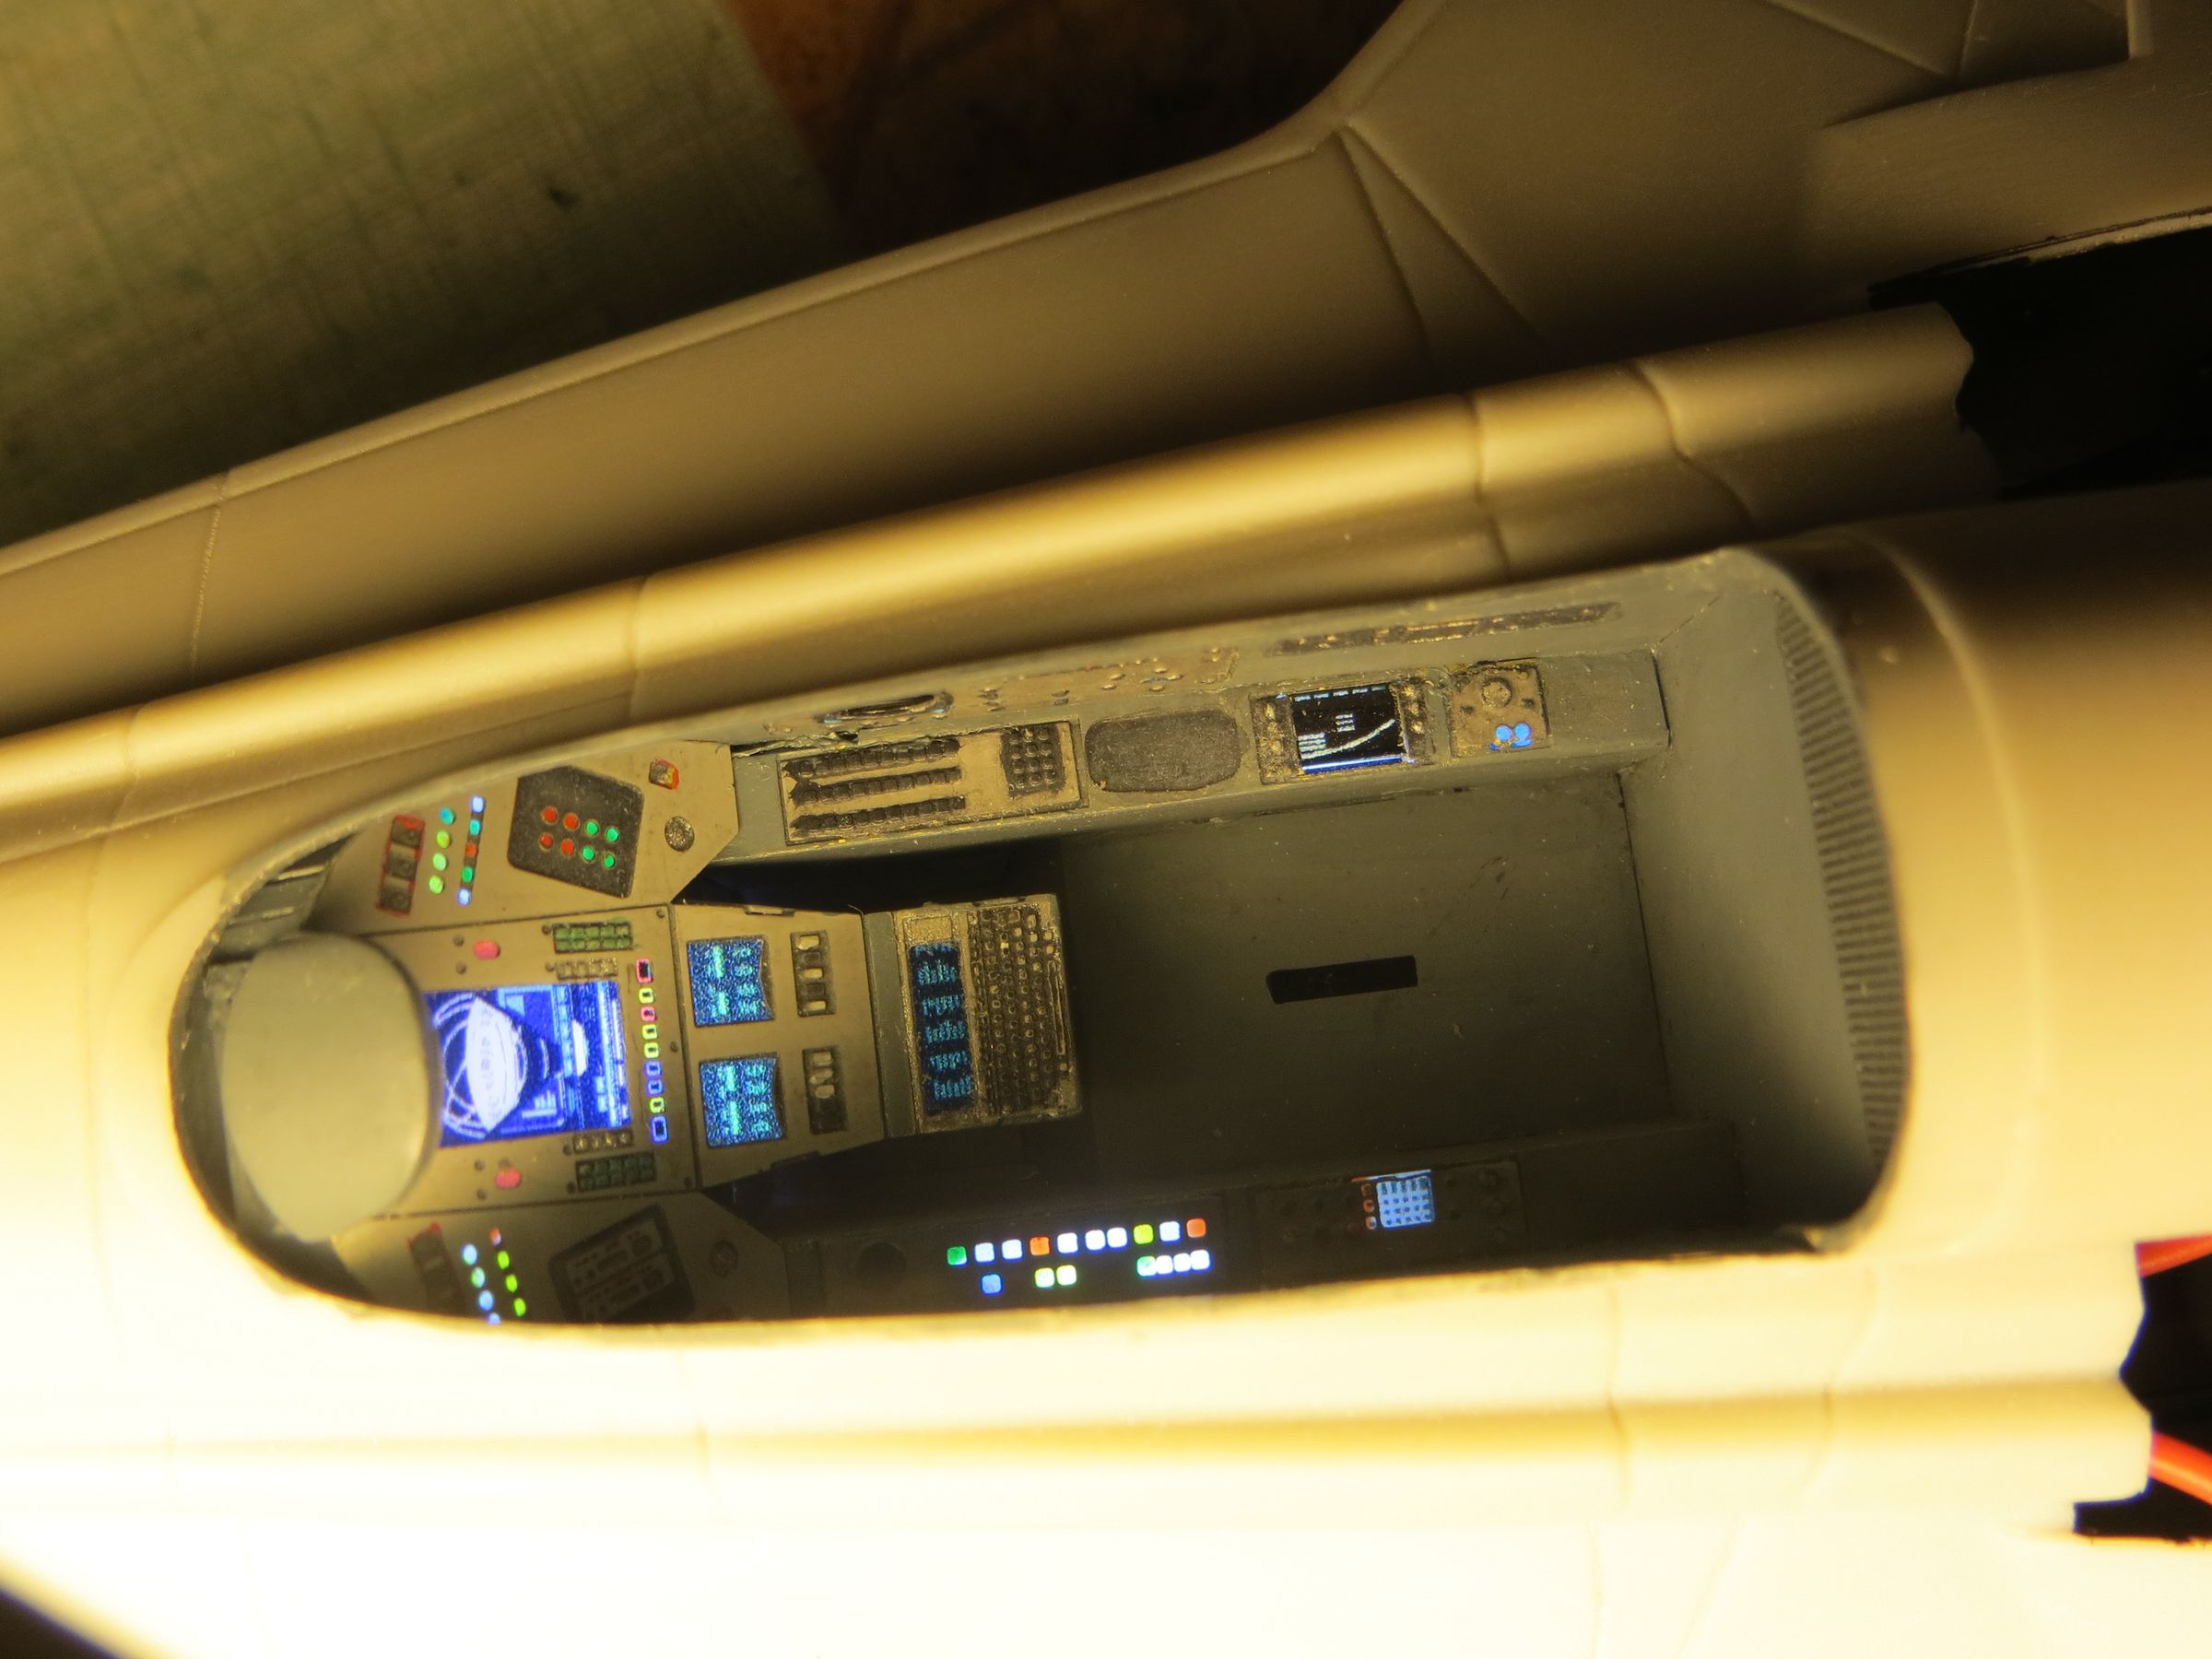
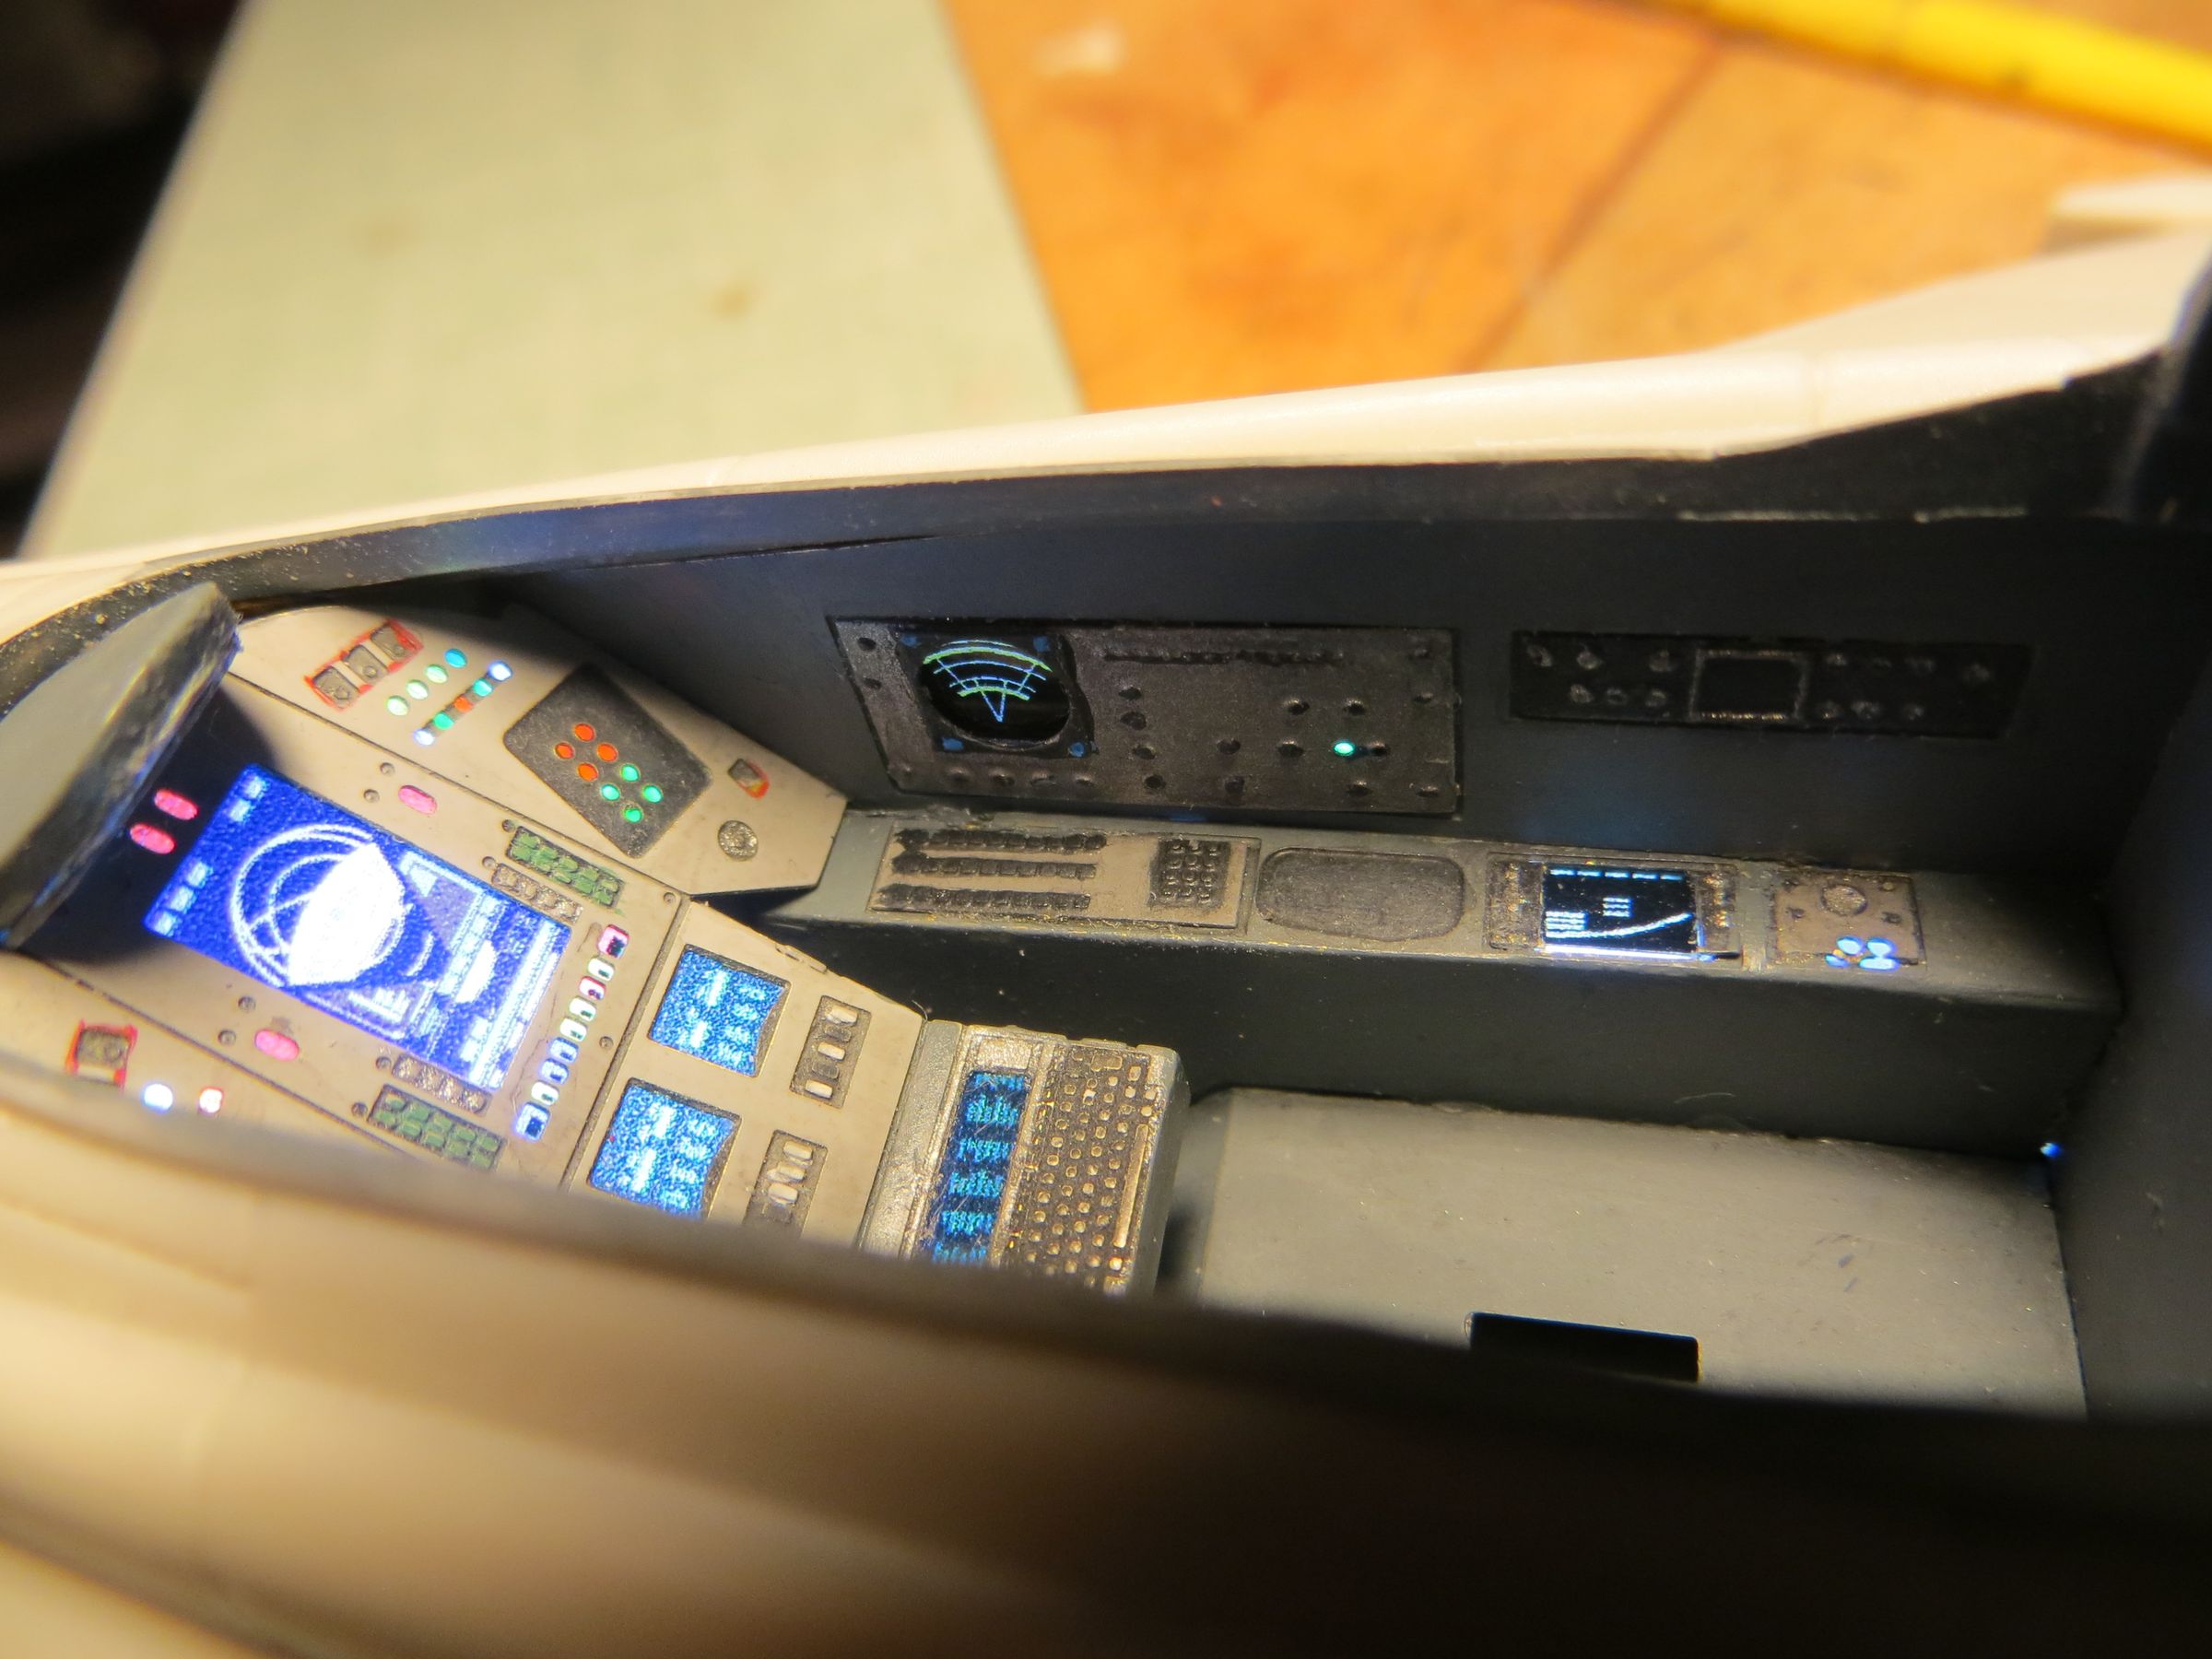
- The cockpit has almost no detail. For once, it deserves its bathtub nickname !! The photoeched upgrade is almost unavoidable here.

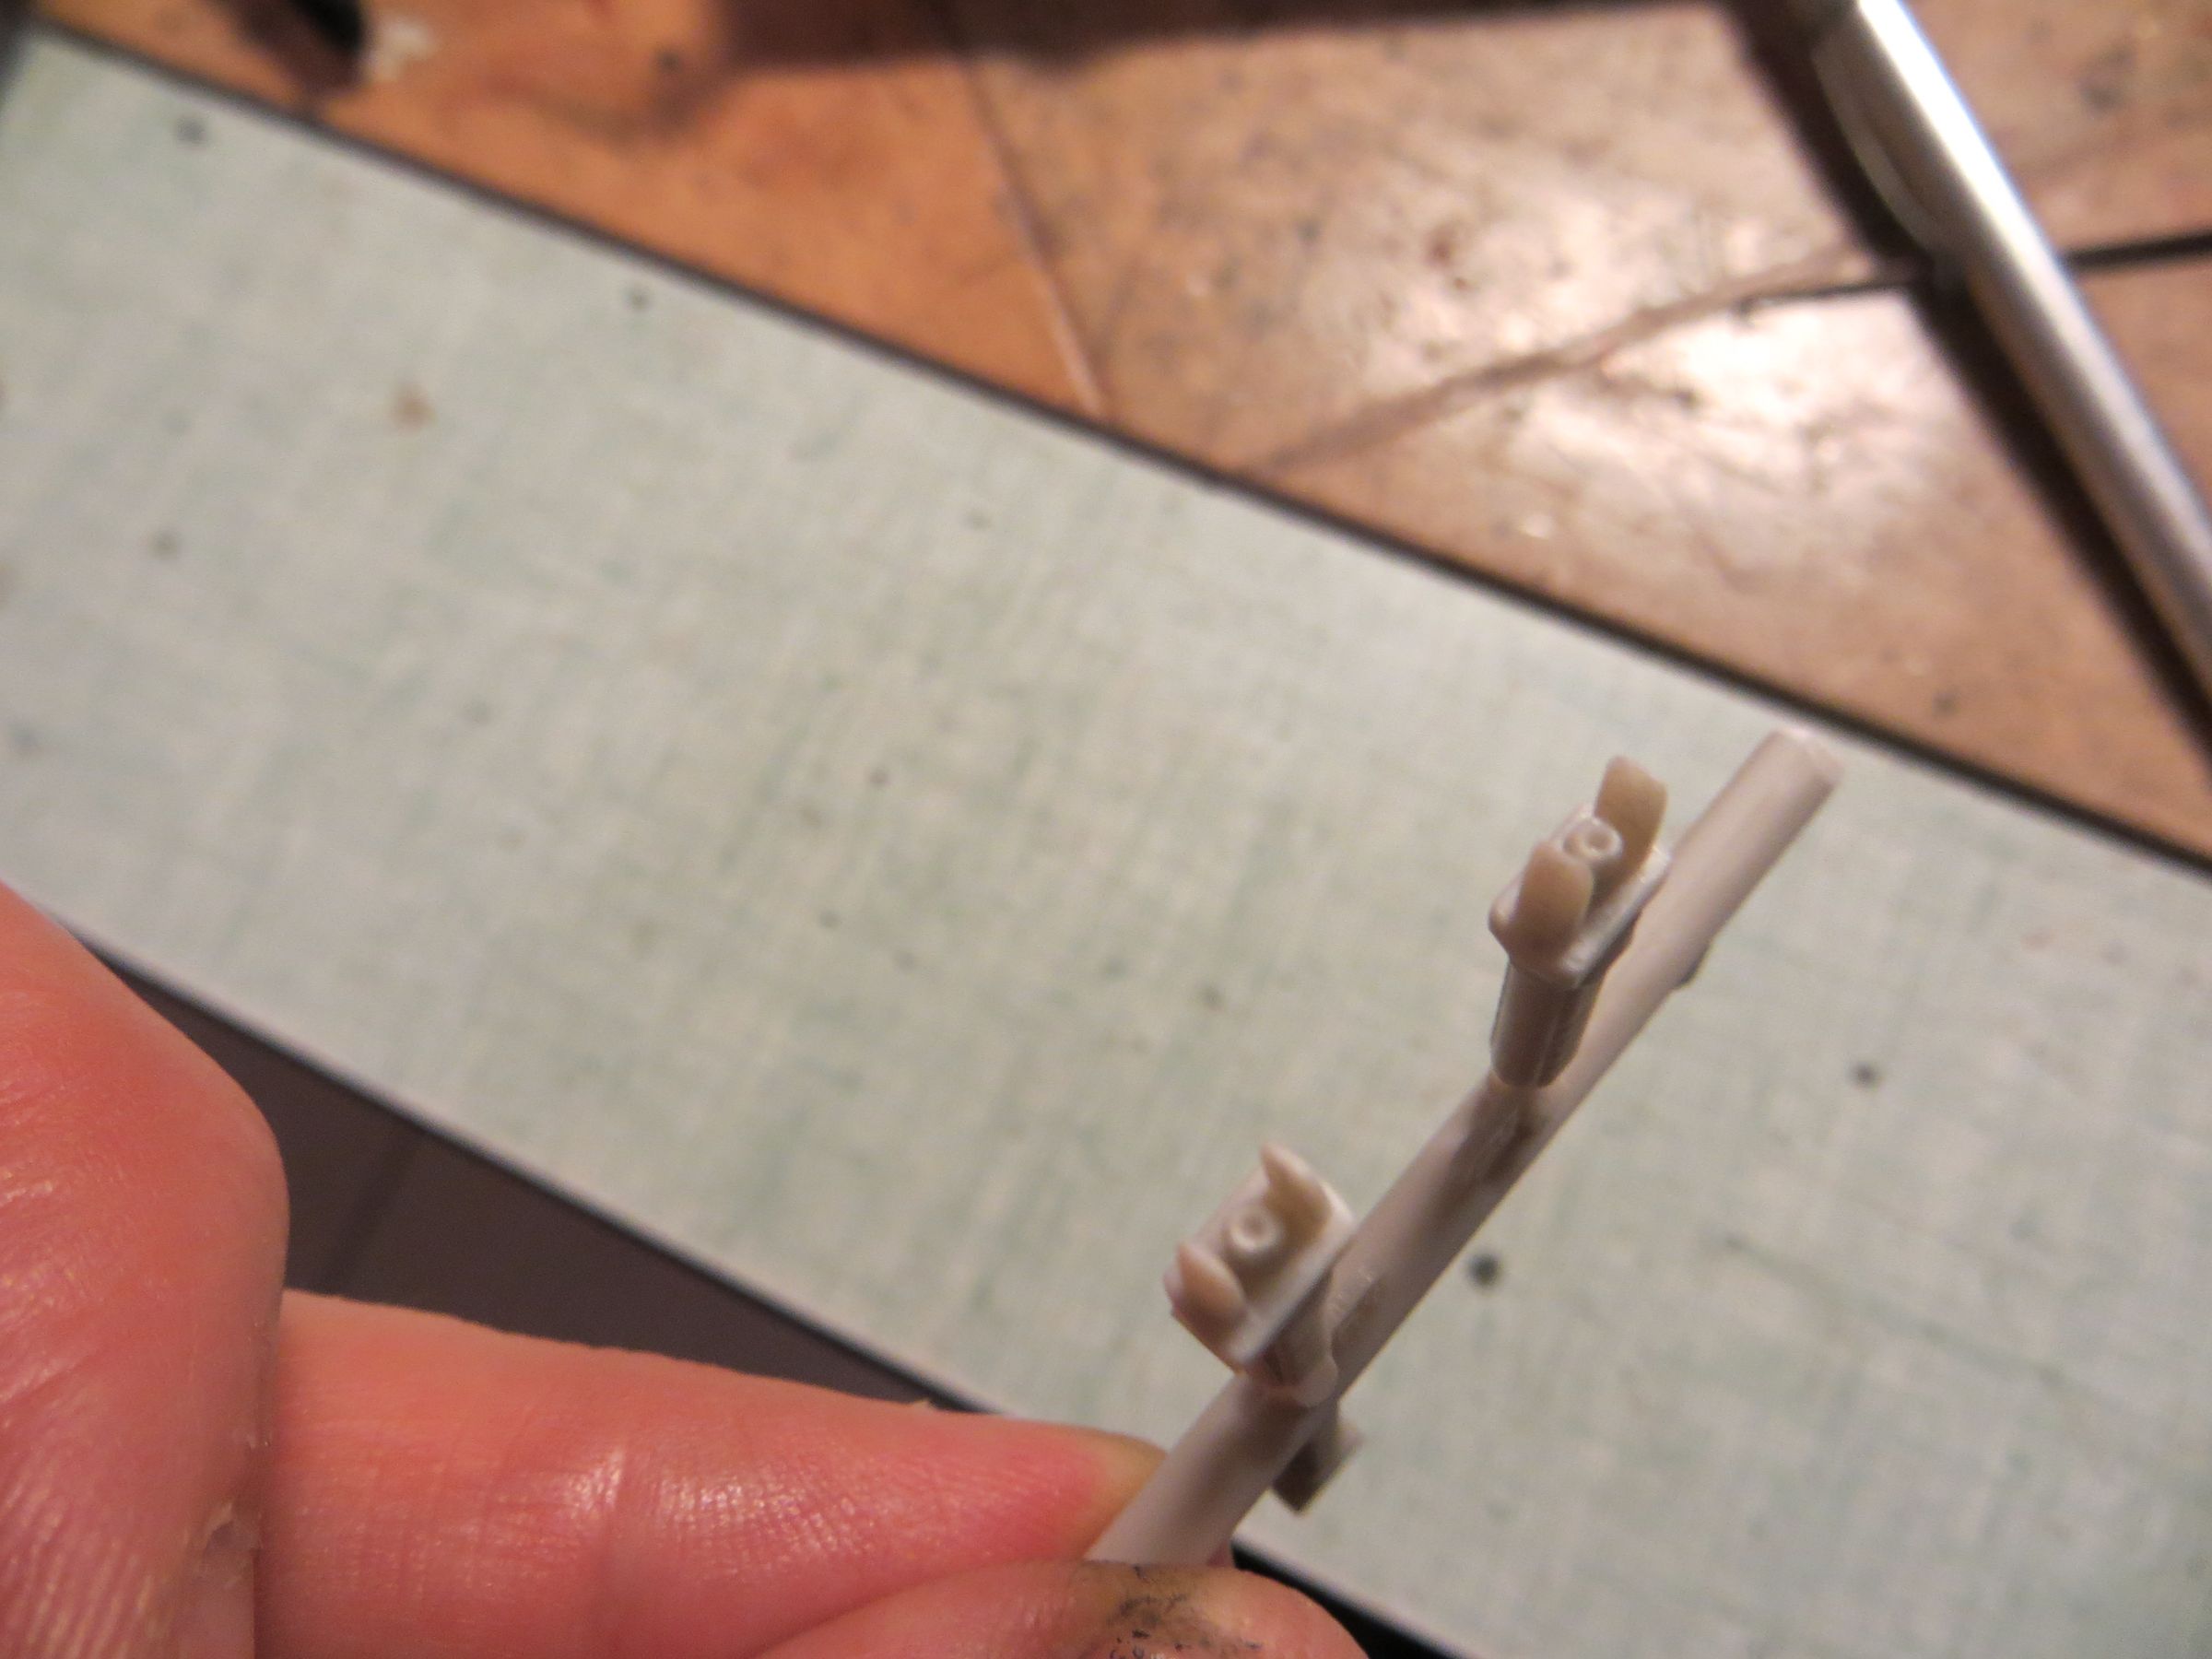
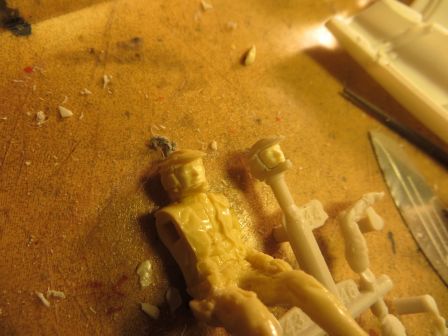
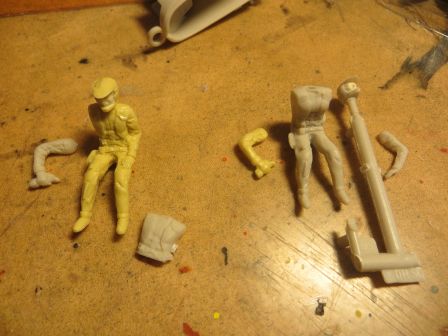
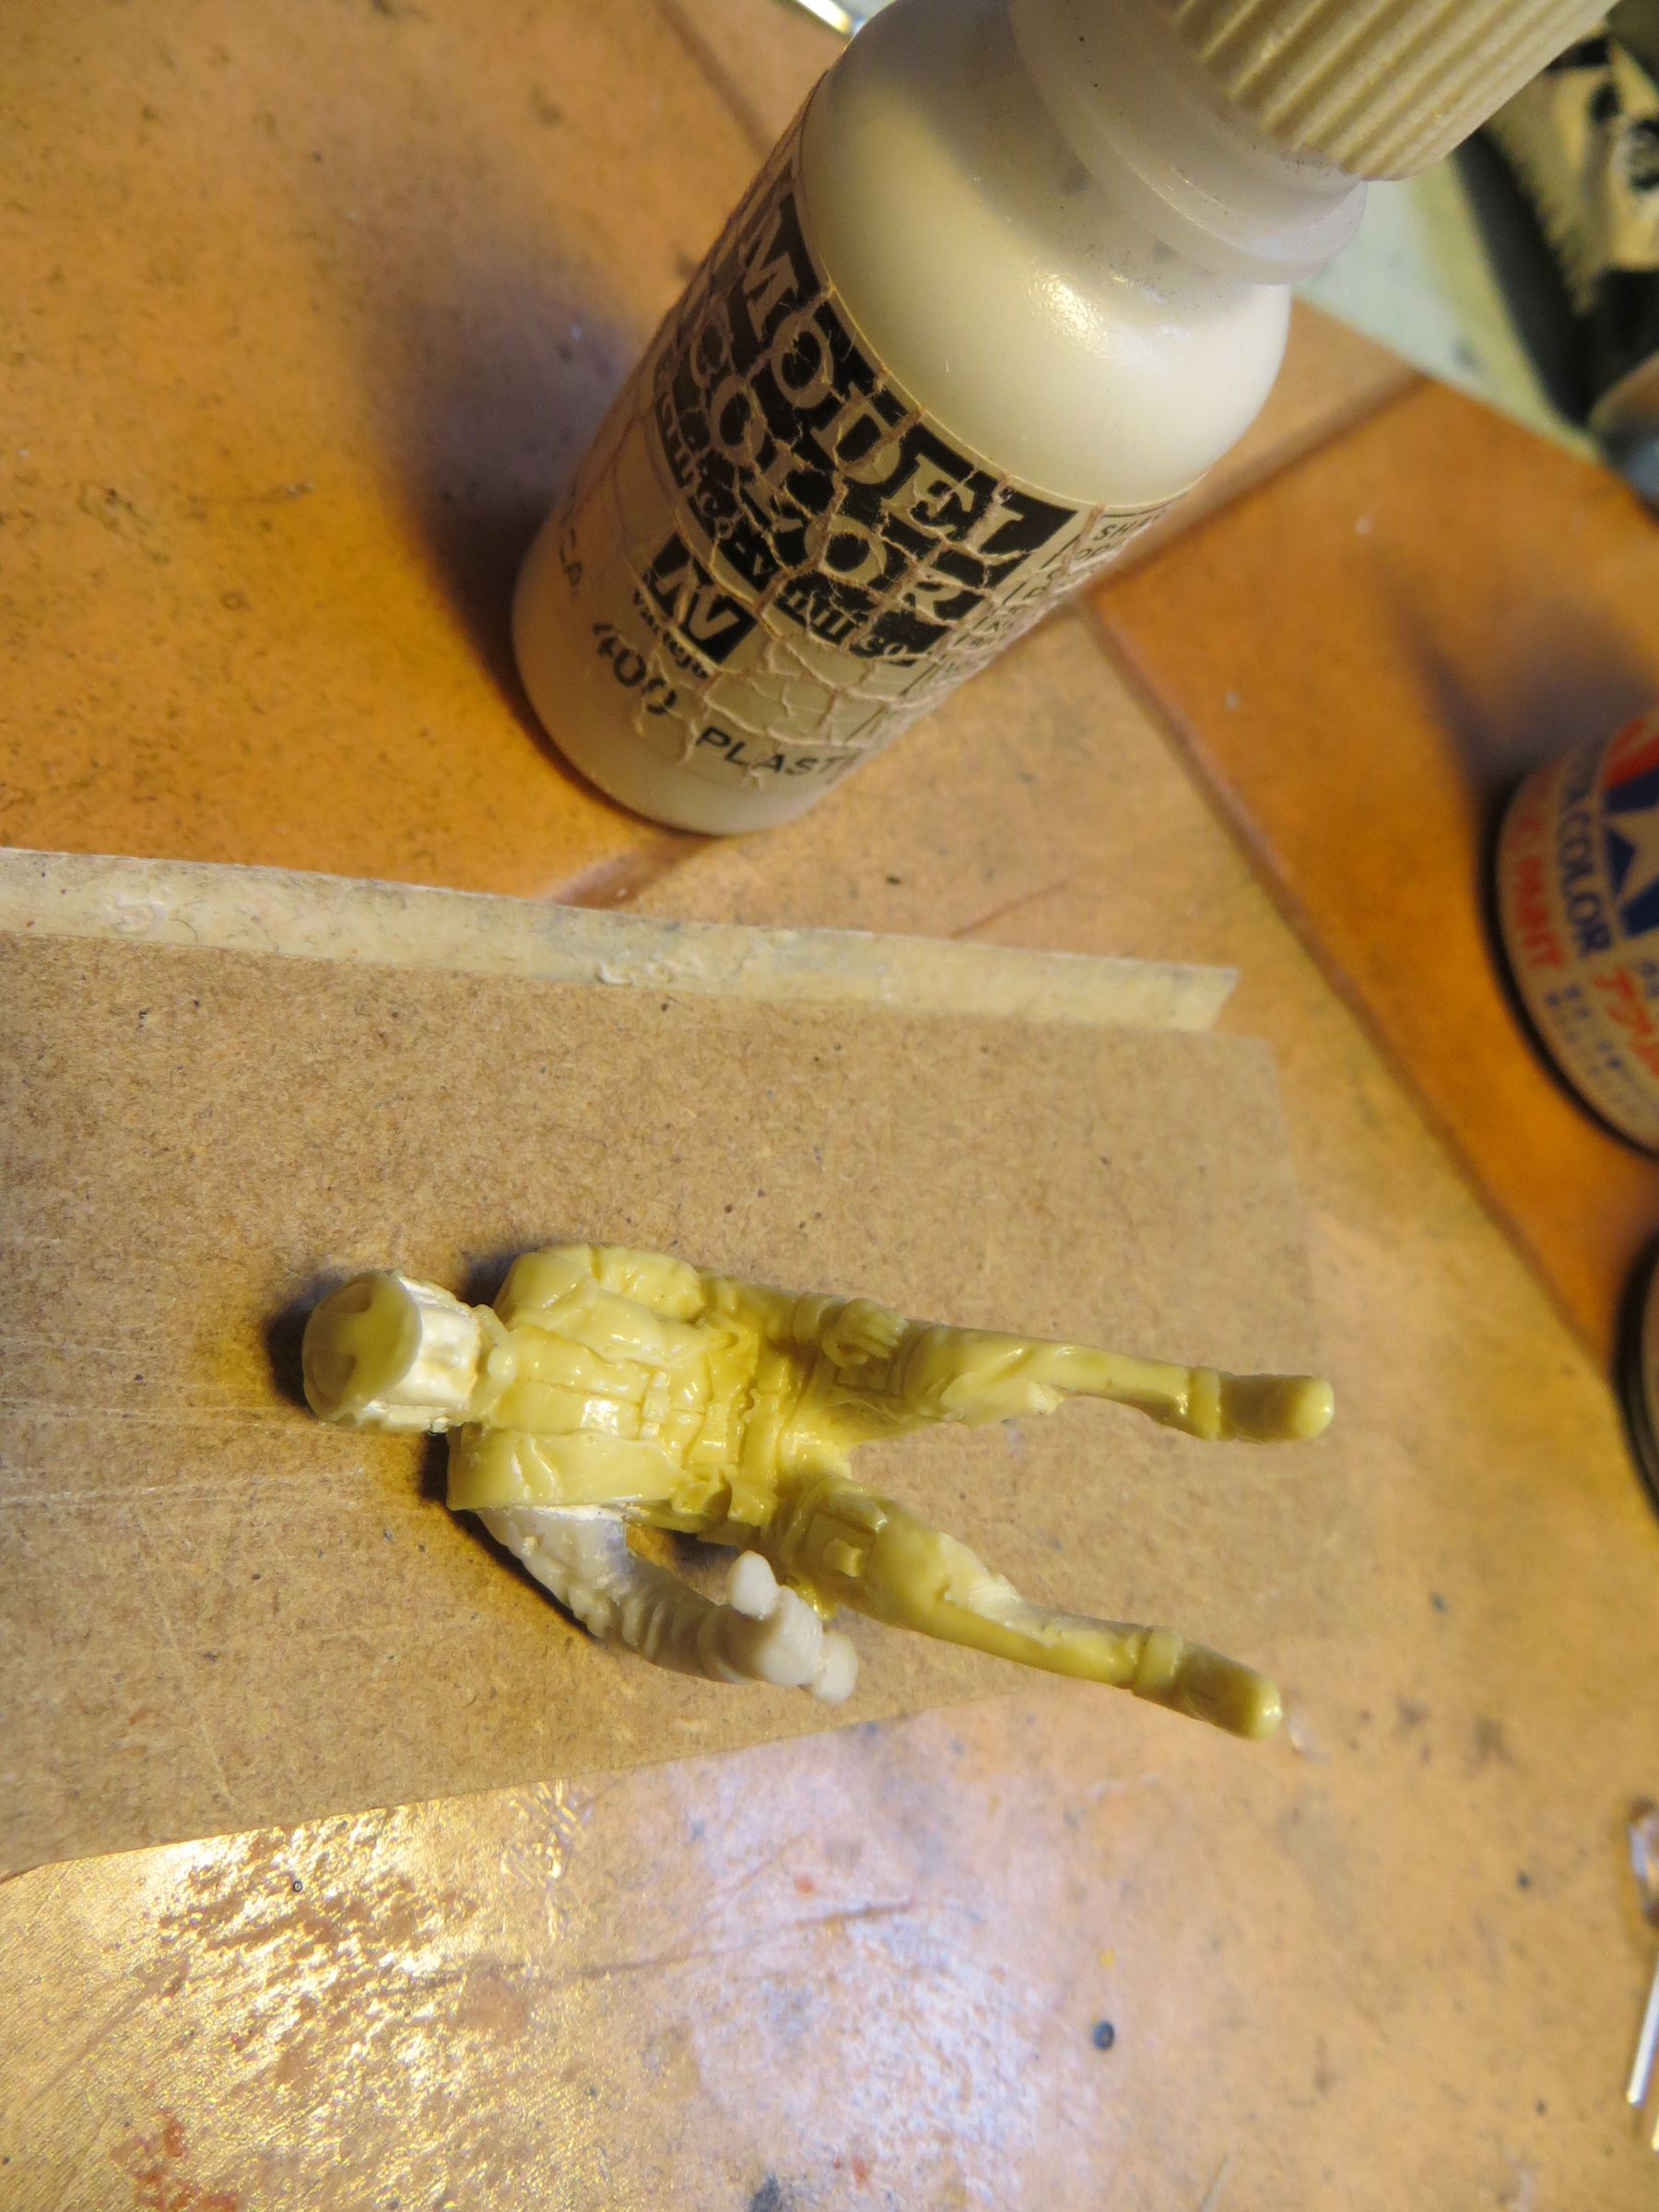
The pilot is really good. Very similar to the resin one in the mk2 kit. As it enables to depict a man or a woman, it will be placed in the mk2 (as Starbuck), and the mk2 resin one will take place as Appollo in the mk7.
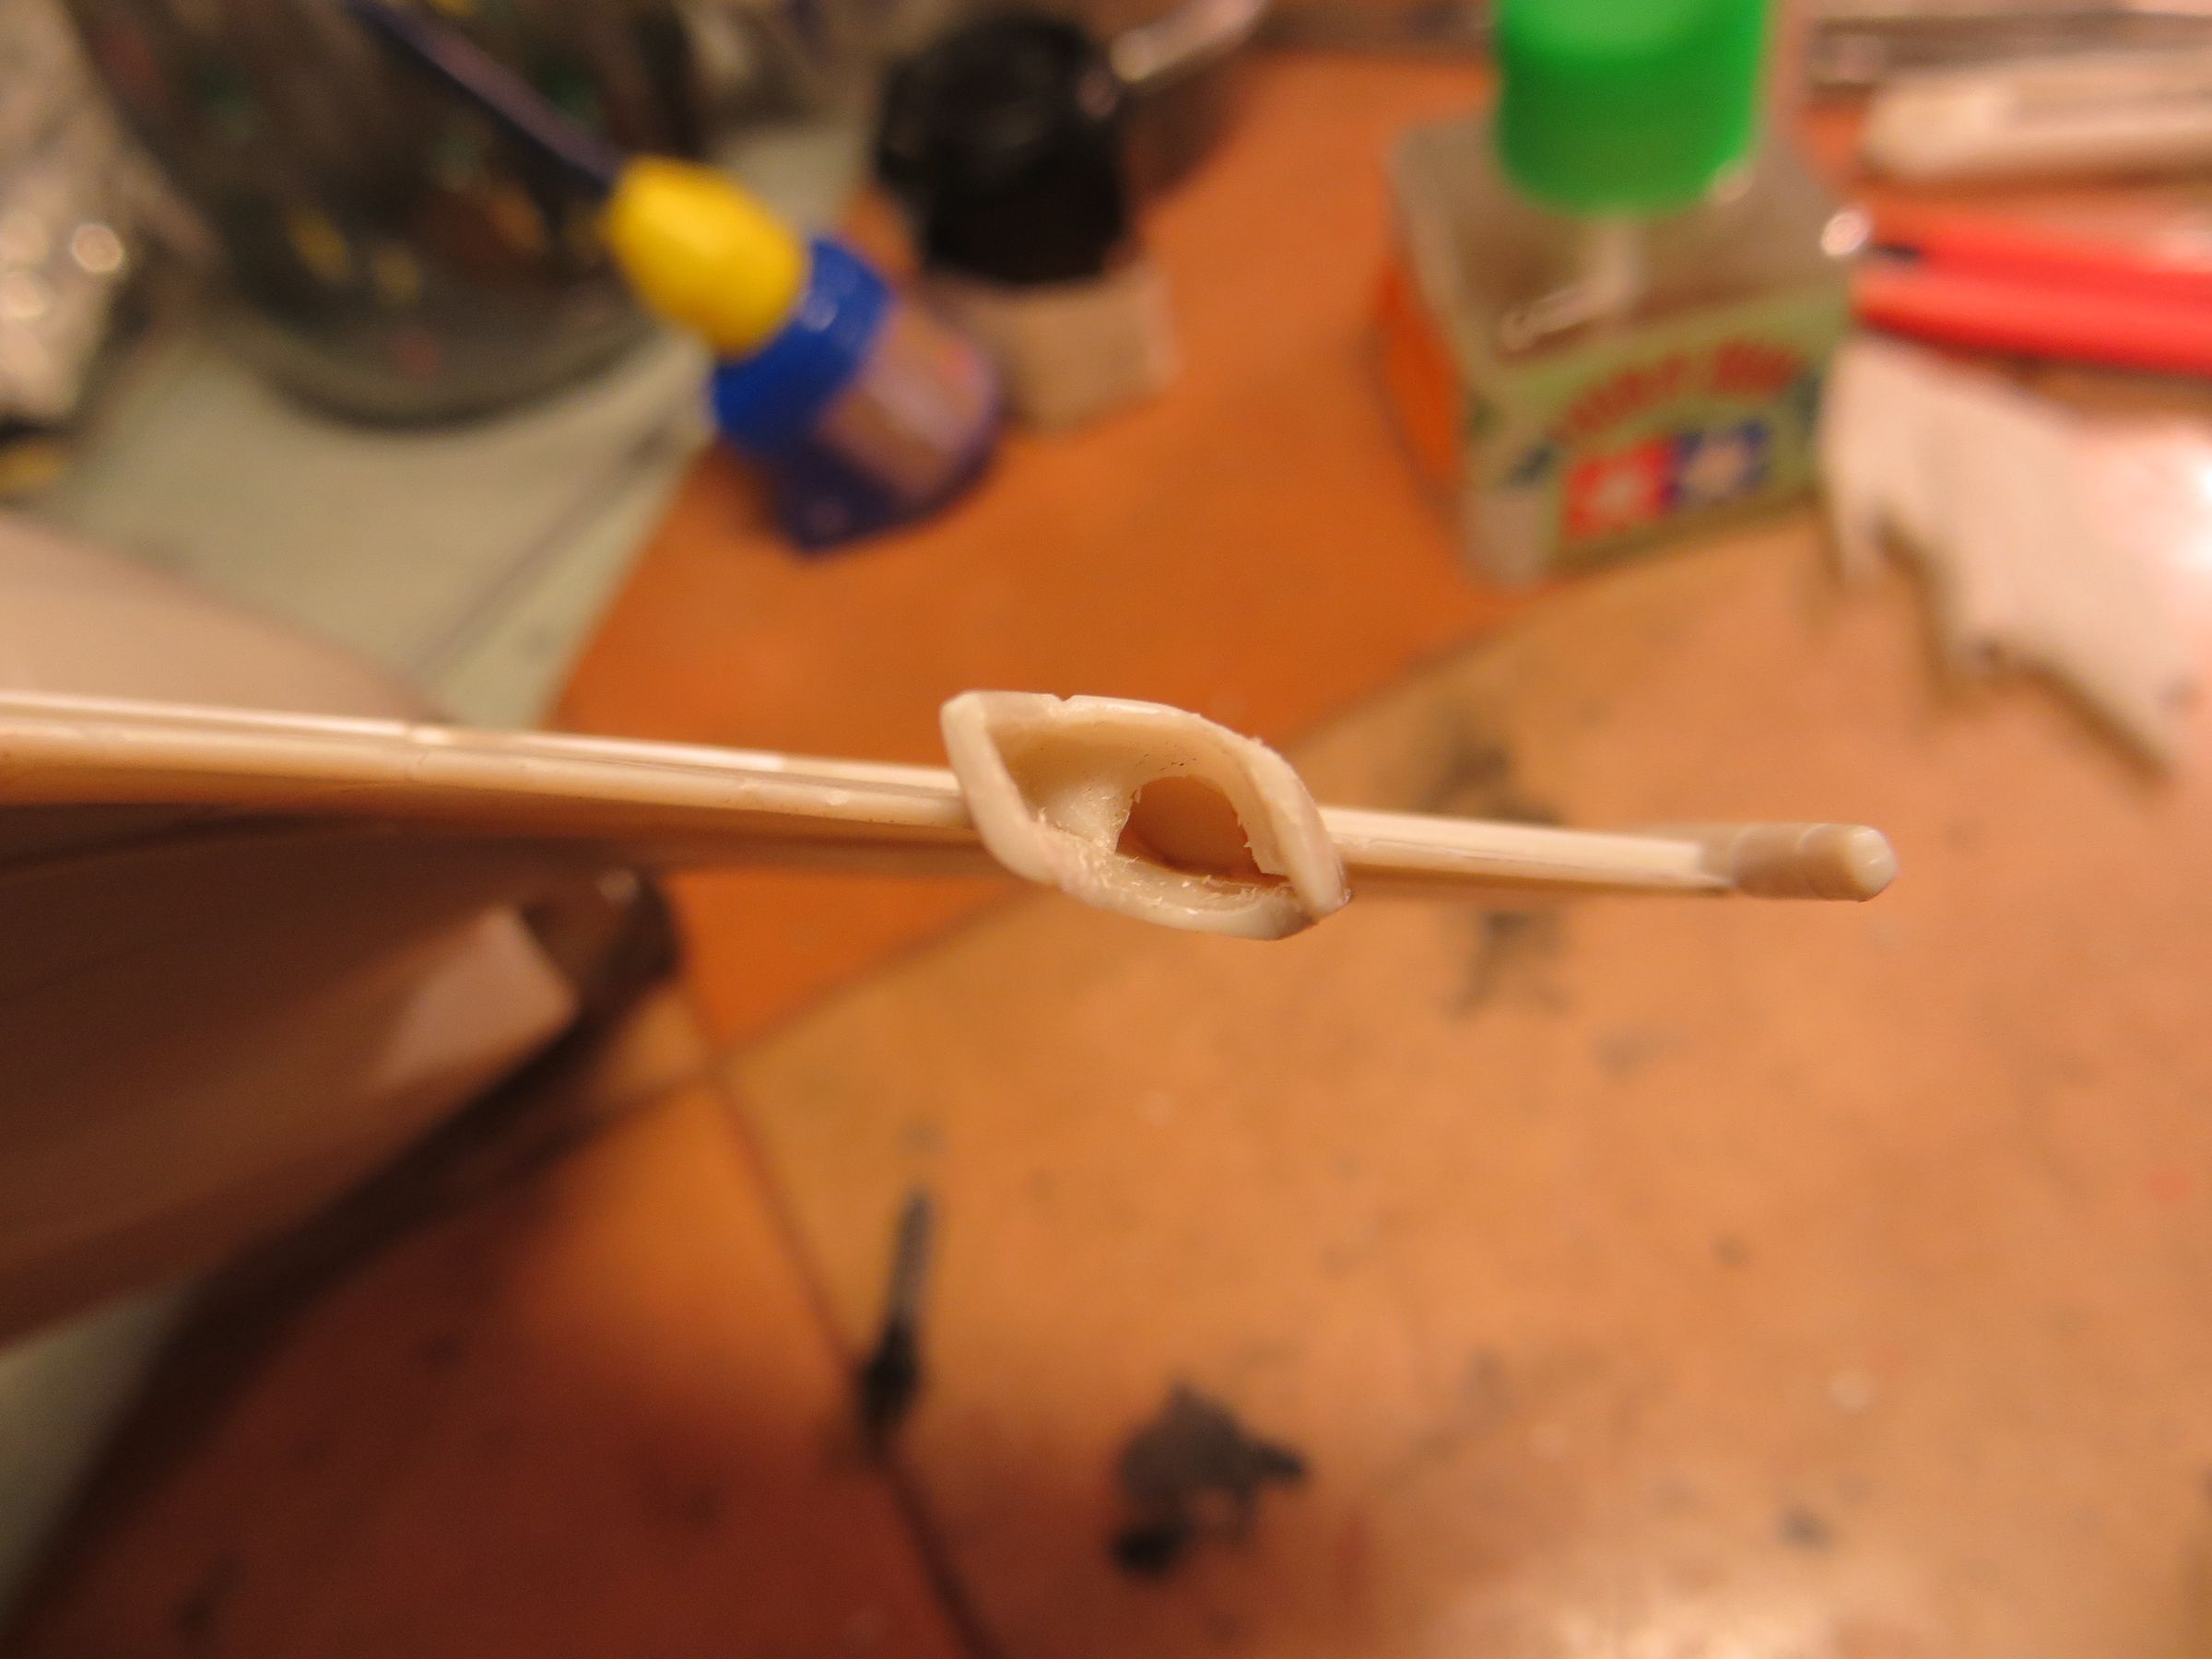
The only change (already done in parallel to the mk2) was to hollow the helmet to insert a face.

It is a pity that Moebius proposes a so sloppy kit, I almost feel to dive back in the 80s with a kit designed like this one!
If it looks okay from a distance, this kit is very disappointing when studied closer :
- Like the mk2, the surface is grainy and has some shrinkages.
- Verniers are there this time (though not deep enough for my taste). Curiously, two are missing on each side of the nose.
- This little plate (highlighted in green) on each wing is curious. It seems to have nothing to do here !

- the panel lines are a little plump.
But the two major weaknesses of the kit are :
- the horrible seam that run from the wings to the nose of the cabin. Parts design is unwise.

- The cockpit has almost no detail. For once, it deserves its bathtub nickname !! The photoeched upgrade is almost unavoidable here.

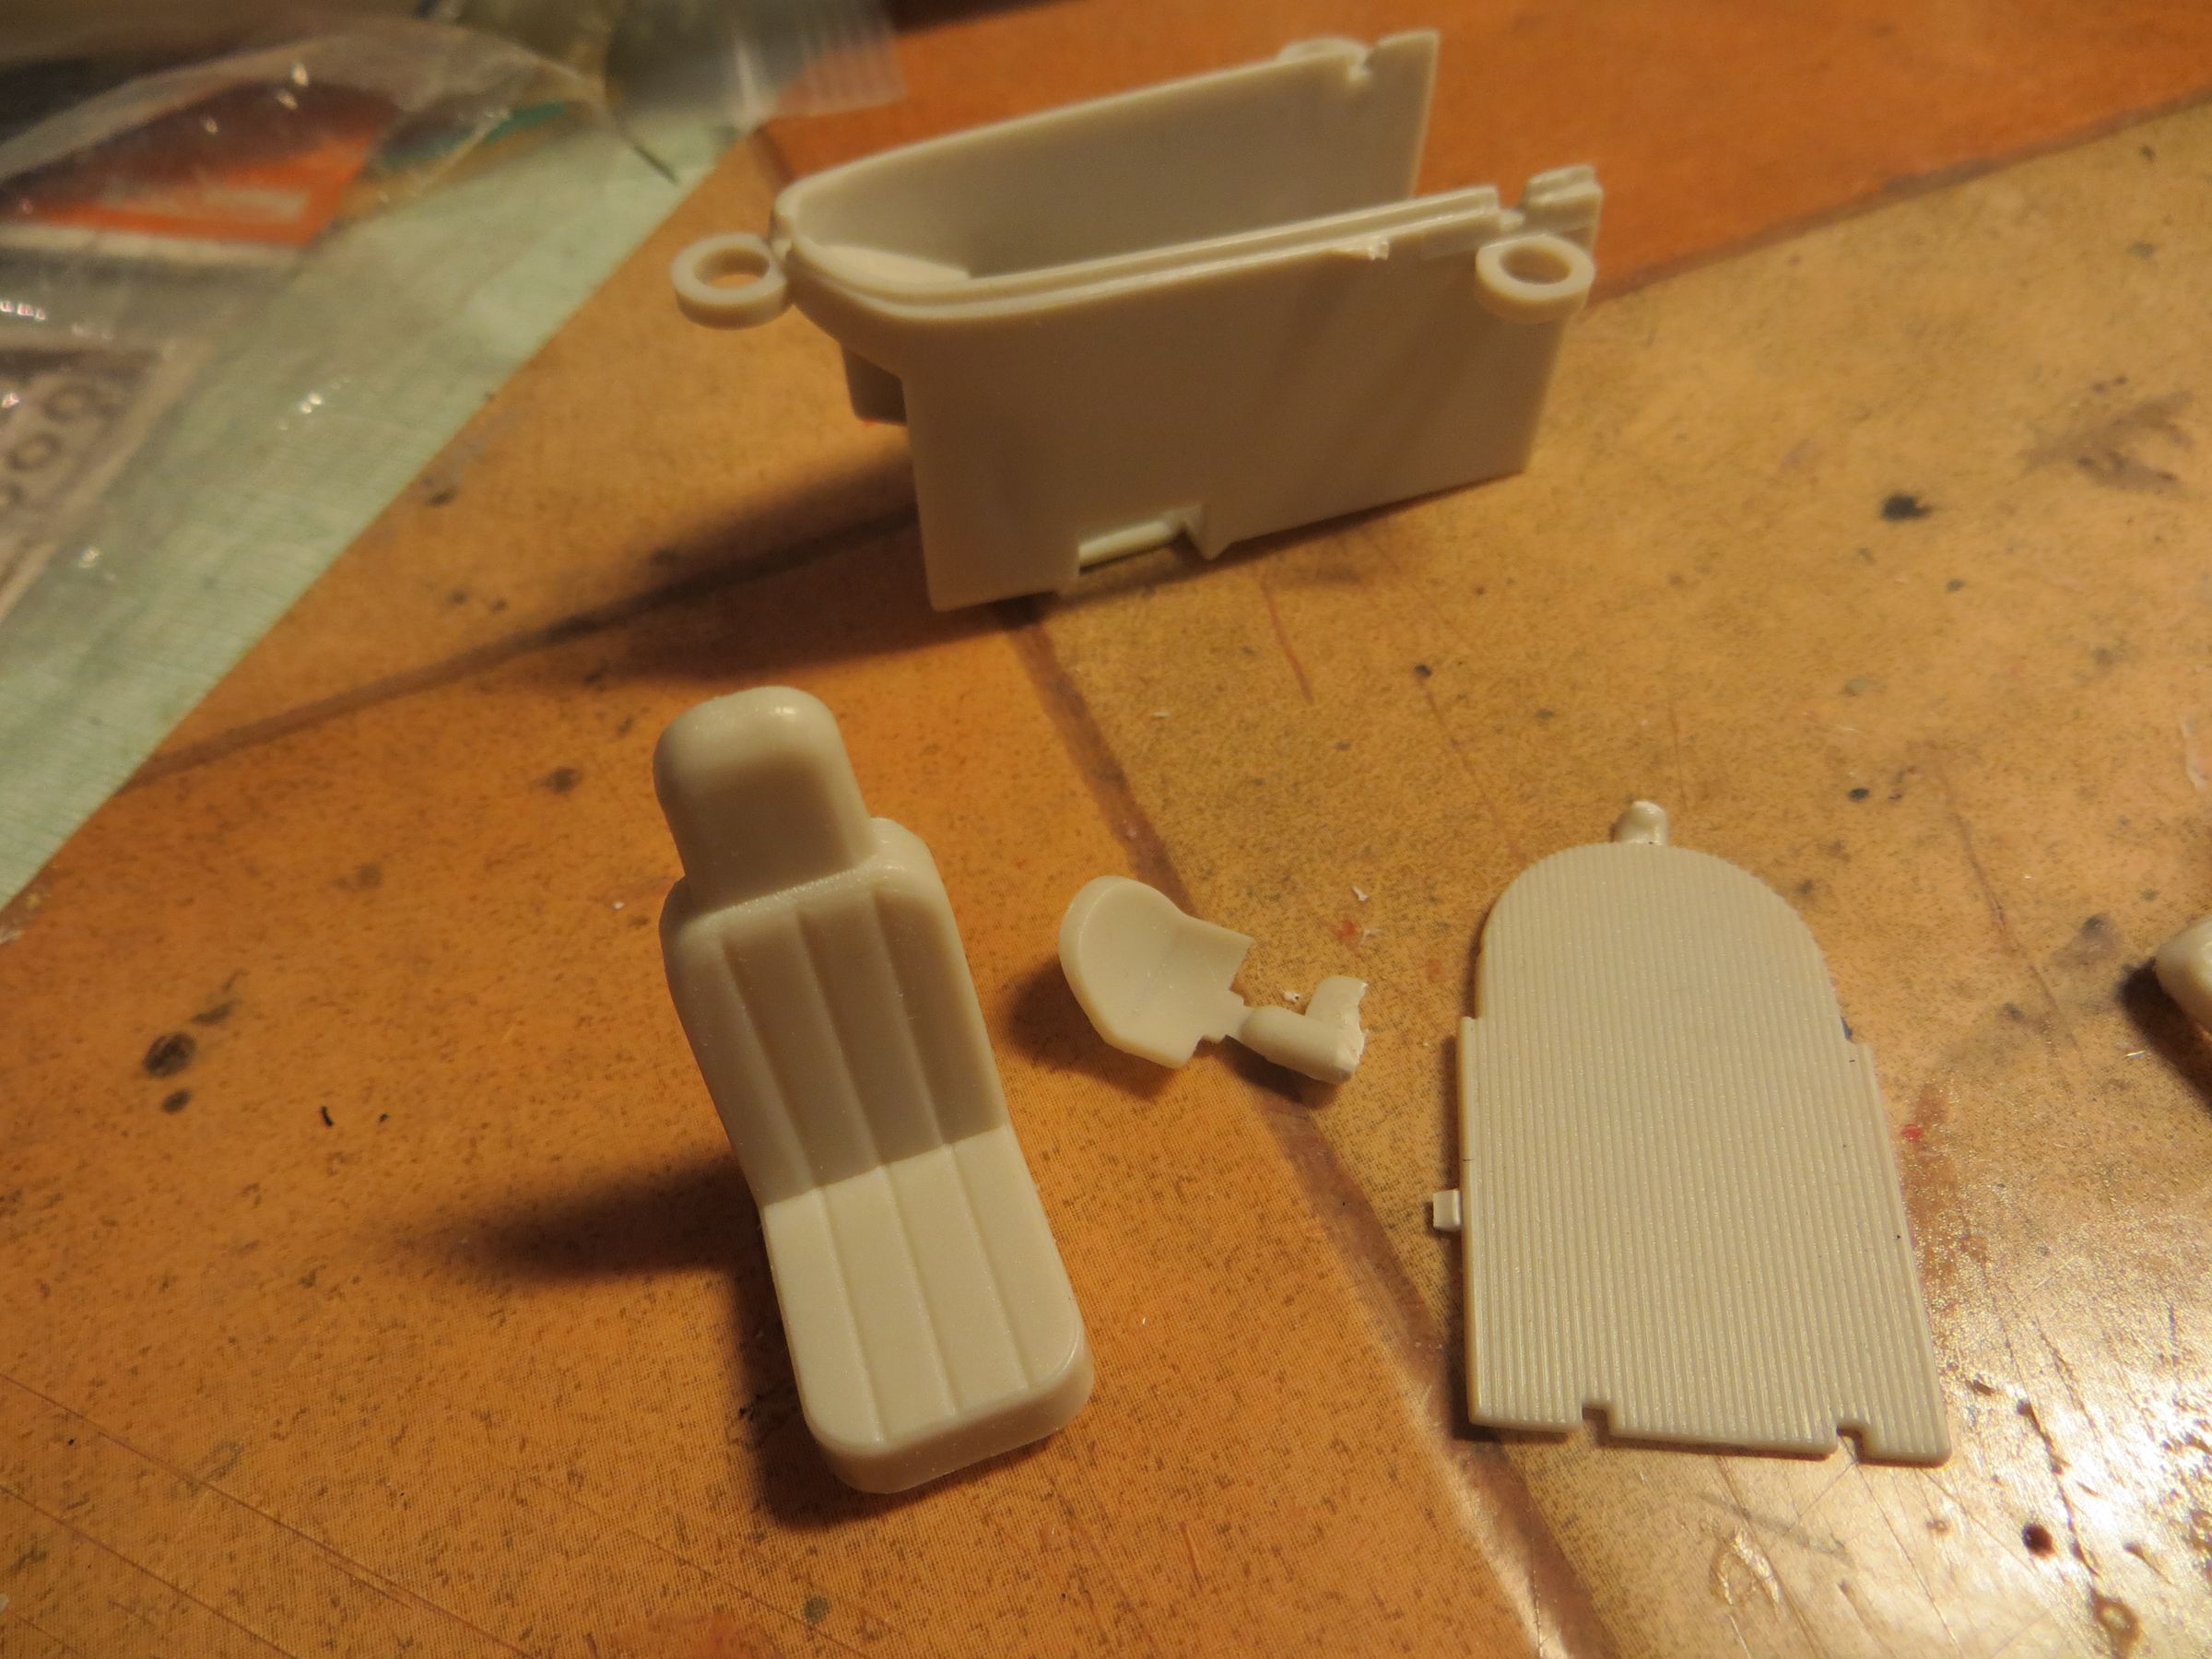
The pilot is really good. Very similar to the resin one in the mk2 kit. As it enables to depict a man or a woman, it will be placed in the mk2 (as Starbuck), and the mk2 resin one will take place as Appollo in the mk7.
The only change (already done in parallel to the mk2) was to hollow the helmet to insert a face.


It is a pity that Moebius proposes a so sloppy kit, I almost feel to dive back in the 80s with a kit designed like this one!


")