Re: First Ever Official RPF Group Build Sign-Up Thread - all experience levels wanted
Hey Marcus,
For styrene, I like Tamiya thin cement and ambroid pro-weld. The tamiya has a brush applicator and I use a touch n' flow needle applicator for the ambroid. Mostly when I'm trying to get in a tight spot. The tamiya is my first go-to glue.
I use CA for multi-media builds, like attaching PE to styrene or resin. My new favorite CA is Guerilla Glue brand. It bonds in seconds, so no longer having to hold two pieces together. Of course, I always have a big bottle of kicker on hand, for instant bonds. Dab a bit on one piece, put CA on the other and when the two touch - instant bond. For resin-resin bonds or large resin to styrene, I prefer 5 minute, two-part epoxy.
For fillers, it depends on the material and the type of filling. A small gap in styrene, I use CA. For larger gaps, I'll soak a piece of styrene strip in thin cement and work it in to the gap. Since it's styrene, it bonds with the surrounding areas and sands the same, so it becomes invisible once it's finished. For deep scratches (from sanding or scraping), I use Gunze Mr. Surfacer 500 and do clean-up with Mr. Thinner (which is just a styrene-safe lacquer thinner). For deep gouges and pits in styrene, I make my own filler. I cut up some sprue into a small glass bottle (like an old paint jar) and add enough amroid to cover it. Wait a while for the ambroid to melt the sprue and you have your own supply of liquid styrene. When you brush it on though, you have to work quickly as the ambroid will evaporate out and the stuff will harden.
Resin sort of has it's own set of "rules" for filling. For the errant, little air hole, just a drop of CA is all you need. Give it about a half hour and then sand it smooth. For larger divets, it's best to mix it with talcum powder as it gives the glue added strength and density. If it looks like the piece was hit by bird shot, 3M acryl-blue is your best bet. It's like bondo spot glazing putty, but better.
Now, if you need to rebuild detail or sculpt detail, Aves apoxie sculpt and Milliput white are going to be your best bets.
Now, a primer on primer. If you don't have a lot of micro detail to worry about, the $1 stuff from wal-mart is fine. Or if you can't get that, any spray can primer will work. They tend to be a bit thick, even in fine mist coats, so they will obliterate fine detail. If you do have a lot of fine, engraved lines and details, I love PolyScale undercoat. It's extermely fine and does a beautiful job of hiding sanding scuffs but leaving all panel lines and details, intact.
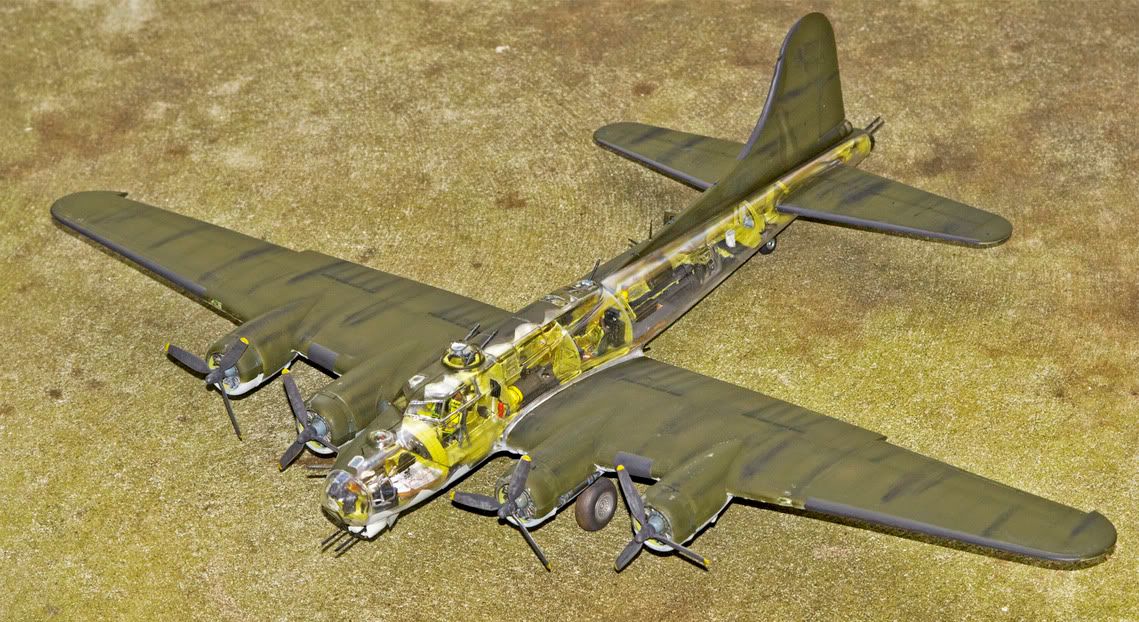
Pre-shading is an easy, effective technique for adding depth to any paintjob. In between the primer coat and the top coat, use your airbrush to paint a thin, black line, follwing all the panel lines. It's a very sublt effect, but you notice it. It's one of those things that you can't quite put your finger on, but you see the difference between a build that has it and one that doesn't. Here's my B-17 where I pre-shaded the panel lines
It's hard to see, but you can see tonal variations along the panel lines.
Future - good for two things; canopies and decals. Got glass that you want crystal clear? Dip it in Future and let it cure. Lay the dipped piece on the thinnest edge you can, on a paper towel. Future is self-leveling and the paper towel will help wick the excess Future. Cover it with something so dust doesn't get in it while it's curing. If you do screw it up, soak it in windex (with ammonia) and start over.
Decals adhere best on a gloss surface. So your best bet is to either give the entire build a coat of Future, or apply Future where the decals are going to go. Then, once the decals have cured, seal with another coat of Future. Then if you're building something with a matte finish, you can spray your favorite flat coat after the Future has fully cured (I like to wait a week, just to be sure).
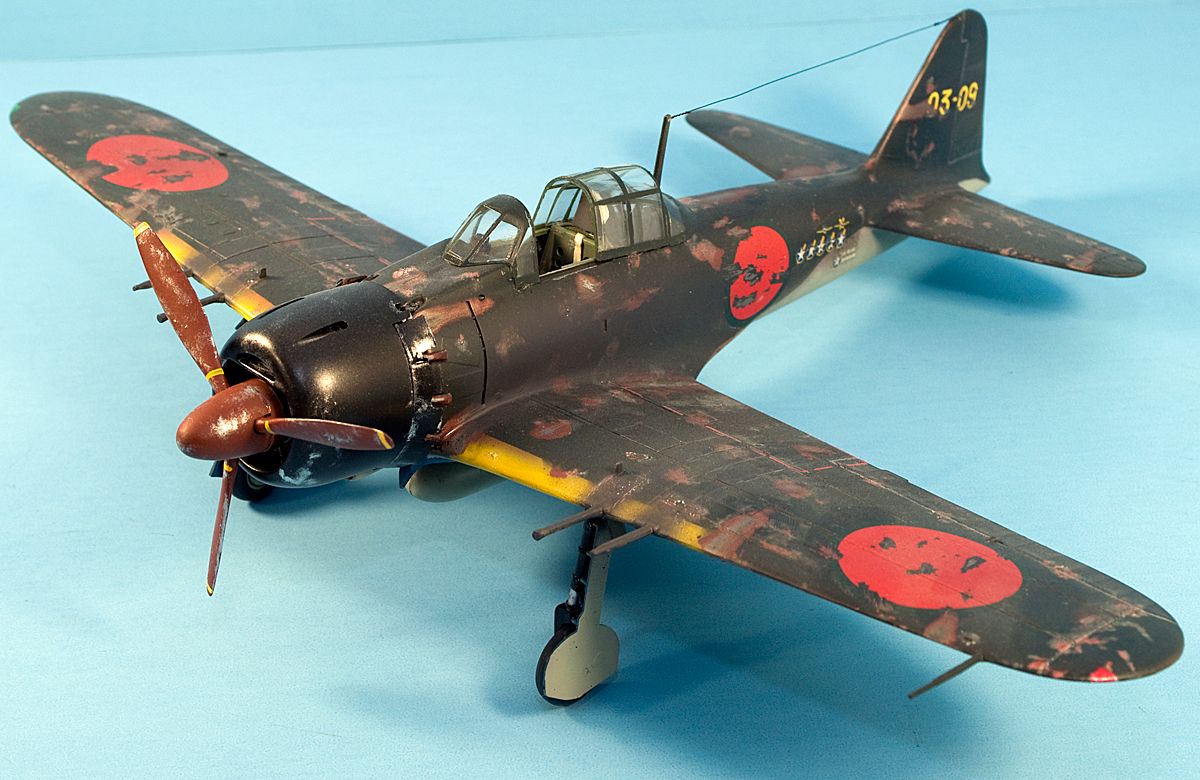
And another word on decals; if you have a decal that has to go on a multi-contour surface, invest in some micro sol and micro set. Use the solution to soften the decal and the set to pull it down on top of the detail. If done right, it will look like the decal was painted on.
Take a look at the closest Hinomaru - it's a decal, I promise
")
Anyway, if you have any more questions, feel free to ask.
-Fred