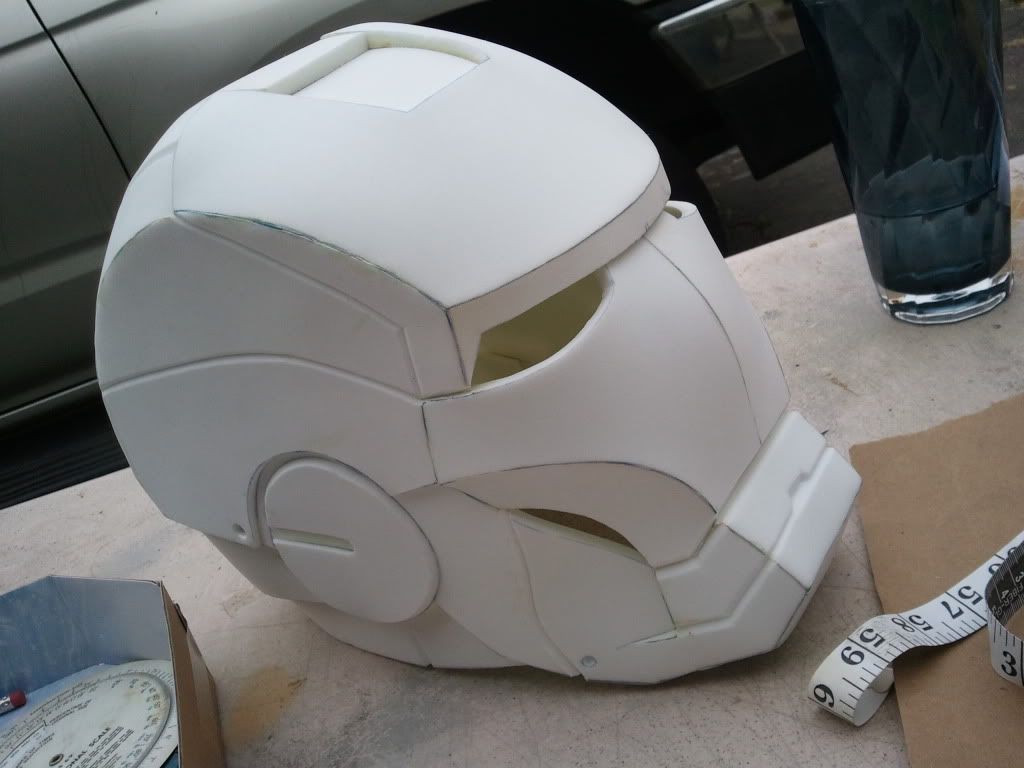
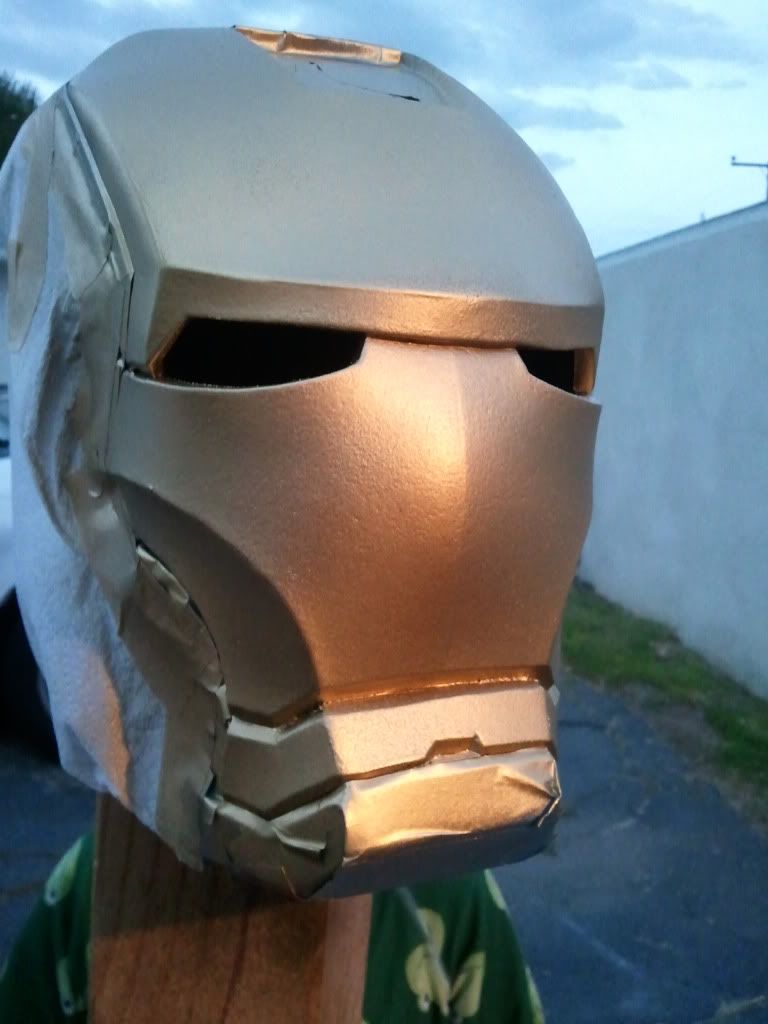
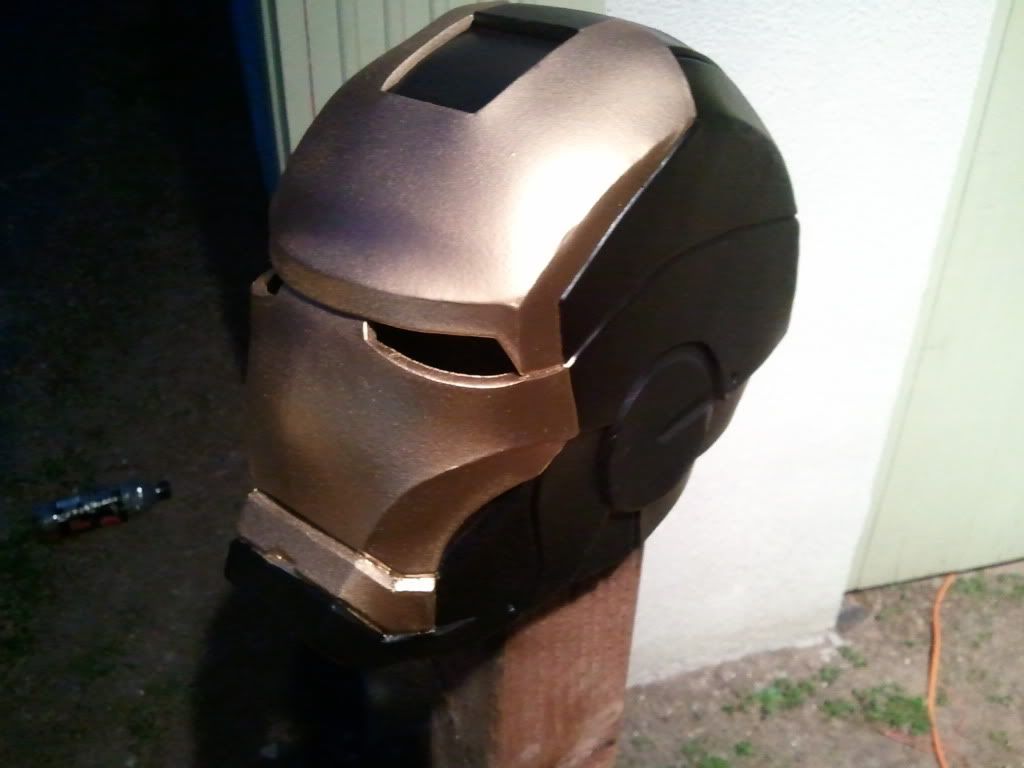
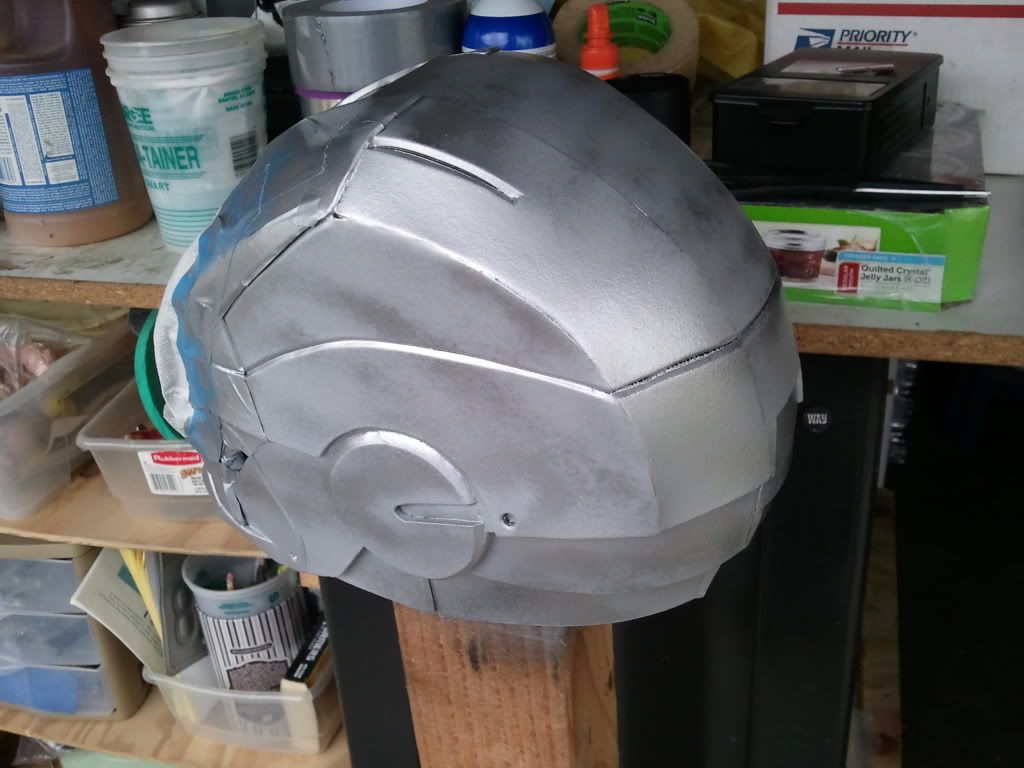
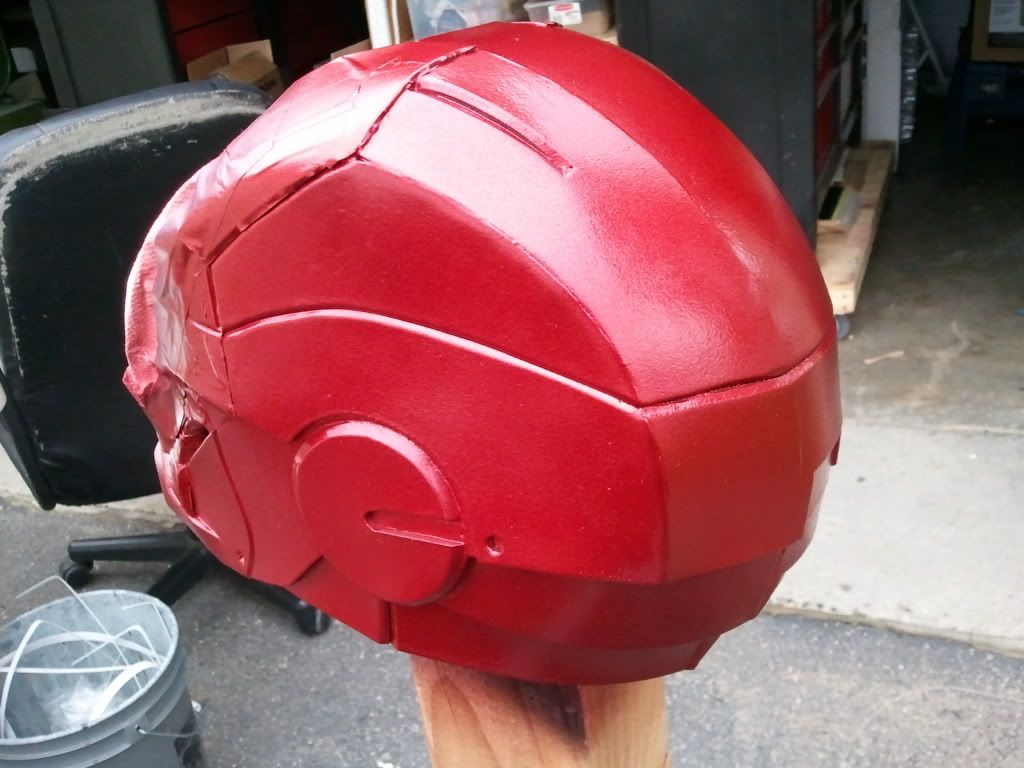
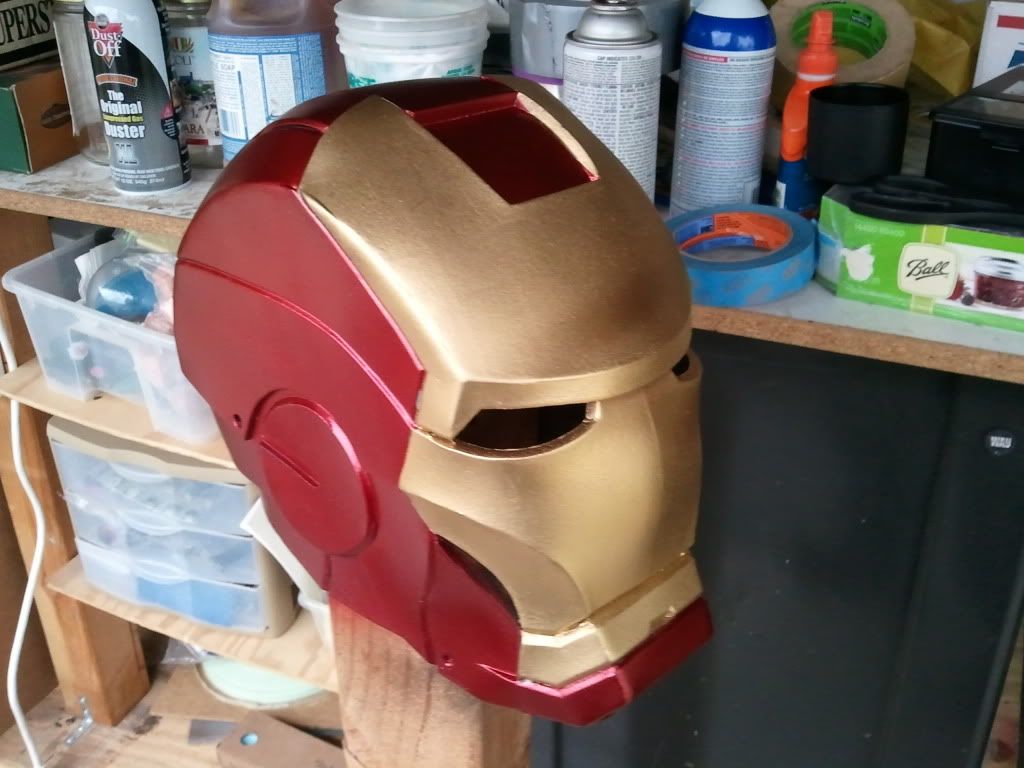
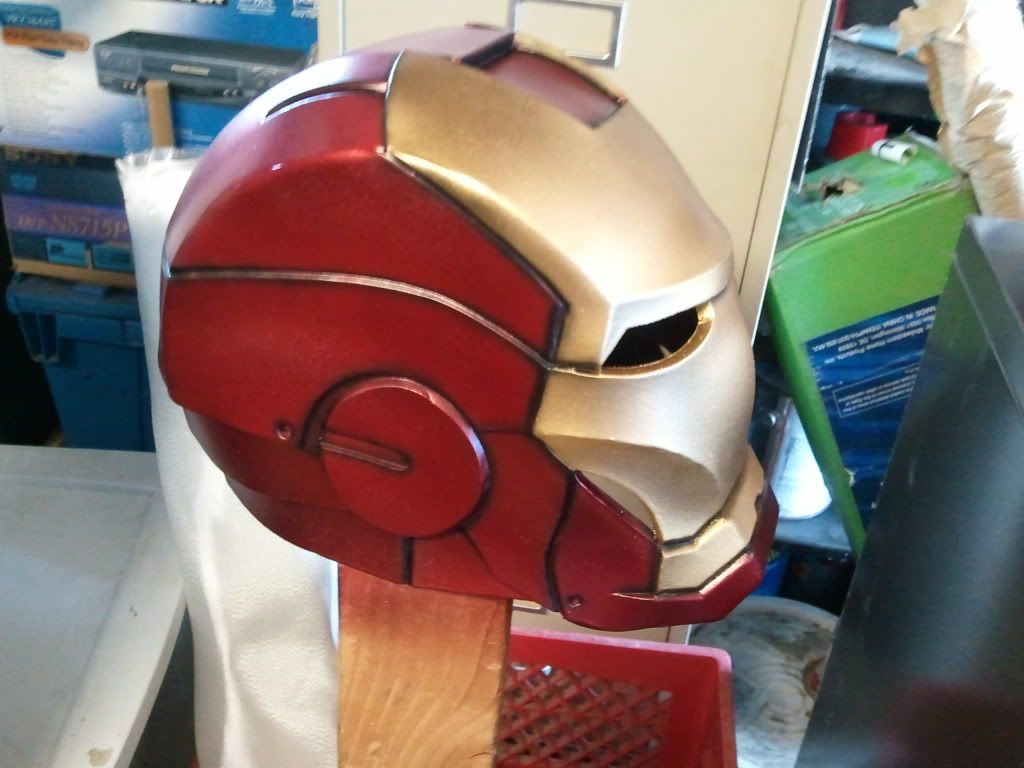
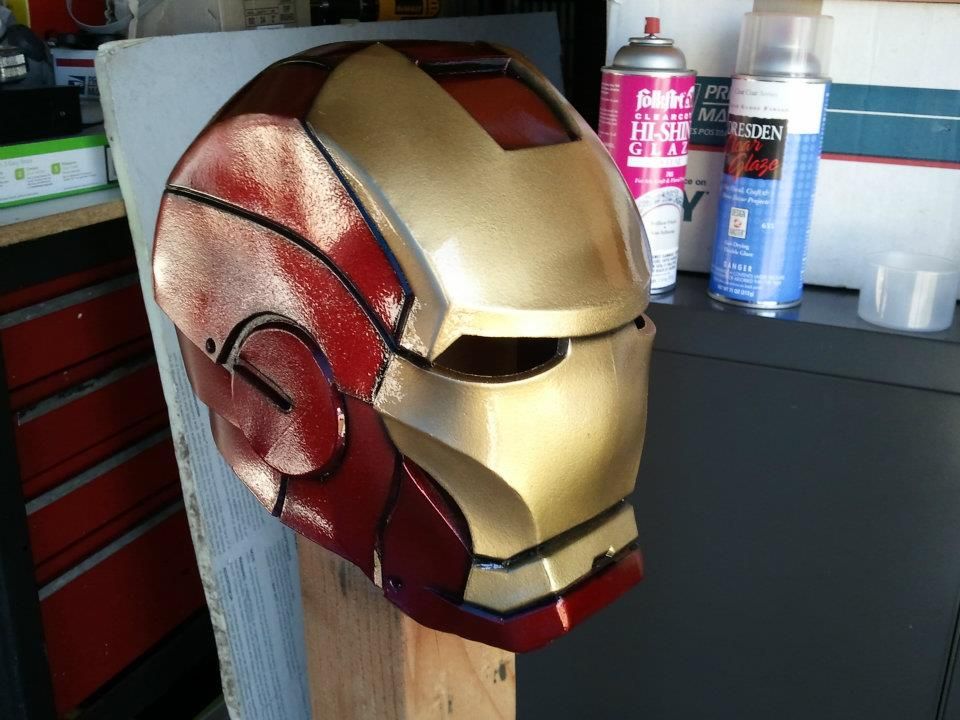
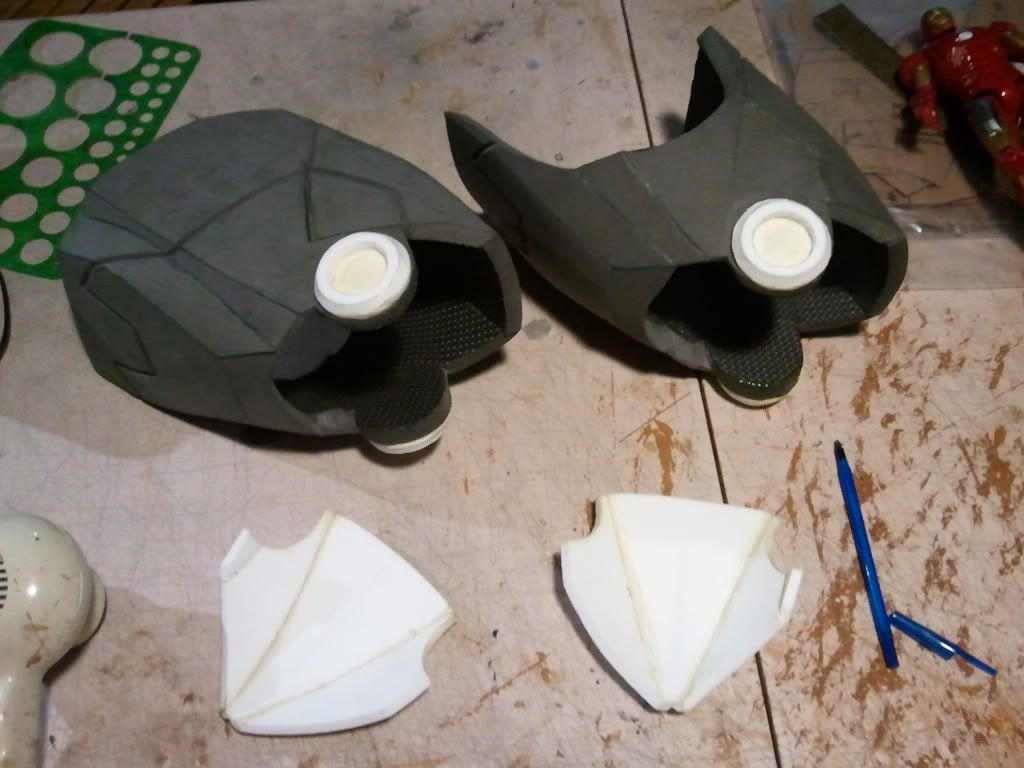
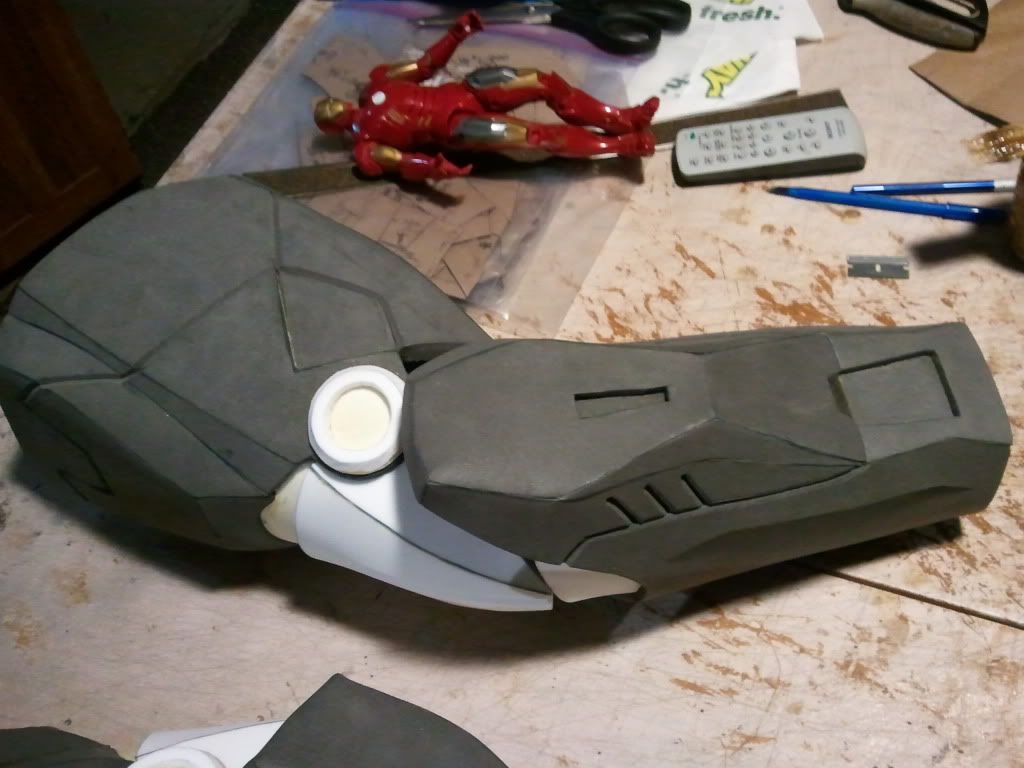
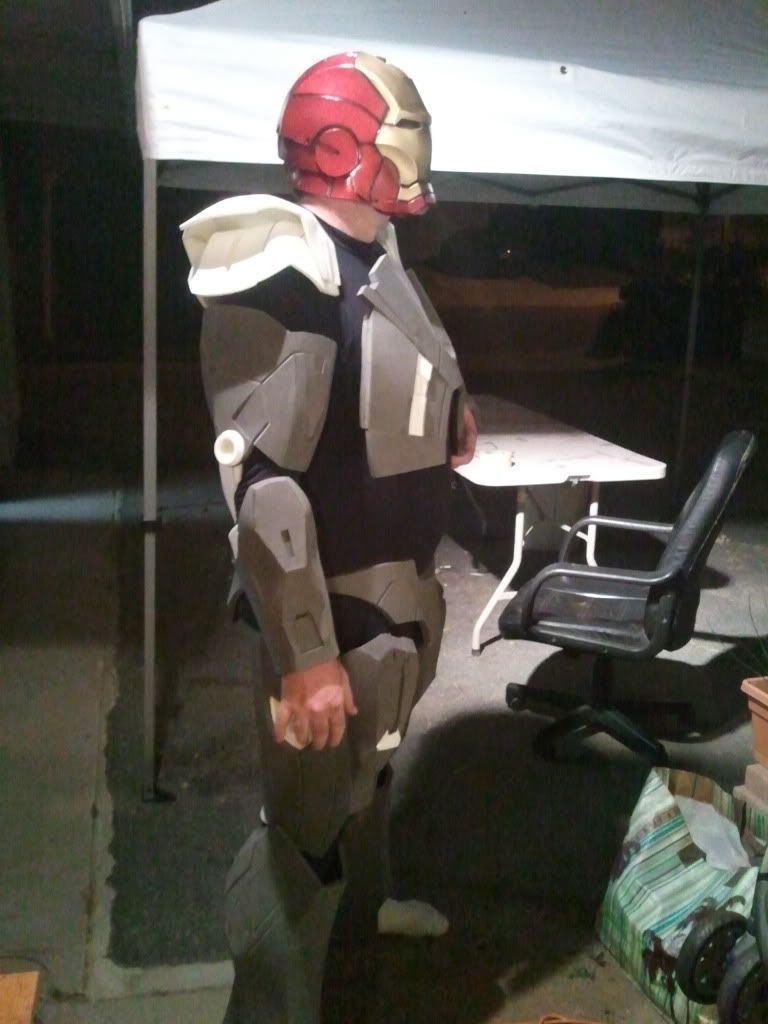
Hey Everyone, been out of the loop for a bit, but I'm back with a vengeance (or Avenger-ence if you prefer) I did the helmet of my Mark 7 a little ways back just to experiment, here are the build pics of that -
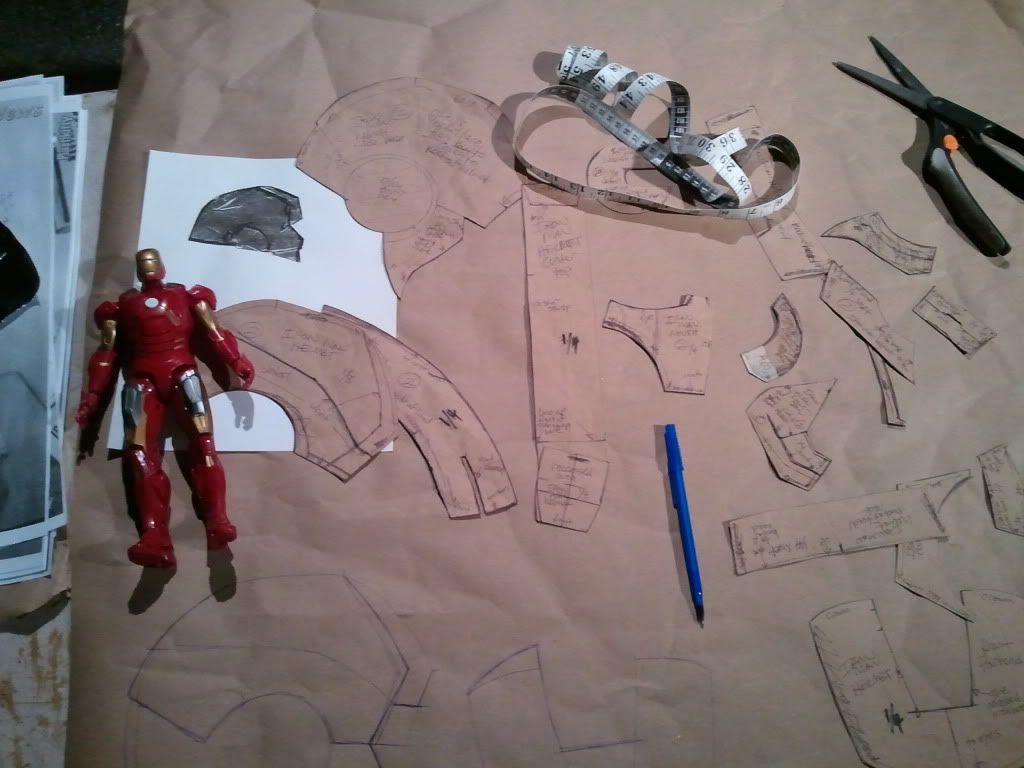
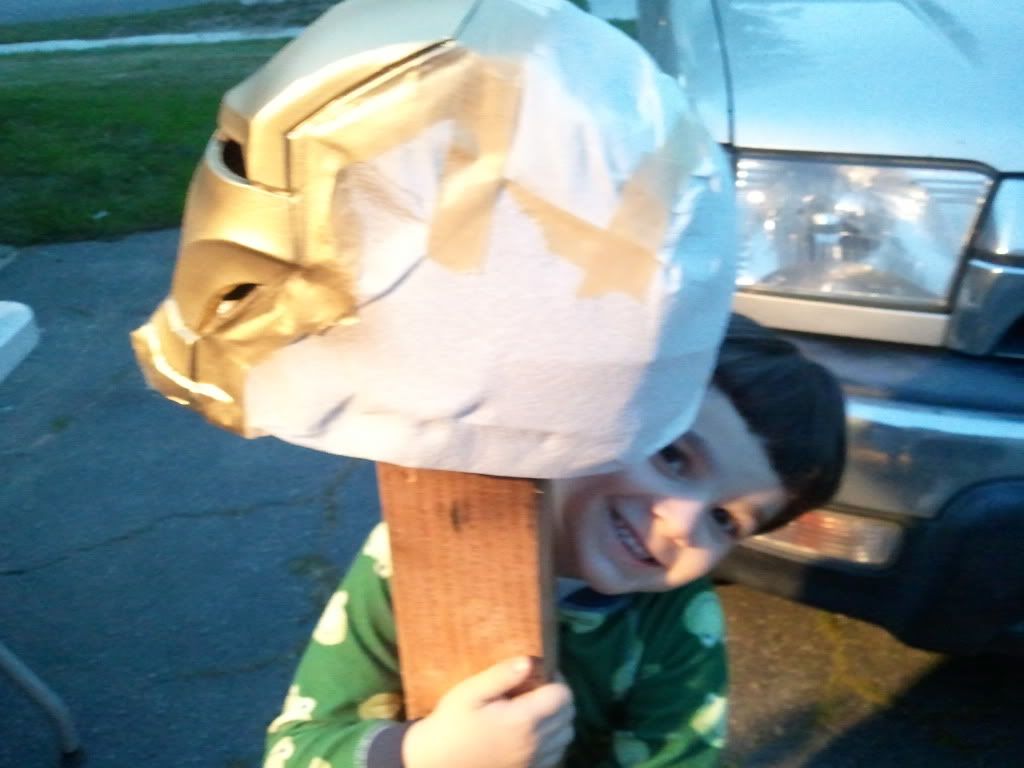
Like my cute helper?
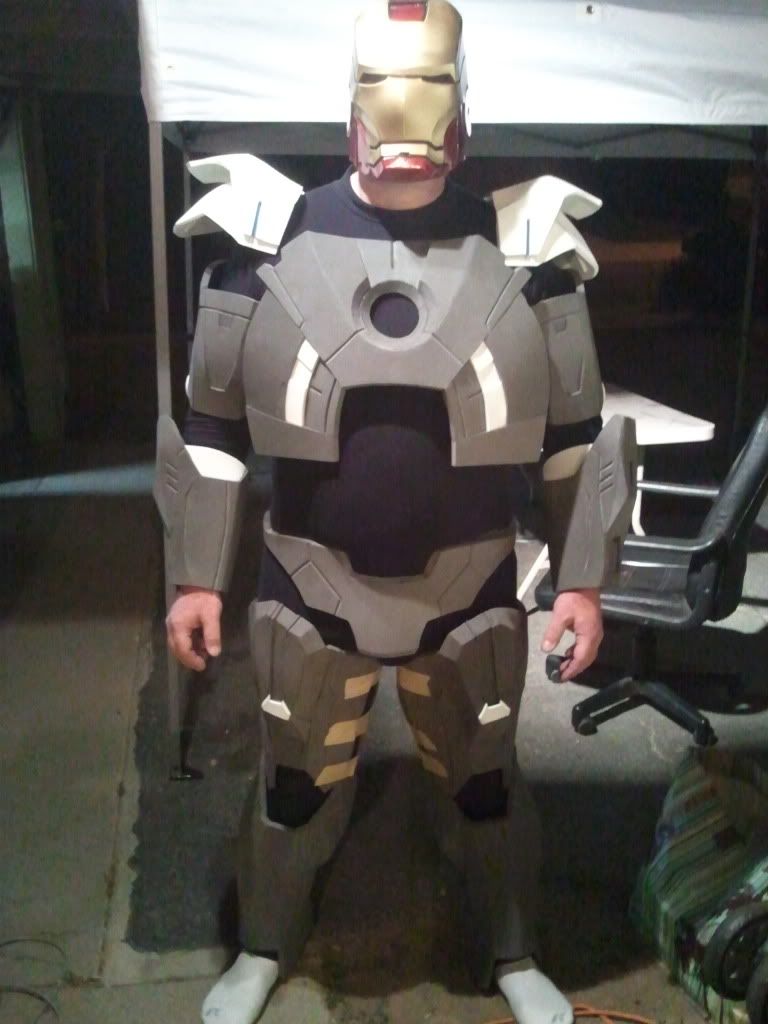
But it was sitting there for months teasing me, saying I needed to finish the rest of the suit. Well the kick in the ass came when I got the call to attend (in costume) the annual city of hope cancer survivors picnic. I love doing the event and all I had was War Machine, which good in of itself I wanted something new. I looked at the calender, I had 12 days, could it be done? I had that 3 day memorial weekend too? My wife laughed when I told her what I was considering, "your not considering it honey, get to work!" So I was off to the races. I wish I could have posted this as I was doing it, but I was literally fried in the brain. I will do my best to reconstruct the day by day.
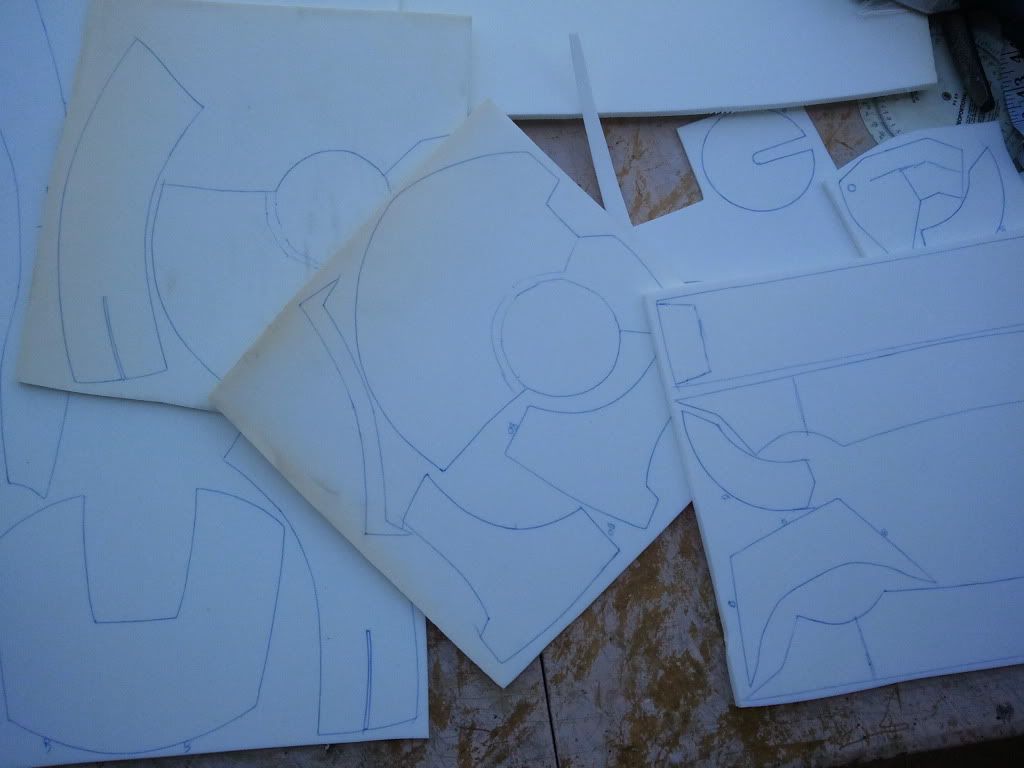
I also see that everyone has been busy with their own Mark 7 builds, some are amazing and I hope my measures up. I did all my patterning in my head, so some of it will look wonky, and I didn't have that awesome reference pic from Legacy so I used the kotobukiya statue as my reference. That and the toy for scale issues.
Day ONE thru Day THREE - evenings after work, from about 5pm to midnight I patterned to get ready for the memorial day weekend build a thon.
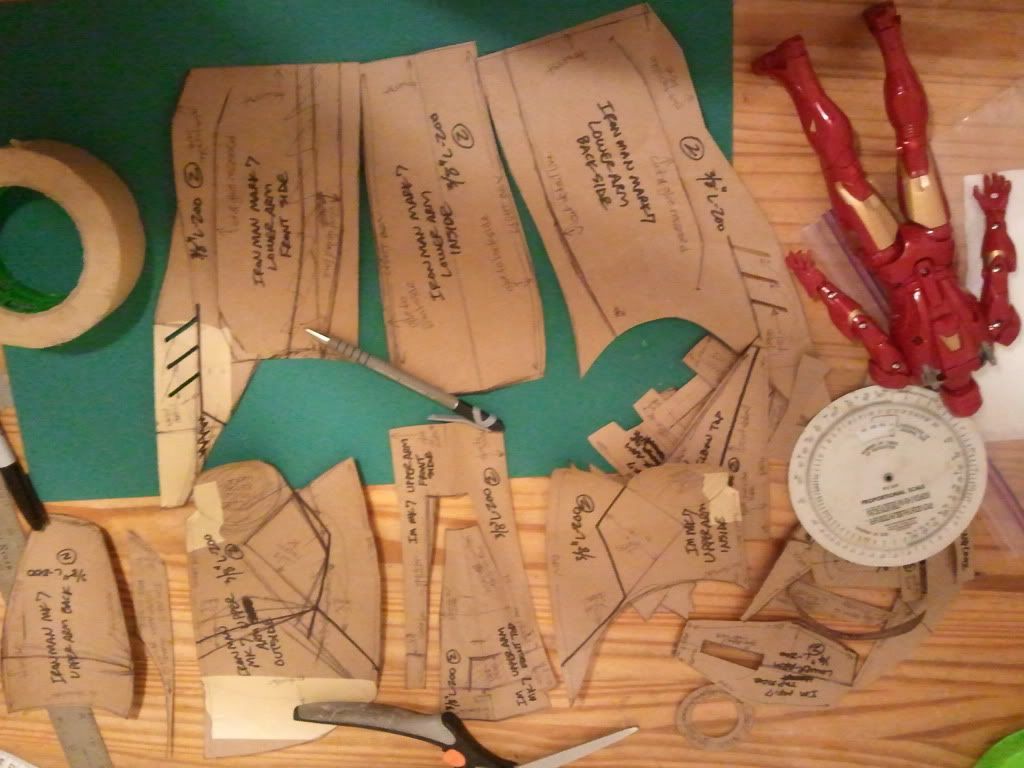
Friday night I tallied up what I had, a partial waist, the front of the chest, the upper arms, elbows, lower arms, upper thighs, and lower legs. I knew I had tons more to pattern, but I had to start building, or I wasn't going to make it, after all, I had only these three days to build, the rest of the week was evenings after work.
Saturday morning, the fun starts
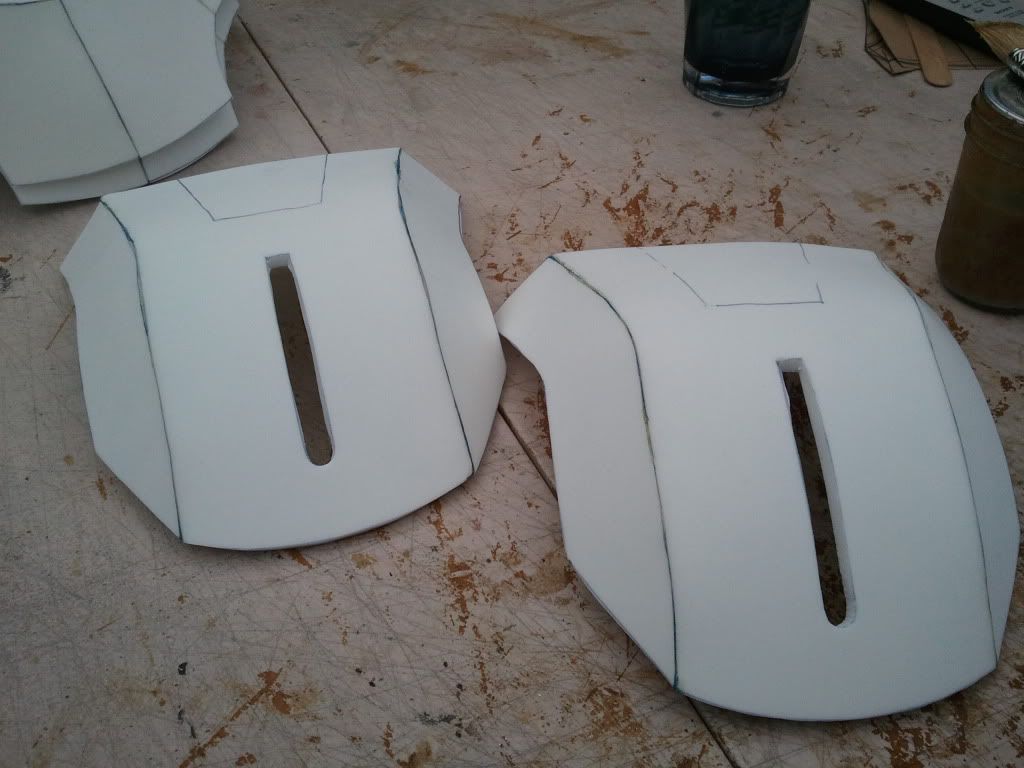
the unfinished waist
The parts for the chest/ribs area
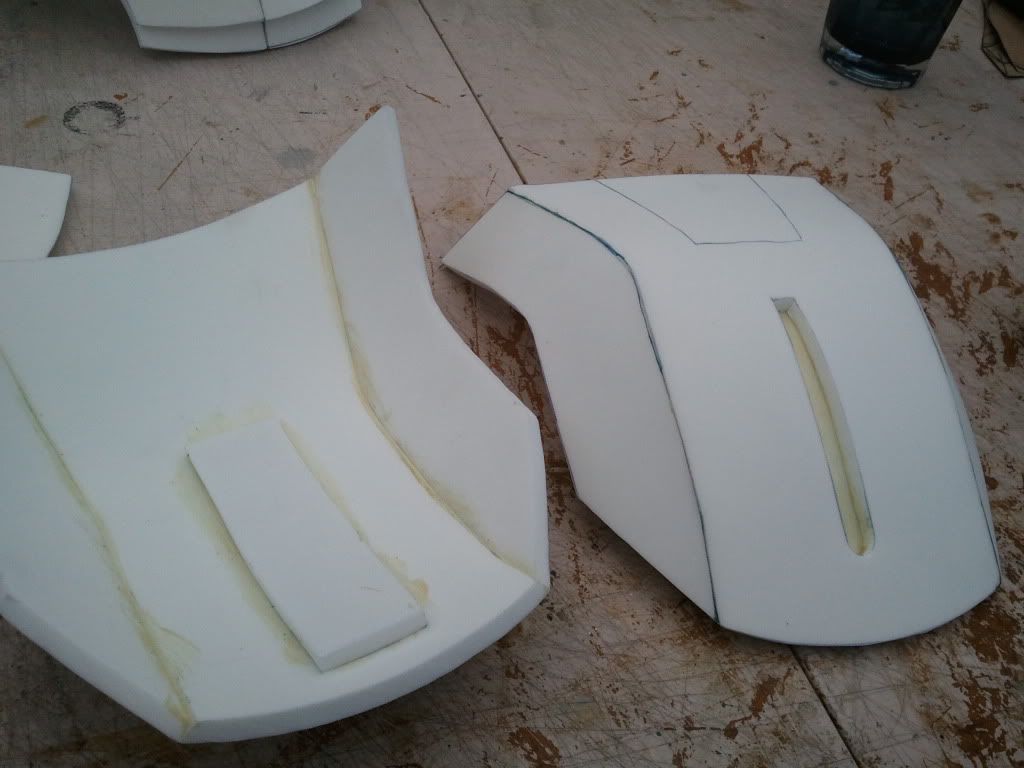
The assembled chest/rib
something cool I discovered, the floor mats are dense enough that I can sand them. (I'm sure someone else discovered this first, but I haven't seen it myself before this.)
Now sanded with 220 grit.

Here is something i don't think anyone had realized yet, but with the Harbor freight mats, you need to dremel off the textured side so you can glue to it. The texture has a coating that doesn't let the glue bite to the surface and hold. I had to dremel off parts so that the chest layers would bond to each other.
the completed front chest
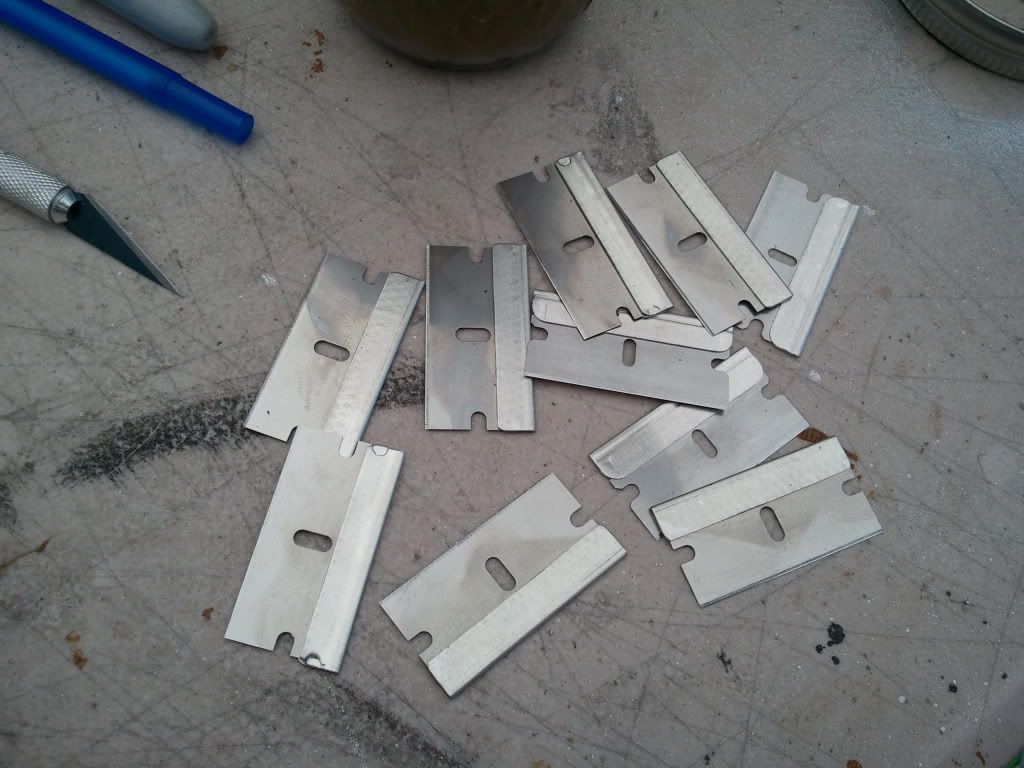
Another thing i talk about in my other foam threads, but the realization never hits anyone until you are doing it. Getting good clean cuts on these mats requires LOTS of blades. This is what I used on just the chest alone. (the whole suit took over a hundred blades)
back hand plates
traced out 1/4" parts for the elbows and upper hands
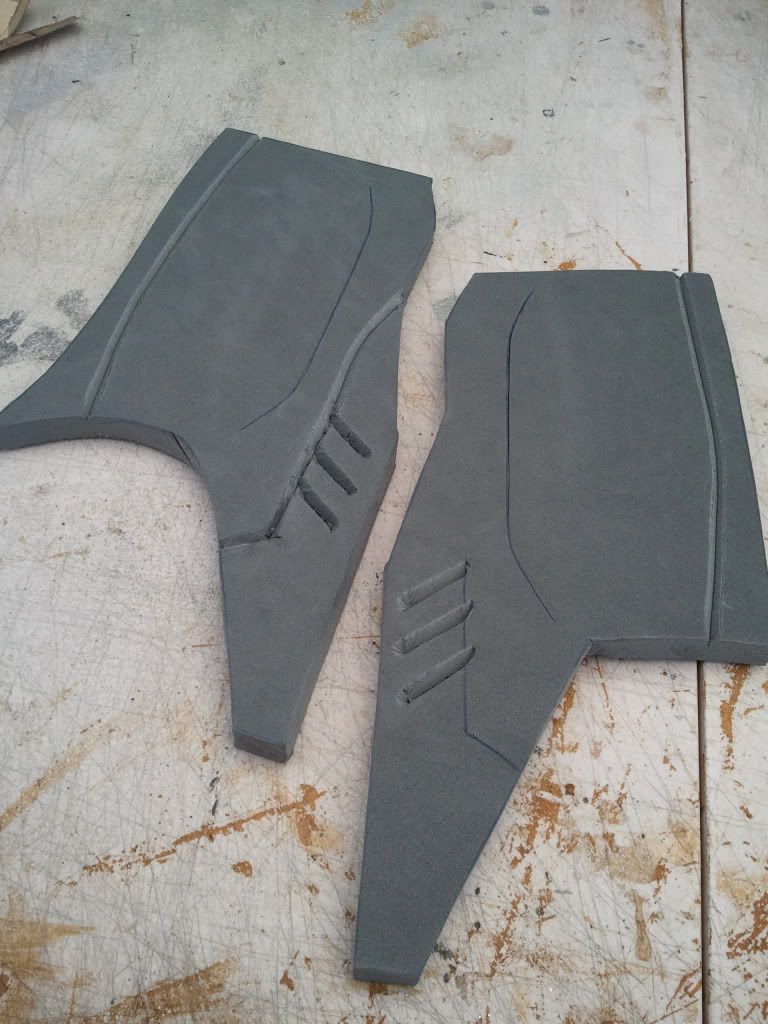
the lower hand sides cut with details
now assembled
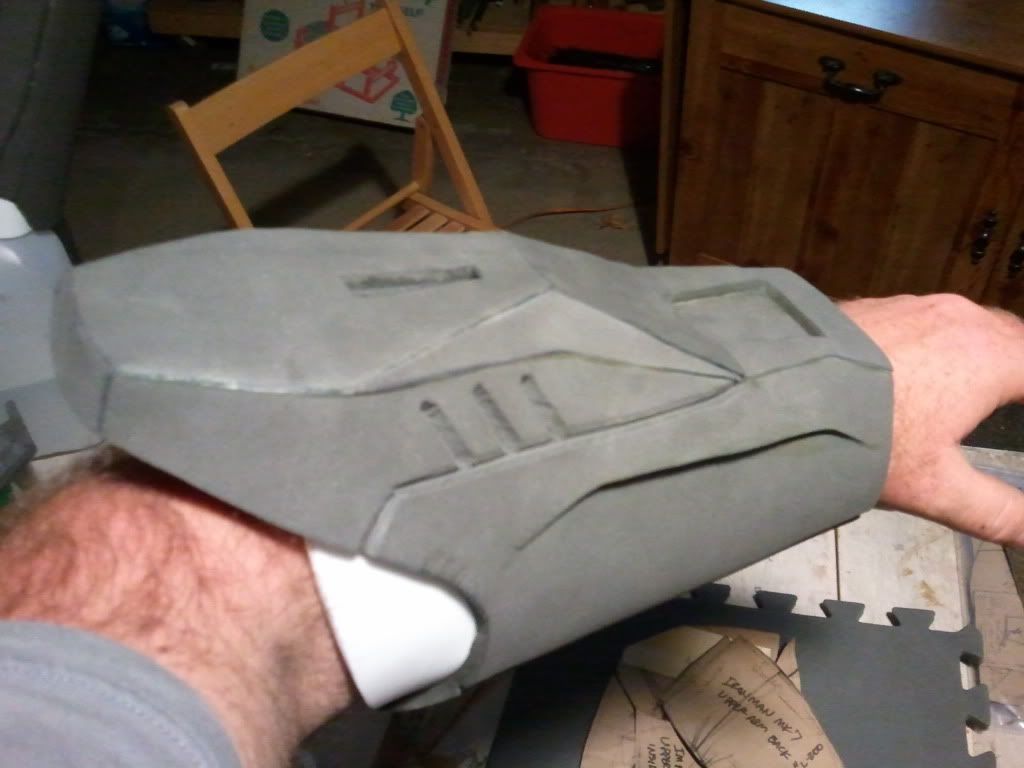
both lower arms
both upper arms, and elbows waiting to be attached.
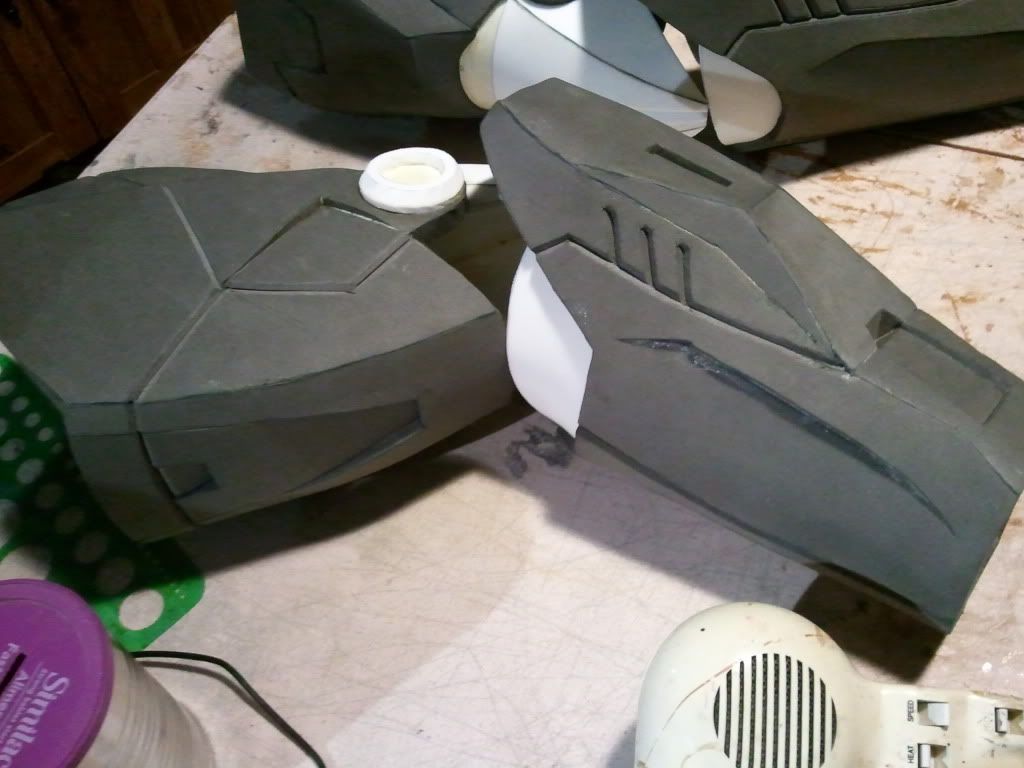
the arms done
Saturday evening, a slow start, need to pick up the pace.
Sunday morning, back to it
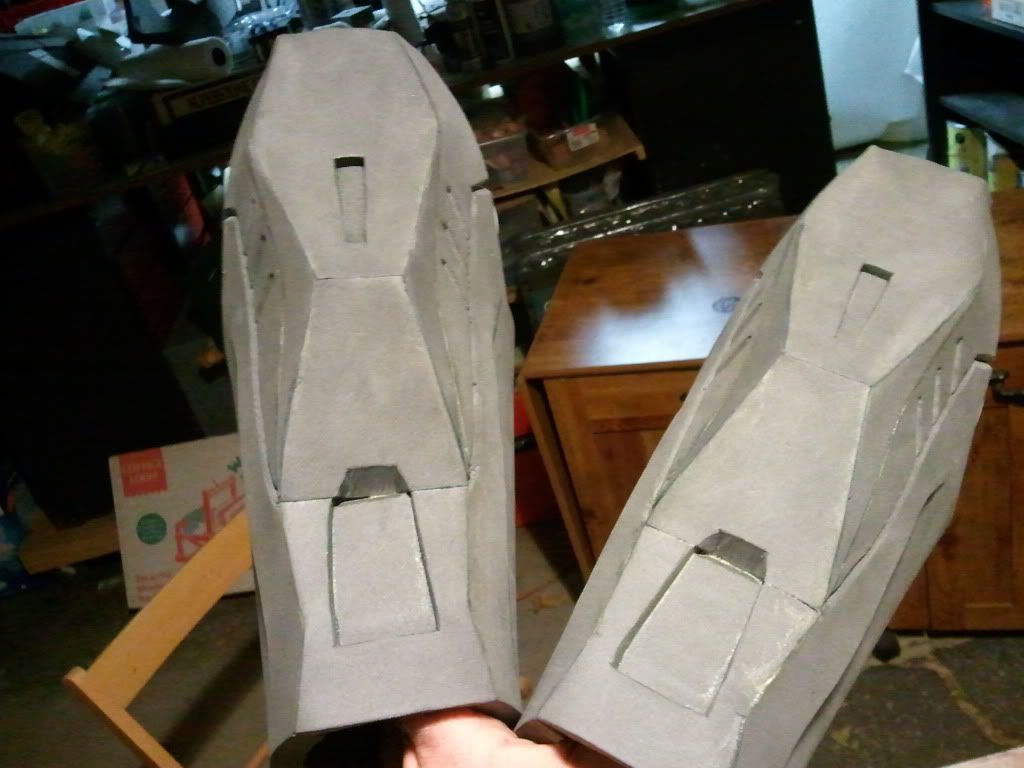
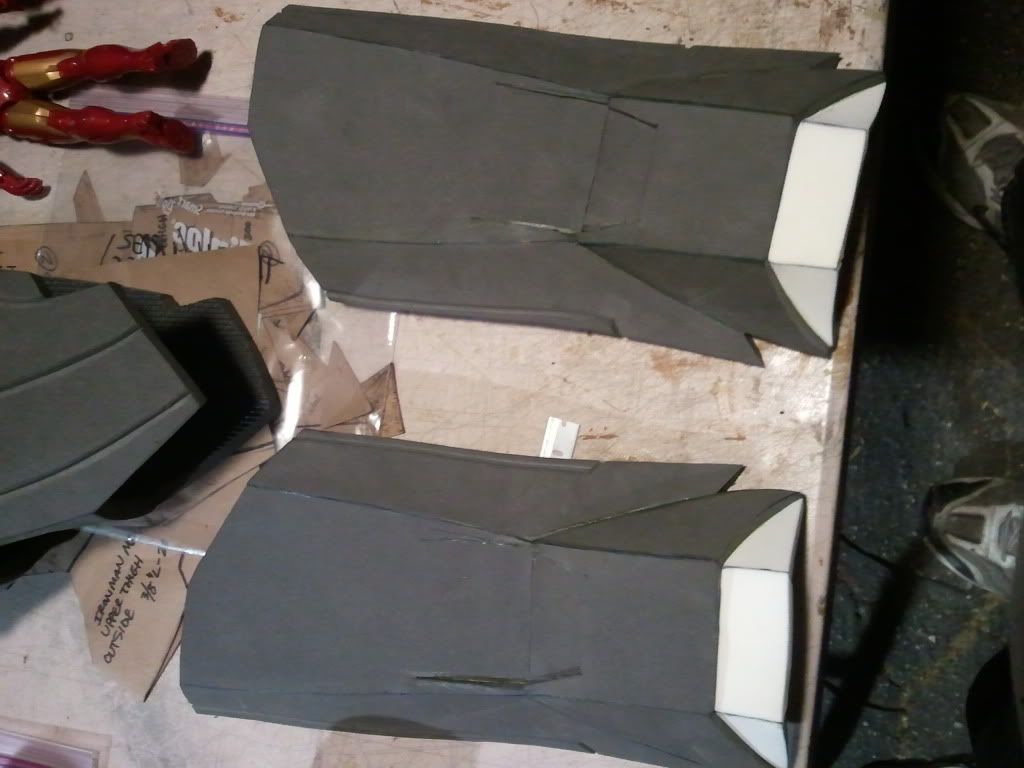
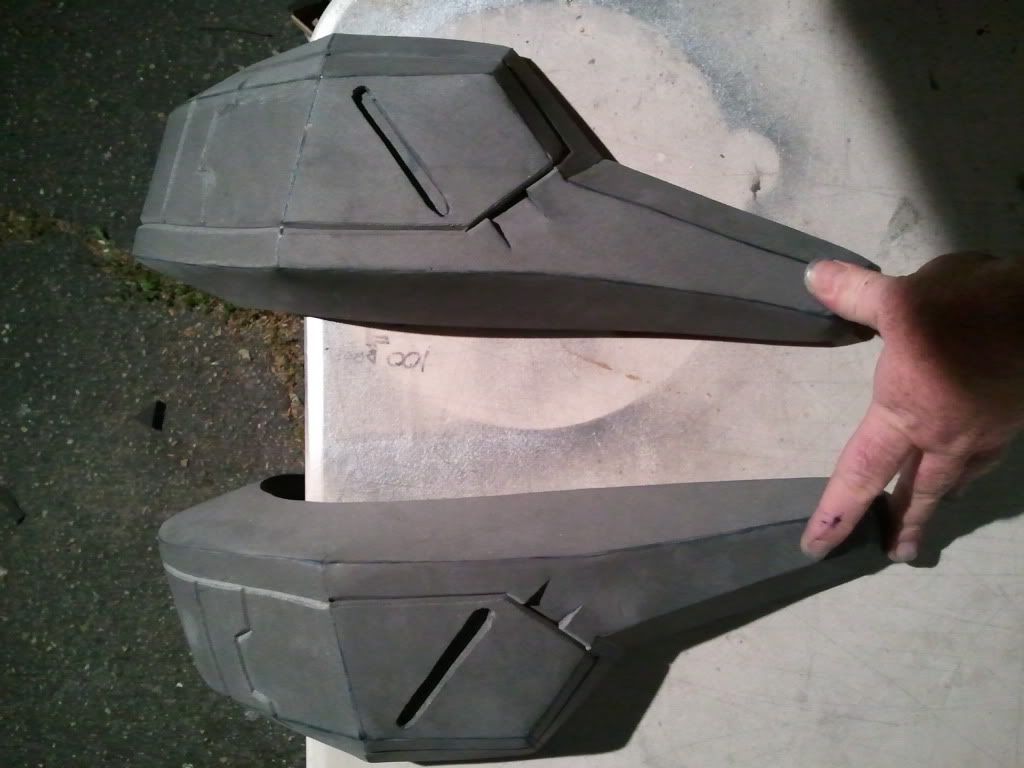
lower calves
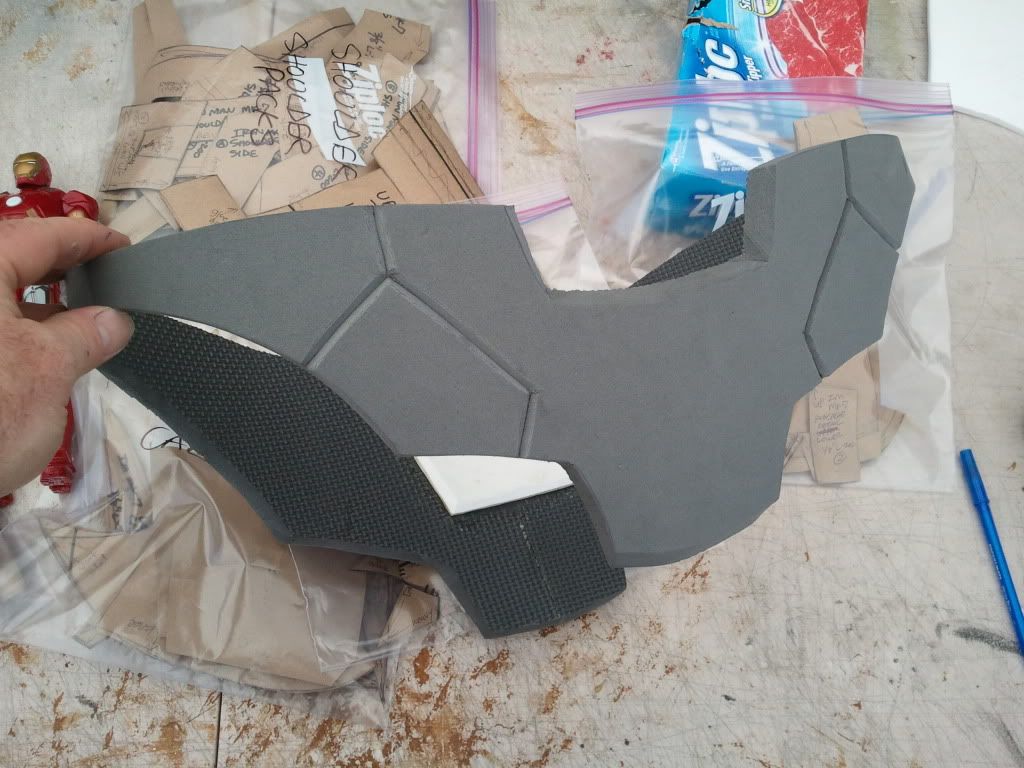
A little step by step on the shoulder bells-
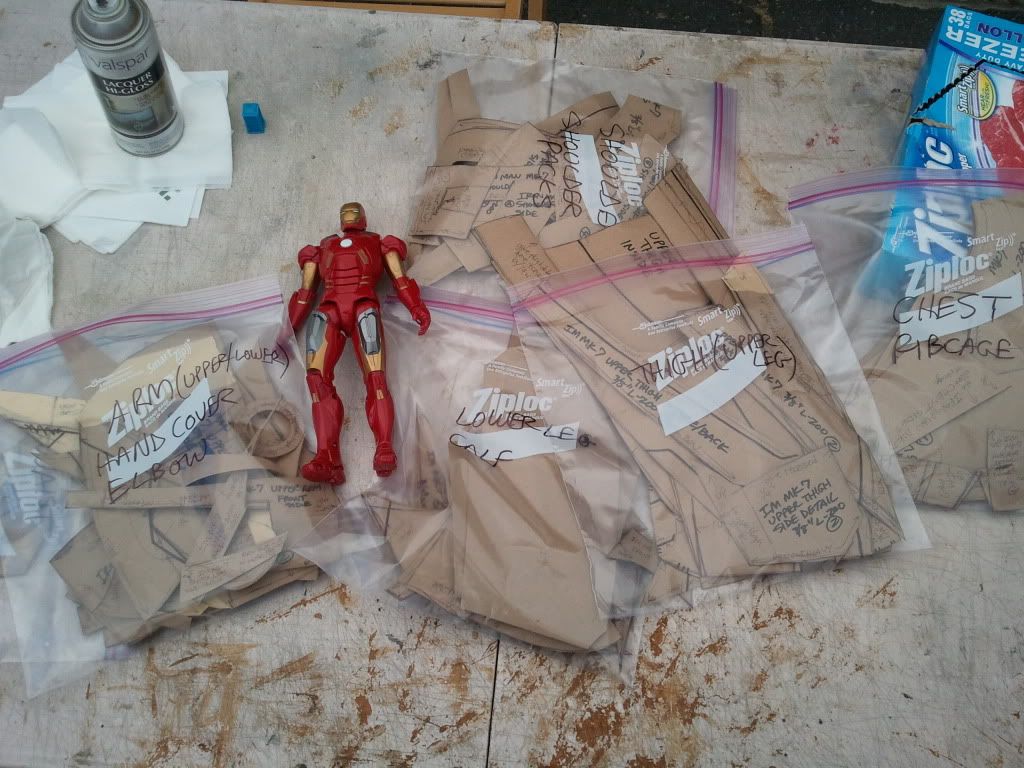
The patterns were combined in the bag with the over the shoulder packs.
First I separate them from each other.
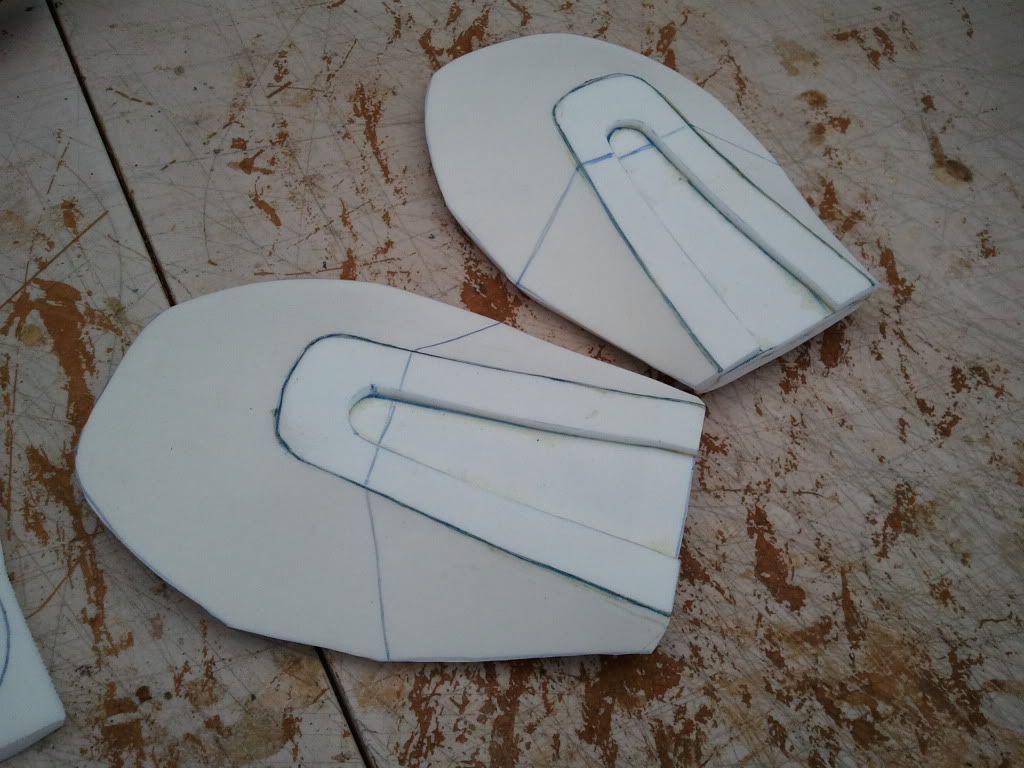
the patterns have what i call "flip" pieces, I make one side and they are traced in a "flipped" manner to get the mirror of each other, it saves on making useless extra patterns.
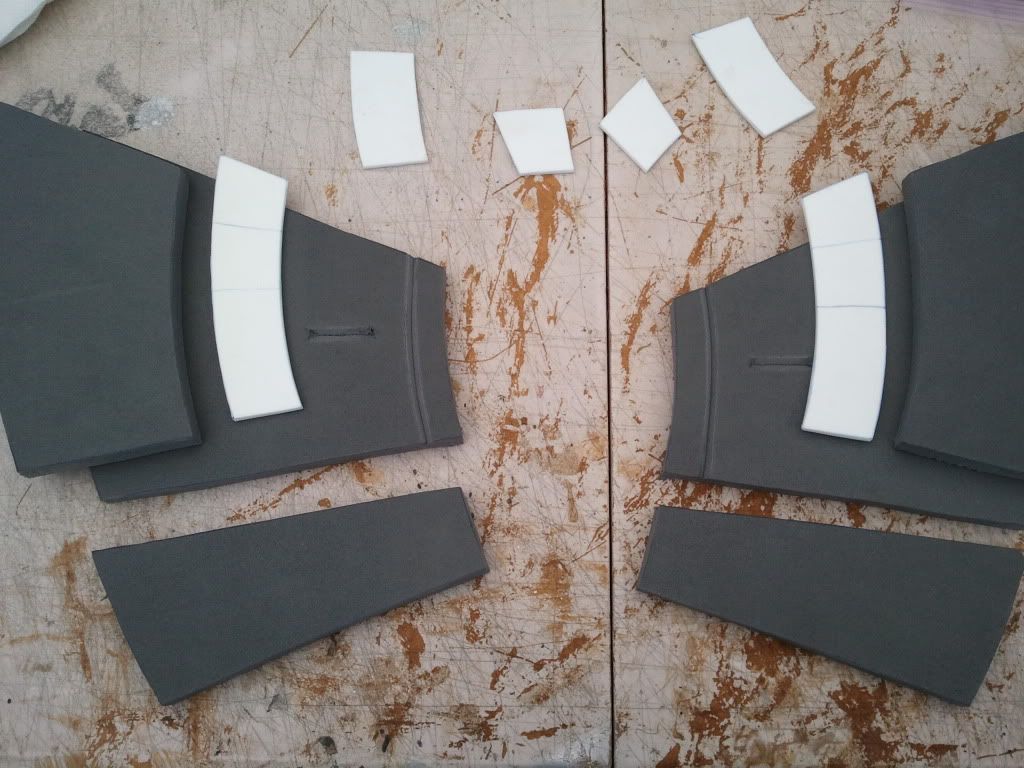
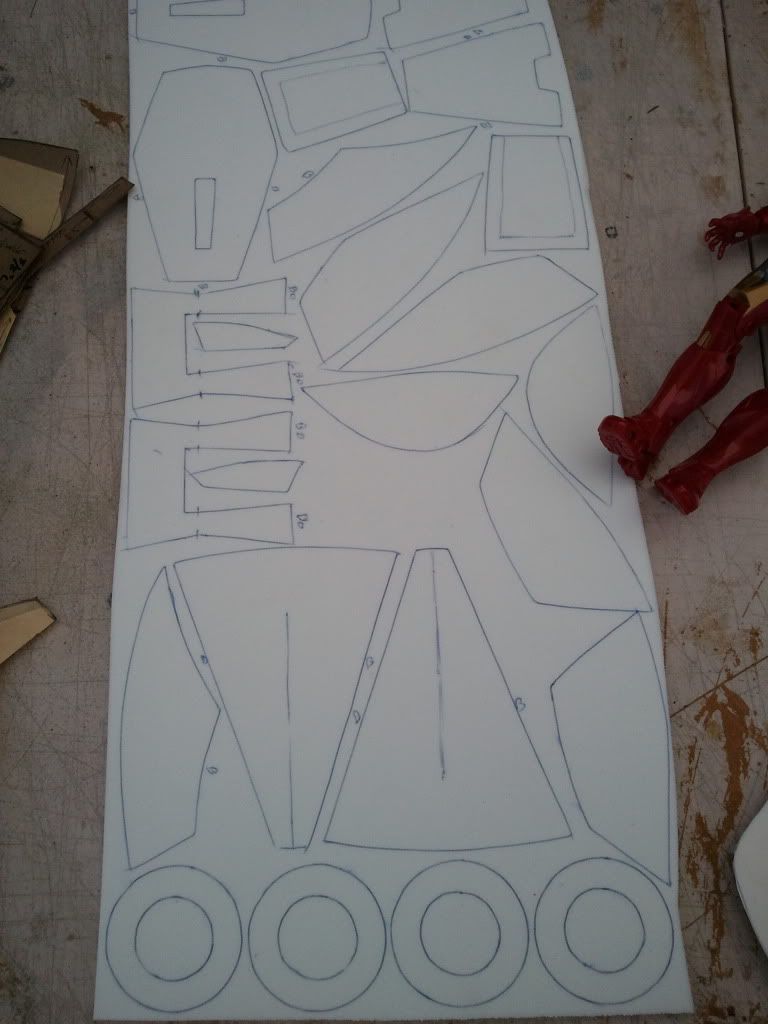
Everything traced out on 1/4" foam, I try to be very economical with my foam usage. I always save scraps, especially large ones, you never know when you'll use it later.
Everything laid out, this is two fold, one to see if I have every part to start building, the other so I can test fit some pieces before gluing.
first I glue the darts together
then the upper bells together in the center
next the tops to the bells
finally the sides of the upper bells.
the lower bells get the sides glued to the center
to help the curve stay I glued pieces to cover the slots and I glued them with the curve, this helps the foam to stay forced in a curve with out the aid of hair dryers or heat of any kind.
and finally the sides of the lower bells.
I realized that I needed covers for the holes on the upper bells too, so I made last minute patterns and glued in these sealer pieces.
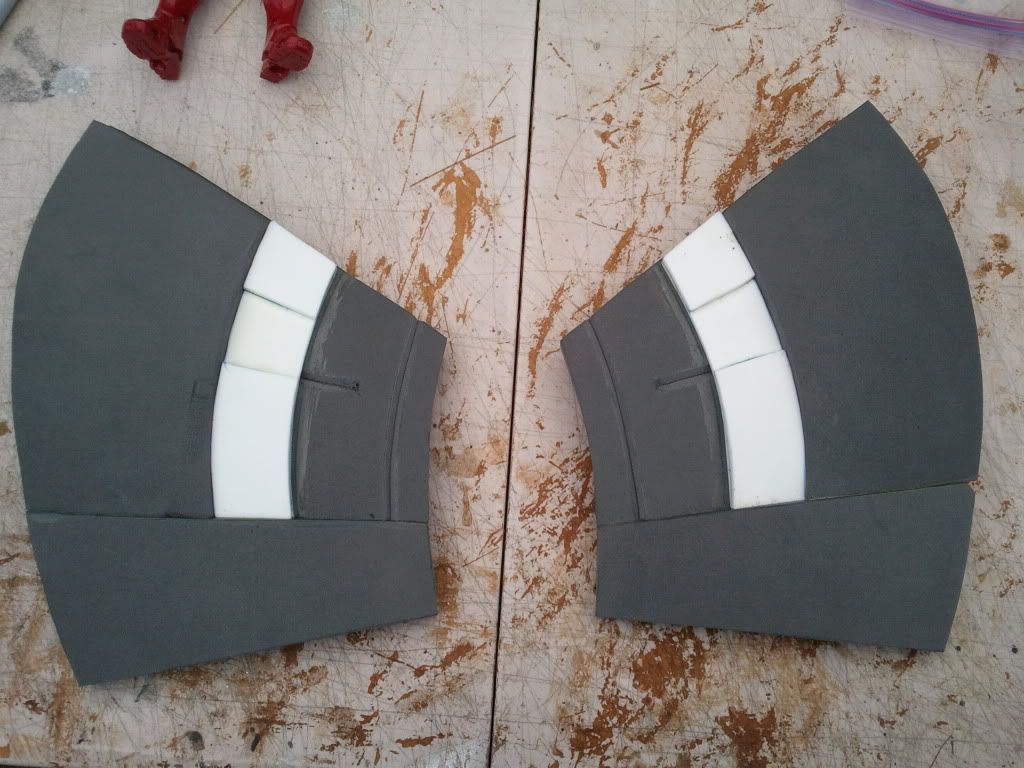
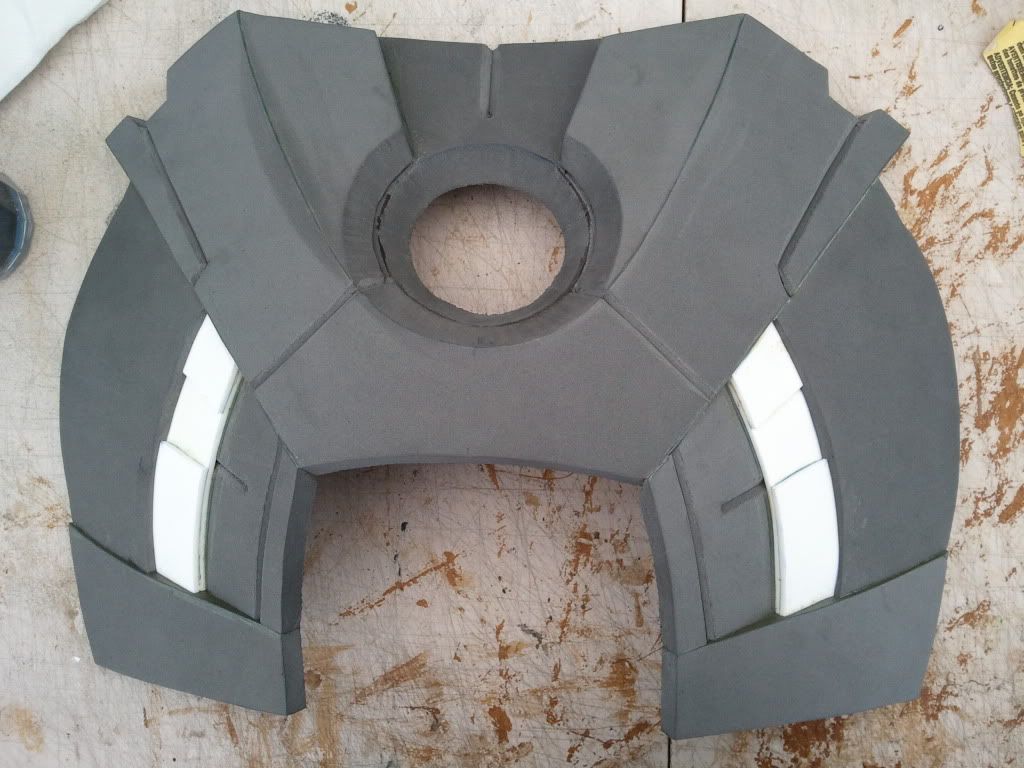
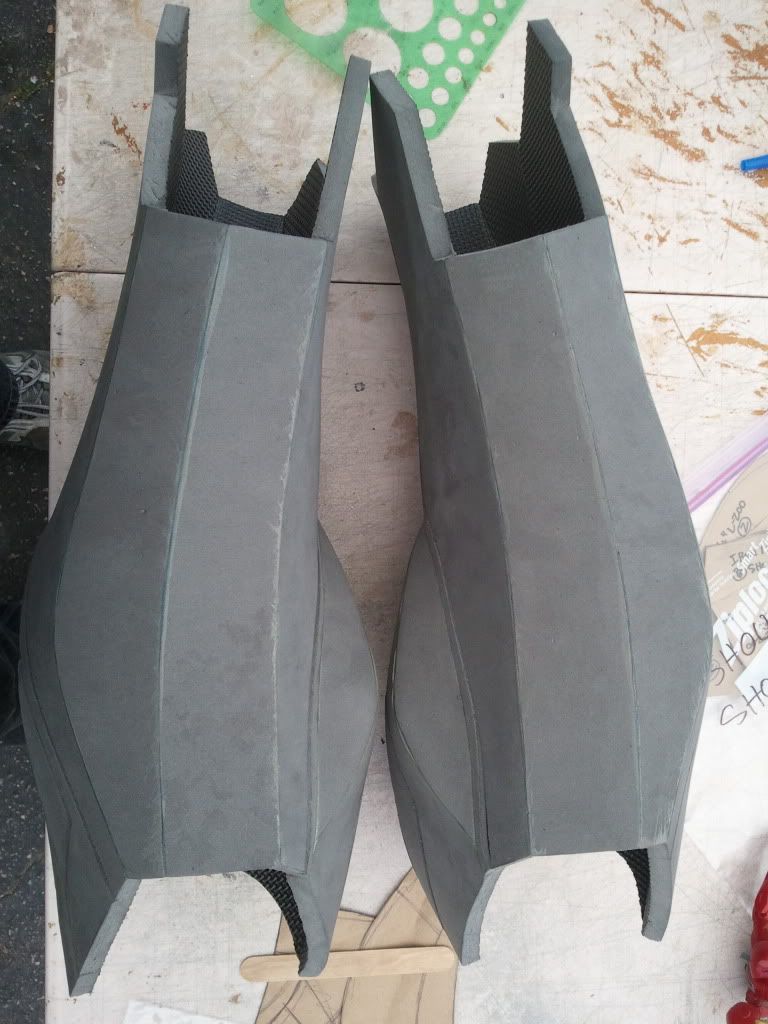
the fully assembled shoulders. all this took maybe an hour at the most.
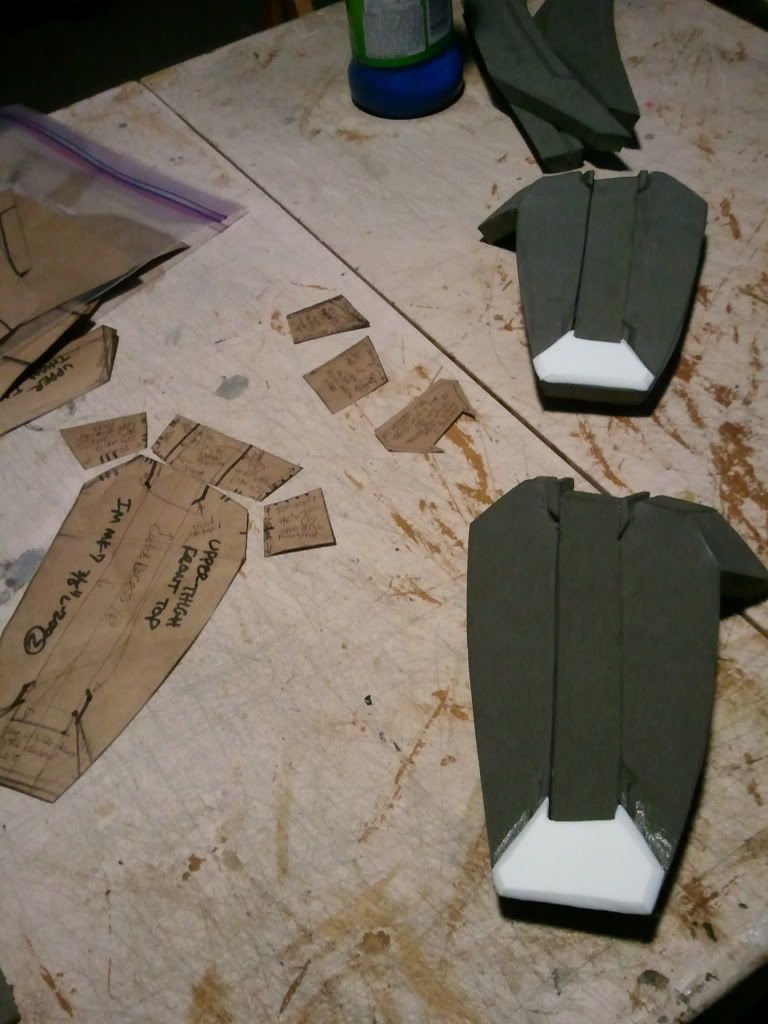
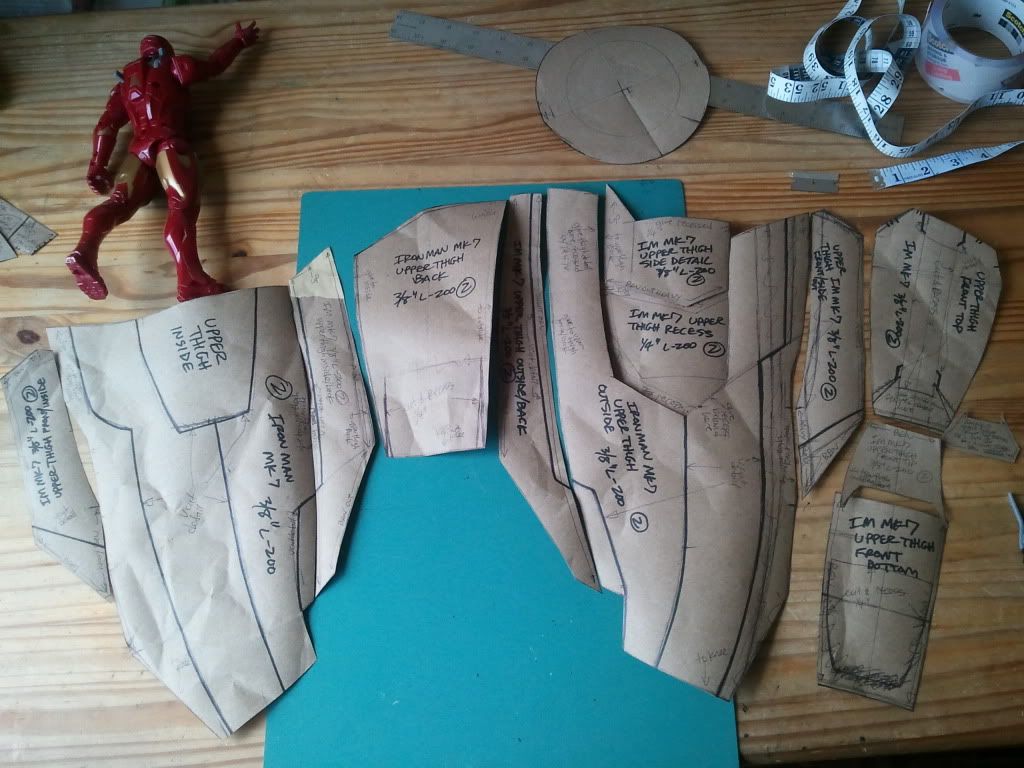
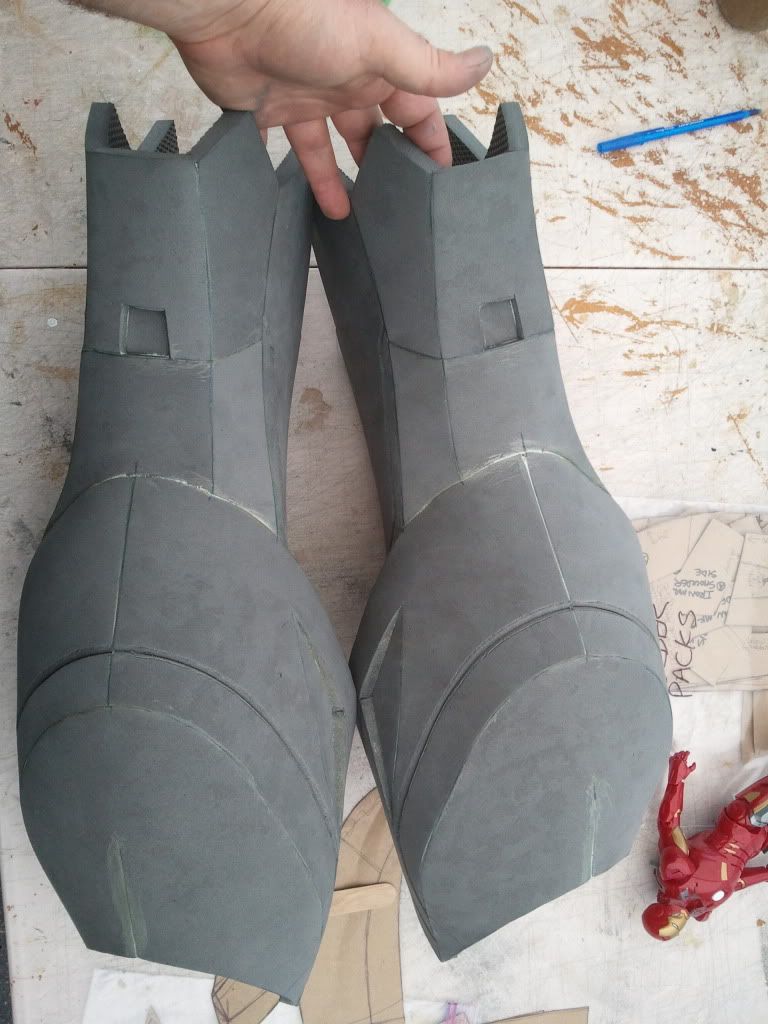
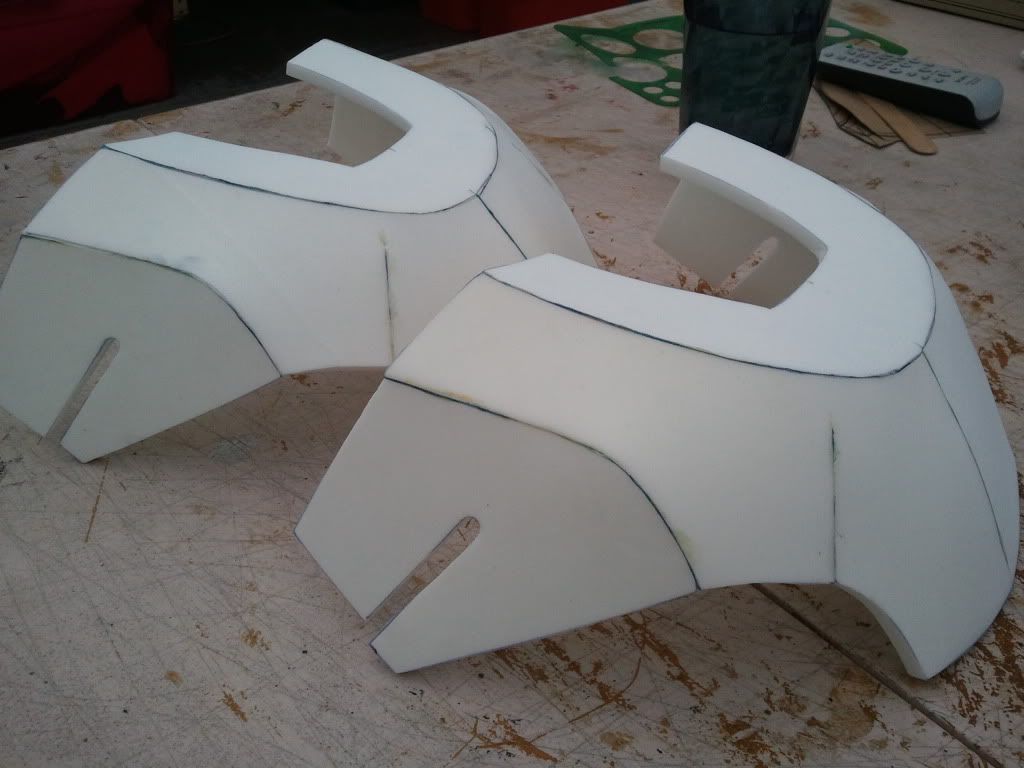
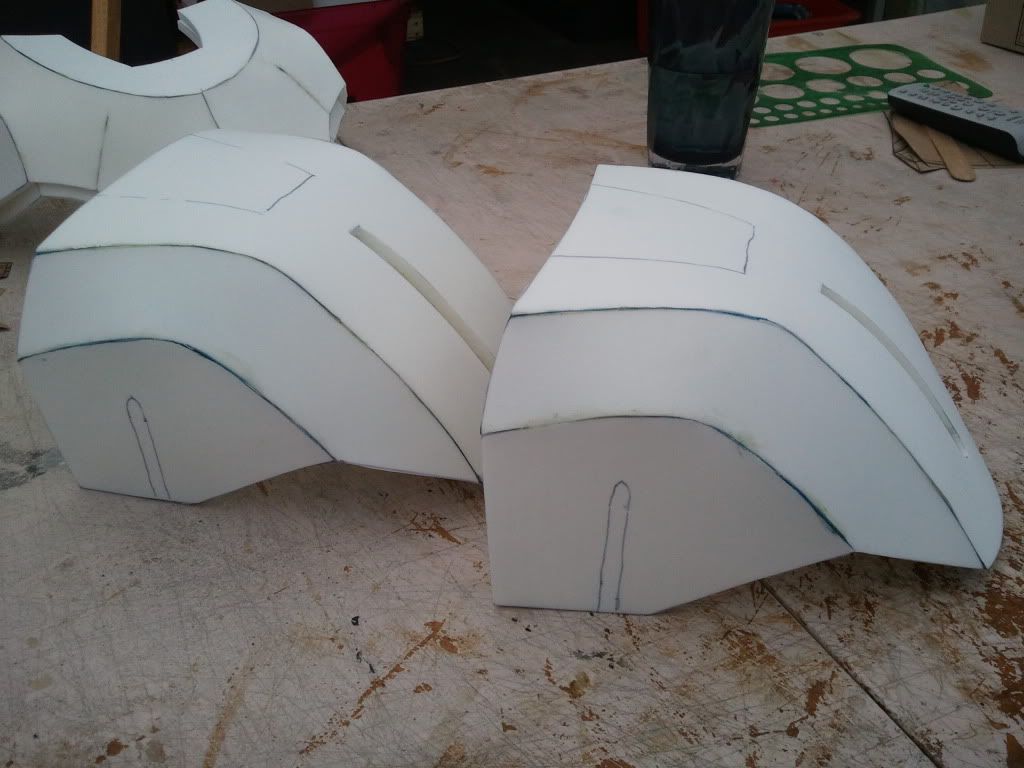
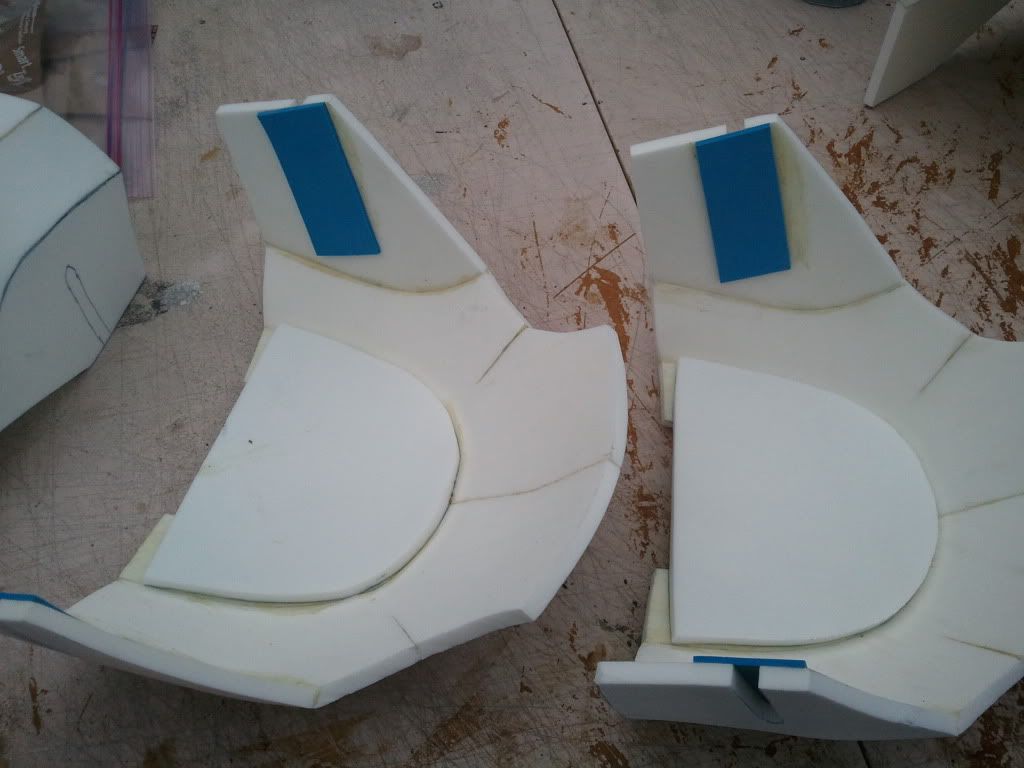
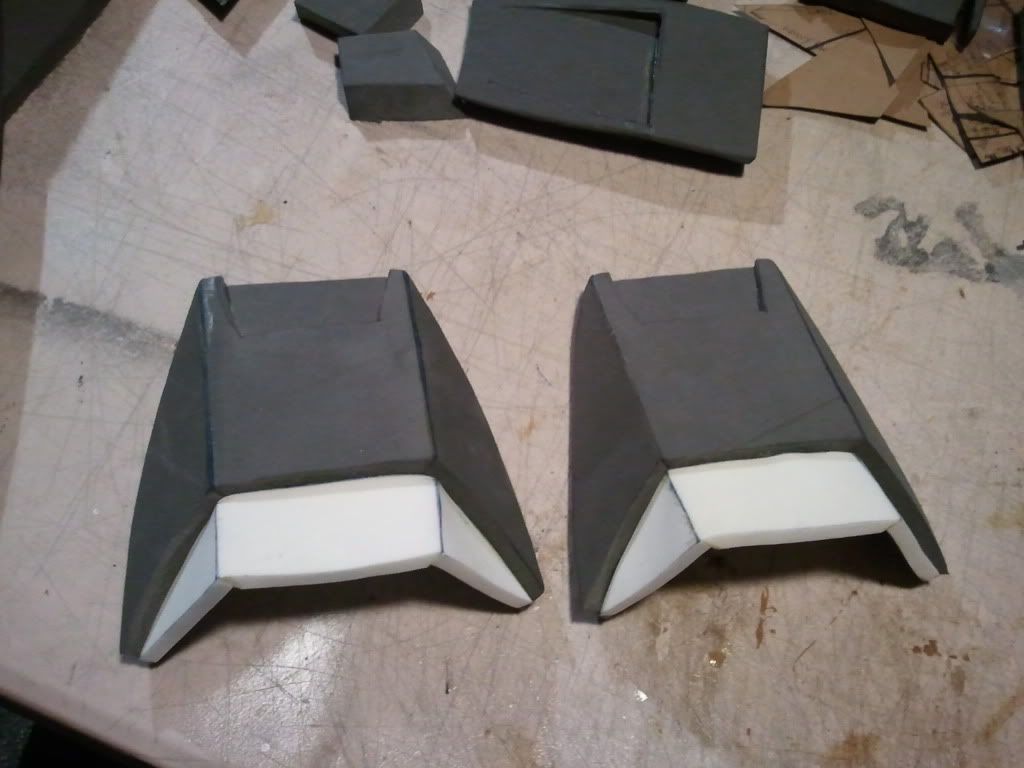
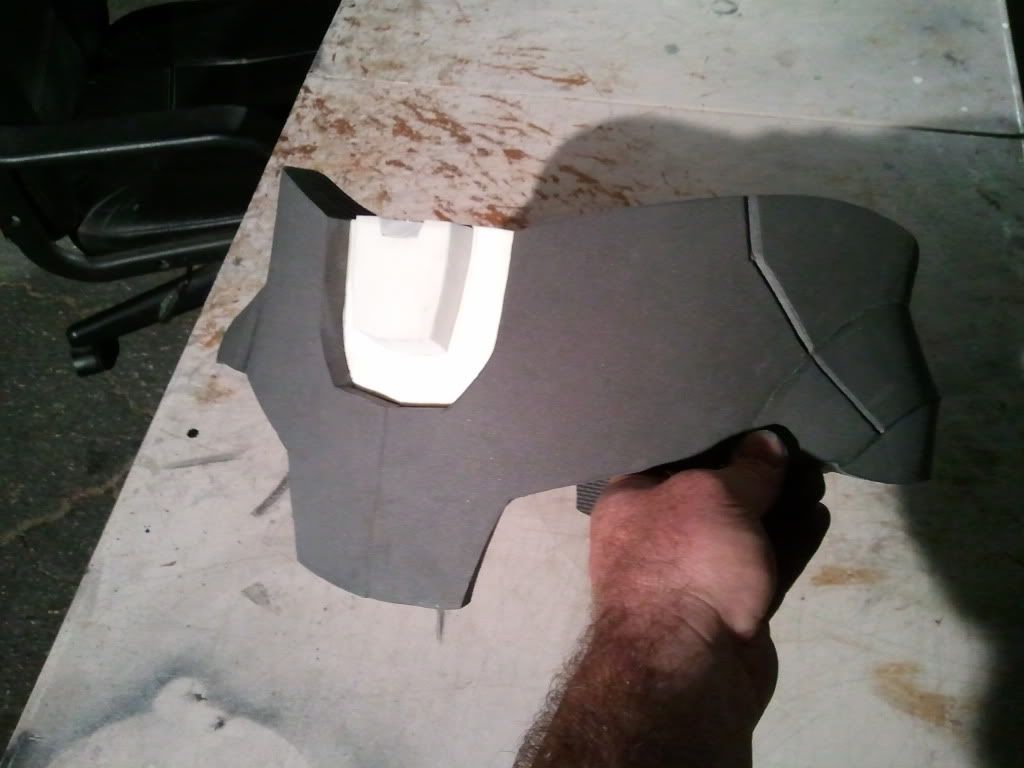
the thighs in progress
behind the knee
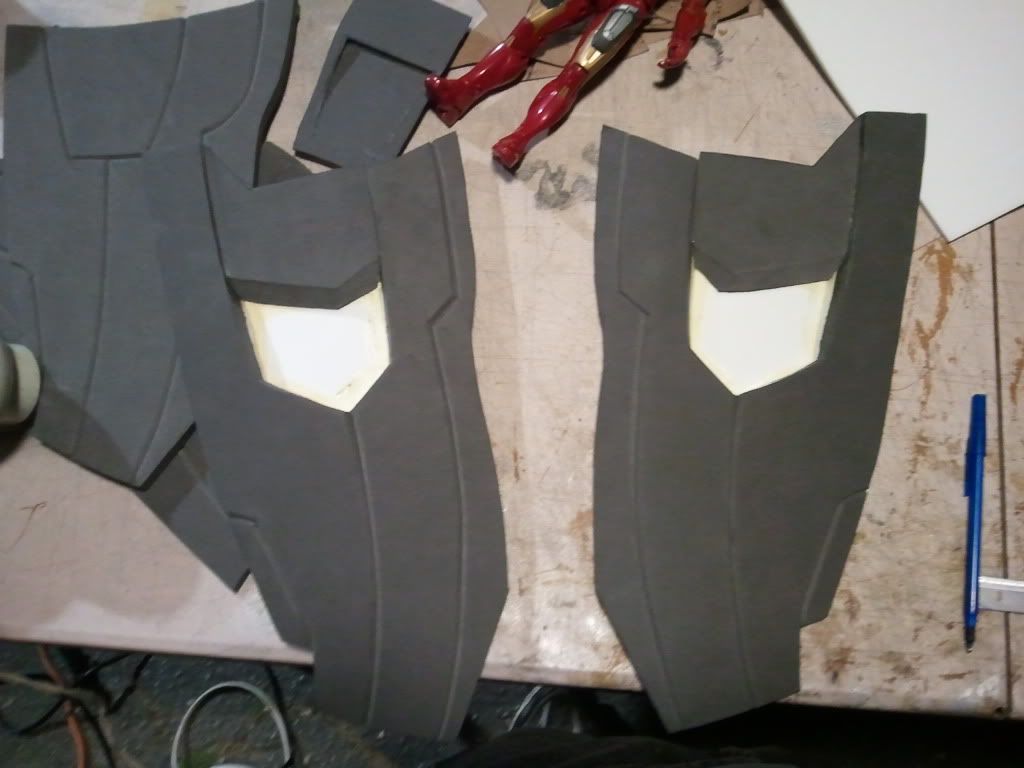
the sides
the backs
the fronts with sides on
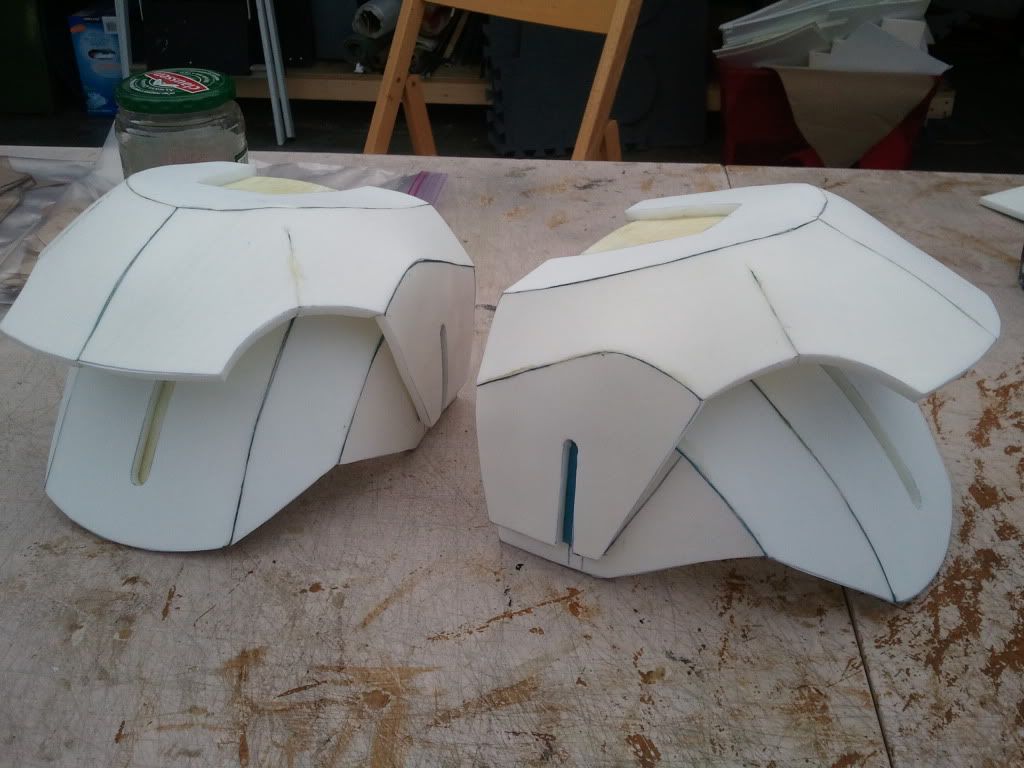
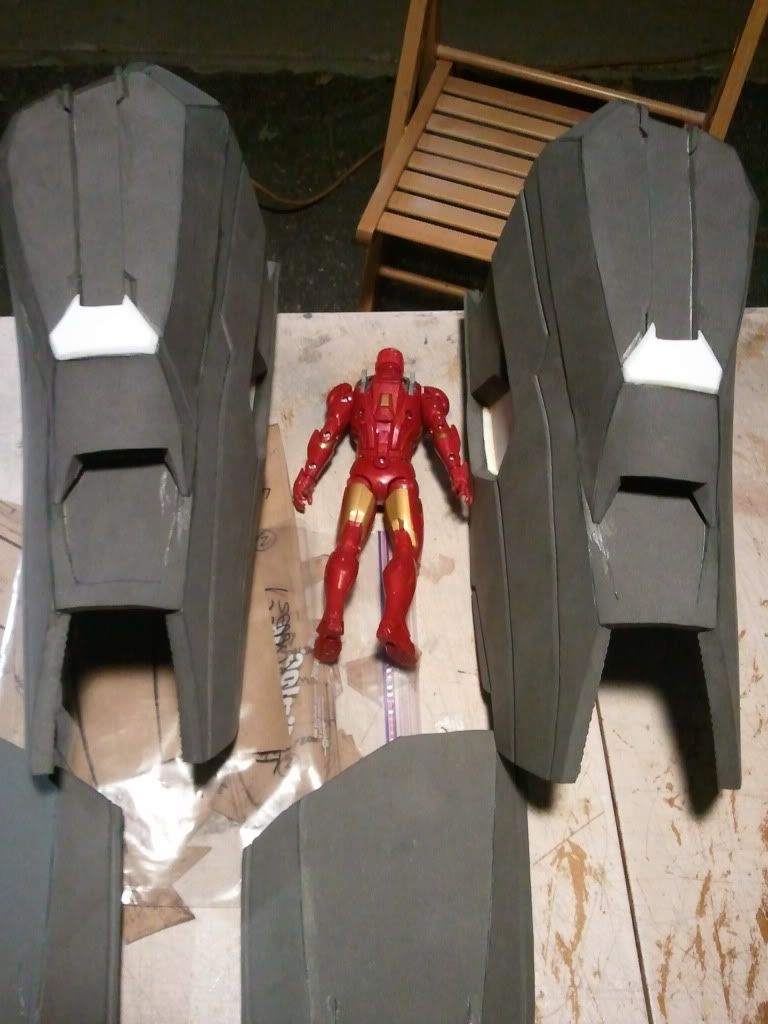
Sunday evening, first test fitting, not bad, but I have so much to do still, as well as all the modifications I have to make now that I see how FAT my ass is.

I forgot, the waist and shoulder packs in progress too by the end of Sunday. Ok, it's late, to be continued, I do have the rest of the build, but I have to help my wife get the kids to bed. As always, comments, questions, critiques, let me have them!
Like my cute helper?
But it was sitting there for months teasing me, saying I needed to finish the rest of the suit. Well the kick in the ass came when I got the call to attend (in costume) the annual city of hope cancer survivors picnic. I love doing the event and all I had was War Machine, which good in of itself I wanted something new. I looked at the calender, I had 12 days, could it be done? I had that 3 day memorial weekend too? My wife laughed when I told her what I was considering, "your not considering it honey, get to work!" So I was off to the races. I wish I could have posted this as I was doing it, but I was literally fried in the brain. I will do my best to reconstruct the day by day.
I also see that everyone has been busy with their own Mark 7 builds, some are amazing and I hope my measures up. I did all my patterning in my head, so some of it will look wonky, and I didn't have that awesome reference pic from Legacy so I used the kotobukiya statue as my reference. That and the toy for scale issues.
Day ONE thru Day THREE - evenings after work, from about 5pm to midnight I patterned to get ready for the memorial day weekend build a thon.
Friday night I tallied up what I had, a partial waist, the front of the chest, the upper arms, elbows, lower arms, upper thighs, and lower legs. I knew I had tons more to pattern, but I had to start building, or I wasn't going to make it, after all, I had only these three days to build, the rest of the week was evenings after work.
Saturday morning, the fun starts
the unfinished waist
The parts for the chest/ribs area
The assembled chest/rib
something cool I discovered, the floor mats are dense enough that I can sand them. (I'm sure someone else discovered this first, but I haven't seen it myself before this.)
Now sanded with 220 grit.
Here is something i don't think anyone had realized yet, but with the Harbor freight mats, you need to dremel off the textured side so you can glue to it. The texture has a coating that doesn't let the glue bite to the surface and hold. I had to dremel off parts so that the chest layers would bond to each other.
the completed front chest
Another thing i talk about in my other foam threads, but the realization never hits anyone until you are doing it. Getting good clean cuts on these mats requires LOTS of blades. This is what I used on just the chest alone. (the whole suit took over a hundred blades)
back hand plates
traced out 1/4" parts for the elbows and upper hands
the lower hand sides cut with details
now assembled
both lower arms
both upper arms, and elbows waiting to be attached.
the arms done
Saturday evening, a slow start, need to pick up the pace.
Sunday morning, back to it
lower calves
A little step by step on the shoulder bells-
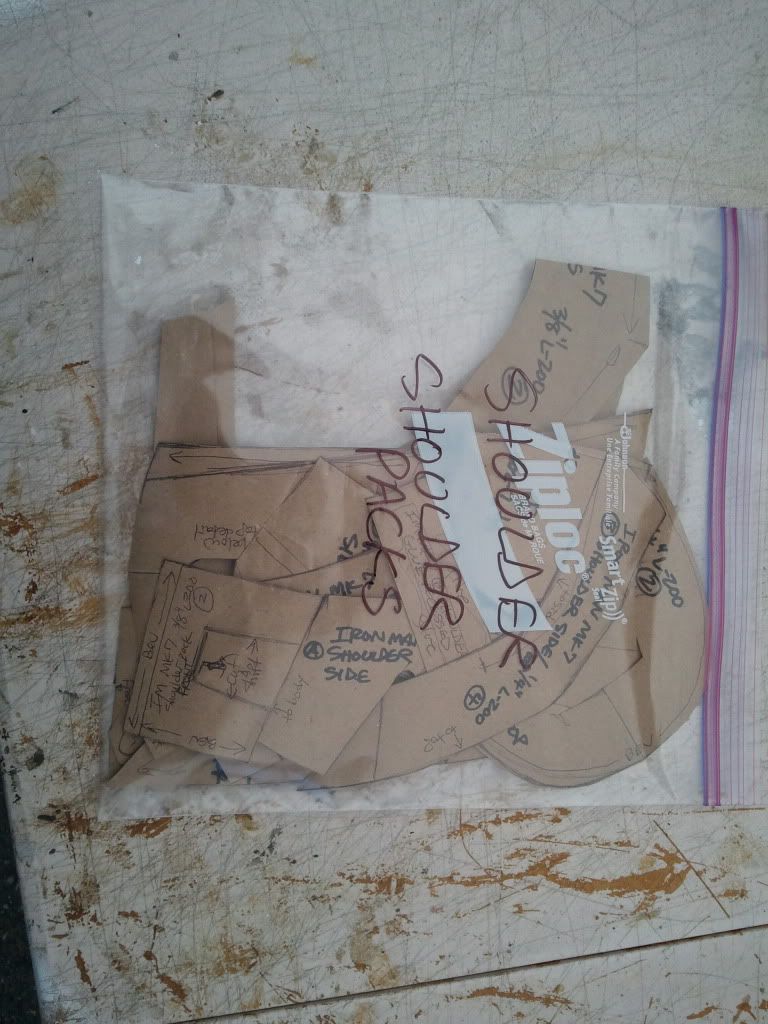
The patterns were combined in the bag with the over the shoulder packs.
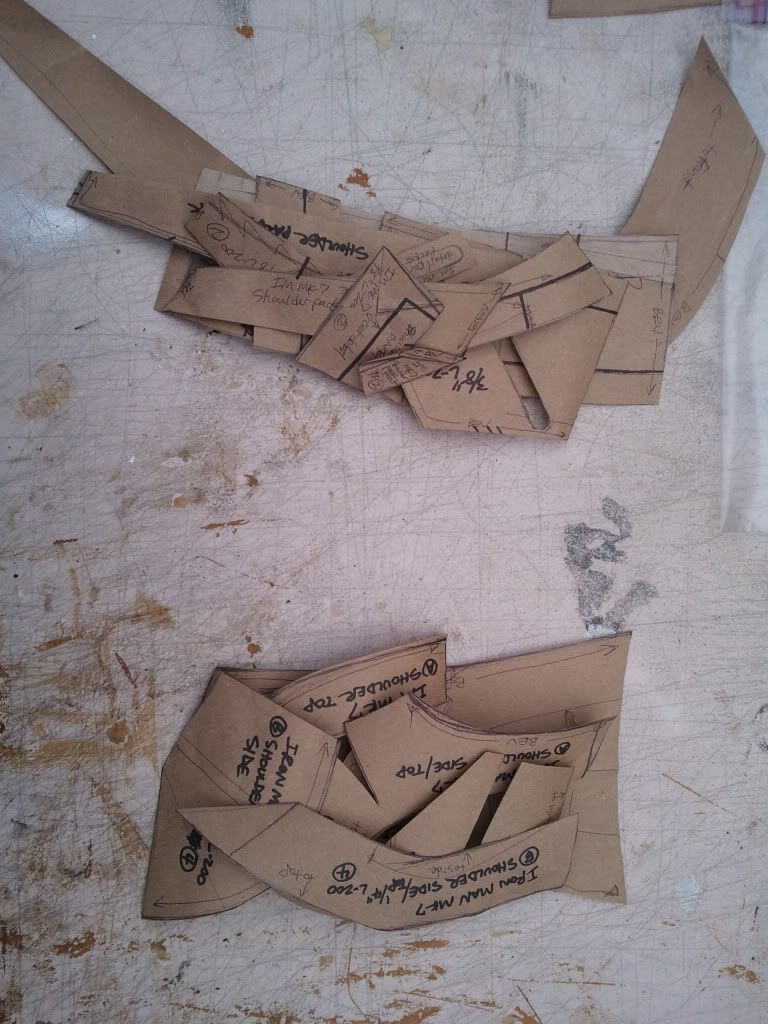
First I separate them from each other.
the patterns have what i call "flip" pieces, I make one side and they are traced in a "flipped" manner to get the mirror of each other, it saves on making useless extra patterns.
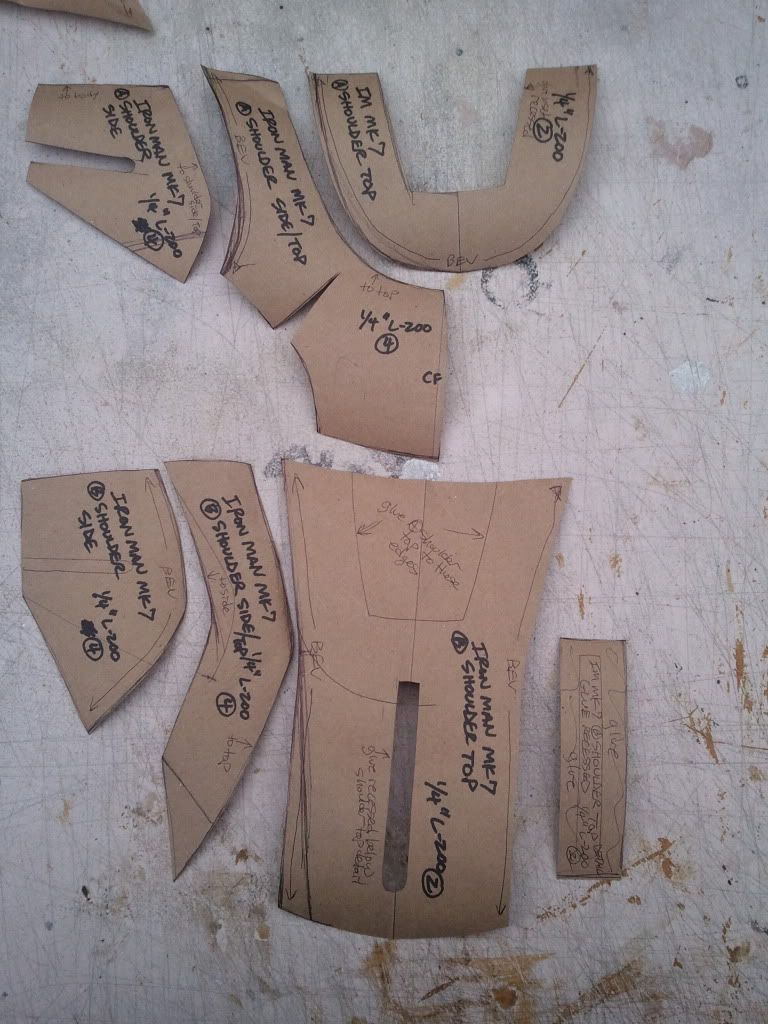
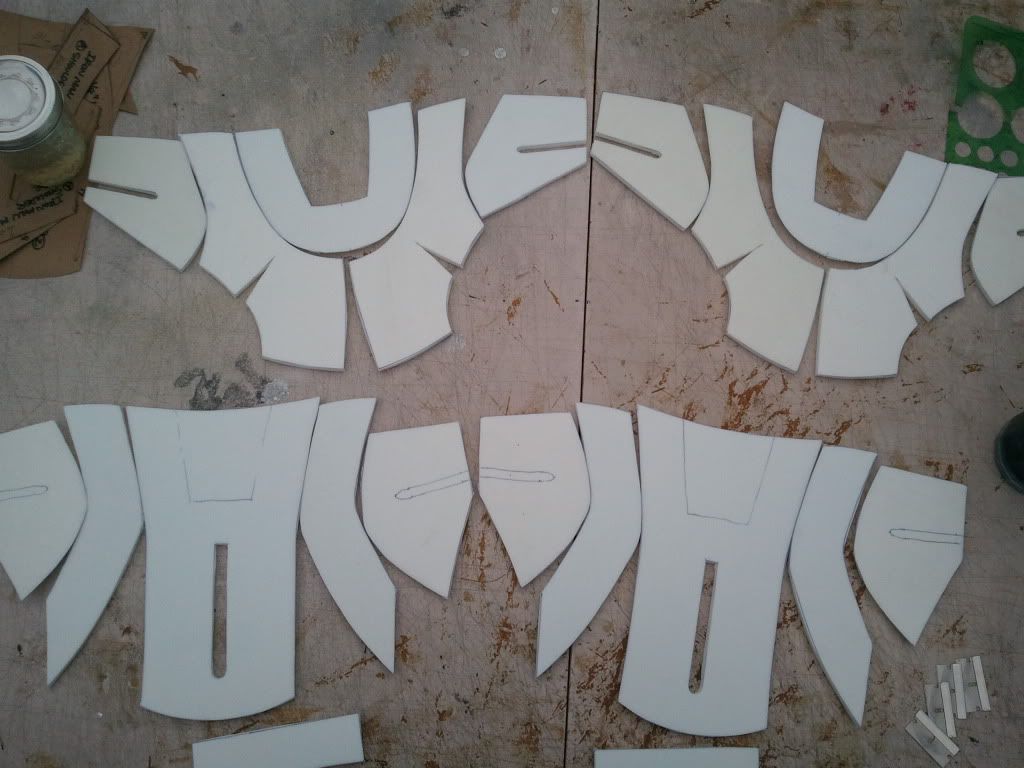
Everything traced out on 1/4" foam, I try to be very economical with my foam usage. I always save scraps, especially large ones, you never know when you'll use it later.
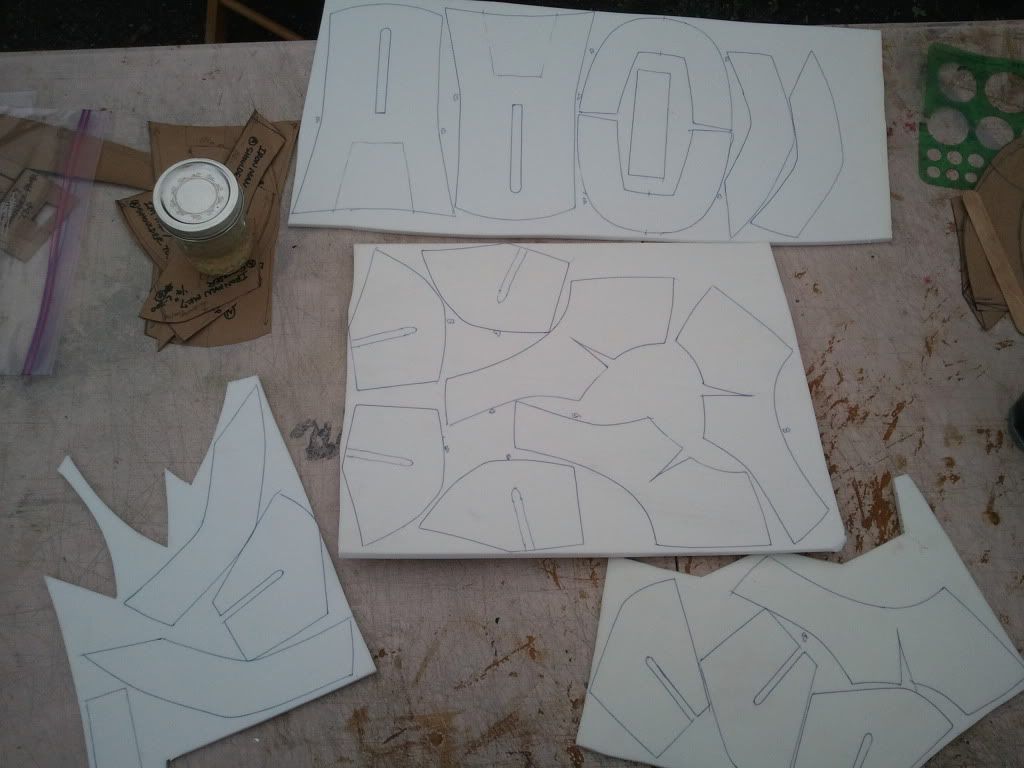
Everything laid out, this is two fold, one to see if I have every part to start building, the other so I can test fit some pieces before gluing.
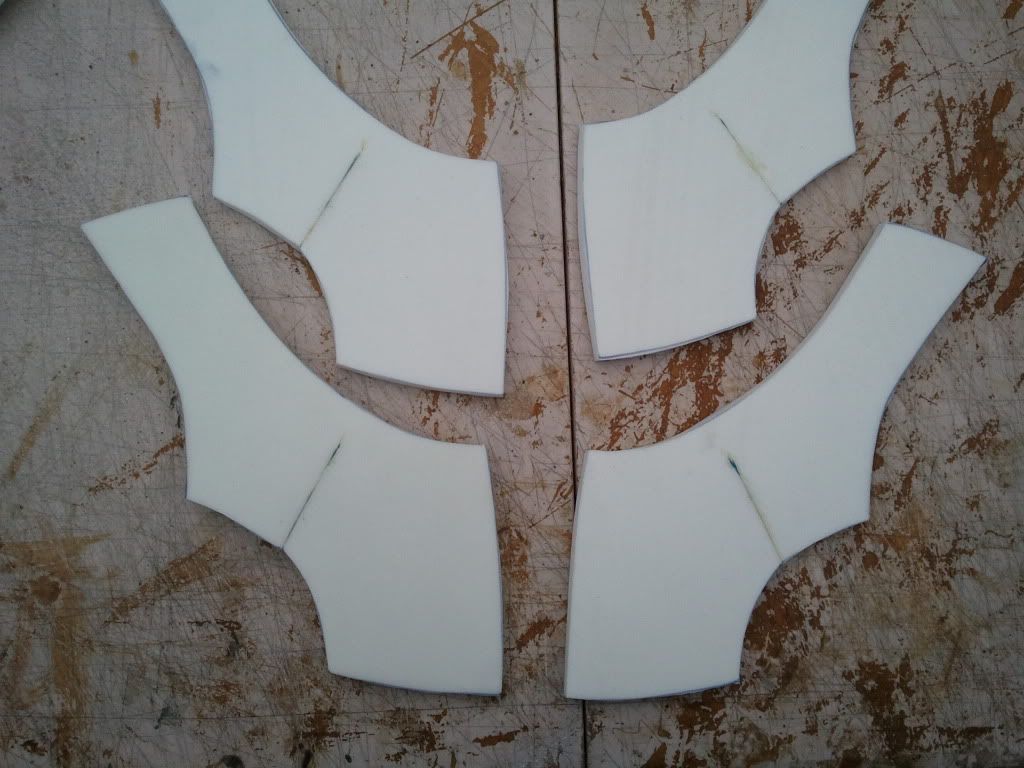
first I glue the darts together
then the upper bells together in the center
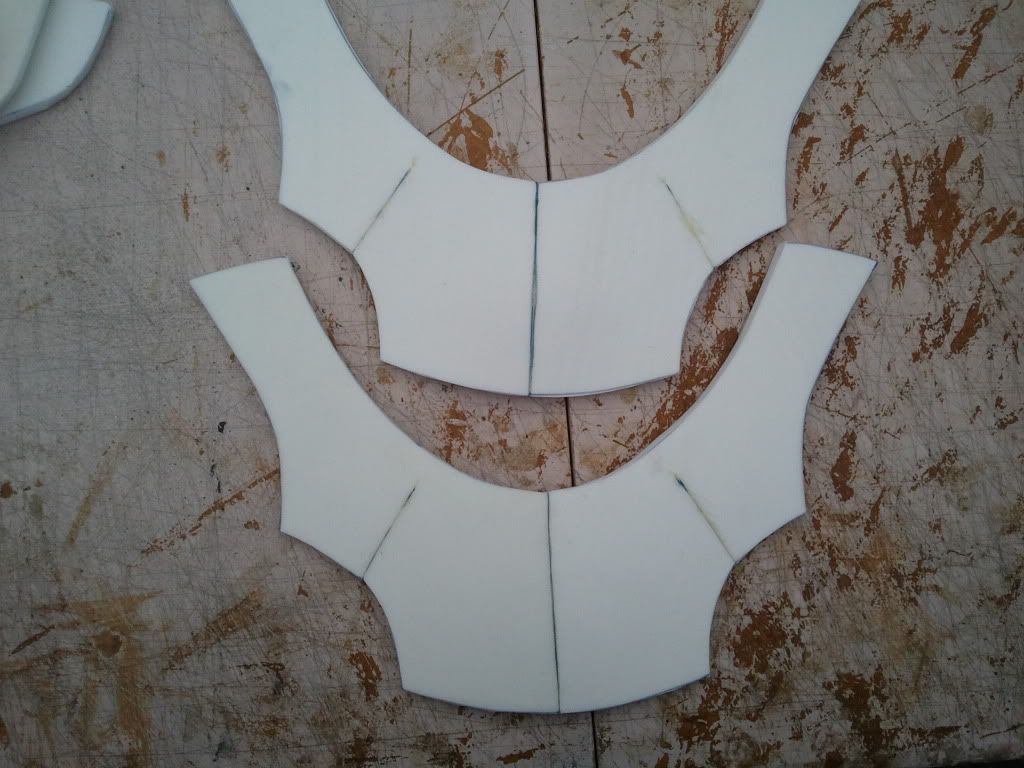
next the tops to the bells
finally the sides of the upper bells.
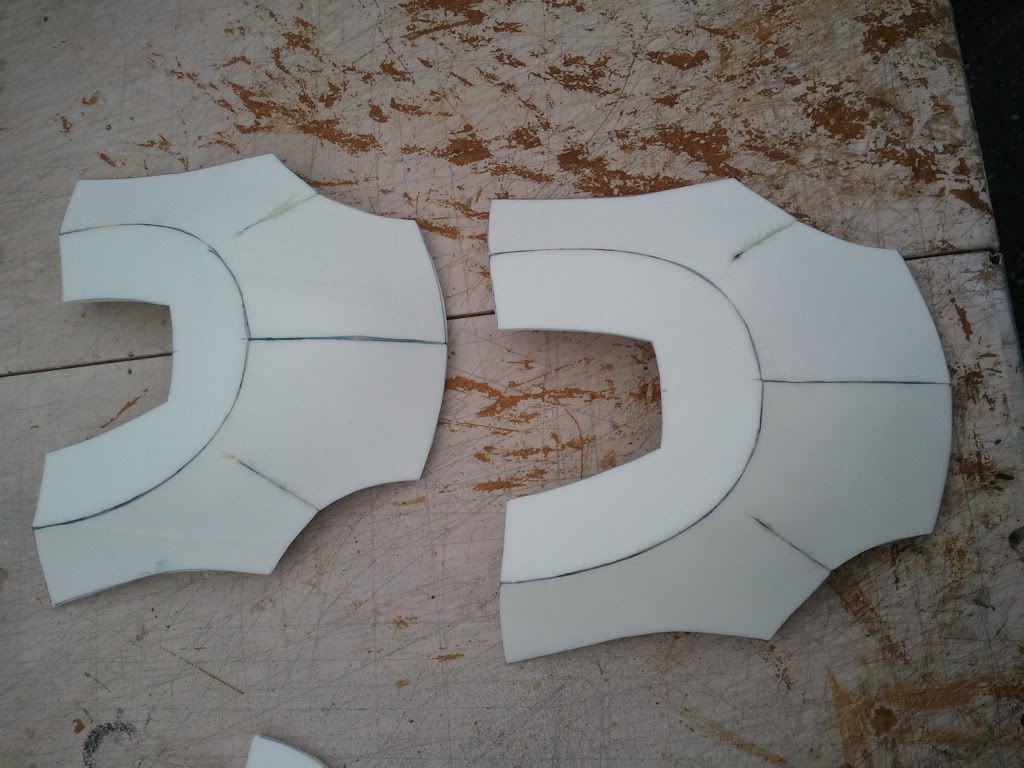
the lower bells get the sides glued to the center
to help the curve stay I glued pieces to cover the slots and I glued them with the curve, this helps the foam to stay forced in a curve with out the aid of hair dryers or heat of any kind.
and finally the sides of the lower bells.
I realized that I needed covers for the holes on the upper bells too, so I made last minute patterns and glued in these sealer pieces.
the fully assembled shoulders. all this took maybe an hour at the most.
the thighs in progress
behind the knee
the sides
the backs
the fronts with sides on
Sunday evening, first test fitting, not bad, but I have so much to do still, as well as all the modifications I have to make now that I see how FAT my ass is.
I forgot, the waist and shoulder packs in progress too by the end of Sunday. Ok, it's late, to be continued, I do have the rest of the build, but I have to help my wife get the kids to bed. As always, comments, questions, critiques, let me have them!
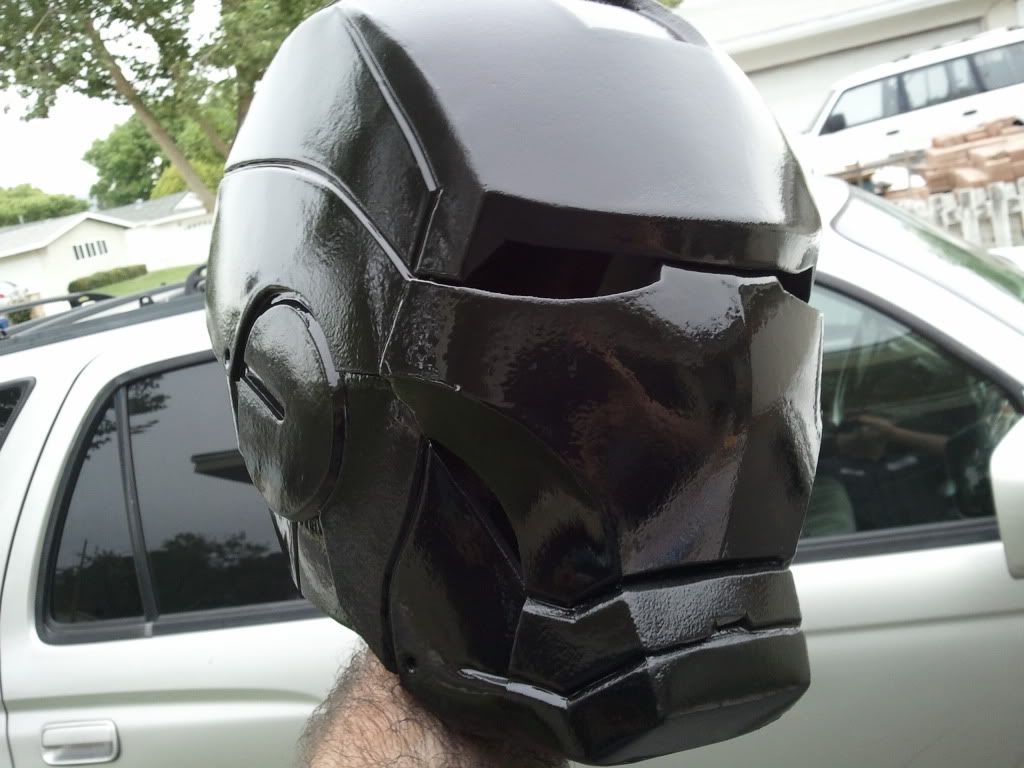
 love it, cant wait to see it painted