tek2graphics
Sr Member
Hello All!
I would like to know if anyone had already taken of these apart and made it accurate? I have 2 of them and I would really love to work on it but I'm afraid that I would damage the electronics!
I plan to "fix" the BTTF1 DeLorean by:
1) making the side mirrors from scratch (they are too large & boxy)
2) removing the plastic cables (have them look real & end up in up inside the engine compartment)
3) detailing the interior
4) rebuild the engine area
5) and a few other things
Any help on how to take it apart without damaging the electronics would be great!!

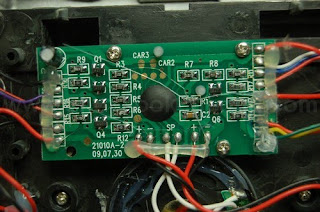
Uploaded with ImageShack.us
I would like to know if anyone had already taken of these apart and made it accurate? I have 2 of them and I would really love to work on it but I'm afraid that I would damage the electronics!
I plan to "fix" the BTTF1 DeLorean by:
1) making the side mirrors from scratch (they are too large & boxy)
2) removing the plastic cables (have them look real & end up in up inside the engine compartment)
3) detailing the interior
4) rebuild the engine area
5) and a few other things
Any help on how to take it apart without damaging the electronics would be great!!

Uploaded with ImageShack.us
Last edited:
")