DrMcoy
Sr Member
I was on original list for this compass when Zlurpo first posted them for sale for $100. It was taking him longer than I liked to get them done, so I withdrew my name from list. Big mistake. I should have waited as the compass is well worth every penny of the $100 he was charging.
C'est la vie.
So when he offered them as kits for $50, I jumped on it and got one from his first run. But I will say, after all the time I spent putting this together, I wouldn't let it go for less than $350. So anyone who got one of the $100 builds from the original run is one lucky pirate!!
As I already have the MR compass, which is a recreation of the prop as seen in the 2nd and 3rd movie, I chose the COTB kit. Here is a pic of finished Zlurpo kit I built:
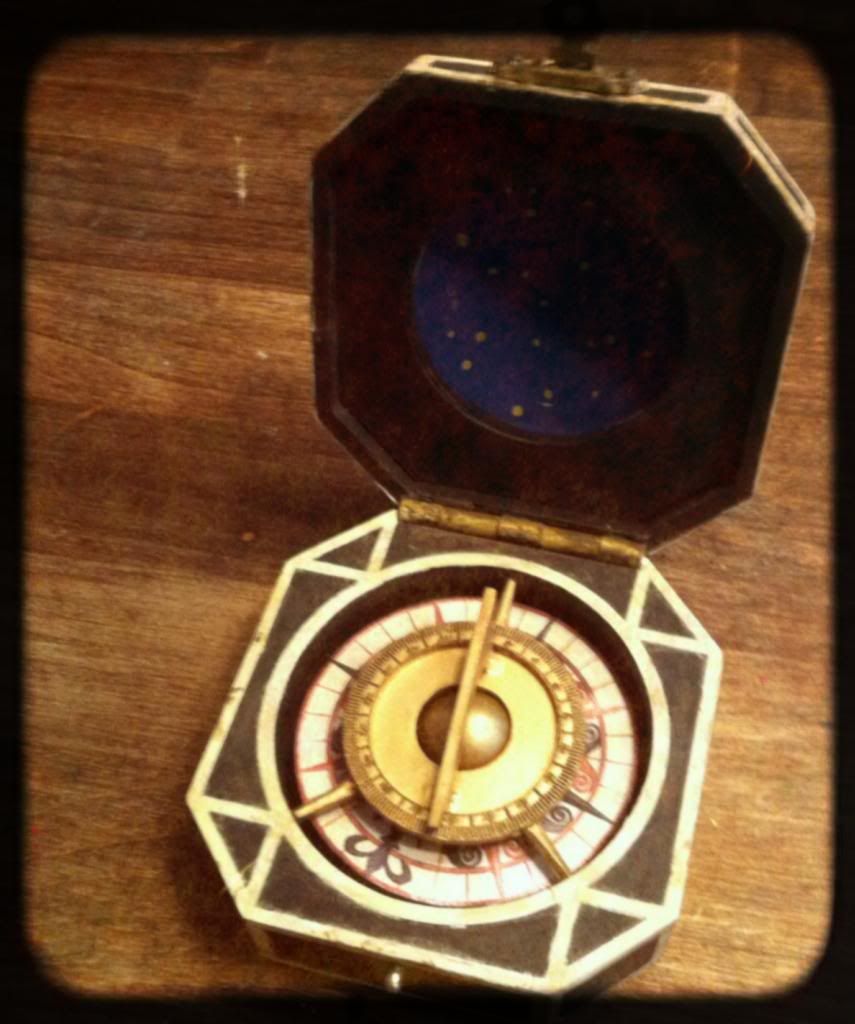
It came out pretty good, but took a LOT of time to put together. If you have a kit, I strongly suggest you buy or borrow a DREMEL tool as I don't know how you could really build the kit well without one.
I used the dremel primarily to grind the shallow channels into the outer casing that the styrene strips go into to create the ivory inlay. The way the kit is made, the laser can not cut these inlays in a certain direction, so you have to assemble the kit and then somehow create the additional channels yourself. I used a conical shaped grinding dremel attachment for this...it takes patience and a very steady hand. This is, perhaps, the most time consuming part of building the kit. What's more, I don't think Zlurpo needed to add the channels to begin with, but more about this towards the end of this review.
The kit has enough laser-cut strip styrene for the inlays, but some of it was not the same width. I happened to have some of similar size, so to keep things even, I used that...it only costs about $3.50 from any well-stocked hobby store...pic below.
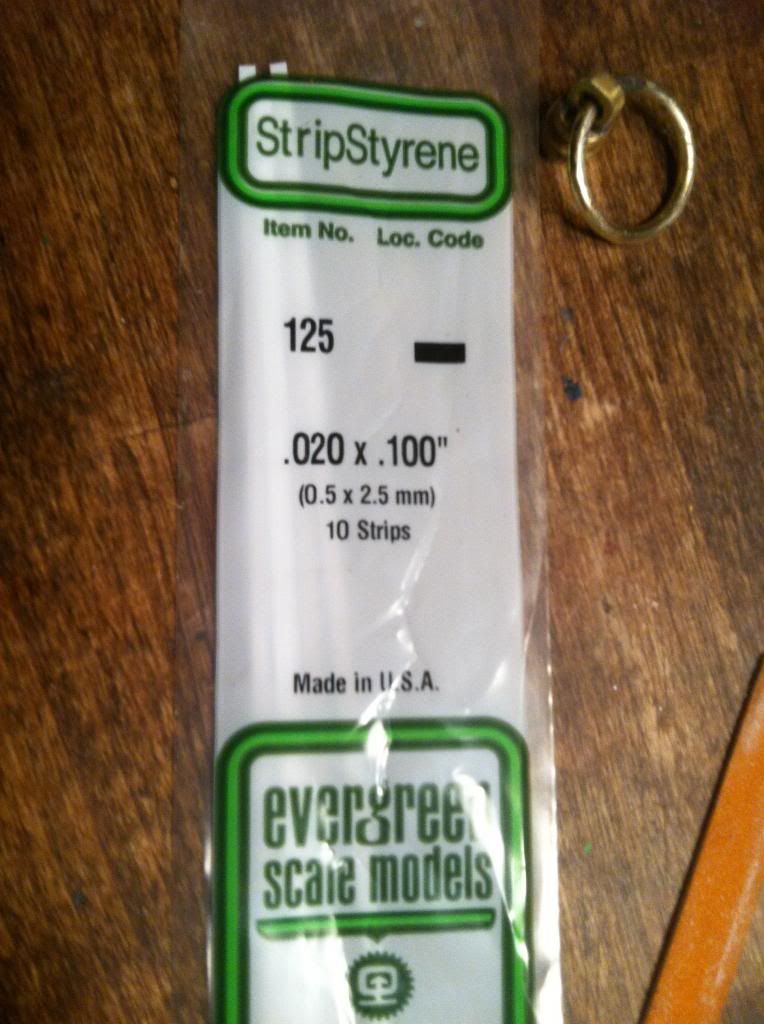
I built the kit according to Zlupro's step-by-step guide (posted elsewhere on RPF) and it went together pretty well -- just a lot of work cutting the styrene inlay strips and glueing them on.
WARNING - PLEASE NOTE:
When I was attaching the styrene strips, I would sometimes glue them onto the compass longer than they needed to be and then cut them to size with x-acto knife once they were glued on. This worked really well until I got to the upper lid and applied too much pressure -- I snapped the thin masonite panel on upper lid that the hinge is glued to. I managed to repair this, but it set me back an hour or so...not the kind of thing you like to do when you are so close to finishing the basic build -- so learn from my mistake and either cut your strips to size BEFORE you glue them on, or take care not to apply too much pressure with your thumb or fingers to that thin wall of masonite on upper lid.
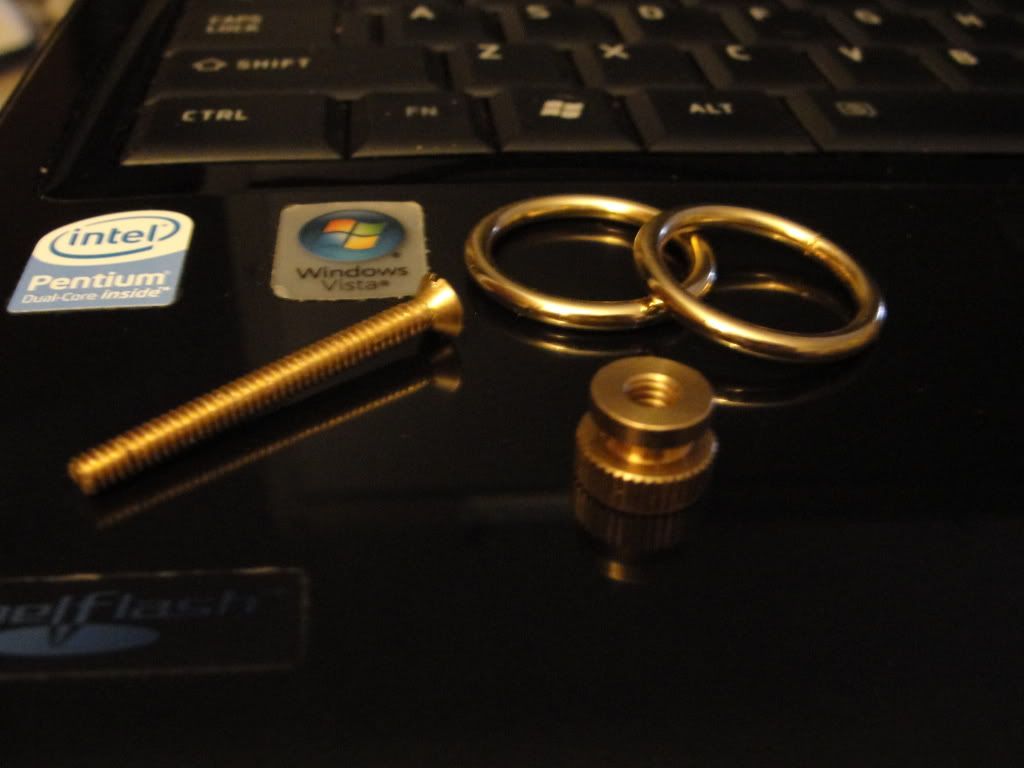
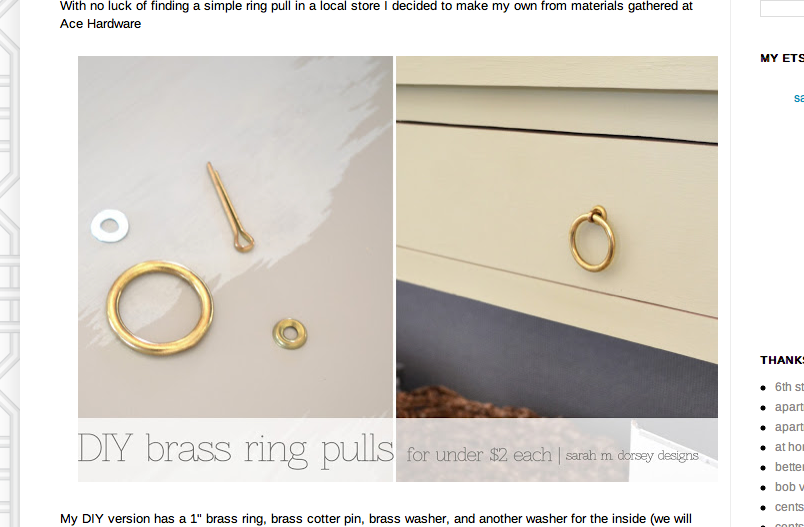
The ring that comes with kit is nice -- in fact, it is the one I recommended on a post I made in Jack Sparrow forum on how to upgrade the Disney toy compass. But I had seen on RPF where others had made a ring from simple knurled nuts found at hardware store and a washer. See pics below -- a few ways to make ring more accurate. I got a knurled lamp nut and used dremel to smooth out the knurling, and then a brass hex bolt that I also dremeled to shape -- glued to nut with JB Weld...got a brass ring from Hobby Lobby. I think it turned out pretty good.
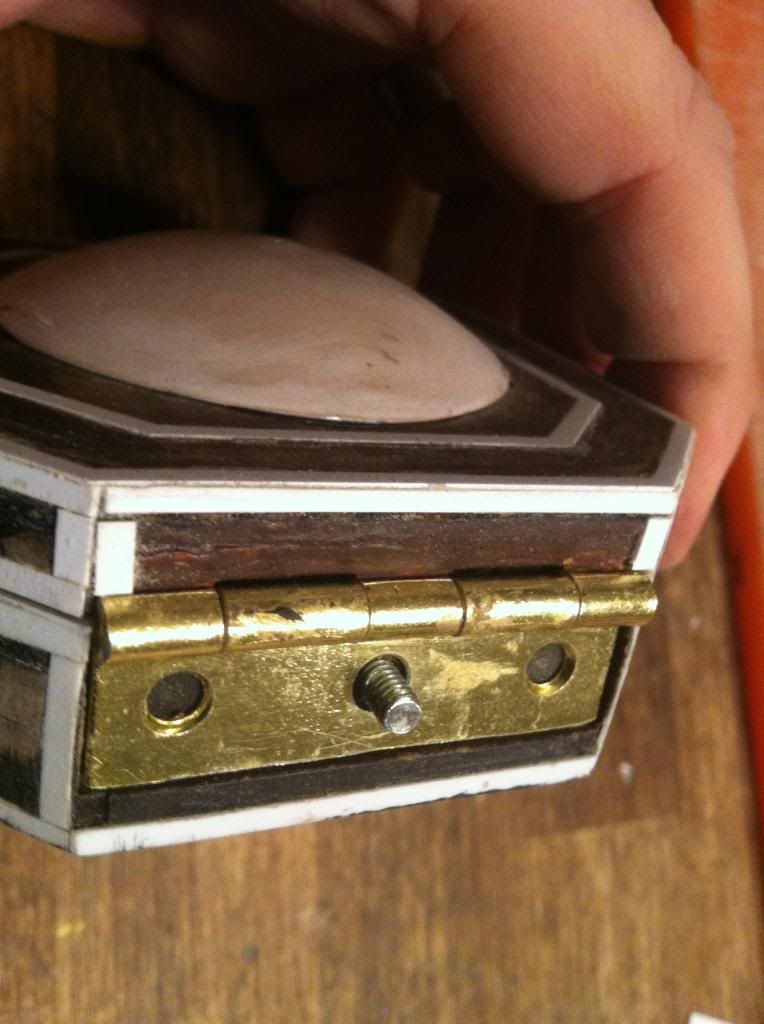
I also cut off part of screw and ran this into compass body to make connection stronger (rather than just gluing it to compass). The screw fit right into the hole that is in hinge.
Some pics of parts you could use, and then mine:

the one i made:

screw i put in back to attach ring thing to:
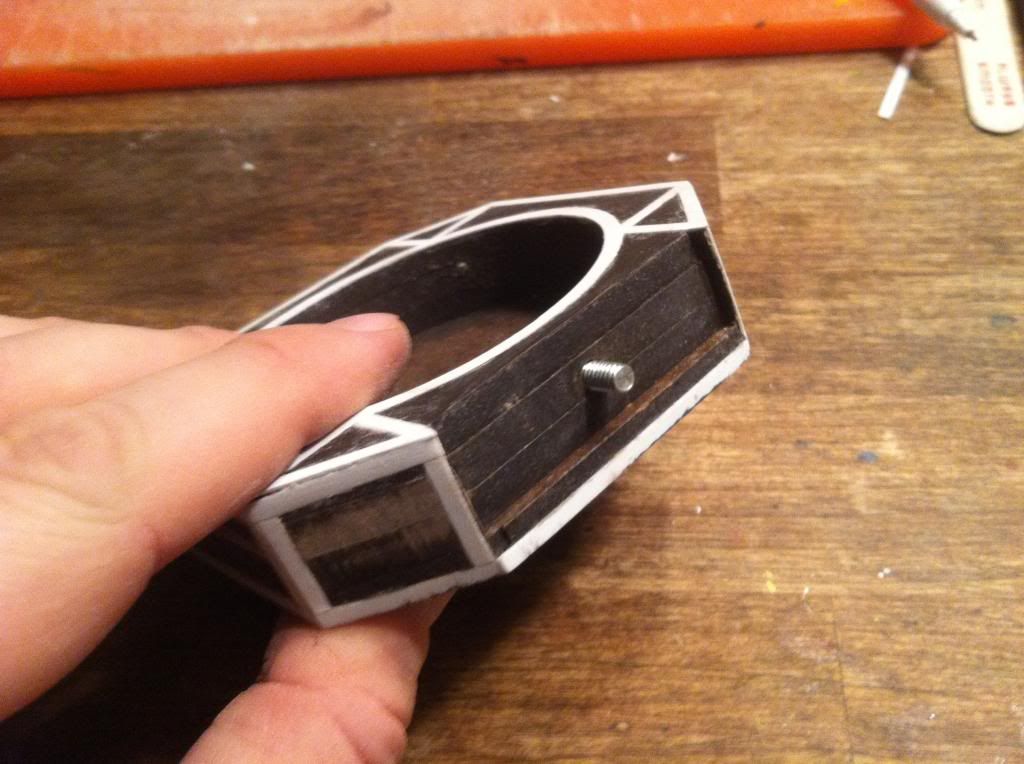
matched up with hole in hinge perfectly:
Here are some pics of my completed compass:
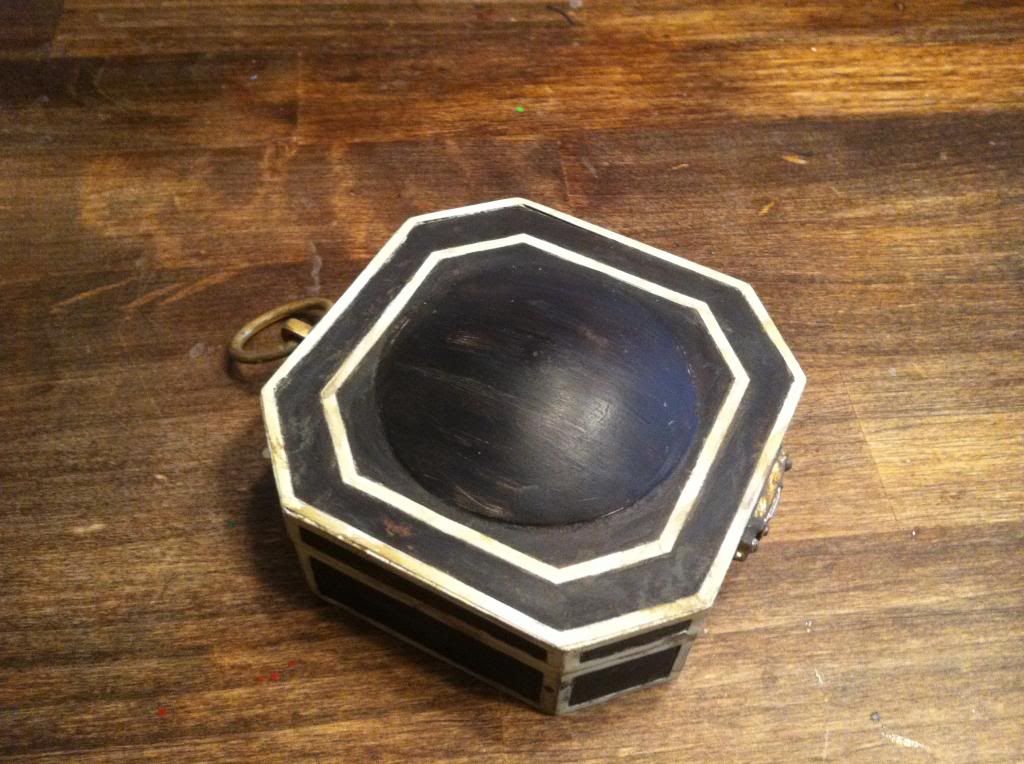
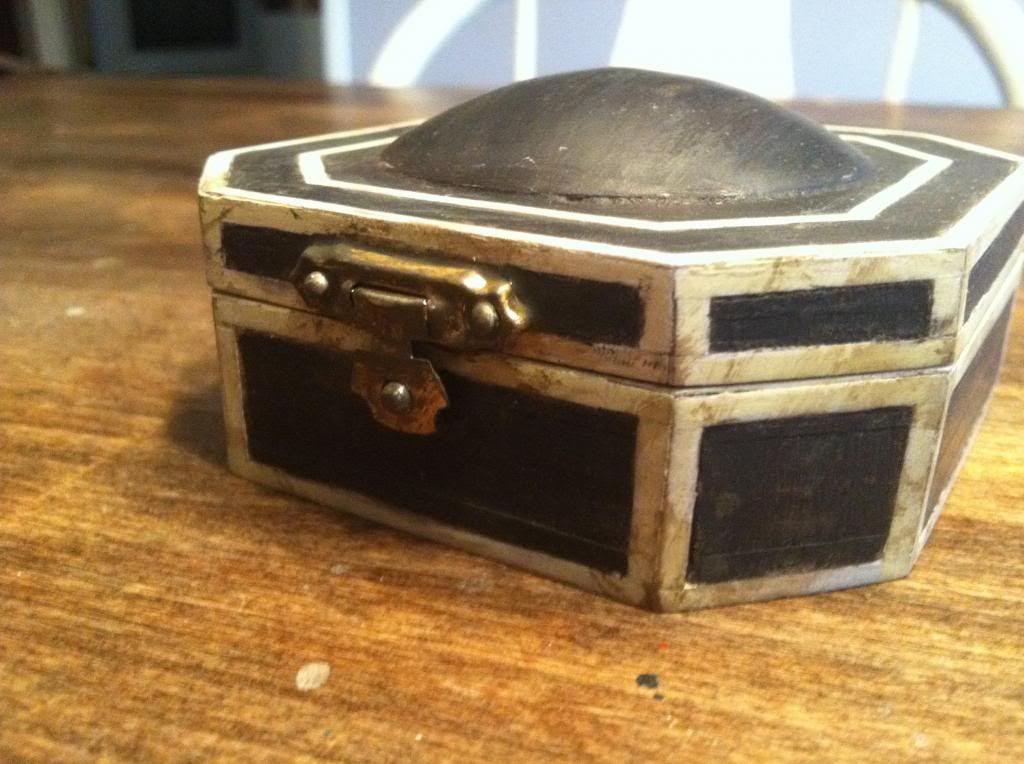
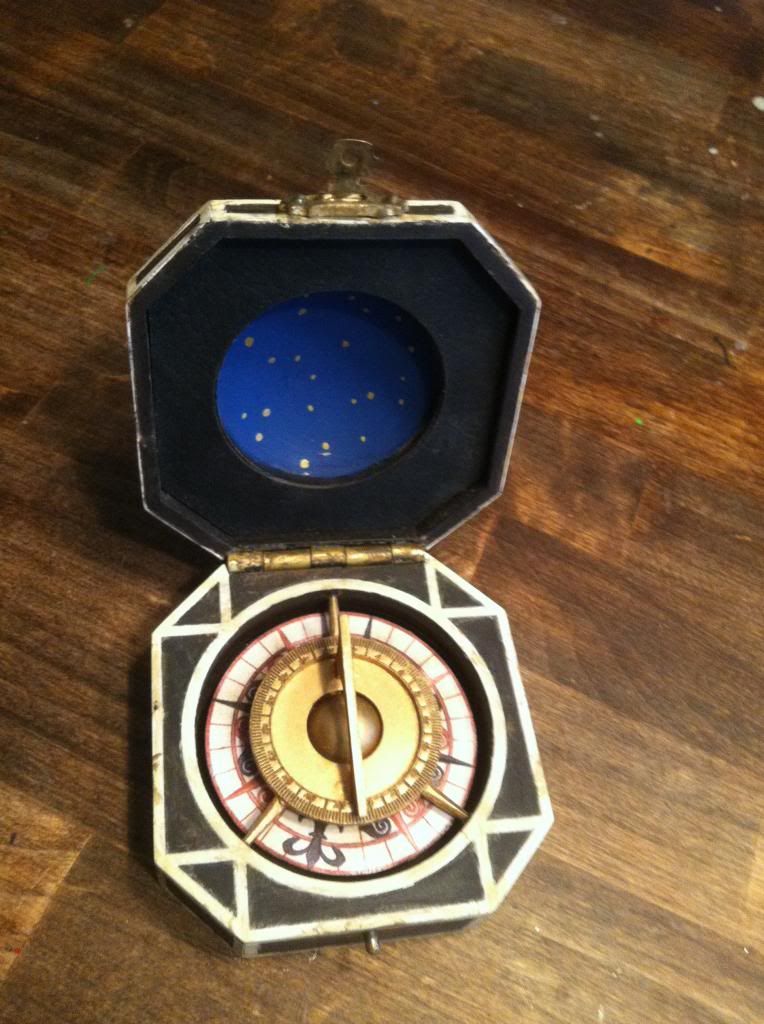
You'll note on above picture that the little arrows that hold the compass rose/dial in place are positioned at 12 o'clock, 7 and 5 o'clock. This matches positioning as seen in original prop. I used acrylic paints, painting body a deep brown (it looked brown to me, not black, but I'm not exactly sure what the proper color truly is - the MR one has a blue hue to it). I painted the white inlay an off-white and then weathered the entire compass with a light brown wash to look worn/aged)
Here are photos that I believe are of the original prop as seen in COTBP:

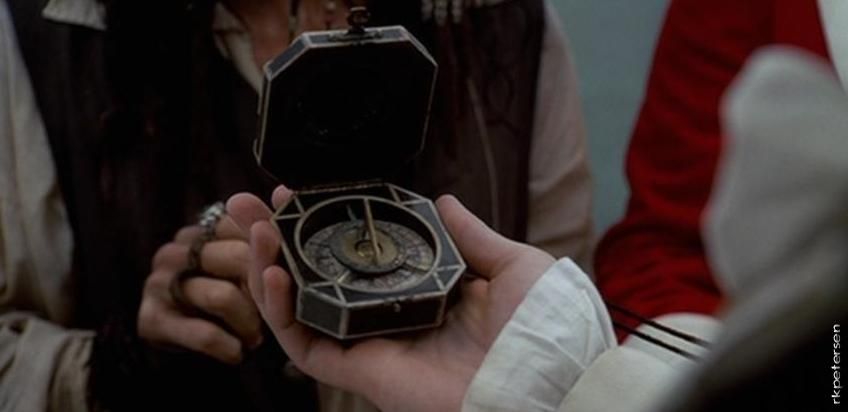

and a picture of a STUNT compass as seen in Stranger Tides which has a good shot of the ring holder:

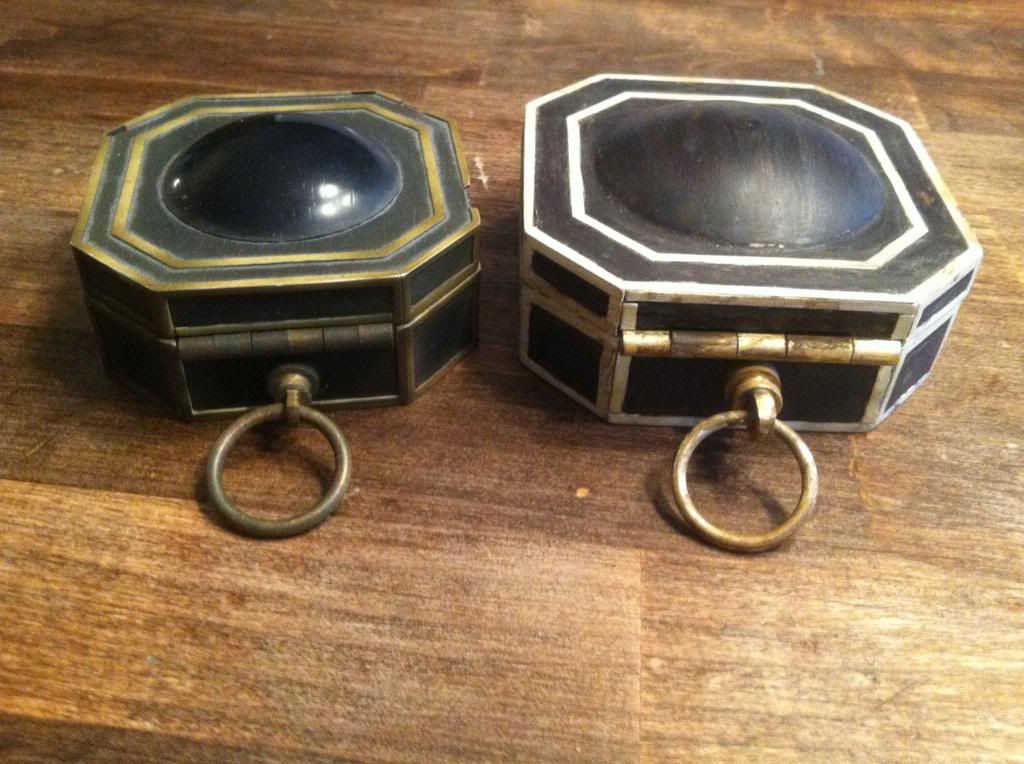
Here are a few pics of Zlurpo compass side by side with the MR replica:


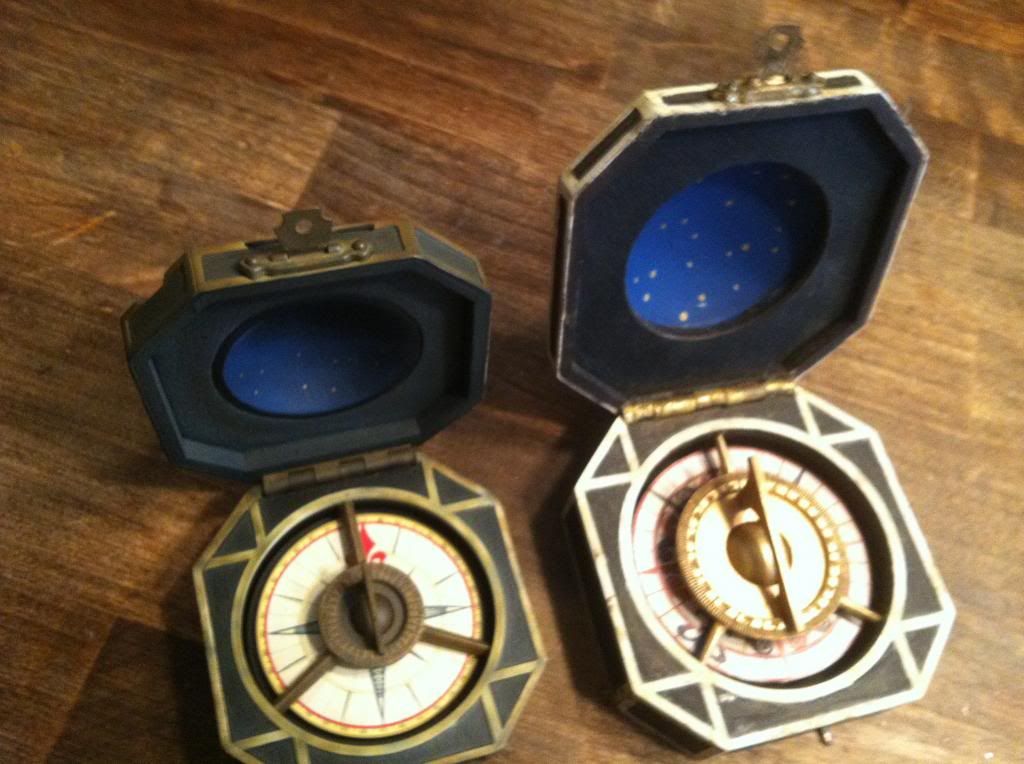
Not sure if MR is proper size, but I thought others had confirmed that it was. Also not sure if COTBP compass was same size as compass used in other movies.
I am happy with the kit -- it is a great kit for the money, but it takes a lot of time and patience to get it together...and you really need a dremel -- not sure how you could build kit without one.
If I were ZLURPO, I would consider tweaking kit WITHOUT the inlaid channels for the ivory inlay. The MR compass has the inlay extended beyond compass body -- it is not flush -- and I think this is the case for some of the screen used props. Seems like you could simply glue the styrene on top of the masonite...would save a LOT of time in having to add those extra channels in yourself. If such a kit were offered, I would consider buying them and doing build-ups to sell, but even then, I would still charge at least $250 for the build. Again, anyone who got a completed kit from Zlurpo got one heck of a deal!!
If you have any questions, feel free to ask and I'll do my best to respond.
Good luck building your kits and please post pictures of your finished compass and share any tips you have about the building process if you think they may help out fellow RPFers.
C'est la vie.
So when he offered them as kits for $50, I jumped on it and got one from his first run. But I will say, after all the time I spent putting this together, I wouldn't let it go for less than $350. So anyone who got one of the $100 builds from the original run is one lucky pirate!!
As I already have the MR compass, which is a recreation of the prop as seen in the 2nd and 3rd movie, I chose the COTB kit. Here is a pic of finished Zlurpo kit I built:
It came out pretty good, but took a LOT of time to put together. If you have a kit, I strongly suggest you buy or borrow a DREMEL tool as I don't know how you could really build the kit well without one.
I used the dremel primarily to grind the shallow channels into the outer casing that the styrene strips go into to create the ivory inlay. The way the kit is made, the laser can not cut these inlays in a certain direction, so you have to assemble the kit and then somehow create the additional channels yourself. I used a conical shaped grinding dremel attachment for this...it takes patience and a very steady hand. This is, perhaps, the most time consuming part of building the kit. What's more, I don't think Zlurpo needed to add the channels to begin with, but more about this towards the end of this review.
The kit has enough laser-cut strip styrene for the inlays, but some of it was not the same width. I happened to have some of similar size, so to keep things even, I used that...it only costs about $3.50 from any well-stocked hobby store...pic below.
I built the kit according to Zlupro's step-by-step guide (posted elsewhere on RPF) and it went together pretty well -- just a lot of work cutting the styrene inlay strips and glueing them on.
WARNING - PLEASE NOTE:
When I was attaching the styrene strips, I would sometimes glue them onto the compass longer than they needed to be and then cut them to size with x-acto knife once they were glued on. This worked really well until I got to the upper lid and applied too much pressure -- I snapped the thin masonite panel on upper lid that the hinge is glued to. I managed to repair this, but it set me back an hour or so...not the kind of thing you like to do when you are so close to finishing the basic build -- so learn from my mistake and either cut your strips to size BEFORE you glue them on, or take care not to apply too much pressure with your thumb or fingers to that thin wall of masonite on upper lid.
The ring that comes with kit is nice -- in fact, it is the one I recommended on a post I made in Jack Sparrow forum on how to upgrade the Disney toy compass. But I had seen on RPF where others had made a ring from simple knurled nuts found at hardware store and a washer. See pics below -- a few ways to make ring more accurate. I got a knurled lamp nut and used dremel to smooth out the knurling, and then a brass hex bolt that I also dremeled to shape -- glued to nut with JB Weld...got a brass ring from Hobby Lobby. I think it turned out pretty good.
I also cut off part of screw and ran this into compass body to make connection stronger (rather than just gluing it to compass). The screw fit right into the hole that is in hinge.
Some pics of parts you could use, and then mine:
the one i made:
screw i put in back to attach ring thing to:
matched up with hole in hinge perfectly:
Here are some pics of my completed compass:
You'll note on above picture that the little arrows that hold the compass rose/dial in place are positioned at 12 o'clock, 7 and 5 o'clock. This matches positioning as seen in original prop. I used acrylic paints, painting body a deep brown (it looked brown to me, not black, but I'm not exactly sure what the proper color truly is - the MR one has a blue hue to it). I painted the white inlay an off-white and then weathered the entire compass with a light brown wash to look worn/aged)
Here are photos that I believe are of the original prop as seen in COTBP:
and a picture of a STUNT compass as seen in Stranger Tides which has a good shot of the ring holder:
Here are a few pics of Zlurpo compass side by side with the MR replica:
Not sure if MR is proper size, but I thought others had confirmed that it was. Also not sure if COTBP compass was same size as compass used in other movies.
I am happy with the kit -- it is a great kit for the money, but it takes a lot of time and patience to get it together...and you really need a dremel -- not sure how you could build kit without one.
If I were ZLURPO, I would consider tweaking kit WITHOUT the inlaid channels for the ivory inlay. The MR compass has the inlay extended beyond compass body -- it is not flush -- and I think this is the case for some of the screen used props. Seems like you could simply glue the styrene on top of the masonite...would save a LOT of time in having to add those extra channels in yourself. If such a kit were offered, I would consider buying them and doing build-ups to sell, but even then, I would still charge at least $250 for the build. Again, anyone who got a completed kit from Zlurpo got one heck of a deal!!
If you have any questions, feel free to ask and I'll do my best to respond.
Good luck building your kits and please post pictures of your finished compass and share any tips you have about the building process if you think they may help out fellow RPFers.
 thumbsup