altername
Well-Known Member
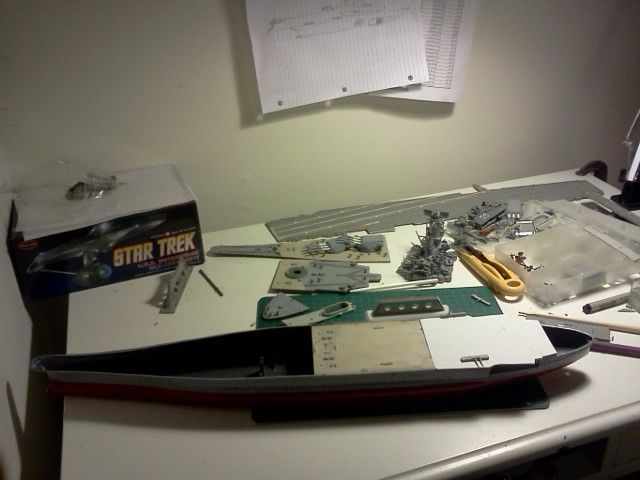
Katsu's amazing Tempest build really inspired me to pick up a hobby that I haven't touched in over ten years. After a few small projects, I decided that something more serious was in order. I had a 1/450 Hasegawa Yamato and a 1/542 Revell USS Forrestal from childhood that I wasn't especially proud of and frankly they were taking up space in our living room. I decided to appease the old lady by "freeing" up some space and turning them into a kitbash star ship of my own design.
Too bad I later decided to throw it into a spaceport diorama which is at least as big as the two original ships.
:behave
I've been working on the so far un-named ship for months on and off and I thought this would be a good time to create a progress thread displaying my amateur skills. This thing is far from complete so constructive criticisms are welcome!
Kits bashed! Wish I had photographed my ships beforehand.
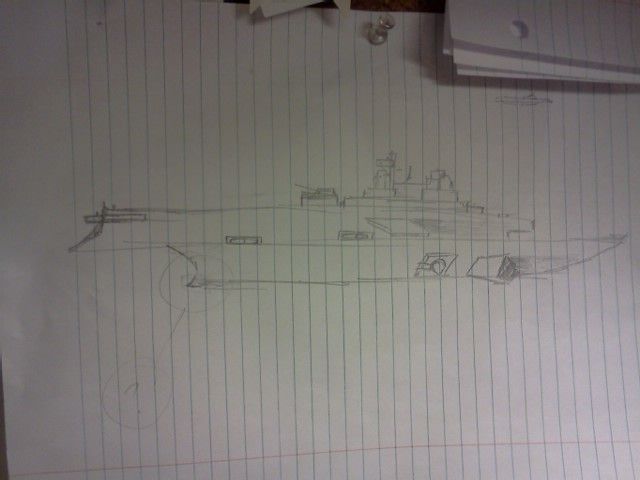
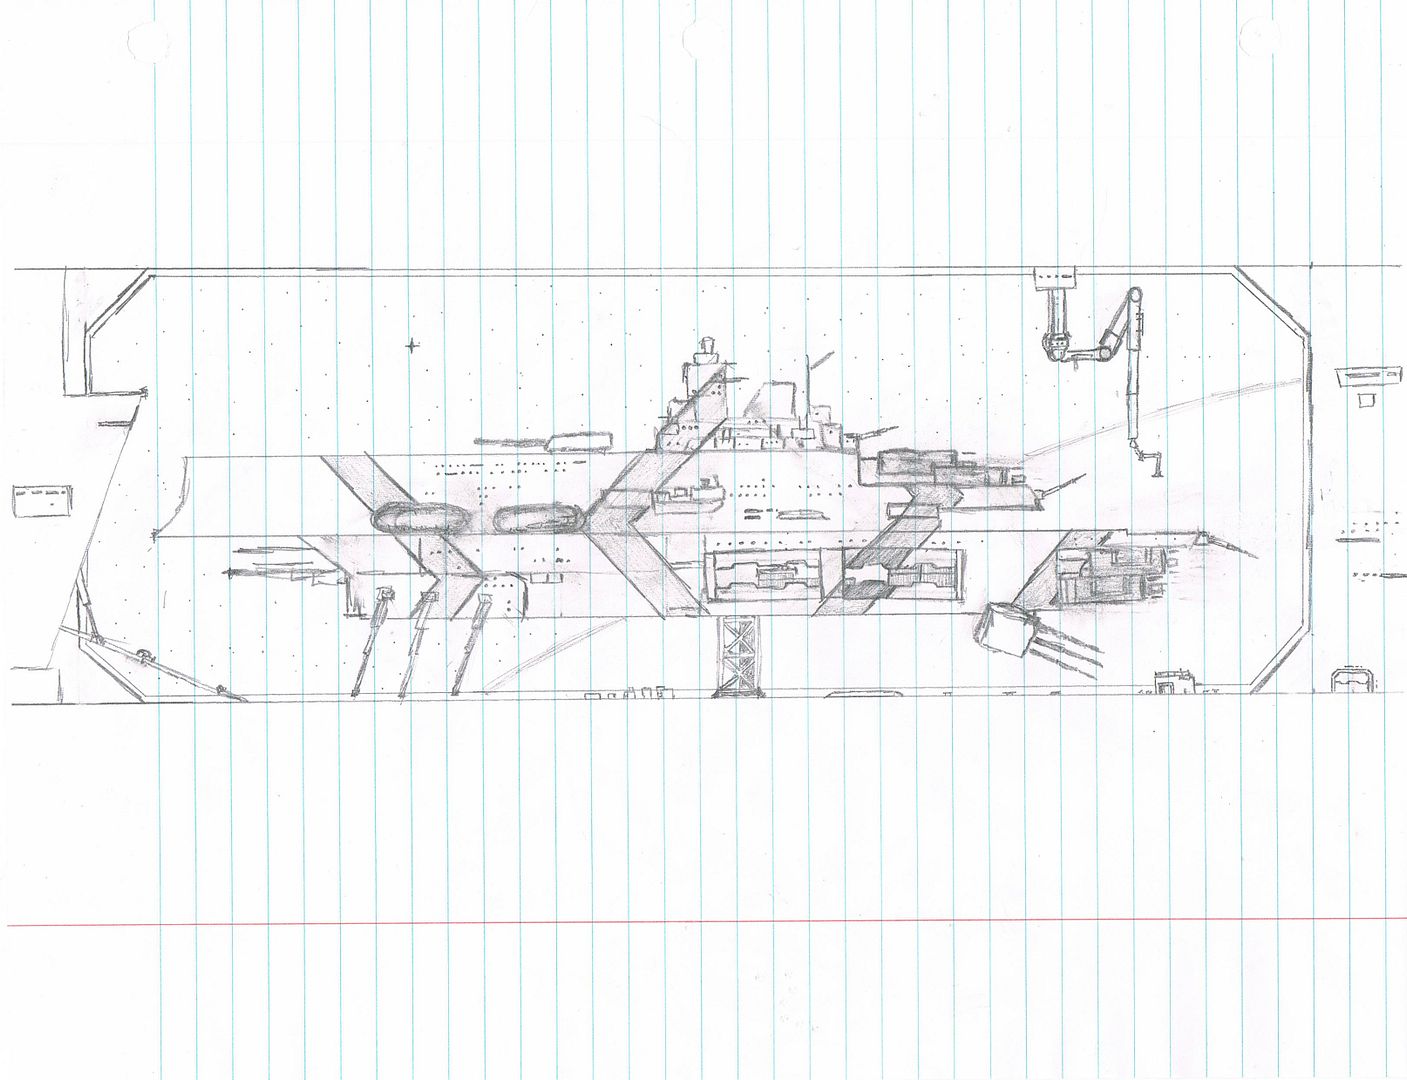
The initial concept sketch

A simple concept for a military starship
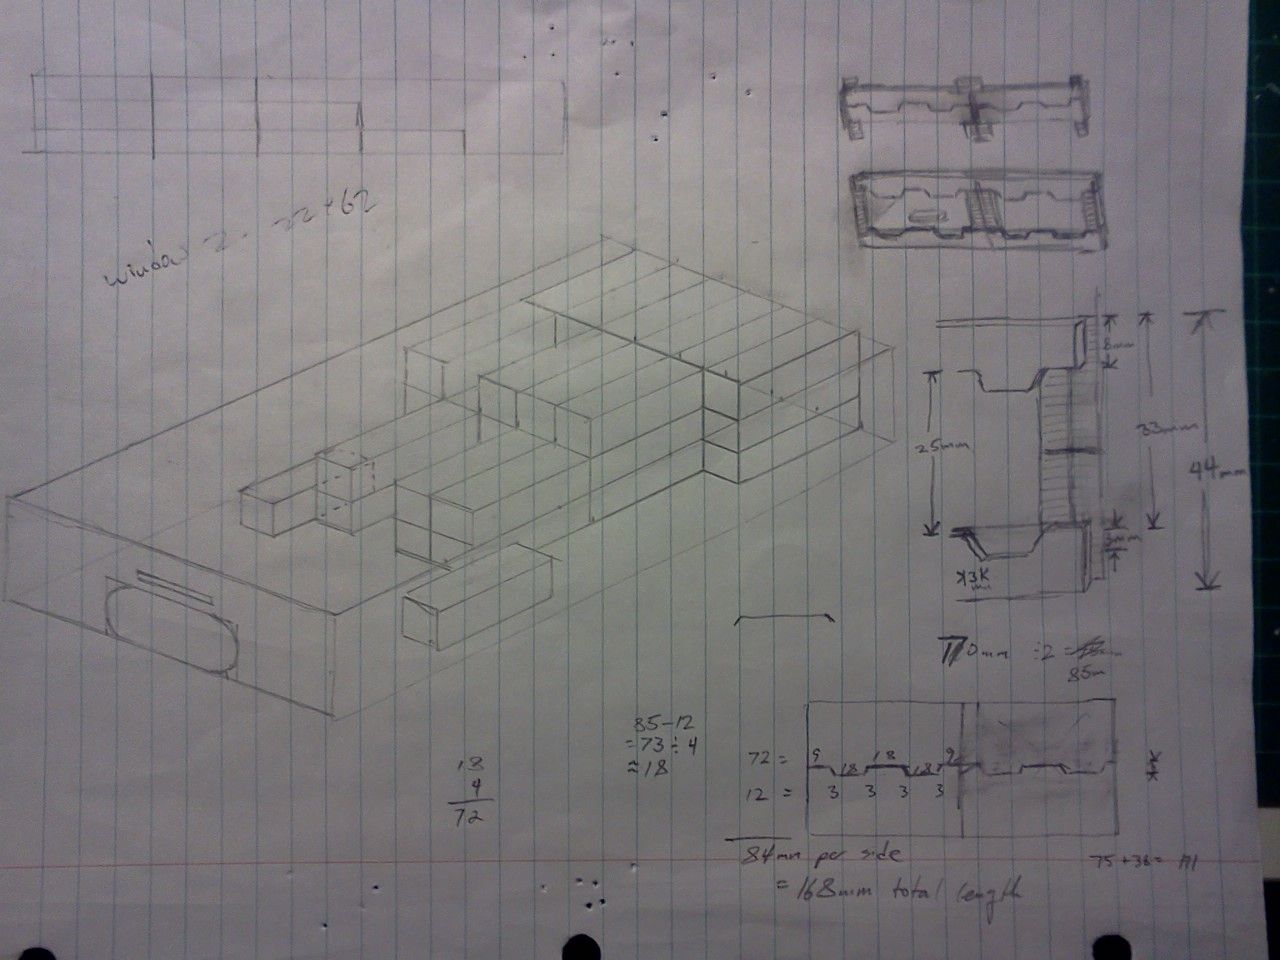
Started tinkering with the idea of a large cargo bay with open doors
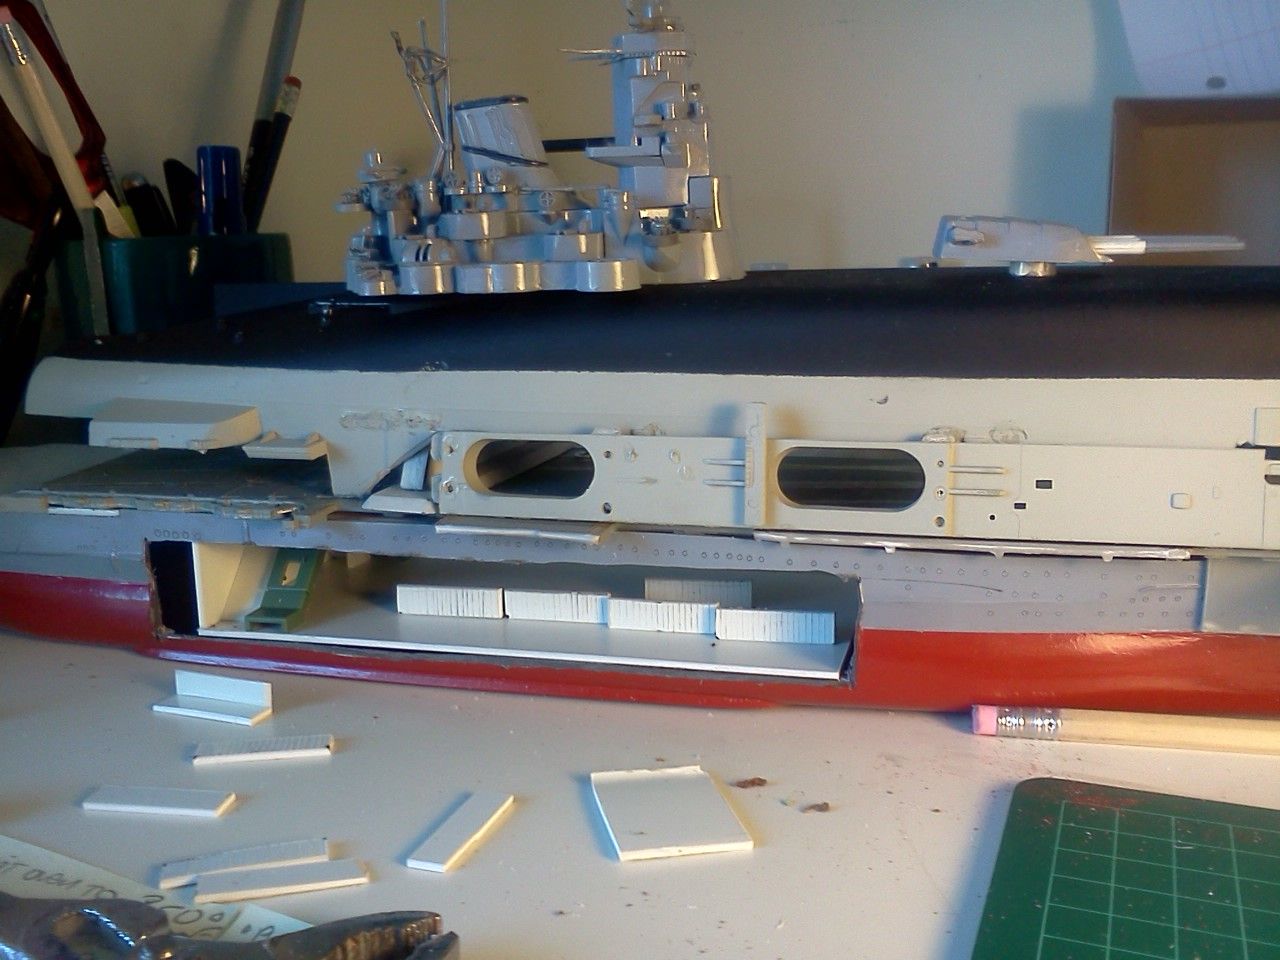
Cargo bay with some makeshift containers
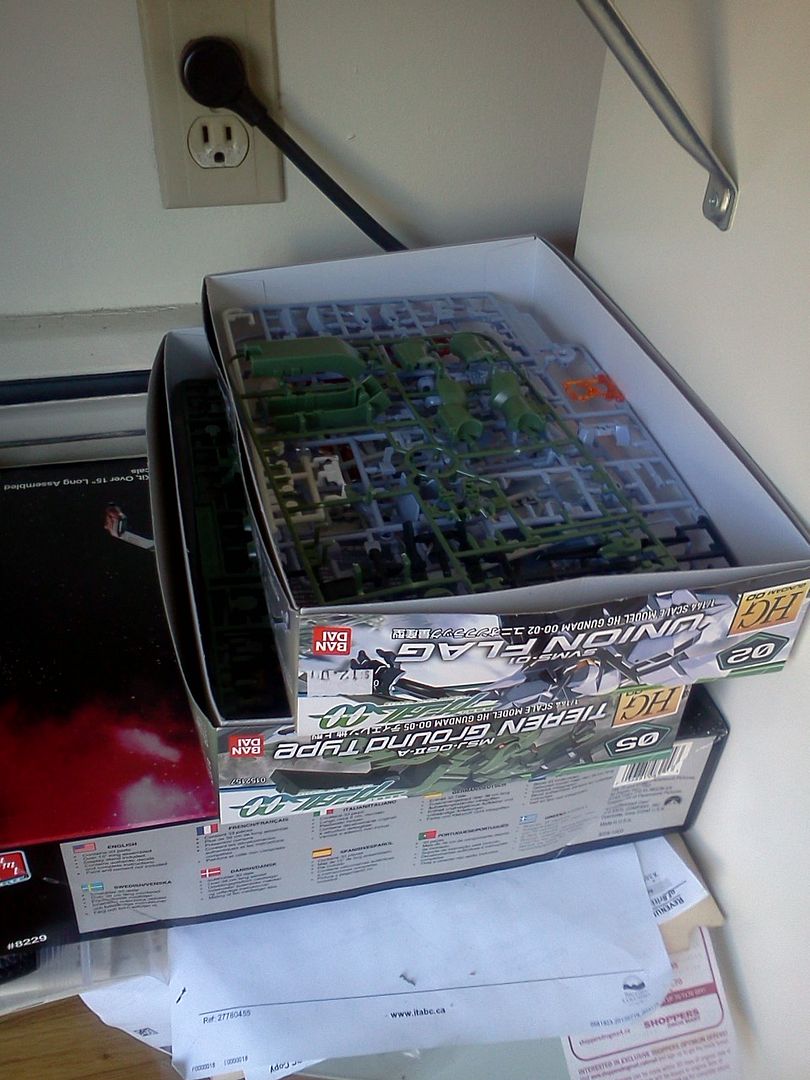
2 Gundam toys bought from a small nerd convention in town. Under 5 bucks total! Let the greebling begin.

A knife kit I won from a new Michaels that opened in town. 40 dollar value. I had almost purchased some blades the night before!
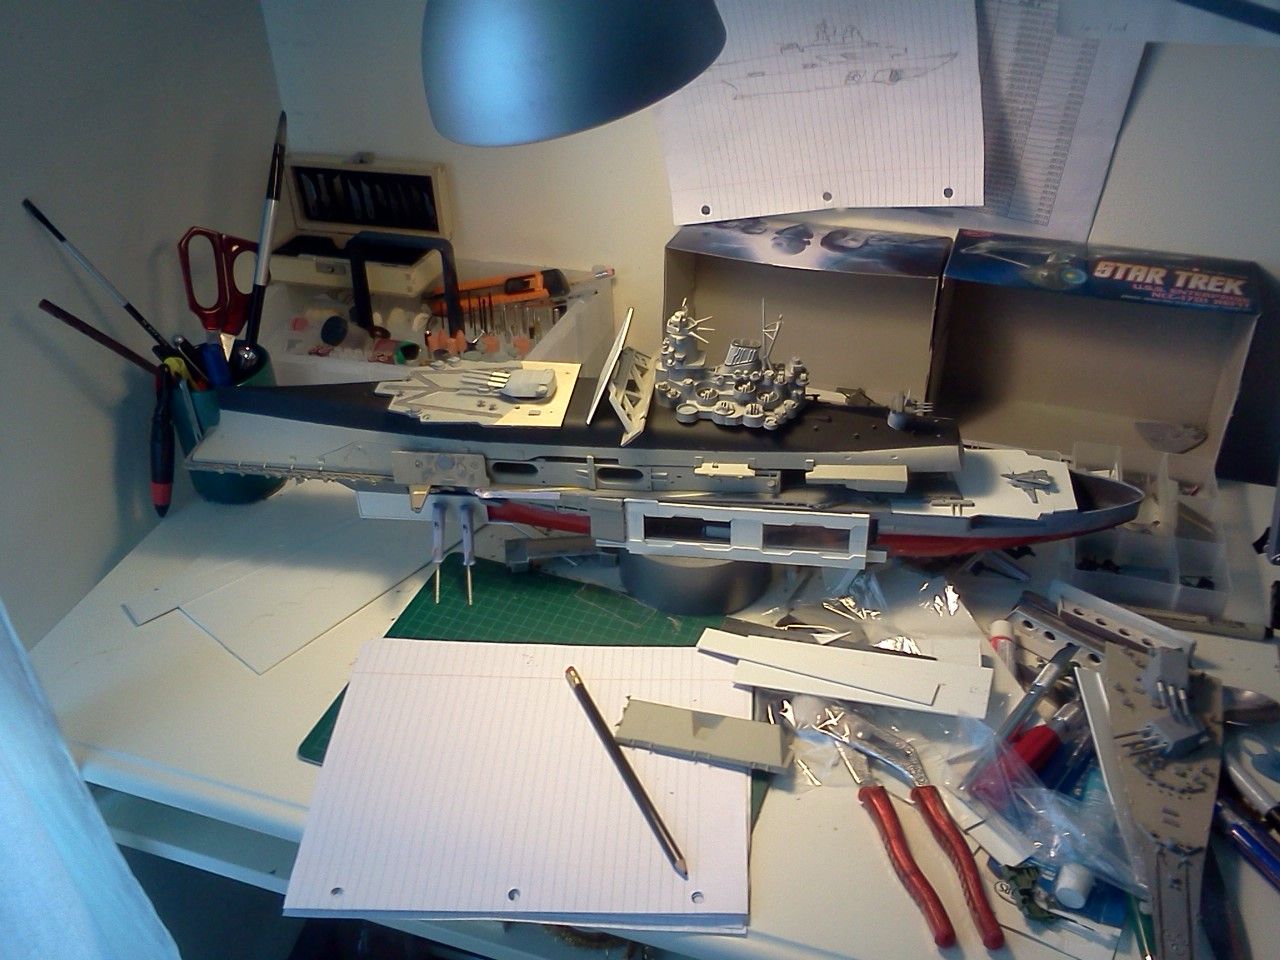
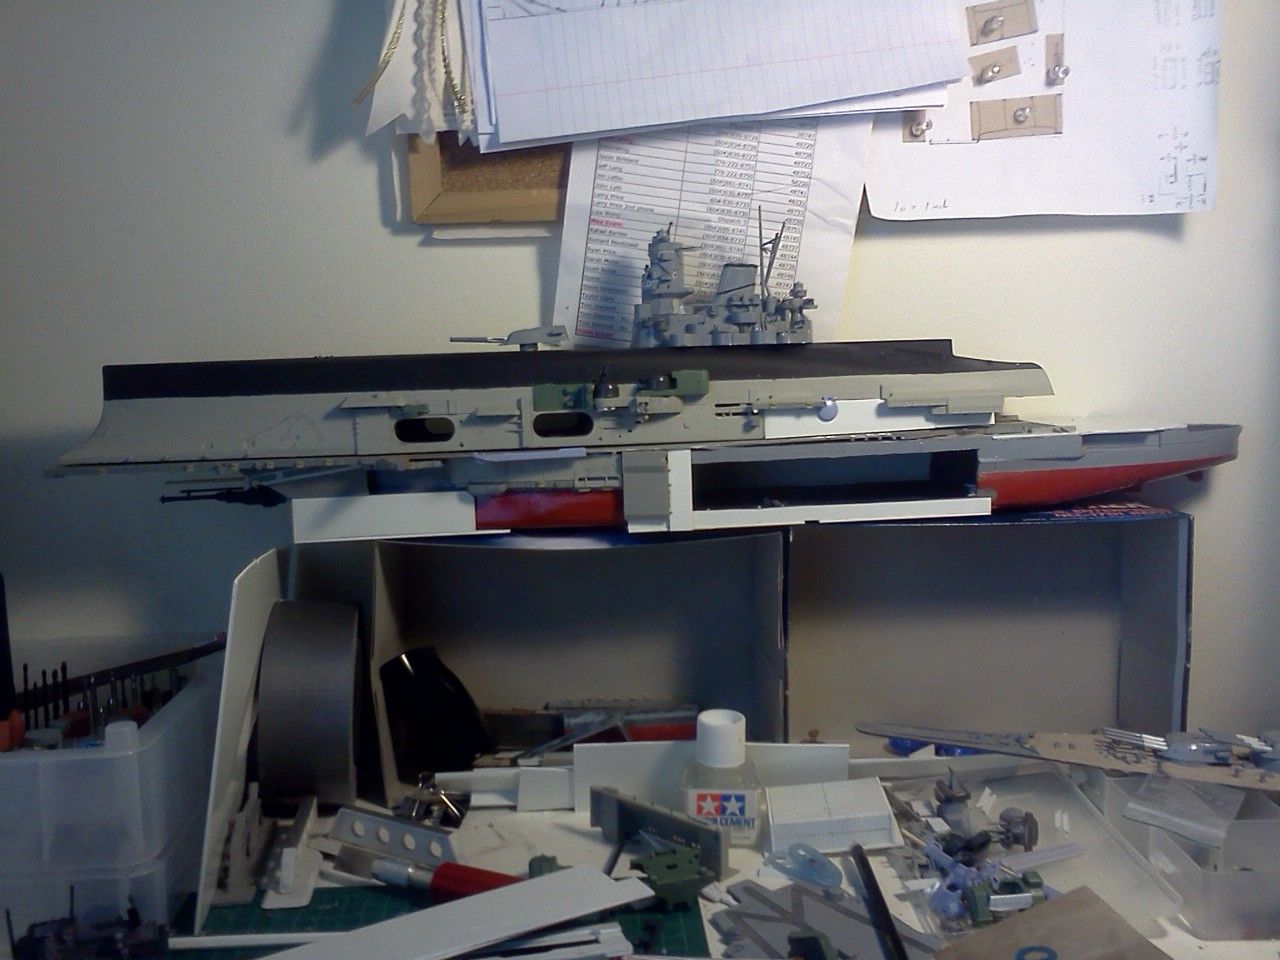
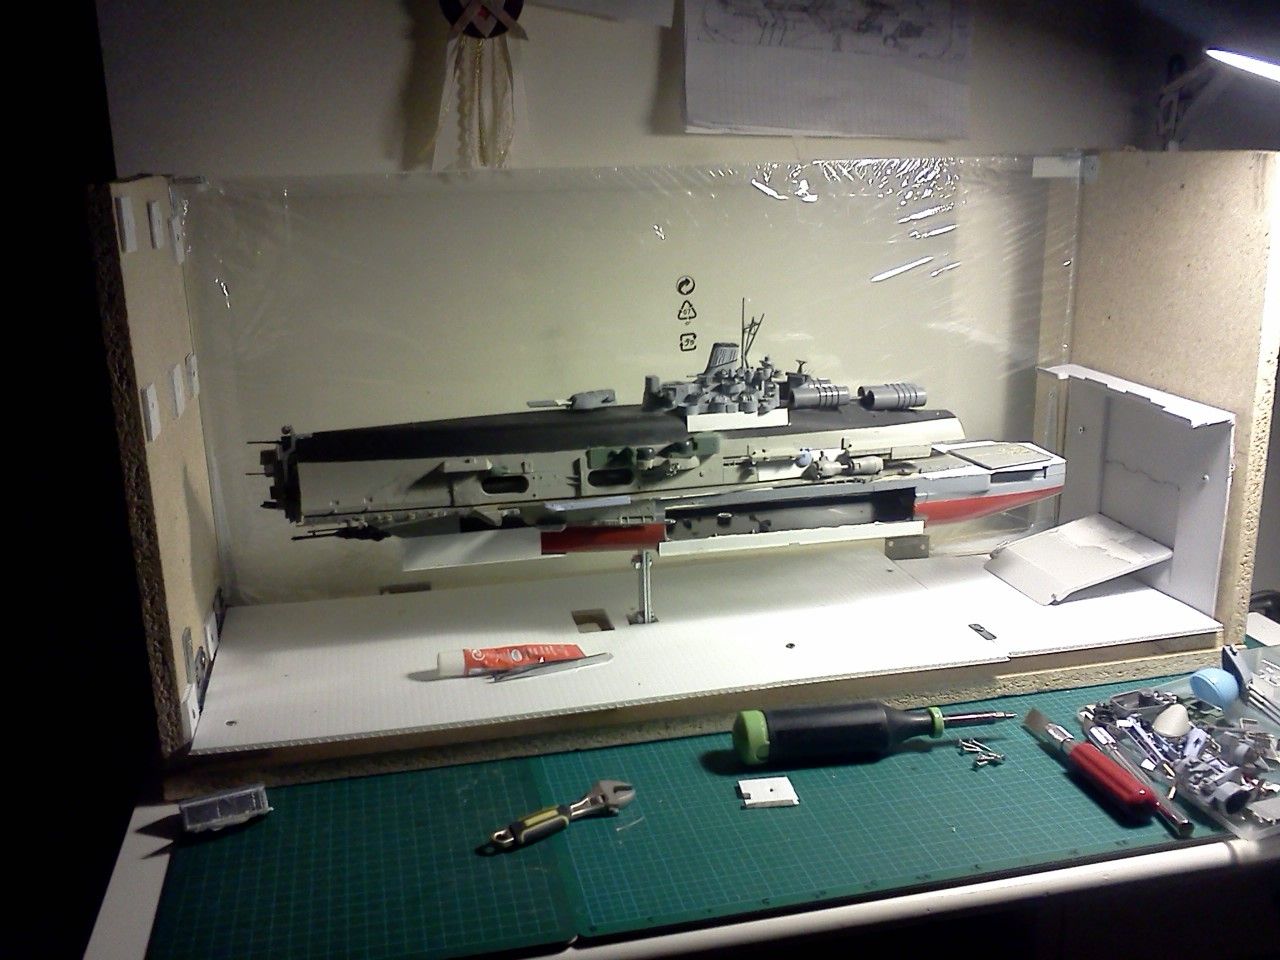
My humble work space
External cargo bay doors. Started thinking about the doors being open. Didn't really make sense unless the ship was docked...
Diorama-rama!
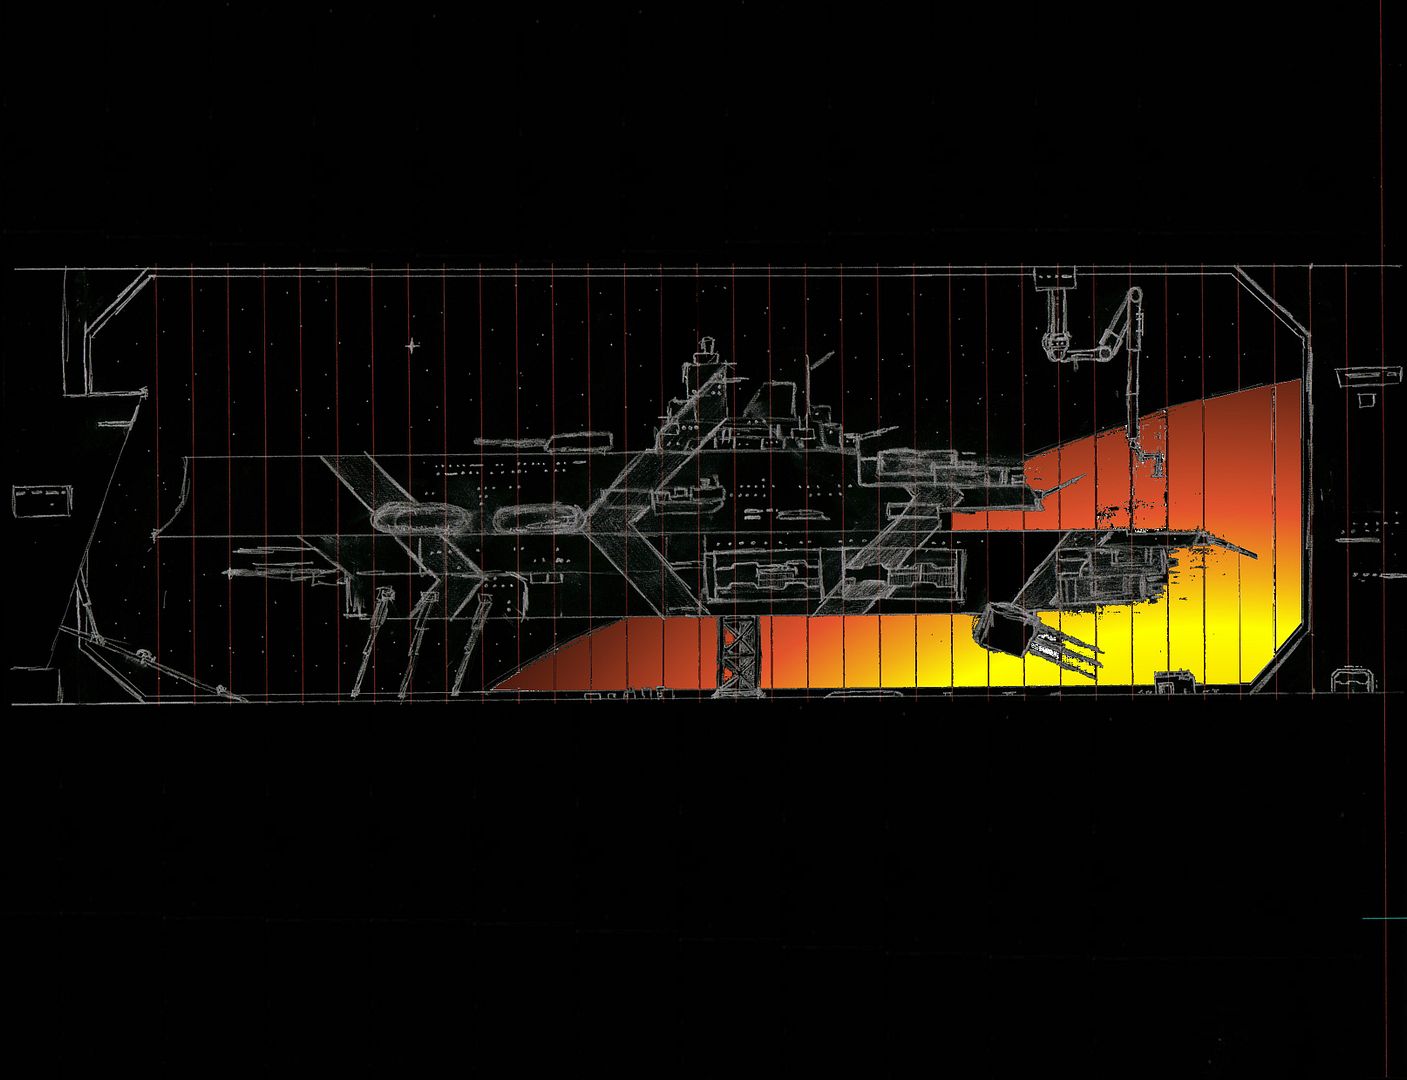
Some fun in gimp gave me some inspiration when I inverted the colours. What would camo look like for a space ship?
Since space camo would probably be a boring flat black, I wanted to spice it up with something. I decided on the Bismark's scheme, intended make a fleet appear confusing, rather than concealed. The Bismark was also my first ship as a child, giving me the ability to incorporate all 3 of my childhood ship models.
Greebles!
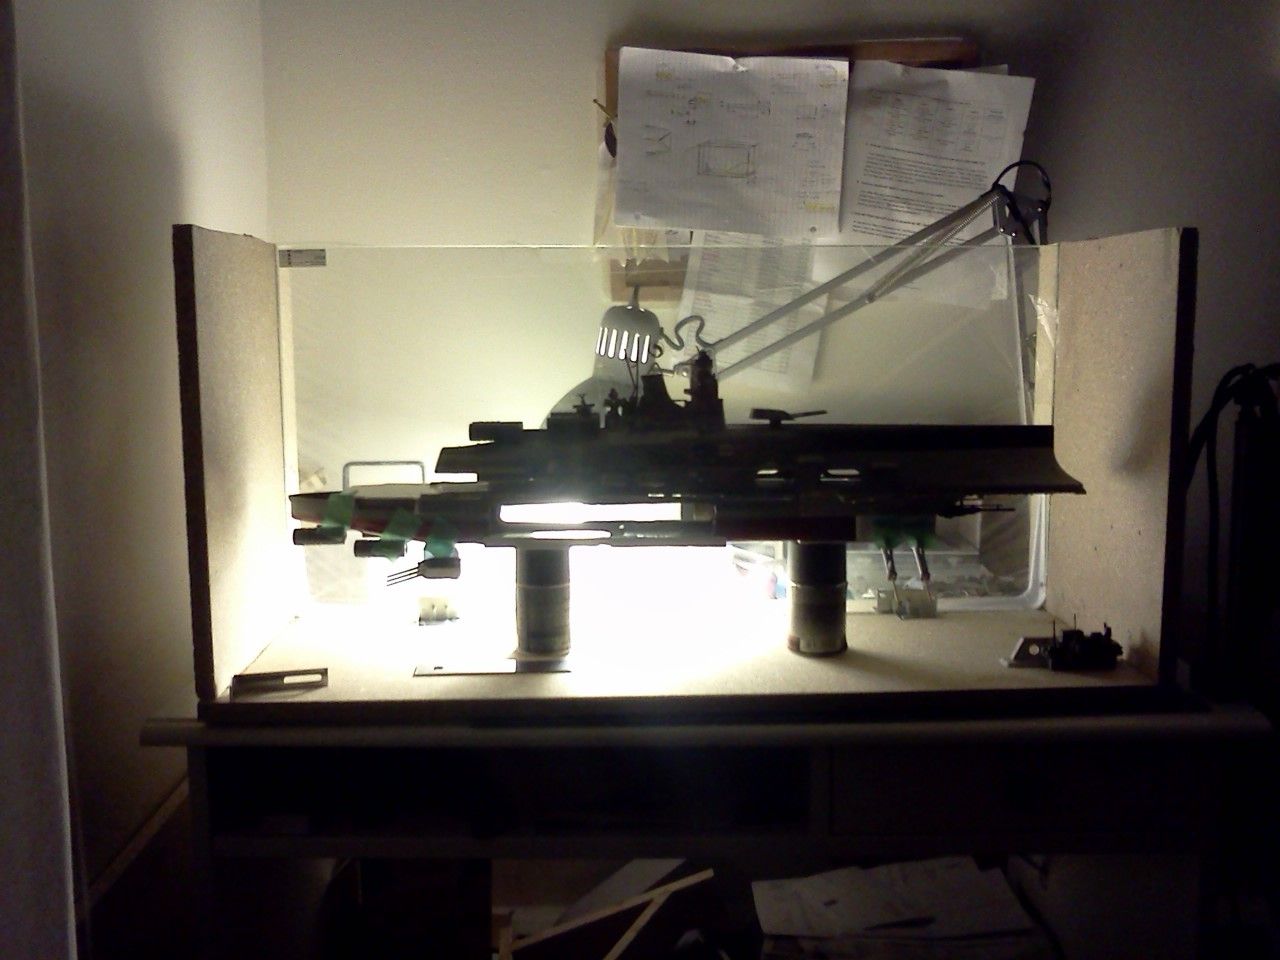
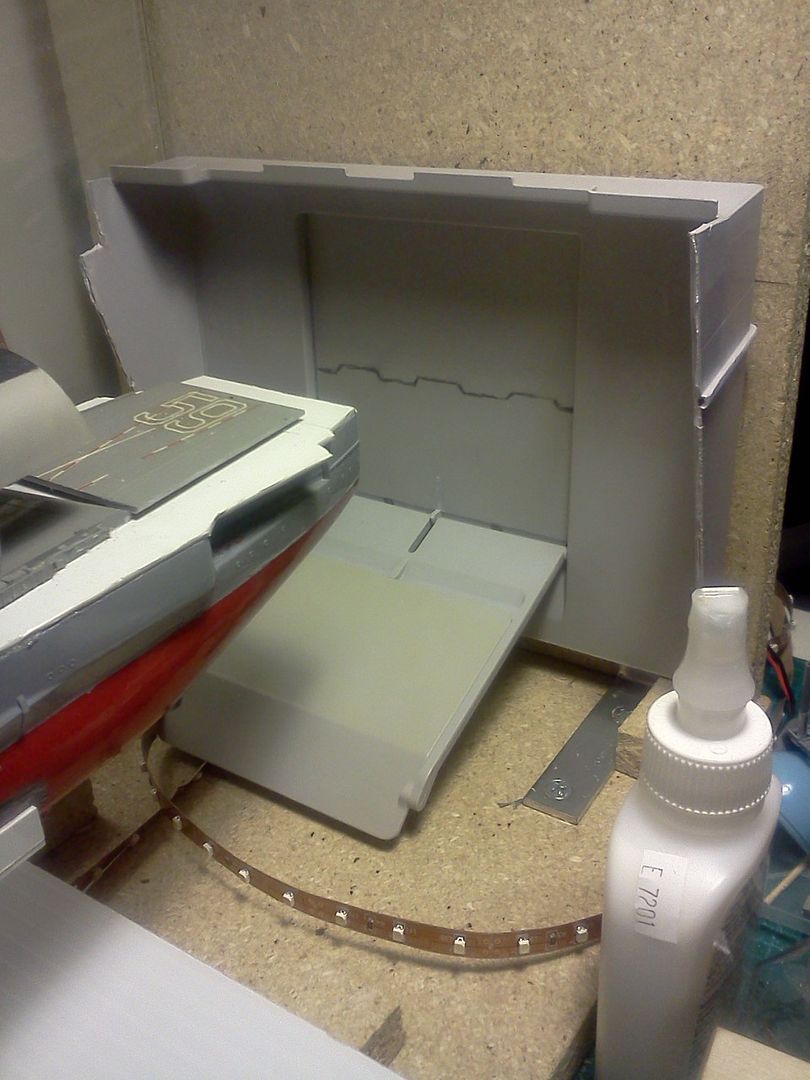
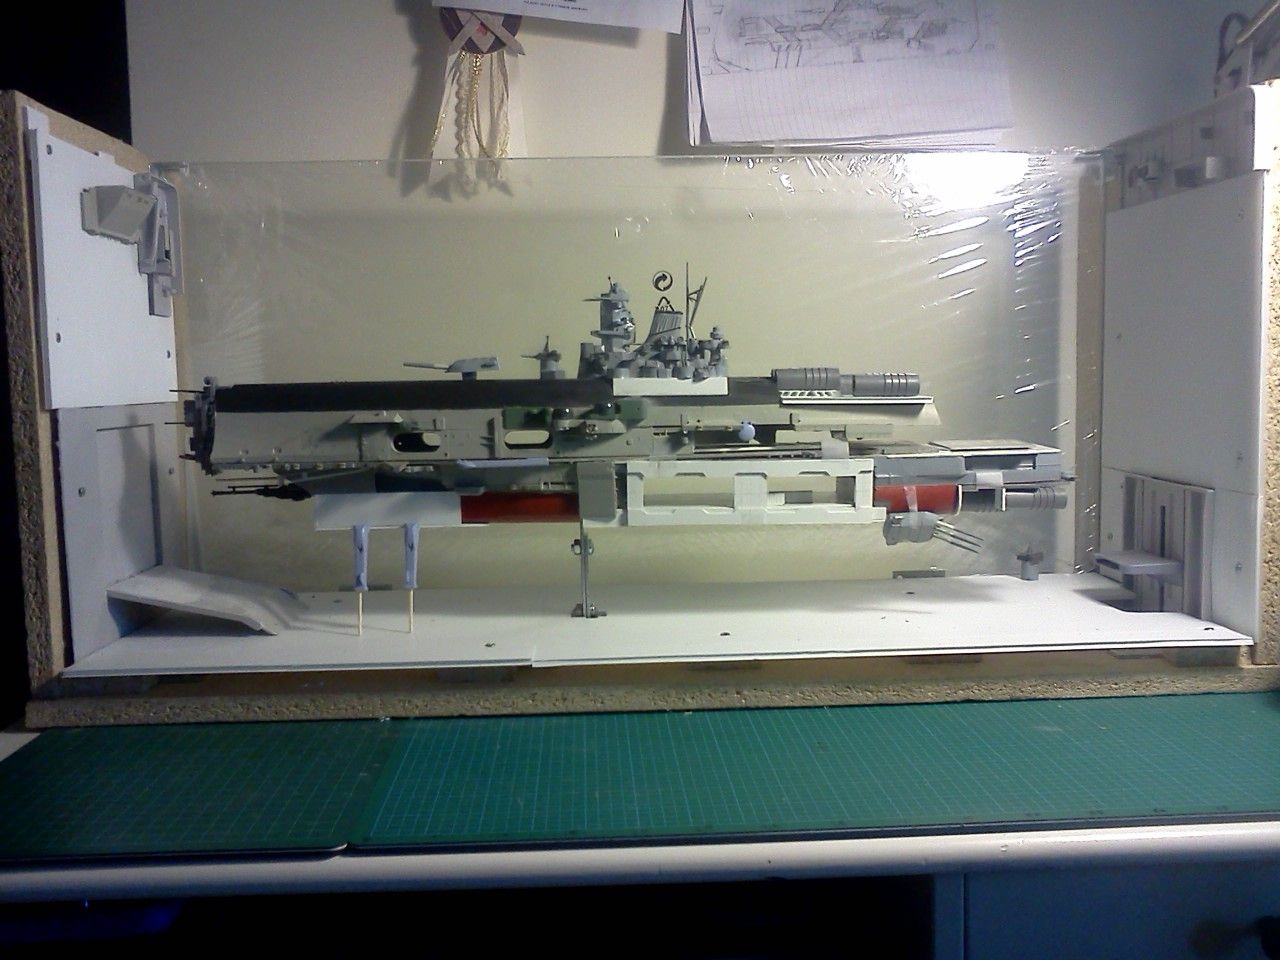
Spacedock test
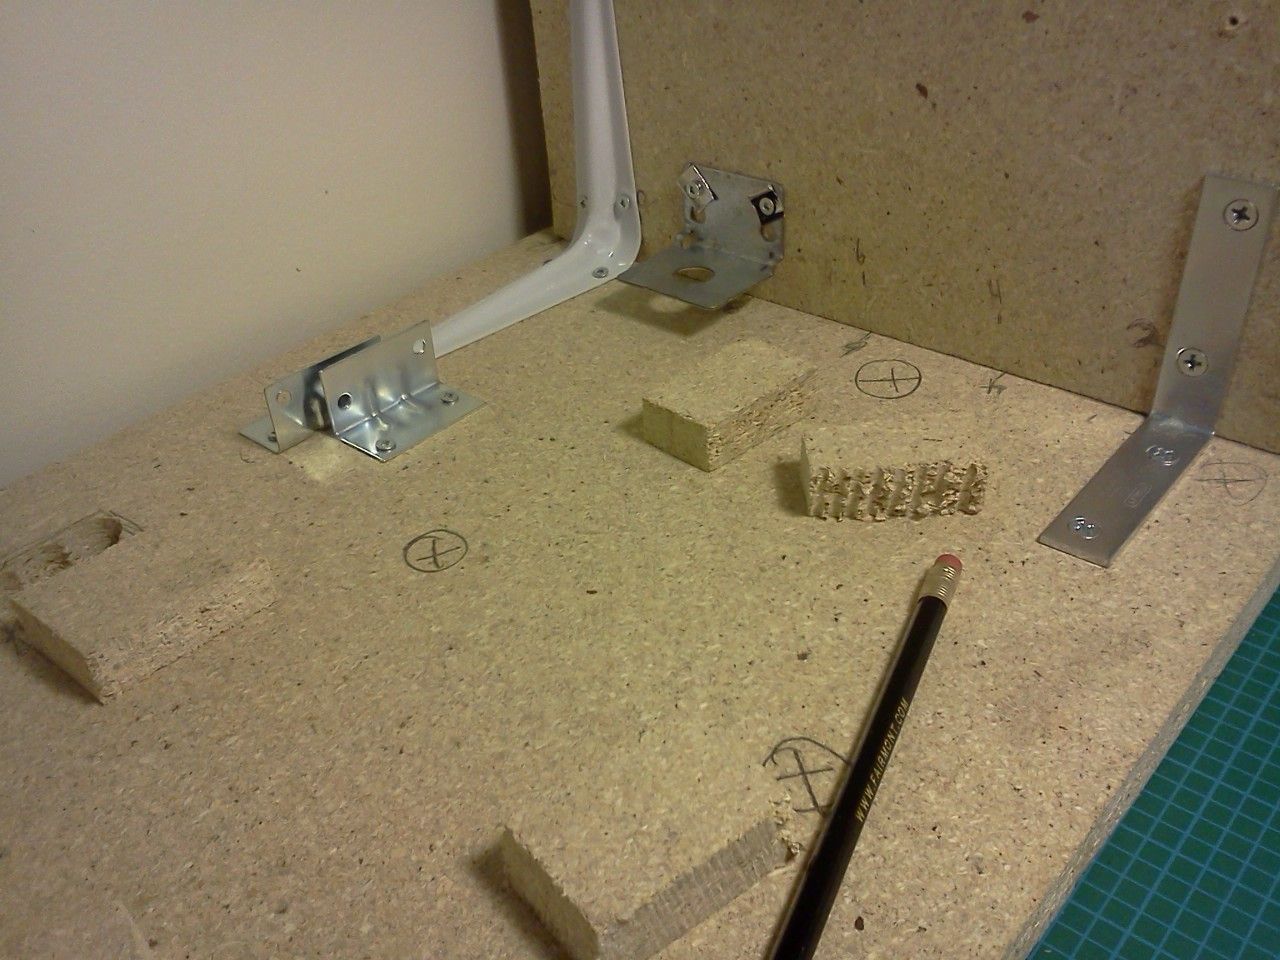
Diorama base
LED lighting strip with dimmer. Next time I'll probably just go for some x-mas lights. But at that point it was summer and I couldn't wait. Also trimmed the bow and stern to fit into the dock better.
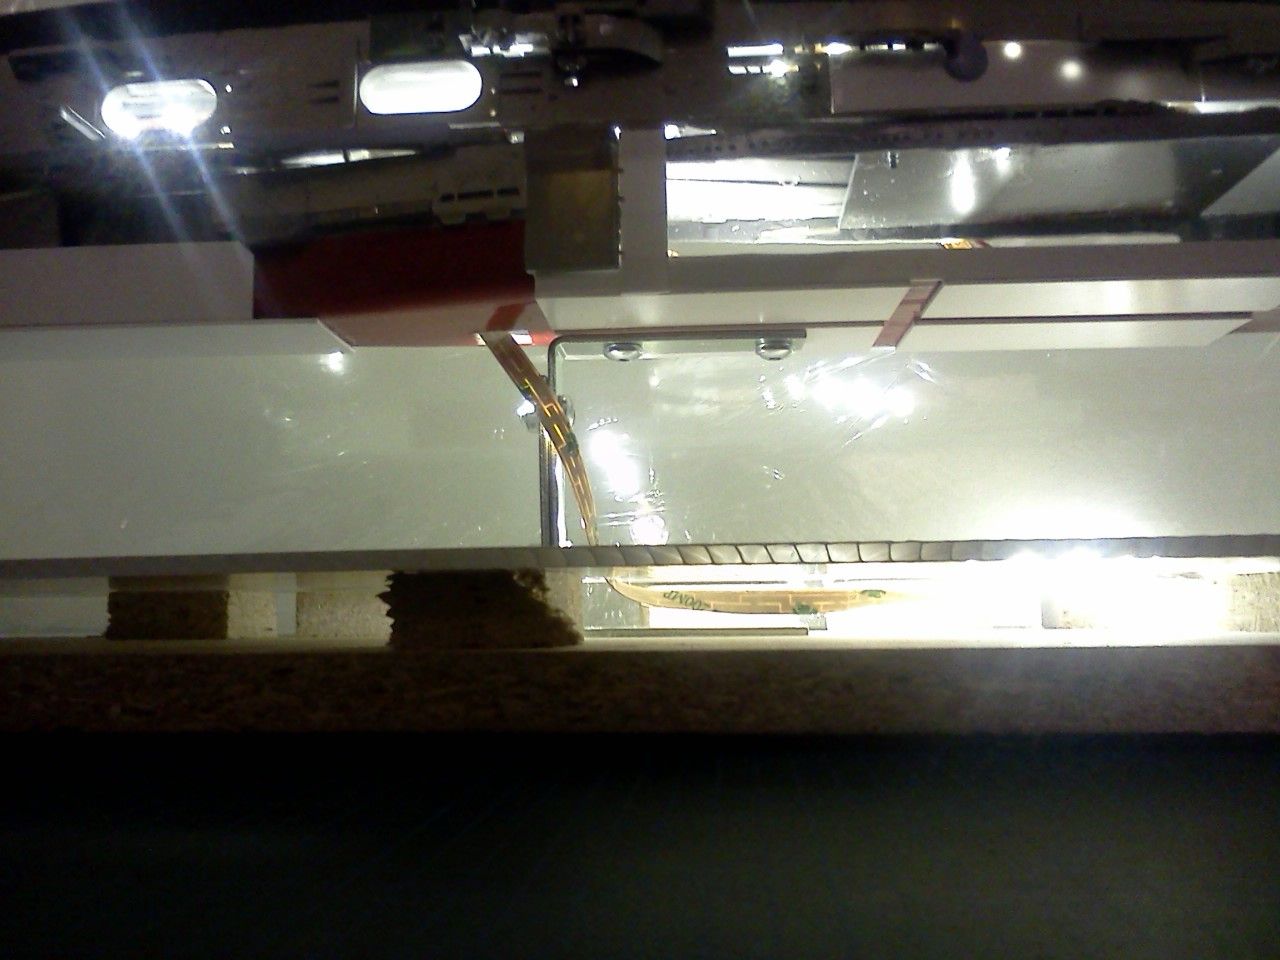
LED strip
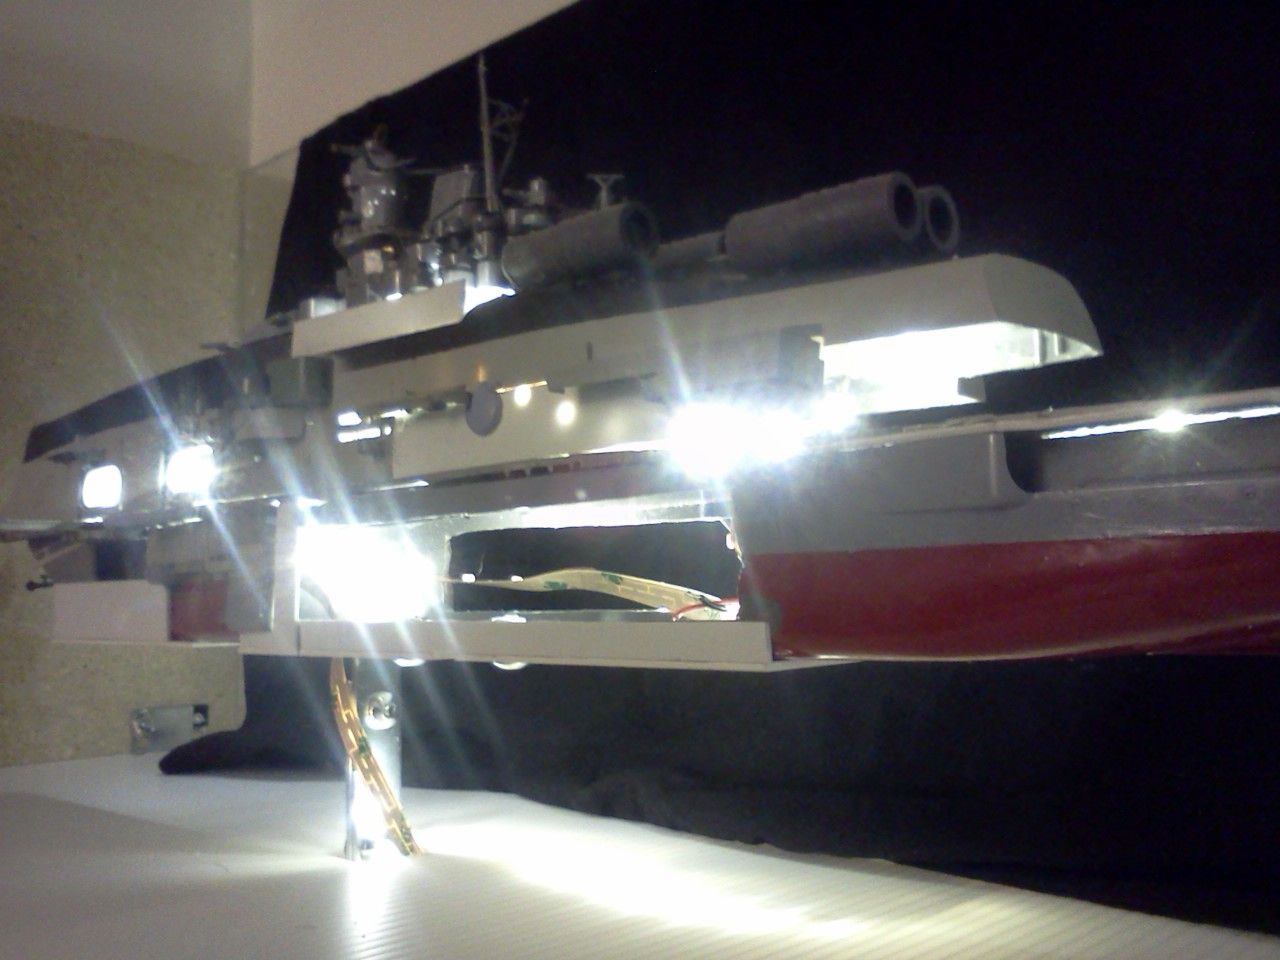
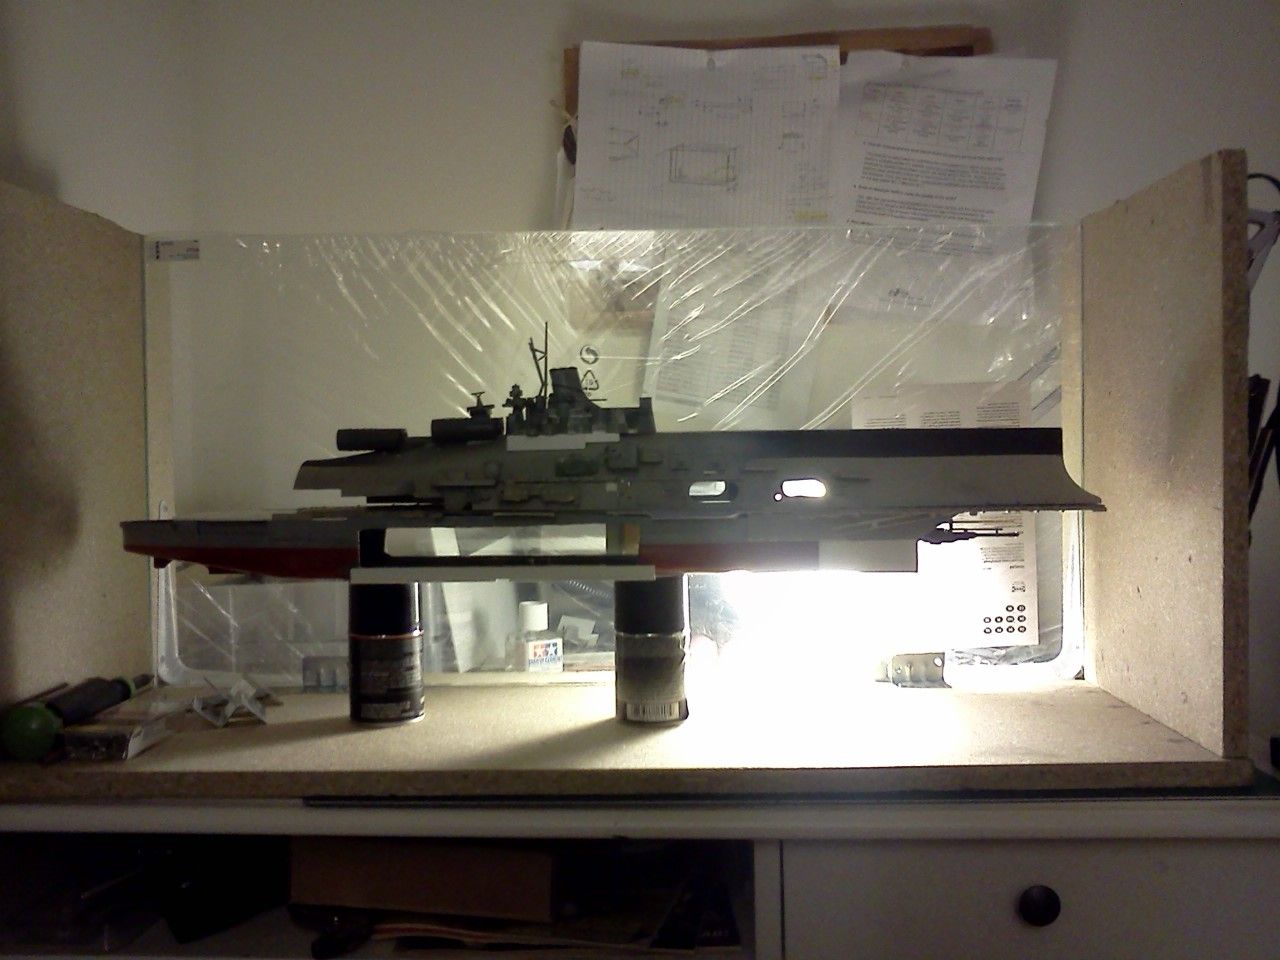
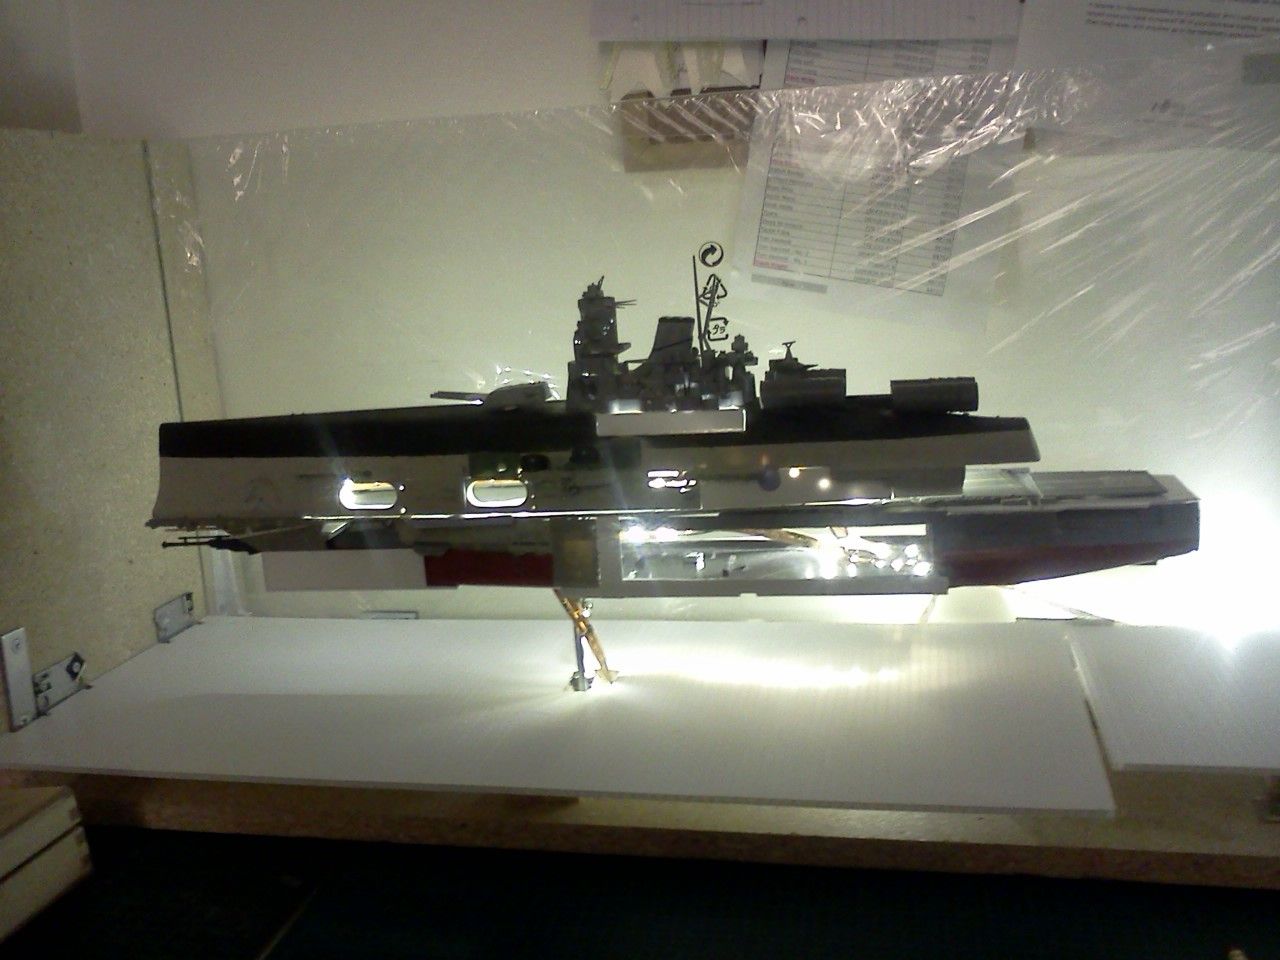
Lighting test

The Forrestal bridge is now my primary sensor/antennae array
Bay door made of old printer parts. New they'd come in handy.
Re-arranged our living room furniture. New workspace is a little cleaner.
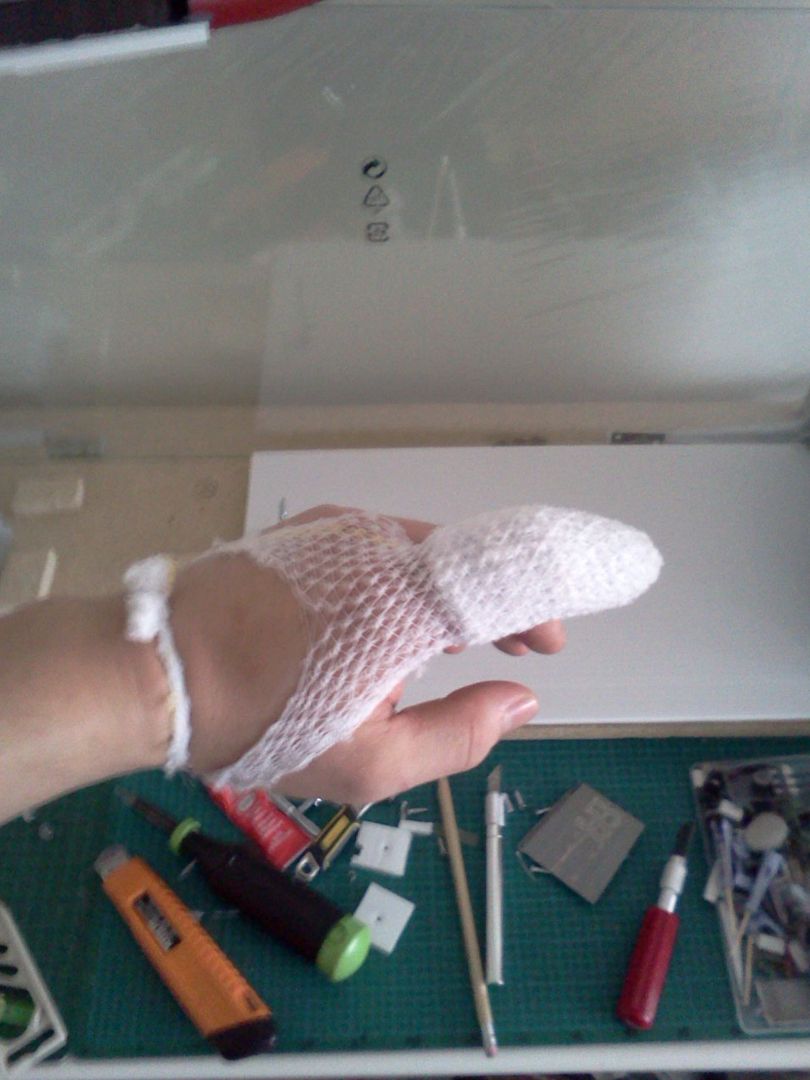
A friendly reminder. Don't get cocky, kid!
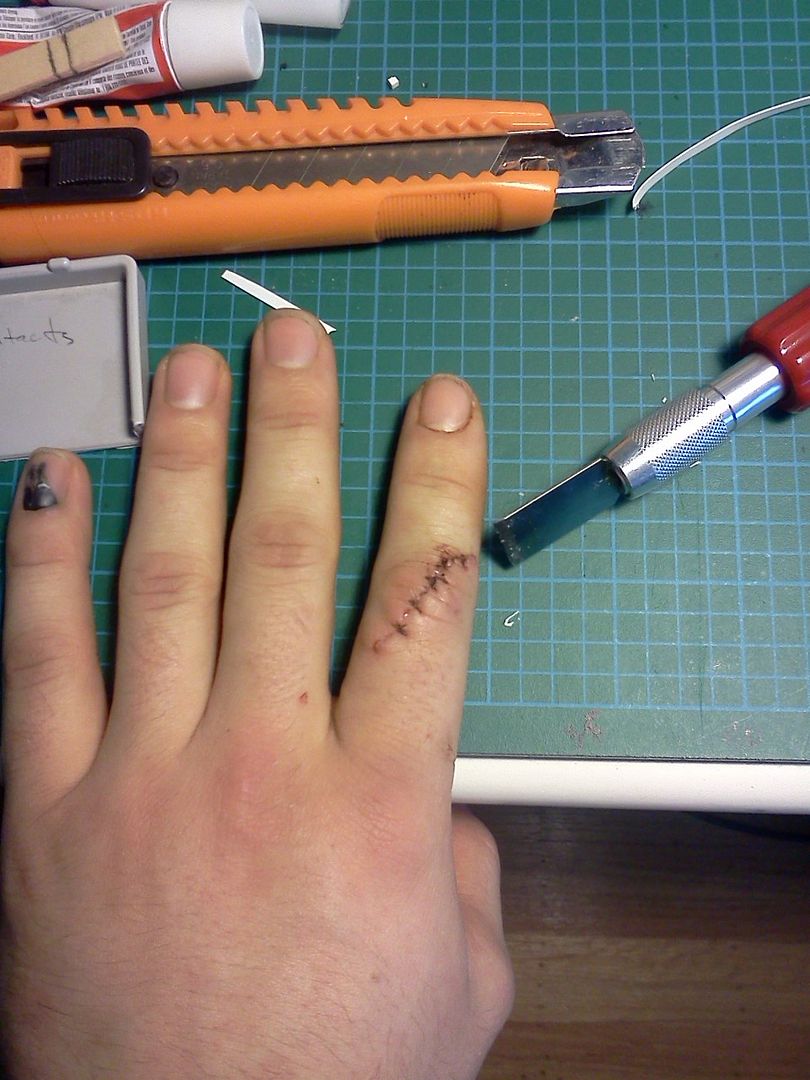
Told you I was an amateur. I'm a tradesman and I'm very safety conscious at work. Only makes sense that I'd slice myself open at home. Luckily no serious damage. Possibly some minor nerve damage as the tip of my finger doesn't quick feel right anymore.
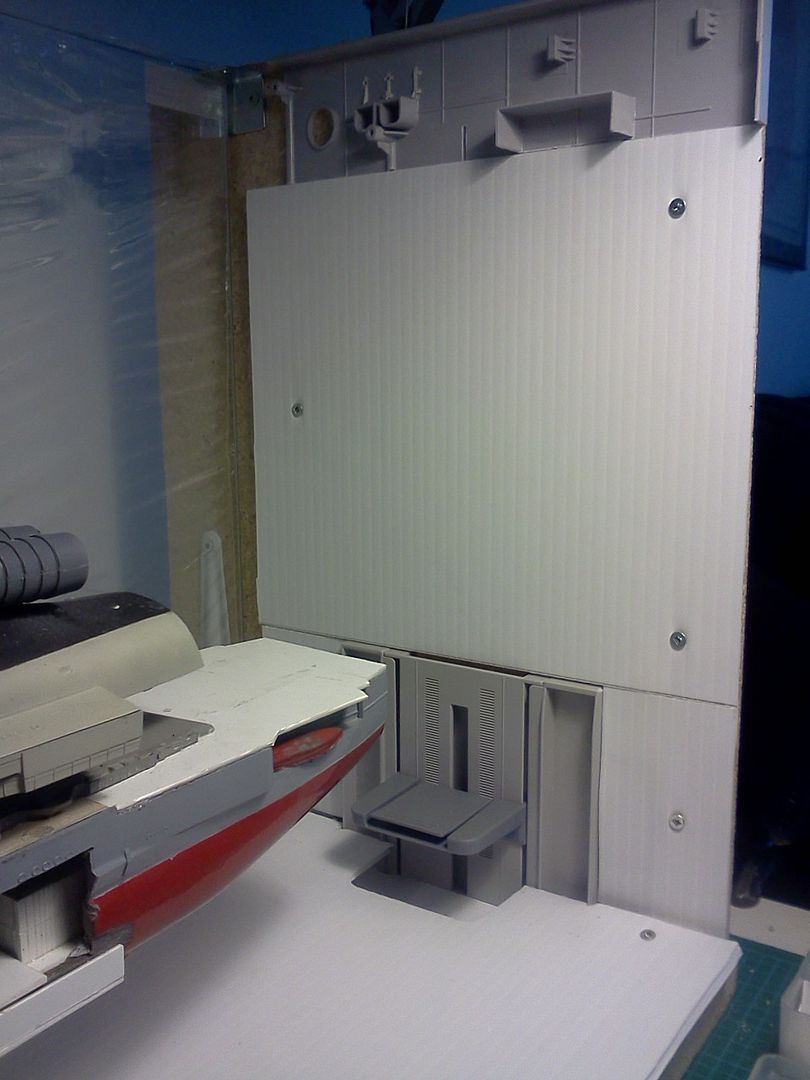
Equipment elevator. More printer parts :cool

Internal door
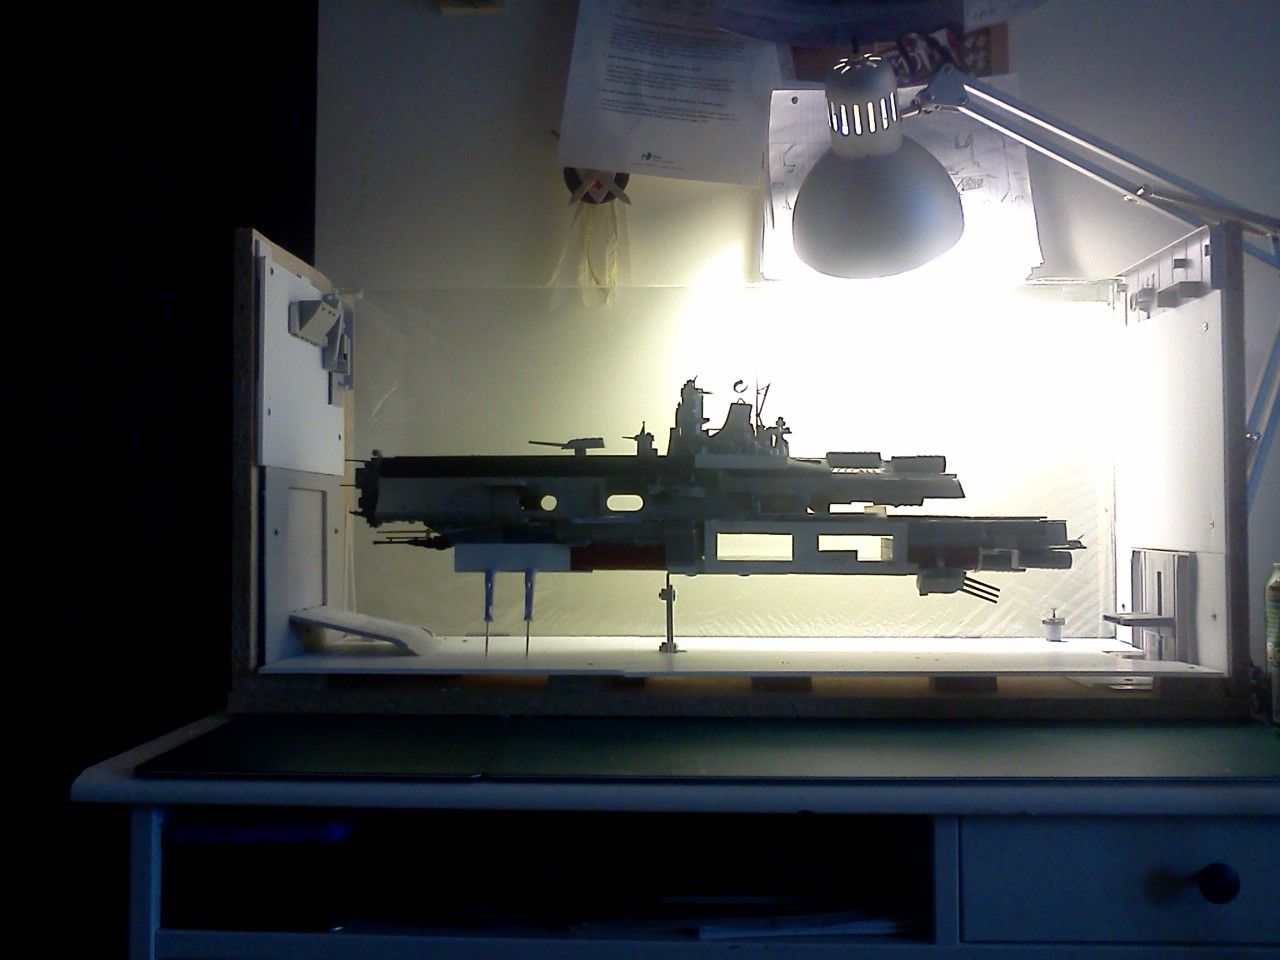
Lighting mock up
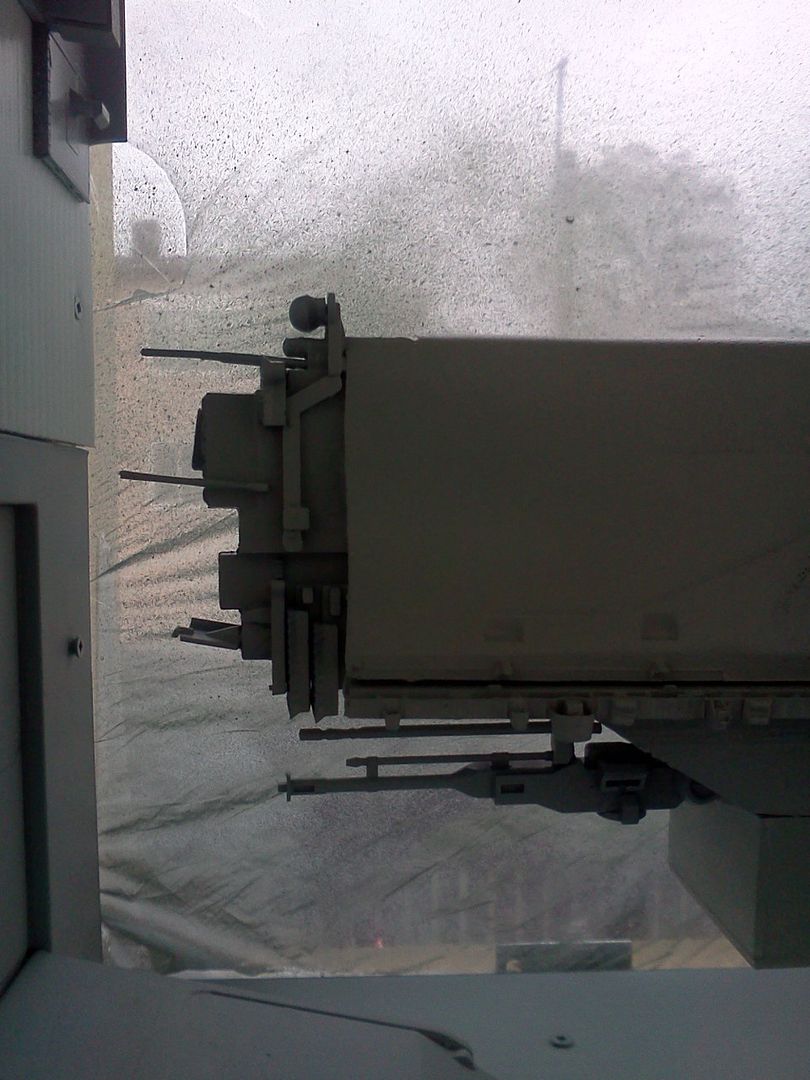
Orbital batteries and main ventral guns mock up

Engine concept
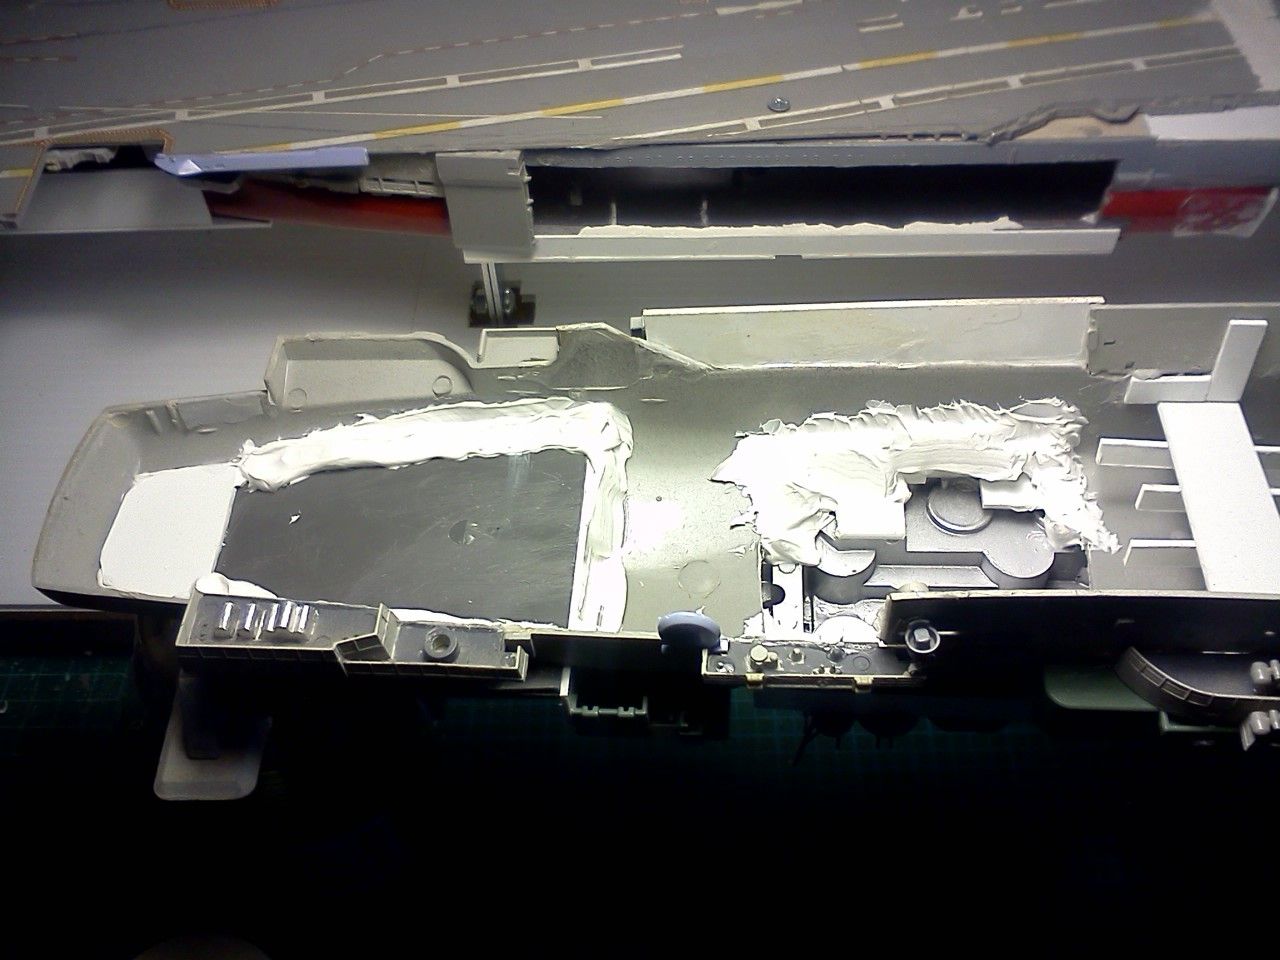
Filling light holes with some caulking. I'm a bit of a bull in a china shop. How did I get into this hobby again? :lol
More DAP and hanger ceiling meant to conceal the LED strips. There's also an internal door above the styrene strips but the details are washed out in the pic.
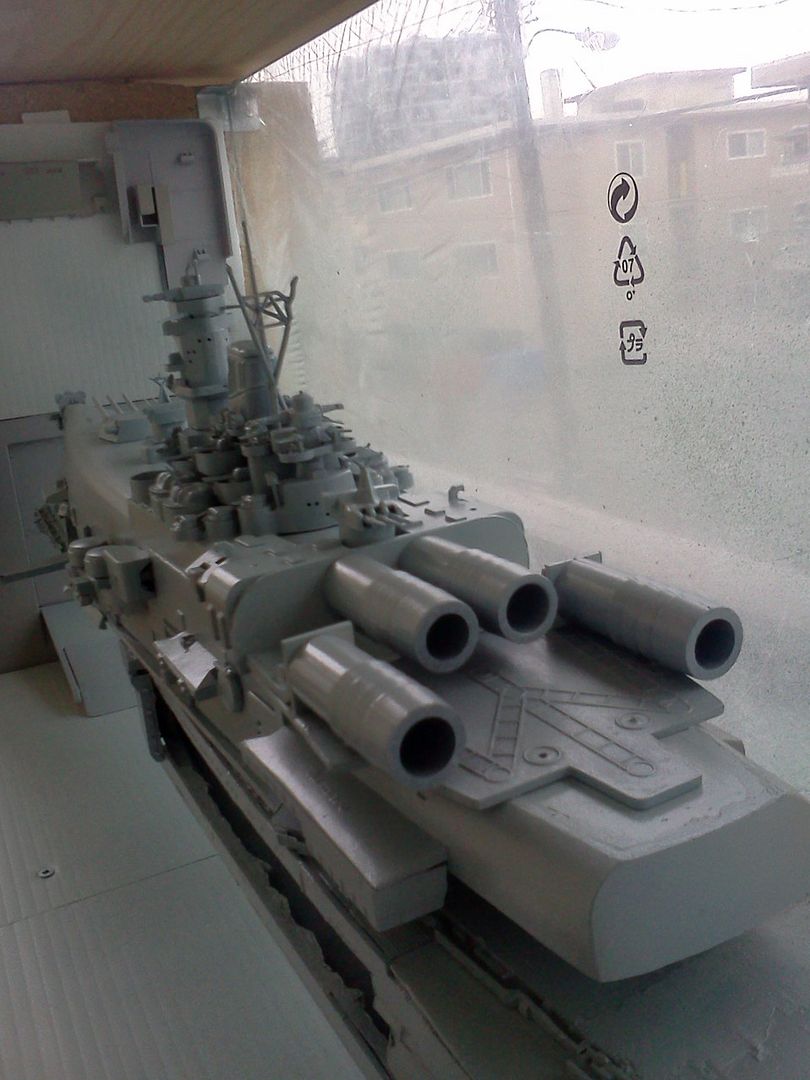
Dorsal engines
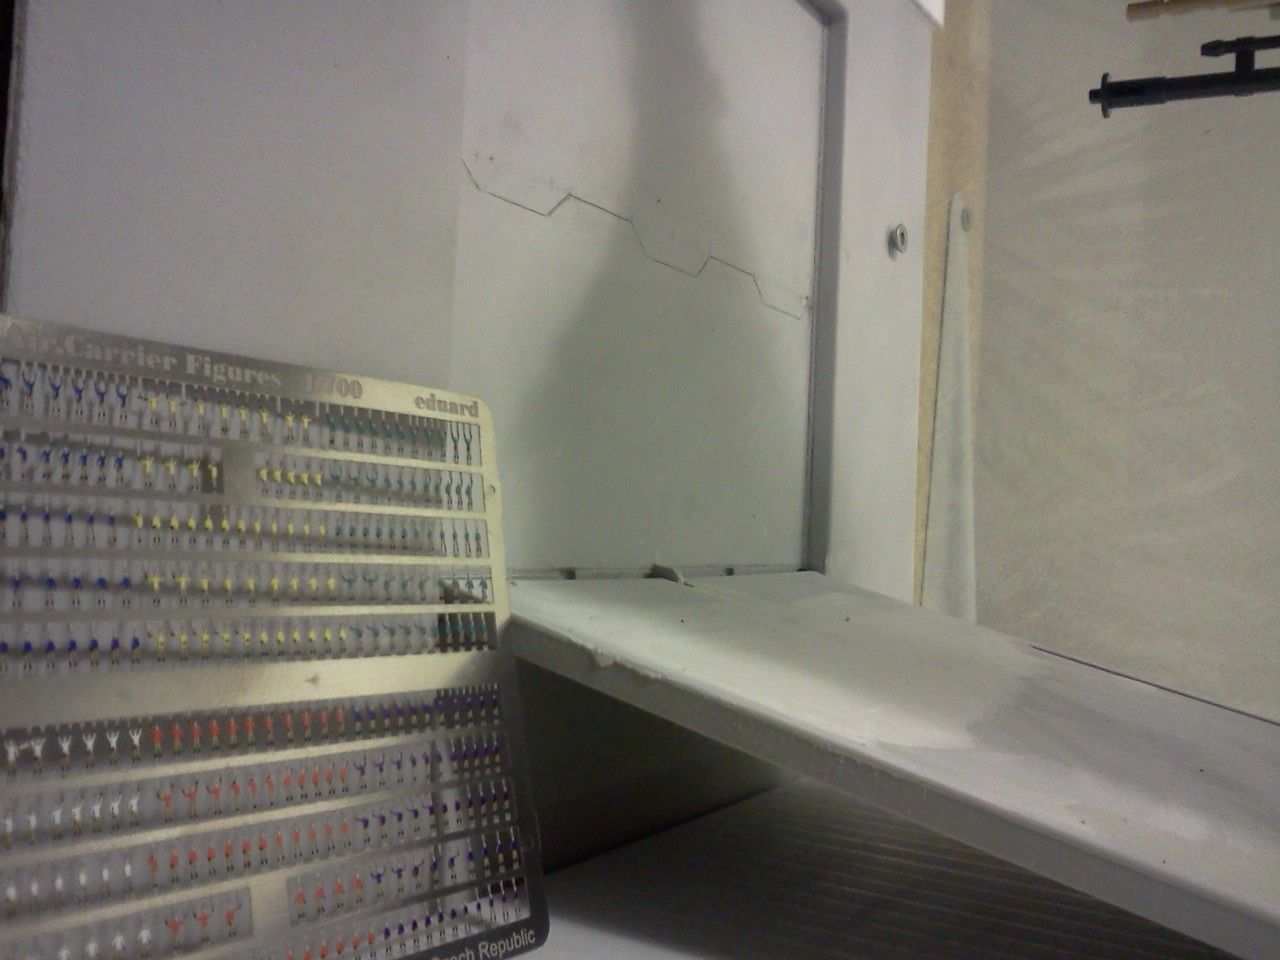
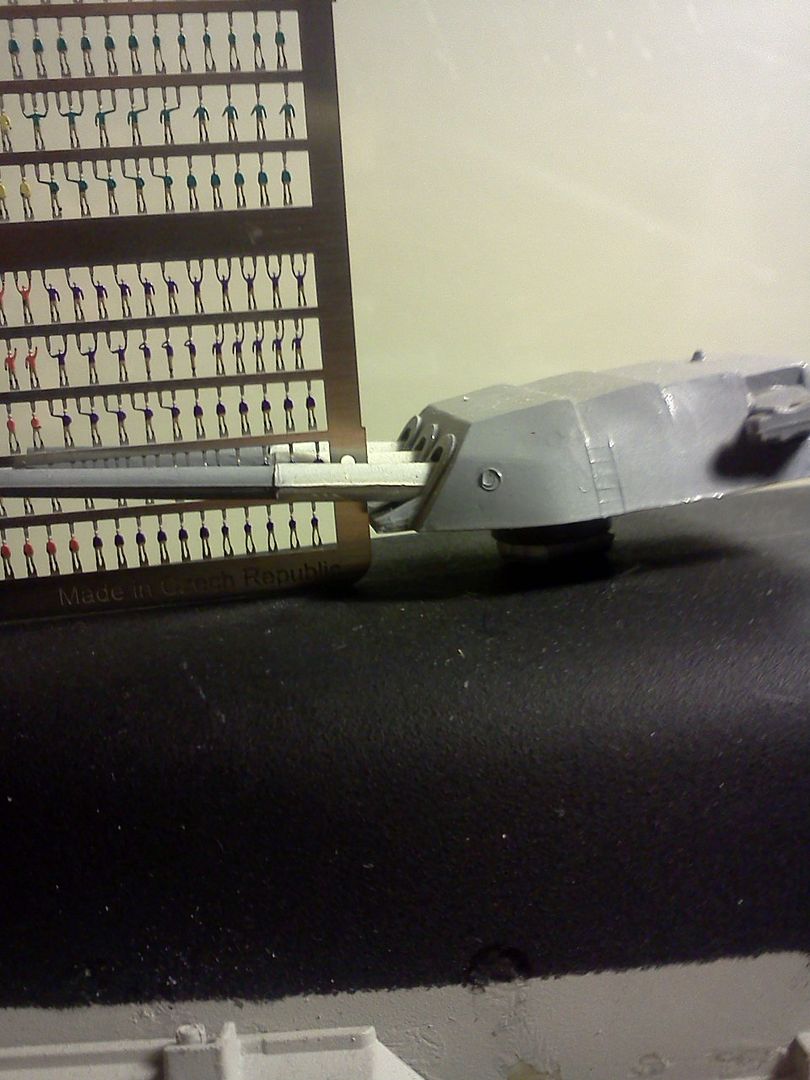
1/700 sailors from ebay! Guess the ship is 1/700 now.
You can see how little I cared about sanding and filling as a kid. But that was before the internet was available in my household. It wasn't until I joined the RPF that I began to see the potential of skilled modellers.
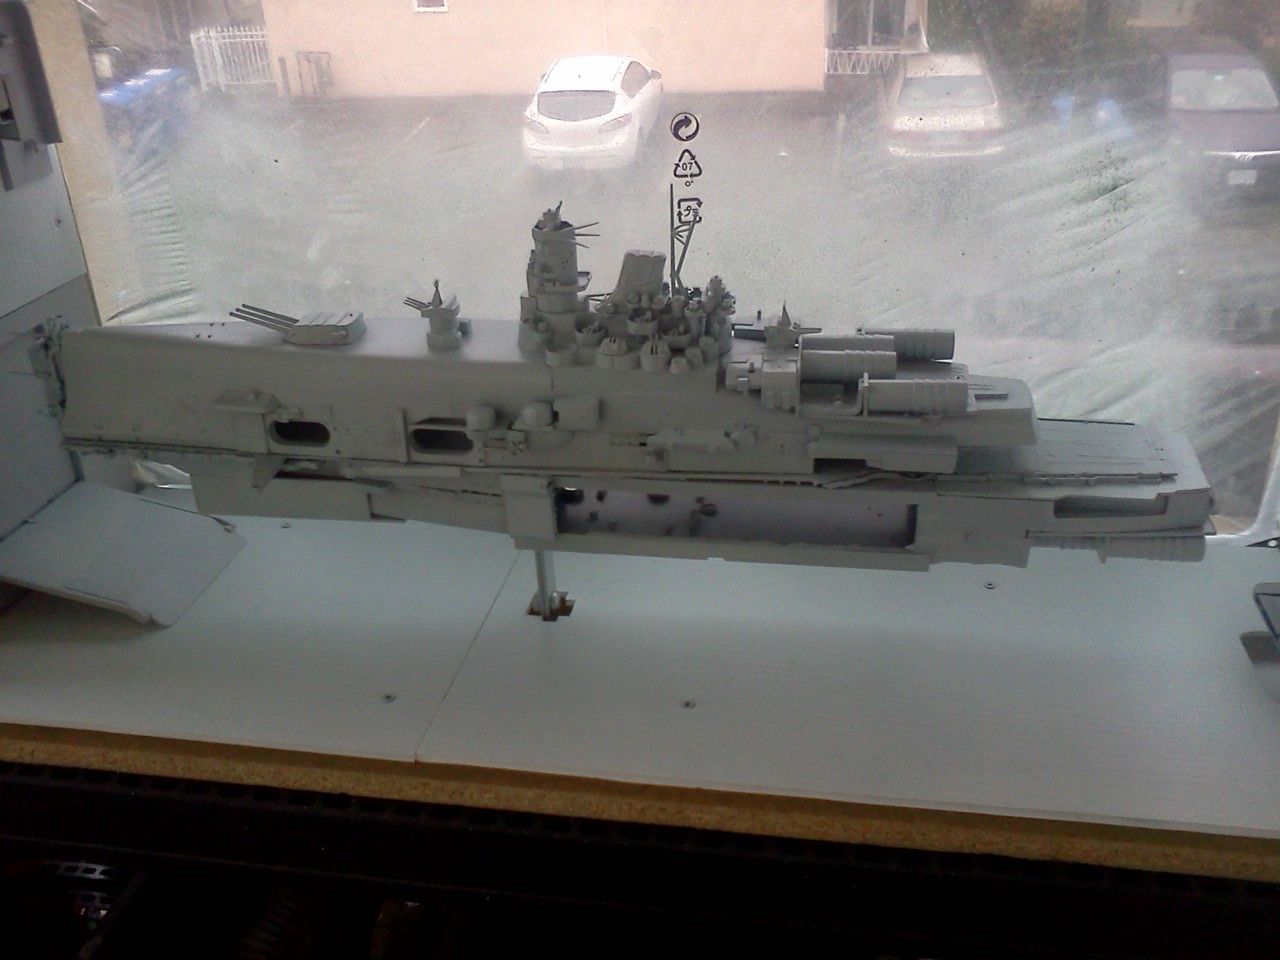
Primed her on my balcony today! It felt good, but really showed me how much more work needs to be done.
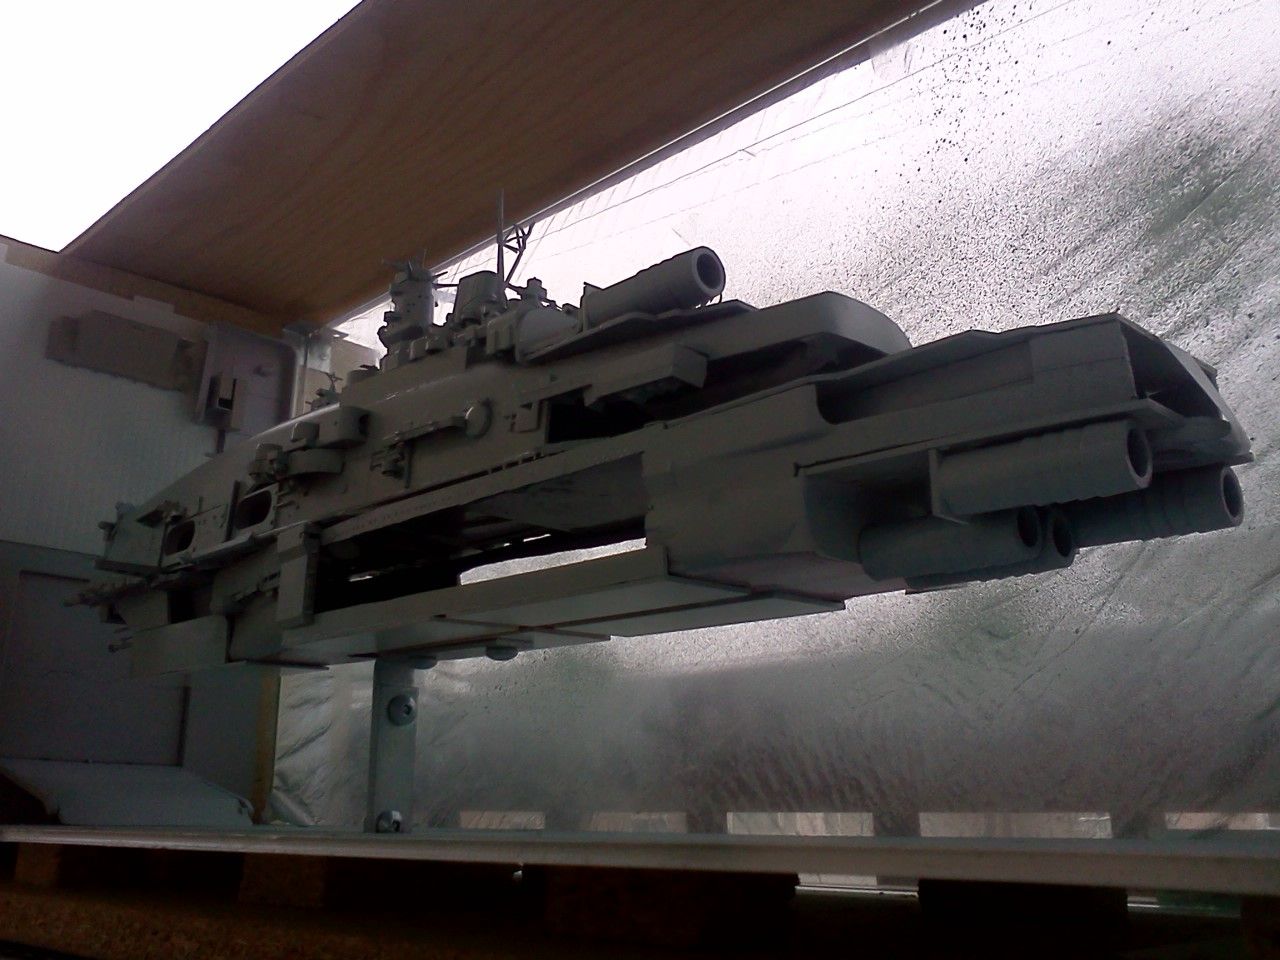
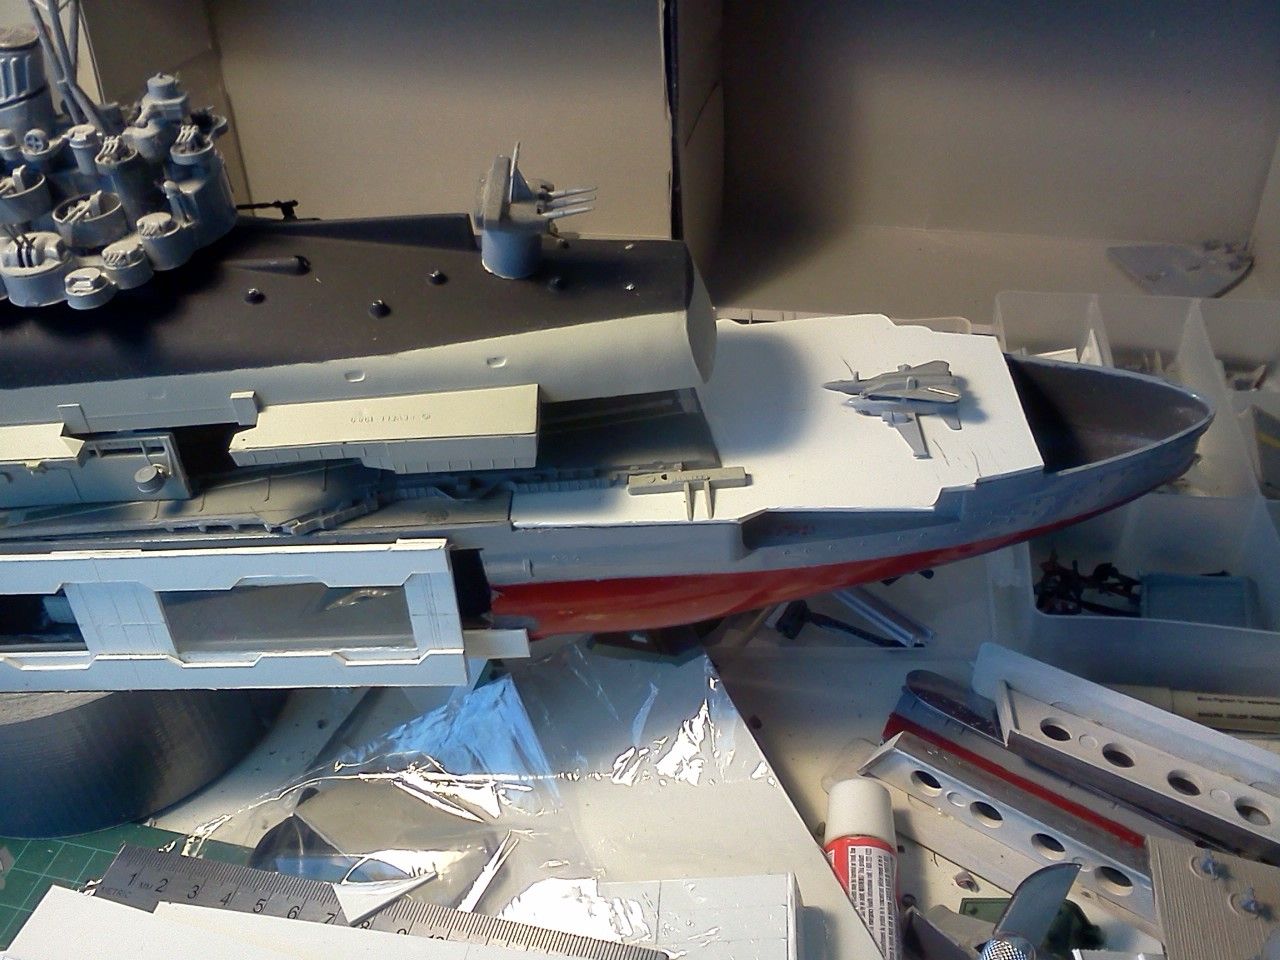
The weak link. Any ideas on how you'd improve the shape of the bow?
One of my main concerns with this build was that I wanted the ship to look as functional as possible. I'm satisfied with what I've accomplished in most respects, but aesthetically I'm not quite there. I'm especially unsatisfied with the bow. I like the antennae/sensor array but not the shape of the hull. This part of the ship will undoubtedly change.
Thanks for looking! And thank you Katsu!
Too bad I later decided to throw it into a spaceport diorama which is at least as big as the two original ships.
:behave
I've been working on the so far un-named ship for months on and off and I thought this would be a good time to create a progress thread displaying my amateur skills. This thing is far from complete so constructive criticisms are welcome!
Kits bashed! Wish I had photographed my ships beforehand.
The initial concept sketch
A simple concept for a military starship
Started tinkering with the idea of a large cargo bay with open doors
Cargo bay with some makeshift containers
2 Gundam toys bought from a small nerd convention in town. Under 5 bucks total! Let the greebling begin.
A knife kit I won from a new Michaels that opened in town. 40 dollar value. I had almost purchased some blades the night before!
My humble work space
External cargo bay doors. Started thinking about the doors being open. Didn't really make sense unless the ship was docked...
Diorama-rama!
Some fun in gimp gave me some inspiration when I inverted the colours. What would camo look like for a space ship?
Since space camo would probably be a boring flat black, I wanted to spice it up with something. I decided on the Bismark's scheme, intended make a fleet appear confusing, rather than concealed. The Bismark was also my first ship as a child, giving me the ability to incorporate all 3 of my childhood ship models.
Greebles!
Spacedock test
Diorama base
LED lighting strip with dimmer. Next time I'll probably just go for some x-mas lights. But at that point it was summer and I couldn't wait. Also trimmed the bow and stern to fit into the dock better.
LED strip
Lighting test
The Forrestal bridge is now my primary sensor/antennae array
Bay door made of old printer parts. New they'd come in handy.
Re-arranged our living room furniture. New workspace is a little cleaner.
A friendly reminder. Don't get cocky, kid!
Told you I was an amateur. I'm a tradesman and I'm very safety conscious at work. Only makes sense that I'd slice myself open at home. Luckily no serious damage. Possibly some minor nerve damage as the tip of my finger doesn't quick feel right anymore.
Equipment elevator. More printer parts :cool
Internal door
Lighting mock up
Orbital batteries and main ventral guns mock up
Engine concept
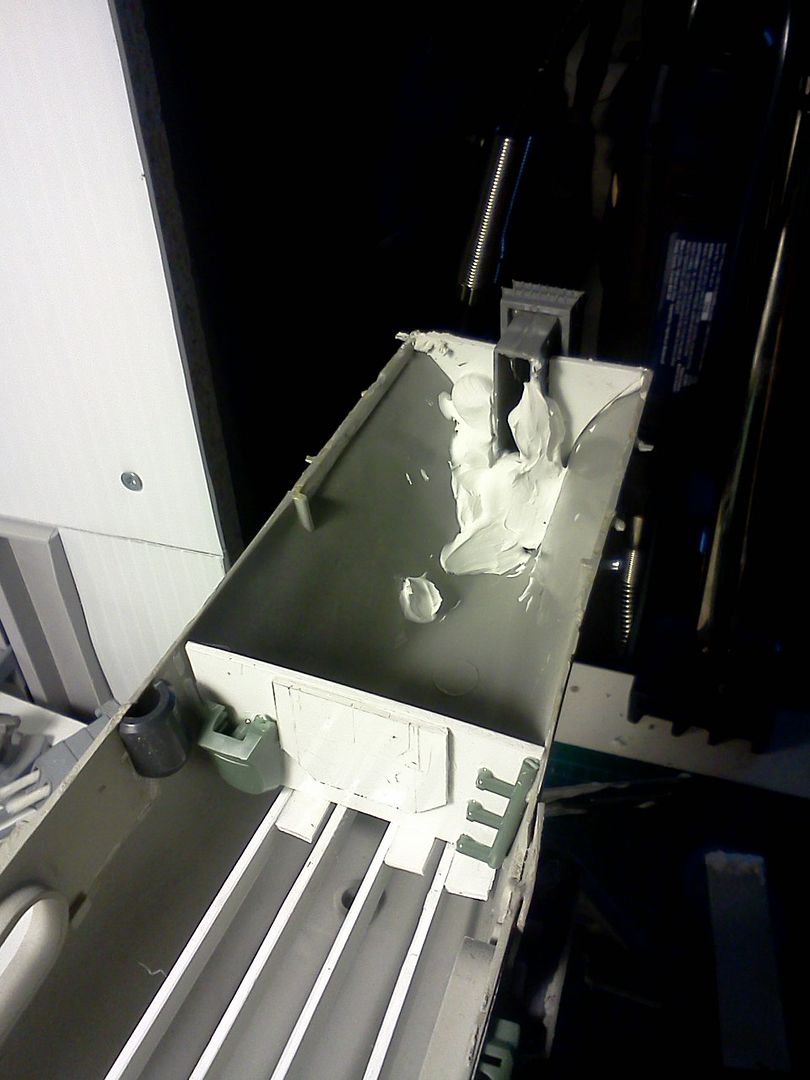
Filling light holes with some caulking. I'm a bit of a bull in a china shop. How did I get into this hobby again? :lol
More DAP and hanger ceiling meant to conceal the LED strips. There's also an internal door above the styrene strips but the details are washed out in the pic.
Dorsal engines
1/700 sailors from ebay! Guess the ship is 1/700 now.
You can see how little I cared about sanding and filling as a kid. But that was before the internet was available in my household. It wasn't until I joined the RPF that I began to see the potential of skilled modellers.
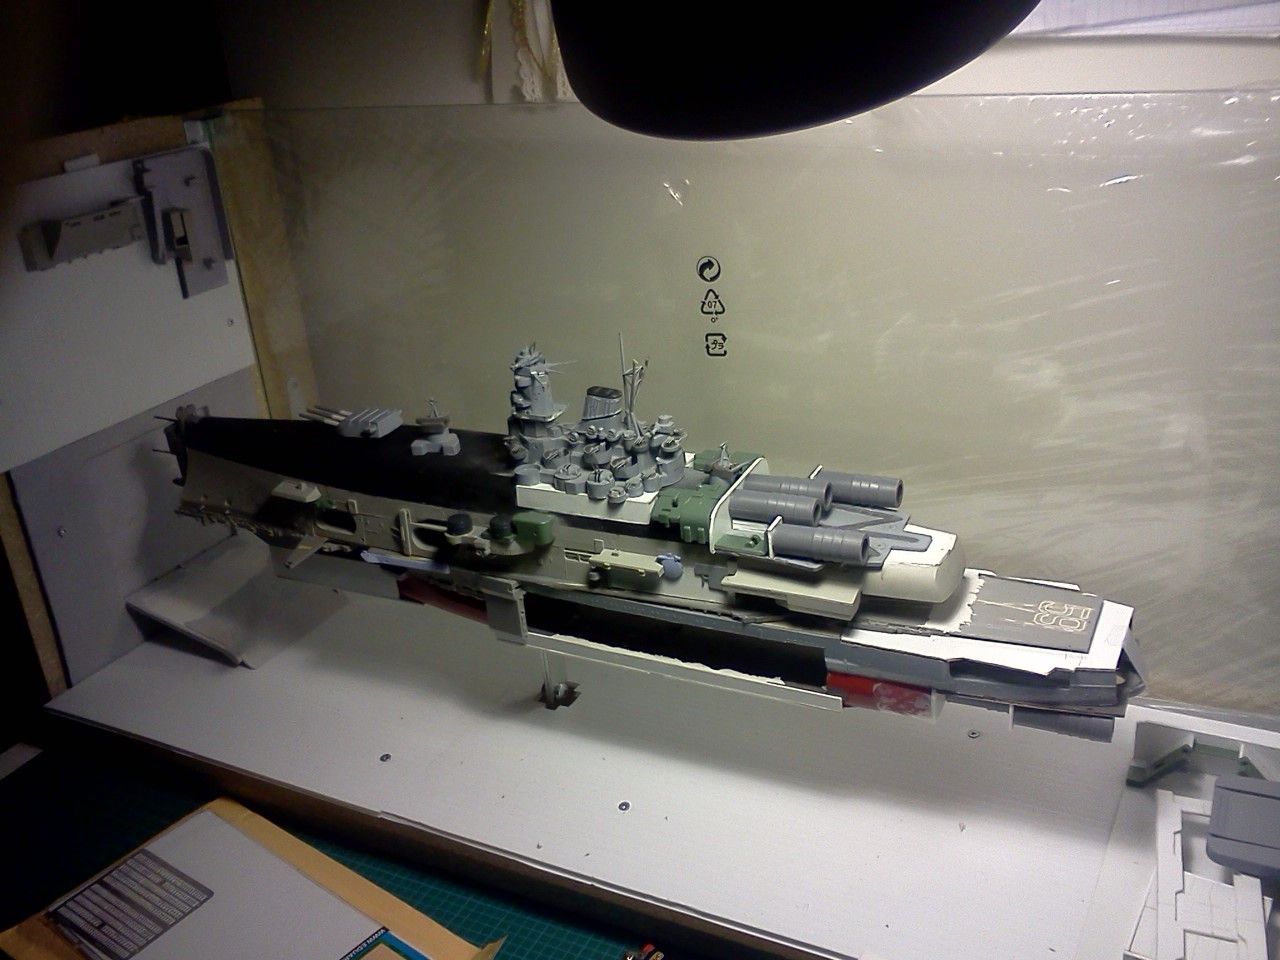
Primed her on my balcony today! It felt good, but really showed me how much more work needs to be done.
The weak link. Any ideas on how you'd improve the shape of the bow?
One of my main concerns with this build was that I wanted the ship to look as functional as possible. I'm satisfied with what I've accomplished in most respects, but aesthetically I'm not quite there. I'm especially unsatisfied with the bow. I like the antennae/sensor array but not the shape of the hull. This part of the ship will undoubtedly change.
Thanks for looking! And thank you Katsu!
")