welshwarrior123
Well-Known Member
Hello,
I thought I would post this on here as I know how you guys like WIP's. I gather most of you Fett heads have seen this on TDH, but I would appreciate advice and critsicm off folks who aren't so familiar with fett, as the average joe public who will see this lid probably wont know if a scratch or two is missing :eek
Having my own suit in progress, and posting my work on my local garrison boards I was asked to do a commission for one of the boba's, an ESB helmet.
This would be my very first lid as im still waiting on mine, a little apprehensive, and after some talks with the owner of the lid explaining this is my first lid paint up, I agreed to give it ago.
So the lid arrived, the first boba lid I have seen with my own two eyes :lol The helmet (not sure if I can mention makers so i'll abbreviate) a beautiful fibre glass BM lid. The lid required a little work to remove the owners previous attempts at painting it, but it wasn't long until it was ready for paint.
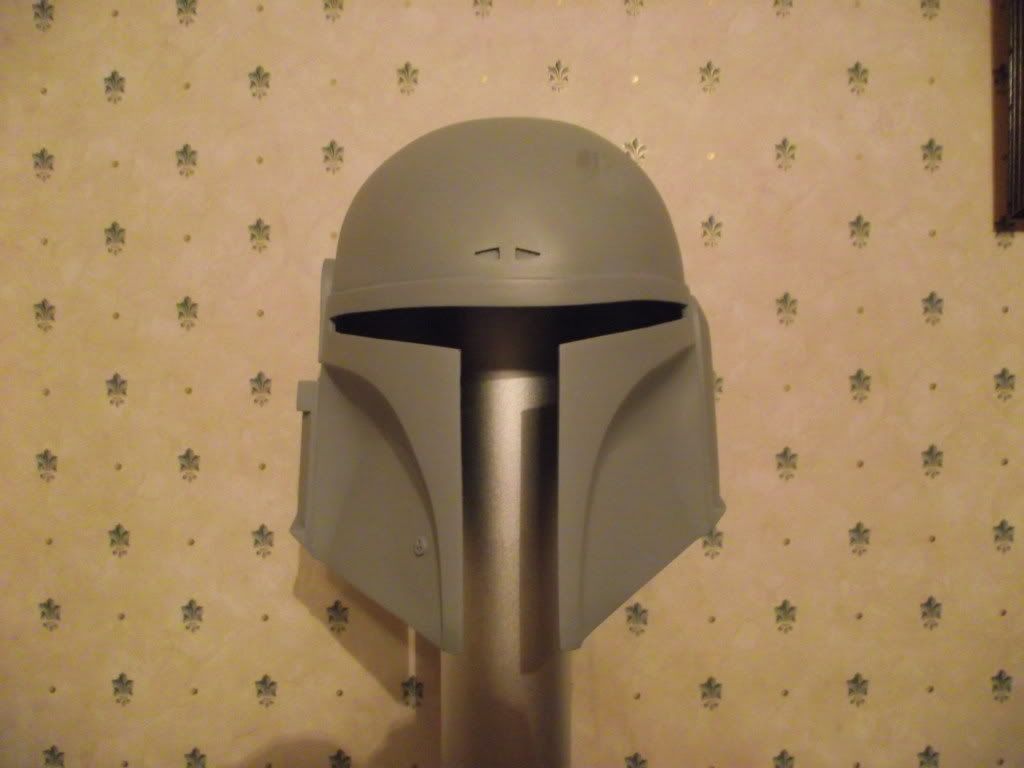
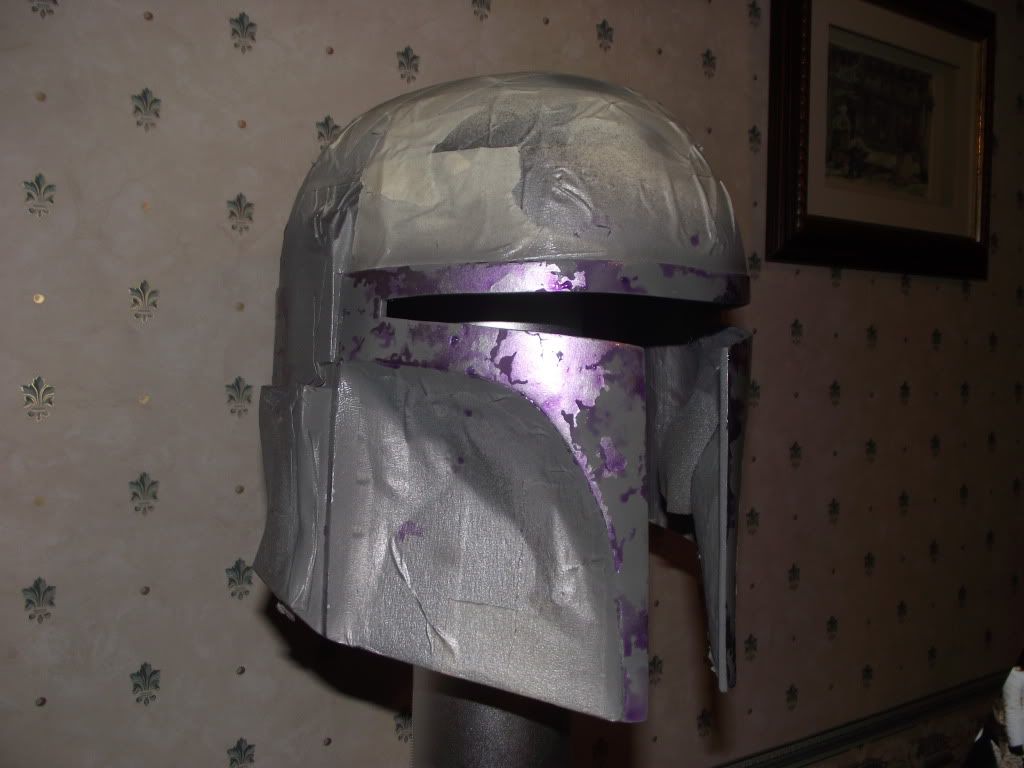
I initially went and painted the back pannels, which I later removed and re-did, so egnore the glimpses you see of them. So progress starts on the ears, A full layered method, using airbrush techniques paired with TerminalFettlers paint list.
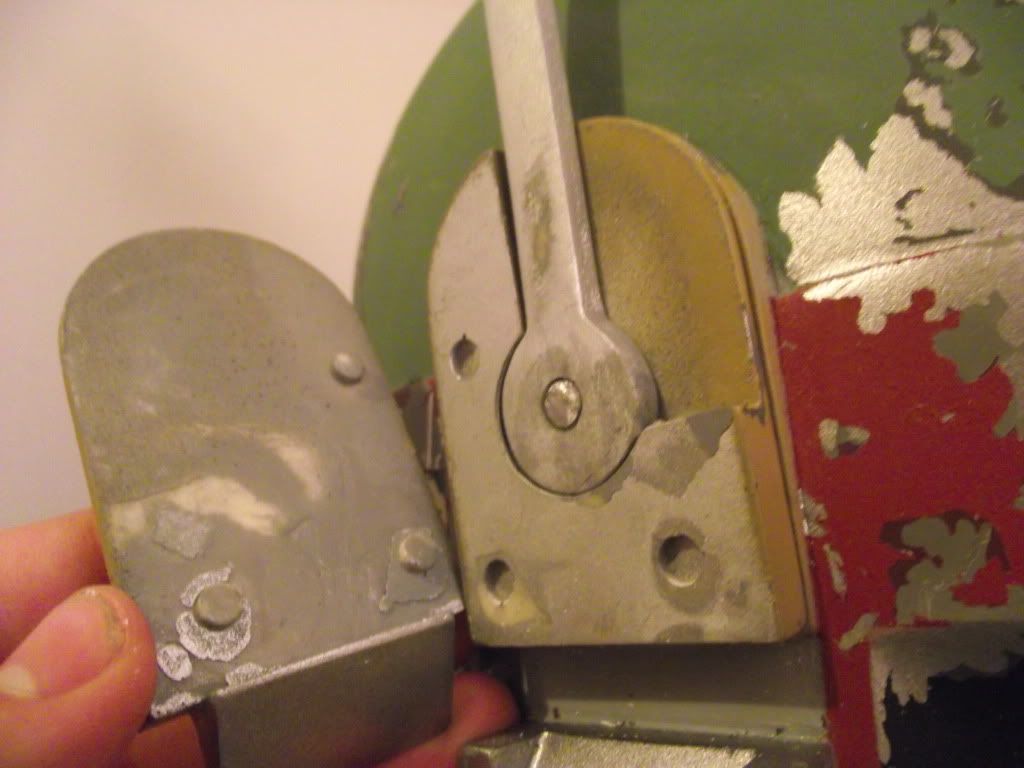
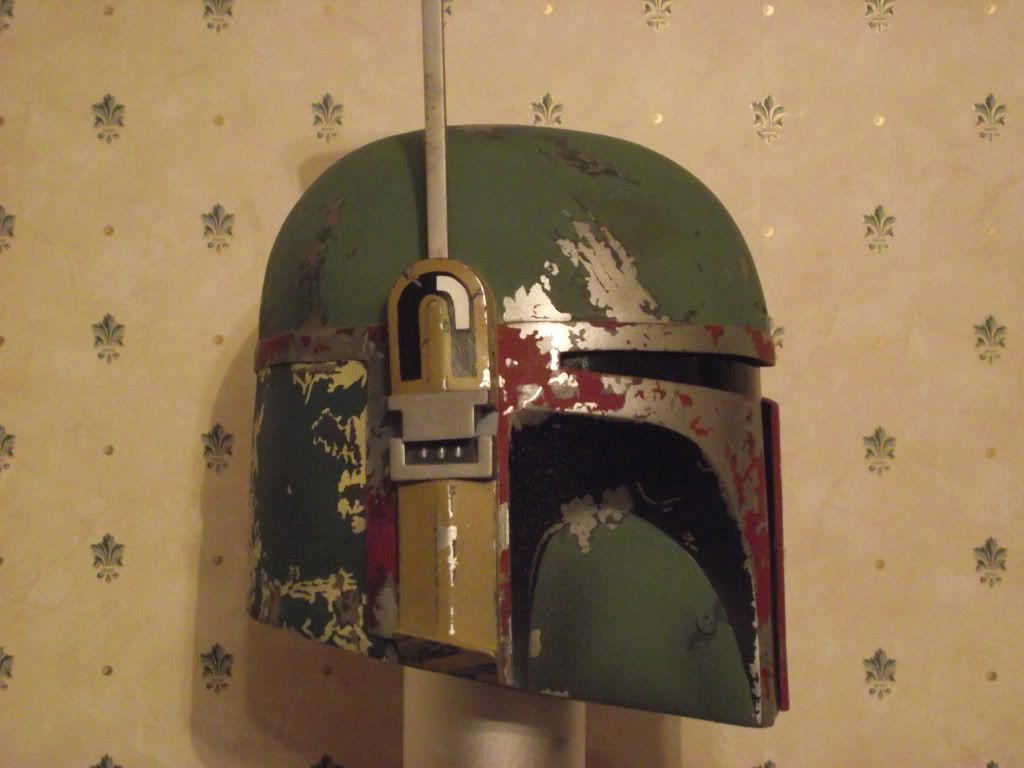
For the ear, the red was applied and masked, followed by the grey, then the final green colour to give me the finished ear piece.
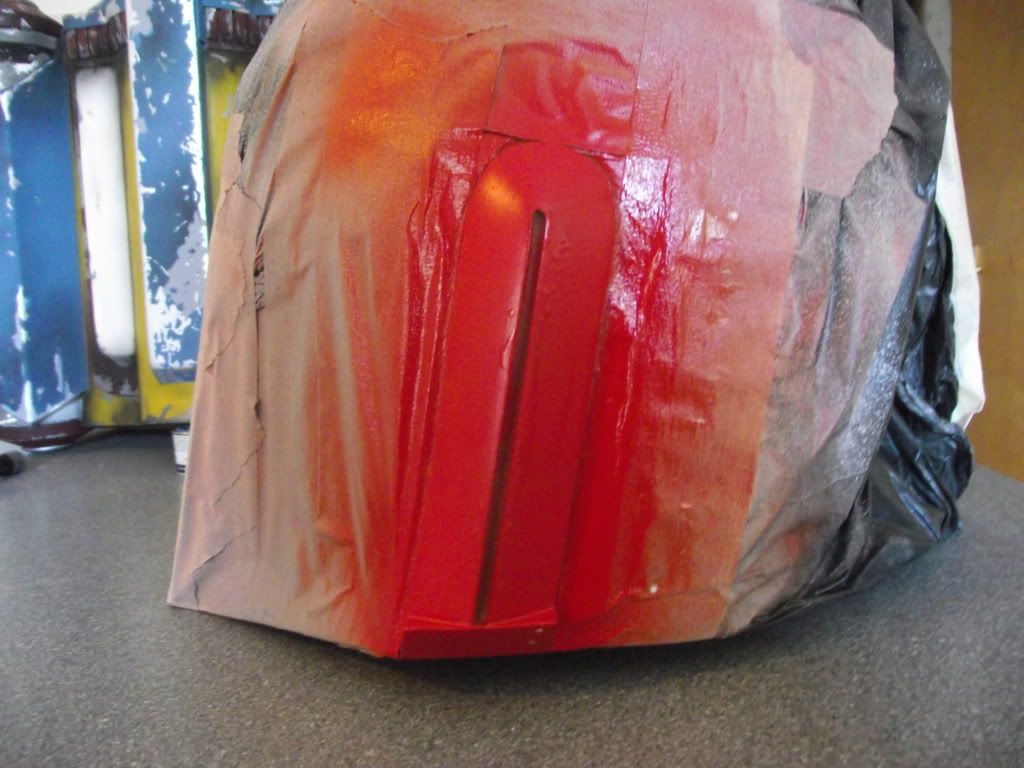
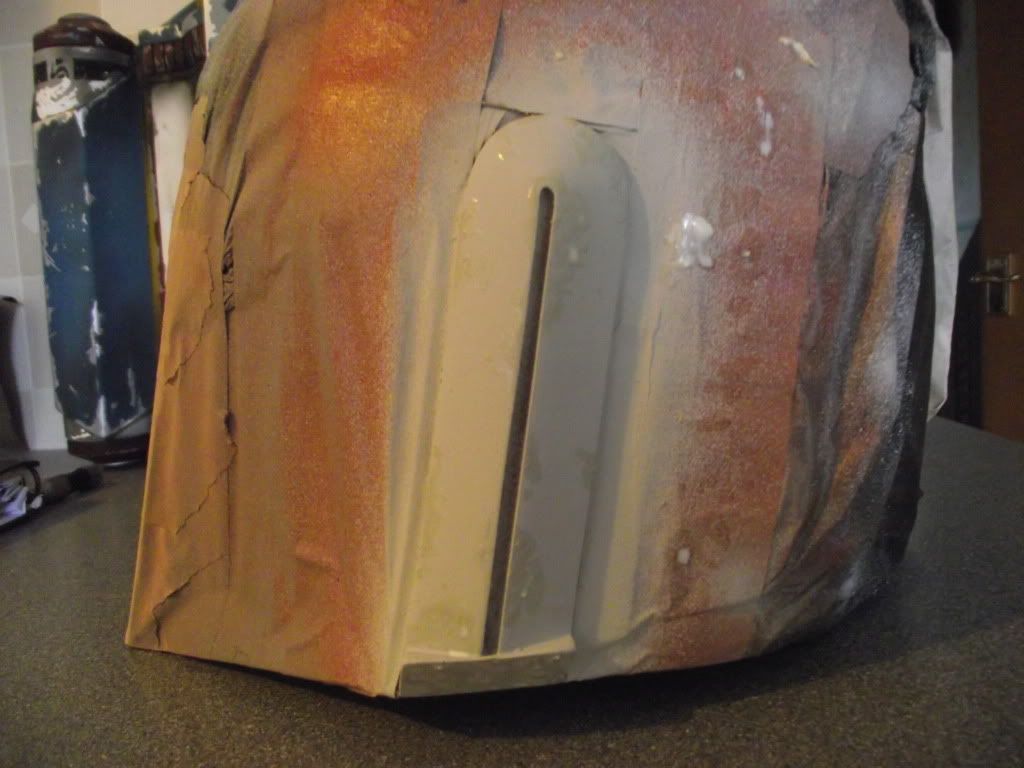
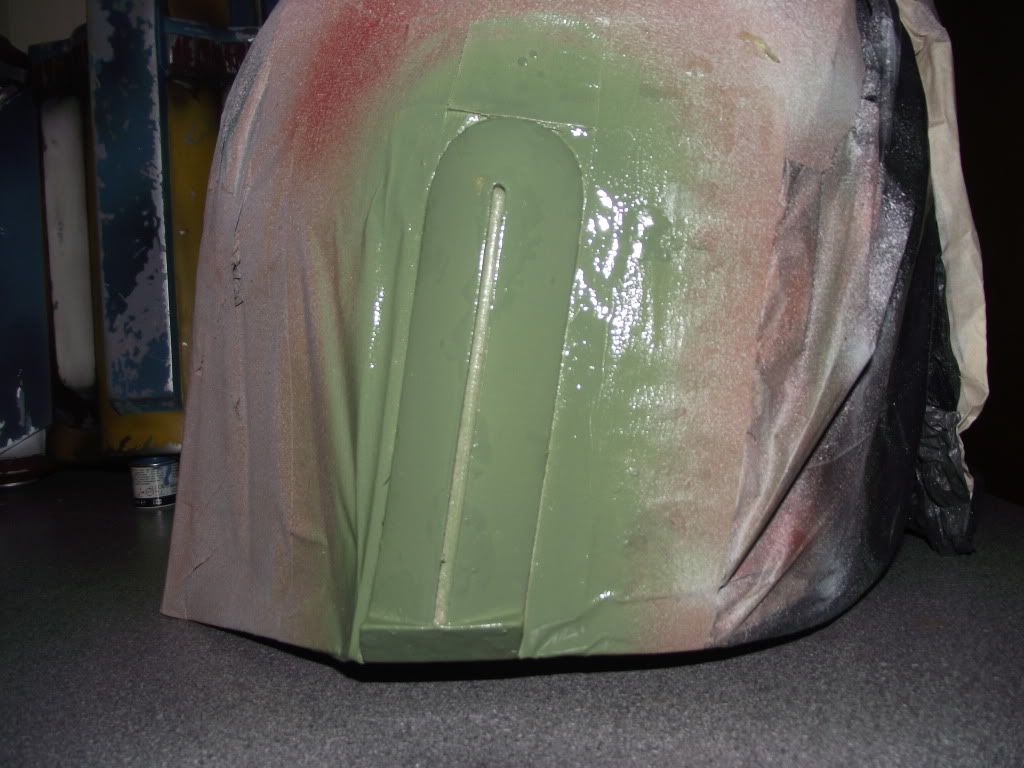
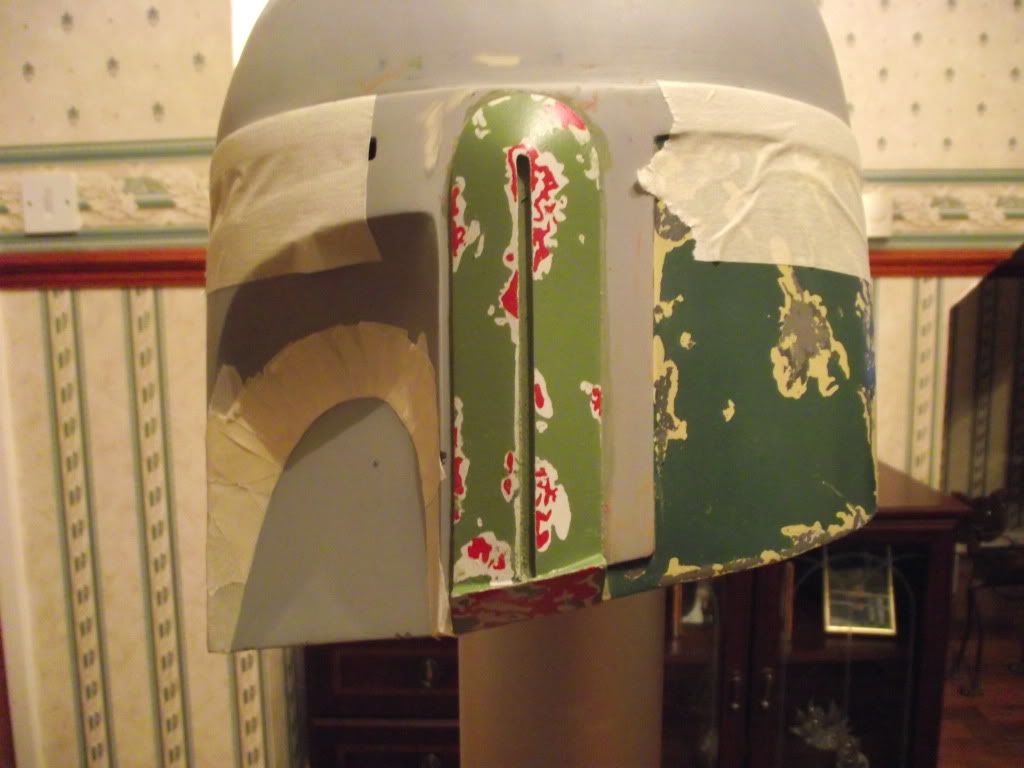
The same was also done for the other ear.

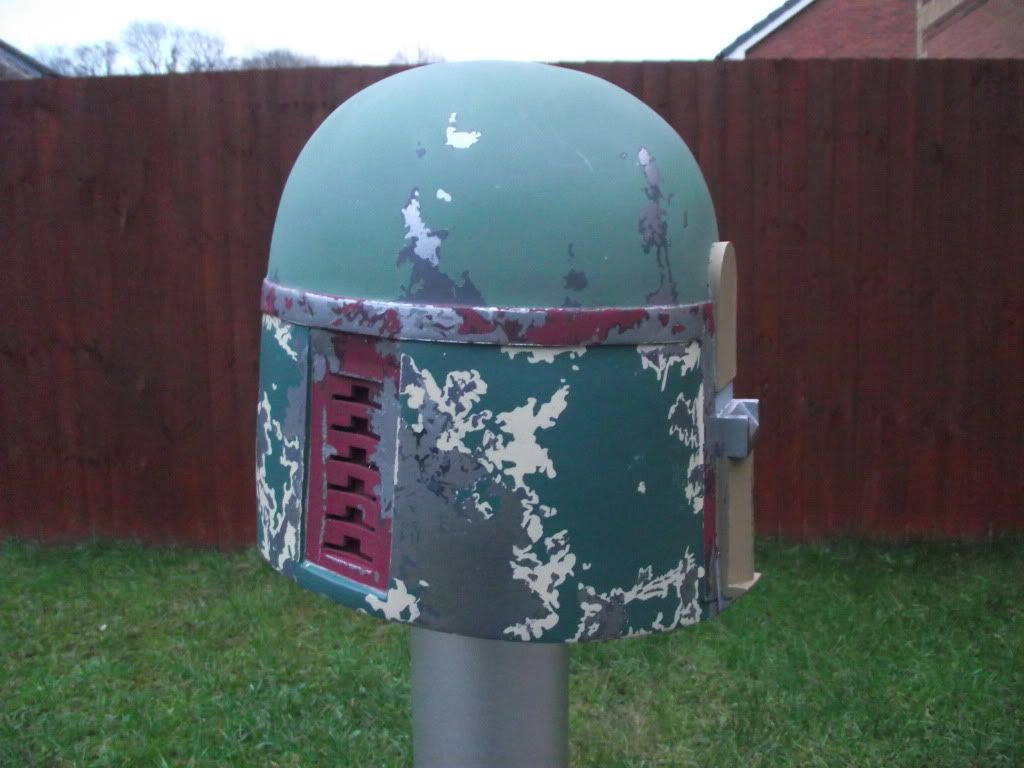
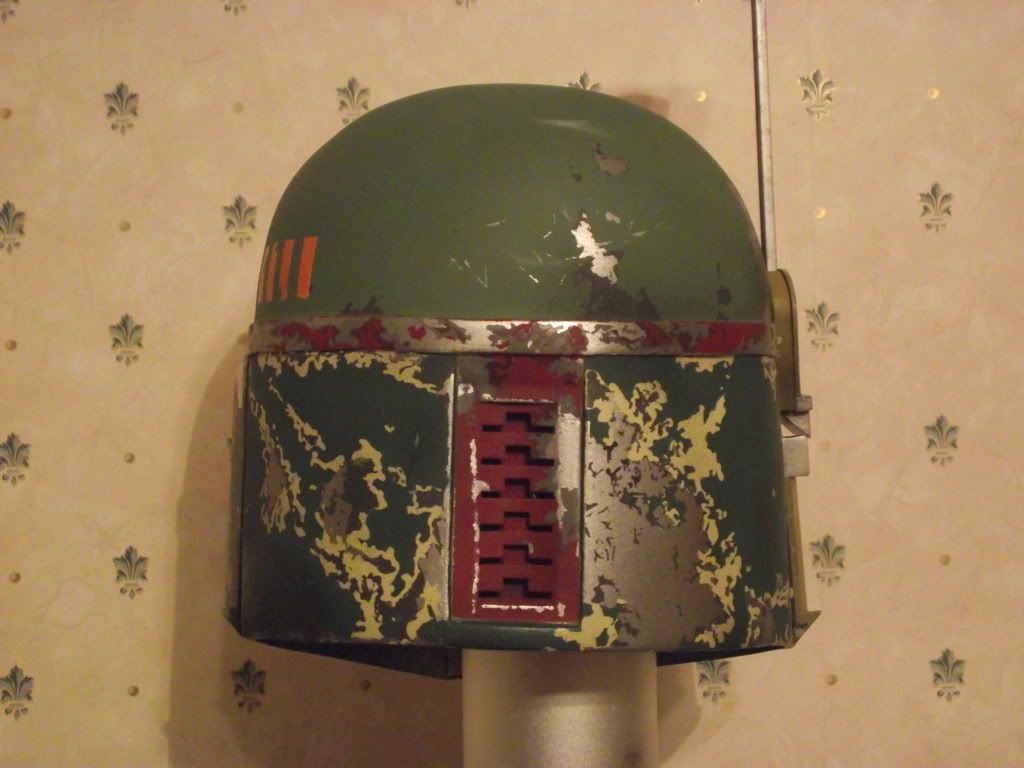
Now onto the back panels, for this I stripped down my previous attempt, the traced out the damage using reference images. To do this, I scaled referance images down to my helmets size, then traced it off the screen. I then applied the tracing to the helmet using graphite paper.
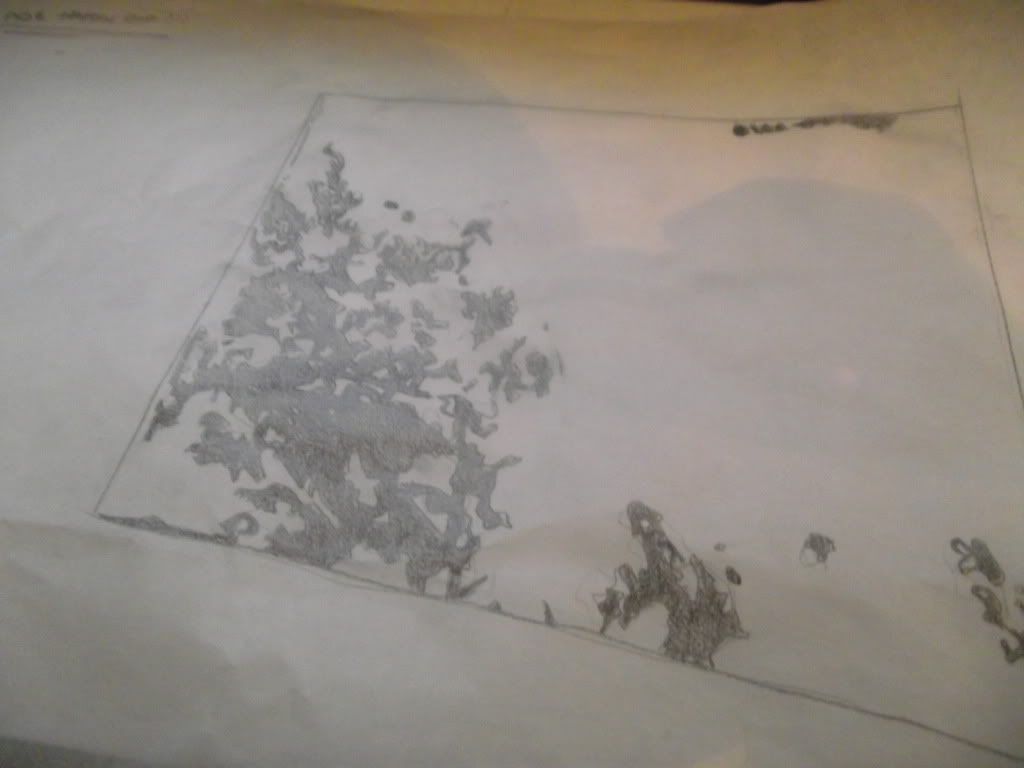
This was then repeated for each individual layer, tracing on the specific damage, masking it off, the tracing the next layer of damage until I got the finished back panels. The small scratching and detailing is still required.
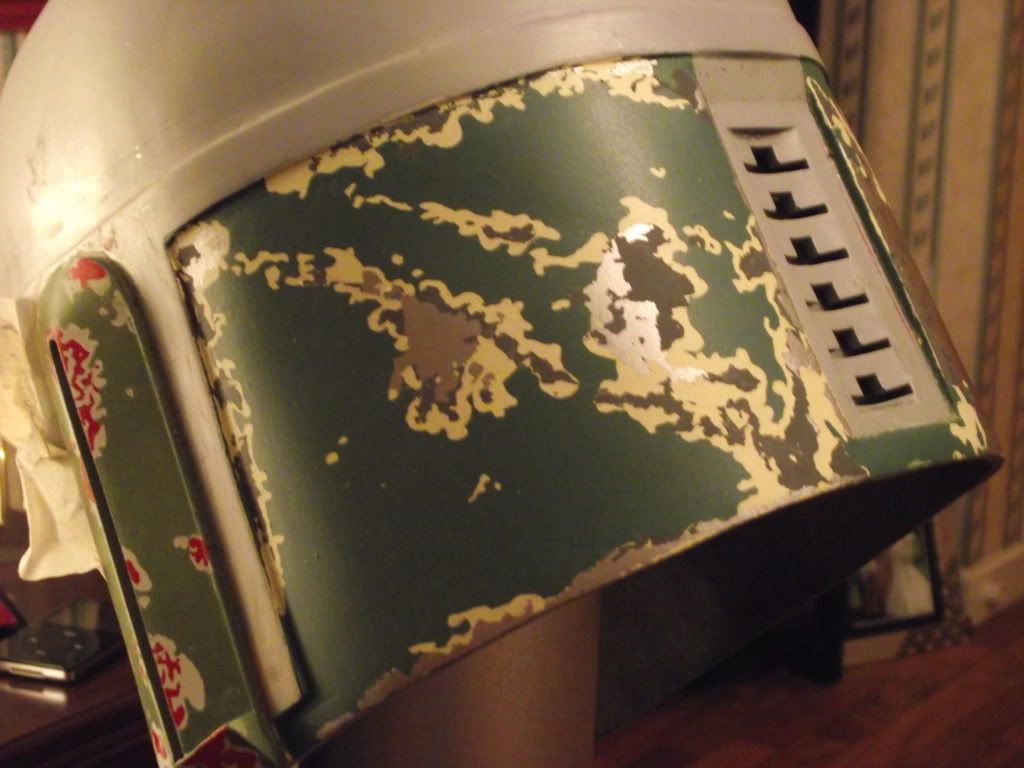
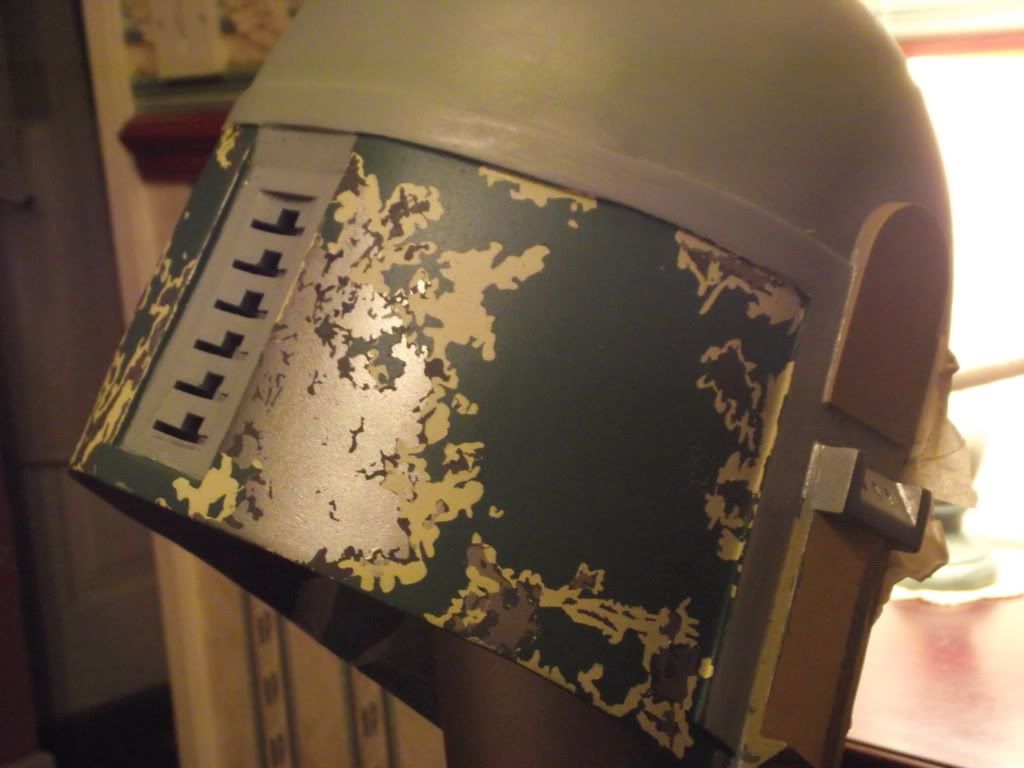
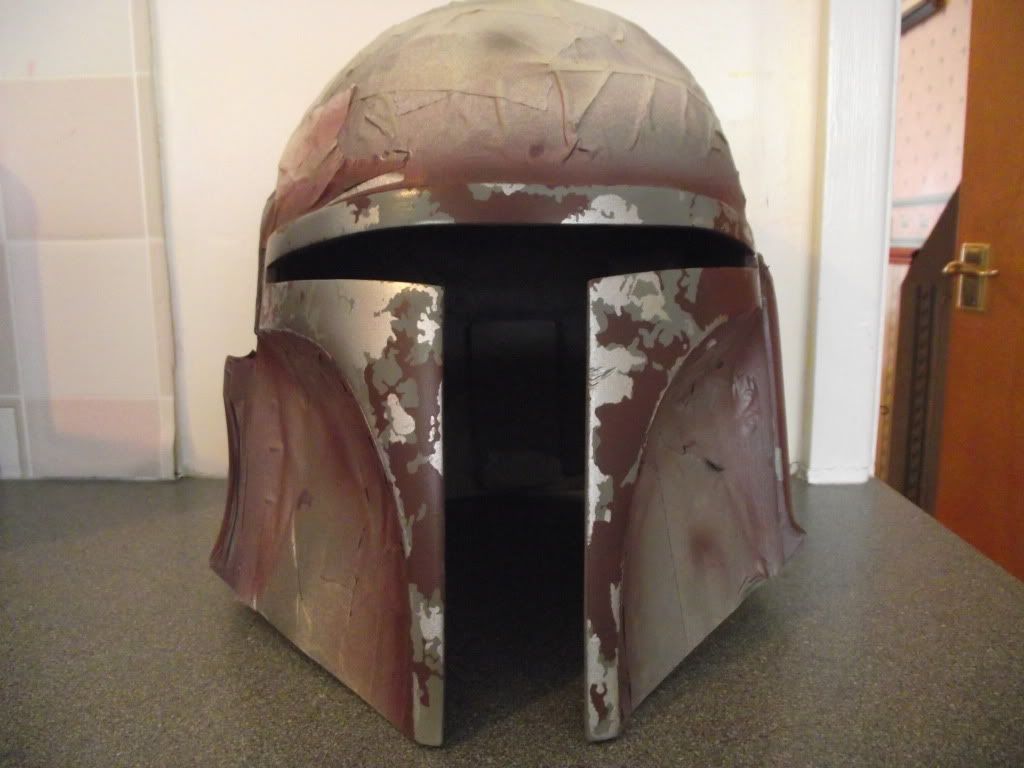
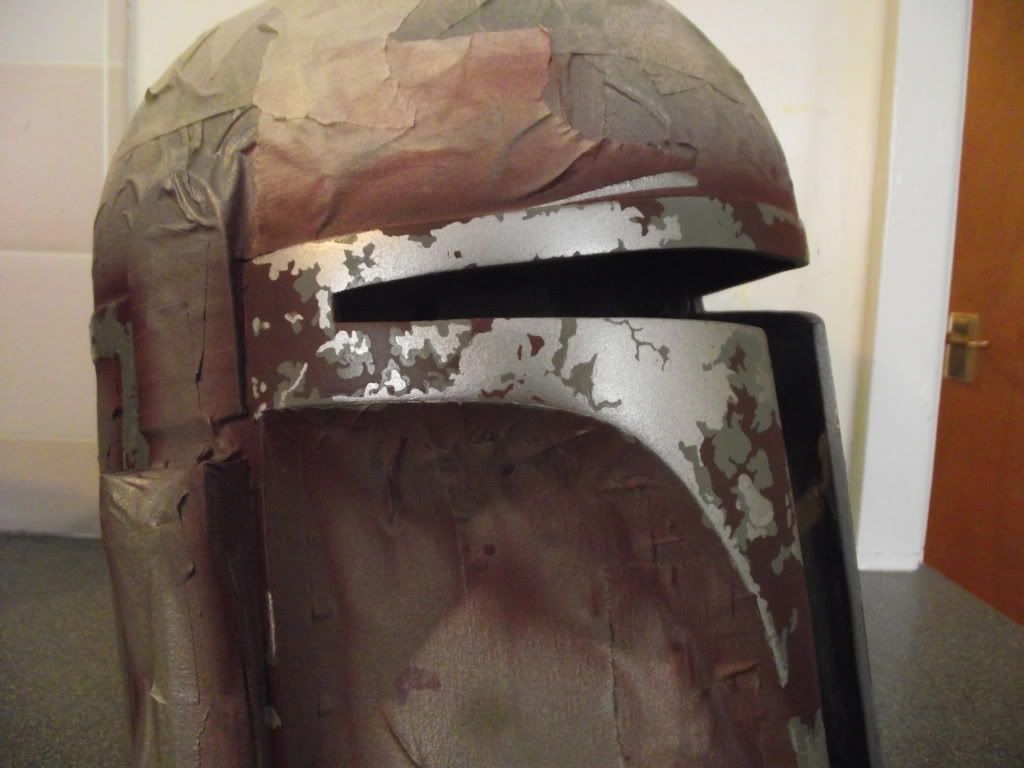
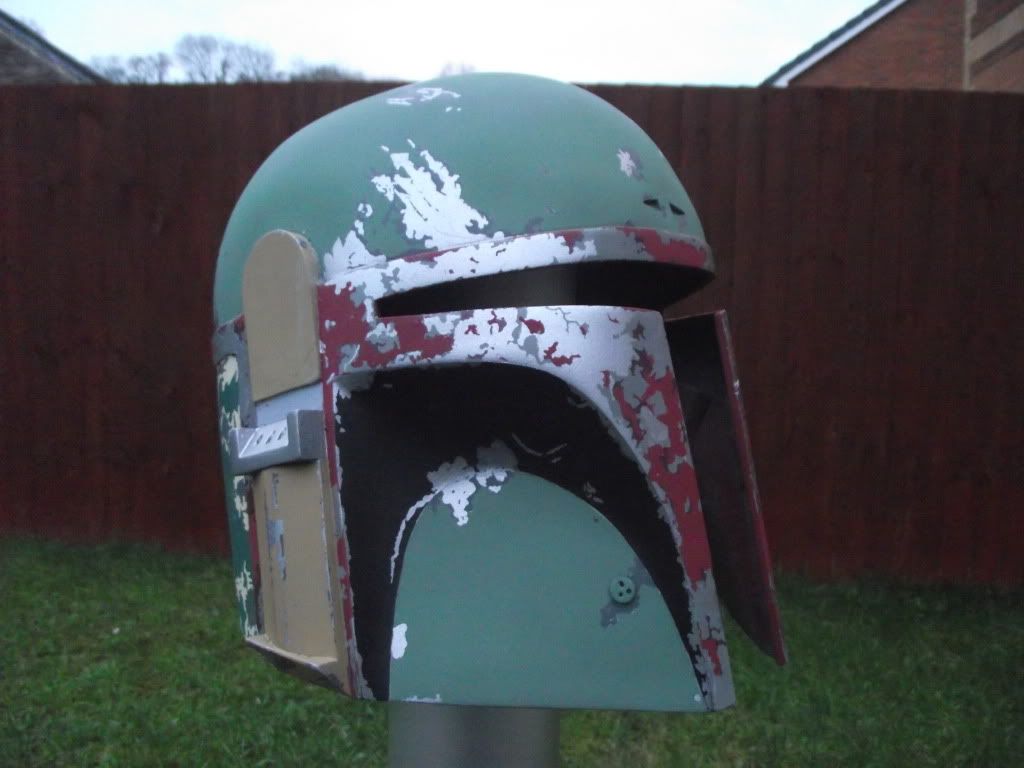
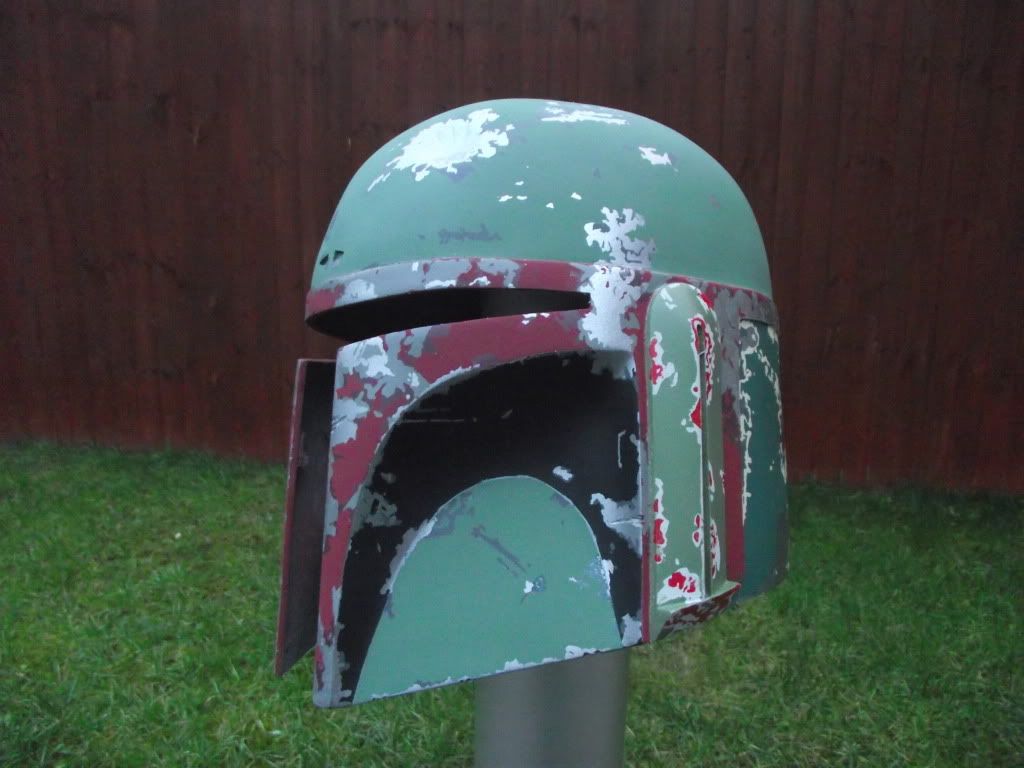
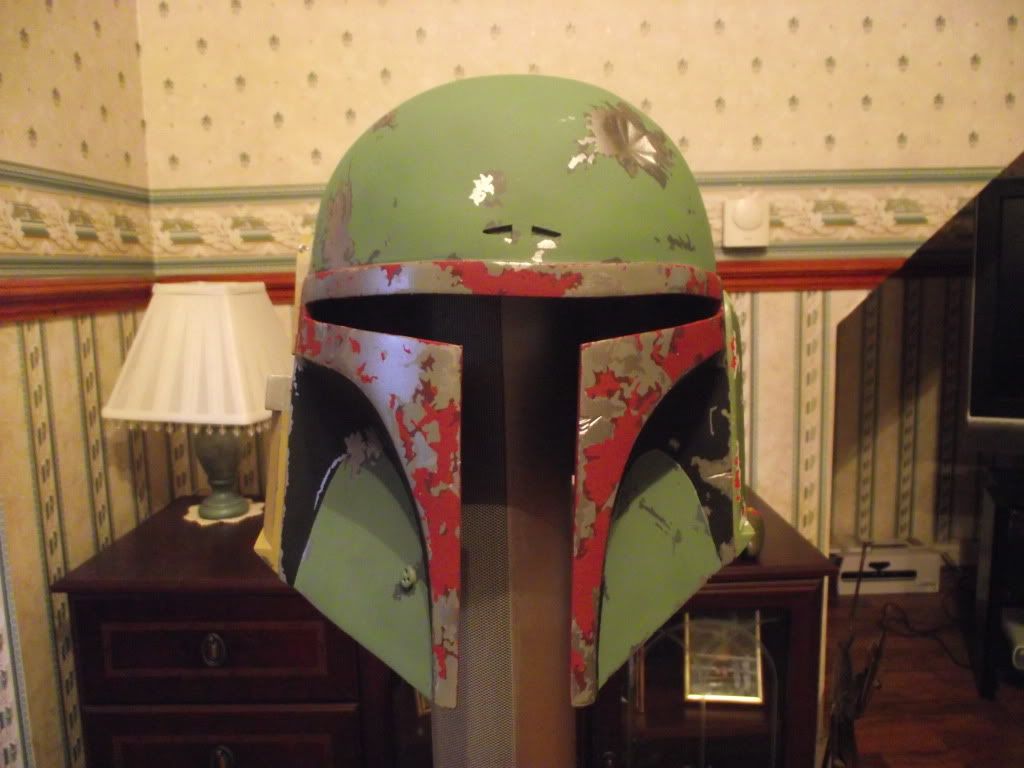
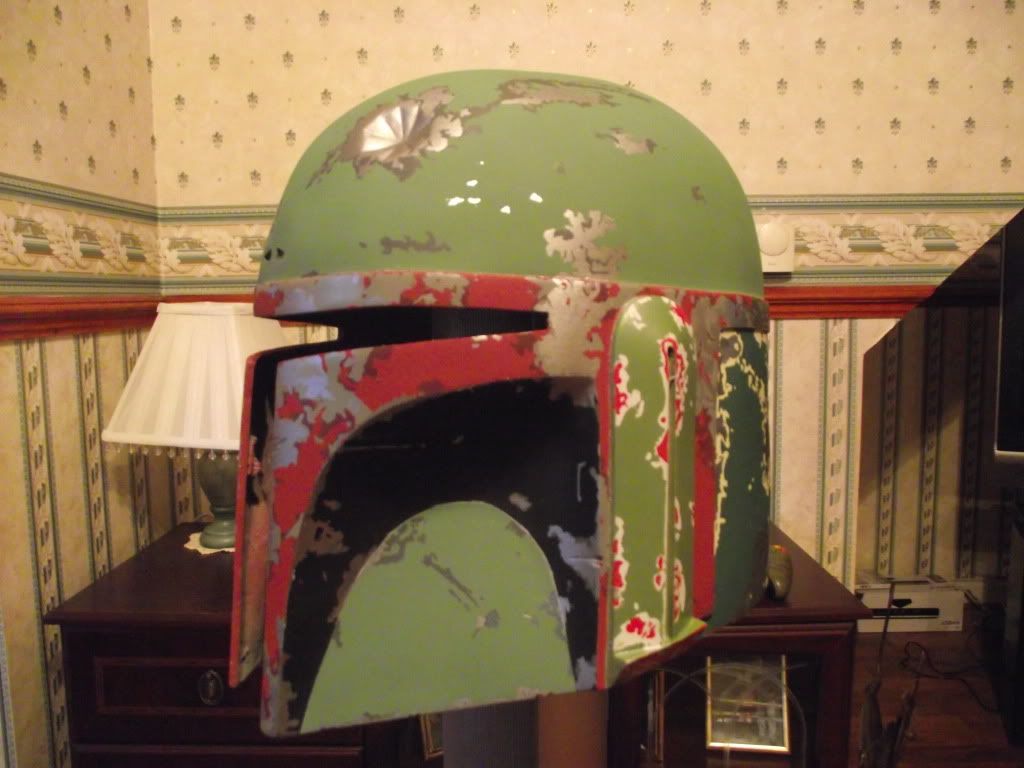
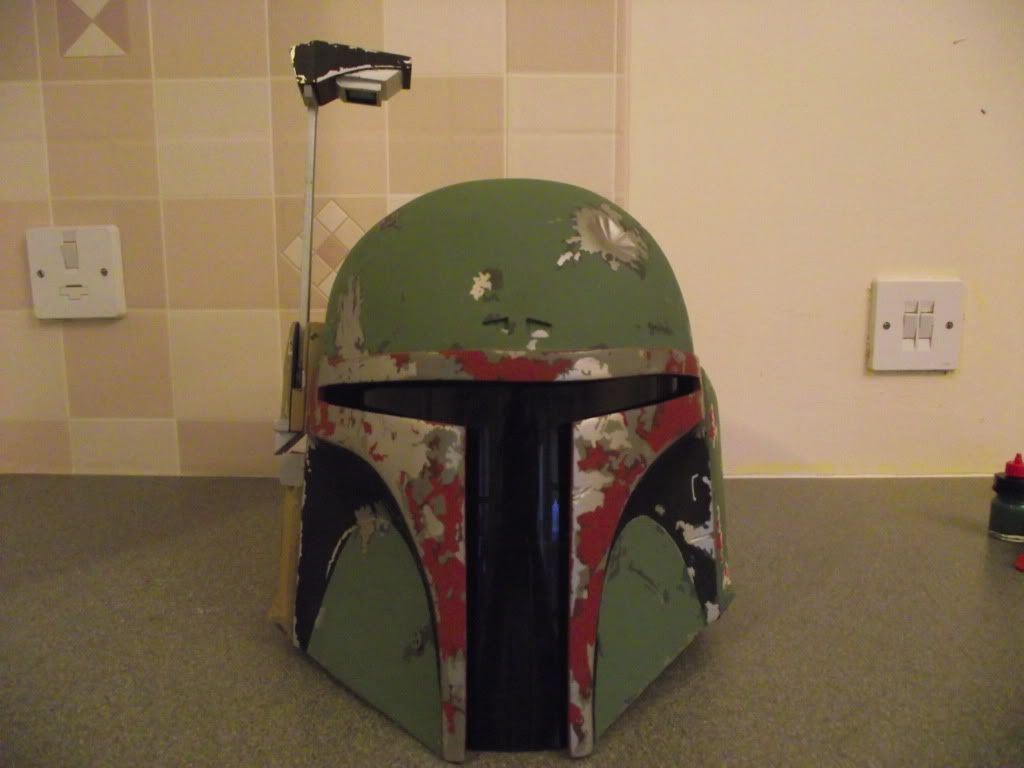
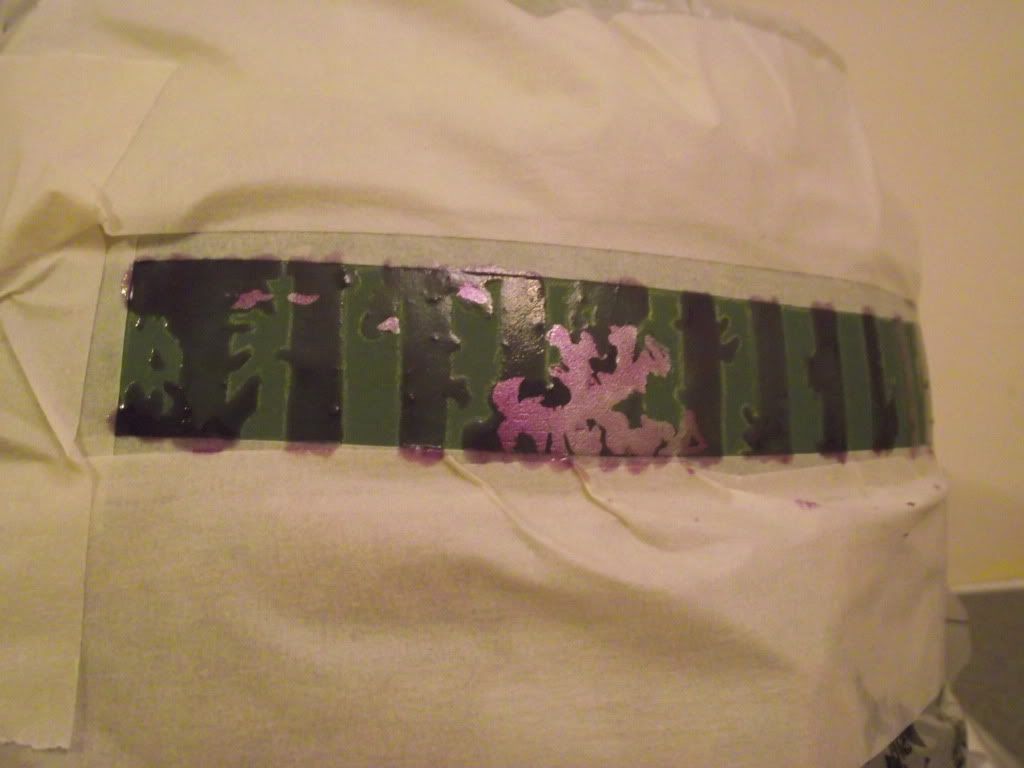
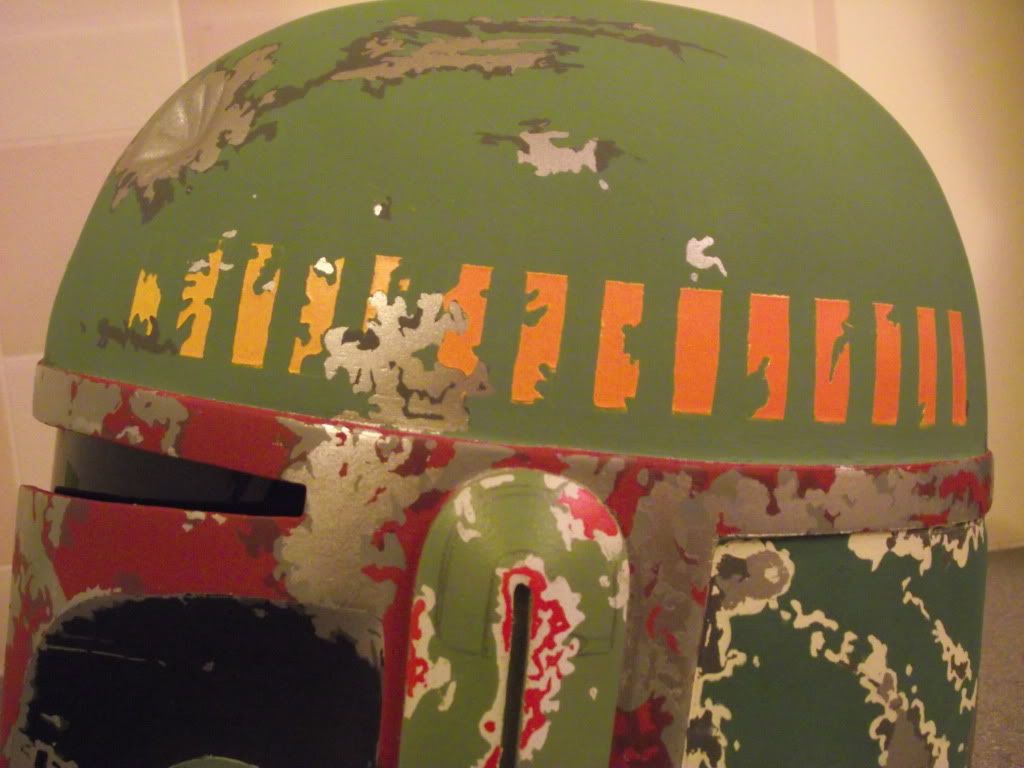
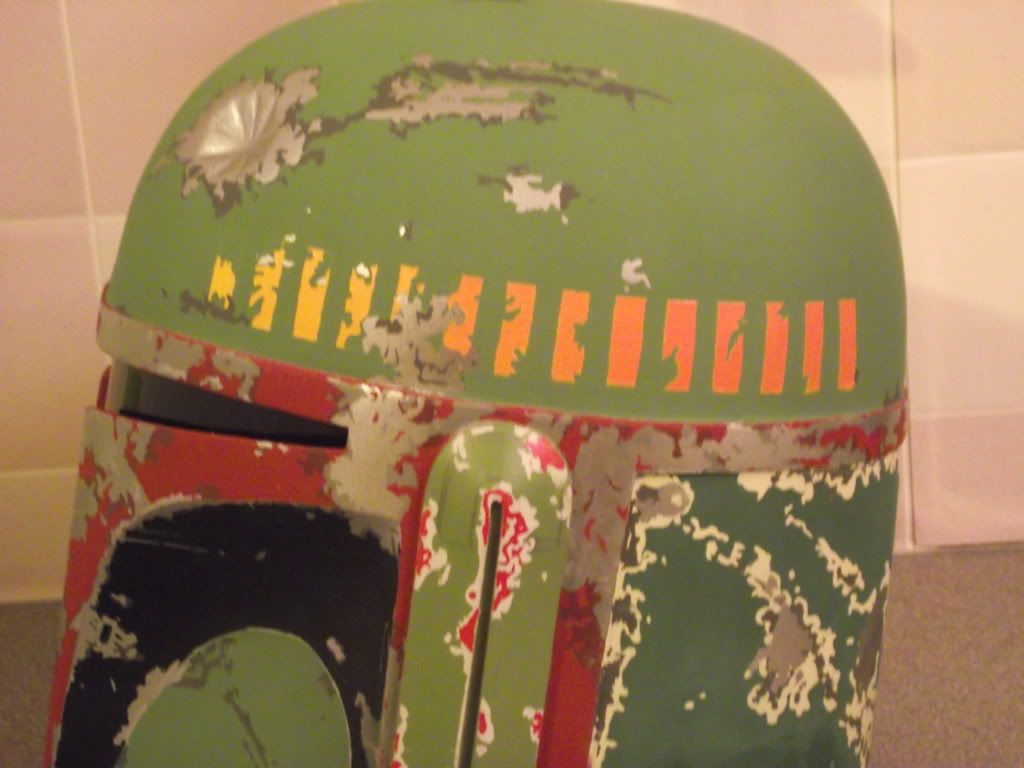
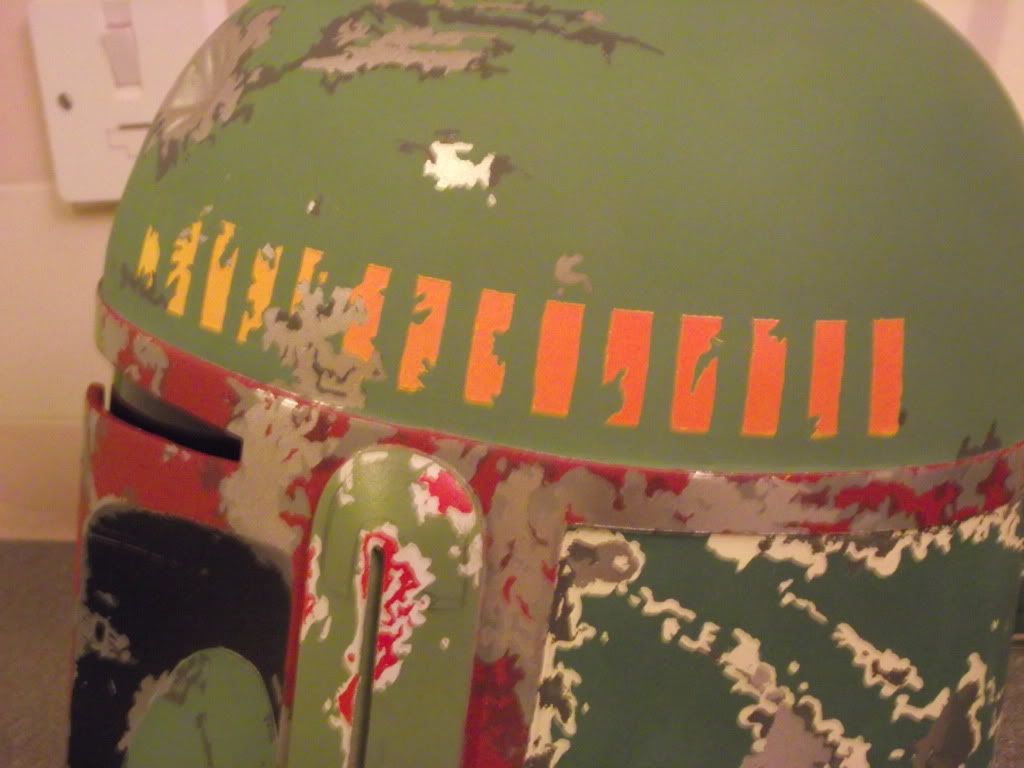
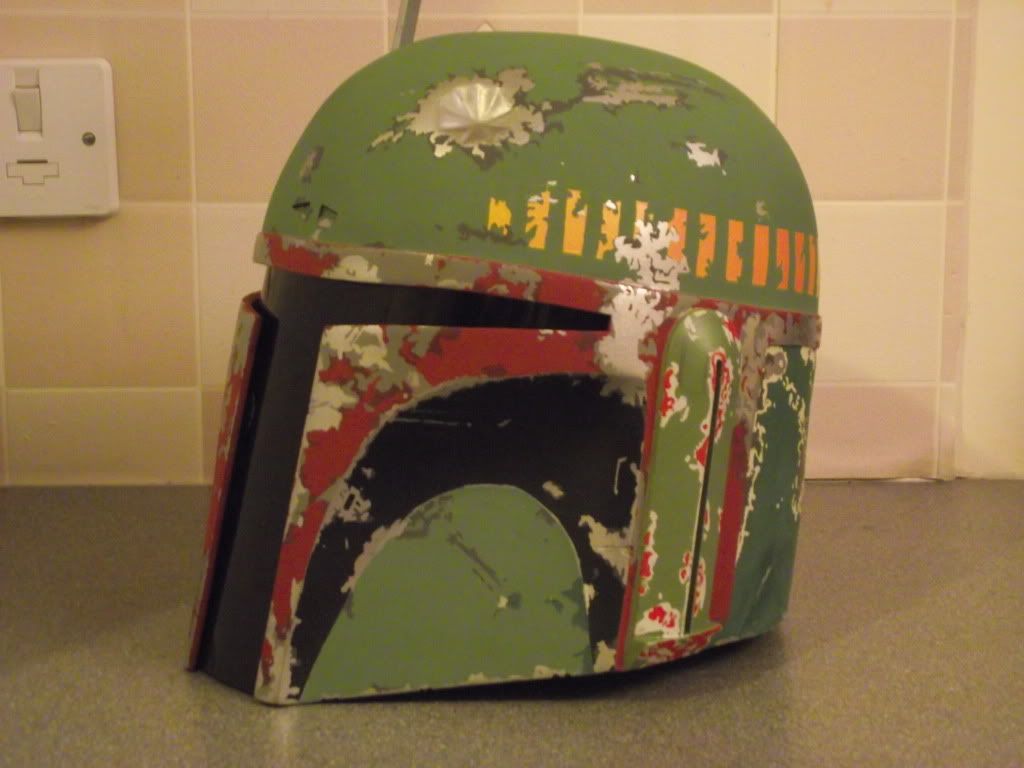
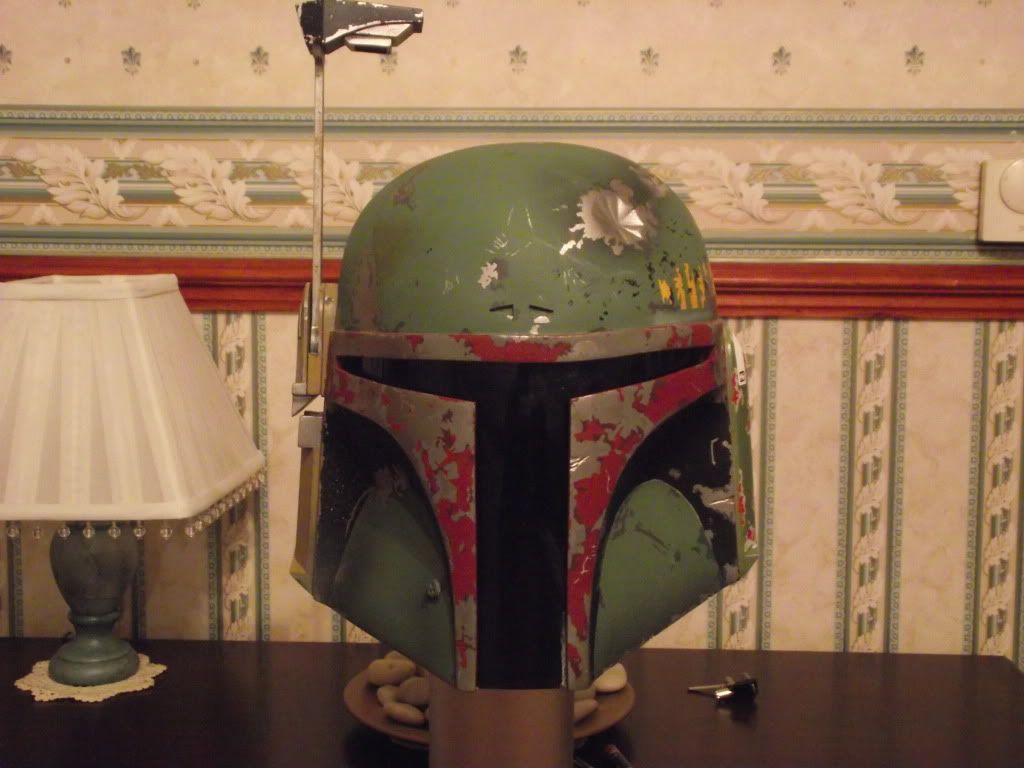
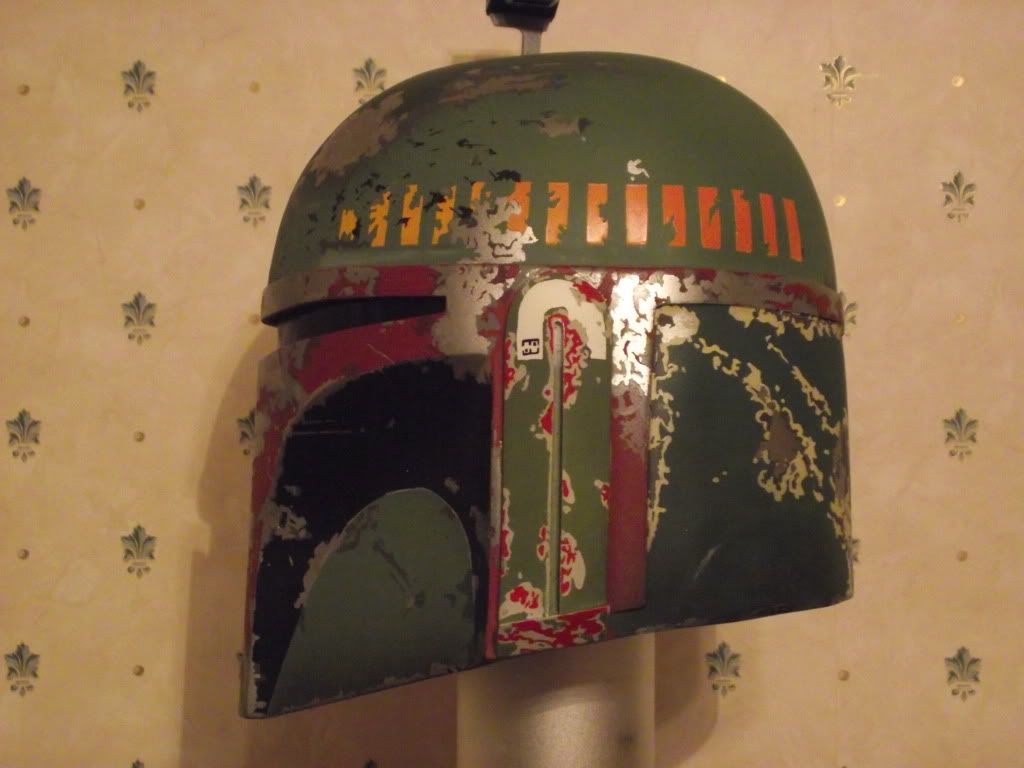
Next up was the intimidating task of painting the dome and cheeks. The main dome was created by first applying silver, masking up the appropriate damage, applying the dark grey and removing the masking fluid on the silver (Tip: Leave the fluid on if it is not covered by grey damage) Then remask up the silver and grey damage ready to apply the final green colour. It looks bright as its directly underneath a light :rolleyes

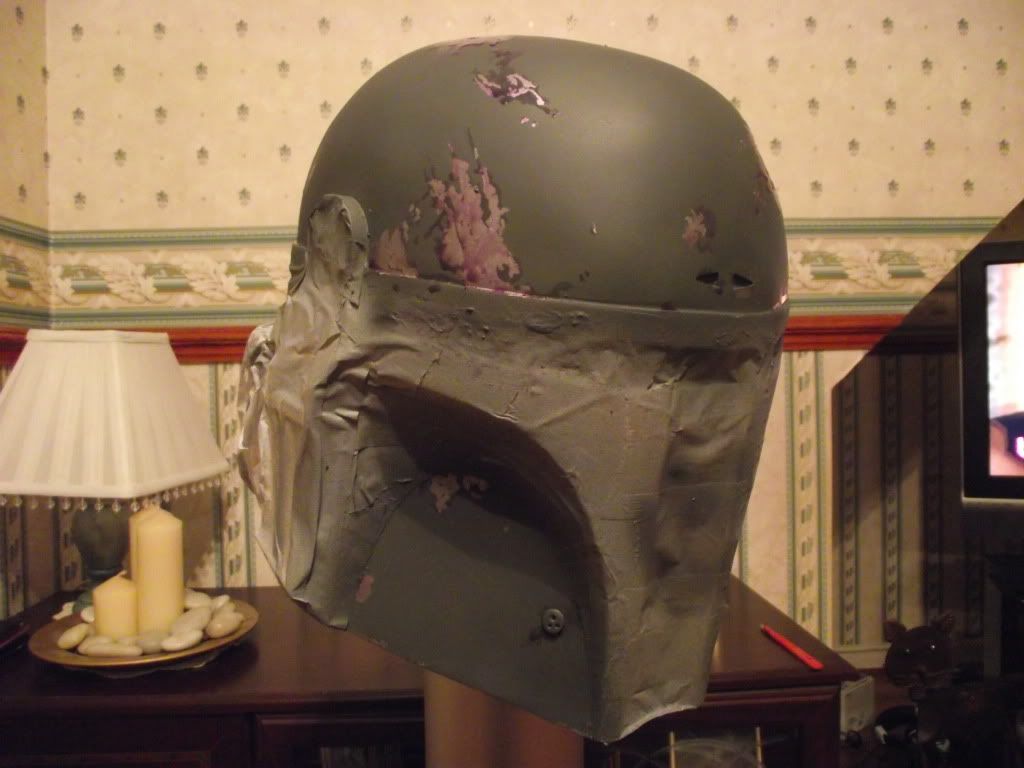

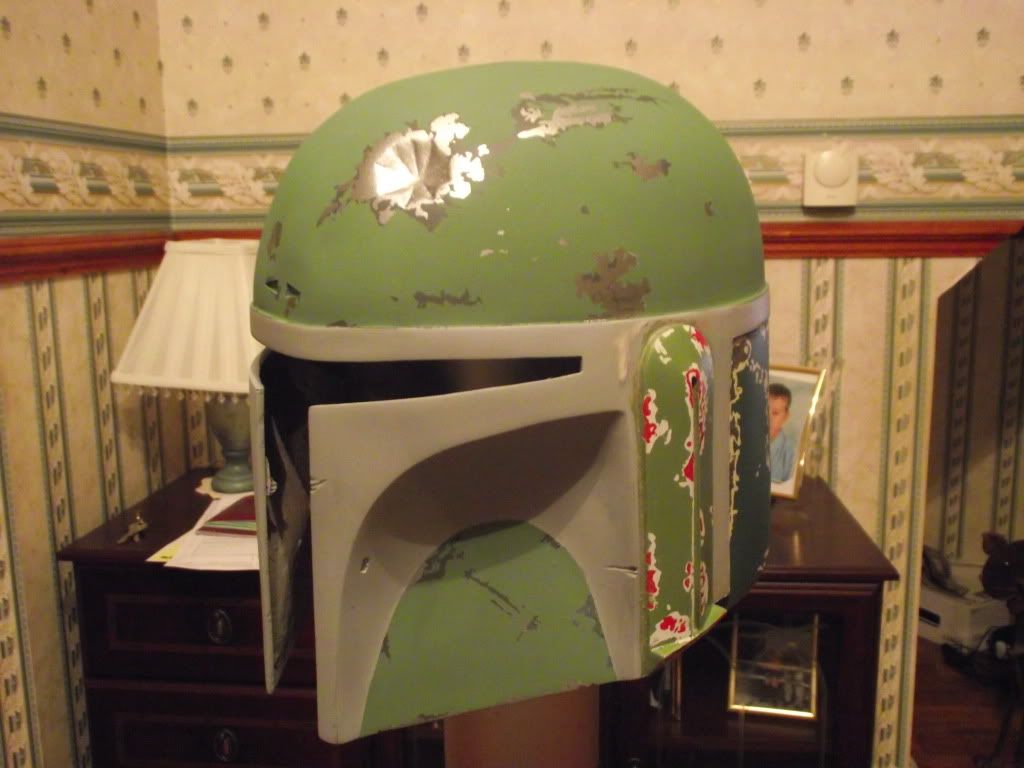
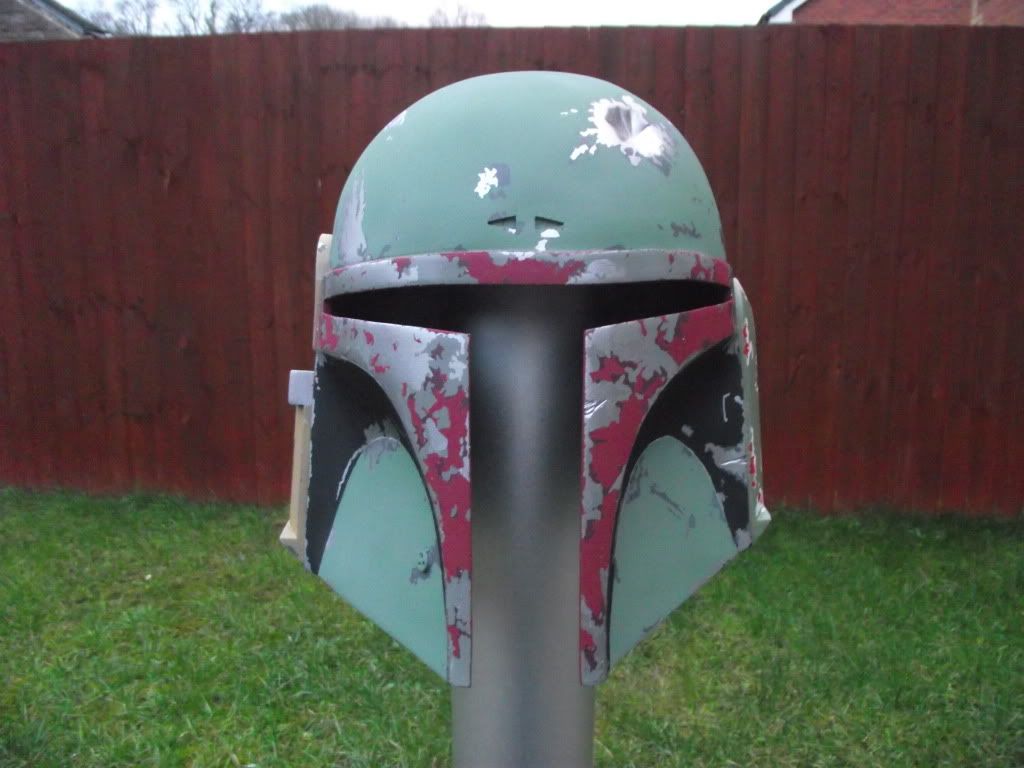
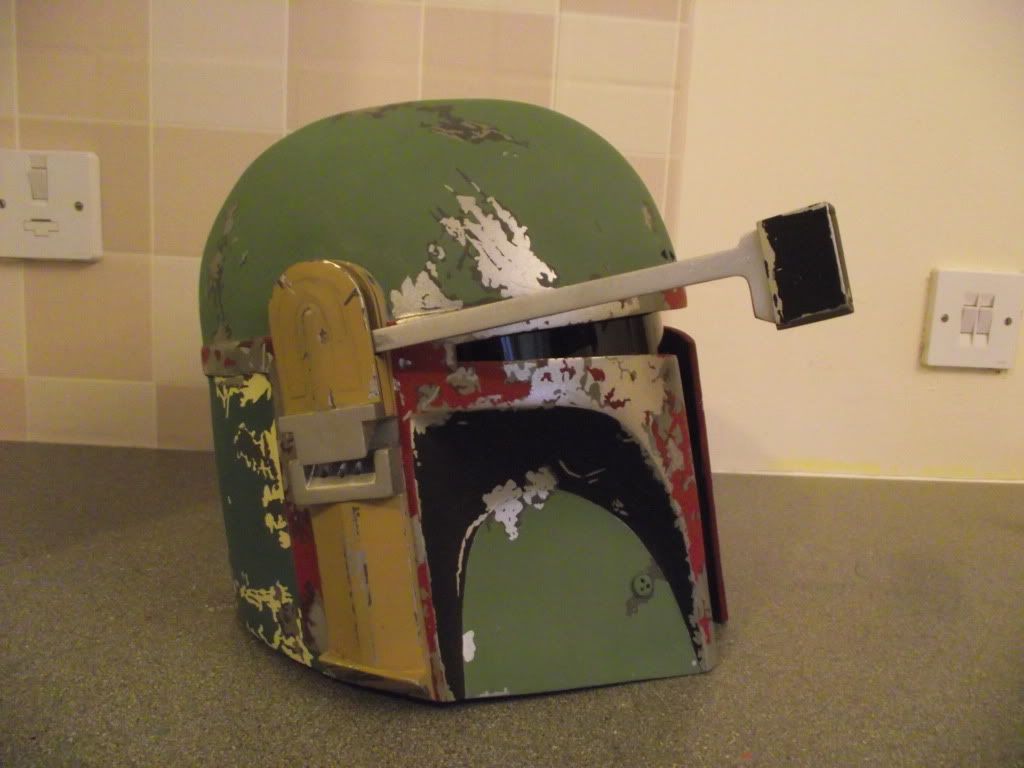
I then masked up the whole helmet apart from the upper cheeks, applied silver, grey and then finally black to finish the cheeks. I also took advantage of rare sun over here in wales to get some nice shots outside.
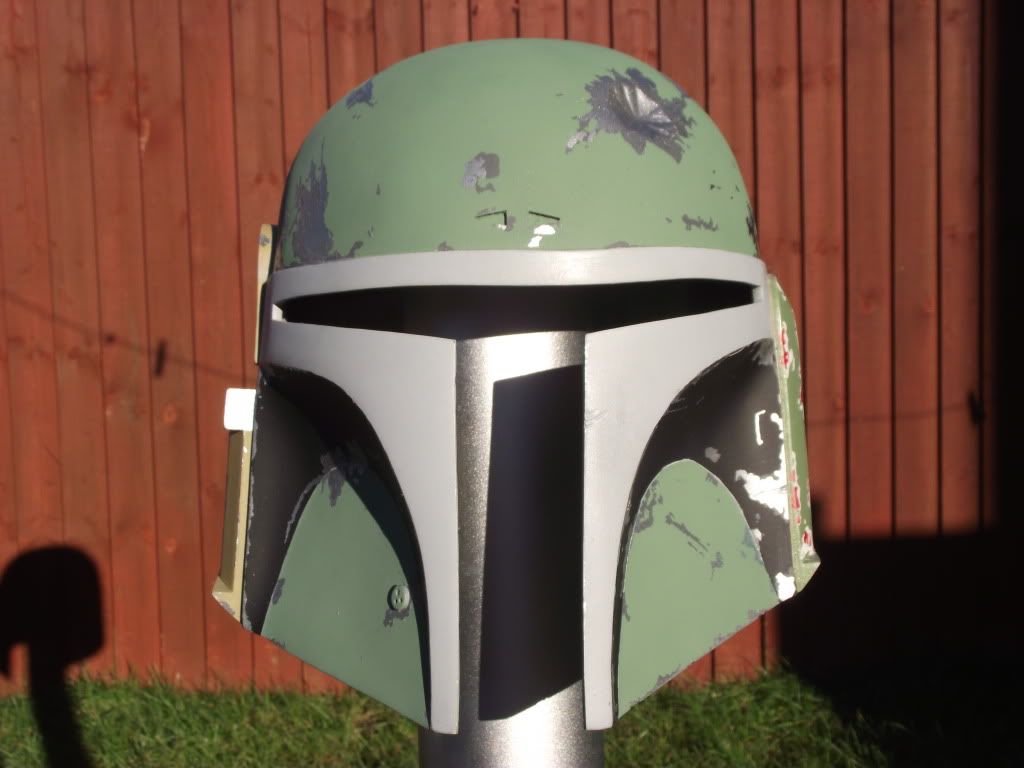
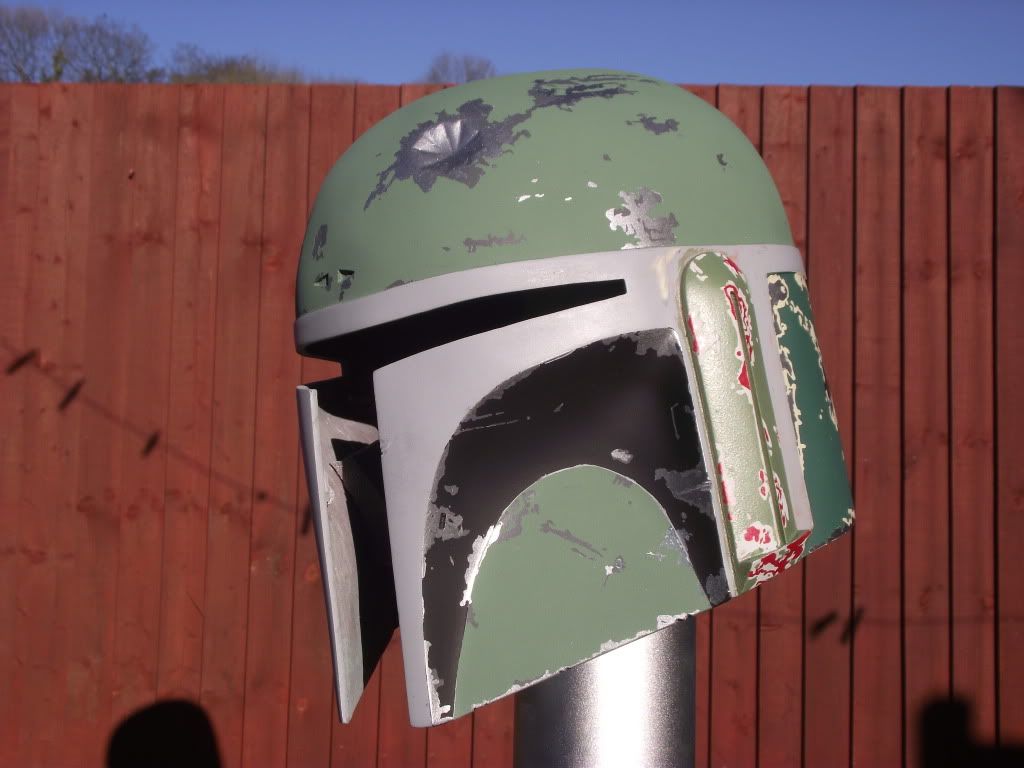
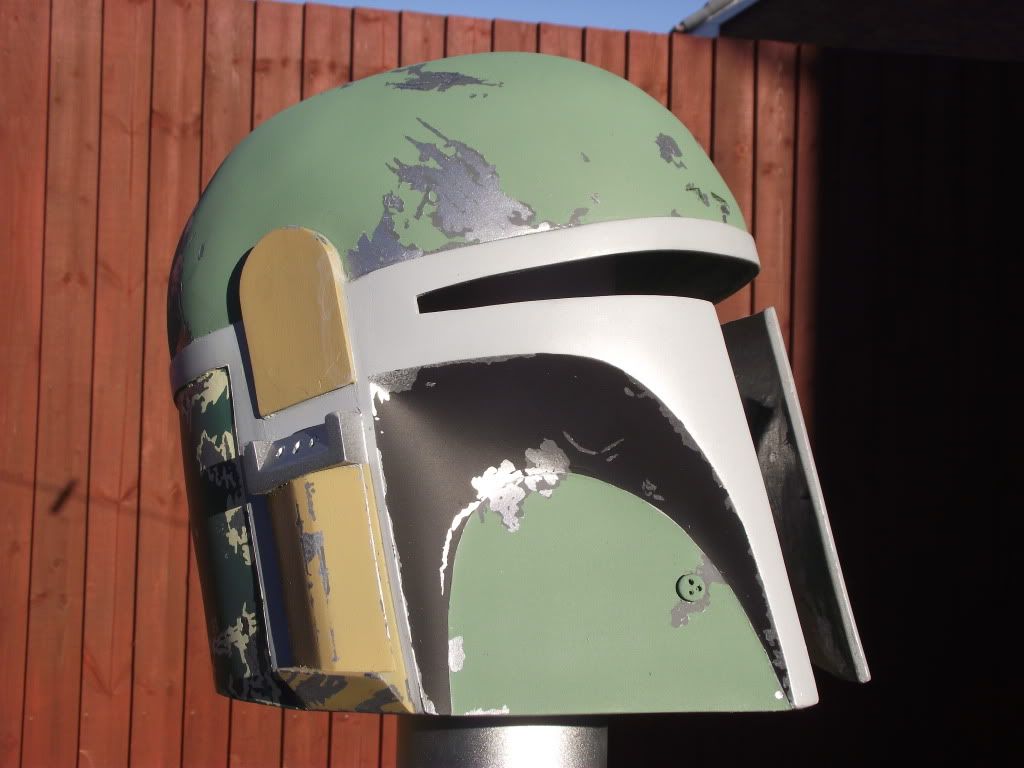
And I thought this shot looked pretty cool, so what-the-hey i'll throw it up

I thought I would post this on here as I know how you guys like WIP's. I gather most of you Fett heads have seen this on TDH, but I would appreciate advice and critsicm off folks who aren't so familiar with fett, as the average joe public who will see this lid probably wont know if a scratch or two is missing :eek
Having my own suit in progress, and posting my work on my local garrison boards I was asked to do a commission for one of the boba's, an ESB helmet.
This would be my very first lid as im still waiting on mine, a little apprehensive, and after some talks with the owner of the lid explaining this is my first lid paint up, I agreed to give it ago.
So the lid arrived, the first boba lid I have seen with my own two eyes :lol The helmet (not sure if I can mention makers so i'll abbreviate) a beautiful fibre glass BM lid. The lid required a little work to remove the owners previous attempts at painting it, but it wasn't long until it was ready for paint.

I initially went and painted the back pannels, which I later removed and re-did, so egnore the glimpses you see of them. So progress starts on the ears, A full layered method, using airbrush techniques paired with TerminalFettlers paint list.
For the ear, the red was applied and masked, followed by the grey, then the final green colour to give me the finished ear piece.


The same was also done for the other ear.

Now onto the back panels, for this I stripped down my previous attempt, the traced out the damage using reference images. To do this, I scaled referance images down to my helmets size, then traced it off the screen. I then applied the tracing to the helmet using graphite paper.

This was then repeated for each individual layer, tracing on the specific damage, masking it off, the tracing the next layer of damage until I got the finished back panels. The small scratching and detailing is still required.


Next up was the intimidating task of painting the dome and cheeks. The main dome was created by first applying silver, masking up the appropriate damage, applying the dark grey and removing the masking fluid on the silver (Tip: Leave the fluid on if it is not covered by grey damage) Then remask up the silver and grey damage ready to apply the final green colour. It looks bright as its directly underneath a light :rolleyes


I then masked up the whole helmet apart from the upper cheeks, applied silver, grey and then finally black to finish the cheeks. I also took advantage of rare sun over here in wales to get some nice shots outside.


And I thought this shot looked pretty cool, so what-the-hey i'll throw it up


