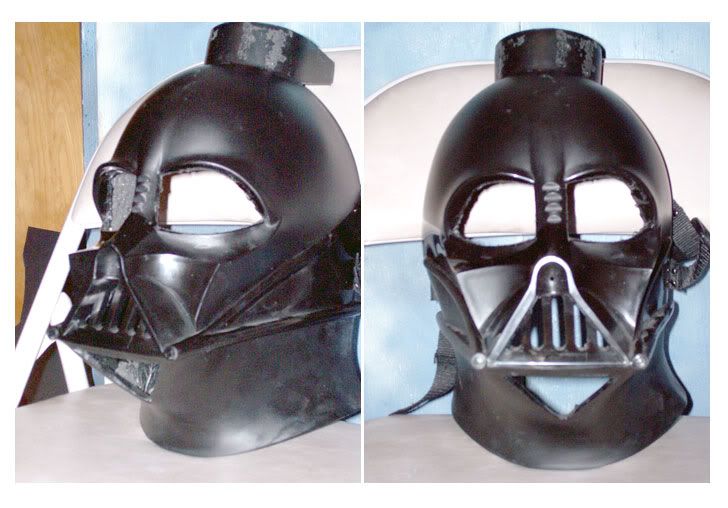
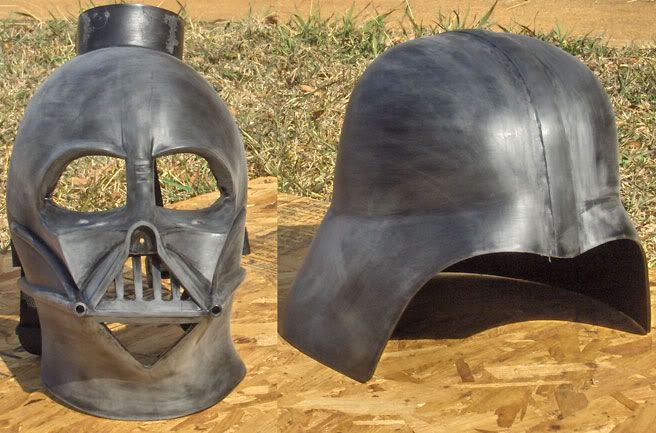
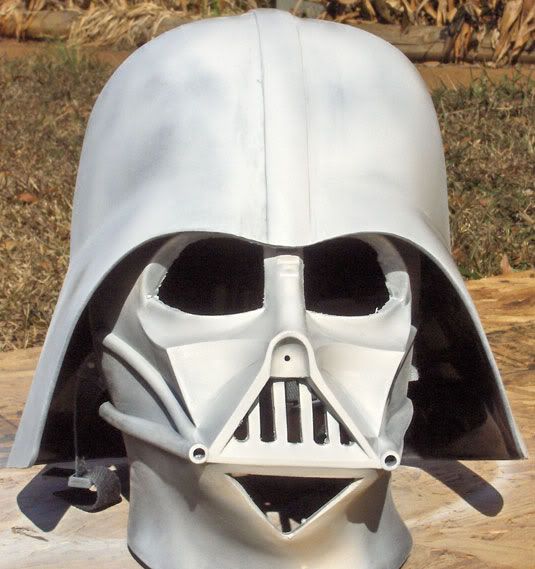
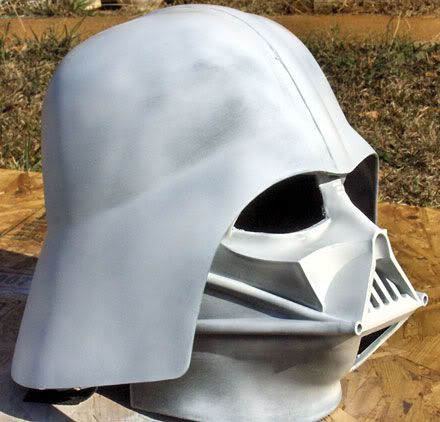
UPDATED: Feb 10th 2009- Modding my Rubies Vader again.

Egon Spengler

Master Member
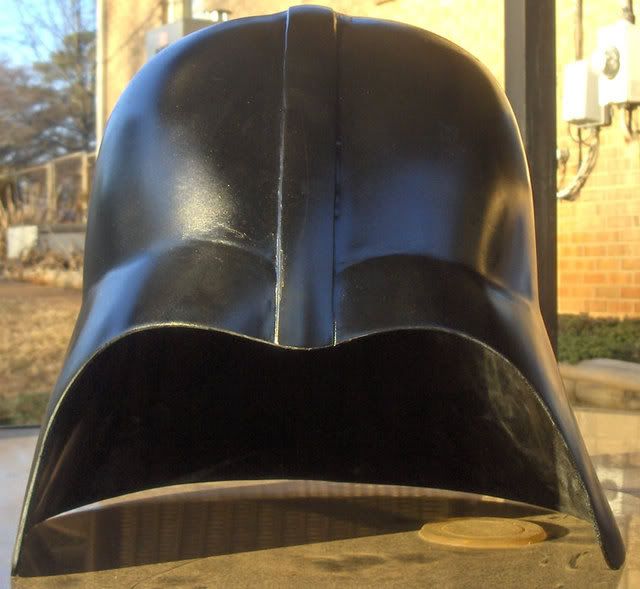
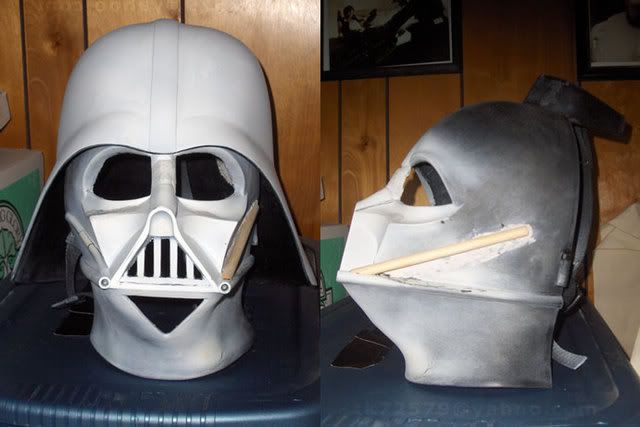
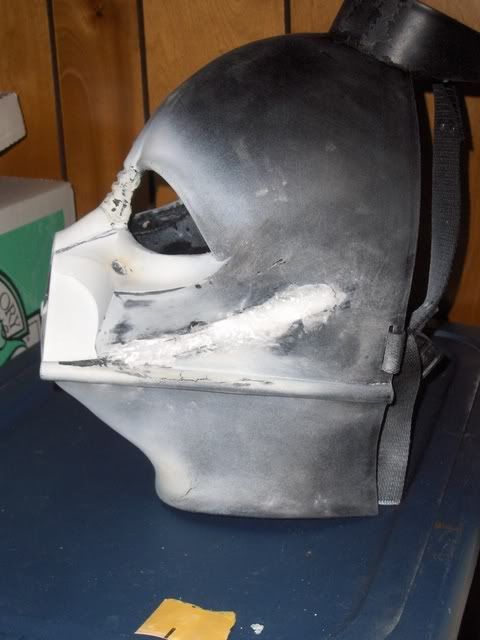
I started this a while ago but just recently got up the motivation to cut the eye areas out.

(Picture is a work in progress photo)

Here is a picture.

It looks like I accidentally cut a hole into the right brow in the photo but its just two scratch marks making it look that way. I'll fill all that in later.
 
Last edited:
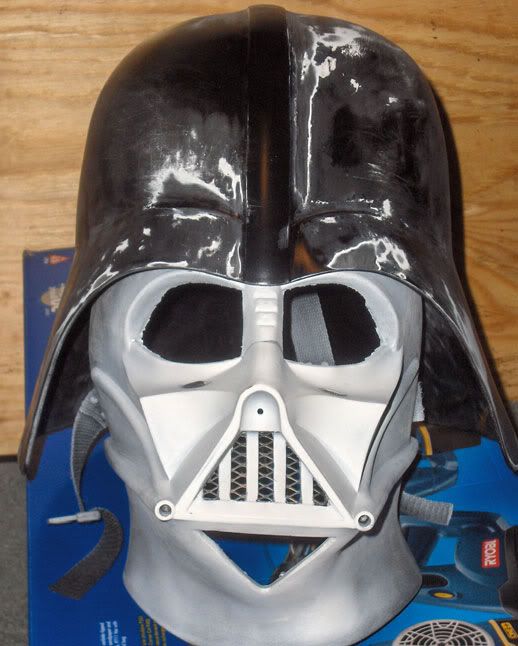
LOL It's a progress picture. I'm actually cutting the second one right now :D Well, I'll continue to cut it out after I post this anyway XD
Updated photo

updatevadmod.jpg


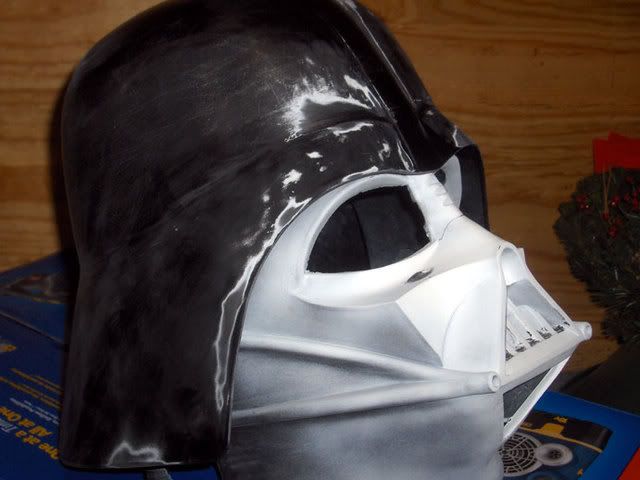
I'm having a hard time reducing the neck flare, even with boiling water.
 
Re: Starting to mod my Rubies Vader agaiin

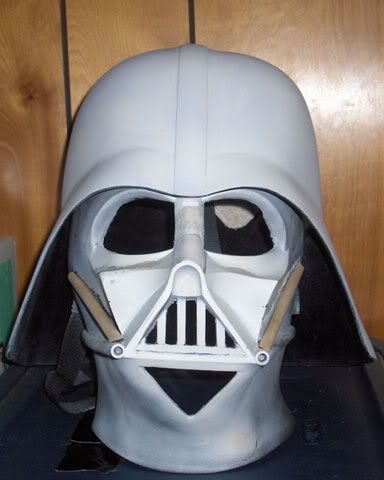
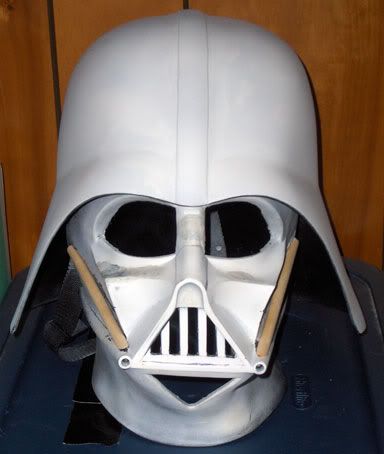
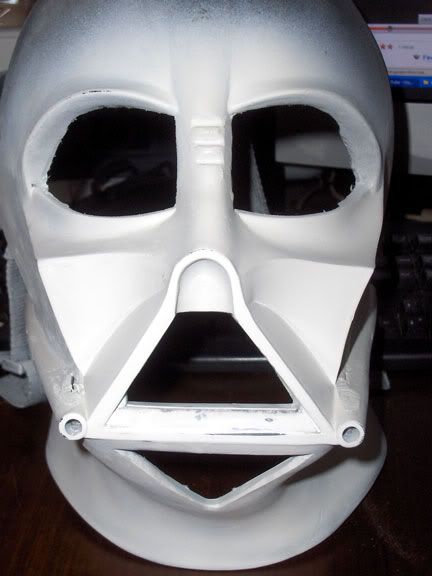
Finally got back on the Vader project. Here are some photos of the Rubies helmet I'm modifying.


HPIM9333b.jpg


HPIM9334b.jpg


HPIM9335b.jpg


Having a bit of trouble getting the mouth filed down properly.

Check out the ridge. Yes this is a Rubies helmet.
 
Re: Starting to mod my Rubies Vader agaiin

another alternative to using a heat gun (Dont have one) i used to fix the neck flare is, a blow dryer. It took a while to get the plastic warm... but when it did, it worked perfectly.
 
Re: Starting to mod my Rubies Vader agaiin

another alternative to using a heat gun (Dont have one) i used to fix the neck flare is, a blow dryer. It took a while to get the plastic warm... but when it did, it worked perfectly.


I tried a heat gun with less than satisfying results. I keep doing using boiling water. It gets better each time.
 
Re: Starting to mod my Rubies Vader agaiin

Well, plenty of updates!!!

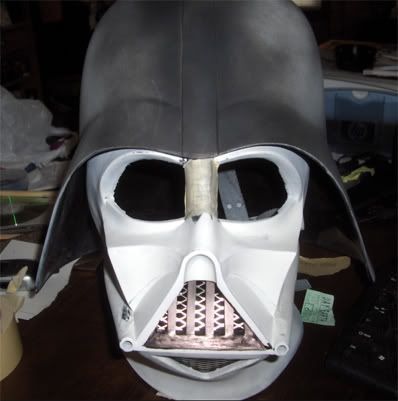
I used a x-acto knife to cut the mouth/grill areas but accidentally cut away too much and left some surfaces quite rough. I was going to quit working on the helmet and just buy one. The cost of more accurate helmets and my creative drive helped me to continue on with this project. Ha ha ha.

So here are some more photos.

Painted the helmet with some black spray paint just to see how it was progressing.
HPIM9397b.jpg


Sanded and dremeled the helmet. Worked to make the left over raised areas less noticeable next to the helmet ridge. Also worked to make the helmets brow more defined. I had to lower one side of the brow a bit after the painted dome photo. It was a little bit high.

HPIM9399b.jpg


HPIM9406b.jpg


Please let me know what you think.

I still need to putty the mouth grill area and fine tune it a bit.
 
Re: Starting to mod my Rubies Vader agaiin

Another update!

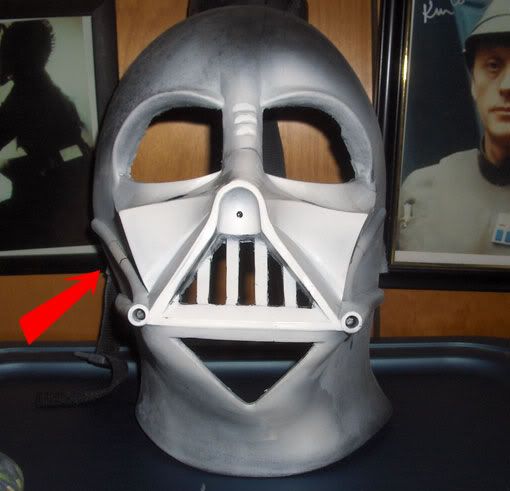
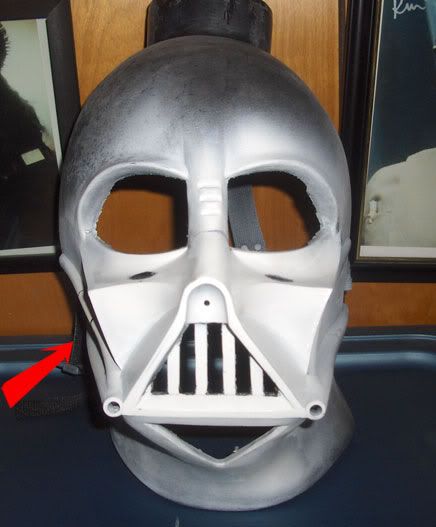
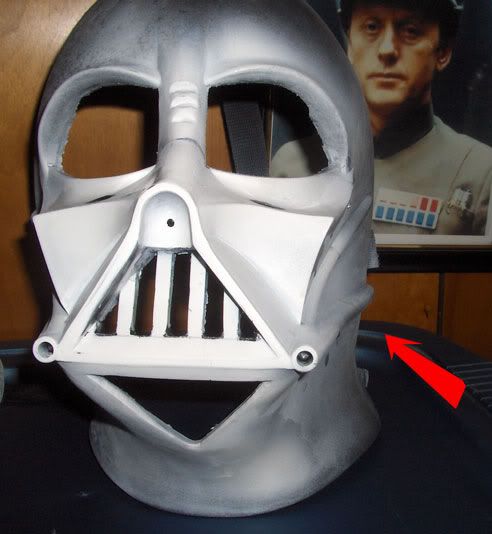
I got brave and decided to take the heat gun to the sunken face of the Vader helmet. In the two shots below the arrows point to the side I heated and pushed out. The side without the arrows is still sunken in as it was when purchased.

HPIM9408b.jpg

HPIM9409b.jpg


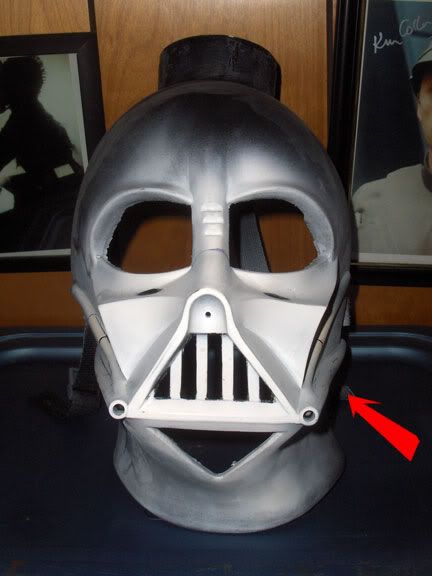
The photos below show the helmet after BOTH sides of the face were heated and pushed outward. Not a perfect improvement but I think it's a good improvement anyway :)

HPIM9410b.jpg

HPIM9412b.jpg
 
Re: UPDATED: Starting to mod my Rubies Vader again.

May the Force Be with you, and your trusty heat gun , or boiling water. :lol
 
Re: UPDATED: Starting to mod my Rubies Vader again.

A thumbs up , good work, and good luck :thumbsup
 
Re: UPDATED: Starting to mod my Rubies Vader again.

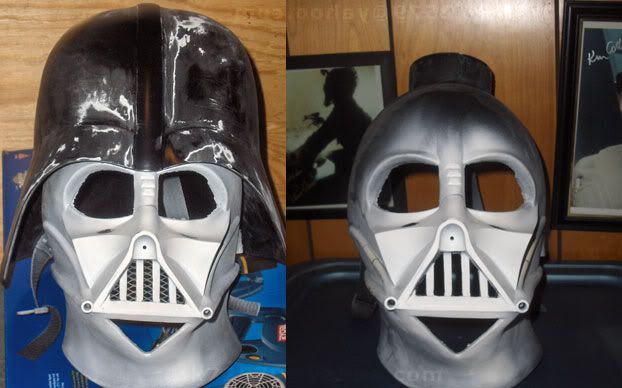
Here is a side by side comparison photo of the helmet before and after I reshaped each cheek.


beforeaftercheek.jpg


It improved the look of the helmet but not enough for my liking. I then
cut out the (face pipe?) and added in a new one. I need to add to the side of the face a bit where it was originally more sunk in to get it all to go together well. I will do the same on the other side as well.

What do you think?

helmetleftside.jpg
 
Re: UPDATED: Starting to mod my Rubies Vader again.

Update! Began reworking the other side of the face as well. How's it look? Thoughts? Tips? Etc?

pipesnew-001b.jpg
pipesnew-002.jpg
 
Last edited:
Re: UPDATED: Jan 10th 2008- Modding my Rubies Vader again.

Update!

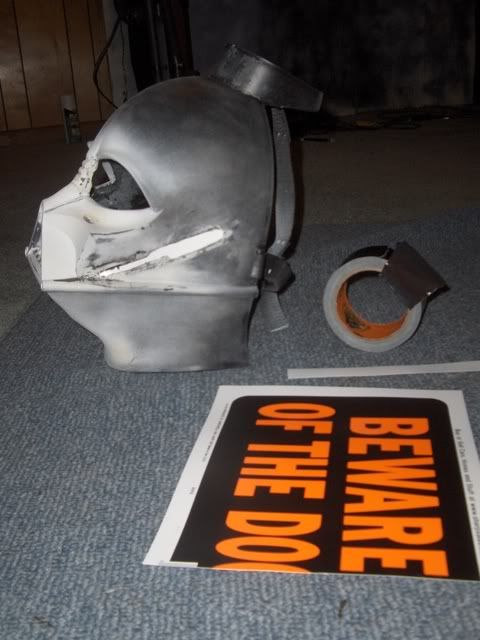
I decided to go with my old favorite, superglue and baking soda, to fill in the areas I removed from the helmet.

I first cut a small strip from a styrene sign I picked up at K-MART and taped it over the hole inside the helmet.

Then I began to build up the filler. I started with a layer of superglue, then sprinkled baking soda over it, and so on and so on.

It works great, it's strong, and it sands down to a nice smooth surface.

sbfiller001.jpg

sbfiller002.jpg
 
Re: UPDATED: Jan 10th 2008- Modding my Rubies Vader again.

Old topic, but it's mine and I've started working on it again.

Here it is with all the teeth cut out of the mouth and a new base and sides being built up into the mouth for the teeth to go onto.

Picture-011b.jpg


Teeth installed based on dimensions I found on another forum, specifically for Sith. The dimensions for the teeth and gaps on the ANH helmet.


Picture21b.jpg


I'm going for a ESB so I took those dimensions and tried to make it resemble the spacing on this ESB helmet from starwars.com. The teeth might look a little funny as they are just flat slats with no real sides to them yet. I think that may be giving off a strange look to the helmet.

http://web.ukonline.co.uk/bingo275/steveswede20thCvad2.jpg
 
Back
Top