ZOMBIEREPELLENT
Sr Member
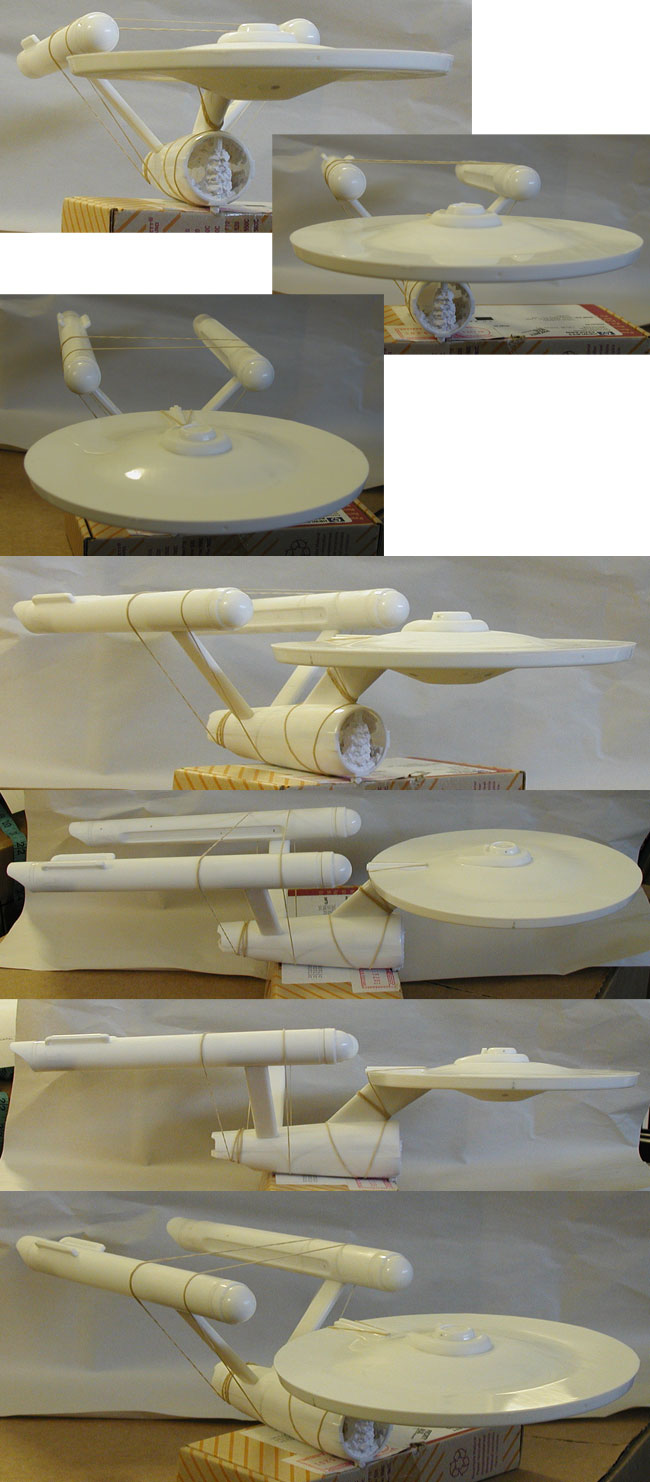
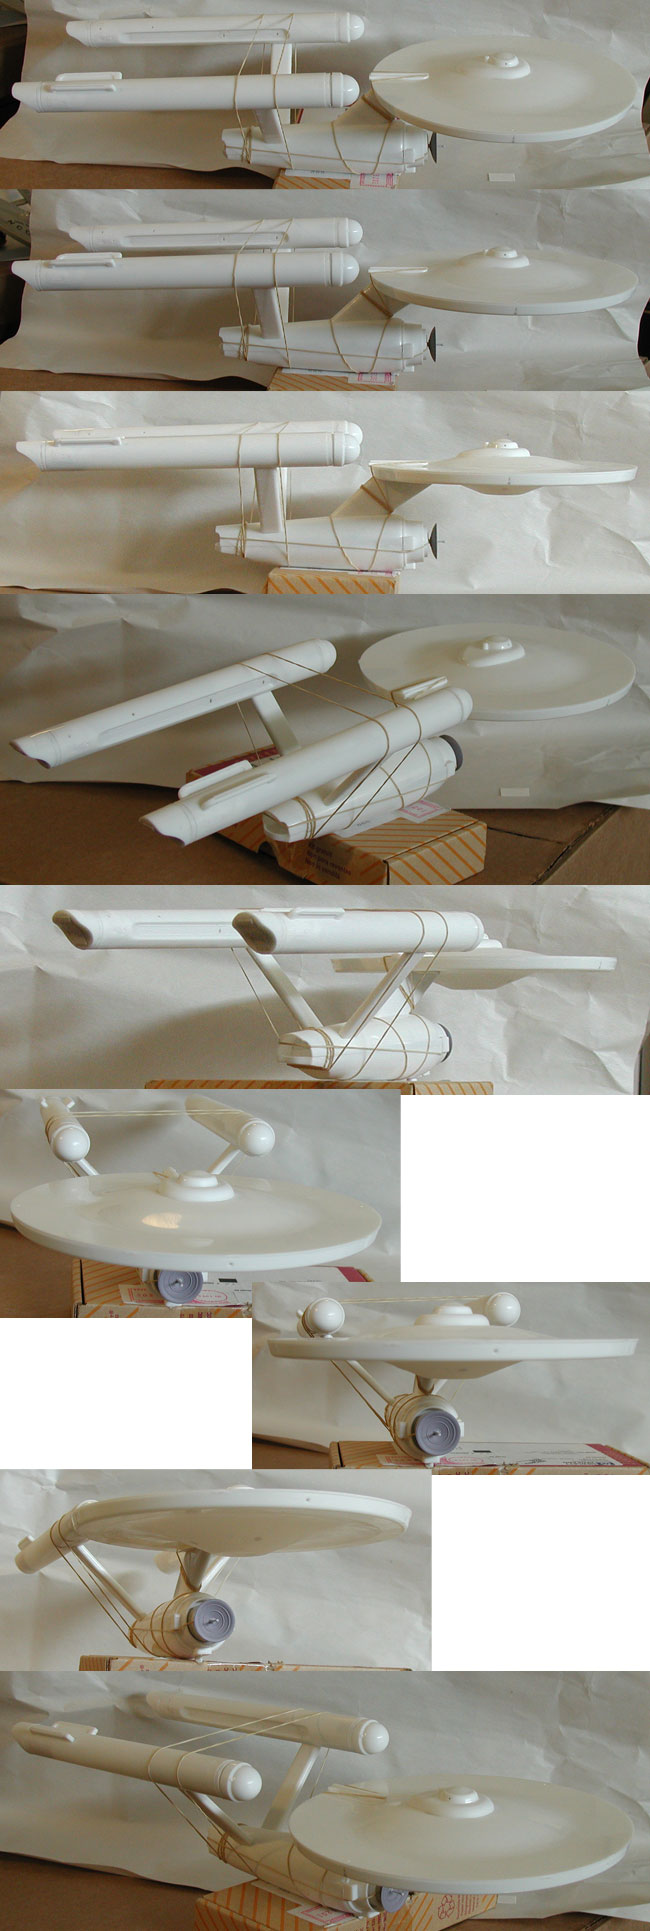
Did you taper the nacelles? I've seen someone on finescale several years ago do it with a band saw and some putty
If it's a thin coat 15min give or take.
I usually just set it aside and work on other things for a while, never really timed it.
It melts the plastic instantly fusing the plastic making it one piece.
CA is Cyanoacrylate aka super glue.
Does CA work with bonding plastic and metal pieces together? If not, what would you use? Also, what do you guys use to fill in gaps and airbubbles on resin and styrene to be able to sand smooth later?