I thought it would be good to have a thread where people can post their progress pics of any playmates tricorder mods.
Here is the story with mine. I actually decided to mod the tricorder shortly after I came across one back in the day. Since I was in the seventh grade, I am glad I waited a decade to try it :lol A handful of years ago, I opened it up and with no knowledge of electronics, basically scratched my head a little bit, and just winged it.
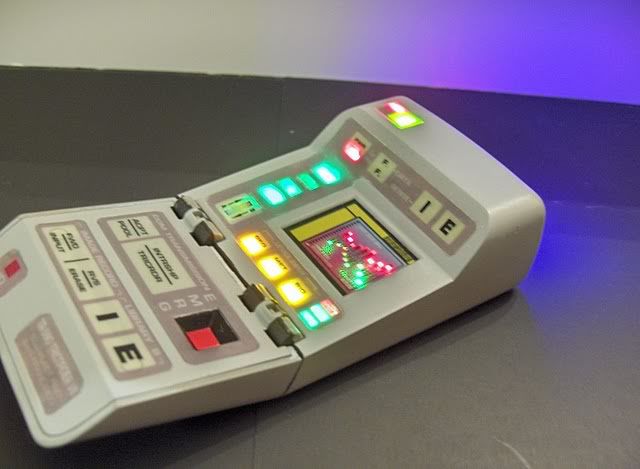
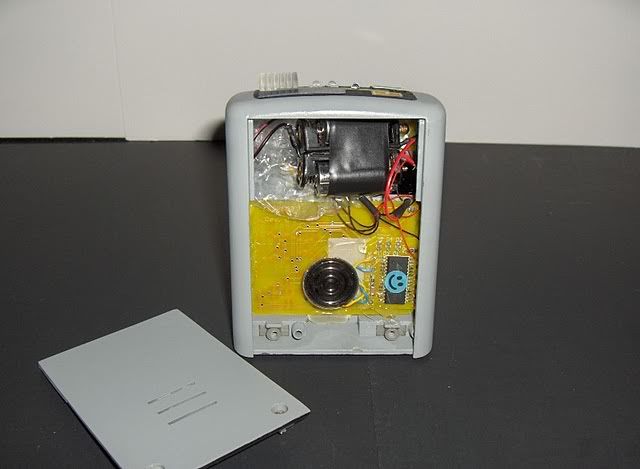
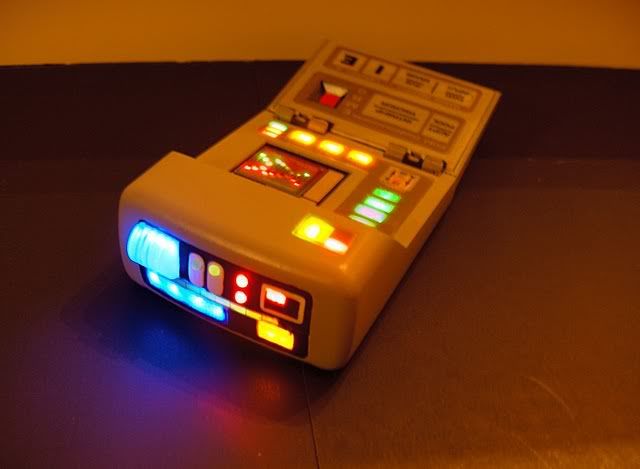
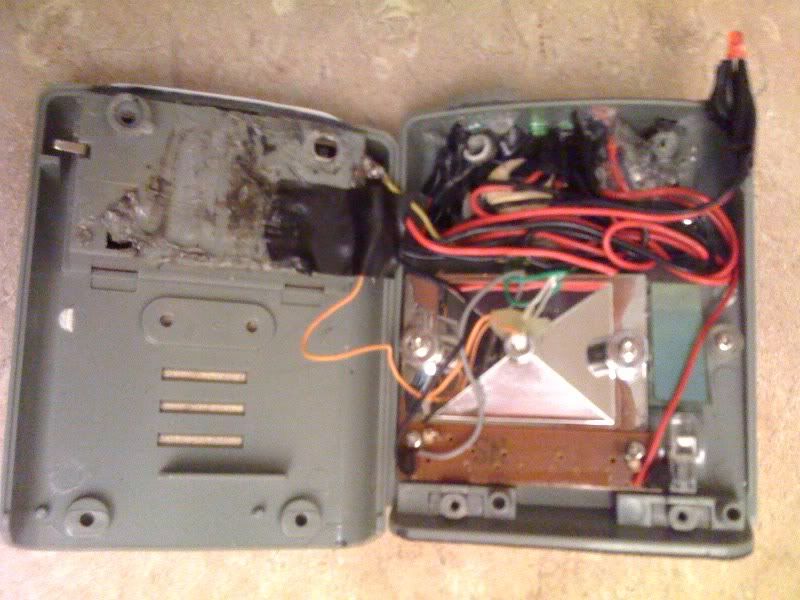
I was able to keep the battery setup that comes with the tric intact. All I did was solder two new wires to the switch and the battery, and then wire five or so flashing LEDs to that. I needed to carve some room out (I used a hot Xacto knife to score some of the unneeded plastic inside to fit the new wires. I then heated the tip of a small skrewdriver (could have drilled it to be more precise, but I was in a hurry) to create holes in the front array of the tric to squeeze the LEDs through.
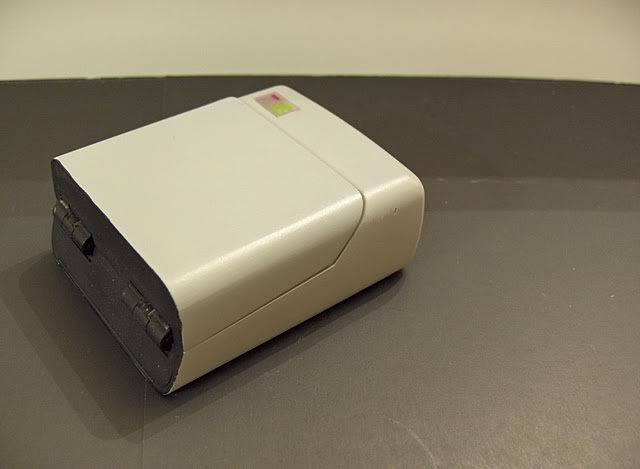
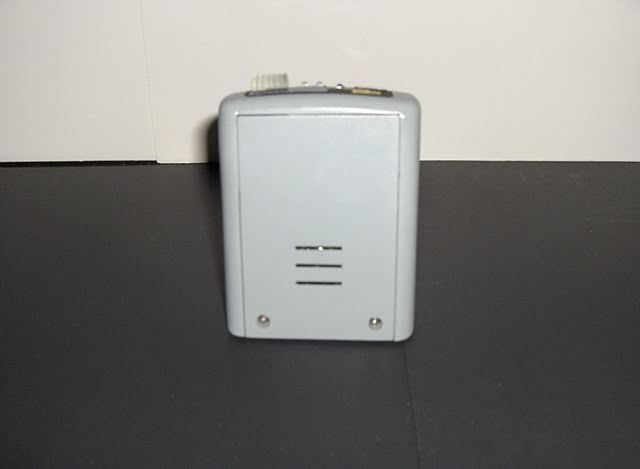
I also unsrewed and removed the belt clip, added some black tape to the bottom, and put some details on the front array to resemble the Mark VII more closely. I made that clear piece on the top left of the tricorder face out of a gluestick which I cut and beveled with a pipe cutter. I trimmed some gold oak tag I found for the small pieces. I also added a fake middle scanning bar graphically. Lastly, I painted the background of the front array black, the two ovals white, and the power square on the top right black.
I should mention that on the Mark VII, only the green lights on the top row of the front array "flash" (they are in an alternating blinking sequence) and the movement of the tric's lights is really the middle green scanning bar. The bottom grill and the the gold detail light as well.
Since I couldn't fit a scanning bar in the tric without massively reworking the guts, I just made the entire top row of the front array flash and left the bottom part with no lights. All in all, the LEDs are VERY bright and the flashing, in my opinion, more than makes up for the lack of the scanning bar.
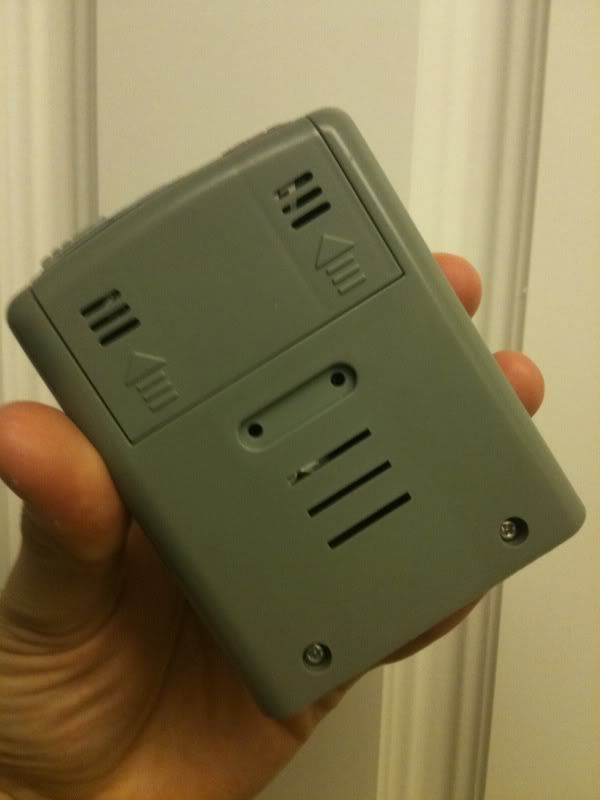
Here is the tric:
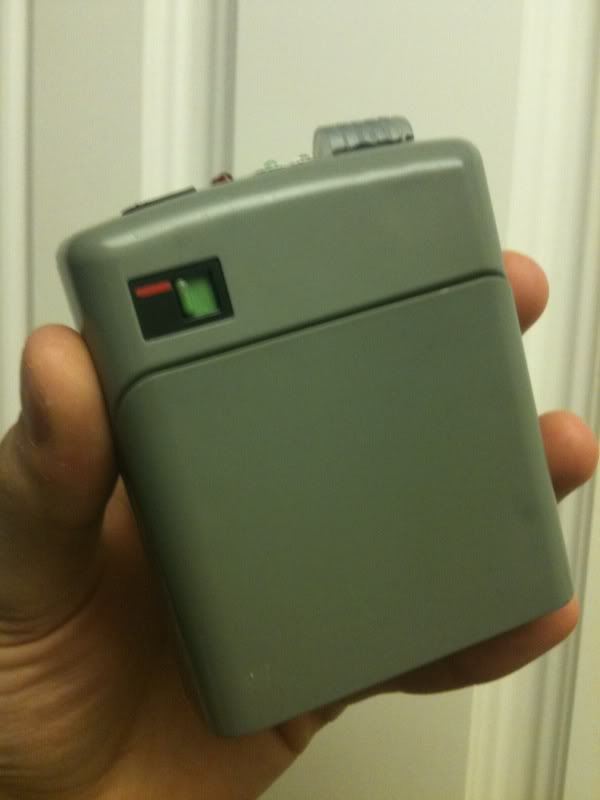
I could have repainted it, but I felt the color was close enough.
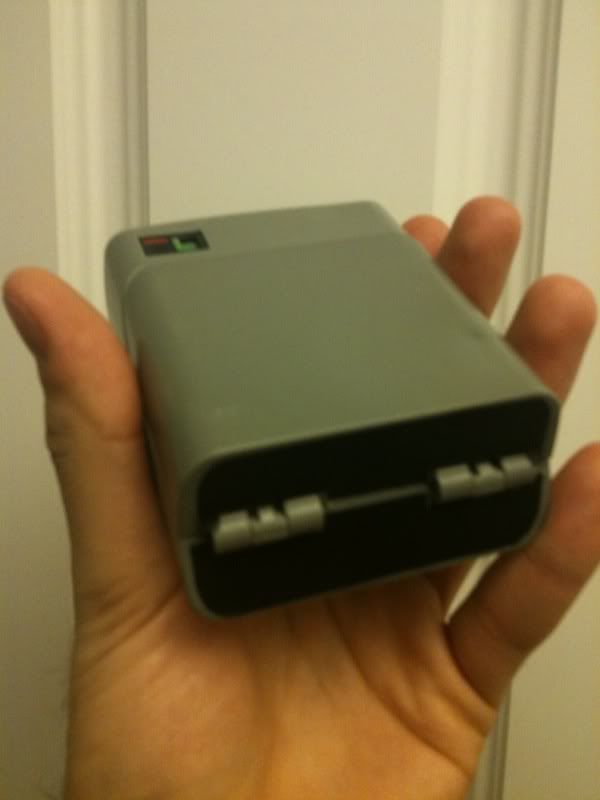

Here are some comparison pics with my playmates tric next to a Myron built Mark VII (note the size difference):
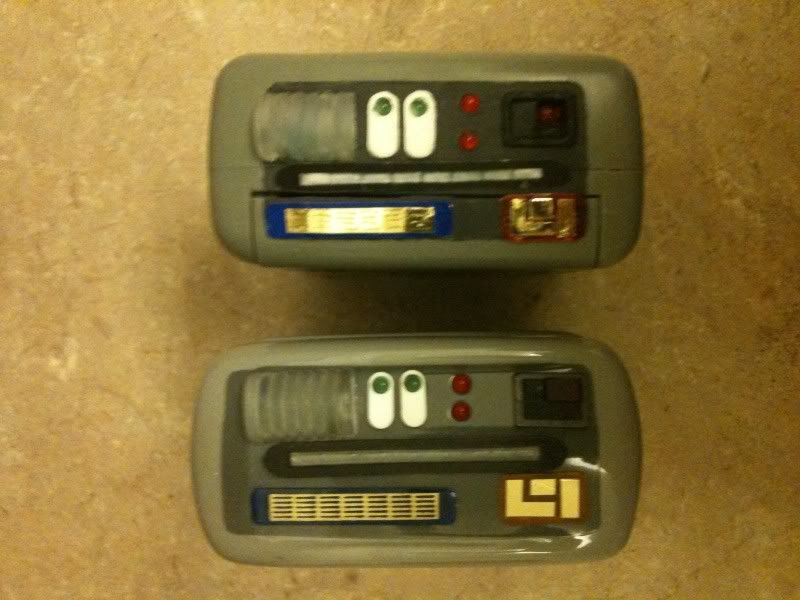


There is obviously no contest between the two as Myron's stuff is a perfectionist's dream. You might notice I temporarily added a new graphic to the screen:


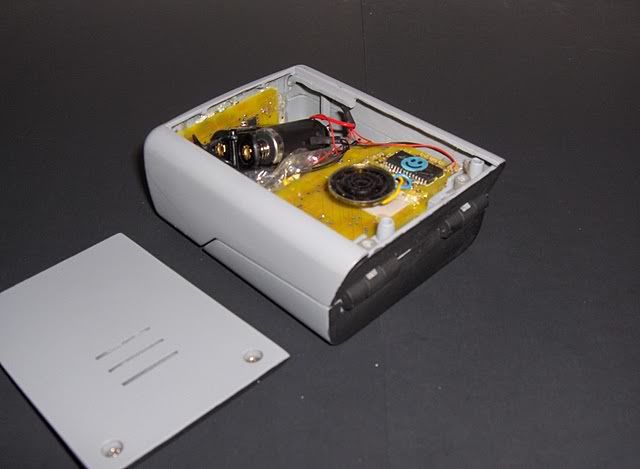
Here's the messy guts of the thing. It isn't pretty:
Here is the story with mine. I actually decided to mod the tricorder shortly after I came across one back in the day. Since I was in the seventh grade, I am glad I waited a decade to try it :lol A handful of years ago, I opened it up and with no knowledge of electronics, basically scratched my head a little bit, and just winged it.
I was able to keep the battery setup that comes with the tric intact. All I did was solder two new wires to the switch and the battery, and then wire five or so flashing LEDs to that. I needed to carve some room out (I used a hot Xacto knife to score some of the unneeded plastic inside to fit the new wires. I then heated the tip of a small skrewdriver (could have drilled it to be more precise, but I was in a hurry) to create holes in the front array of the tric to squeeze the LEDs through.
I also unsrewed and removed the belt clip, added some black tape to the bottom, and put some details on the front array to resemble the Mark VII more closely. I made that clear piece on the top left of the tricorder face out of a gluestick which I cut and beveled with a pipe cutter. I trimmed some gold oak tag I found for the small pieces. I also added a fake middle scanning bar graphically. Lastly, I painted the background of the front array black, the two ovals white, and the power square on the top right black.
I should mention that on the Mark VII, only the green lights on the top row of the front array "flash" (they are in an alternating blinking sequence) and the movement of the tric's lights is really the middle green scanning bar. The bottom grill and the the gold detail light as well.
Since I couldn't fit a scanning bar in the tric without massively reworking the guts, I just made the entire top row of the front array flash and left the bottom part with no lights. All in all, the LEDs are VERY bright and the flashing, in my opinion, more than makes up for the lack of the scanning bar.
Here is the tric:

I could have repainted it, but I felt the color was close enough.


Here are some comparison pics with my playmates tric next to a Myron built Mark VII (note the size difference):


There is obviously no contest between the two as Myron's stuff is a perfectionist's dream. You might notice I temporarily added a new graphic to the screen:


Here's the messy guts of the thing. It isn't pretty:

Last edited:

