None of the jackets I've seen out there can satisfy my desire for ultimate screen accuracy perfection (a compulsive disorder I know many of us here in the RPF community suffer from, lol), so I've decided to set out and try to build my own jacket. This is my first time working with a leather project of this scale, so it's going to be a learning process.
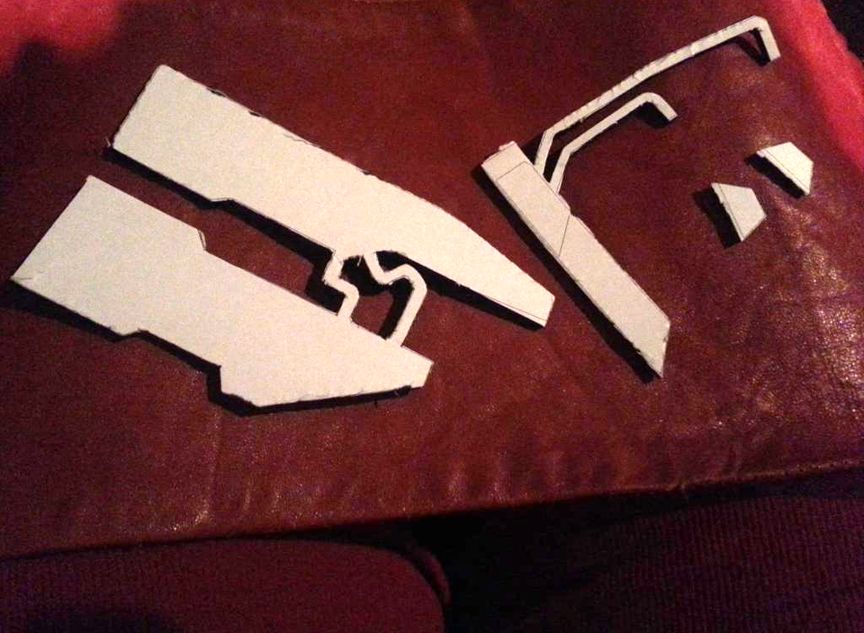
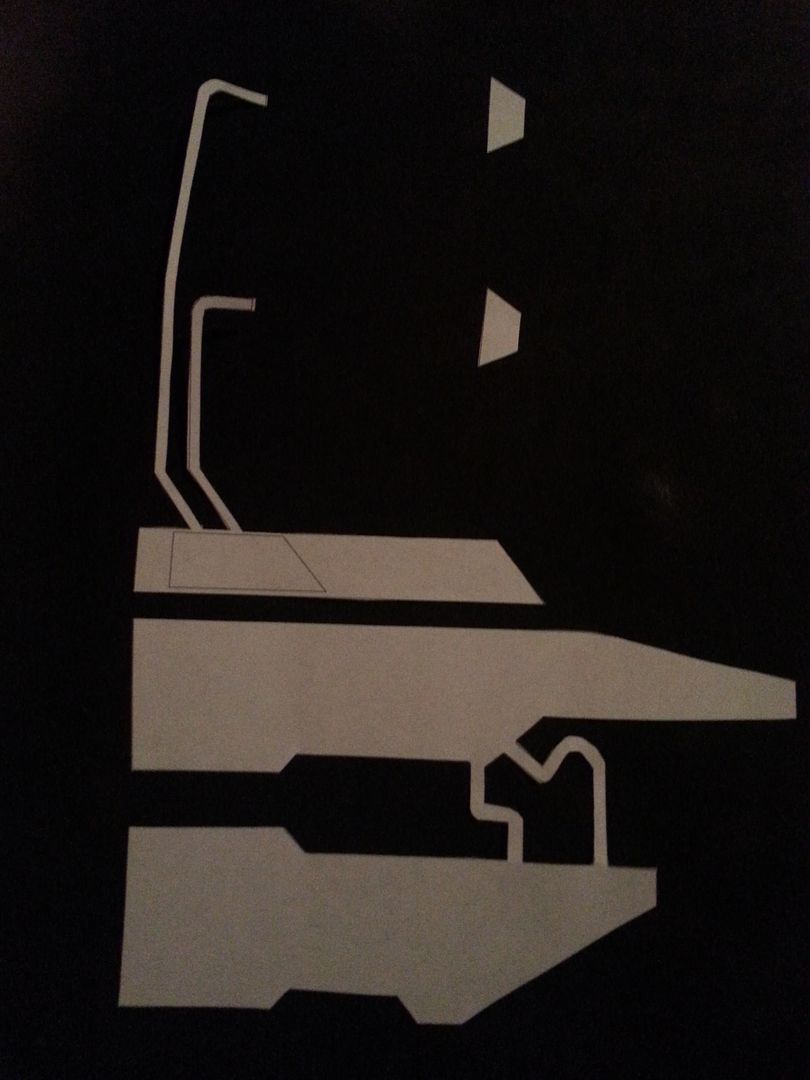
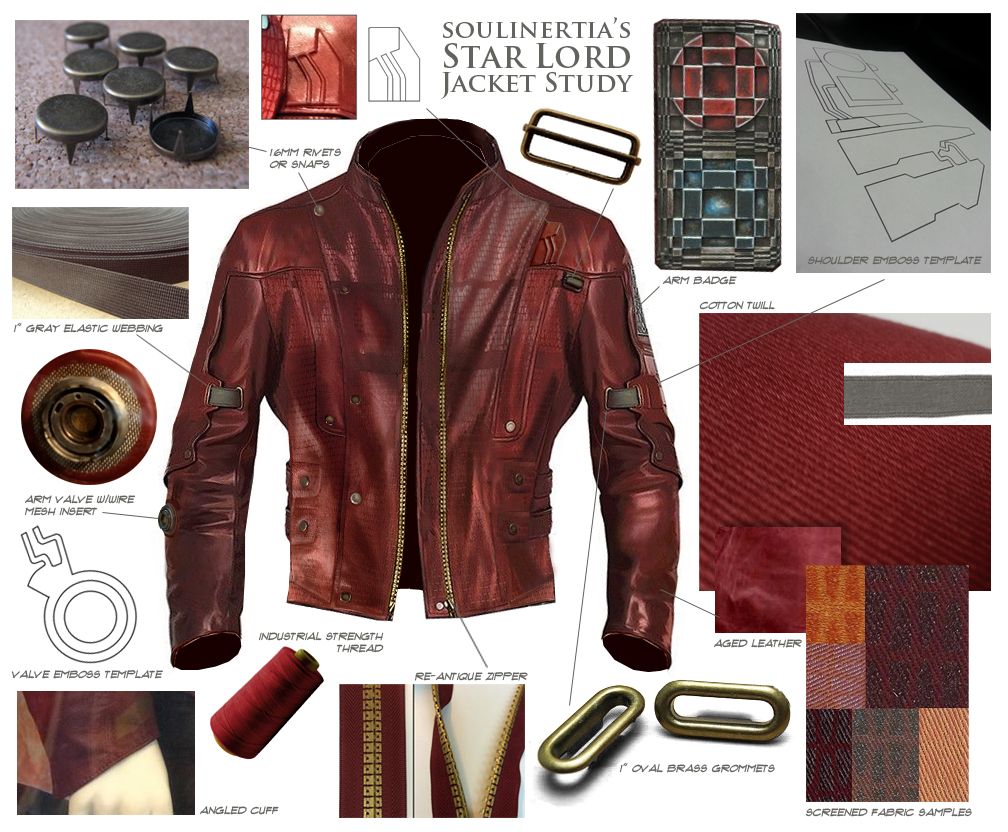
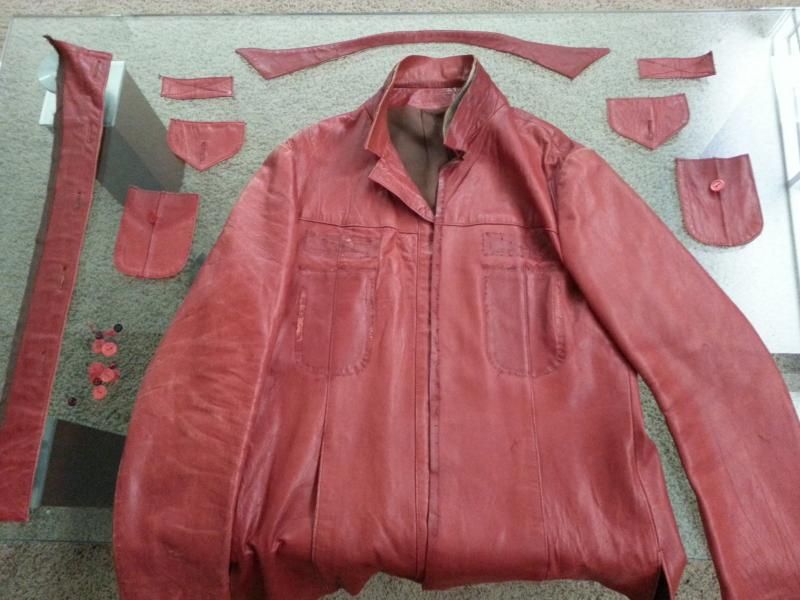
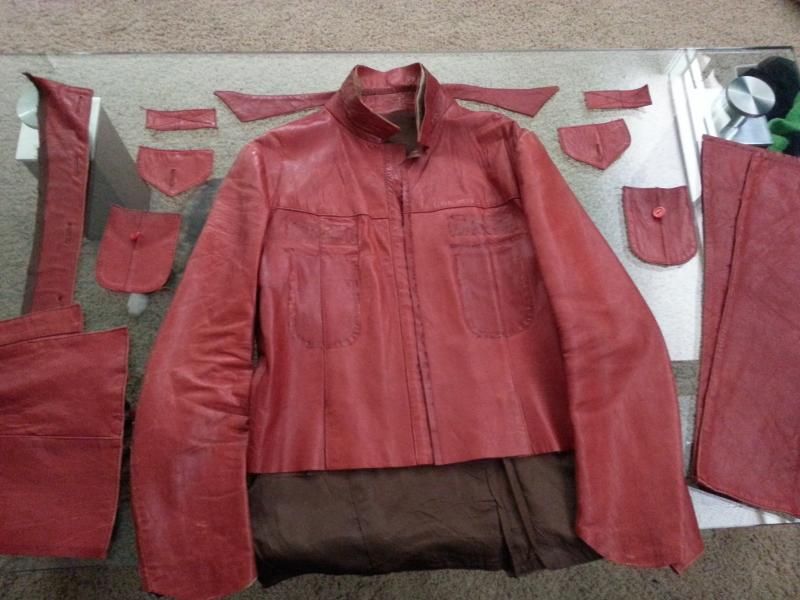
Here is a study I put together for all of the jacket components:
Instead of starting completely from scratch, I decided to build off of a base jacket. Another reason I did this is because I want that real vintage worn in look and feel to the jacket. I plan to wear this one often so I want it to be durable, comfortable and look natural yet, kinda futuristic. Not costumey at all. Fortunately I happened to have the perfect jacket on hand.
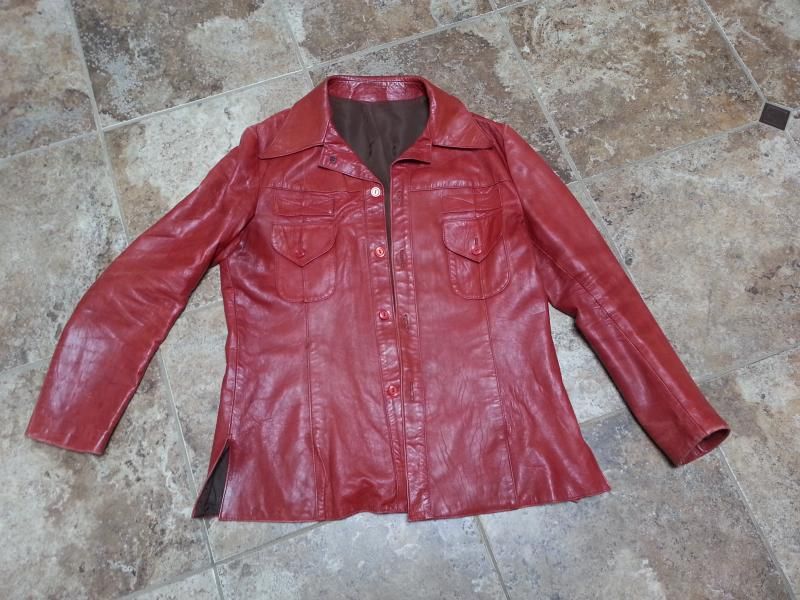
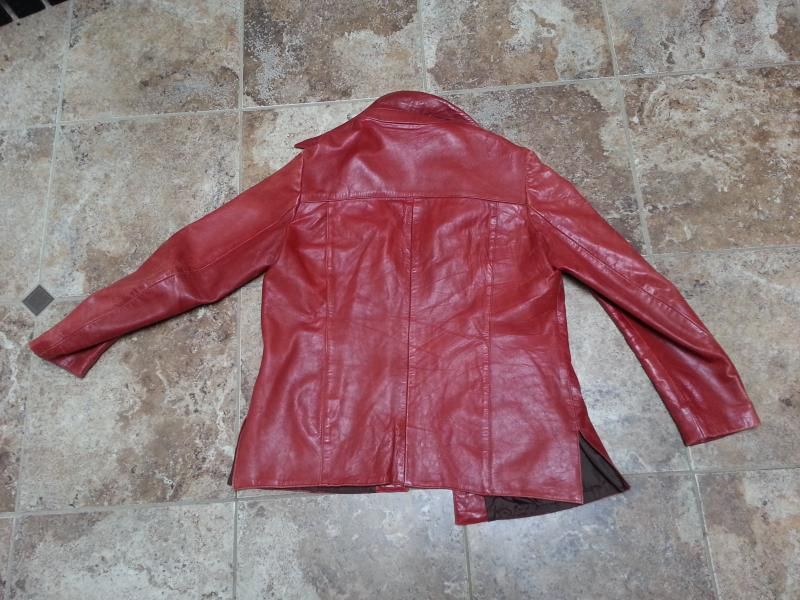
This is an old vintage jacket from the 70's I picked up a few years ago for my first Tyler Durden costume. I think the color is almost perfect. It maybe a little light in some areas, but this is something I'll address later.
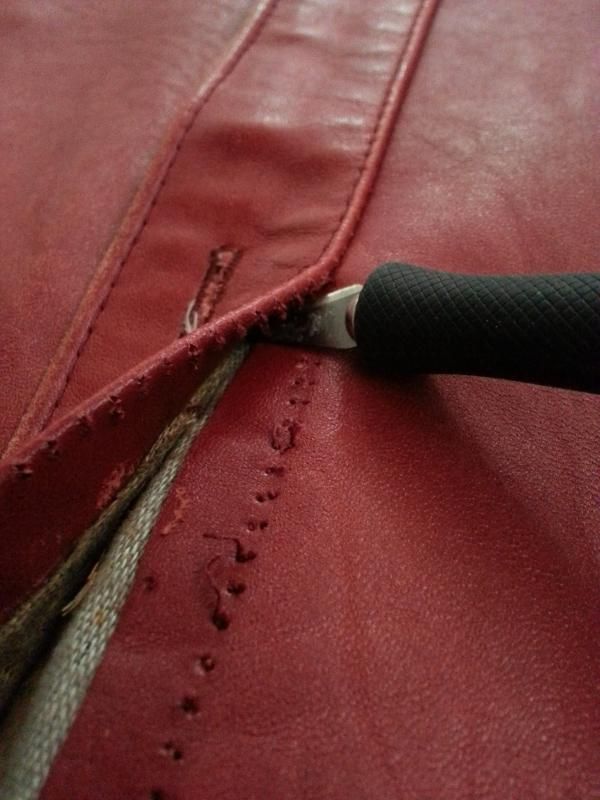
The first thing I did was remove the material for the button holes since Quill's jacket is a zip-up.
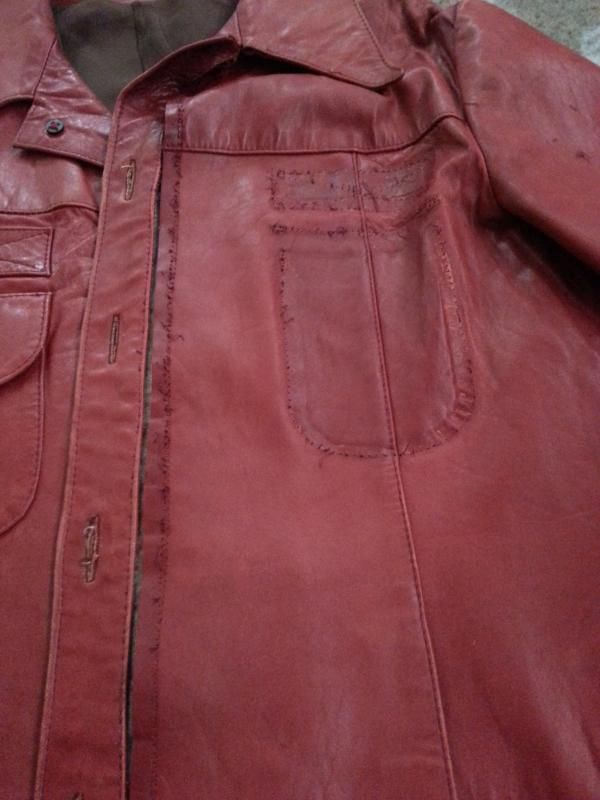
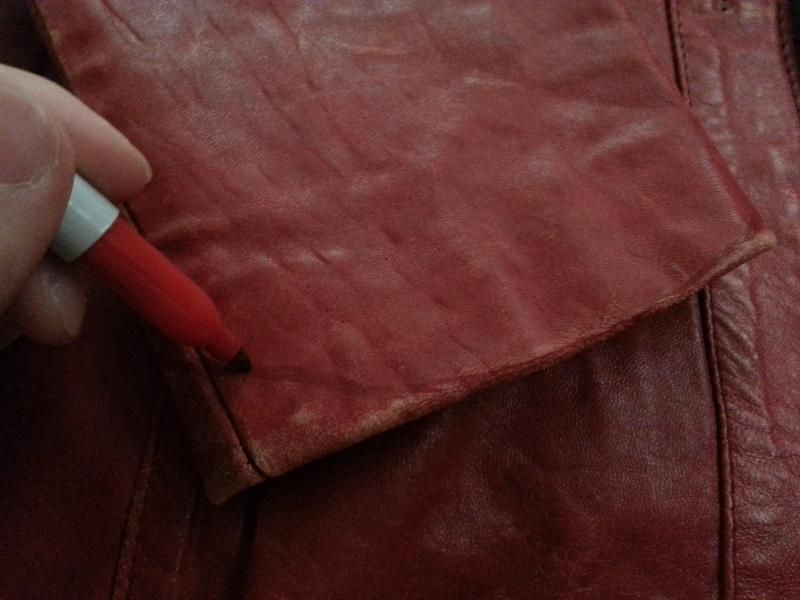
I also removed the pockets.
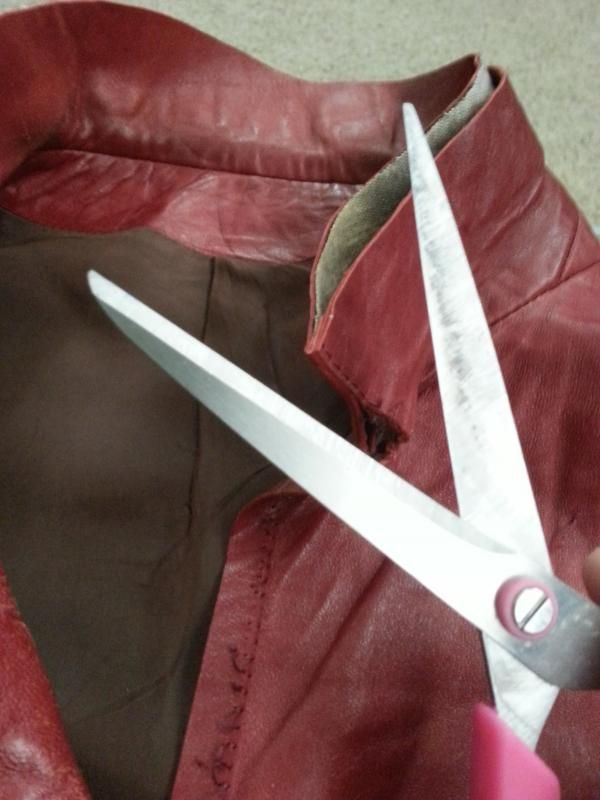
I also hacked off the ridiculously large collar.
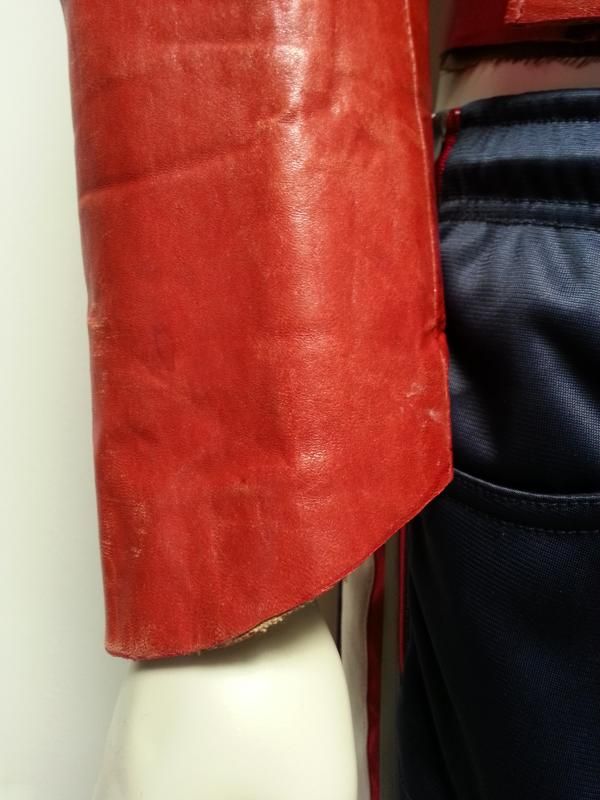
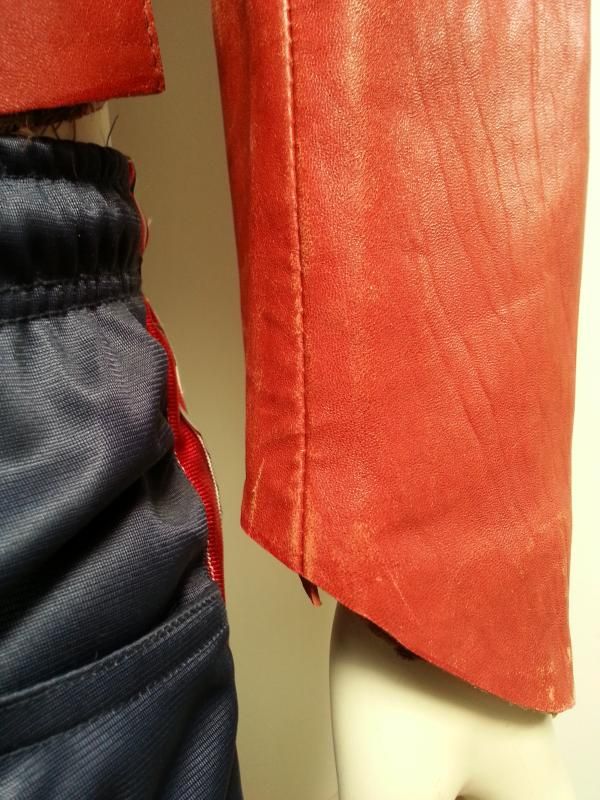
Another thing I noticed were the curved cuffs so I drew on the shapes with a sharpie and cut them out.
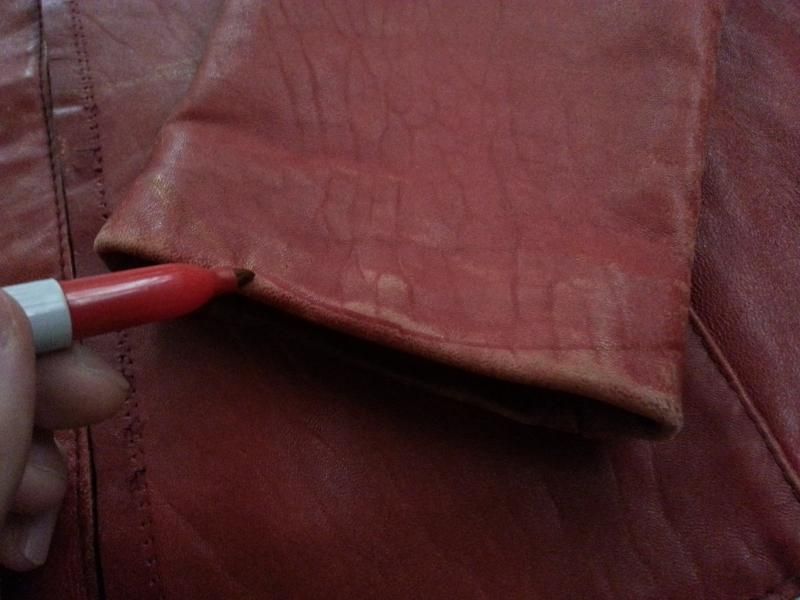
For the shoulder material I needed some additional leather and since the core of the jacket is a cotton twill I took the leather strips from the back.
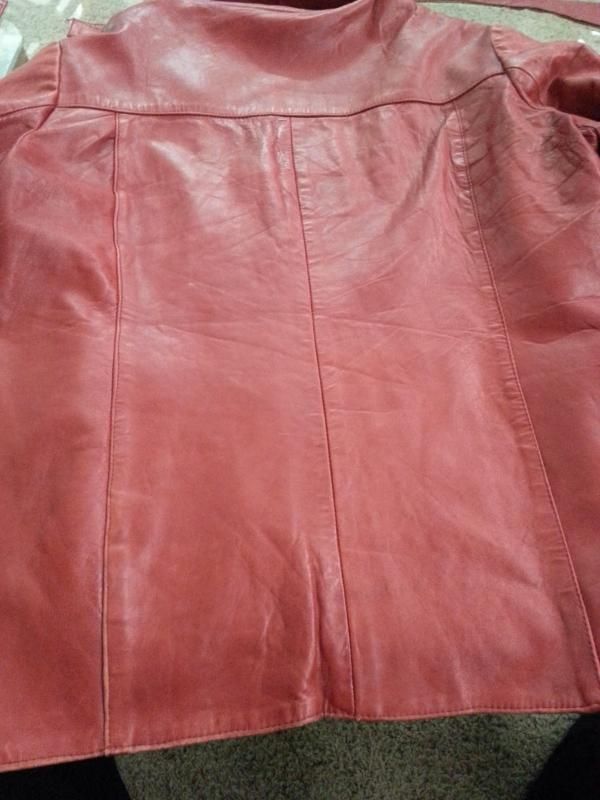
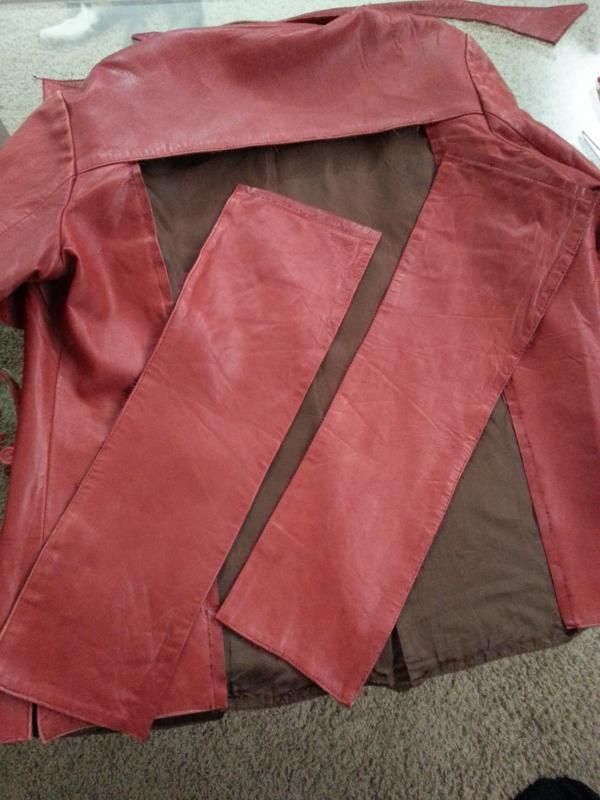
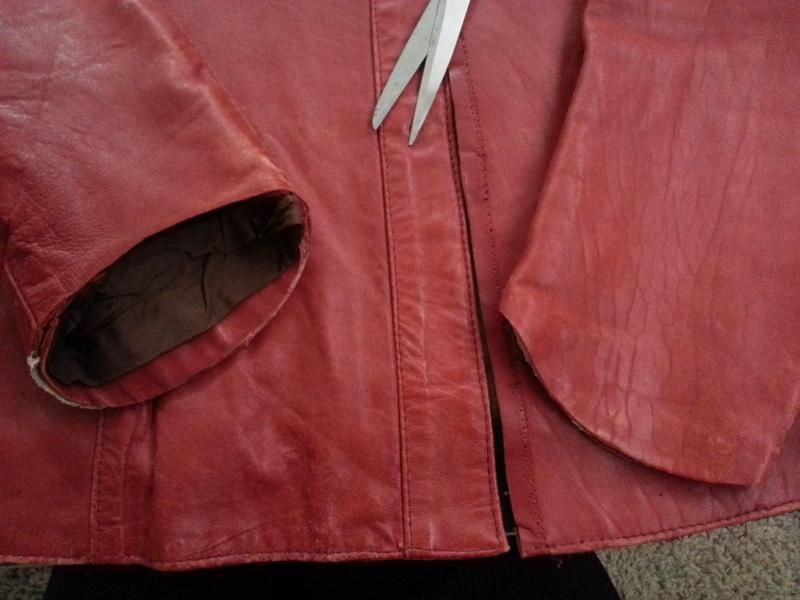
The jacket is pretty short so I cut off about 7" from the bottom.
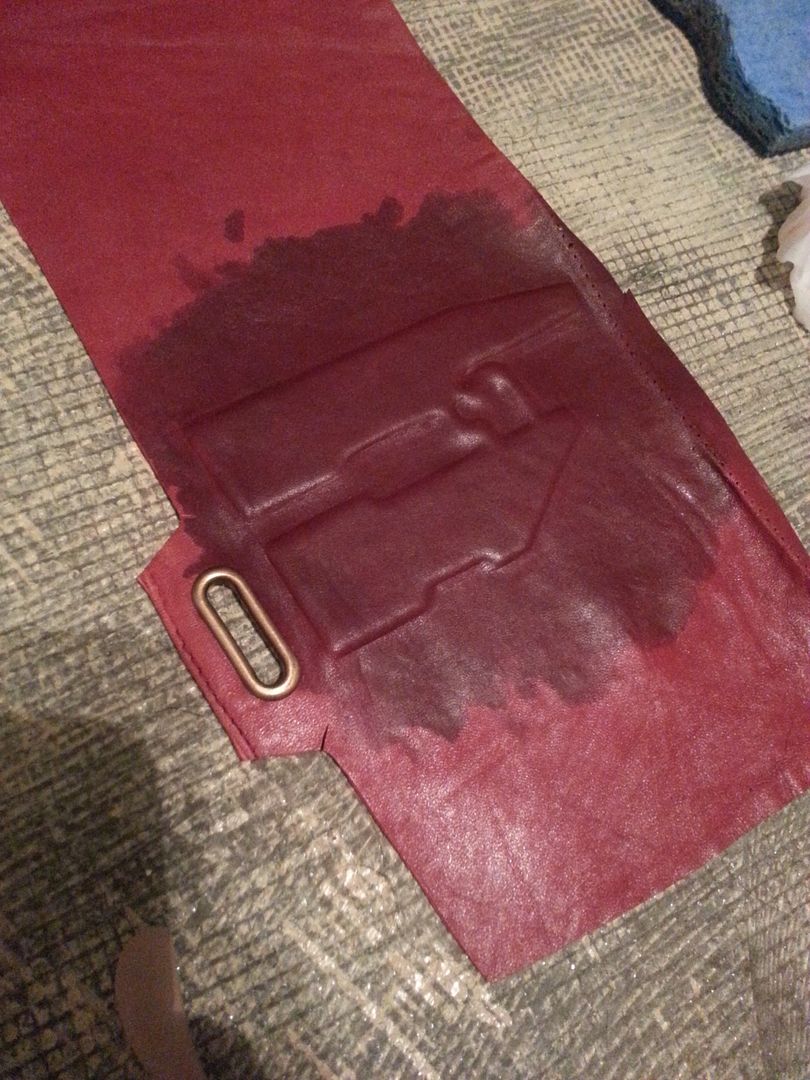
General placement for the grommets.
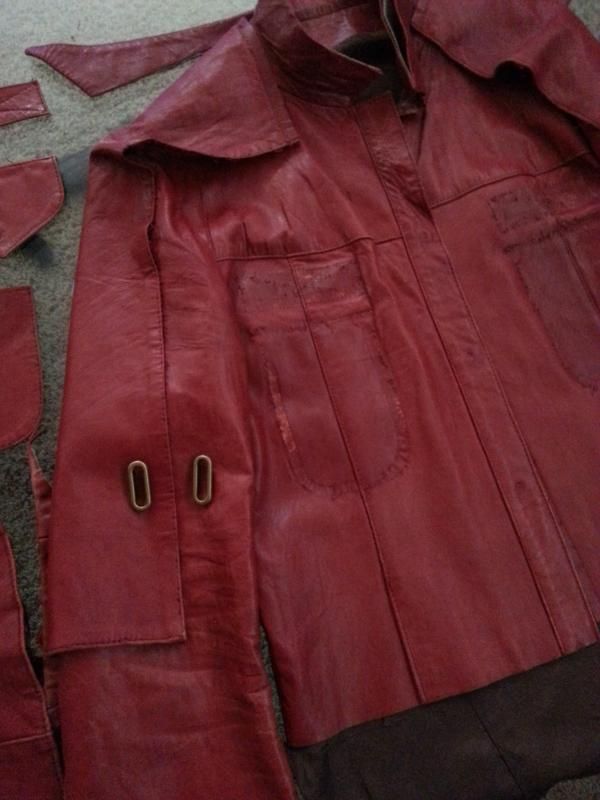
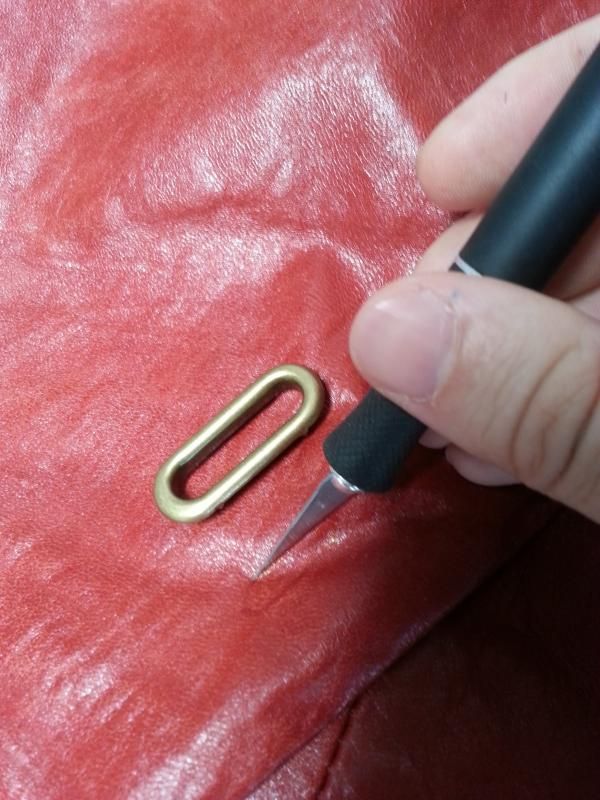
After marking out exactly where I wanted them I cut a slit with an x-acto.
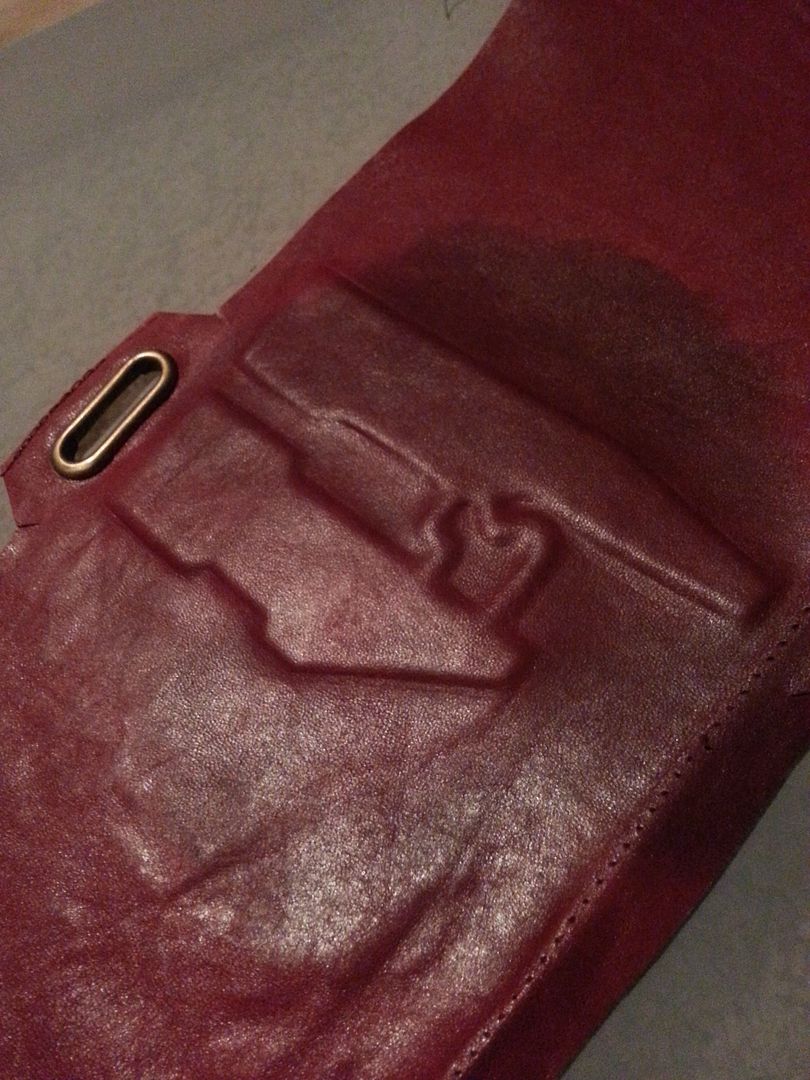
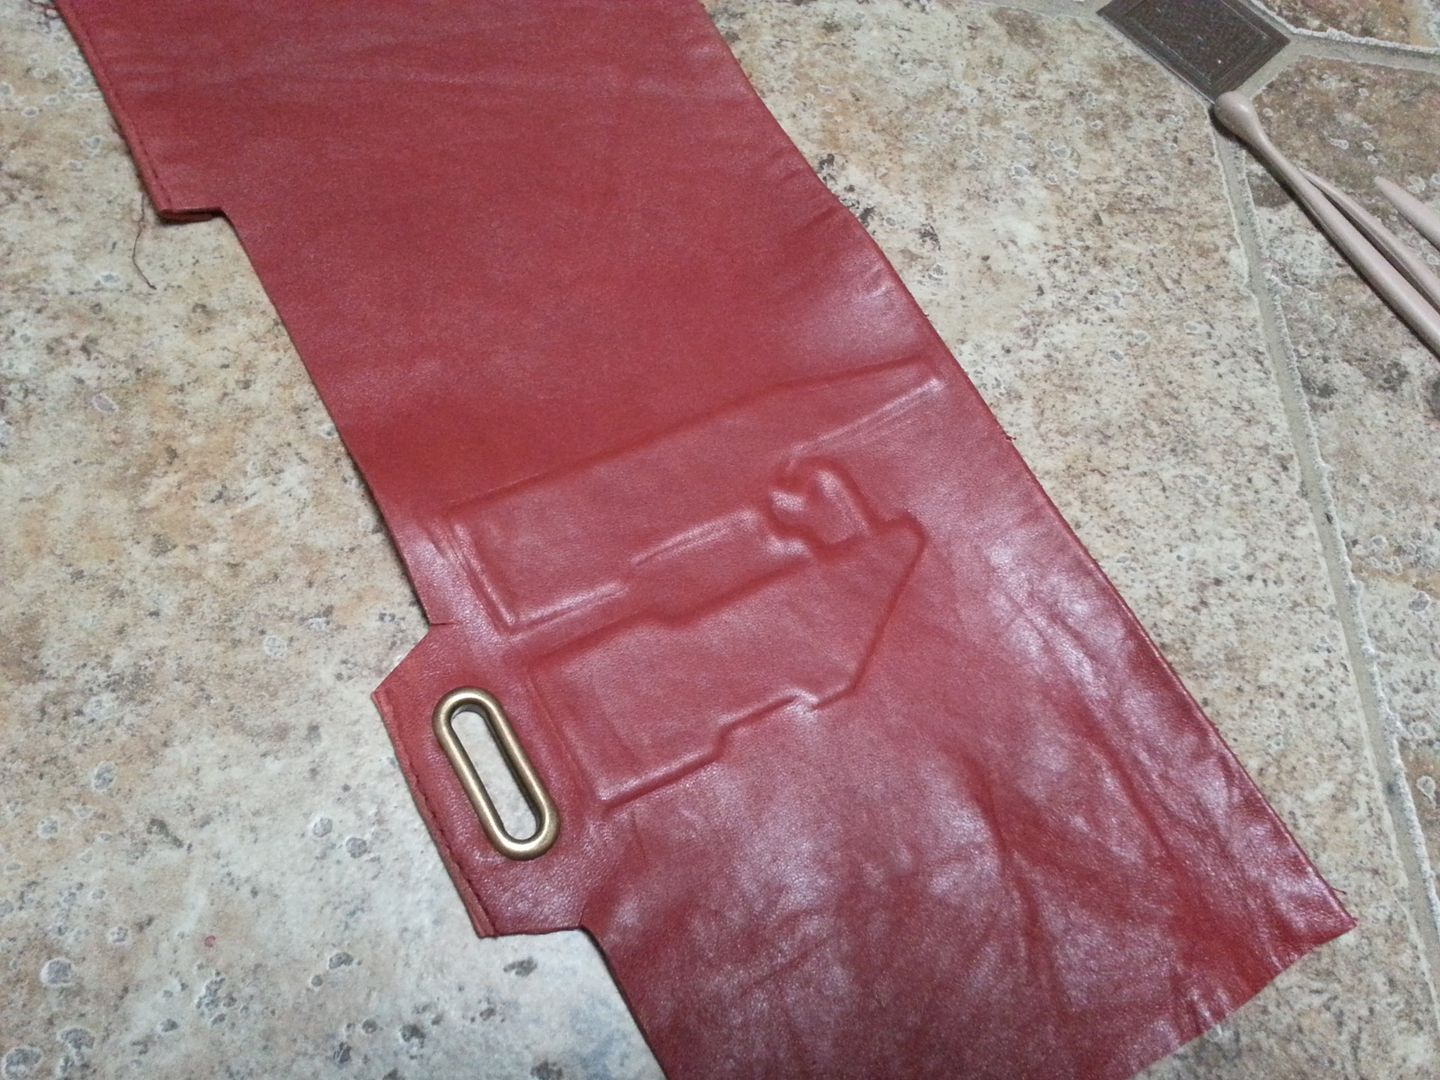
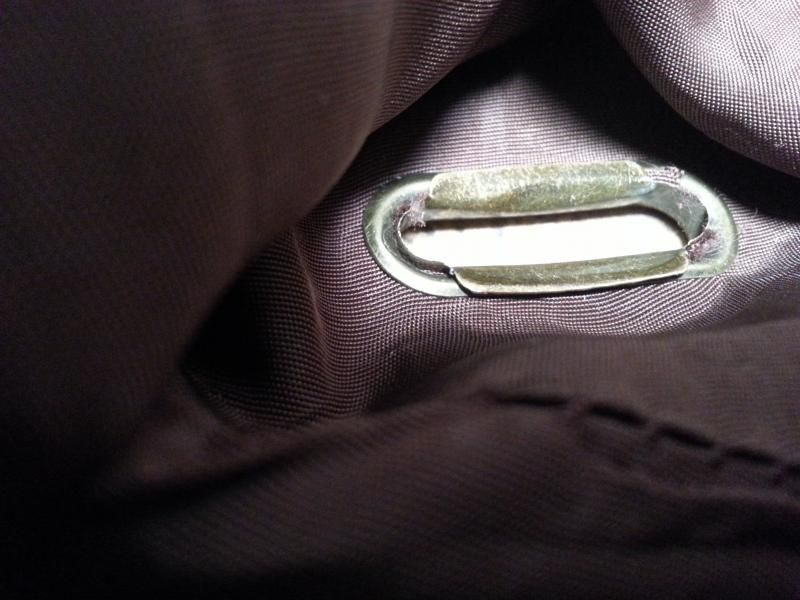
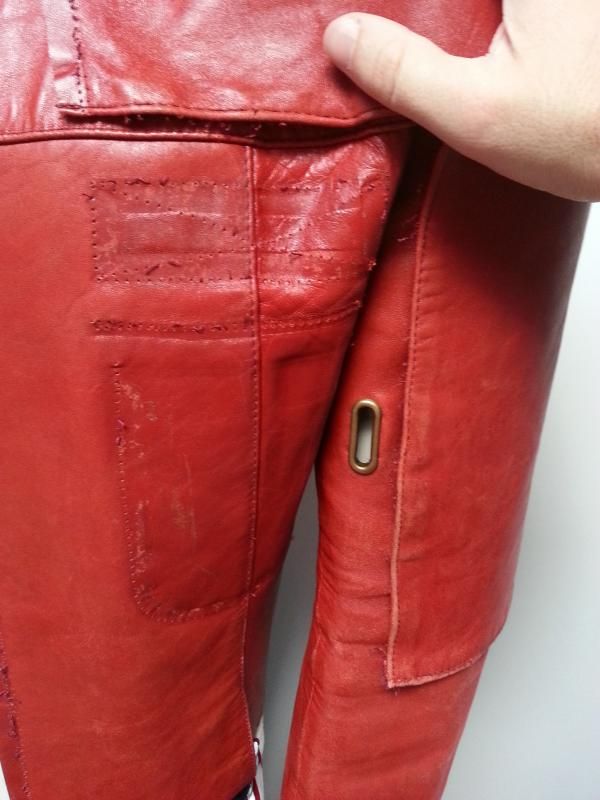
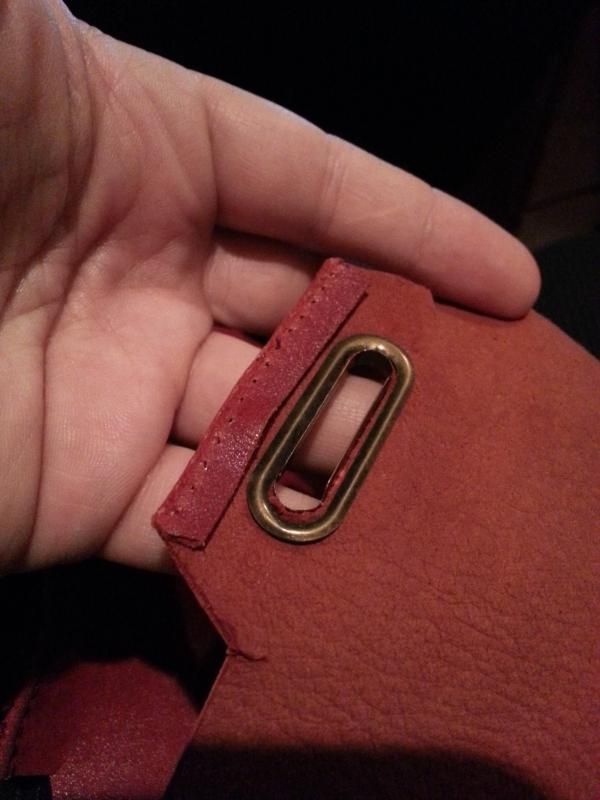
First grommet installed!

Here is what it looks like from the back.
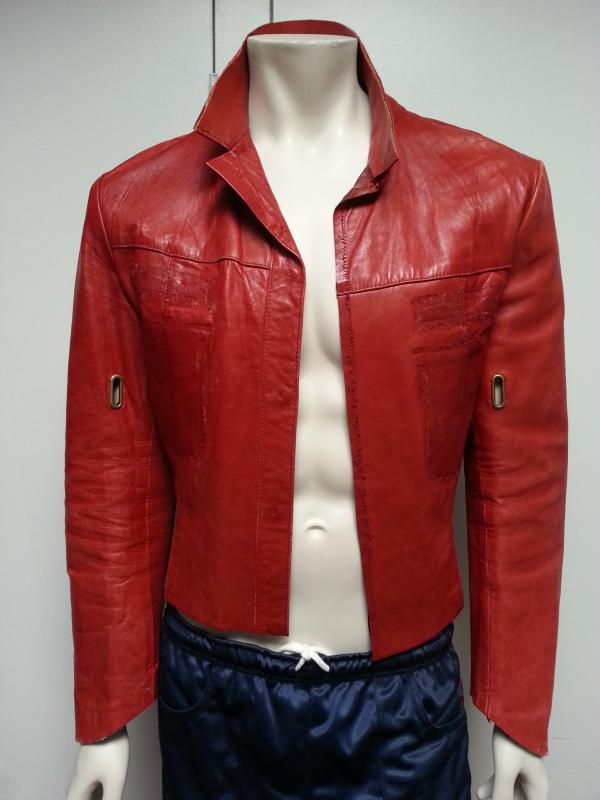
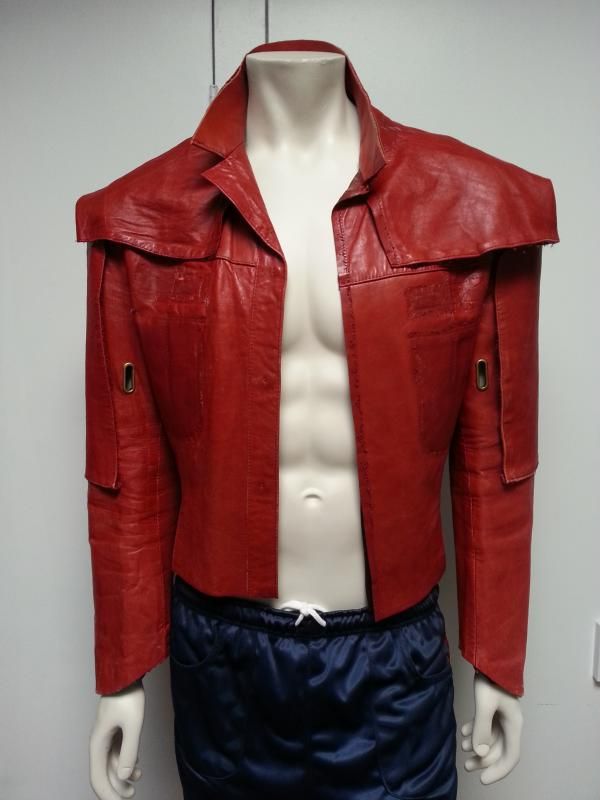
I put the jacket on a mannequin to check the fit and placement of everything.
I loosely placed the additional material on the shoulders.
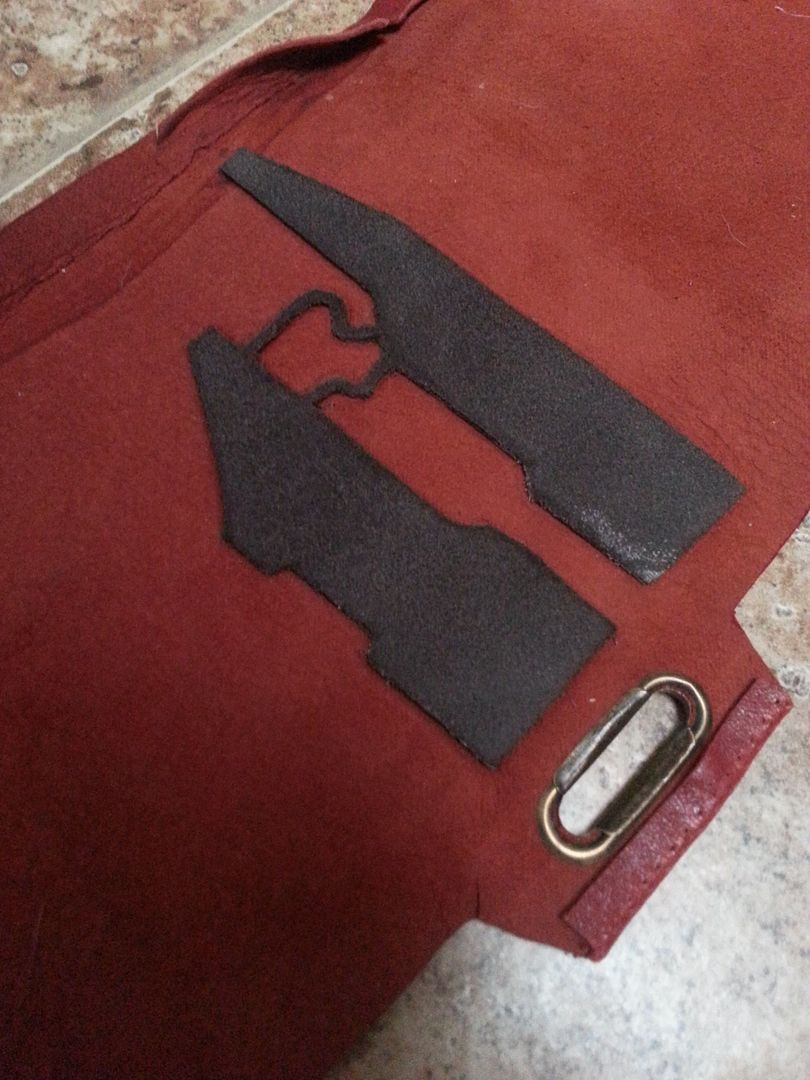
Then I cut out the basic shape for the shoulder pieces.
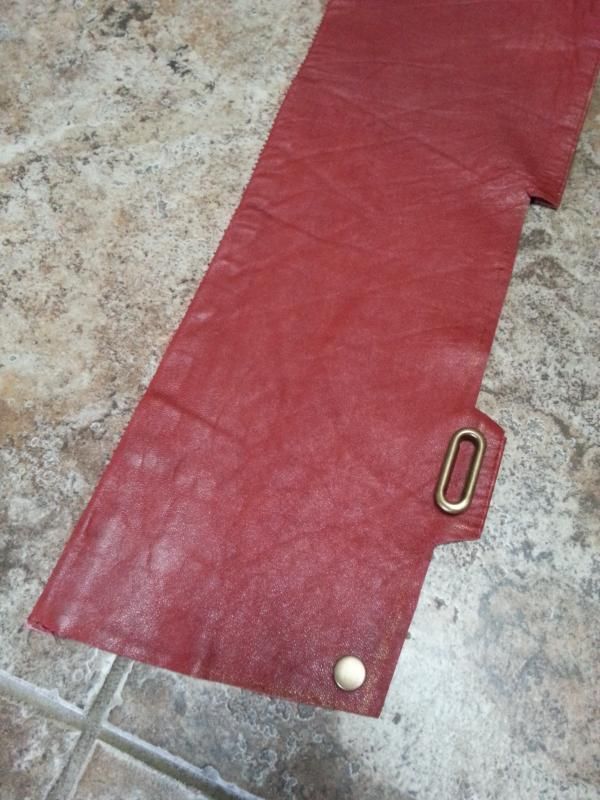
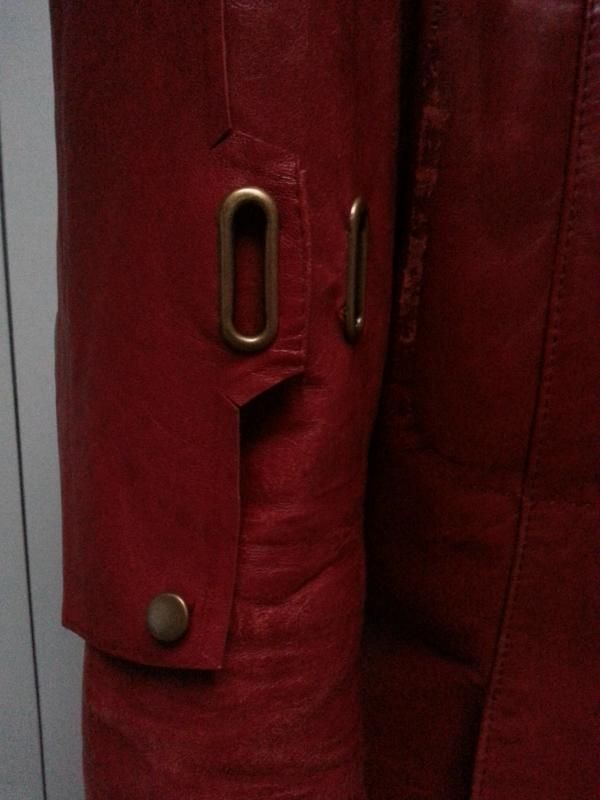
And installed the grommets.
So that's where I'm at so far. I still have a ton of sewing to do on all these pieces.
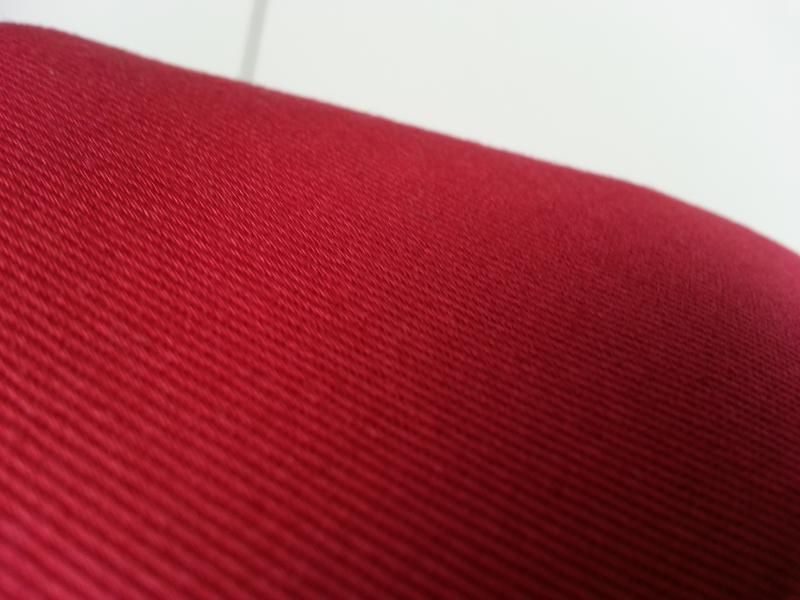
Here is the twill fabric I'll be using for the rest of the jacket.
Next step screen printing!
Here is a study I put together for all of the jacket components:
Instead of starting completely from scratch, I decided to build off of a base jacket. Another reason I did this is because I want that real vintage worn in look and feel to the jacket. I plan to wear this one often so I want it to be durable, comfortable and look natural yet, kinda futuristic. Not costumey at all. Fortunately I happened to have the perfect jacket on hand.
This is an old vintage jacket from the 70's I picked up a few years ago for my first Tyler Durden costume. I think the color is almost perfect. It maybe a little light in some areas, but this is something I'll address later.
The first thing I did was remove the material for the button holes since Quill's jacket is a zip-up.
I also removed the pockets.
I also hacked off the ridiculously large collar.
Another thing I noticed were the curved cuffs so I drew on the shapes with a sharpie and cut them out.
For the shoulder material I needed some additional leather and since the core of the jacket is a cotton twill I took the leather strips from the back.
The jacket is pretty short so I cut off about 7" from the bottom.
General placement for the grommets.
After marking out exactly where I wanted them I cut a slit with an x-acto.
First grommet installed!
Here is what it looks like from the back.
I put the jacket on a mannequin to check the fit and placement of everything.
I loosely placed the additional material on the shoulders.
Then I cut out the basic shape for the shoulder pieces.
And installed the grommets.
So that's where I'm at so far. I still have a ton of sewing to do on all these pieces.
Here is the twill fabric I'll be using for the rest of the jacket.
Next step screen printing!
Last edited:
")