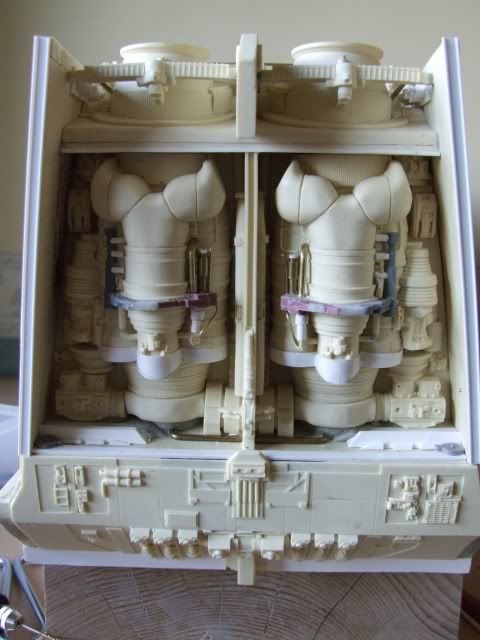
Well, the box came Tuesday and it was a big heavy box, thankfully with all the parts intact inside it!! After the clean beauty of the Salzo kit, this one is a bit of a beast to tidy up. The instructions on the disk are quite clear as a build guide and it is straight forward to follow, but there are a few issues I've worked pasted which I hope will save people time and trouble.
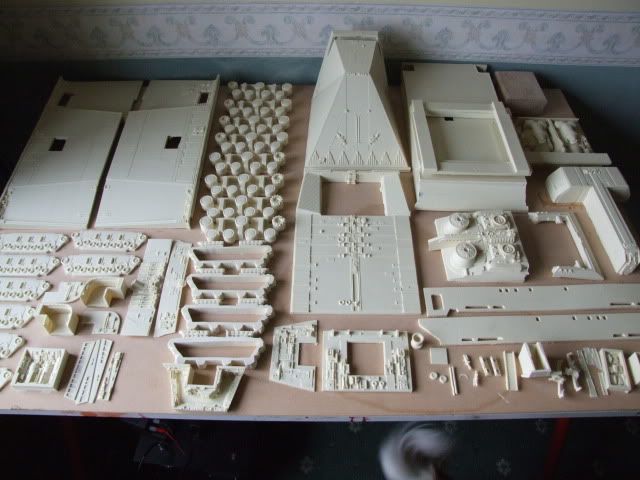
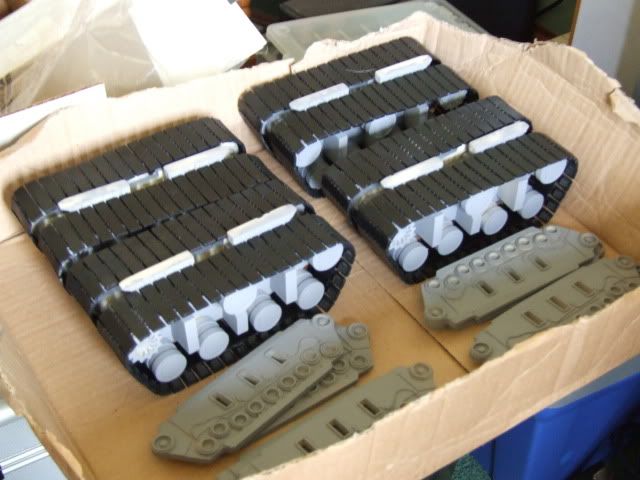
The clean up on this is kit before you even start to build is about five hours of work. Fortunately it chucked it down yesterday and but was warm enouigh to work in the garage. Anyone who has built a Cooper kit will know your best tool for the job is a hand or belt sander for most parts , but I have to admit this little circular saw attachment for a Dremel came into its own when cleaning the treads.
It will save you hours as it just slips in an out without seriously messing with the treads!! By hand it takes for ever, but with this about 15 minutes for one. And be warned there are eight of them.
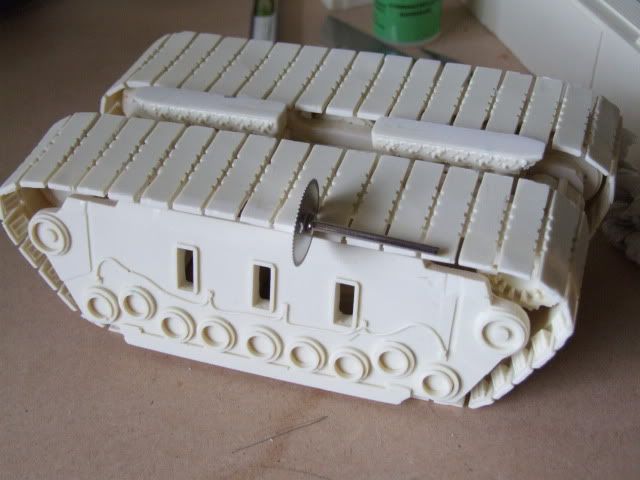
I thought the threads would be the most difficult part of the but they were actually a joy once done. They look very good and the quality is high. The problems start once you start to build the main body.
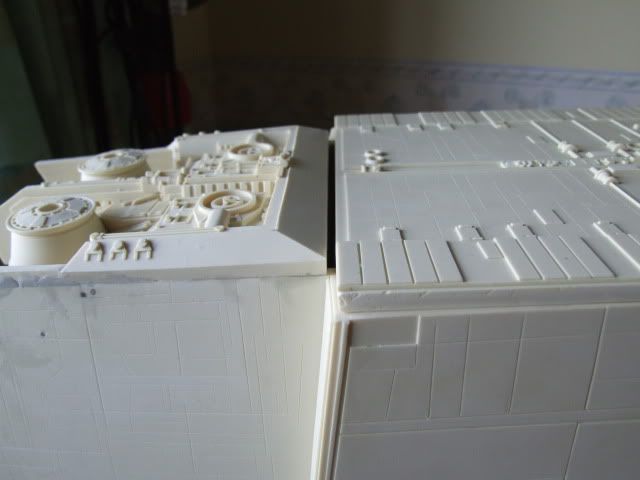
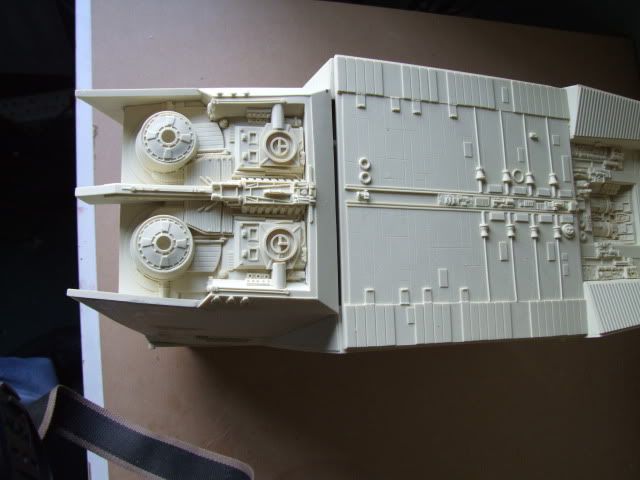
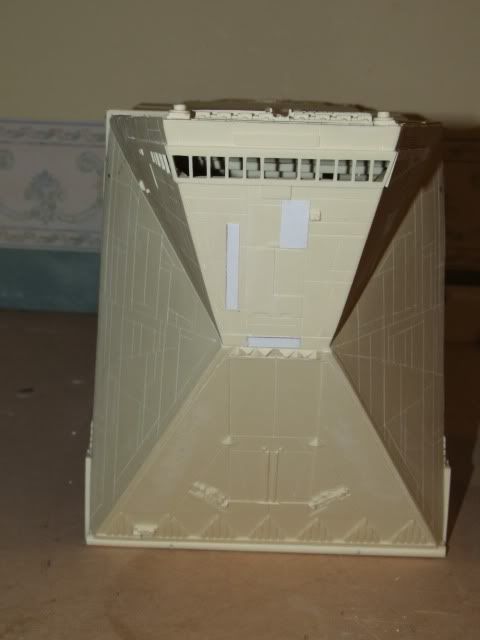
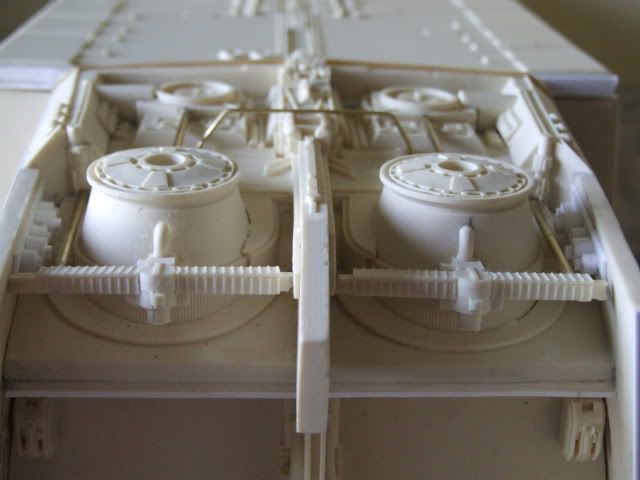
You build from the back engines forward, but there is an immediate problem with the angle at which the engine unit goes in. Randy marks it well enough on his disk, but doing it his way put all section under such pressure it kept popping the glue joints. By cutting a very small angled recess into the shelf this went away and with a bit of work it now holds together without it all being under tension.
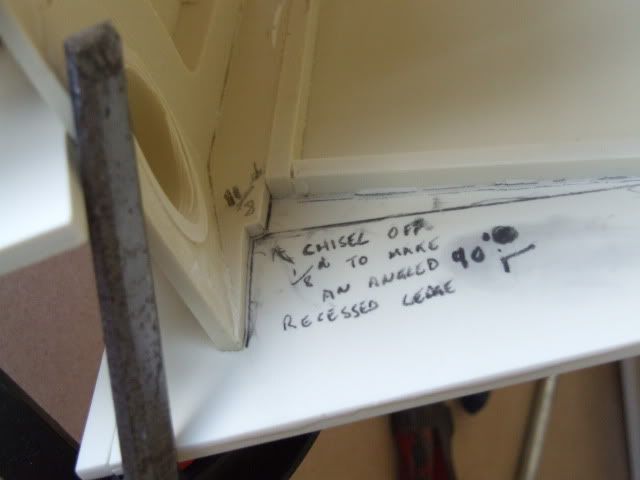
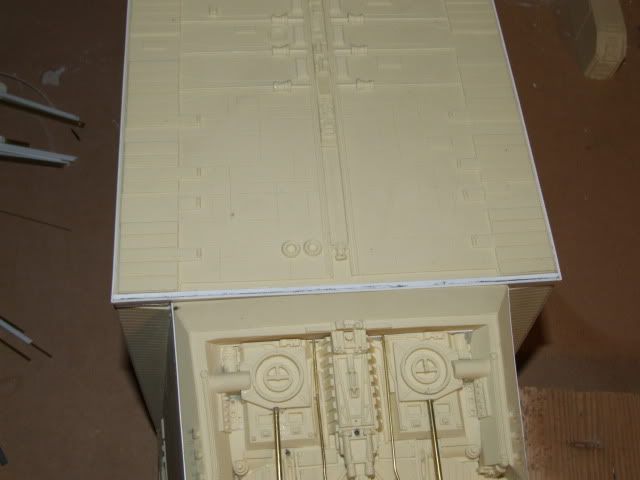
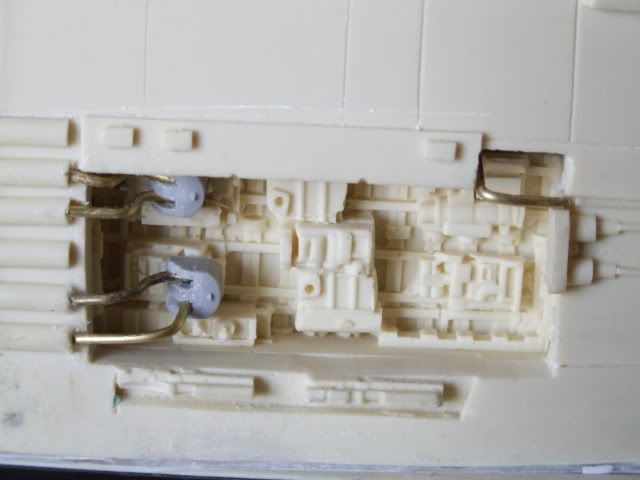
I have discovered a method of pinning it together before major glue and clamp work that works fairly well.A 1/6th inch brass rod , drill bit and lastly superglue.
Position whilst test clamping and mark ,and carefully drill hole. I find its best to get it right at the corners as these are most diffiult to clamp.
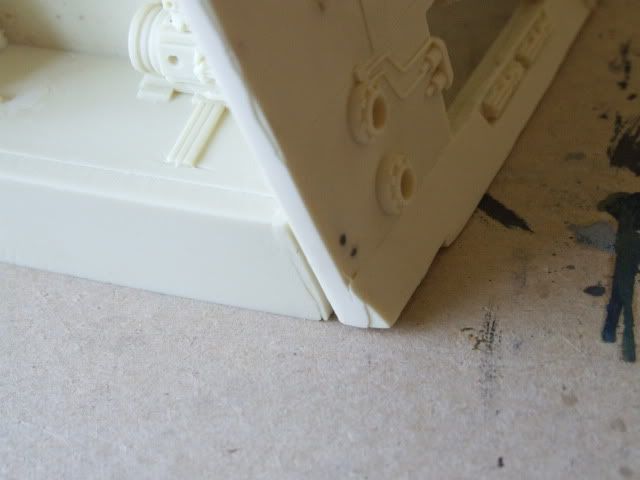
Push in rod and cut with a pliers, leaving a little space to push the rod fully in, but don't do it yet.
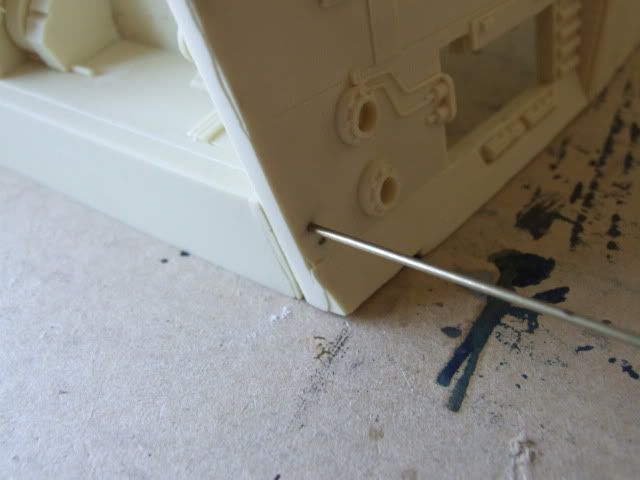
Drill and pin the other corners then glue the superstructure and clamp.
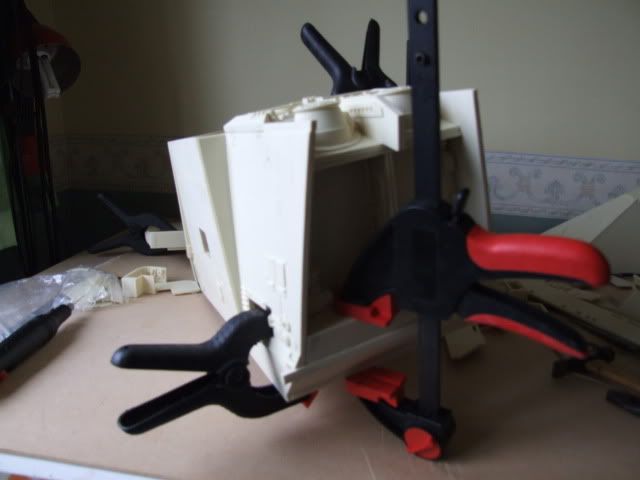
Then you just apply glue to the pins and push in to the holes quickly. They form a weld like joint very quickly and hold everything together better. Otherwise I found I kept popping joints once the clamps came off. So there is alot of sanding and fitting to do.
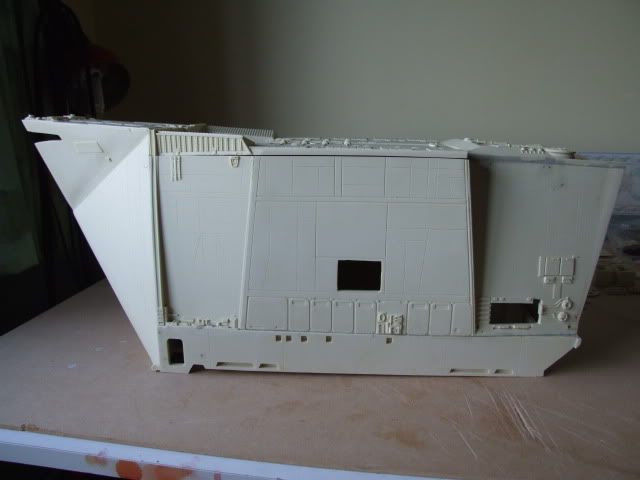
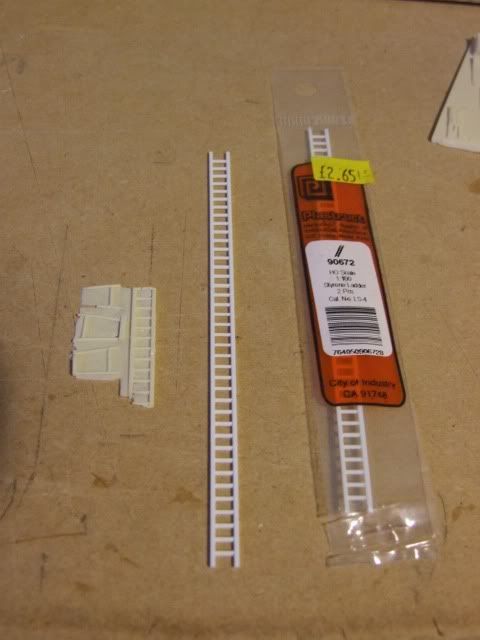
Thats as far as I am for now. There is alot of scope for super detailing with extra panelling and brass rods, and a some poorly cast detail lost to bubblinfg to remove and redo. But I think it should be a swiftish build.

The clean up on this is kit before you even start to build is about five hours of work. Fortunately it chucked it down yesterday and but was warm enouigh to work in the garage. Anyone who has built a Cooper kit will know your best tool for the job is a hand or belt sander for most parts , but I have to admit this little circular saw attachment for a Dremel came into its own when cleaning the treads.
It will save you hours as it just slips in an out without seriously messing with the treads!! By hand it takes for ever, but with this about 15 minutes for one. And be warned there are eight of them.

I thought the threads would be the most difficult part of the but they were actually a joy once done. They look very good and the quality is high. The problems start once you start to build the main body.
You build from the back engines forward, but there is an immediate problem with the angle at which the engine unit goes in. Randy marks it well enough on his disk, but doing it his way put all section under such pressure it kept popping the glue joints. By cutting a very small angled recess into the shelf this went away and with a bit of work it now holds together without it all being under tension.

I have discovered a method of pinning it together before major glue and clamp work that works fairly well.A 1/6th inch brass rod , drill bit and lastly superglue.
Position whilst test clamping and mark ,and carefully drill hole. I find its best to get it right at the corners as these are most diffiult to clamp.

Push in rod and cut with a pliers, leaving a little space to push the rod fully in, but don't do it yet.

Drill and pin the other corners then glue the superstructure and clamp.

Then you just apply glue to the pins and push in to the holes quickly. They form a weld like joint very quickly and hold everything together better. Otherwise I found I kept popping joints once the clamps came off. So there is alot of sanding and fitting to do.
Thats as far as I am for now. There is alot of scope for super detailing with extra panelling and brass rods, and a some poorly cast detail lost to bubblinfg to remove and redo. But I think it should be a swiftish build.

