NastyNoah
Member
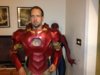
Hey guys, thanks for checking out my build thread. I caught the Iron man bug back in February, and thought I might be able to do the armor in a week or two for about $200-$300. Well here it is the end of May and I am maybe half way done and have spent at least $300 on just paints. So far this has been a great learning experience and a ton of fun. Without the RPF most of us here would not be able to do these things. So thank you RPF members for making this community an invaluable resource for us all.
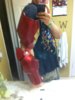
Here is what I have been working with
I am using the JFCostomized/ Robo3687 pepakura files for Mark IV-VII. Sharkhead 7854, helmet file, Doc Holidays coating technique, Best step anti-fatigue mats, Duplicolor and Rustoleum paints, 3mm Foamy sheets, for the multiple helmet attempts. Lots of hot glue and a hot knife to cut the foam.
I would like to thank my new Facebook friends Greg Jones and Brady Gage, for pointing me in the right direction, and answering so many of my questions.
So far I have had to do every piece at least two times. This is because when I started out I bought some upholstery foam on ebay that was inferior to the Best step mats. I redid the chest, back, shoulders, abs, and brace so all the pieces would have a uniform look and texture. So if you are looking at the upholstery foam on ebay AVOID it. This set me back at least a week and caused me to lose steam and motivation for a while, then I found Stealth's videos and was back to obsessing over my new hobby.
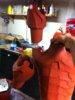
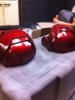
Before painting

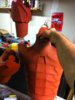
After painting


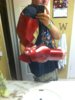
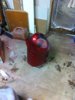
The Helmet has been a struggle for me as well. The first one was too small, second way too big, 3rd was just about right until I tried to resin and Bondo it, like I would a paper model.On my fourth attempt at the helmet it only took a few hours to complete and I'm happy with the results as of right now (pre painting). All the previous practice gave me good foundation to build from : )
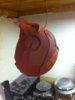
My failed BONDO att3empt DO NOT TRY THIS !
[/CENTER][/B]


To my surprise the mistakes, dents and small cracks were much more noticeable after a coat of paint. The helmet looked so bad after it was painted, I didn't even take a picture of it. The lesson learned on this try "You cant cover up mistakes with primer and paint"
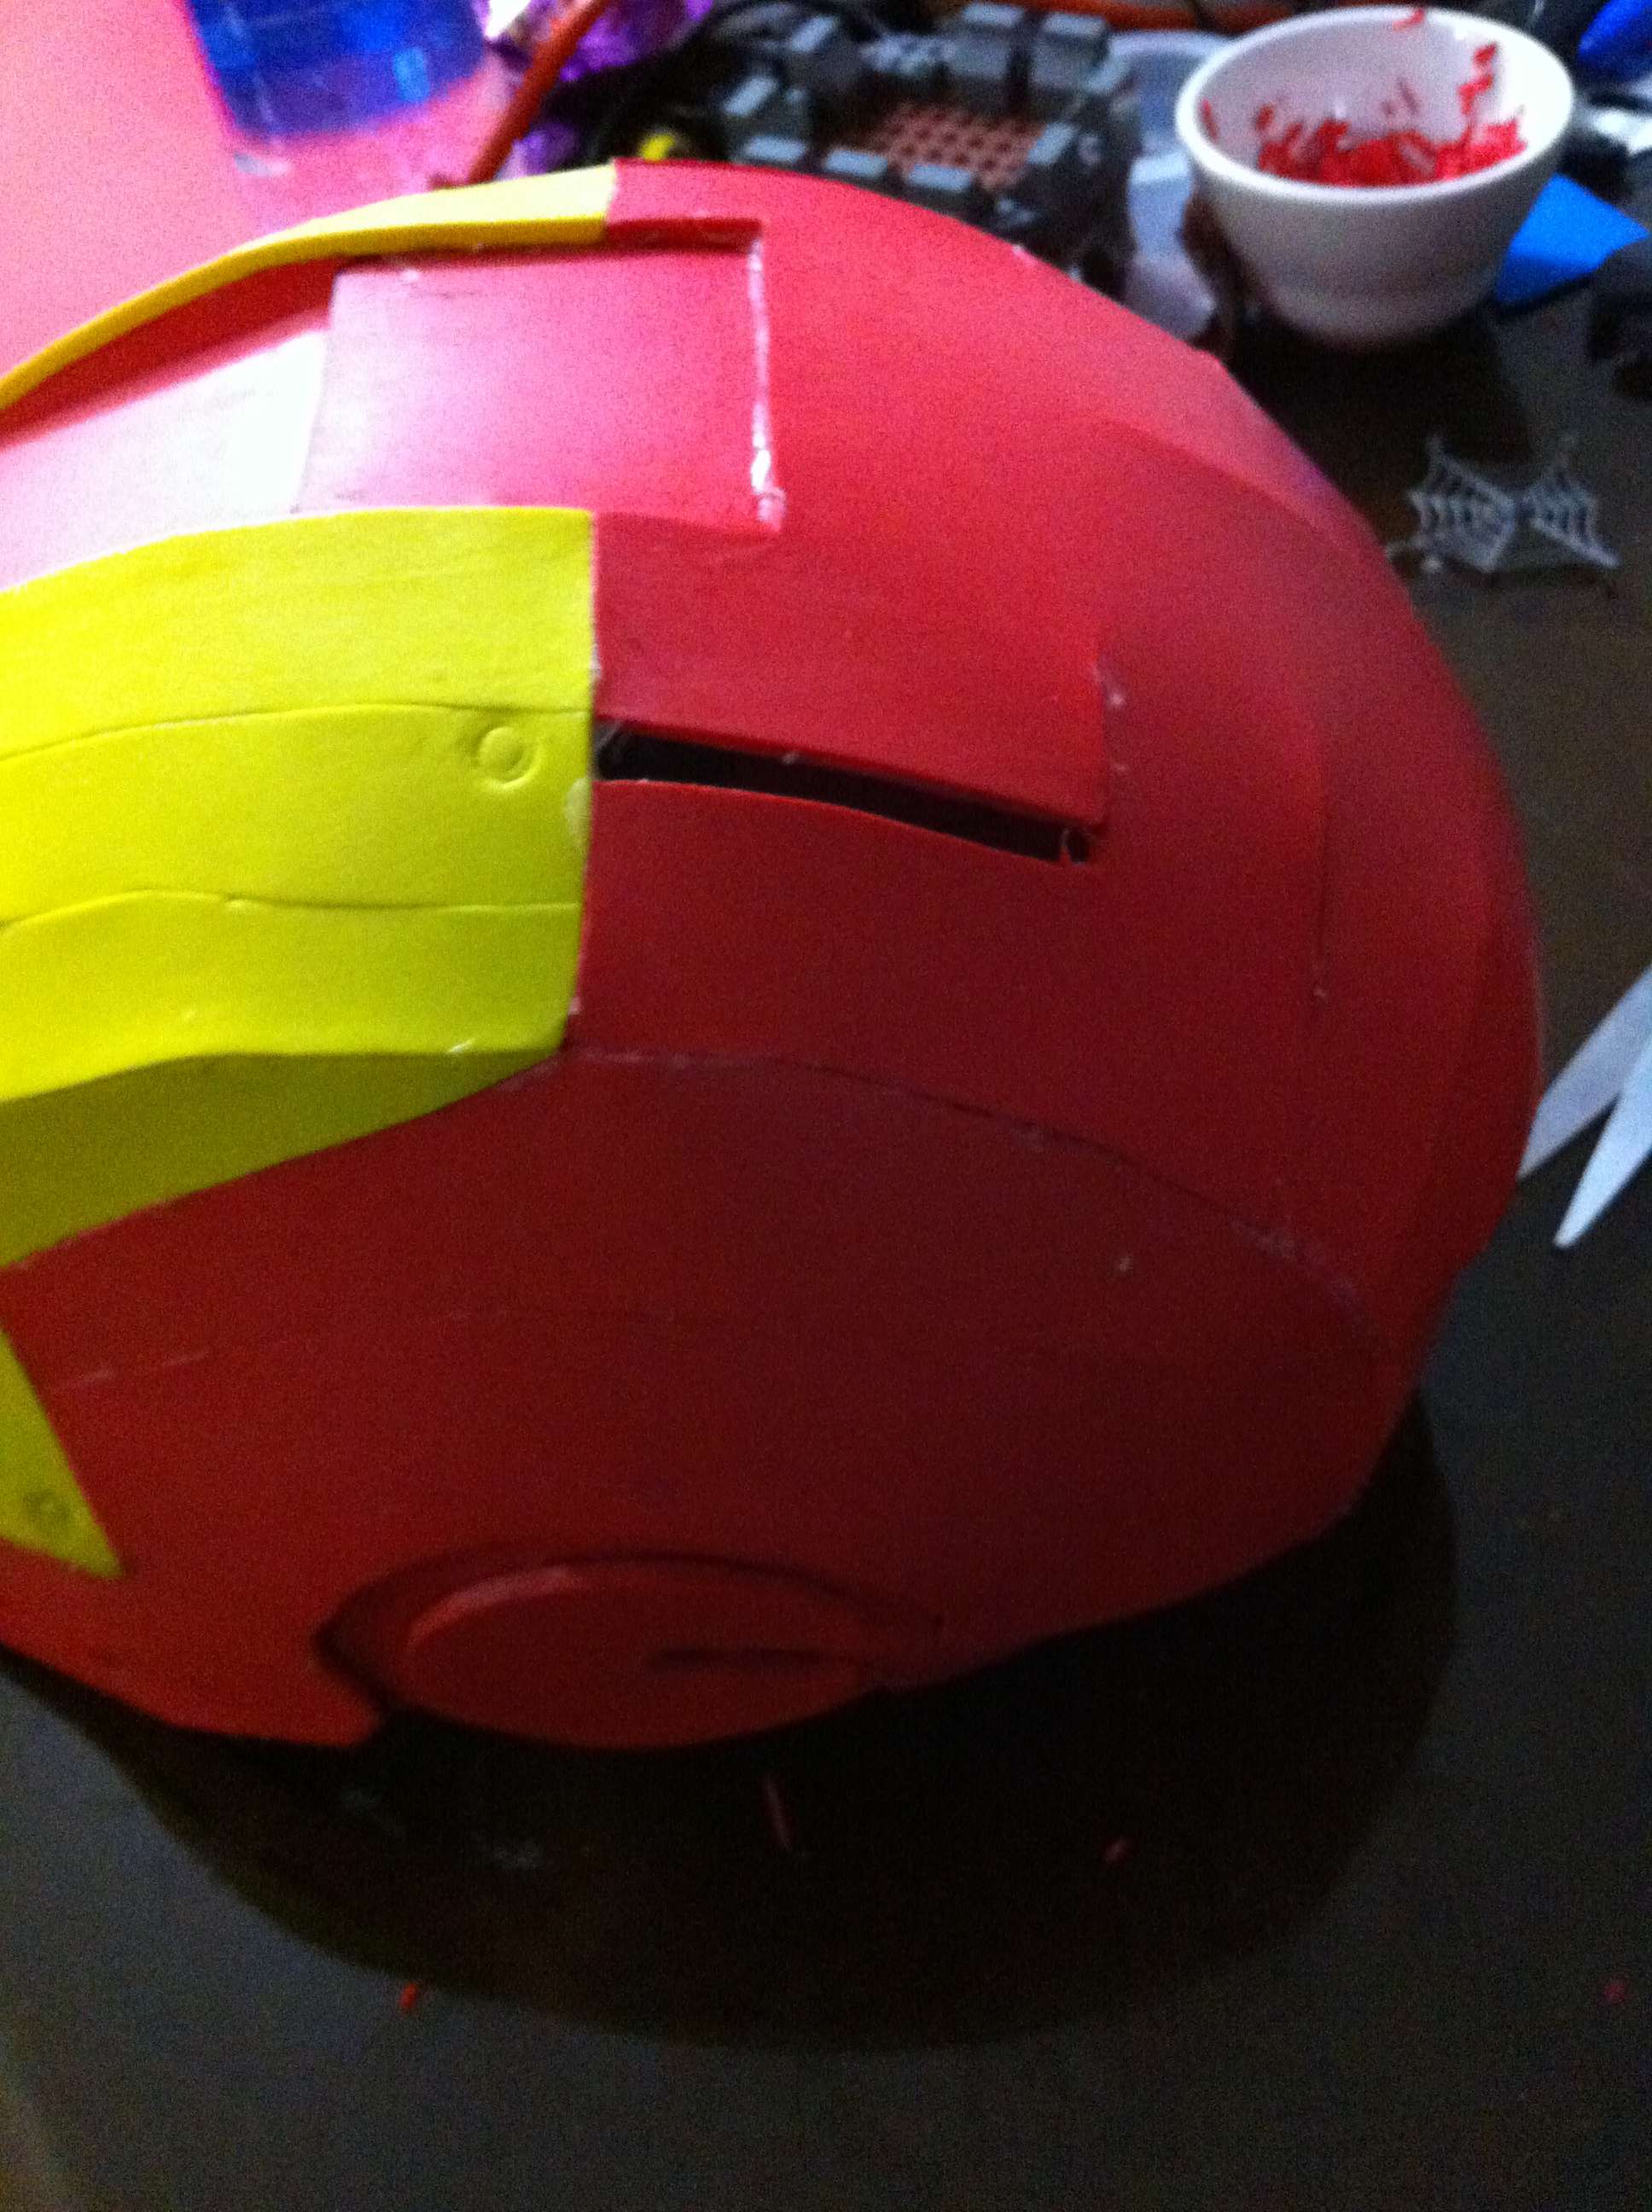
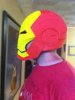
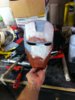
Here is the 4th helmet I have completed.
My main concern now is filling in the little gaps and seems,how can I fix these unwanted lines? I would like to make it appear to be one solid piece, and not look like a pepakura model. I have tried filling gaps in with glue, caulk, bondo, even a piece of tape like I was doing tape and bedding on sheet rock. So far none of these have worked for me.


What has worked for others in the same predicament?
Here is what I have been working with
I am using the JFCostomized/ Robo3687 pepakura files for Mark IV-VII. Sharkhead 7854, helmet file, Doc Holidays coating technique, Best step anti-fatigue mats, Duplicolor and Rustoleum paints, 3mm Foamy sheets, for the multiple helmet attempts. Lots of hot glue and a hot knife to cut the foam.
I would like to thank my new Facebook friends Greg Jones and Brady Gage, for pointing me in the right direction, and answering so many of my questions.
So far I have had to do every piece at least two times. This is because when I started out I bought some upholstery foam on ebay that was inferior to the Best step mats. I redid the chest, back, shoulders, abs, and brace so all the pieces would have a uniform look and texture. So if you are looking at the upholstery foam on ebay AVOID it. This set me back at least a week and caused me to lose steam and motivation for a while, then I found Stealth's videos and was back to obsessing over my new hobby.
Before painting
After painting
The Helmet has been a struggle for me as well. The first one was too small, second way too big, 3rd was just about right until I tried to resin and Bondo it, like I would a paper model.On my fourth attempt at the helmet it only took a few hours to complete and I'm happy with the results as of right now (pre painting). All the previous practice gave me good foundation to build from : )
My failed BONDO att3empt DO NOT TRY THIS !
[/CENTER][/B]
To my surprise the mistakes, dents and small cracks were much more noticeable after a coat of paint. The helmet looked so bad after it was painted, I didn't even take a picture of it. The lesson learned on this try "You cant cover up mistakes with primer and paint"
Here is the 4th helmet I have completed.
My main concern now is filling in the little gaps and seems,how can I fix these unwanted lines? I would like to make it appear to be one solid piece, and not look like a pepakura model. I have tried filling gaps in with glue, caulk, bondo, even a piece of tape like I was doing tape and bedding on sheet rock. So far none of these have worked for me.
What has worked for others in the same predicament?
Attachments
-
 armor 001.jpg1.8 MB · Views: 116
 -
 armor 002.jpg2.3 MB · Views: 134
 -
 armor 003.jpg2.3 MB · Views: 124
 -
 armor 004.jpg1.7 MB · Views: 142
 -
 armor 006.jpg1.6 MB · Views: 135
 -
 armor 007.jpg1.7 MB · Views: 126
 -
 armor 008.jpg1.7 MB · Views: 148
 -
 armor 009.jpg925 KB · Views: 122
 -
 armor 010.jpg2.5 MB · Views: 123
 -
 armor 011.jpg712.8 KB · Views: 153
 -
 armor 012.jpg1.7 MB · Views: 127
 -
 armor 013.jpg1.7 MB · Views: 134
 -
 armor 014.jpg1.8 MB · Views: 135
 -
 armor 015.jpg1.8 MB · Views: 146
 -
 armor 016.jpg1.8 MB · Views: 133
 -
 armor 017.jpg1.7 MB · Views: 145
 -
 armor 020.jpg1.7 MB · Views: 141
 -
 armor 021.jpg874.3 KB · Views: 127
 -
 armor 022.jpg1.8 MB · Views: 126
 -
 armor 023.jpg1.6 MB · Views: 130
 -
 armor 024.jpg2.1 MB · Views: 137
 -
 armor 025.jpg1.4 MB · Views: 204
 -
 armor 026.jpg1.9 MB · Views: 129
 -
 armor 027.jpg2.2 MB · Views: 143
Last edited:


