WinstonWolf359
Master Member
I just finished my latest "weekend project" and I thought I'd take a moment to share.
Back when they first came out last year, I picked up one of the TOS phaser water guns they sell at the Star Trek Experience in Vegas. At the time I thought it was pretty cool that they put so much effort into making it as accurate and faithful to the MR phaser pistol, right down to matching all of the paint, and because the general shape is so accurate it quickly became my favorite phaser to play with.
Then I got the idea that it would be fairly easy to modify into a more accurate replica and raise it above its humble toy status.
So here's the walk through of what I did to turn the water pistol phaser into a pretty accurate midgrade phaser pistol. Let me go ahead and apologize right off the bat for how crummy some of the pictures came out. This was the first time I've ever documented a project step by step like this, so most of the pics were taken on the fly and I only shot what I thought I'd need. Here we go!
First, here is what we are starting with:
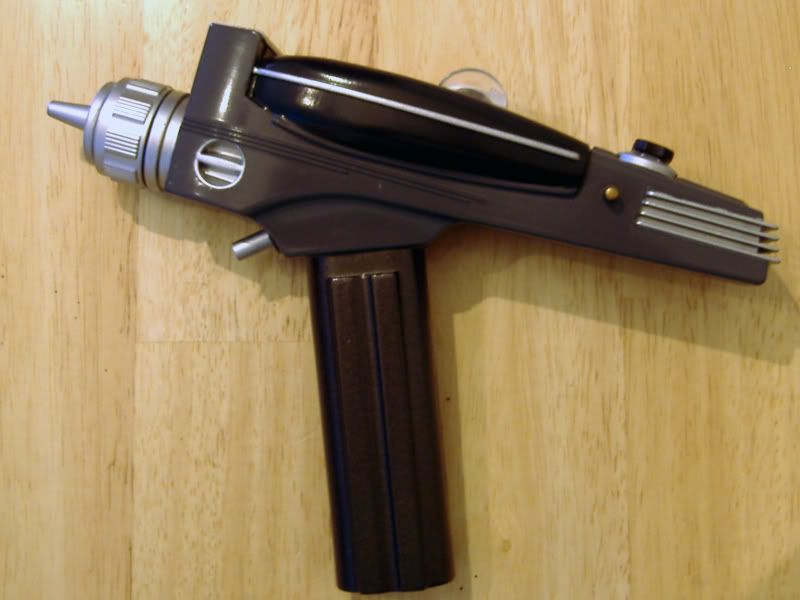
Other than my modifying the trigger back when I got this, it is exactly how it comes out of the package.
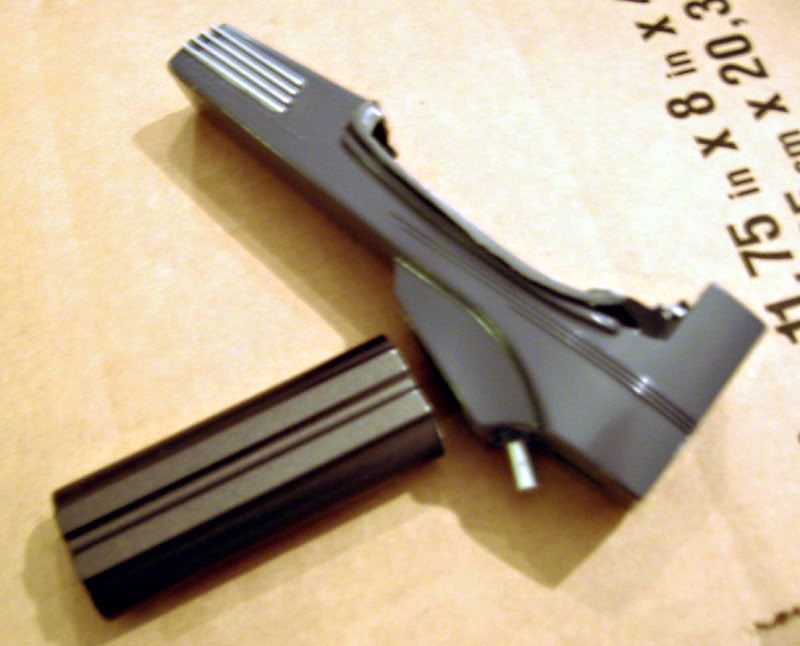
First I used a razor saw to cut off the handle and nozzle.
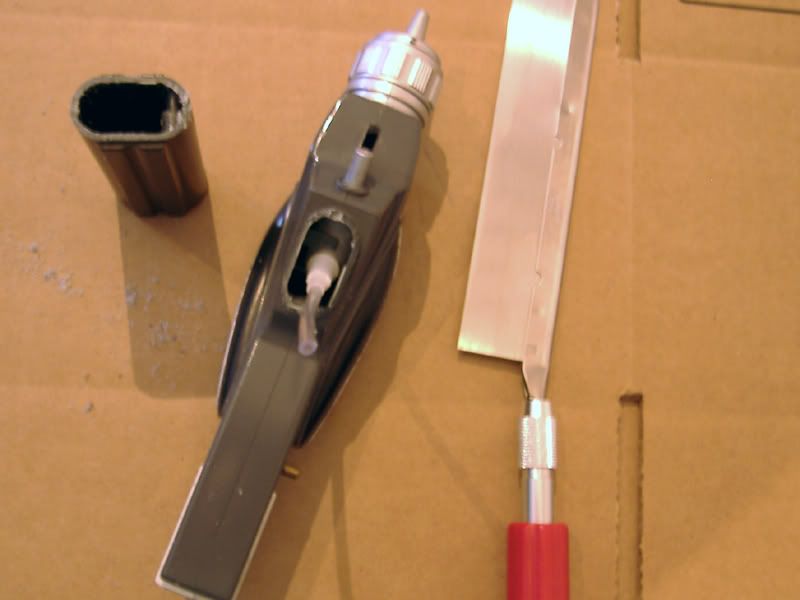
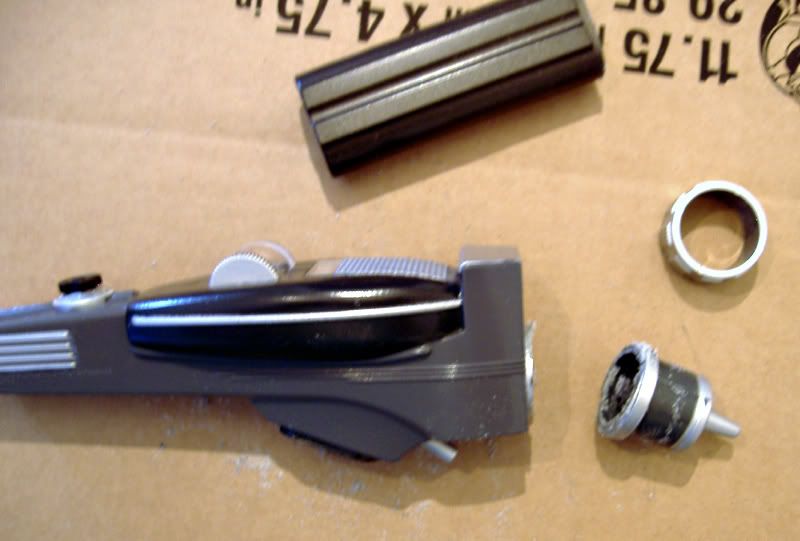
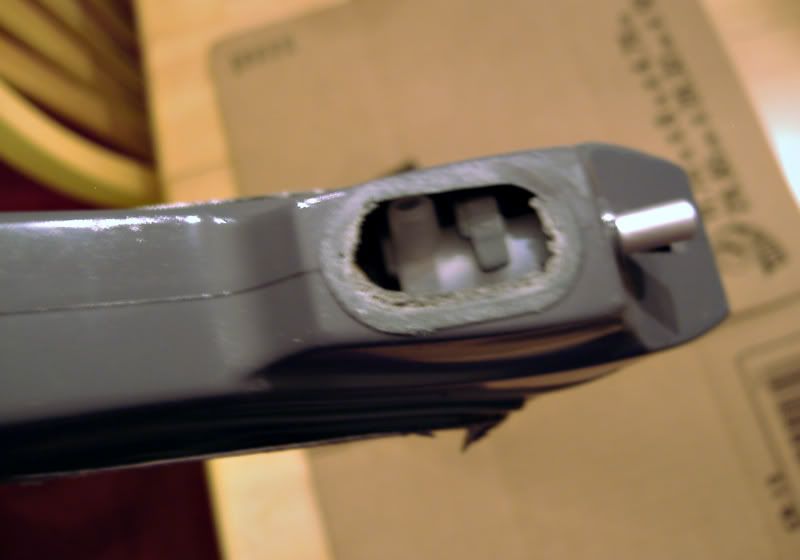
Thankfully, there is an almost complete "wall" behind the nozzle so customizing the opening to the nozzle stem later on will be a breeze. Not quite as lucky with the handle, but it's okay.
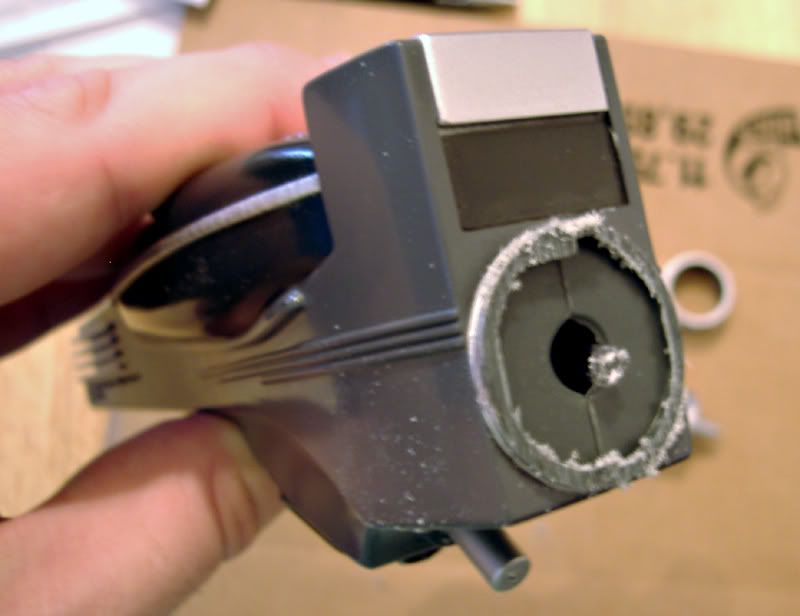
Next, I saw off the unneeded top section of the handle and sand smooth. I also roughly cut off as much of the "hand phaser" as possible using a combo of a cut-off wheel and sanding drum.
I also sand down the excess plastic left over from cutting off the plastic nozzle and begin sanding down the ribs on the back deck. Since the toy is styrene and not resin it's pretty easy to work with. If you've ever built a 23rd century weapon kit you already know what styrene phasers are like to work with. I think it's a lot more forgiving than resin, actually.
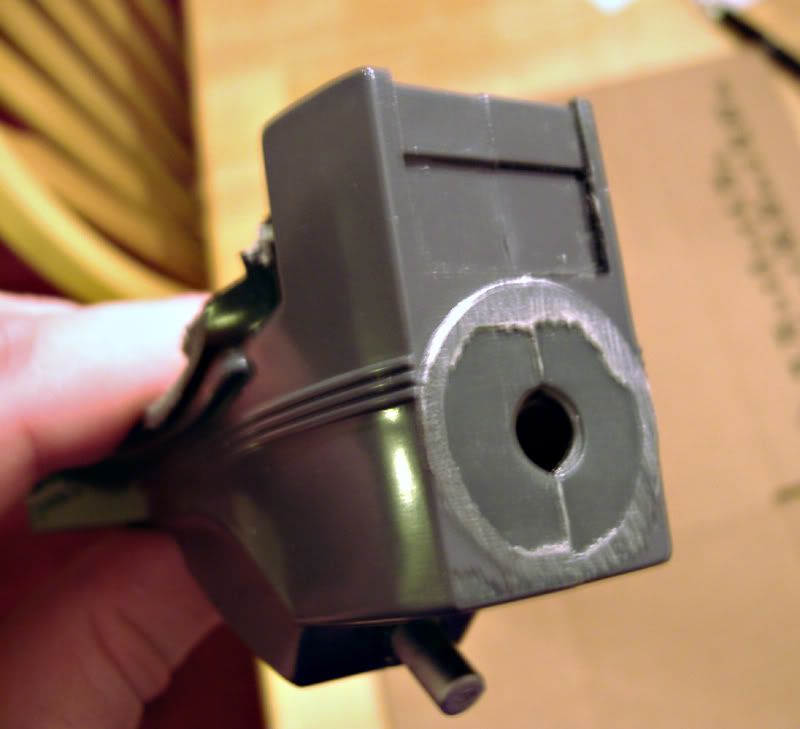
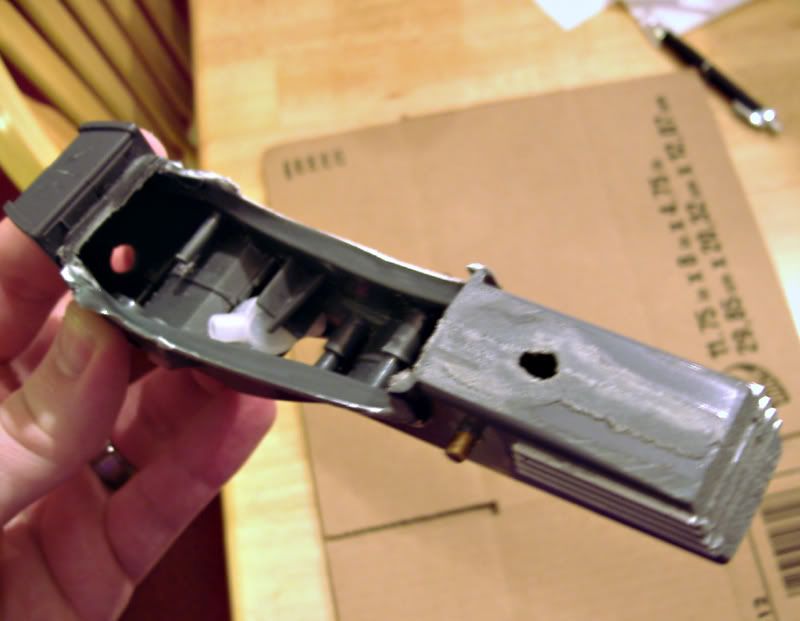
BE VERY CAREFUL when sanding down the top ribs on the back. The plastic is very thin by the time you reach flush and it would be easy to have a blowout.
Next, I cut the rear fins out using a cut-off wheel and router bit and cut the hole for the side knob also using a router bit.
Here's a test fit of the "midgrade style" rear fins. To accommodate those fins I had to shorten the end section of the body, which ended up in a blowout on the bottom. No biggie, I just puttied and sanded. Several times.
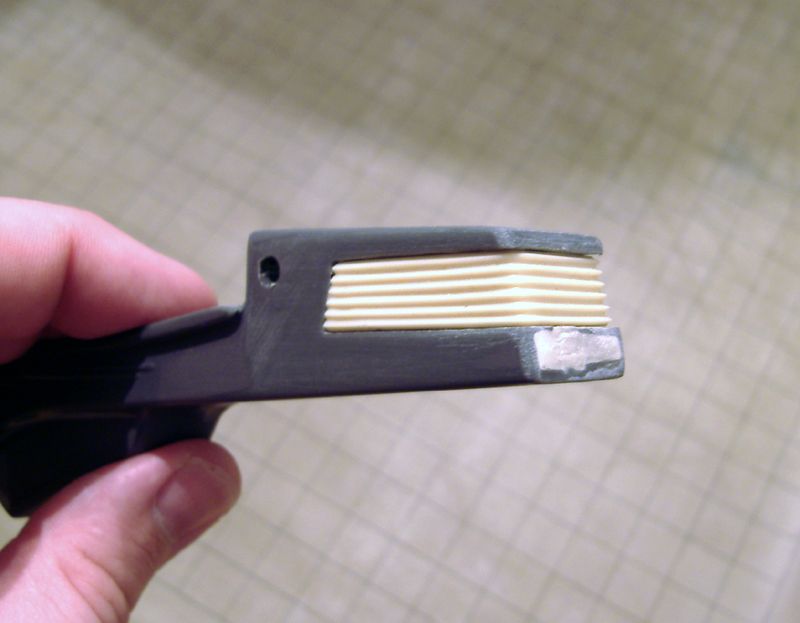
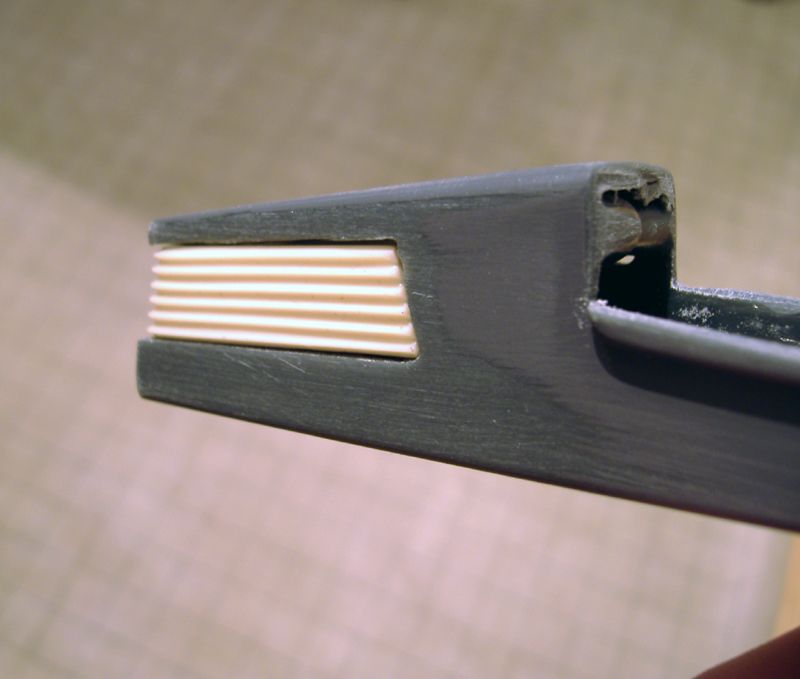
At this point I have cut the holes for the nozzle, brass release pin, side knob, rear fins and have smoothed and sanded away all traces of the phaser one in addition to putty for the back of the body and the slot right over the trigger.
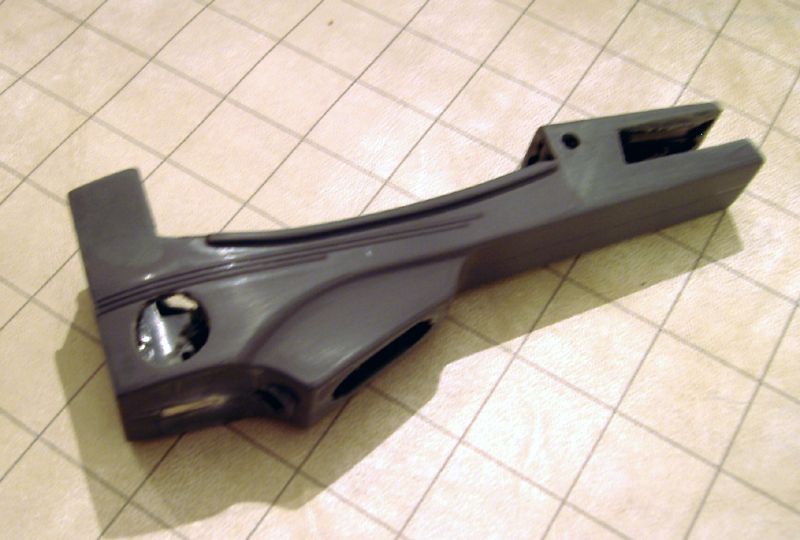
Now all it needs is primer and paint. And to be glued together. Here's how it looks finished:
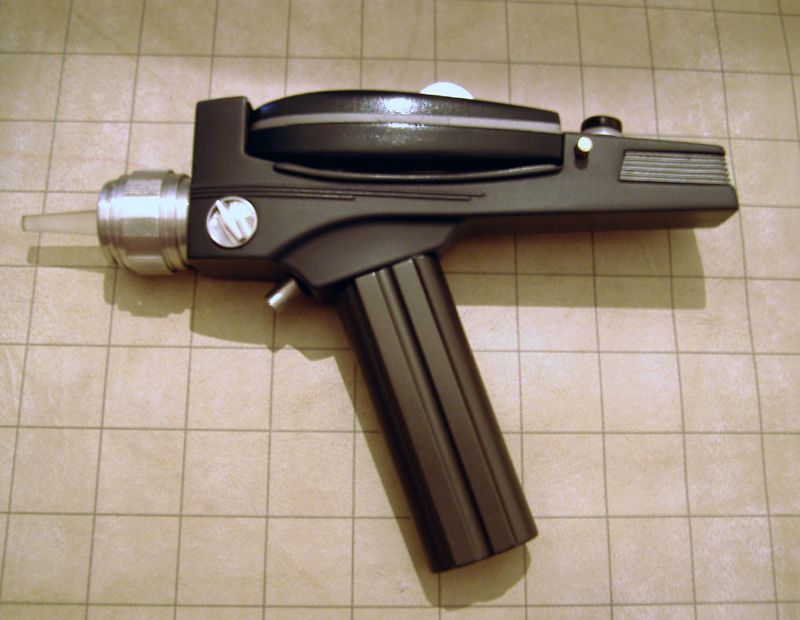
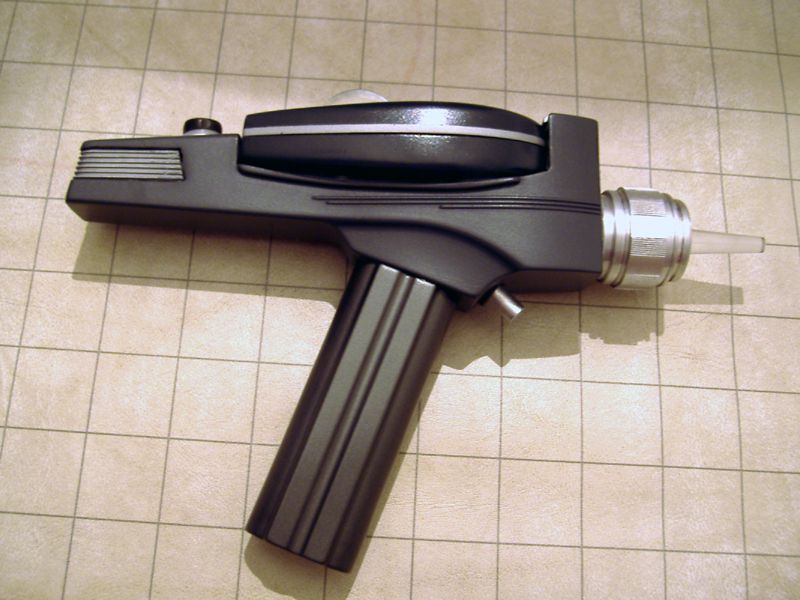
I've collected a lot of odds and ends in my box 'o phaser parts from over the years, so I used a lot of little bits, some of which I no longer have any clue who they came from.
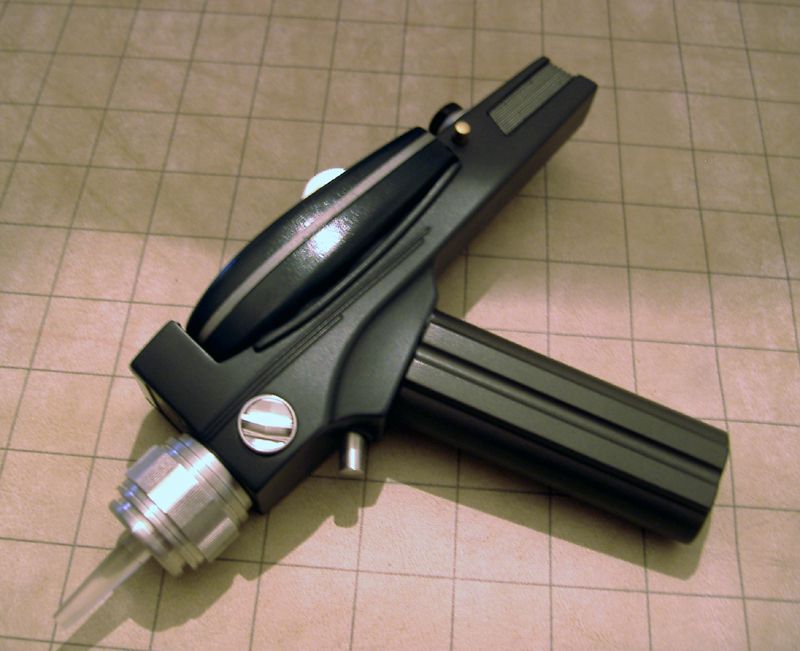
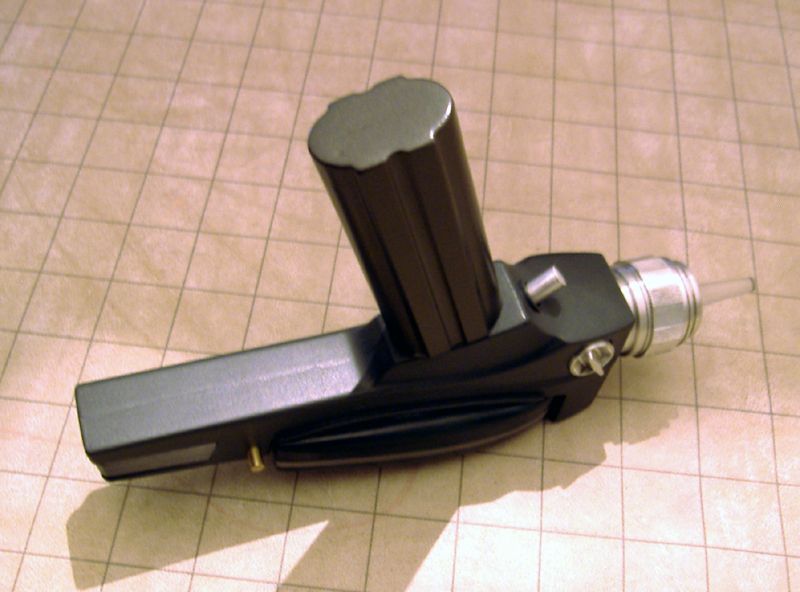
The colors I used are all Testors Model Master. Dark Sea Blue for the phaser I, Panzer Gray for the pistol body, Magnesium buffing metallizer for the rear fins and stripes on the phaser I, and Gunmetal buffing metallizer for the handle.
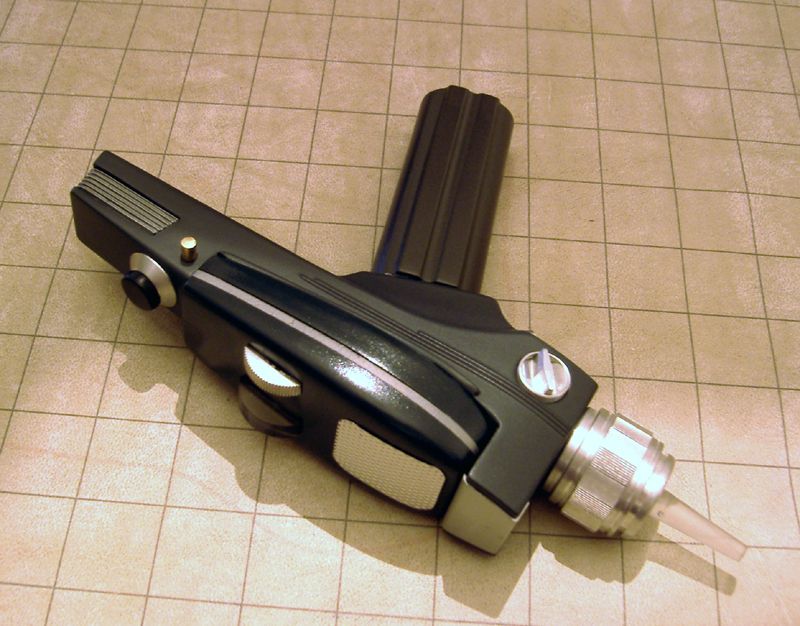
Everything that should be metal on a midgrade is metal on this replica, except for the forward plate on the pistol body. So I just modified the original piece and made a new opaque black "window" for the front.
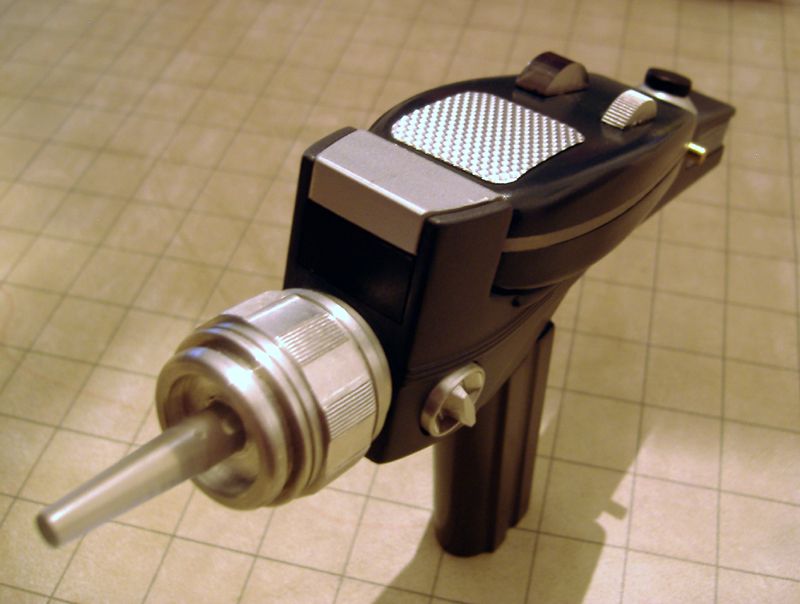
The Hand Phaser is made from some old phaser shells made by Replicator1701. For a midgrade style hand phaser I actually used two bottom halves and I really like how it turned out.
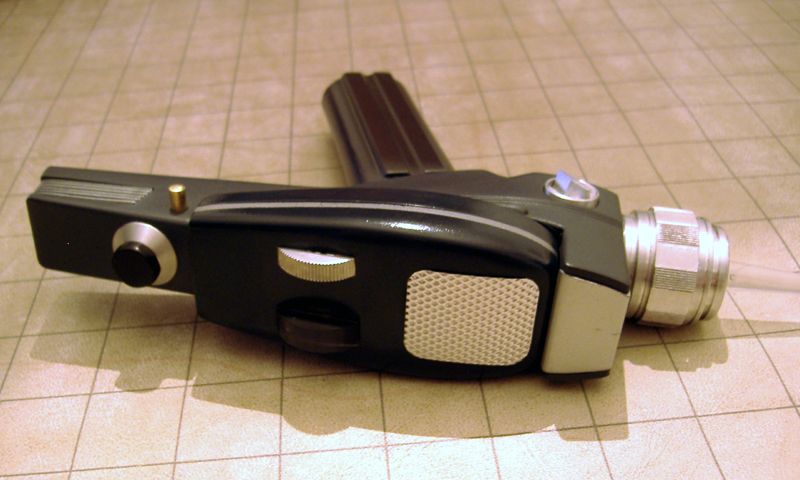
The rear "10-turn" knob is the usual digikey piece with the numbers sanded off and a round resin cap fitted on top. The fins were made to be a drop-in substitute part for the Art Asylum phasers but I've totally blanked on who made these. They're great, that's for sure!
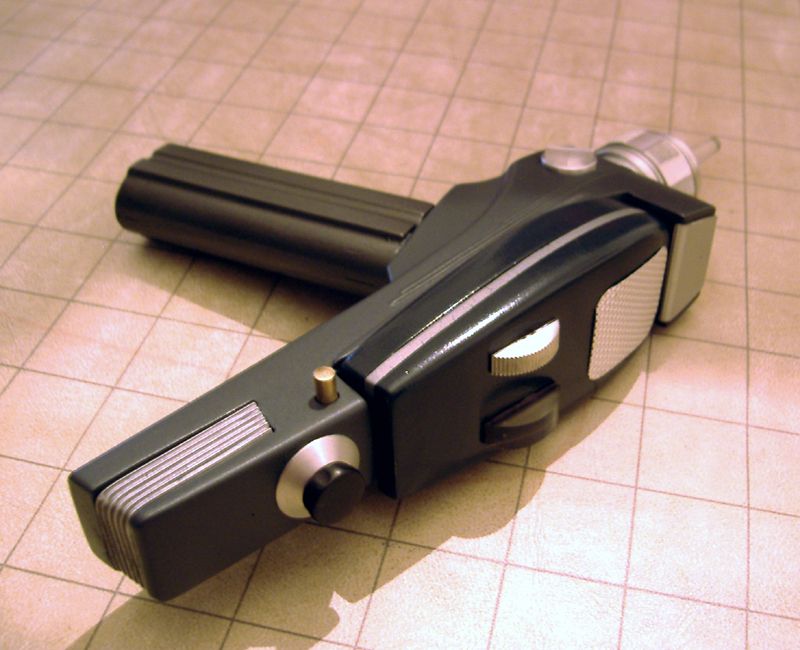
The side knob has click stops and can turn, and the trigger is spring loaded from adapting the parts from the original pump mechanism from the water gun to the aluminum trigger.
Back when they first came out last year, I picked up one of the TOS phaser water guns they sell at the Star Trek Experience in Vegas. At the time I thought it was pretty cool that they put so much effort into making it as accurate and faithful to the MR phaser pistol, right down to matching all of the paint, and because the general shape is so accurate it quickly became my favorite phaser to play with.
Then I got the idea that it would be fairly easy to modify into a more accurate replica and raise it above its humble toy status.
So here's the walk through of what I did to turn the water pistol phaser into a pretty accurate midgrade phaser pistol. Let me go ahead and apologize right off the bat for how crummy some of the pictures came out. This was the first time I've ever documented a project step by step like this, so most of the pics were taken on the fly and I only shot what I thought I'd need. Here we go!
First, here is what we are starting with:

Other than my modifying the trigger back when I got this, it is exactly how it comes out of the package.
First I used a razor saw to cut off the handle and nozzle.


Thankfully, there is an almost complete "wall" behind the nozzle so customizing the opening to the nozzle stem later on will be a breeze. Not quite as lucky with the handle, but it's okay.


Next, I saw off the unneeded top section of the handle and sand smooth. I also roughly cut off as much of the "hand phaser" as possible using a combo of a cut-off wheel and sanding drum.

I also sand down the excess plastic left over from cutting off the plastic nozzle and begin sanding down the ribs on the back deck. Since the toy is styrene and not resin it's pretty easy to work with. If you've ever built a 23rd century weapon kit you already know what styrene phasers are like to work with. I think it's a lot more forgiving than resin, actually.


BE VERY CAREFUL when sanding down the top ribs on the back. The plastic is very thin by the time you reach flush and it would be easy to have a blowout.
Next, I cut the rear fins out using a cut-off wheel and router bit and cut the hole for the side knob also using a router bit.
Here's a test fit of the "midgrade style" rear fins. To accommodate those fins I had to shorten the end section of the body, which ended up in a blowout on the bottom. No biggie, I just puttied and sanded. Several times.


At this point I have cut the holes for the nozzle, brass release pin, side knob, rear fins and have smoothed and sanded away all traces of the phaser one in addition to putty for the back of the body and the slot right over the trigger.

Now all it needs is primer and paint. And to be glued together. Here's how it looks finished:


I've collected a lot of odds and ends in my box 'o phaser parts from over the years, so I used a lot of little bits, some of which I no longer have any clue who they came from.

The colors I used are all Testors Model Master. Dark Sea Blue for the phaser I, Panzer Gray for the pistol body, Magnesium buffing metallizer for the rear fins and stripes on the phaser I, and Gunmetal buffing metallizer for the handle.

Everything that should be metal on a midgrade is metal on this replica, except for the forward plate on the pistol body. So I just modified the original piece and made a new opaque black "window" for the front.

The Hand Phaser is made from some old phaser shells made by Replicator1701. For a midgrade style hand phaser I actually used two bottom halves and I really like how it turned out.

The rear "10-turn" knob is the usual digikey piece with the numbers sanded off and a round resin cap fitted on top. The fins were made to be a drop-in substitute part for the Art Asylum phasers but I've totally blanked on who made these. They're great, that's for sure!

The side knob has click stops and can turn, and the trigger is spring loaded from adapting the parts from the original pump mechanism from the water gun to the aluminum trigger.

