Monkey540
Sr Member
Well, here it is, my first Build thread.
I guess the one thing I'll have to remember is to take lots of pictures as I go.
Last year, Oct, 2012 I proposed to my girlfriend at DisneyWorld, it went a little something like this:
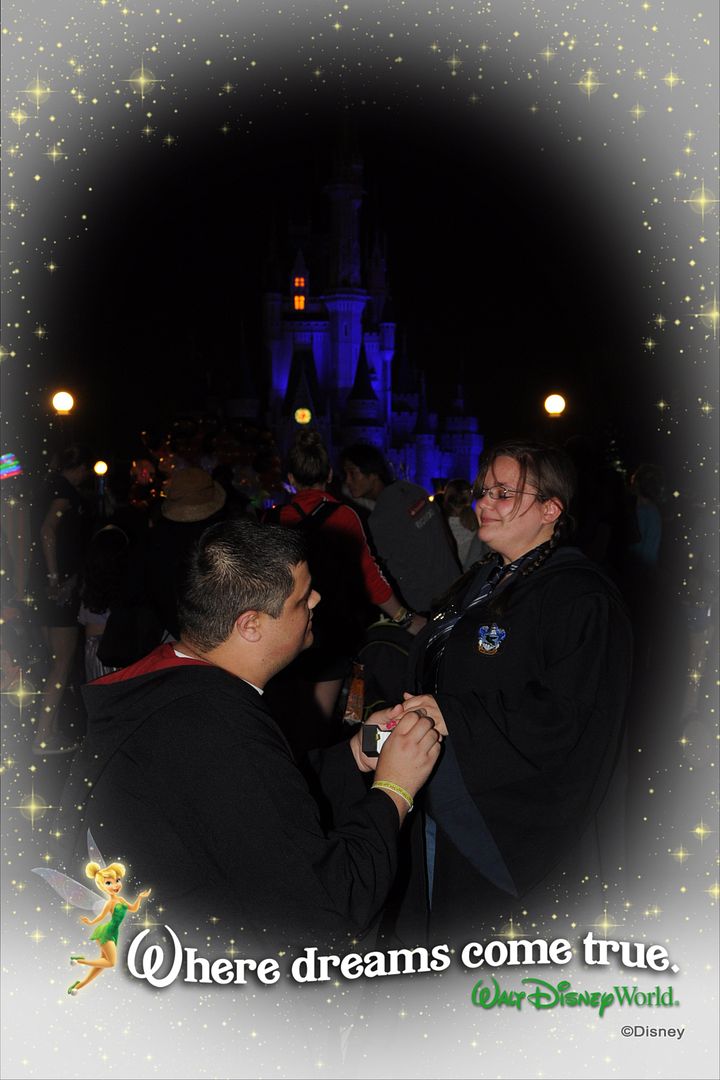
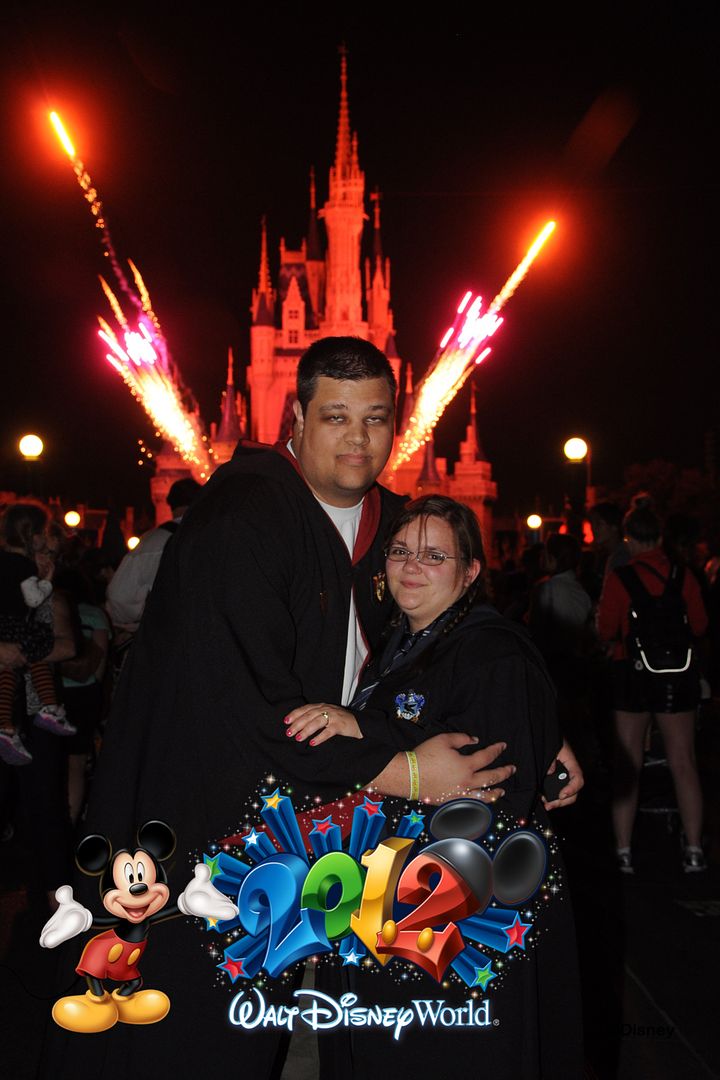
Yes we are dressed in Harry Potter robes, it was the halloween party. And yes those are real fireworks.
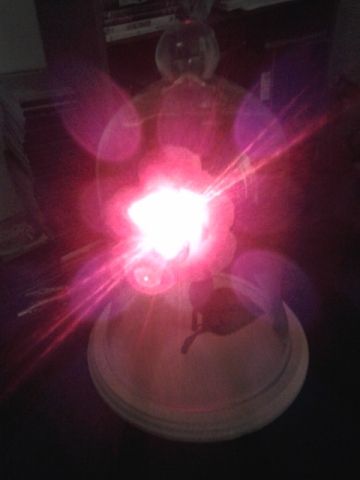
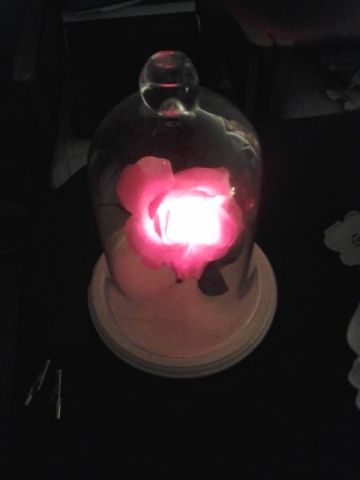
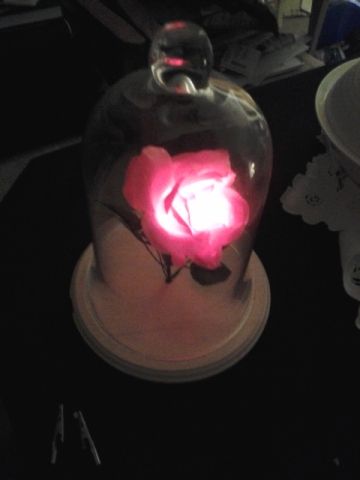
So I've been trying to think of something I could do or make for her as an anniversary of our engagement that was maybe Disney related. I stumbled across the floating rose thread here that was many years old, but I got some good ideas. So I've started work on my Enchanted Rose. It will not be floating, but I'm making it glow.
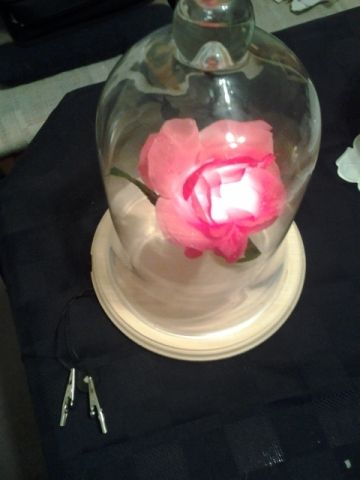
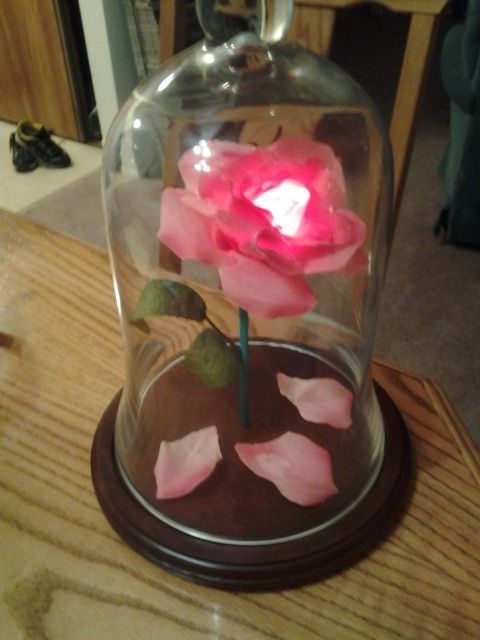
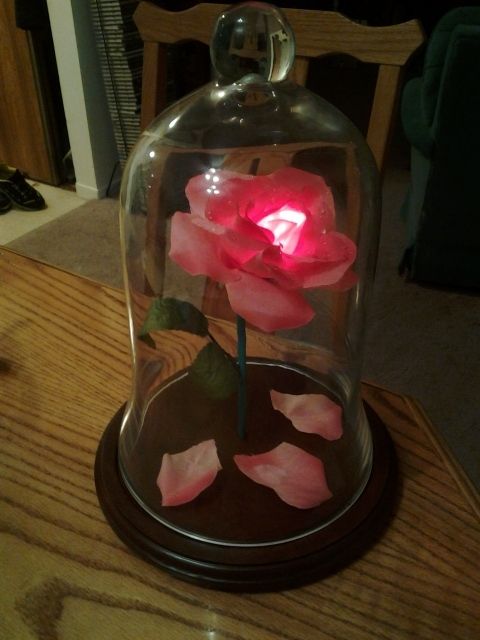
This is the target

The idea is, I will put an LED in the centre of the rose and with a simple circuit, it will be lit up.
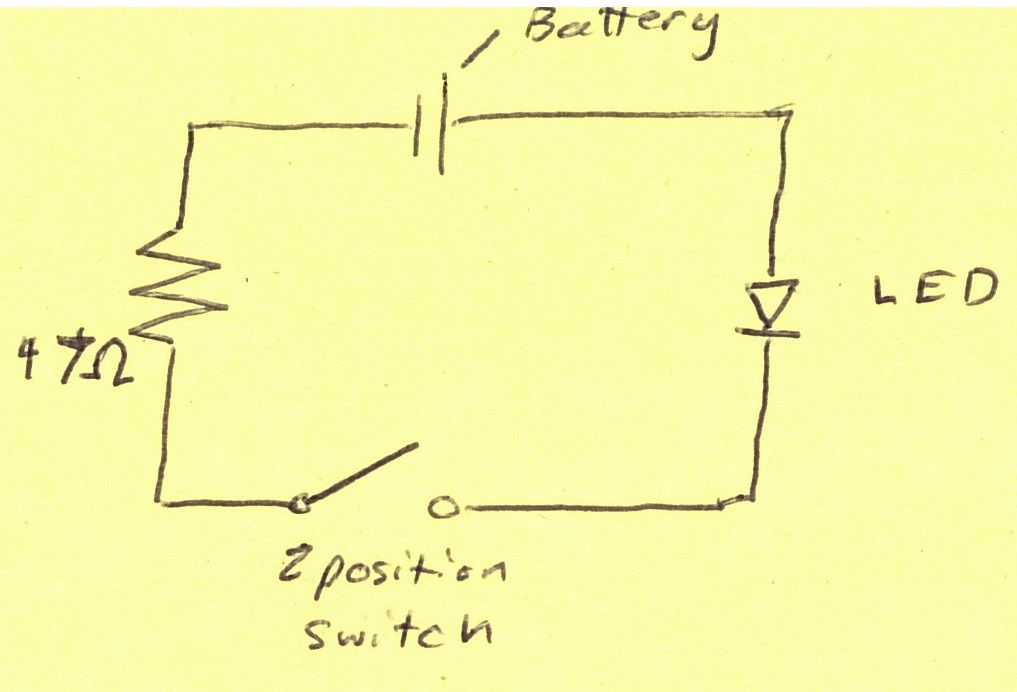
Here is a prelim schematic I did, very simple:
Ok, so all the materials minus electronics came from Micheals.
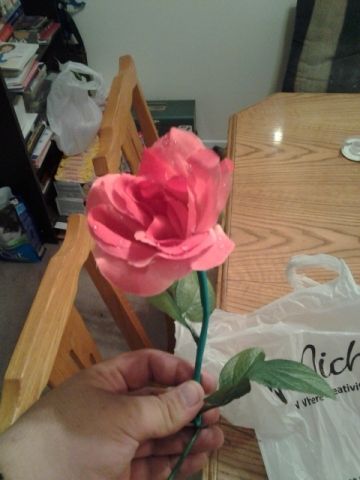
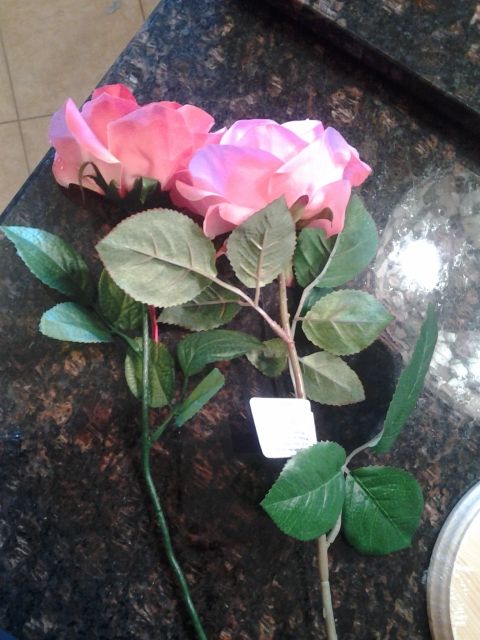
Fake Flower: $2 I also got one from walmart to see which one I liked better:
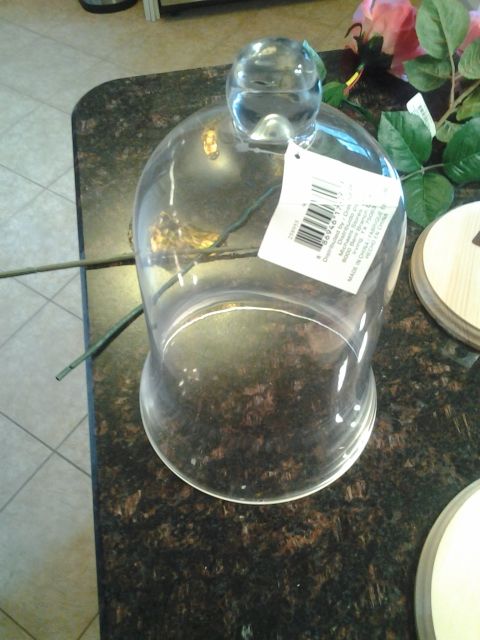
Next was the glass bell dome. $29.99 at Micheals, with their normal 40% off coupon, it was $20:
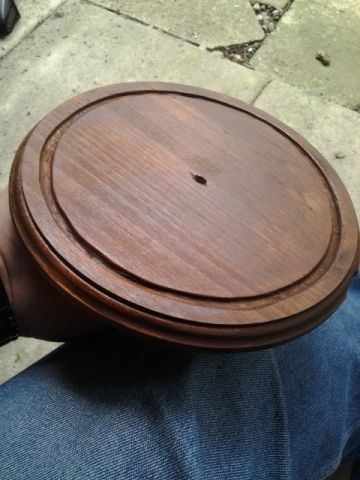
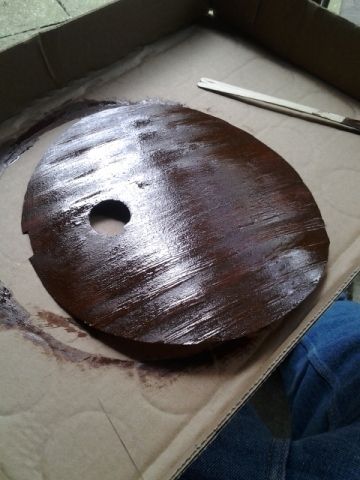
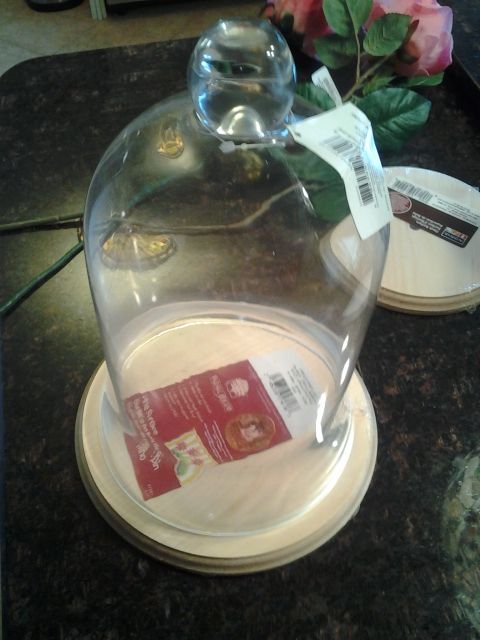
Finally the base with I found in the woodworking area $8.5 down to $5.75 with coupon, not sure what it was meant for but here it is at the base of the dome:
Then I had to get the electronics.
I decided to try a few things, I picked up :
1 AAA battery pack holder
1 disc battery holder
1 2-way switch
a red and a white LED 3mm LEDs I think.
and some heatshrink, all under $10.
So far we are at approx $40.
So I decided to tinker with the LEDs to see which one I was going to use, here are the circuits with Red and White LEDs:
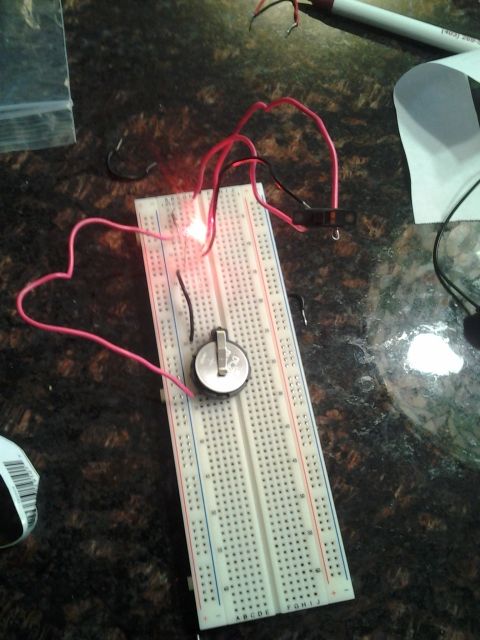
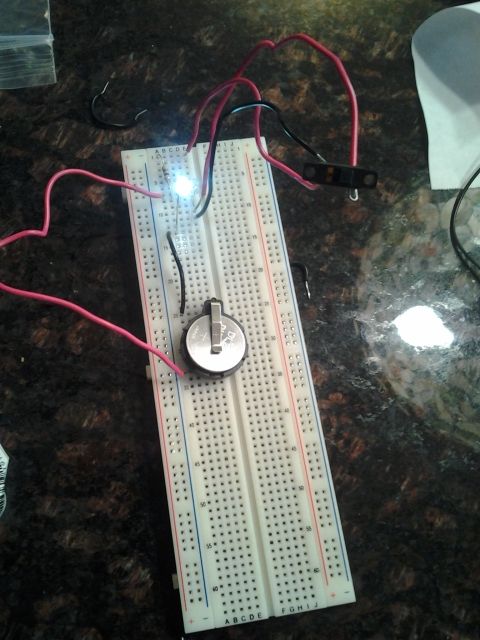
The AAA battery didn't even light up the LED, so 1.5V was no good, moved up to the 3V coin battery.
I decided the Red LED was the better way to go, as it worked better to light up the flower.
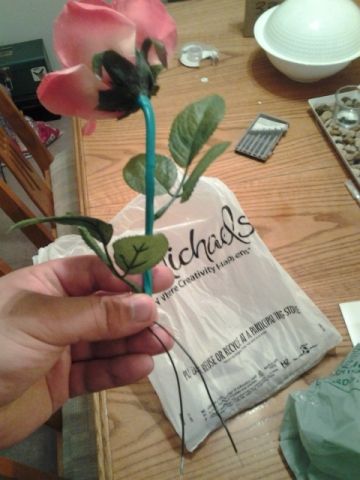
Also tested the flower to see how I am going to run the wires. They will run like this but heatshrunk:
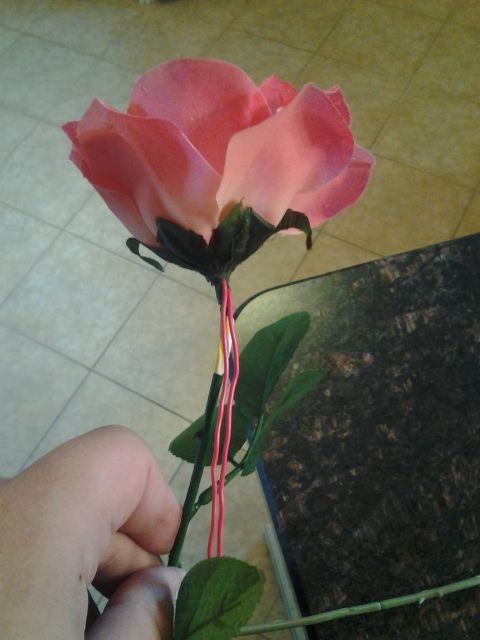
Onto the woodwork:
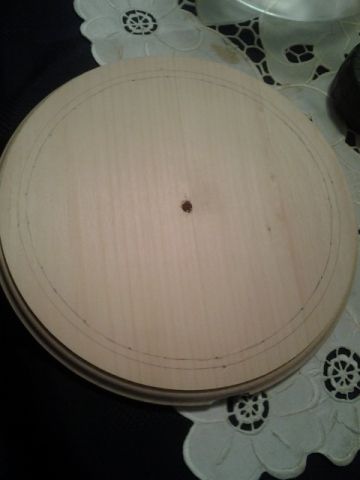
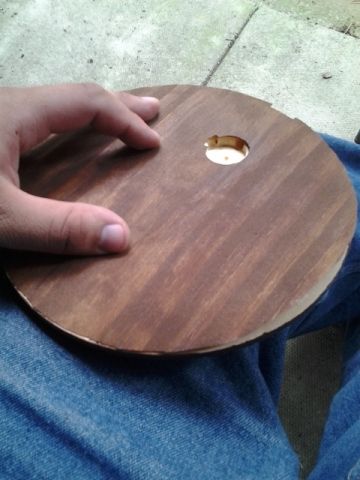
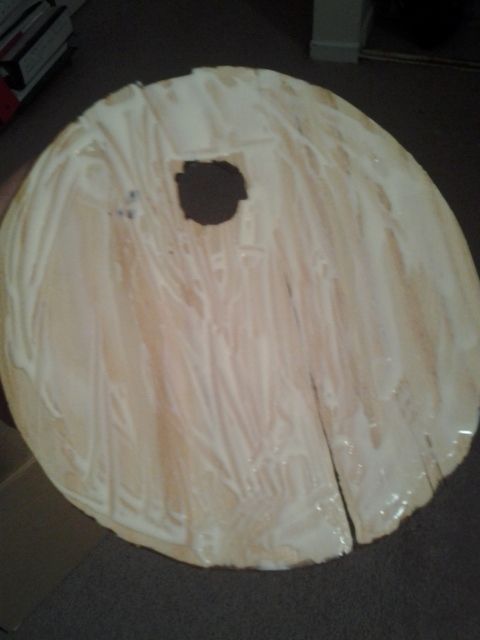
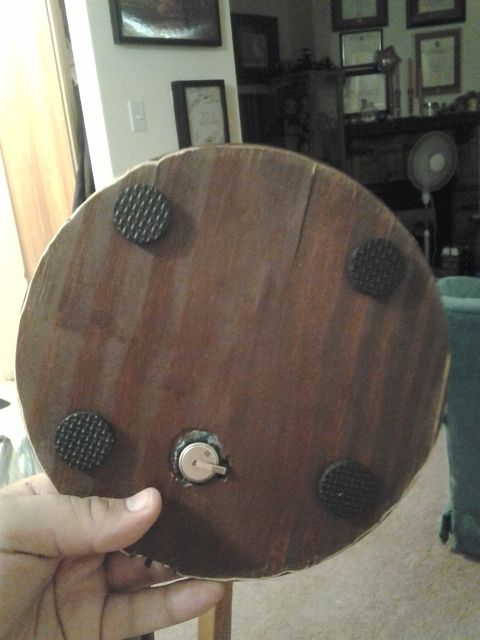
Firstly, used a hole cutting bit to make the pocket for the battery:
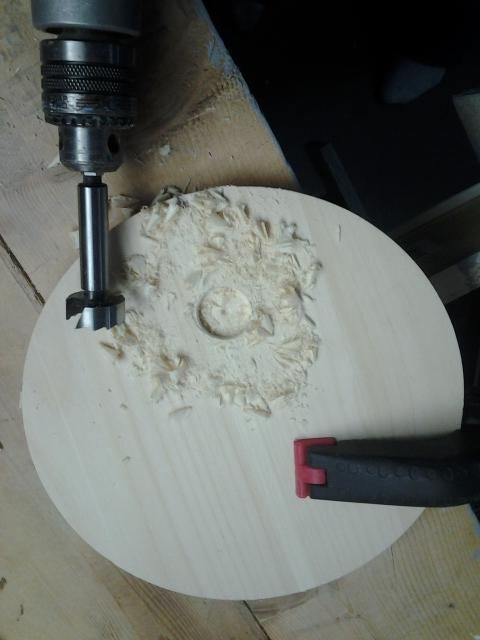
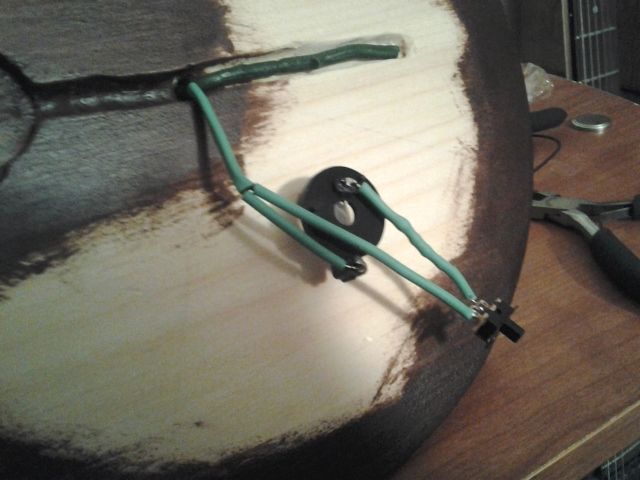
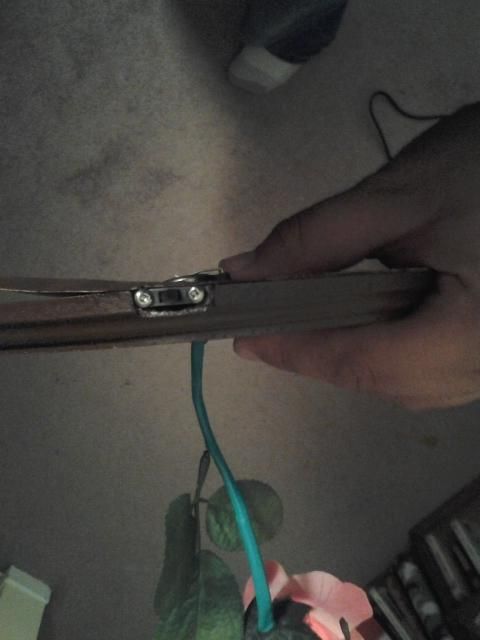
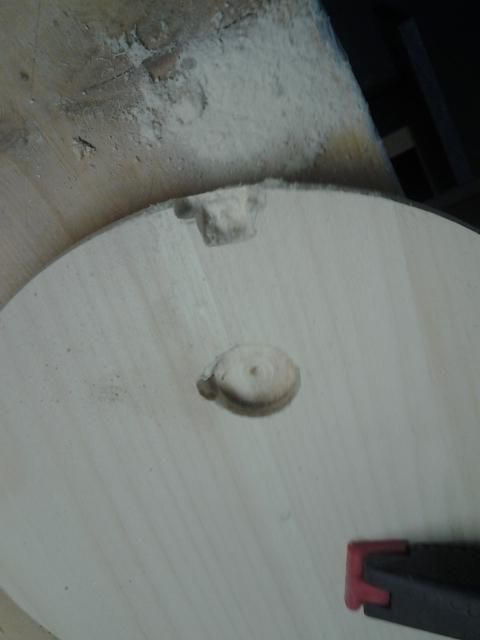
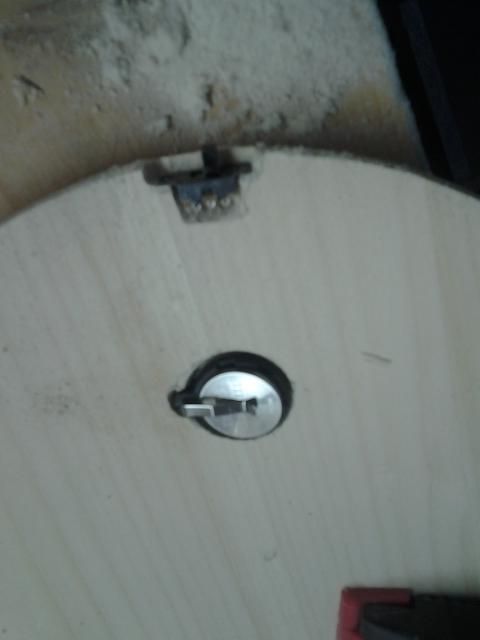
Used a dremmel to remove the material for the switch, and dry fitted the pieces:
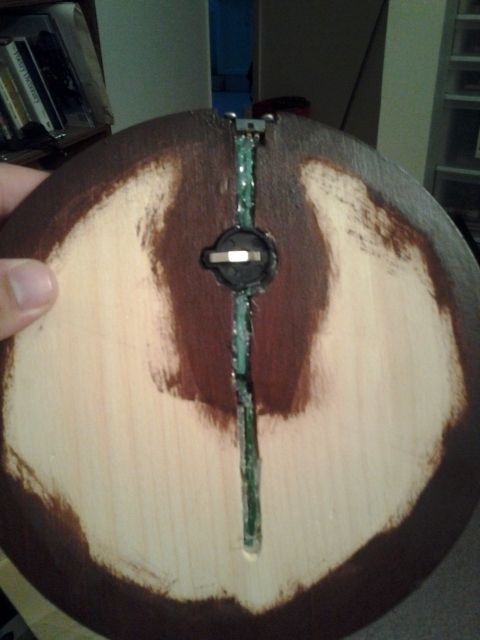
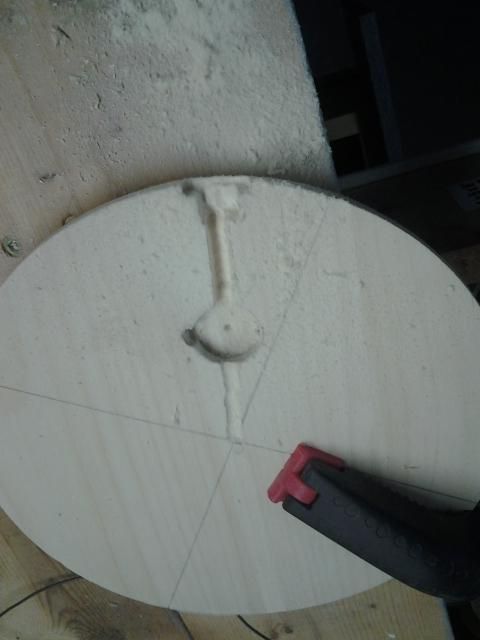
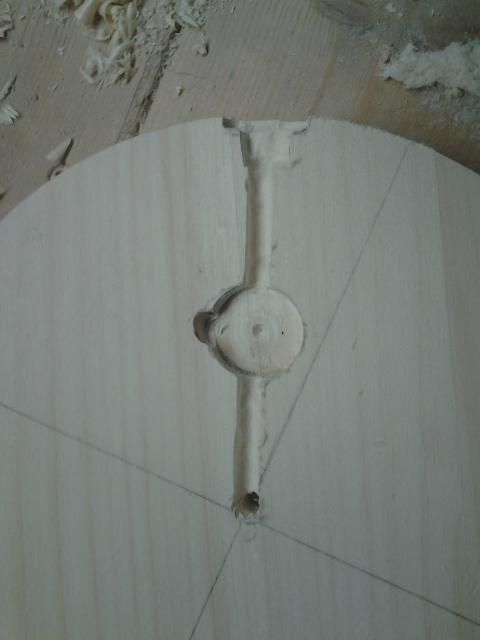
Then the channels for the wires:
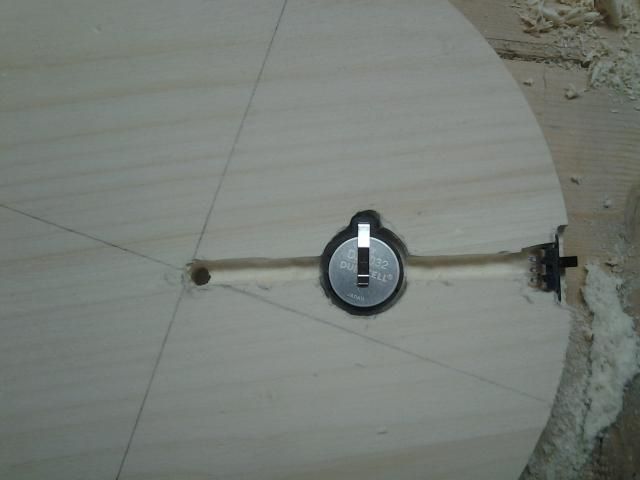
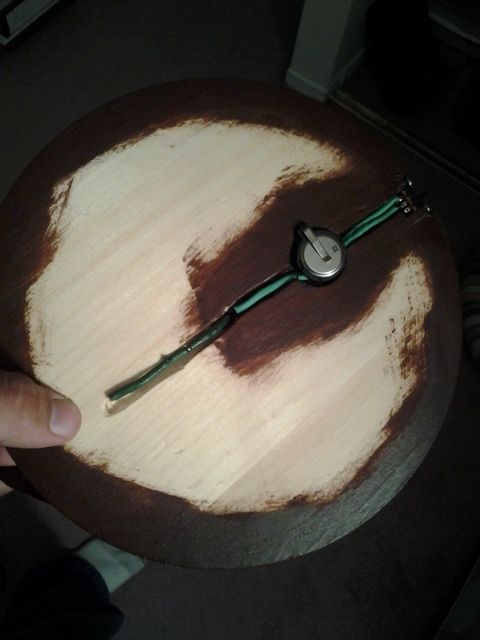
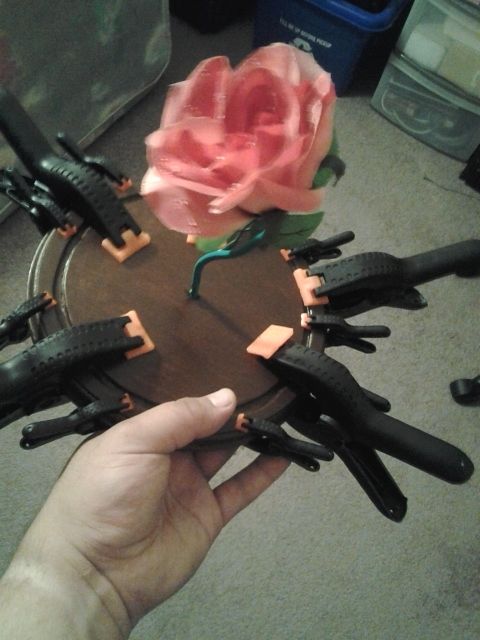
Now it was time for a test fit:
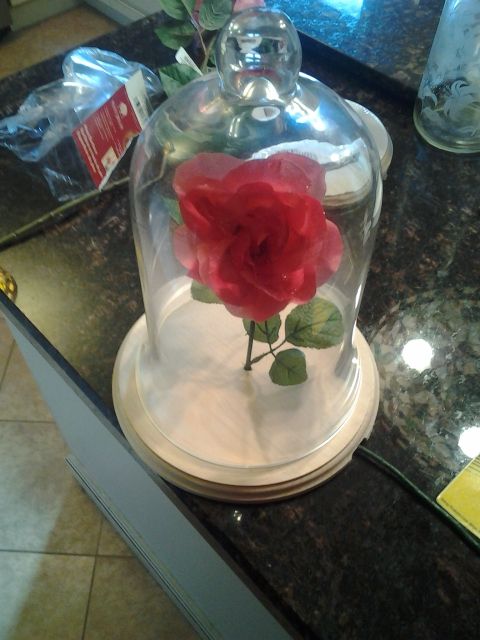
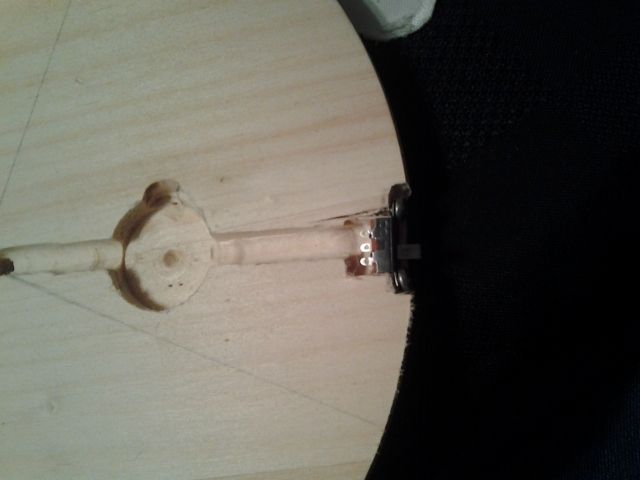
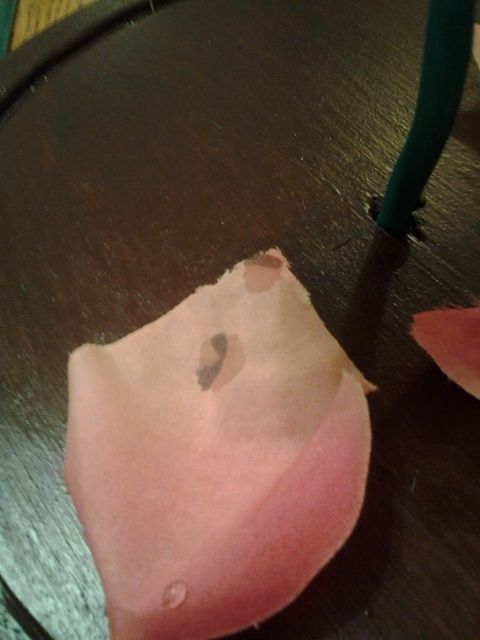
You can see the stem sticking out where I made the channel.
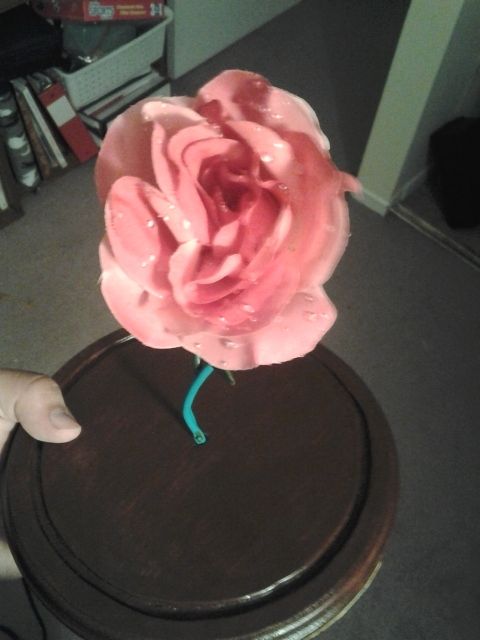
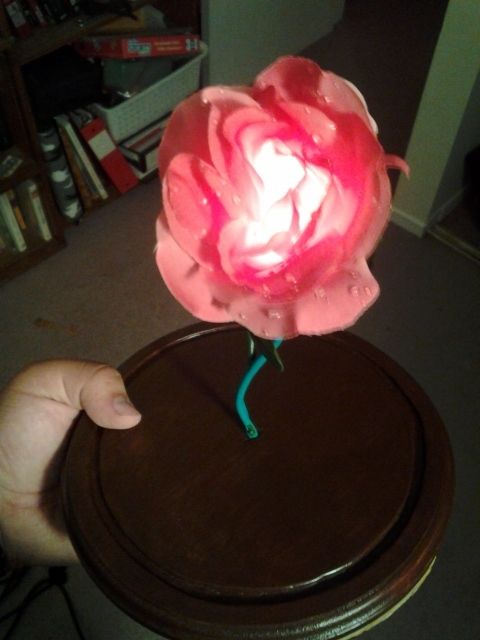
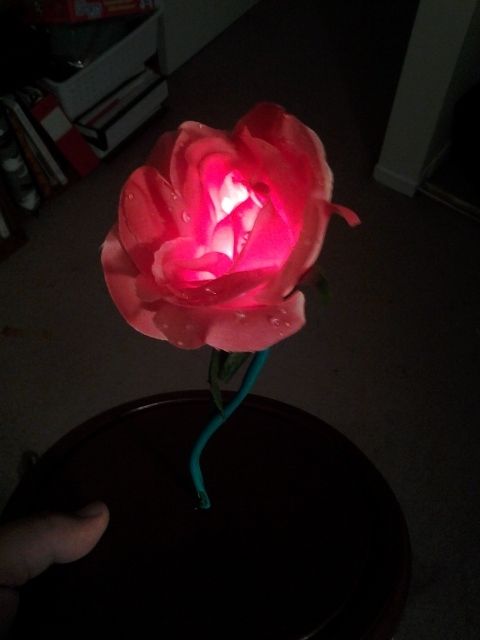
Then I made a channel for the stem to allow the flower to stand upright:
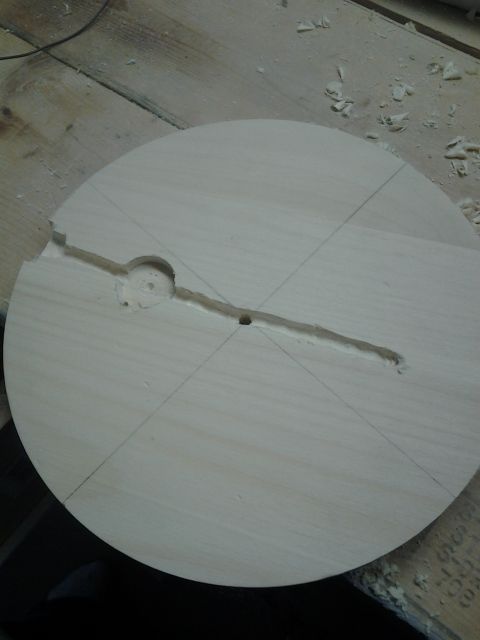
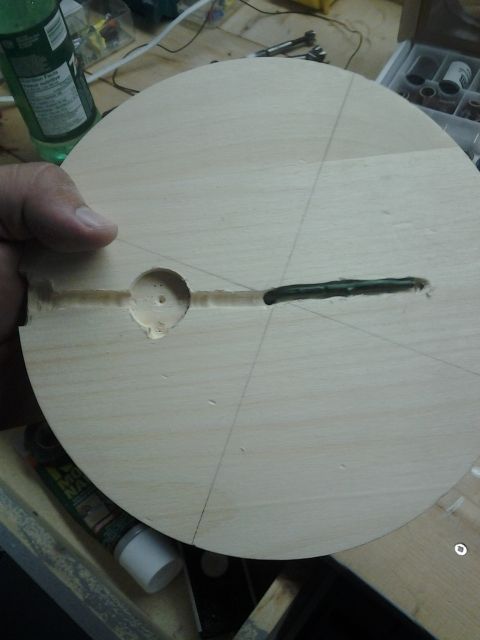
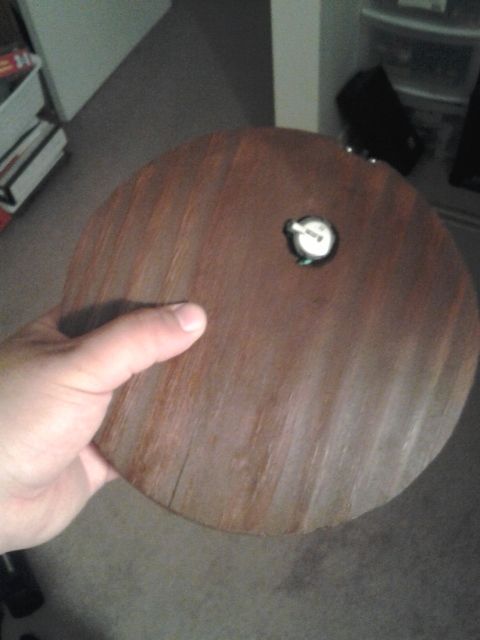
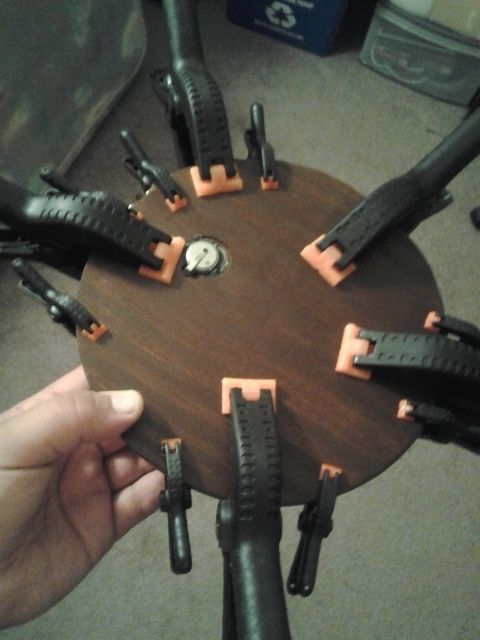
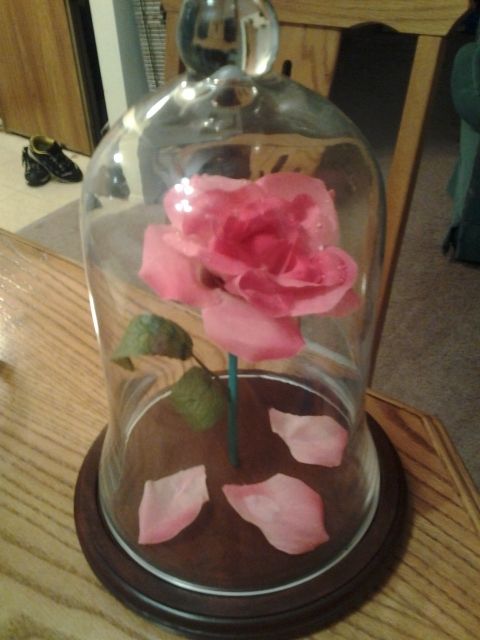
And here we are:
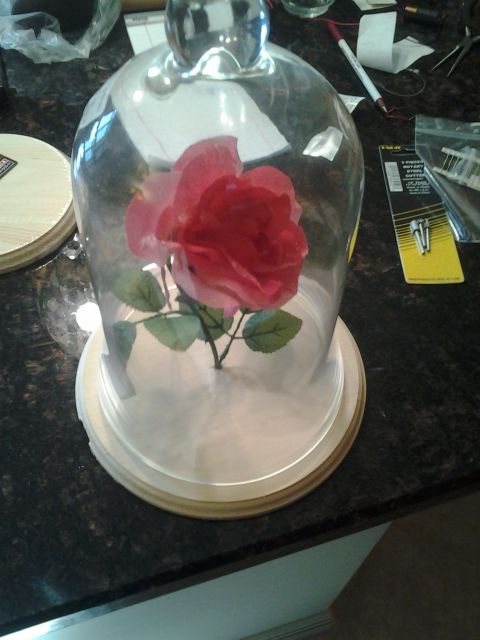
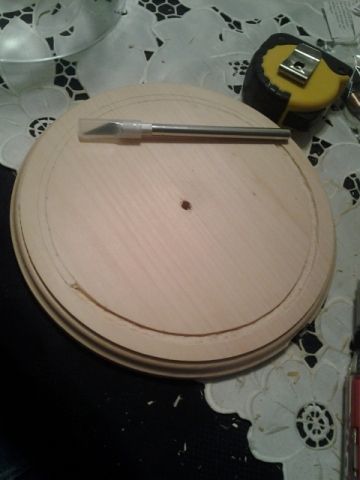
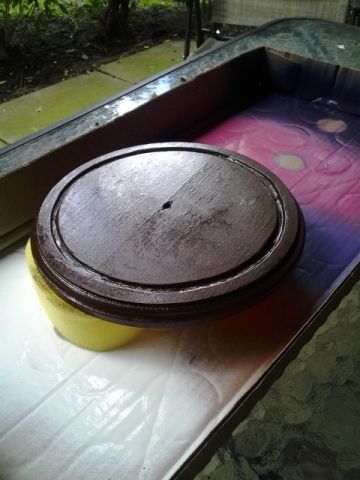
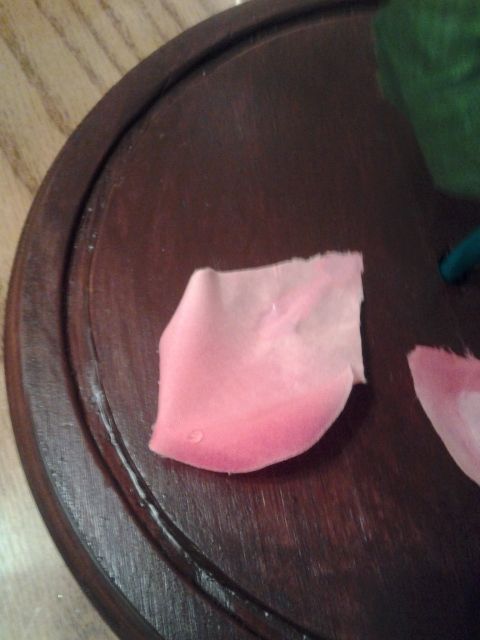
Next to work on the channel on top to allow the dome to fit into the base.
I guess the one thing I'll have to remember is to take lots of pictures as I go.
Last year, Oct, 2012 I proposed to my girlfriend at DisneyWorld, it went a little something like this:


Yes we are dressed in Harry Potter robes, it was the halloween party. And yes those are real fireworks.
So I've been trying to think of something I could do or make for her as an anniversary of our engagement that was maybe Disney related. I stumbled across the floating rose thread here that was many years old, but I got some good ideas. So I've started work on my Enchanted Rose. It will not be floating, but I'm making it glow.
This is the target

The idea is, I will put an LED in the centre of the rose and with a simple circuit, it will be lit up.
Here is a prelim schematic I did, very simple:

Ok, so all the materials minus electronics came from Micheals.
Fake Flower: $2 I also got one from walmart to see which one I liked better:

Next was the glass bell dome. $29.99 at Micheals, with their normal 40% off coupon, it was $20:

Finally the base with I found in the woodworking area $8.5 down to $5.75 with coupon, not sure what it was meant for but here it is at the base of the dome:

Then I had to get the electronics.
I decided to try a few things, I picked up :
1 AAA battery pack holder
1 disc battery holder
1 2-way switch
a red and a white LED 3mm LEDs I think.
and some heatshrink, all under $10.
So far we are at approx $40.
So I decided to tinker with the LEDs to see which one I was going to use, here are the circuits with Red and White LEDs:


The AAA battery didn't even light up the LED, so 1.5V was no good, moved up to the 3V coin battery.
I decided the Red LED was the better way to go, as it worked better to light up the flower.
Also tested the flower to see how I am going to run the wires. They will run like this but heatshrunk:

Onto the woodwork:
Firstly, used a hole cutting bit to make the pocket for the battery:

Used a dremmel to remove the material for the switch, and dry fitted the pieces:


Then the channels for the wires:


Now it was time for a test fit:

You can see the stem sticking out where I made the channel.
Then I made a channel for the stem to allow the flower to stand upright:


And here we are:

Next to work on the channel on top to allow the dome to fit into the base.
Last edited:

