Millennium Falcon Bunk Bed Build - TFA Details 5/8 Scale

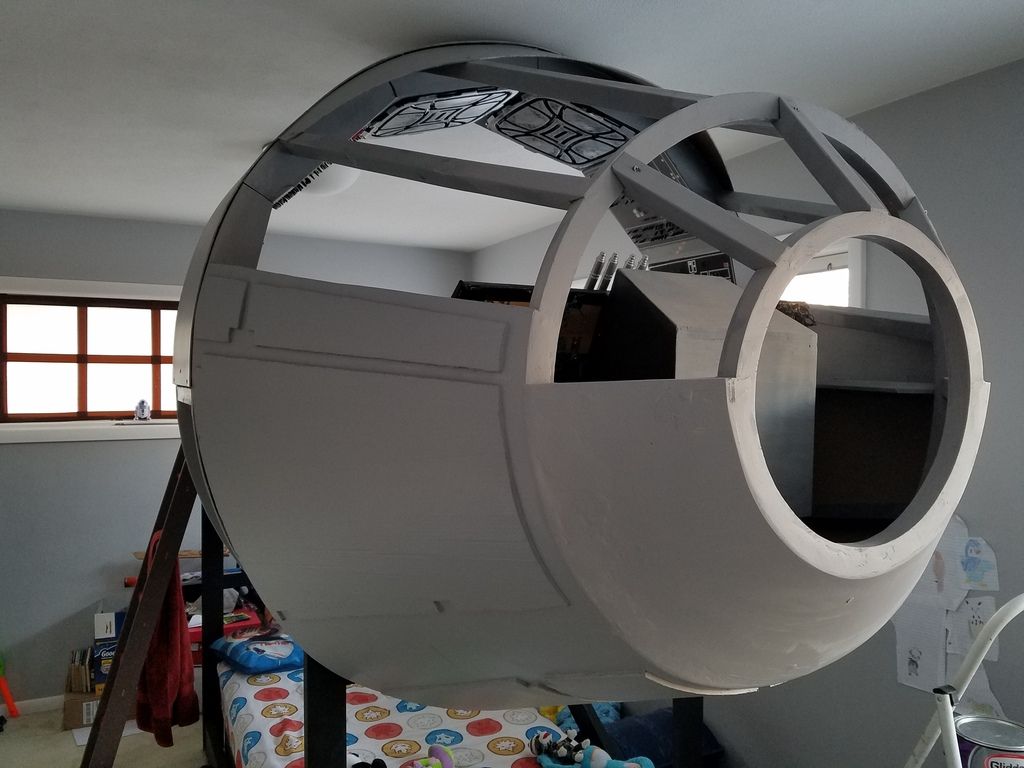
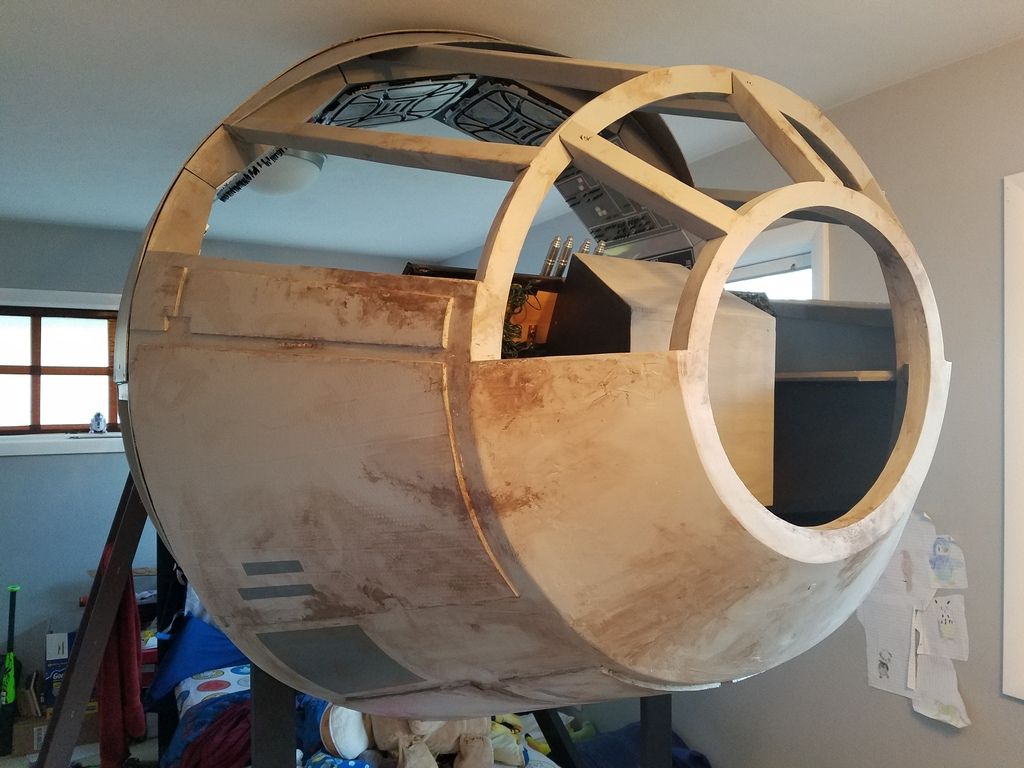
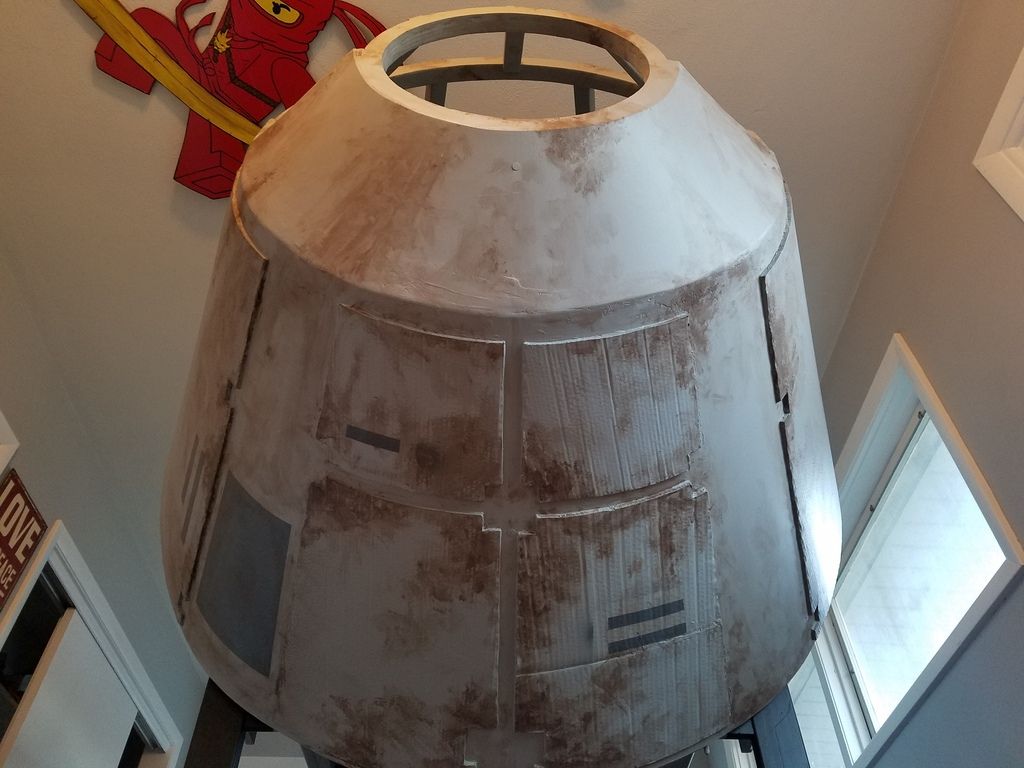
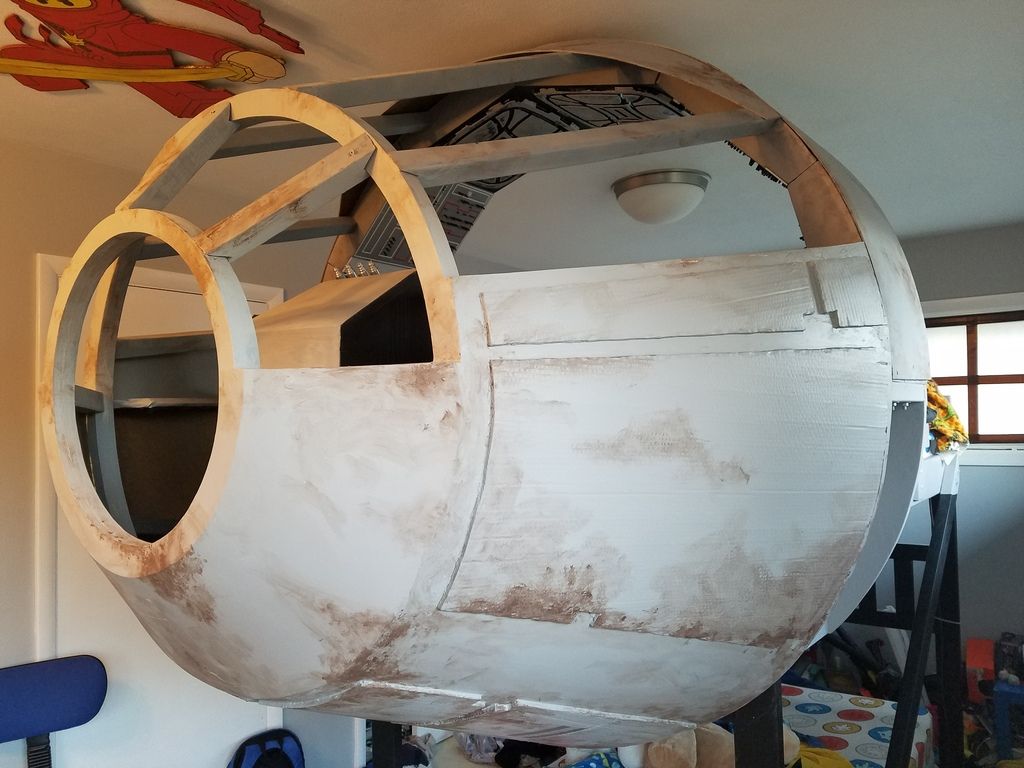
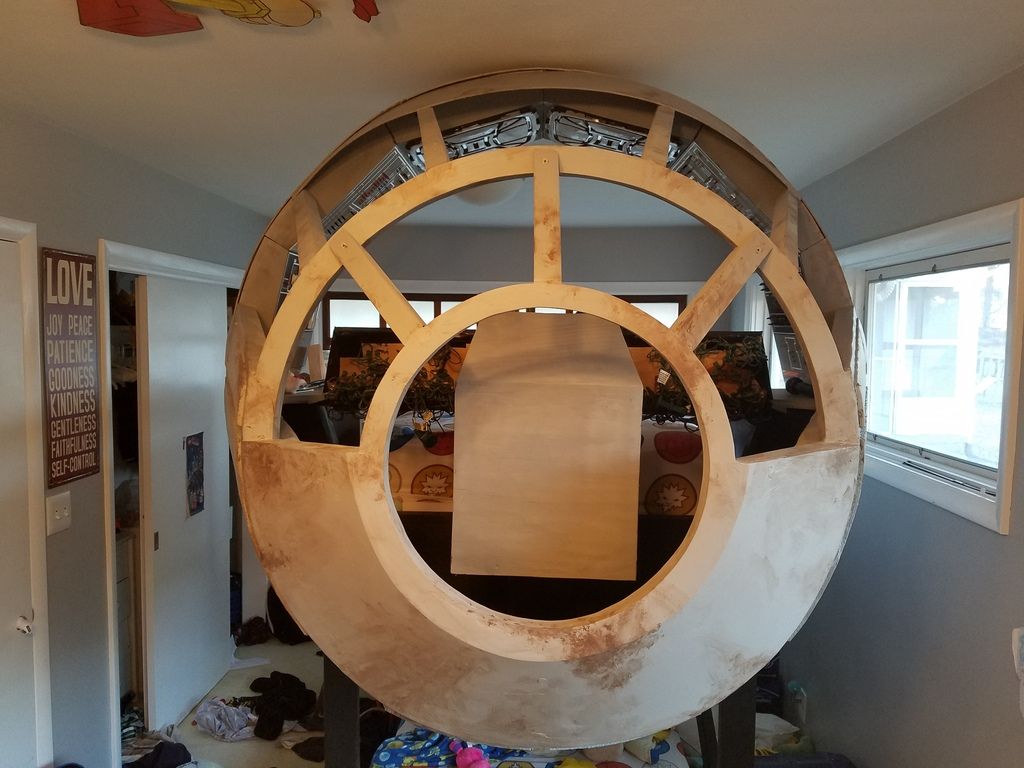
I can see why her encouragement worked...very cute! Hard to say no to that I am sure :) Great progress. Just keep on going, almost there.

Thanks Tumbler! She's got me wrapped around her finger :$

OH WOW... I just noticed the little one sitting under the nose! Very cute!

Have you considered foam core for the armor plating?

I have been looking at several options. Foam core is surprisingly expensive and not as flexible as I'd like. I'm open to anything at this point though. I bought a rubber-like runner that I thought would work but it's going back. I'd need at least three to make all the panels and that's a lot of dough. I'm making templates while I scour the internet and anxiously await greeblies. :D
 
Wish I had a father like You Holy Wookiee! Subscribed!

Now I have a second Millenium thread to follow!!

Regards,

Alberto
 
Wish I had a father like You Holy Wookiee! Subscribed!

Now I have a second Millenium thread to follow!!

Regards,

Alberto

Thank you, Alberto! The more, the merrier!

Well that's cool!

Thanks Stormy! I appreciate the kind words.

I found some smooth stuff in a camping store.

Cheers
Chris

I have a Gander Mountain in the area so I might check it out. I'm trying to check myself though since this is still a budget build. Thank you for the tip!
 
I’ve been working on exterior paneling this week. Originally, I wanted to make them out of foam but the cheapskate in me said NO. I got back to my roots by working in cardboard (free and plentiful)! It seemed so easy… or was it? I studied the TLJ set photographed by urban explorers last year and came across a glaring discrepancy. The side panel has a straight bottom in the first shot but two indents in the second.

MF%20Exterior_zpsfcwowznz.png


I consorted with the local Falcon expert (SofaKing01) and neither one of us could figure it out. We’ve come to expect discrepancies between interior/exterior and 5 footer/3 footer models... but this is an actual, physical set! It may be a trick of the light, photoshop, or Jedi mind trick but one thing I can tell you for sure… the Millennium Falcon will remain a ship of riddles.

I decided on having the indents in the side panels since it’s more visual interesting. Good layout and reference photos are a must!

20170202_152142_zpsvrt13mpn.jpg


It doesn’t hurt to shanghai a child to do the forming either!

20170202_193941_zpswtar7mt2.jpg


I’ve been working on this project for almost a year and realized last night that I have been labeling half of it incorrectly. :cry
58fc15d8-b429-4c16-93c5-722d519cae4d_zpszyx7svhy.jpg
I ran out of cardboard but not before finishing 9 of the 10 panels necessary. I plan on gluing them up and putting filler on the sides.

20170202_203713_zpsysspw5bm.jpg


It’s getting closer and closer. As always, I’ll keep building.
 
EXCELLENT! Its so great seeing the kids involved! Looks like the puppies have had a long day! ;)

EDIT: Looking at that image of the cockpit w/o the indents... it would appear they were photoshopped out. The lines appear to be a bit off.
 
An awesome idea for a kids room!


Now, adults, please don't get any ideas regarding making a king-sized "A-Wing fighter Bed" for your master bedroom--unless, of course, one is assembling the ULTIMATE "I will be sleeping alone--all of my life"…


:)
 
Last edited:
All of the cardboard panels were finished up and glued on to the exterior using Bostik SuperTak. Bonding time is around one minute which feels like a long time when you’re pressing them in place by hand (or foot).
Jay and Kai look down on me with disgust. Don’t judge me like fictional characters from LEGO Ninjago.

20170204_173819_zpszzdbctp5.jpg


All glued on. Ready for filler, paint, and my personal favorite... WEATHERING!

20170204_195411_zpsthxazujm.jpg


20170204_195704_zpsfq6t9qpe.jpg


20170204_195428_zps5v0bltnq.jpg


I filled the edges with wood filler to eliminate the corrugated cardboard look. It (unsurprisingly) took longer than expected and I ran out of wood filler. Time to go get another 5 gallon drum (SK and I get a discount because we buy in bulk). That’s all the progress this weekend but it’s coming along and I’ll keep building!
 
20170209_164431_zpsingn0stv.jpg


I figured I’d get this post started right! It’s been a while but we’ve made some real progress. The edges of the panels were finished up with filler and the sanding began. I can tell you that I am absolutely sick of sanding so it’s not great. Even my child labor force revolted! But we got it sanded and primed and ready for my favorite… weathering!!!

I started by making the dark grey panel and line details with spray paint. I used masking tape and did not worry about overspray since it’ll blend in with the damage. Then I used acrylic brown paint for the rust and dirt. I began with a dry brush technique but didn’t like the pattern and lack of control. I switched to a rag and started blotting on the paint. This worked well (more organic) and I was able to achieve subtle dirty areas as well as severely damaged parts.

20170212_170535_zpszwvdasbg.jpg


I kept my reference photos handy as I applied the paint.

20170212_170552_zpsyq6ocjxa.jpg


20170212_170622_zpswf6pelxk.jpg


The next step is to go over it with black using the same technique. The trick is to build up the weathering without removing the paint underneath. There are several spots where the primer peeled up when I got too aggressive with the rag. I figure it’ll add to the depth of the paint and if anyone asks… I planned it that way!

20170212_170649_zpsx52amopc.jpg


We received an exciting package from SofaKing01 full of greeblie goodness. Soon, we'll jump back inside and get all the panels looking even better than ever! I’ll keep building!
 
Back
Top