DrunkenMynock
Active Member
Cross-posting this from my website mynocksden.com for ease of reference here! Enjoy!
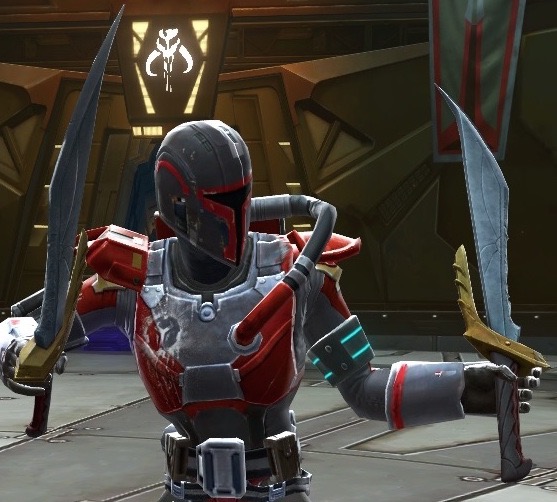
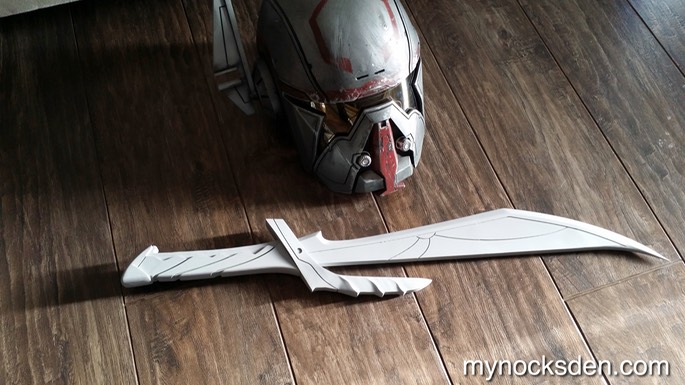
I was recently approached to tackle this Beskad from the game Star Wars the Old Republic. Liking the design of this weapon, and having done nothing like it in the past, I agreed to take on the project.
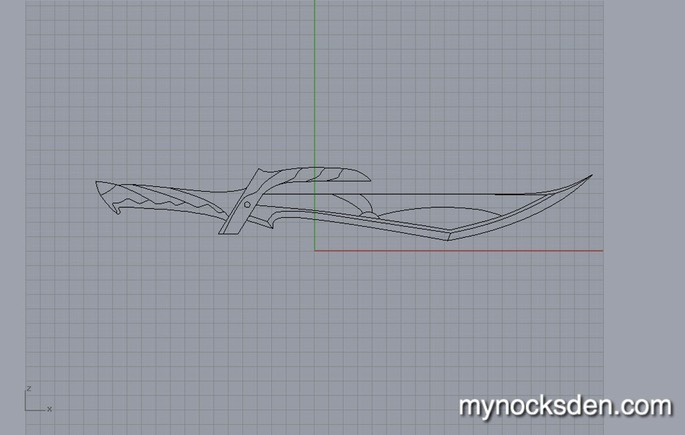
So, firing up Rhino, I drew out the basic outline of the sword, as well as all the detailing using curves.
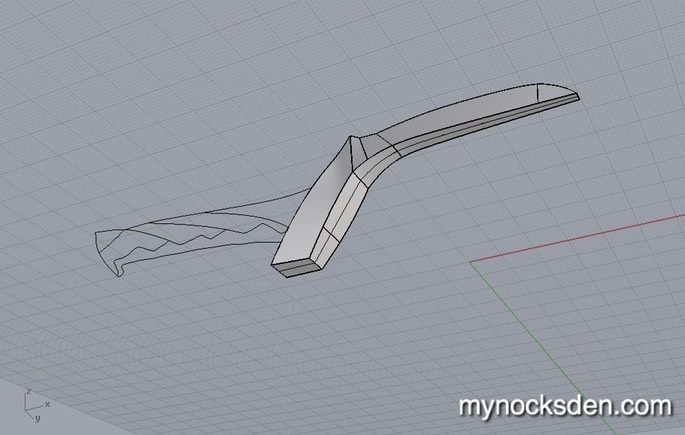
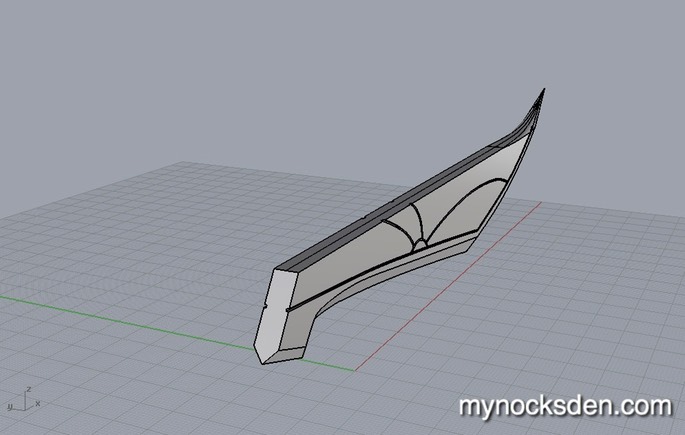
I then began the process of pulling all the curves into 3D by forming polysurfaces, and before long, had my completed the CAD model.
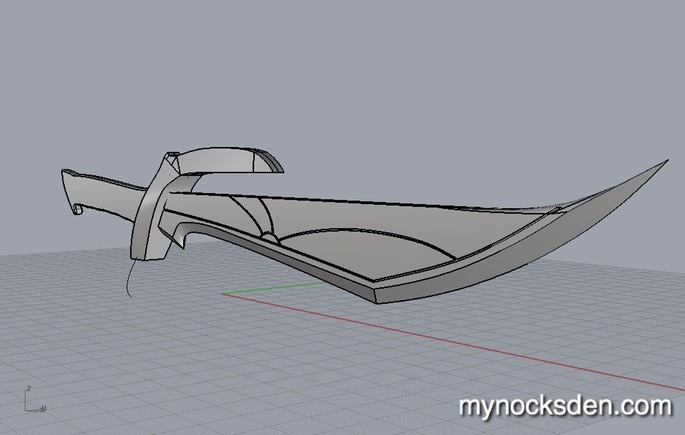
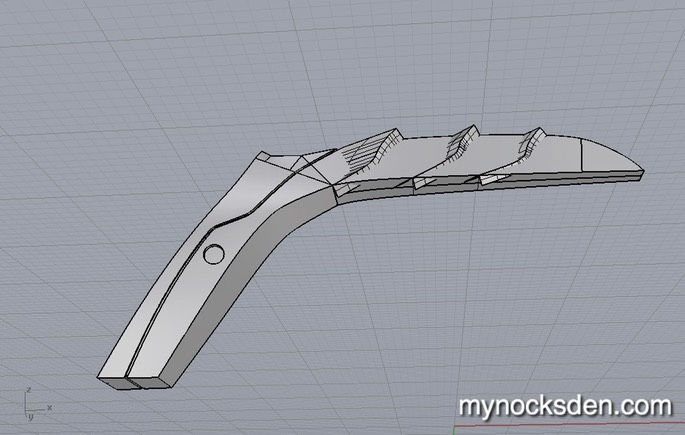

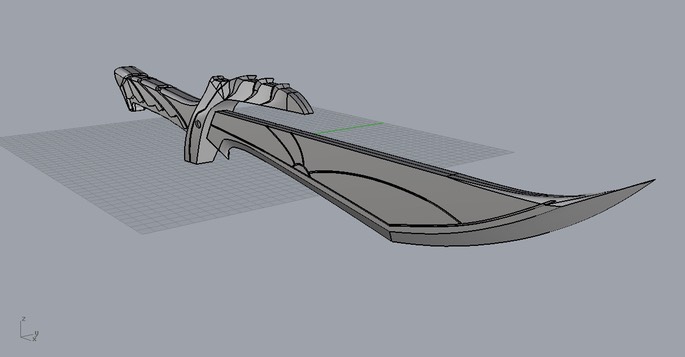
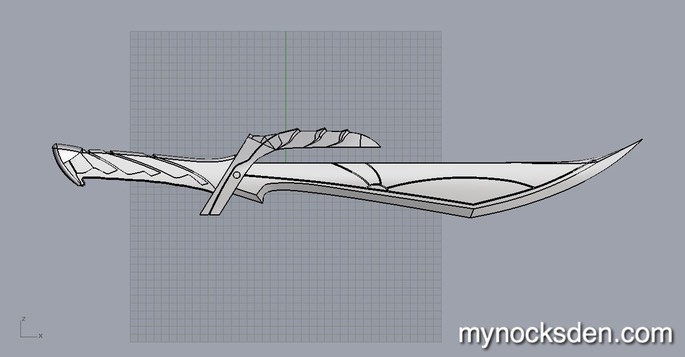
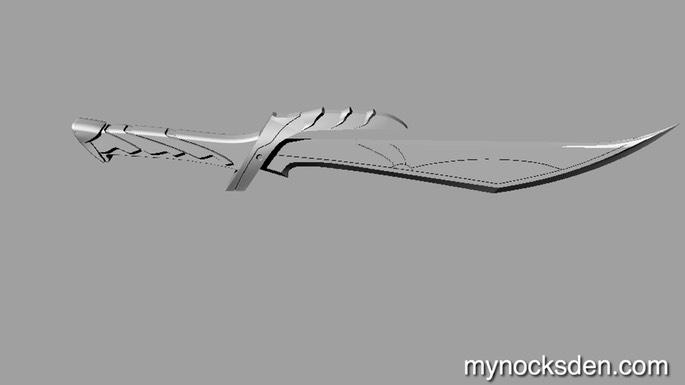
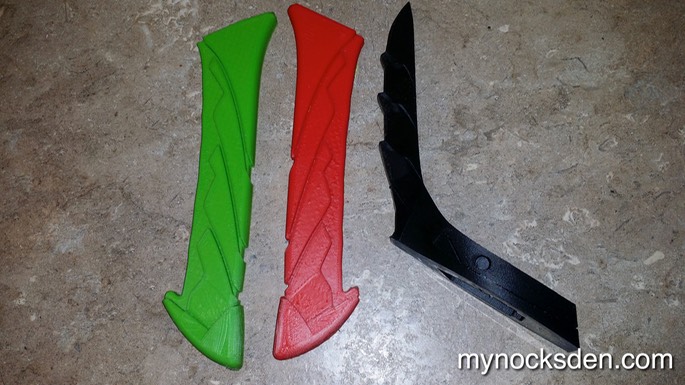
I then split the model up to ensure all pieces would fit inside my 3D printers, and printed the sword in sections. (NOTE: The different colours you see in the photos is because each printer is loaded with a different-coloured ABS spool; it’s not because I use dual extruders to print individual pieces, as some people think. Though my FlashForge Creator machines are all dual extrusion-capable, I print using a single extruder only, keeping the second one in reserve).
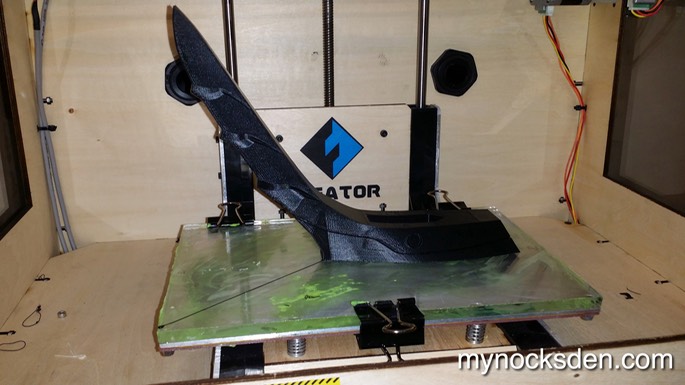
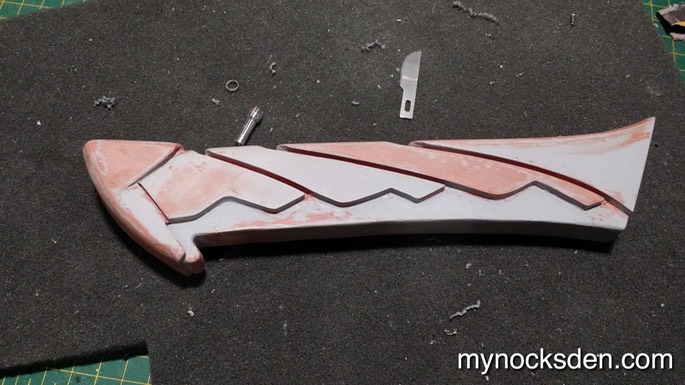
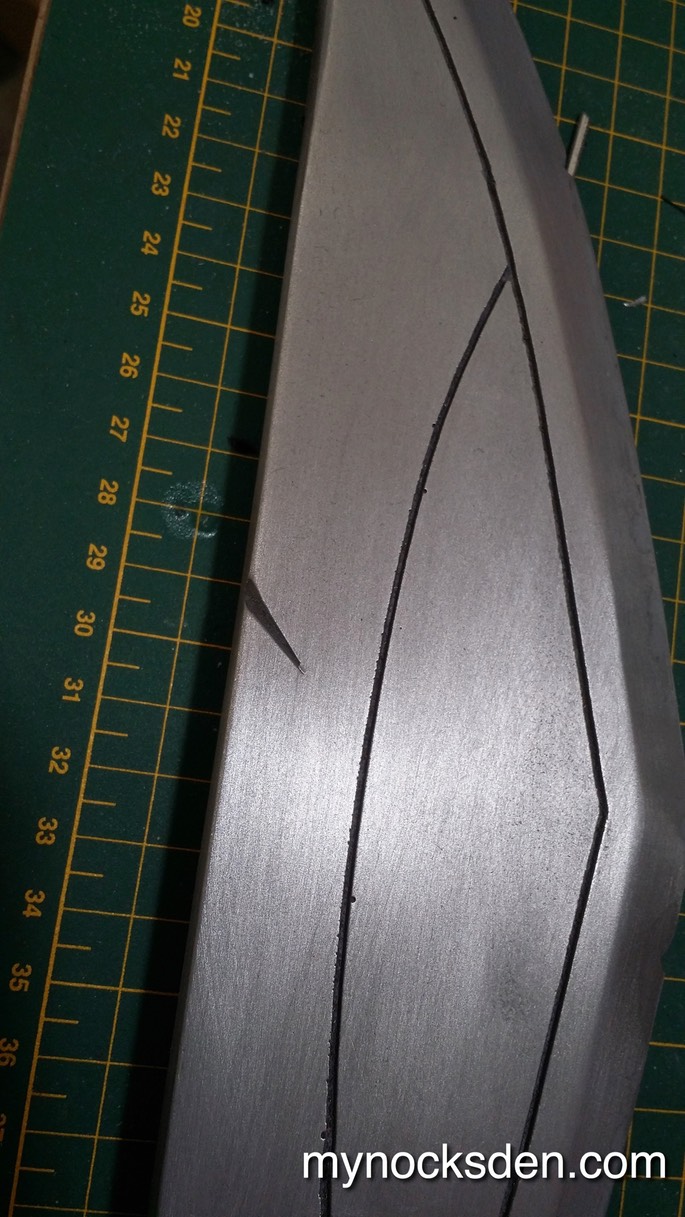
In the next photo, you can see some ugly striation in the two adjacent blade pieces. I’m not sure why this happened, since these pieces were done by two different printers, but it could have been due to shaking of the table on which all the printers are sitting.
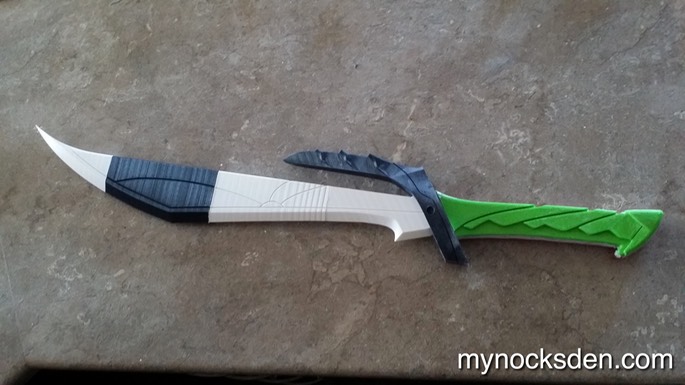
I glued all the pieces together using superglue, and began the long process of smoothing the surface using Bondo Spot putty. I apply this stuff liberally, and work it into the plastic with my fingers.
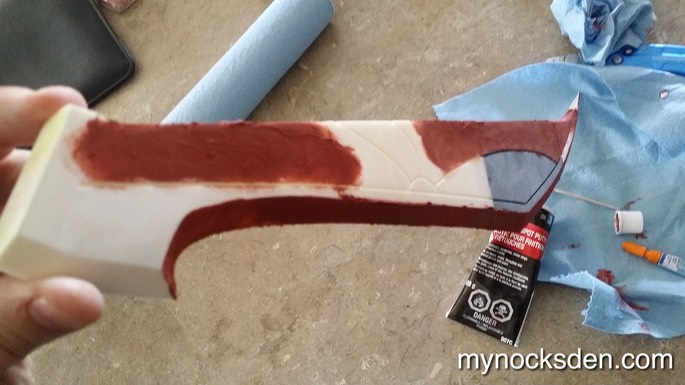
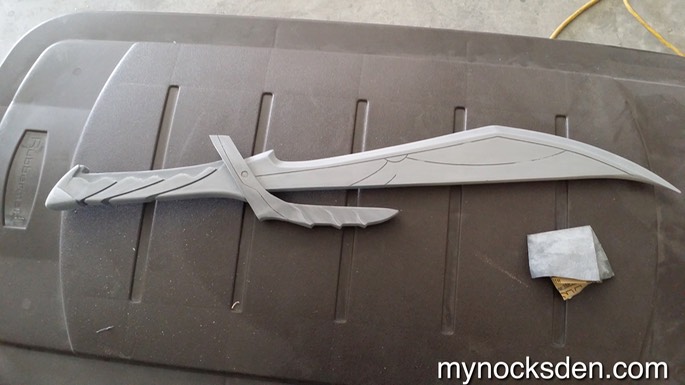
The Bondo spot putty was then sanded off and primed to reveal any unevenness.
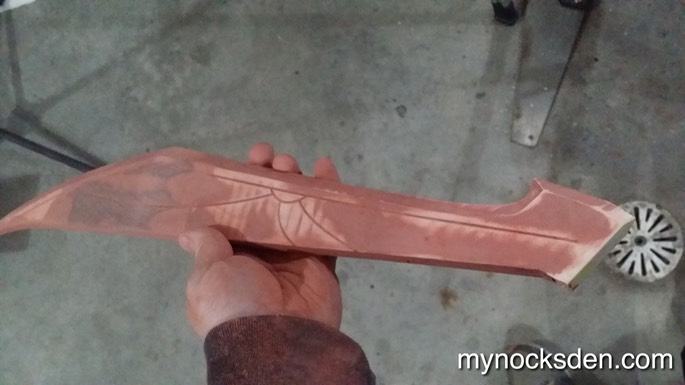

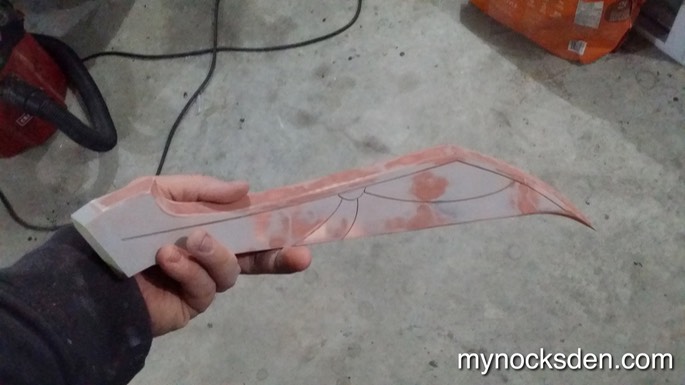
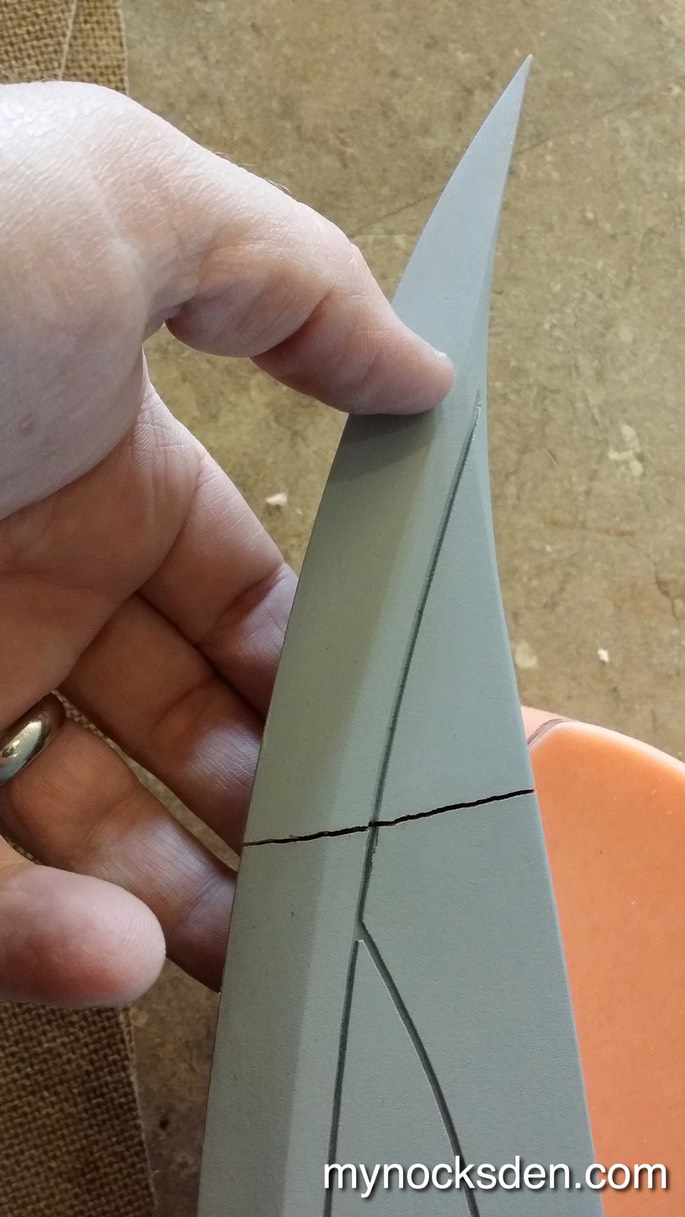
After applying more spot putty, sanding this down, and priming again, the model was completed and ready for molding.
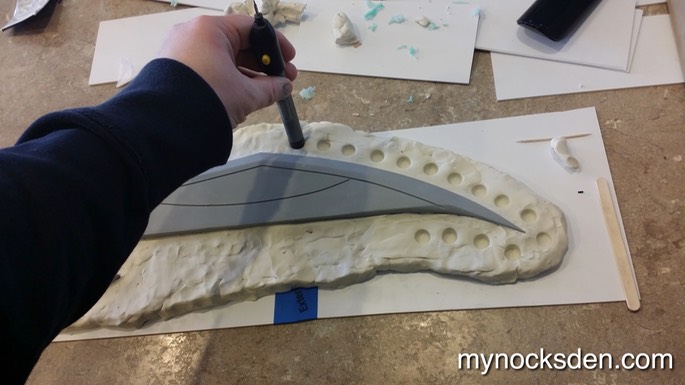
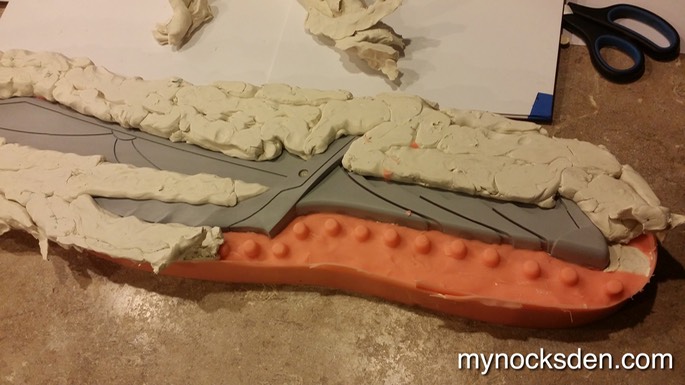
The sword was then placed on a flat surface, and plasticine was used to build a separator wall about half way up the model (think of it as burying one half of the sword in clay). The plasticine was then smoothed out as much as possible, and a round tipped-object was used to make indents in the clay all the way around the model to make "registration keys" that will help the two halves of the mold lock together in proper alignment.
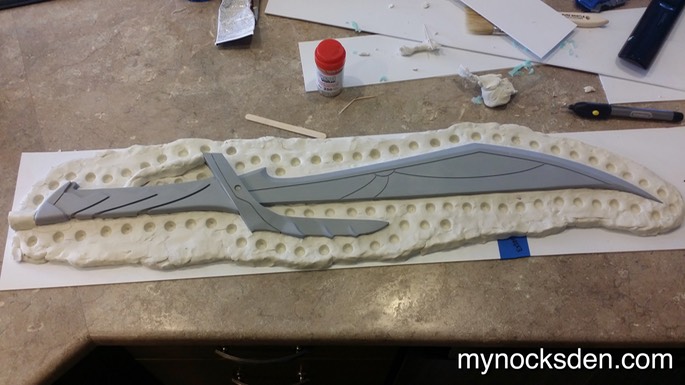
Scrap plastic was used to build a boundary wall around the mold.

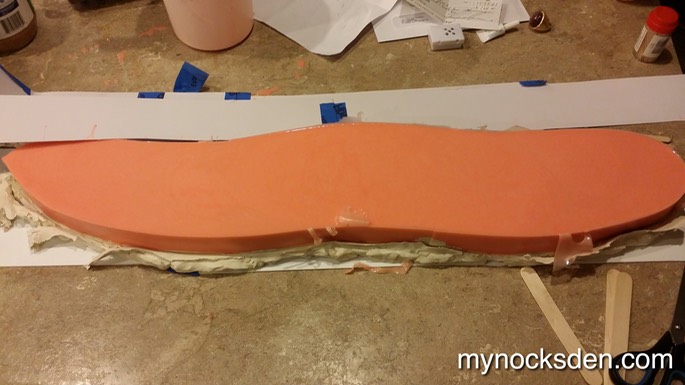
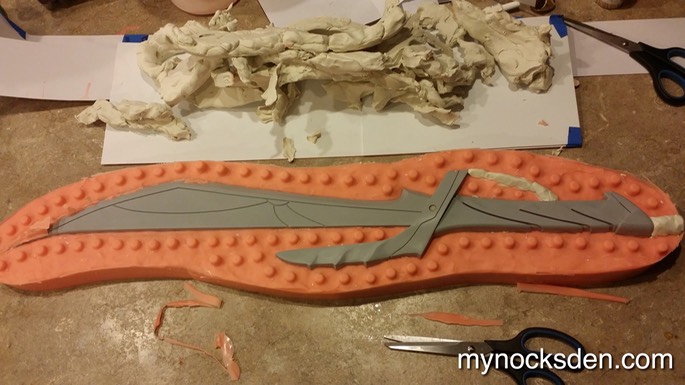
The whole thing was then sprayed with mold release, and the silicone was finally poured in. 4-6 hours later, once this cured, the wall was removed, the mold was flipped, and plasticine was peeled off, exposing the previously buried side of the model.
A little clay waass used at the end of the hilt to create a pour hole, and more clay was used to create an air channel between the shorter tip of the cross guard and the hilt. If this is not done, air will get trapped in the tip of the cross guard, and create a crater in the final cast.
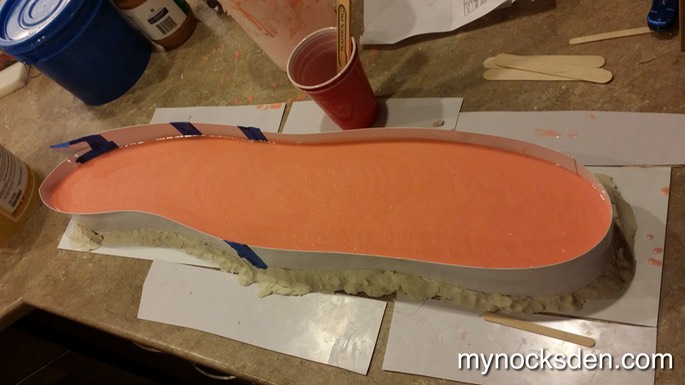
The entire thing was then sprayed with mold release once more (very important, so that the two halves of the silicone do not fuse!), a new wall was built around the mold, and new silicone poured to create the second half of the mold.
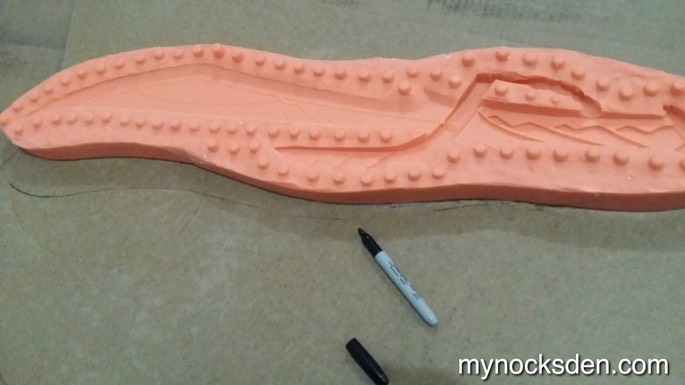
Once this all cured, the two layers were separated, and the master model removed.
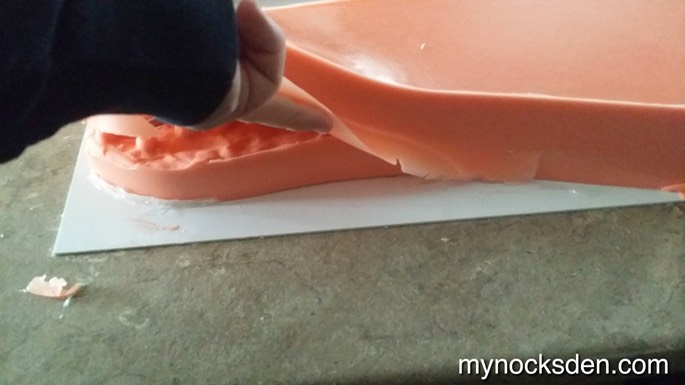
The tip of the sword broke during demolding, however the model had at this point served its purpose, and would not be needed again.
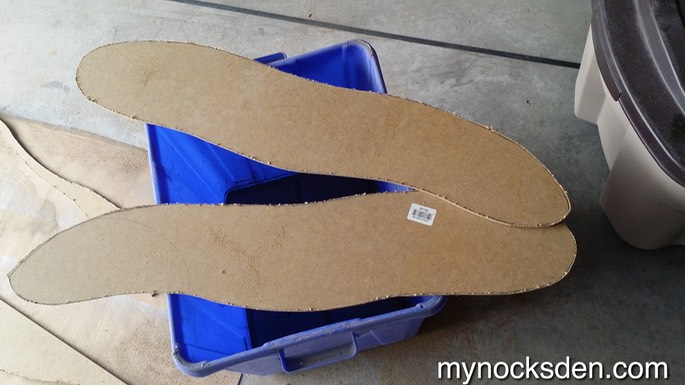
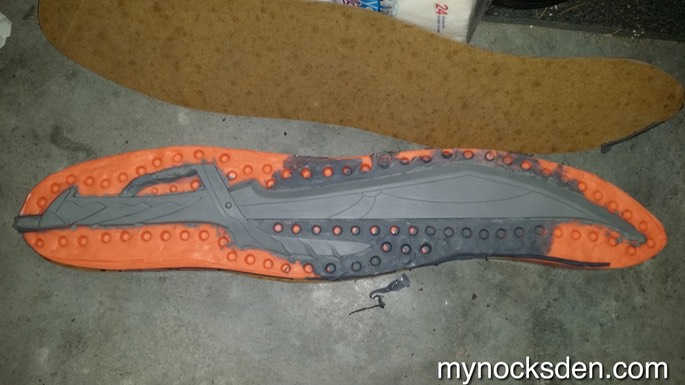
Next, I traced out the outline of both halves of the mold onto some scrap MDF board...
…cut these out with a jigsaw,
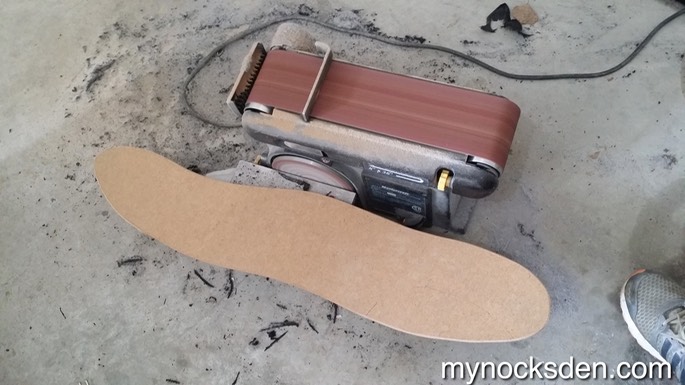
…and sanded the edges smooth with a bench sander. These would serve as support shells during casting, allowing the flexible molds to maintain correct shape.
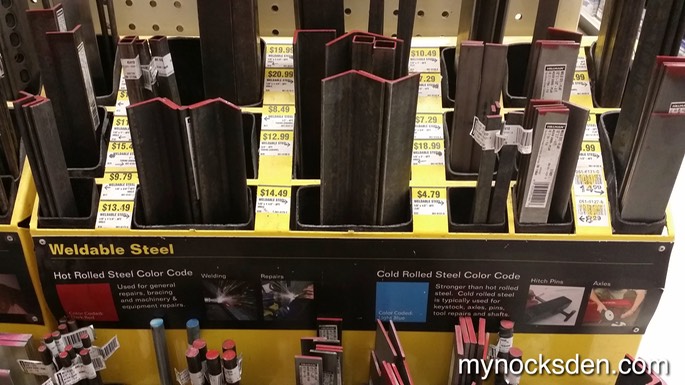
Since I was going to be making this sword out of resin, I wanted to make sure that it was sturdy enough to hold up during cosplay. So, I made a trip to the local hardware store to buy some welding steel plates to cast into the resin to make the piece a little more rigid.
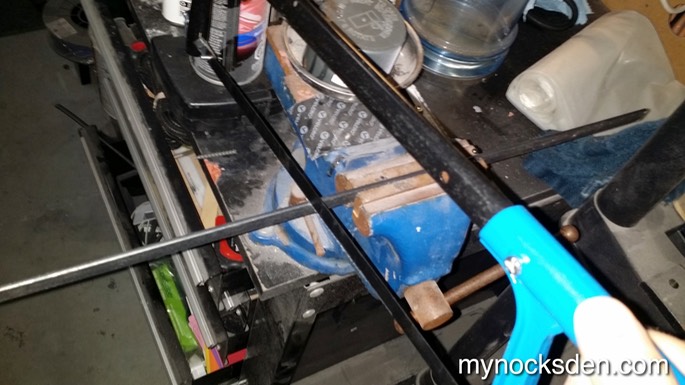
I bought some steel planks and cut off a small section using a metal hacksaw.
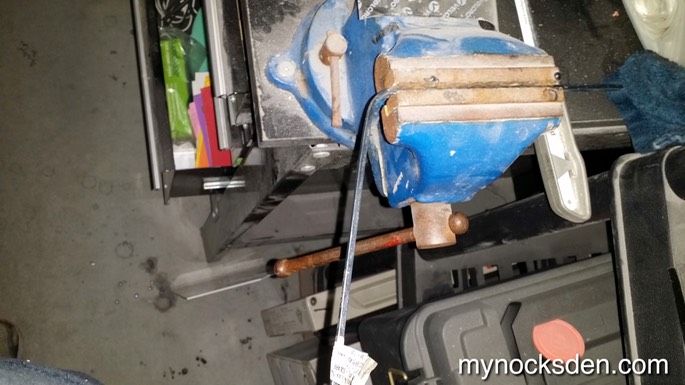
I also bought some square aluminum rods, cut off a small section of this, and bent it using a vice.
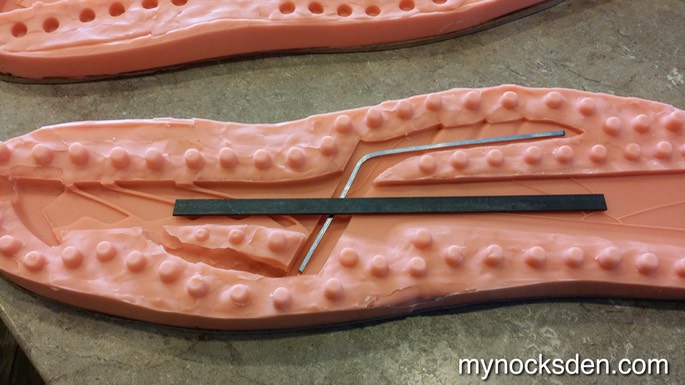
I put these into the mold to see how it would all fit, and was satisfied with the length.
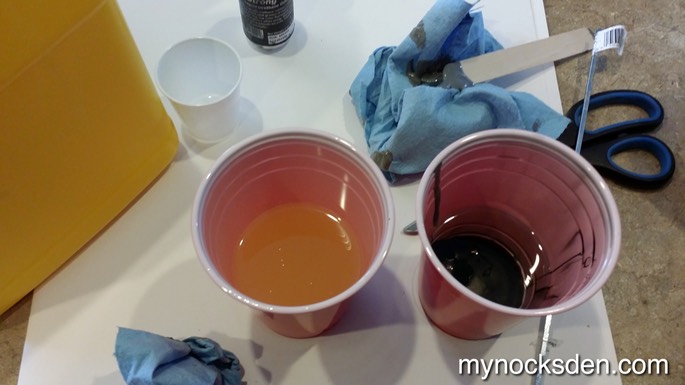
Next, I poured part A and B of 65D resin into separate cups, dropped a few drops of So-Stong pigment into part B to give it a bit of colour...
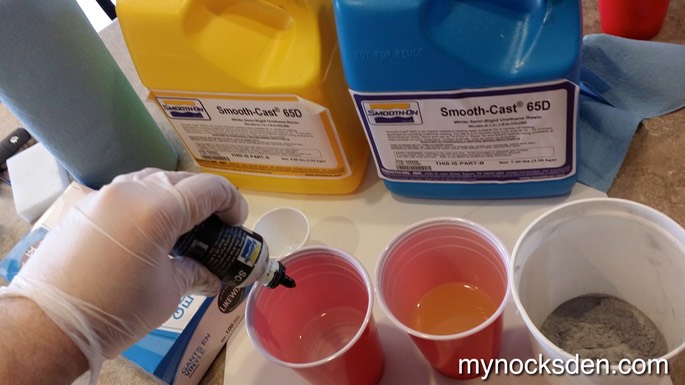
…mixed part B for a good minute, and poured it into the cup containing 500 mesh aluminum powder. (The amount of powder used was 1part aluminum to 3/4 parts of part B by volume).
I mixed part B and the aluminum powder very thoroughly...
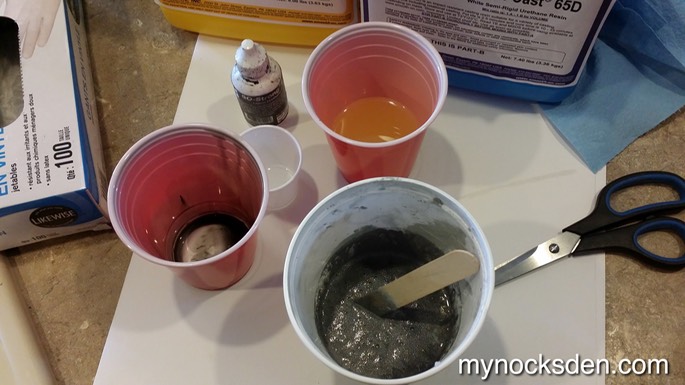
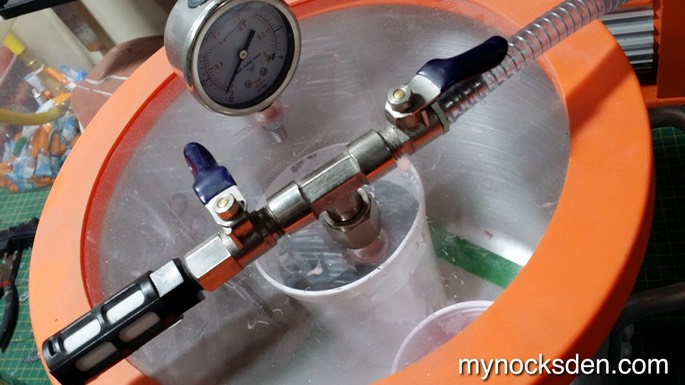
…and put both part A and part B/aluminum mixture into my vacuum chamber to get rid of the air bubbles.
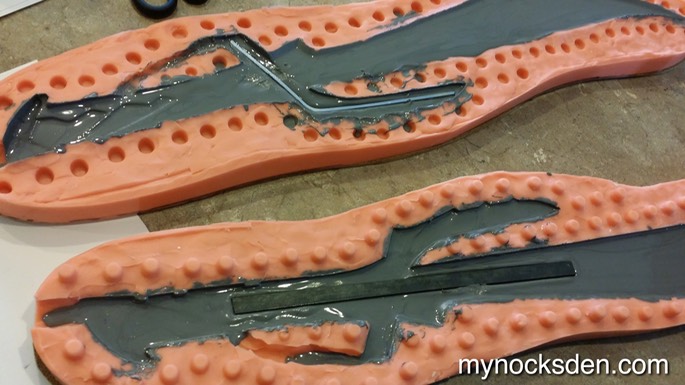
Once most of the air was taken out, I mixed part A and part B together, and poured them into the two halves of the mold as seen below. I used my finger to coat each square centimetre of the mold to ensure equal coverage, and to dislodge any remaining air bubbles from the mold surface.
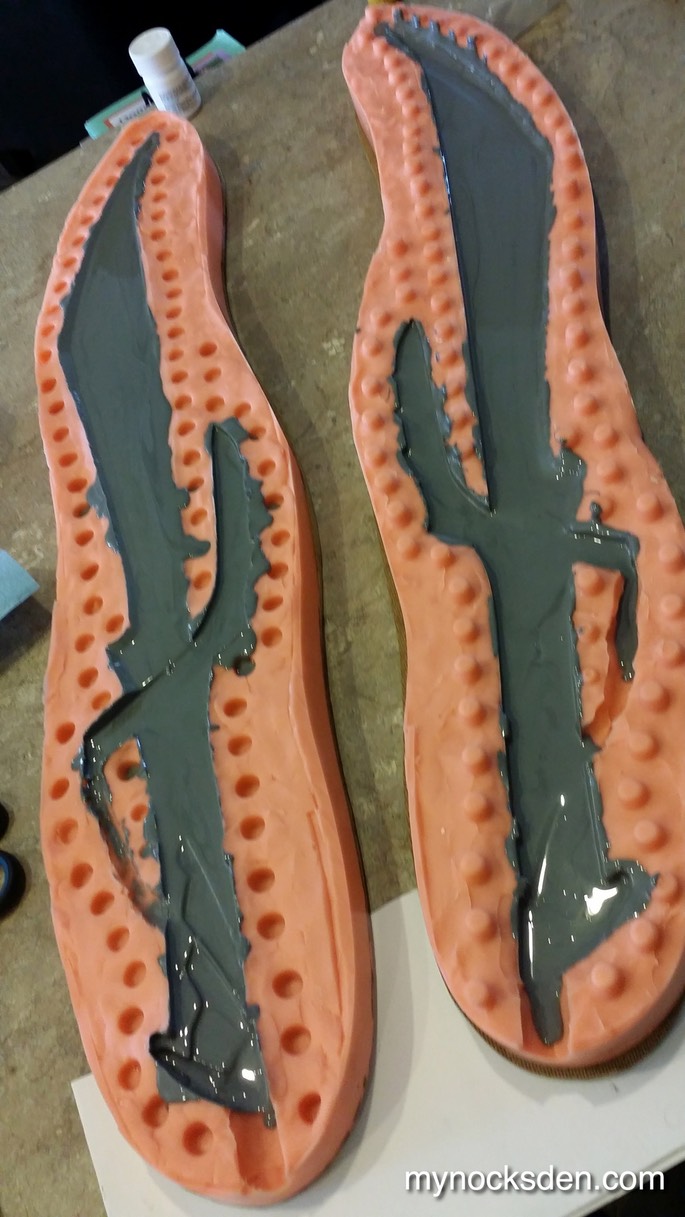
While the resin was still viscous, I pushed the metal pieces into the resin, cleaned up some of overspills, and joined the two halves together.
I used elastic bands to hold the mold halves together.
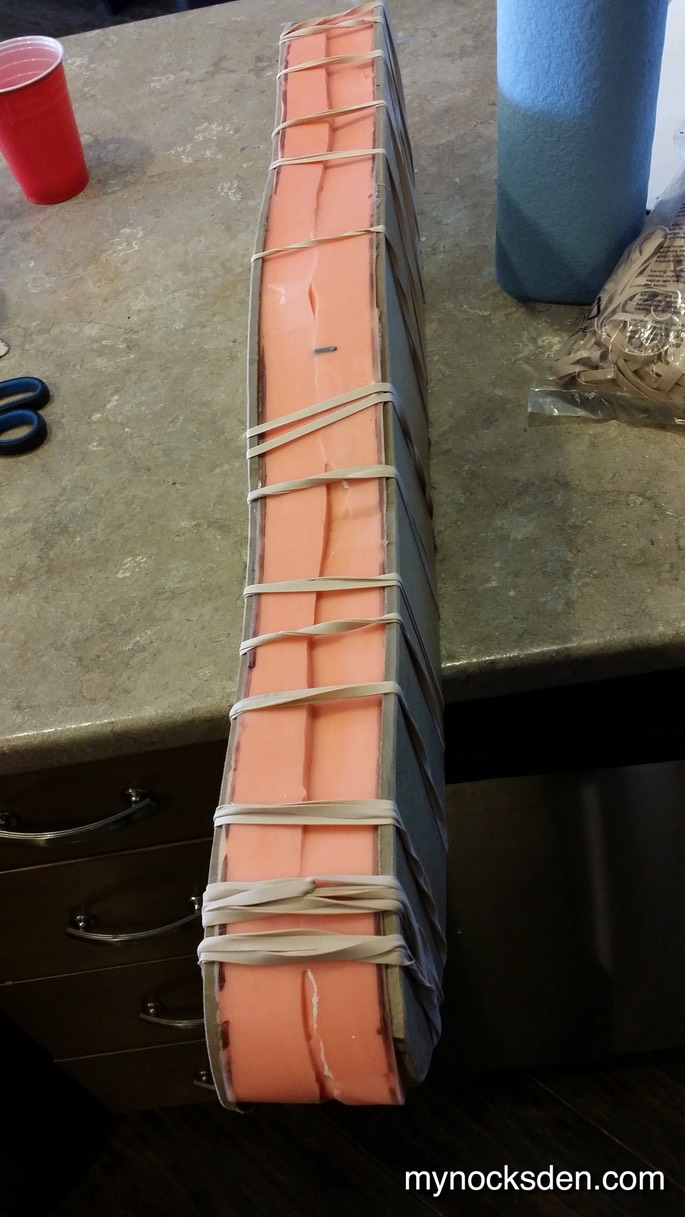
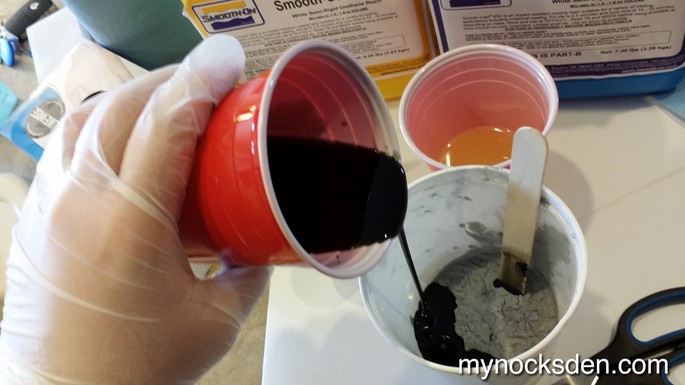
I then mixed up some more 65D (part B containing only black pigment this time, without any aluminum)...
…and poured this inside the mold. Immediately I realized my mistake of using elastic bands and not actual straps (which I actually purchased the same day for this exact purpose!), as the resin came pouring out the sides!
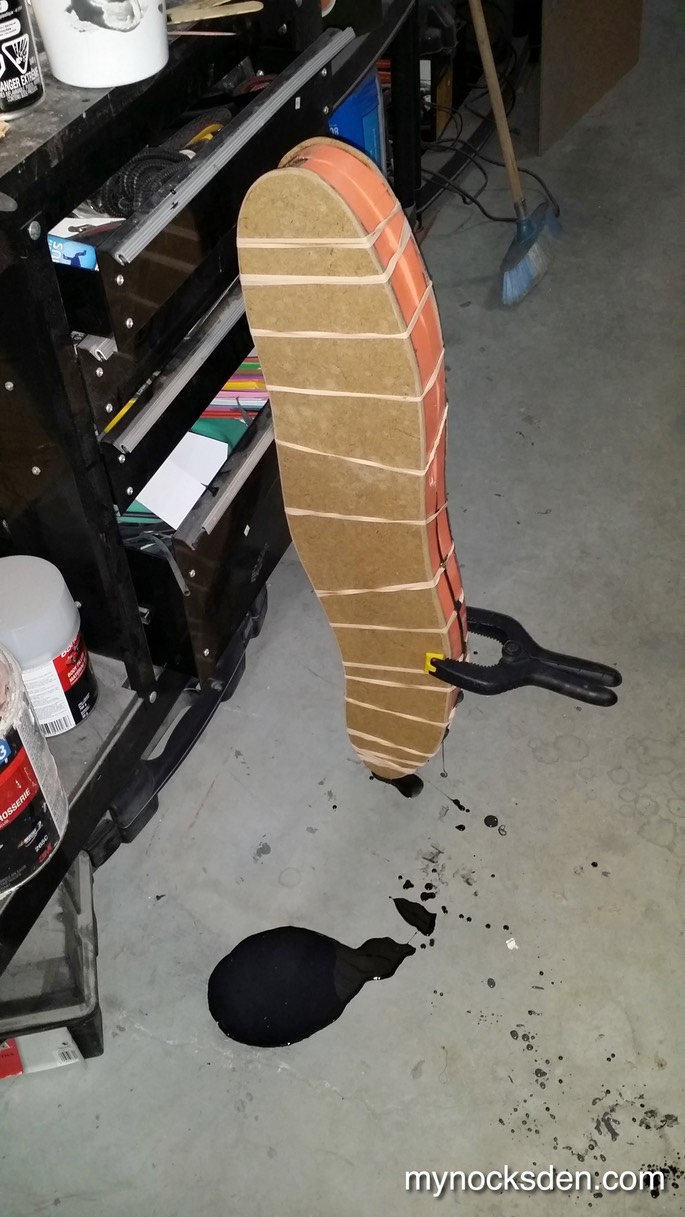
I was able to clamp the trouble spot before all the resin leaked out, though I did have to use more 65D to top up the mold.
Several minutes later, the mold halves were opened to reveal a “beautiful” sight! A perfectly cast resin sword! (Minus all the ugly spillage around it.)
I sawed off the pour hole stump, cleaned up the spill mess using an utility knife, and sanded the surface of the sword using 220, 400, 800, 1000, 2000 grit sandpapers in that order.
I sprayed the handle using a Rust-O-Leum brown paint, and used acetone and steel wool to take off the overspray.
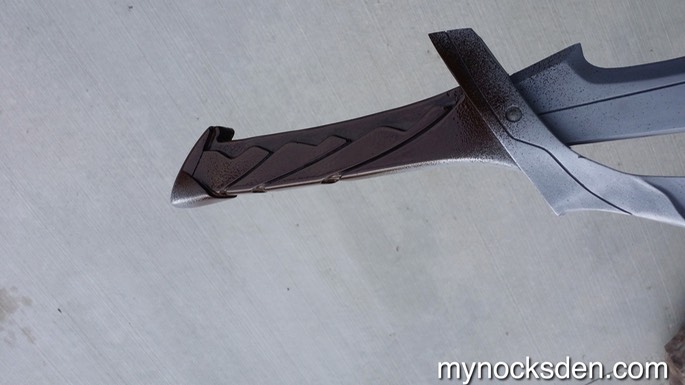
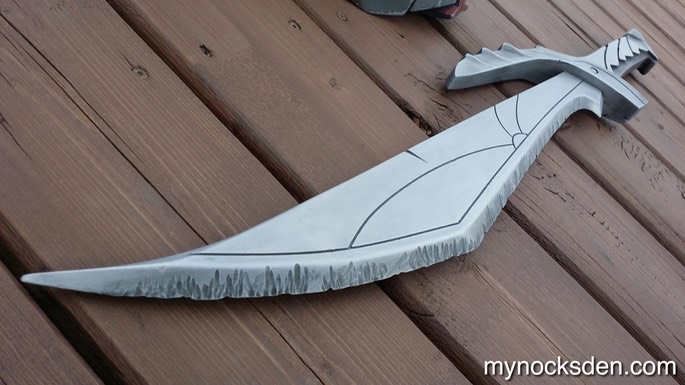
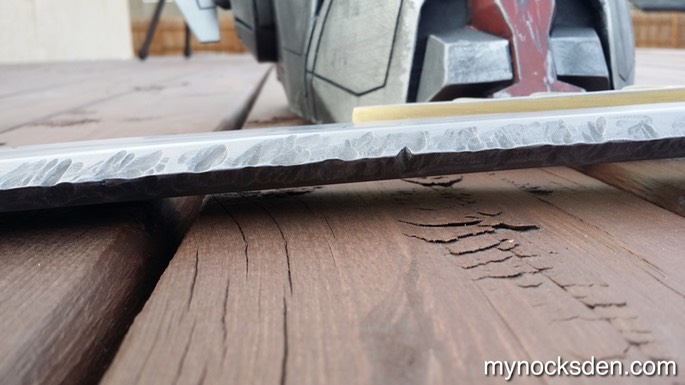
I then used very fine steel wool to buff the entire sword, and then weathered the blade by cutting some nocks into it with a knife and Dremel to simulate battle damage.
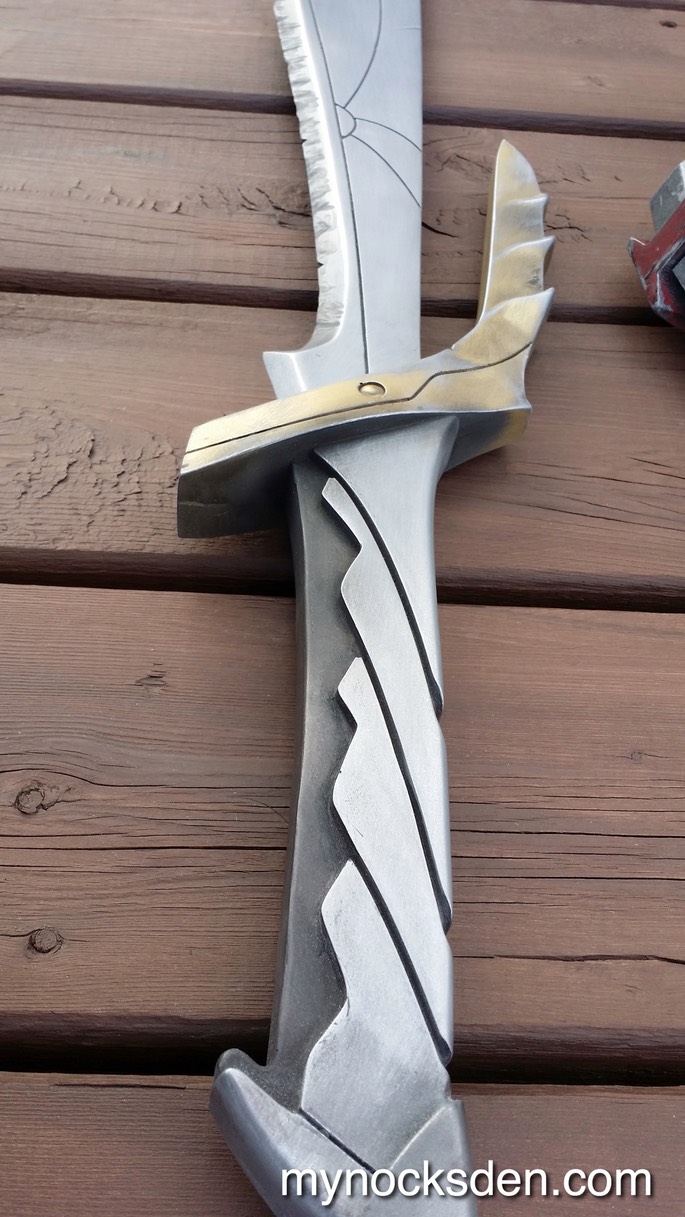
After buffing the sword some more, and airbrushing black onto areas of high dirt-retention (such as grooves, and other hard to reach places), the sword was completed! Weighing in at 1.87lbs, it has a nice heft and balance, reminiscent of a real short sword! Because of its look and feel, I had to keep reminding myself not to swing this thing at stuff!")
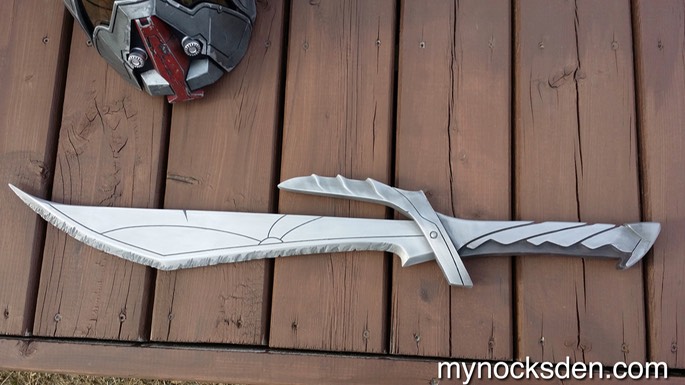

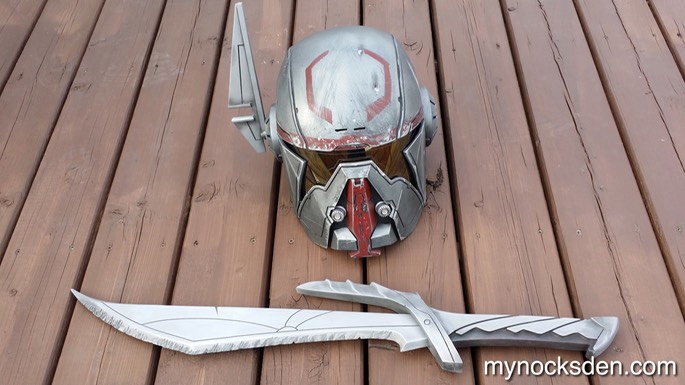
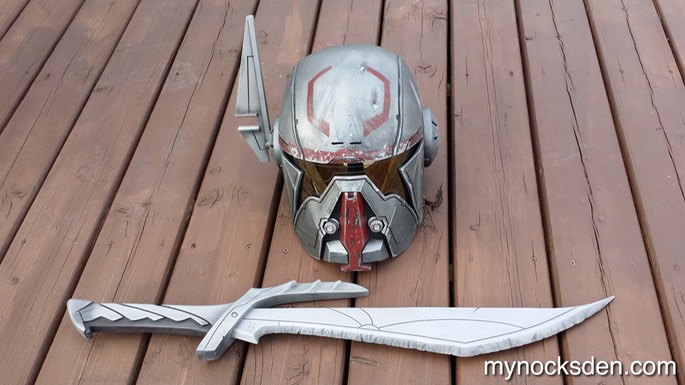
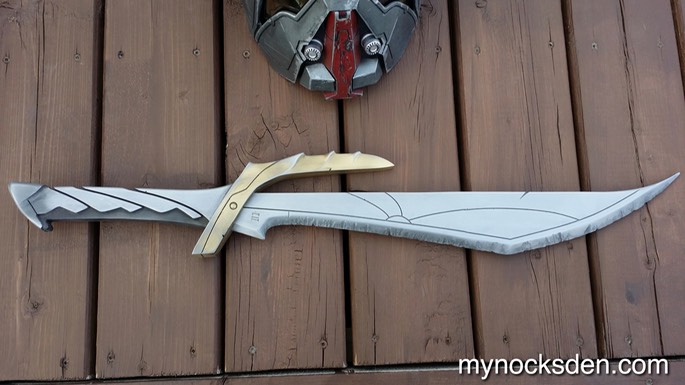
After finishing it, I decided to airbrush some gold onto the cross-guard to simulate weathered gold plating to match the reference image, which i think added more character to the piece!
The chewed up edge look was done using a Dremel with a grinding stone bit.
For more cool projects, check out my website mynocksden.com
Thanks for looking!
I was recently approached to tackle this Beskad from the game Star Wars the Old Republic. Liking the design of this weapon, and having done nothing like it in the past, I agreed to take on the project.
So, firing up Rhino, I drew out the basic outline of the sword, as well as all the detailing using curves.
I then began the process of pulling all the curves into 3D by forming polysurfaces, and before long, had my completed the CAD model.
I then split the model up to ensure all pieces would fit inside my 3D printers, and printed the sword in sections. (NOTE: The different colours you see in the photos is because each printer is loaded with a different-coloured ABS spool; it’s not because I use dual extruders to print individual pieces, as some people think. Though my FlashForge Creator machines are all dual extrusion-capable, I print using a single extruder only, keeping the second one in reserve).
In the next photo, you can see some ugly striation in the two adjacent blade pieces. I’m not sure why this happened, since these pieces were done by two different printers, but it could have been due to shaking of the table on which all the printers are sitting.
I glued all the pieces together using superglue, and began the long process of smoothing the surface using Bondo Spot putty. I apply this stuff liberally, and work it into the plastic with my fingers.
The Bondo spot putty was then sanded off and primed to reveal any unevenness.
After applying more spot putty, sanding this down, and priming again, the model was completed and ready for molding.
The sword was then placed on a flat surface, and plasticine was used to build a separator wall about half way up the model (think of it as burying one half of the sword in clay). The plasticine was then smoothed out as much as possible, and a round tipped-object was used to make indents in the clay all the way around the model to make "registration keys" that will help the two halves of the mold lock together in proper alignment.
Scrap plastic was used to build a boundary wall around the mold.
The whole thing was then sprayed with mold release, and the silicone was finally poured in. 4-6 hours later, once this cured, the wall was removed, the mold was flipped, and plasticine was peeled off, exposing the previously buried side of the model.
A little clay waass used at the end of the hilt to create a pour hole, and more clay was used to create an air channel between the shorter tip of the cross guard and the hilt. If this is not done, air will get trapped in the tip of the cross guard, and create a crater in the final cast.
The entire thing was then sprayed with mold release once more (very important, so that the two halves of the silicone do not fuse!), a new wall was built around the mold, and new silicone poured to create the second half of the mold.
Once this all cured, the two layers were separated, and the master model removed.
The tip of the sword broke during demolding, however the model had at this point served its purpose, and would not be needed again.
Next, I traced out the outline of both halves of the mold onto some scrap MDF board...
…cut these out with a jigsaw,
…and sanded the edges smooth with a bench sander. These would serve as support shells during casting, allowing the flexible molds to maintain correct shape.
Since I was going to be making this sword out of resin, I wanted to make sure that it was sturdy enough to hold up during cosplay. So, I made a trip to the local hardware store to buy some welding steel plates to cast into the resin to make the piece a little more rigid.
I bought some steel planks and cut off a small section using a metal hacksaw.
I also bought some square aluminum rods, cut off a small section of this, and bent it using a vice.
I put these into the mold to see how it would all fit, and was satisfied with the length.
Next, I poured part A and B of 65D resin into separate cups, dropped a few drops of So-Stong pigment into part B to give it a bit of colour...
…mixed part B for a good minute, and poured it into the cup containing 500 mesh aluminum powder. (The amount of powder used was 1part aluminum to 3/4 parts of part B by volume).
I mixed part B and the aluminum powder very thoroughly...
…and put both part A and part B/aluminum mixture into my vacuum chamber to get rid of the air bubbles.
Once most of the air was taken out, I mixed part A and part B together, and poured them into the two halves of the mold as seen below. I used my finger to coat each square centimetre of the mold to ensure equal coverage, and to dislodge any remaining air bubbles from the mold surface.
While the resin was still viscous, I pushed the metal pieces into the resin, cleaned up some of overspills, and joined the two halves together.
I used elastic bands to hold the mold halves together.
I then mixed up some more 65D (part B containing only black pigment this time, without any aluminum)...
…and poured this inside the mold. Immediately I realized my mistake of using elastic bands and not actual straps (which I actually purchased the same day for this exact purpose!), as the resin came pouring out the sides!
I was able to clamp the trouble spot before all the resin leaked out, though I did have to use more 65D to top up the mold.
Several minutes later, the mold halves were opened to reveal a “beautiful” sight! A perfectly cast resin sword! (Minus all the ugly spillage around it.)
I sawed off the pour hole stump, cleaned up the spill mess using an utility knife, and sanded the surface of the sword using 220, 400, 800, 1000, 2000 grit sandpapers in that order.
I sprayed the handle using a Rust-O-Leum brown paint, and used acetone and steel wool to take off the overspray.
I then used very fine steel wool to buff the entire sword, and then weathered the blade by cutting some nocks into it with a knife and Dremel to simulate battle damage.
After buffing the sword some more, and airbrushing black onto areas of high dirt-retention (such as grooves, and other hard to reach places), the sword was completed! Weighing in at 1.87lbs, it has a nice heft and balance, reminiscent of a real short sword! Because of its look and feel, I had to keep reminding myself not to swing this thing at stuff!
After finishing it, I decided to airbrush some gold onto the cross-guard to simulate weathered gold plating to match the reference image, which i think added more character to the piece!
The chewed up edge look was done using a Dremel with a grinding stone bit.
For more cool projects, check out my website mynocksden.com
Thanks for looking!