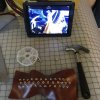
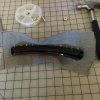
Hi everyone. A few months ago I made a Furiosa costume for myself and loved it so much that I wanted to continue adding to her costume. She's got a lot of gun props (SO MANY WEAPONS) and there are a few that I'd like to make, but I decided to try to make her steering wheel in time for ECCC 2016. I'm posting this thread up here because I got a ton of questions about how I made this prop!

Hours: Approximately 40-50
Materials: Worbla, Wonderflex, EVA Foam, plastic tubing, grommets, pleather, Good Stuff expandable foam, 3D Printed grip handle.
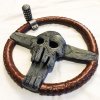
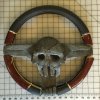
This is the finished steering wheel!
But first I started with a sketch and a steering wheel cover:
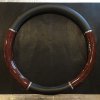
Instead of using a real steering wheel, I decided to use an inexpensive $8 steering wheel cover as a starting point.

Sketching a rough draft of the skull for proportions.

I initially thought I could use some extra wonderflex I had, but it turned out to be too rough, and I really wanted a smooth wire-look for the surface.
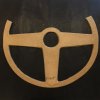
Eva foam/worbla base. (in hindsight I should have just made the entire circle, but I was worried I wouldn’t be able to wrap the wheel cover around it)
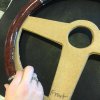
Test fit to see if the worbla/eva base would fit inside the cover.
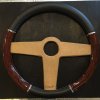
Voila! On to crafting the skull.

I used Great Stuff for the first time ever.
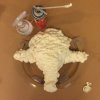
This stuff is pretty great. It’s also incredibly sticky and I think I used WAY too much.
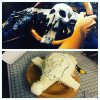
After I let it cured overnight, I began to carve out the skull shape.

Getting closer to the shape.

And closer…
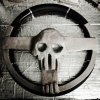
I eventually covered the skull with worbla because I needed to have a surface to stick the plastic tubing I was going to use to make the pattern. It was a challenge!
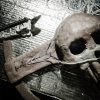
Using a quilting iron, I carefully heated up a small portion of the worbla and secured the plastic tubing to it. Inch by painful inch.
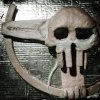
One side done!
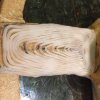
Close up of the pattern.
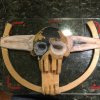
The eyes were a challenge. I ended up pre-winding the tubing into a flat circular shape about 1.5" wide onto a small round of worbla, and then applying that quickly into the eye sockets.
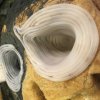
Close up of the eyes.

I had to knock off the teeth to secure the tubing into the underside of the skull.
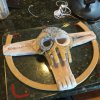
Thankfully I used worbla for the teeth so reattaching them wasn’t a problem.
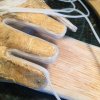
Detailing the teeth… tedious work! I’d hate to be a dentist.
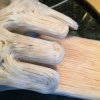
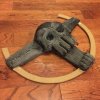
Teeth are done!
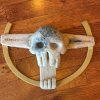
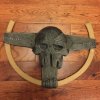
Finally complete!
Next up: painting and finishing the grips!


Hours: Approximately 40-50
Materials: Worbla, Wonderflex, EVA Foam, plastic tubing, grommets, pleather, Good Stuff expandable foam, 3D Printed grip handle.

This is the finished steering wheel!
But first I started with a sketch and a steering wheel cover:

Instead of using a real steering wheel, I decided to use an inexpensive $8 steering wheel cover as a starting point.

Sketching a rough draft of the skull for proportions.

I initially thought I could use some extra wonderflex I had, but it turned out to be too rough, and I really wanted a smooth wire-look for the surface.

Eva foam/worbla base. (in hindsight I should have just made the entire circle, but I was worried I wouldn’t be able to wrap the wheel cover around it)

Test fit to see if the worbla/eva base would fit inside the cover.

Voila! On to crafting the skull.

I used Great Stuff for the first time ever.

This stuff is pretty great. It’s also incredibly sticky and I think I used WAY too much.

After I let it cured overnight, I began to carve out the skull shape.

Getting closer to the shape.

And closer…

I eventually covered the skull with worbla because I needed to have a surface to stick the plastic tubing I was going to use to make the pattern. It was a challenge!

Using a quilting iron, I carefully heated up a small portion of the worbla and secured the plastic tubing to it. Inch by painful inch.

One side done!

Close up of the pattern.

The eyes were a challenge. I ended up pre-winding the tubing into a flat circular shape about 1.5" wide onto a small round of worbla, and then applying that quickly into the eye sockets.

Close up of the eyes.

I had to knock off the teeth to secure the tubing into the underside of the skull.

Thankfully I used worbla for the teeth so reattaching them wasn’t a problem.

Detailing the teeth… tedious work! I’d hate to be a dentist.

Teeth are done!

Finally complete!
Next up: painting and finishing the grips!
Last edited by a moderator:

