Thank you very much for the kind words.
In all honesty there are more qualified builders than I am on this thread who would be able to comment on specific colors and as well as weathering techniques. All I do is bring an artists eye to the party and my way of working is focused on effect rather than on accuracy - its pretty rough and ready. That said, the original models - especially their painting and weathering - were done not with callipers but with dirty airbrushes and robust finishes so I guess there IS a similarity between the way I work and the way the original models were finished and weathered - even if the technique is different.
What I'm trying to do with my model is to bring some of the attributes I've seen in the original models and the impression they left with me - both on-screen as well as in their physical form. I have absolutely no idea what the correct overall color for the Falcon is or what the pantone swatch match is for the red or grey panels and instead of obsessing with those details (which in any case change under studio lighting and as film ages), I have used colors that result in something that works aesthetically for me.
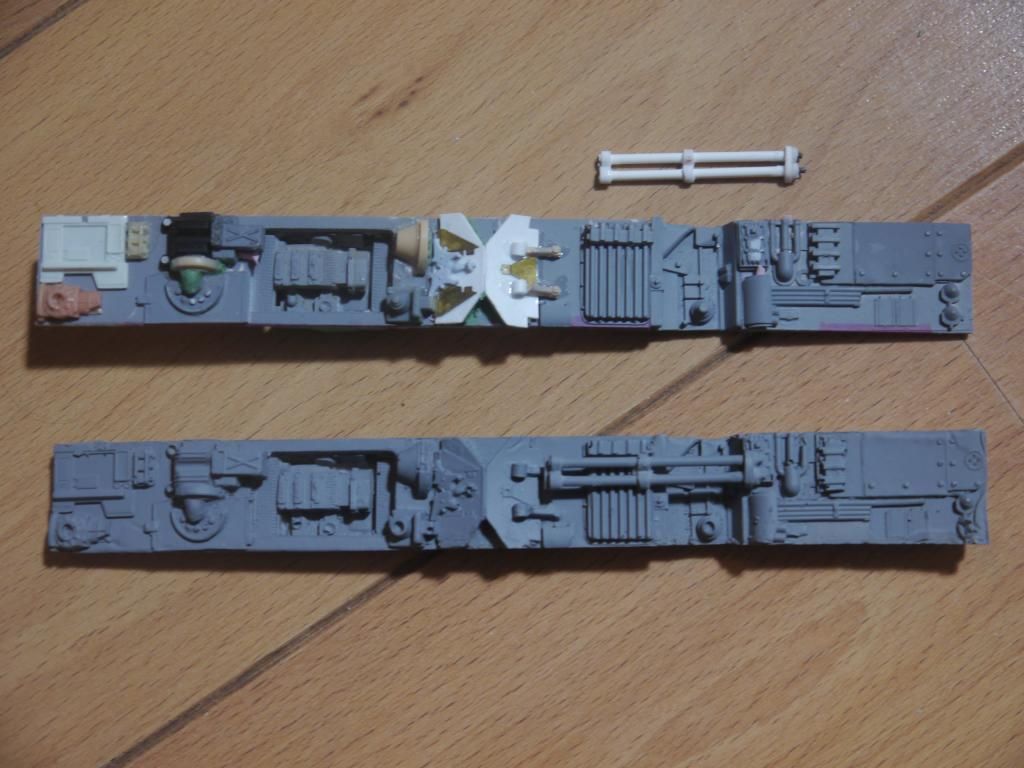
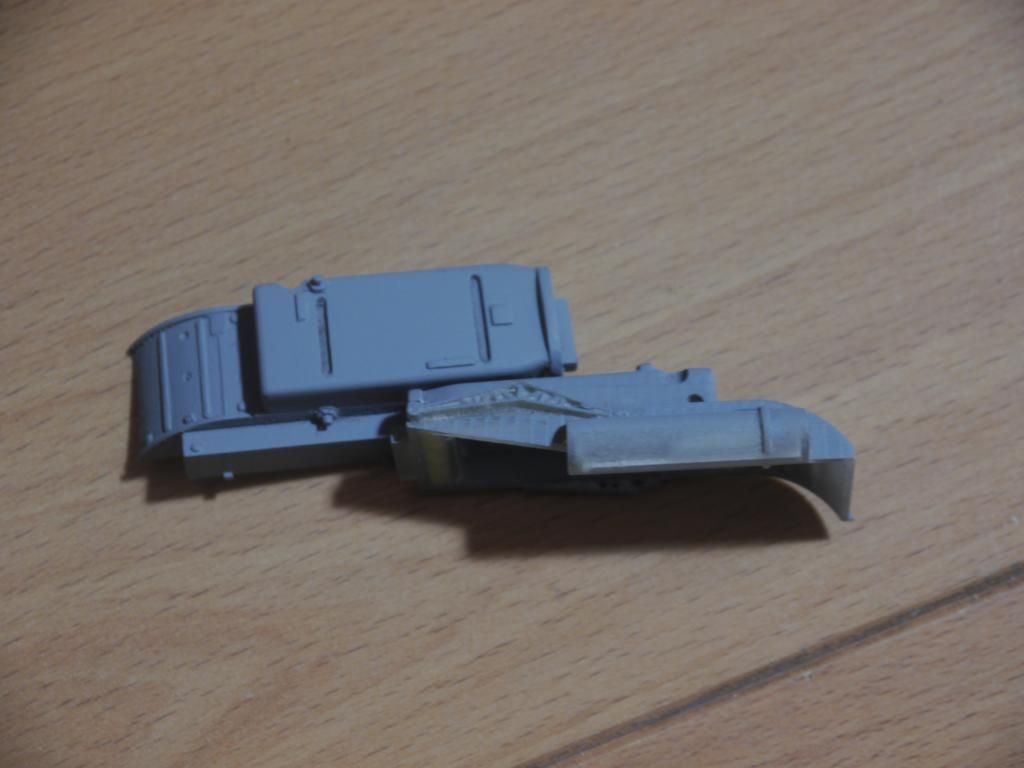
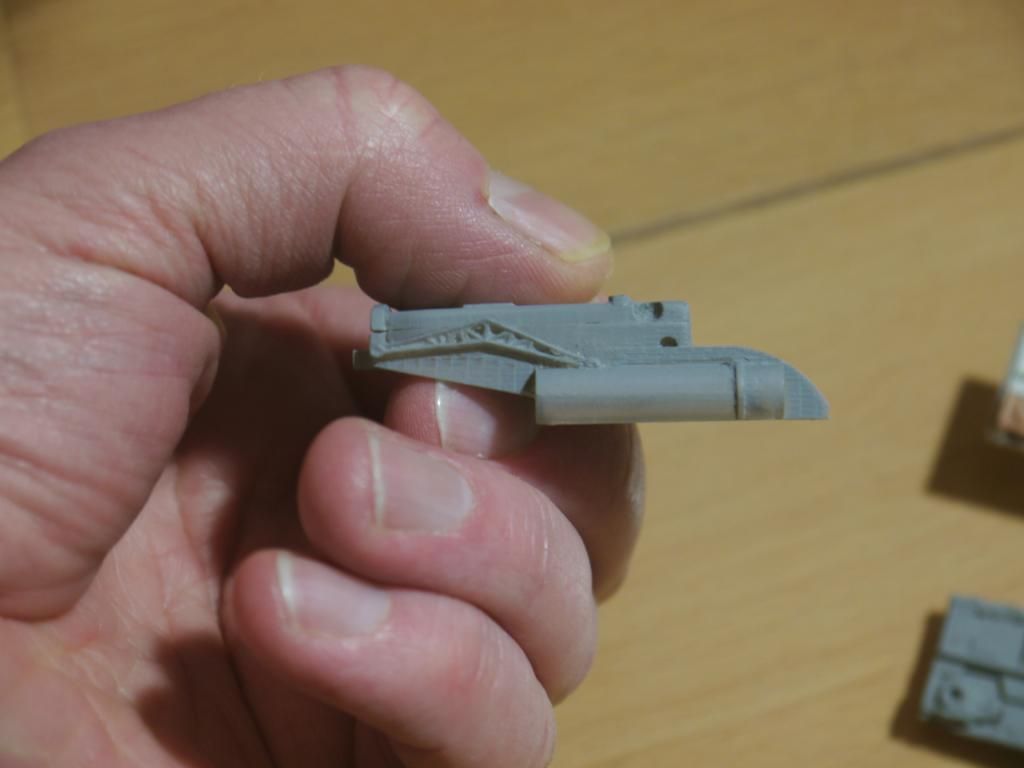
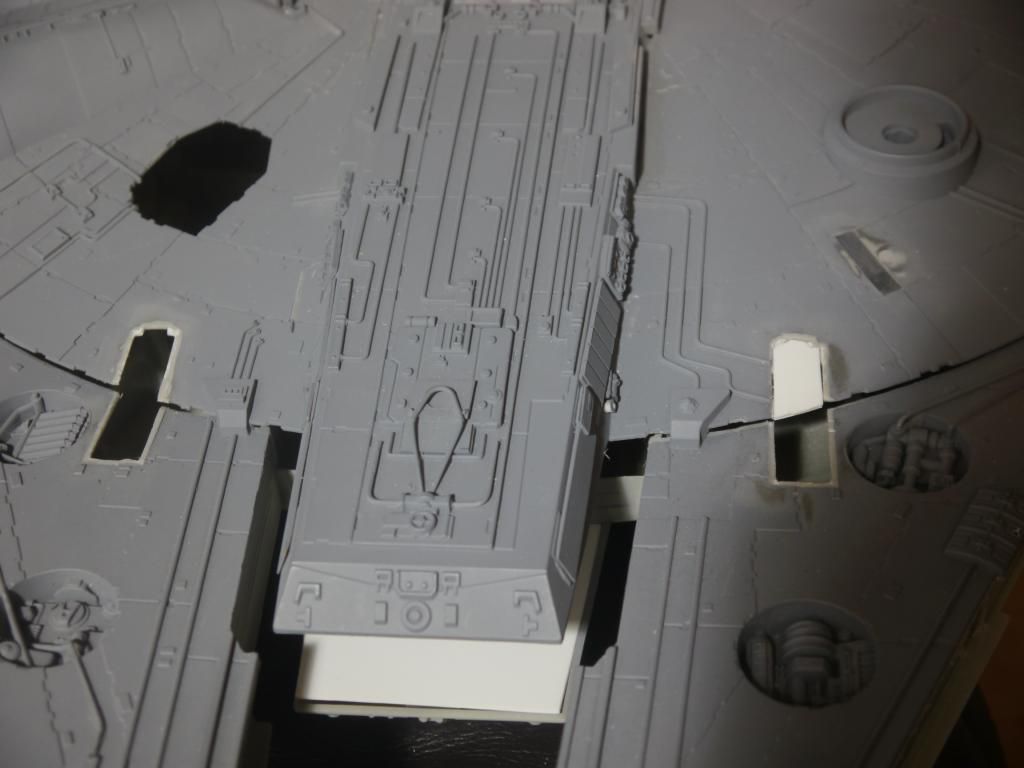
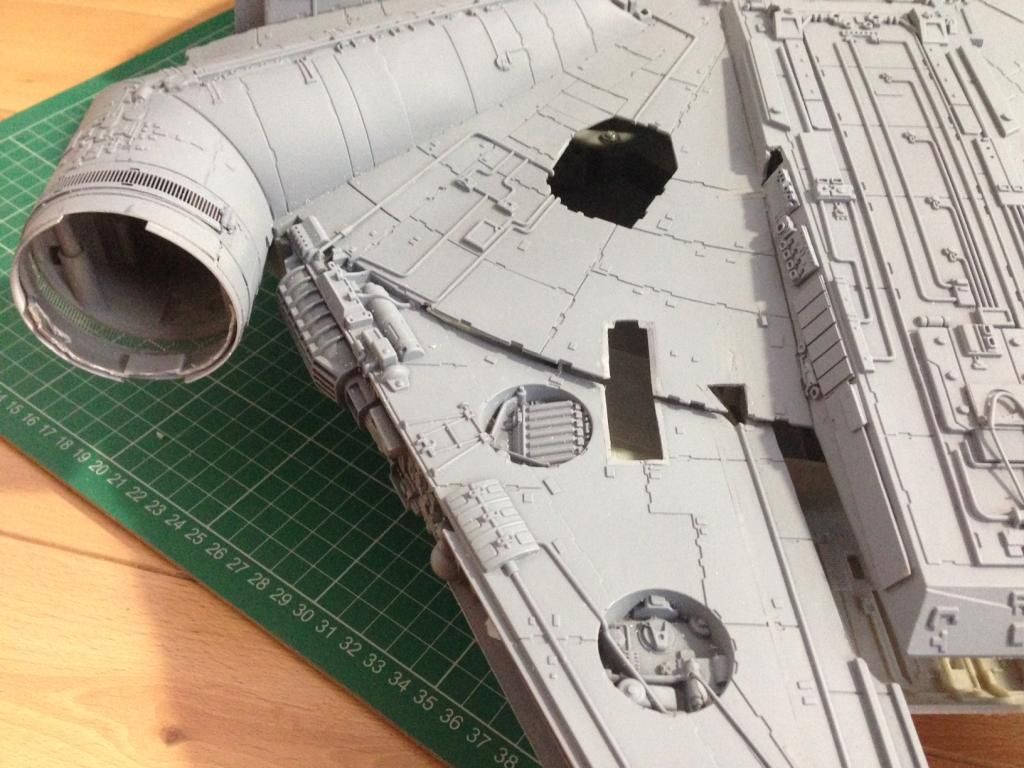
I built up the missing panels on the Falcon with greeblies but left the rest of Hasbro detailing pretty much as it is. I removed the stupid feet (opting for closed doors) and cut out the recesses in the upper panels so that they now sit beneath the surface - without the ugly sidewalls. I also cut out the windows in the cockpit and the upper gun turret the interior of which I will probably detail when I have the time later on.
Once that was all done, I washed the surface carefully and then applied two coats of a TAMIYA primer and let it dry. I didn't do the tape test to see if it sticks properly but its certainly very robust and takes a lot of hammering to scratch off when I am trying to weather the surface so I am fairly confident it won't peel. I then painted the entire surface with TAMIYA Light Grey (USAF) flat paint and let it dry. To my eye, the finish is ever so slightly darker then I've seen on the originals but it works well enough for what I am trying to achieve and I'm happy with that shade as the base.
For remaining paint I'm using an acrylic Gouache because it allows me to build up the paint in layers so that I can choose to have the paint looking more weathered or more opaque.
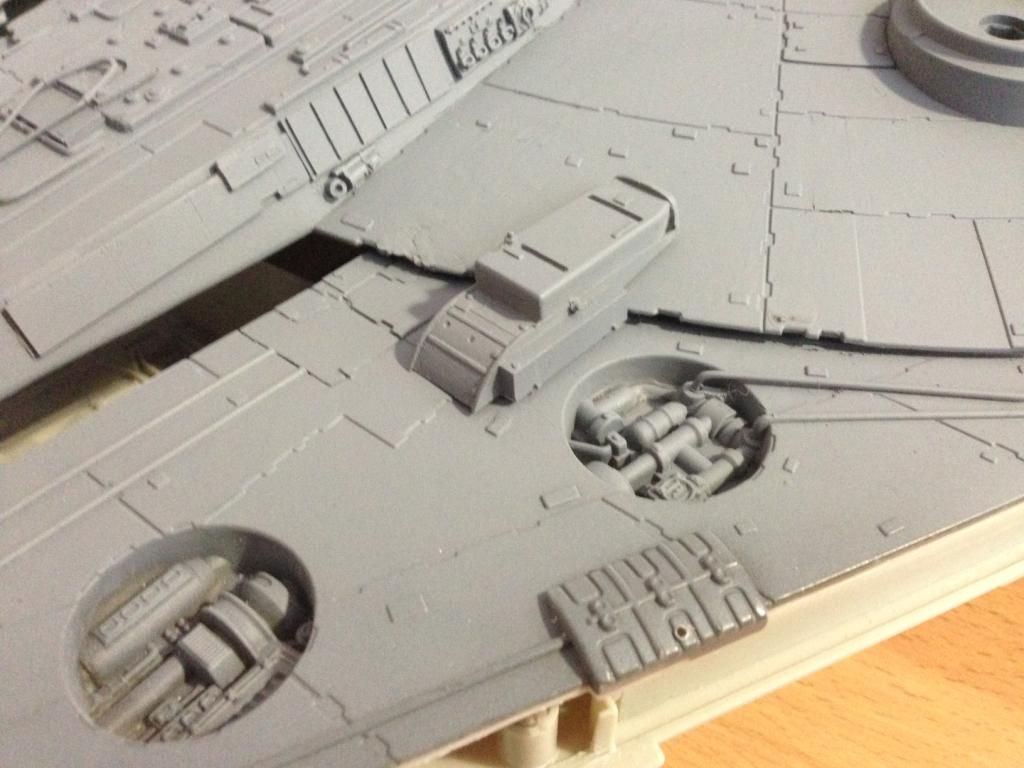
The grey panels are done using a mixture of Napthol Red light and Black (resulting in a dark sepia) and white. Each panel is custom shaded to match the color I am looking for.
The red panels are done using a mixture of Napthol Red light, a tiny mix of Napthol Crimson and white as well as Black.

Once the panels are painted, I use a very sharp tool to create the chips in the paint. This is done when the paint has not had time to cure completely (within 15 minutes of finishing). Because of the light undercoat, its not hard to chip away. I considered using salt but decided against it because I wanted specific shapes and its easy enough to do with the sharp tool anyway. Rust is very lightly applied so that its not too bright. Here I use a combination of Napthol Red light, Cadmium yellow and black, mixing them until I get the appropriate shade. This is applied very watery and blended at the edges so that the finish seems natural.

For the final weathering I use the dark sepia mix in a very diluted mixture to create the splashes and speckles. I do not have an airbrush so the dirty stripes are done using a 6B pencil to scribe the drips down the surface panels after which I rub a tissue down the pencil line (in the direction of the line) so that it 'feathers' and blends towards the end. It also softens the shape so that it does not look like a pencil line but rather a dirty carbon stripe.
Where there are holes in the surface, I press a small hole into the surface and then using the soft pencil, I color-in around the hole, lessening the pressure as I go outwards. After this, I use a stiff paintbrush to rub and blend the graphite around the hole to create the dirty, smear around the hole. Using white paint, I add a shape around the edge where I have scratched out the abrasion shapes - this adds texture to the shape and visually makes it more satisfying.

Finally, for the main carbon build-up, I use graphite powder and a series of different size brushes to dust it on. The secret to any weathering is to patiently build it up in layers because that's after all how REAL objects weather - grime built up over time. Its also important to remember that
less is more so, don't dive in and weather the thing like a madman. Don't only work in a way because its set out on some kind of rulebook. Be subtle and take your time, LOOK at what you're doing and decide if it looks right to your eye..
Slowly working up the areas I want to weather more severely, I build up the grime. I also use a brush with a very slight dusting of graphite to brush over some of the other surface areas. This picks out the edges of objects and details which adds to the realism IMO.
When everything is done and I am happy with the result, I use professional Artists fixative spray to make sure the pencil and graphite don't rub off. The fixative also takes the sheen out of the graphite to a small degree and this makes the darkened areas look more naturally dirty.
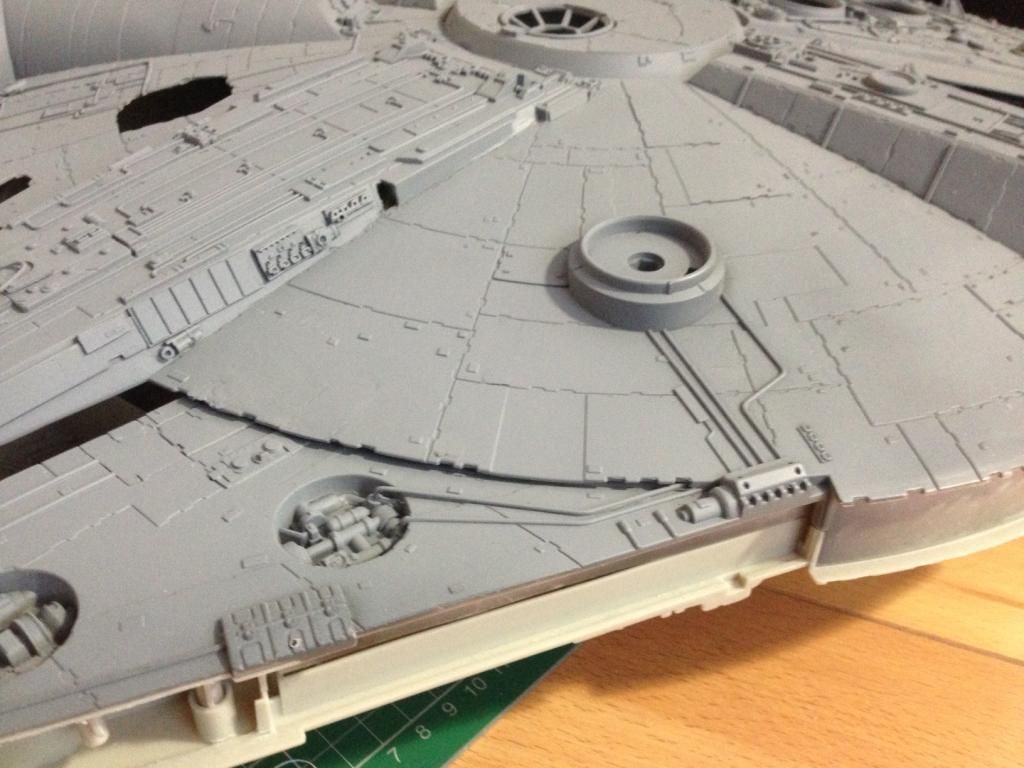
 The falcon as it is today - half painted.
I hope this is of some help.
Best of luck
MARK
") Awesome!!
Awesome!!