M Mechanic36 New Member Jul 5, 2025 #41 More be going on tomorrow Attachments 20250705_160414.jpg 1.1 MB · Views: 28
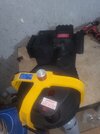
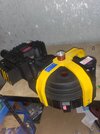
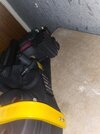
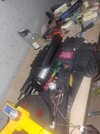
M Mechanic36 New Member Jul 6, 2025 #42 This what I done today more tomorrow still need get few bits like p clip cinch clamp jubilee clips etc for colour tubes ion arm will go on this week once I get wiring for switch to go into ion arm more to come this week Attachments 20250706_162559.jpg 1.2 MB · Views: 25 20250706_162603.jpg 1.3 MB · Views: 26 20250706_162612.jpg 1.5 MB · Views: 26
This what I done today more tomorrow still need get few bits like p clip cinch clamp jubilee clips etc for colour tubes ion arm will go on this week once I get wiring for switch to go into ion arm more to come this week
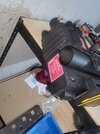
M Mechanic36 New Member Jul 26, 2025 #43 Booster plug and cable be going in this week sorting out motherboard soon for placement Attachments 20250713_123617.jpg 1.6 MB · Views: 10