kalkamel
Master Member
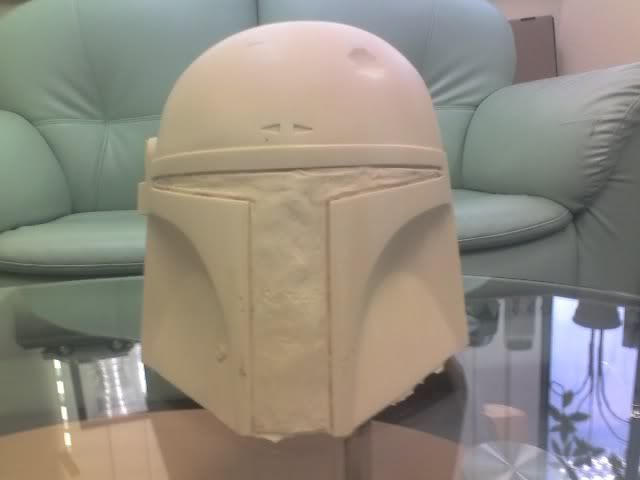
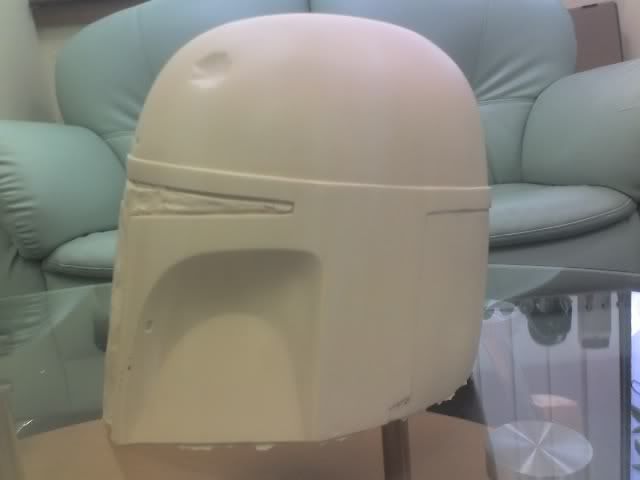
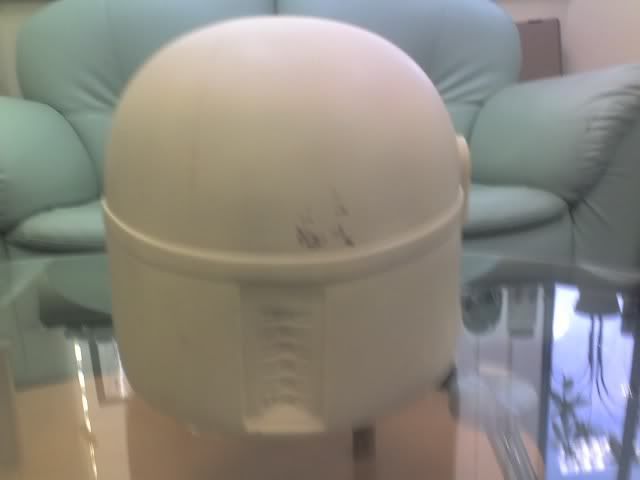
I thought I'd share with you guys the work I've done so far on my Boba Fett Mystery helmet, which I acquired from SgtFang in December last year. Here's how it looks like out of the box:
Here's a pic of the ear pieces and rangefinder:
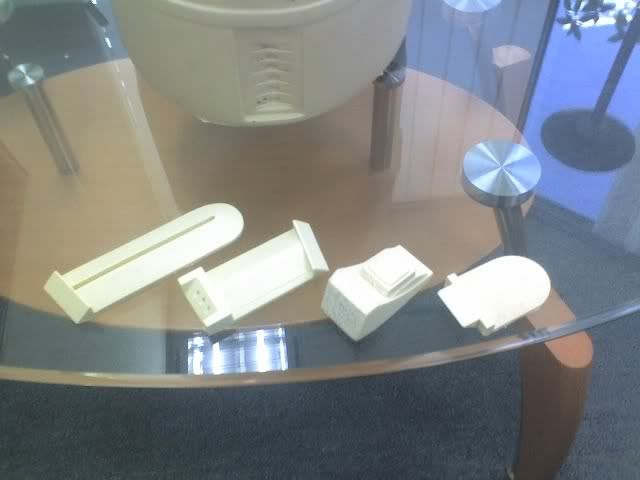
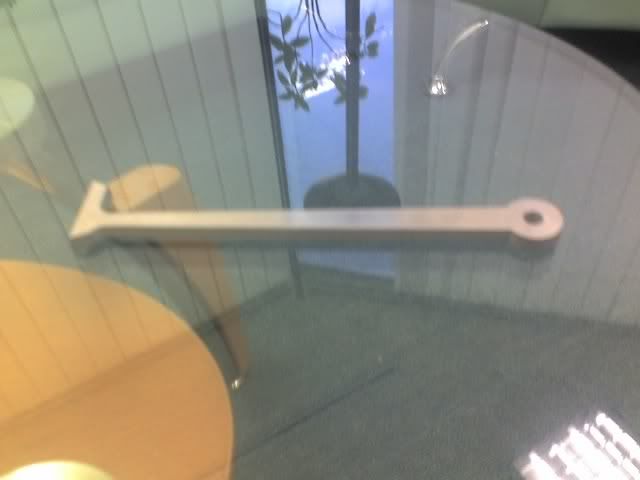
The kit didn't come with any rangefinder stalk so I got mine from BKBT. His is cold cast aluminum:
The lid was very cleanly cast so I just cut out the visor and keyslot holes, sanded it down and cleaned it with warm soapy water. I also gave it a good wipe of acetone to get rid of any residual mold release.
I then primed it with Krylon Grey primer. And then left it on a shelf gathering dust for over half a year. :rolleyes
Two months back, I saw the preview pics of the upcoming MR Boba Fett LE/SE helmet Jez posted here and was suddenly inspired to start the paintwork on my lid. I had done some research on the TDH on the types of paint to use, particularly Lee's (Rogue Studios) suggested paint scheme. I couldn't find the recommended paints here in Malaysia so I opted for an assortment of Tamiya spray paint cans and acrylic paints instead.
I've never done complex weathering like this before so I was kinda nervous. Lucky for me, Superjedi had posted a step by step weathering tutorial on the TDH so I used that as a guideline (thanks, Eric!).
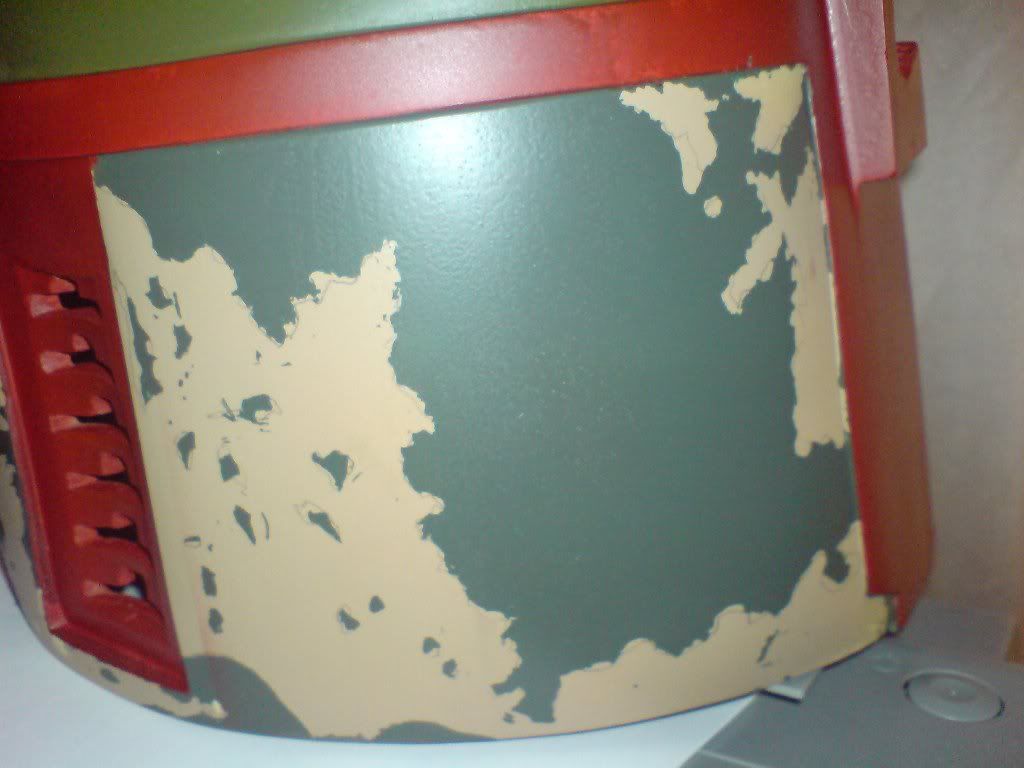
First I masked off the helmet rim, the mandible edges and the keyslots (a lot of masking tape was sacrified during this entire procedure, and many more will share that fate ) and painted the whole lid with Tamiya Olive Drab spray paint. As for the back portion of the helmet, I painted it with Tan, then stencilled on the "fjords of Norway" weathering details with a pencil which I then covered with some masking fluid. Once the fluid dried, I sprayed on Tamiya Dark Green. A few hours later I peeled off the dried fluid and voila!... the first level of weathering on the back is done.
The cheeks were painted with Flat Black and then the final major color application, i.e. the Dull Red on the rims, mandible edges and key slots was painted on. Boba is starting to surface!
Here's the progress at that stage:
View of the front, all major colors applied:
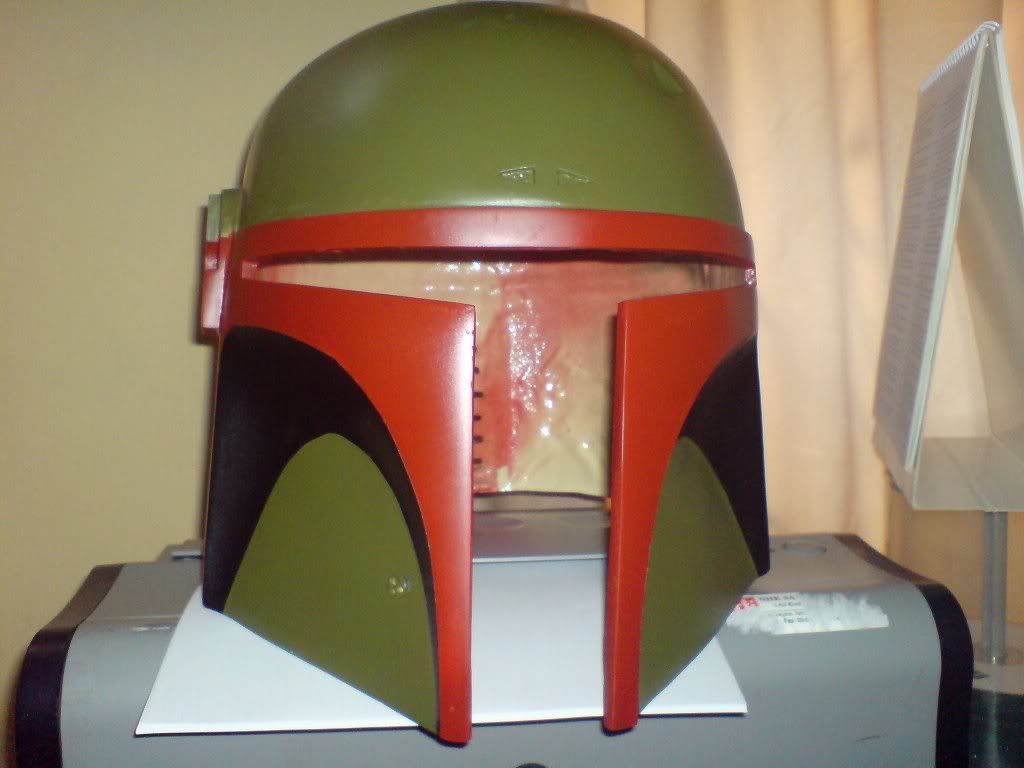
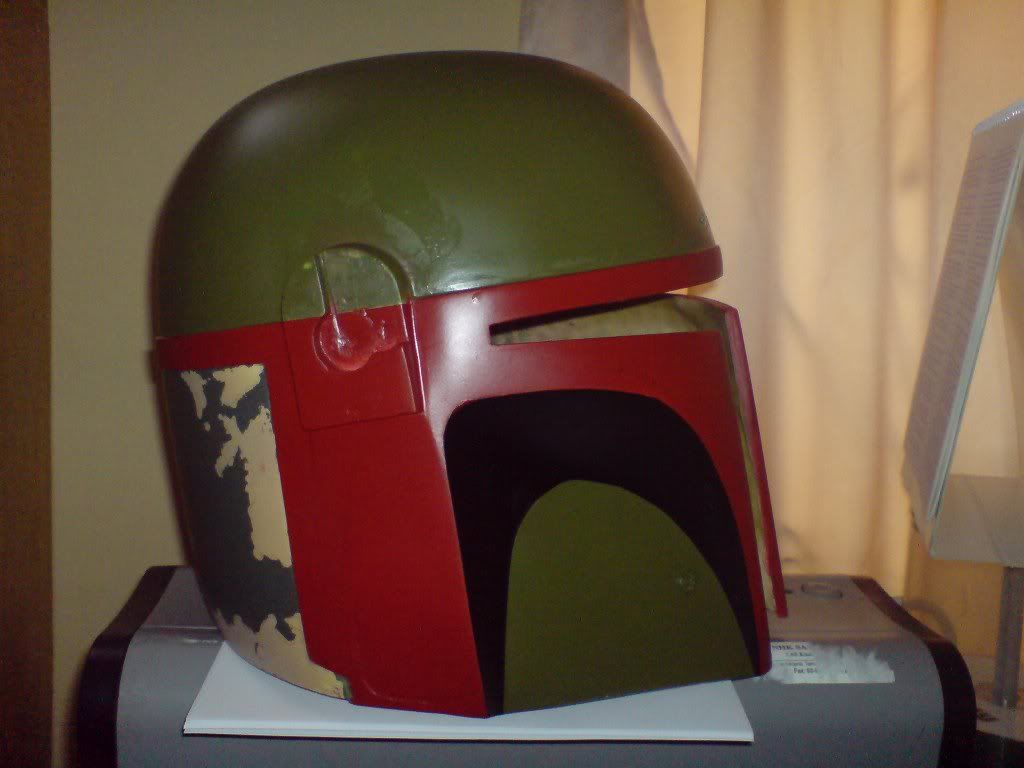
Side view, showing the contrast between the Olive Drab of the dome and the dark green at the back:
"Fjords" weathering on the left side of the helmet back:
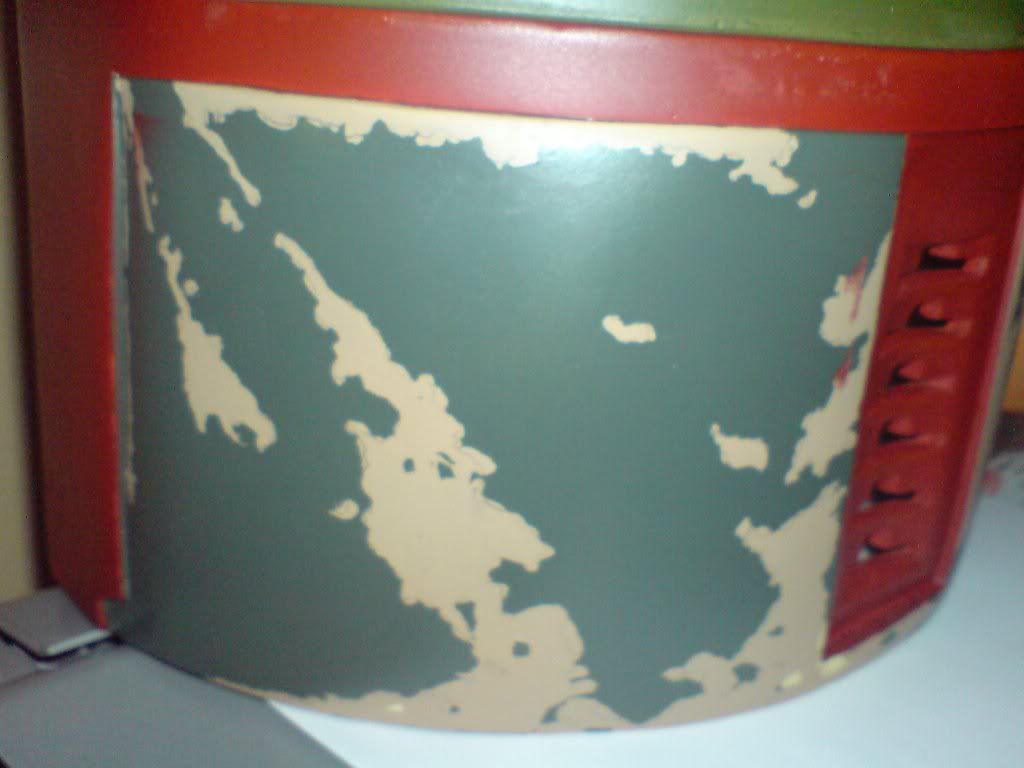
And the right (you can see the pencil marks!):
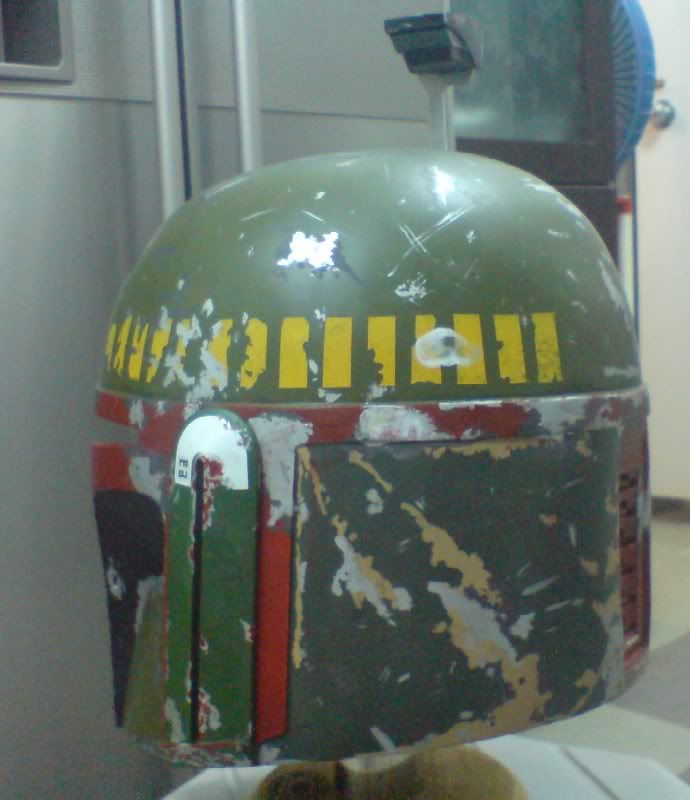
I masked the killstripes (14 for ESB), added masking fluid for the weathering details and then painted them Camel Yellow.
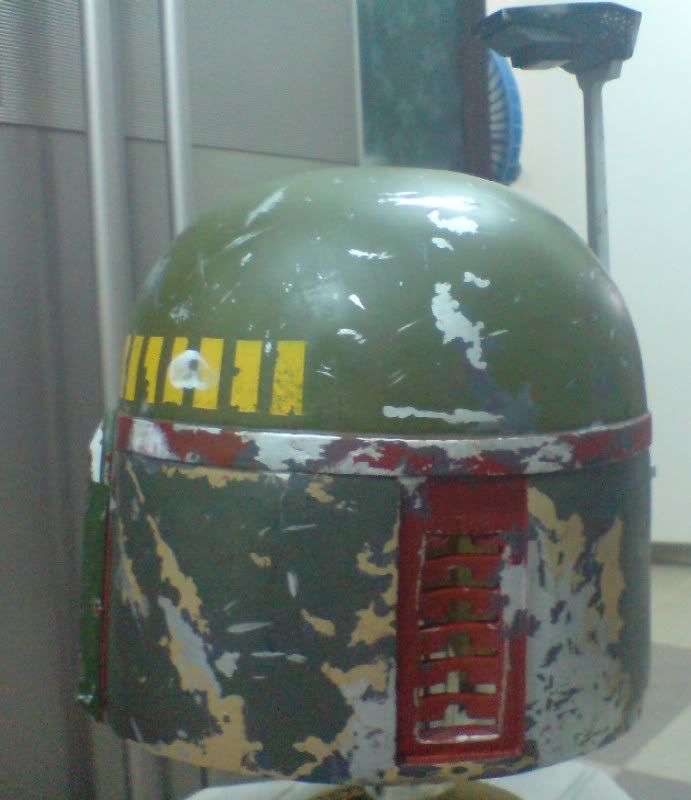
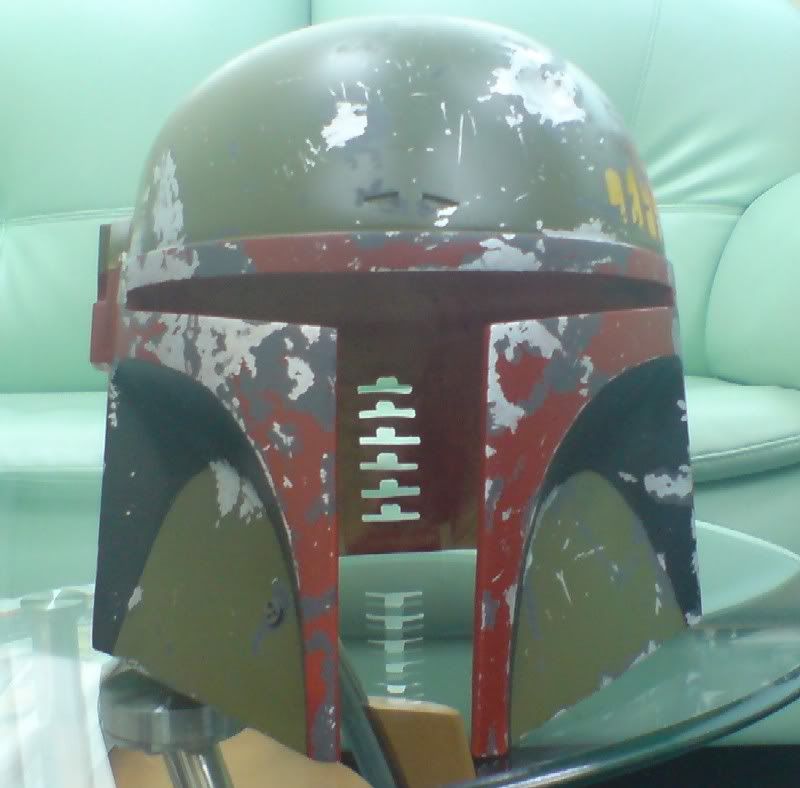
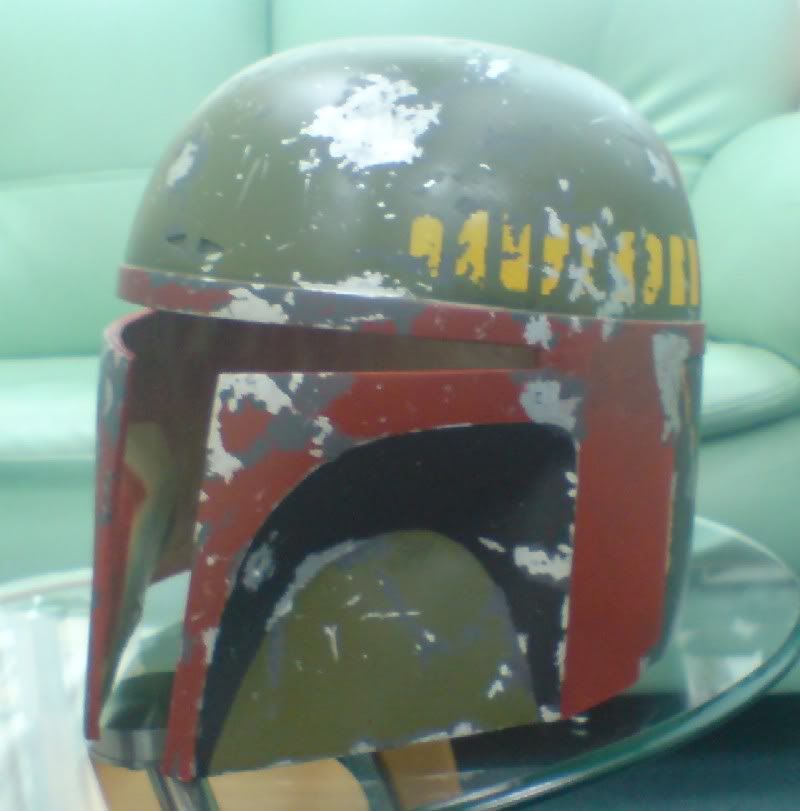
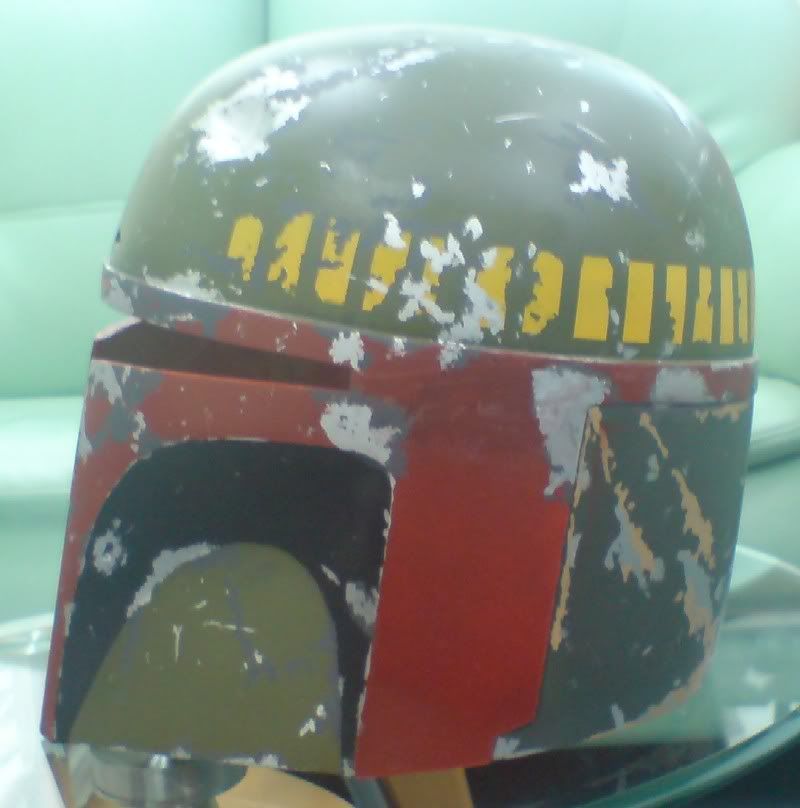
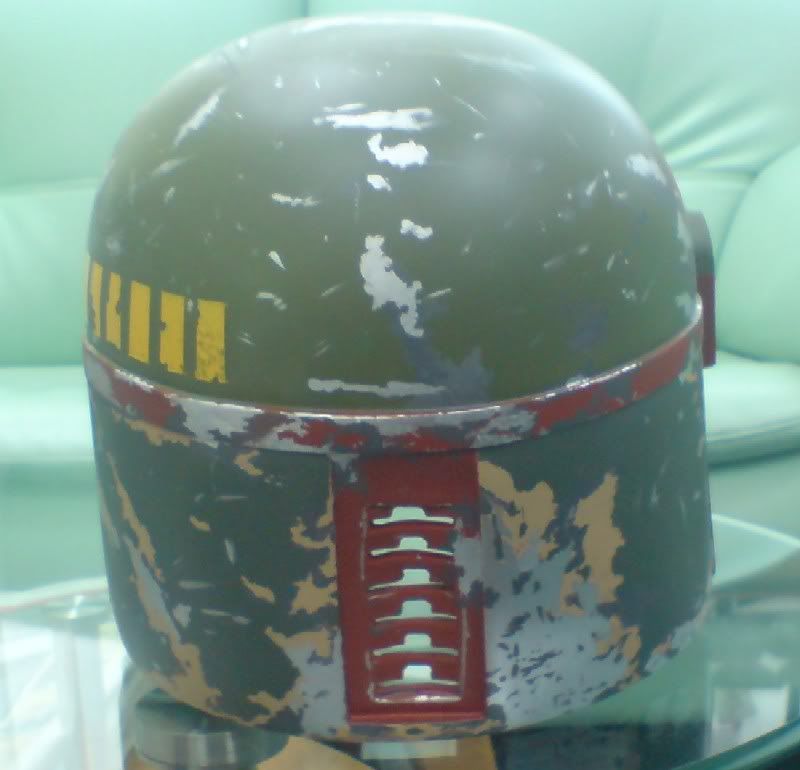
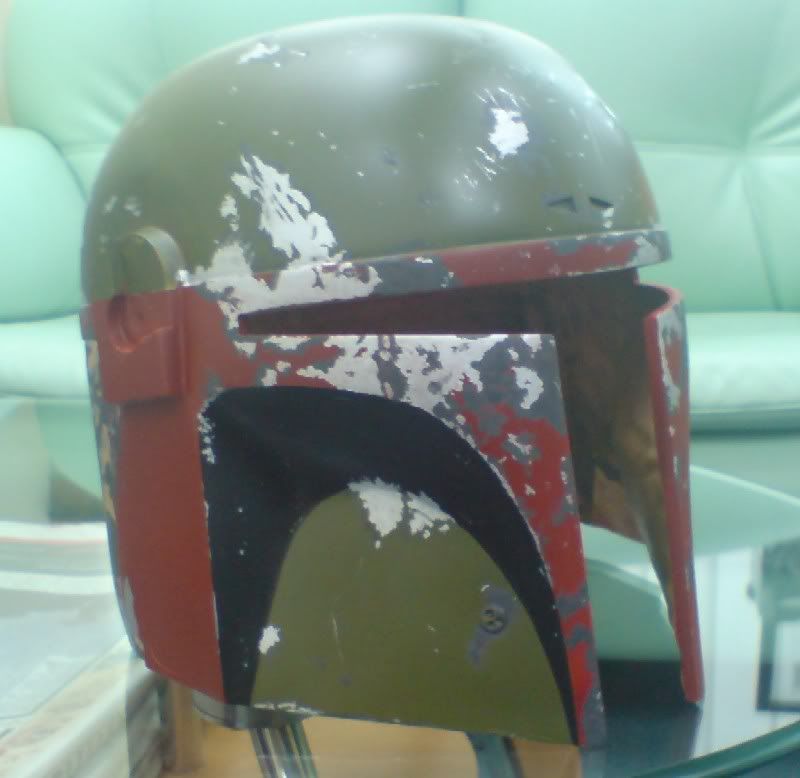
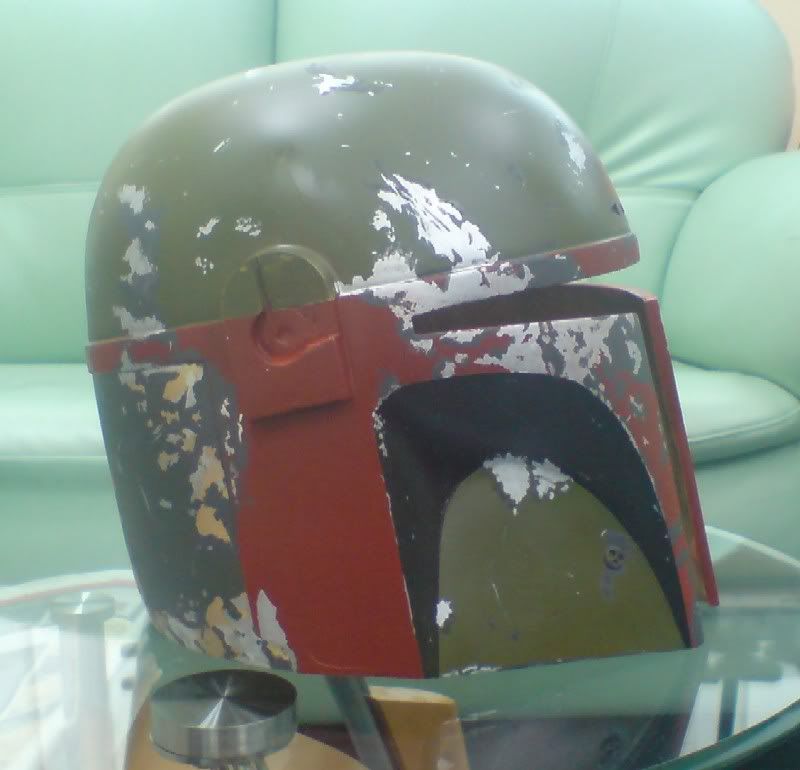
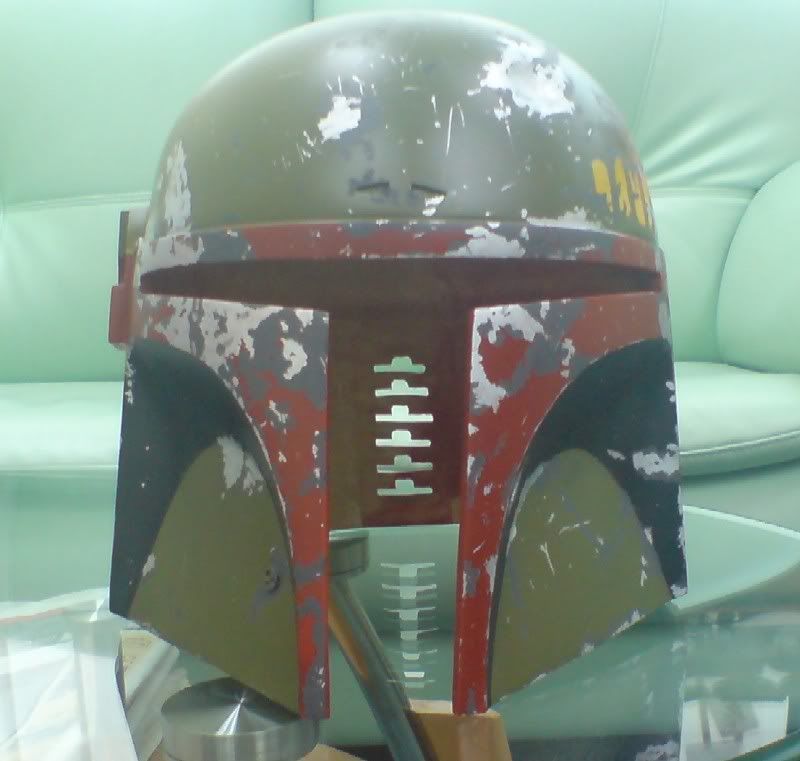
I then weathered the helmet stage by stage based on Superjedi's pics. A bit here and there day by day. I used different brush sizes, some toothpicks and crumpled tissue paper ends for the nicks and scratches and different types of paint, ranging from gun metal, silver and german grey (for the scorching). Two months later, the painting/weathering of the helmet is more or less done.
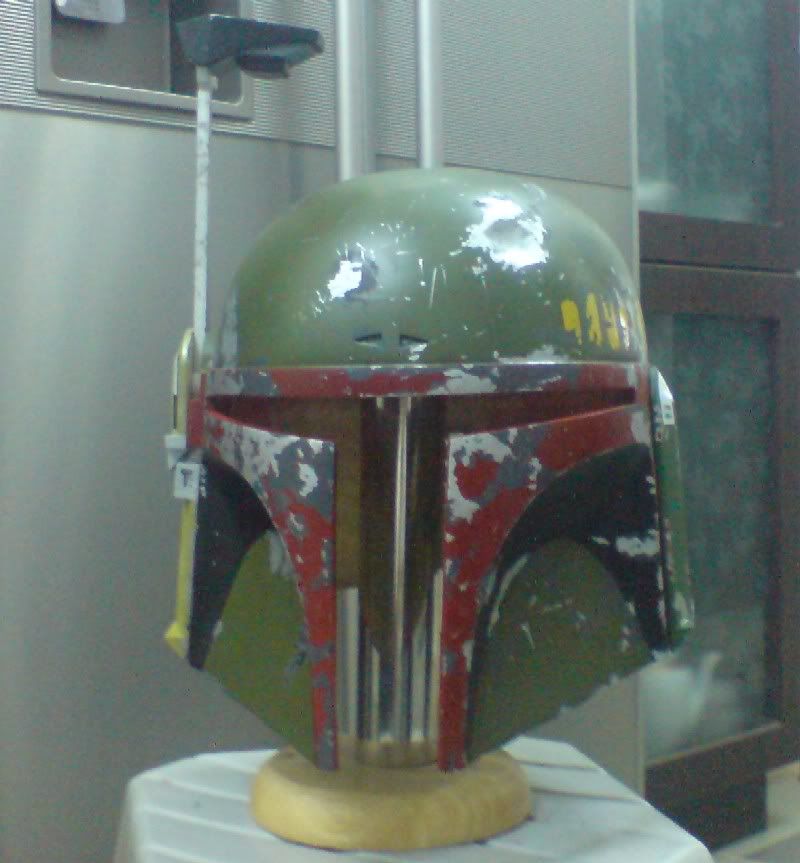
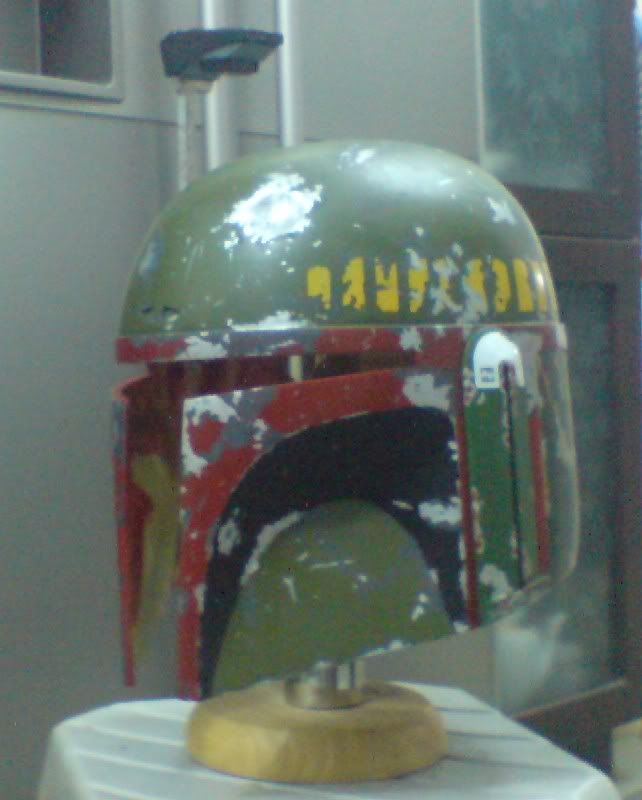
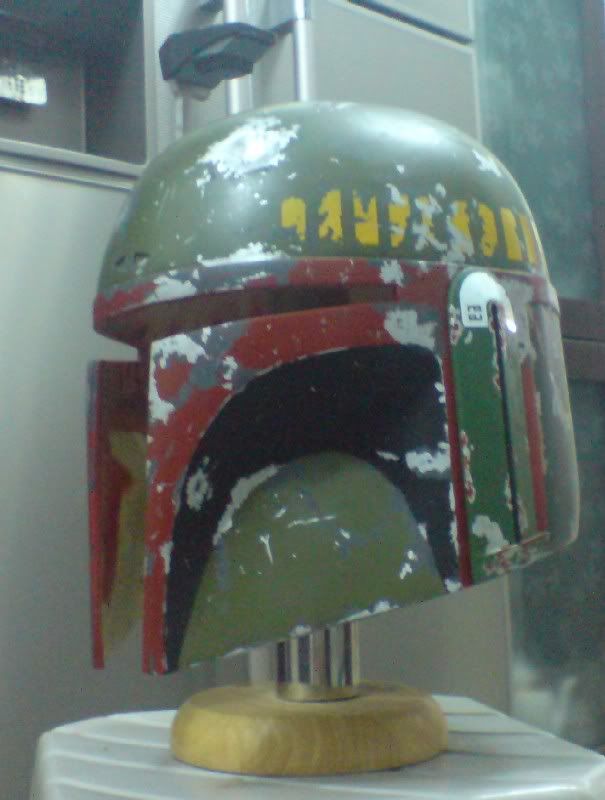
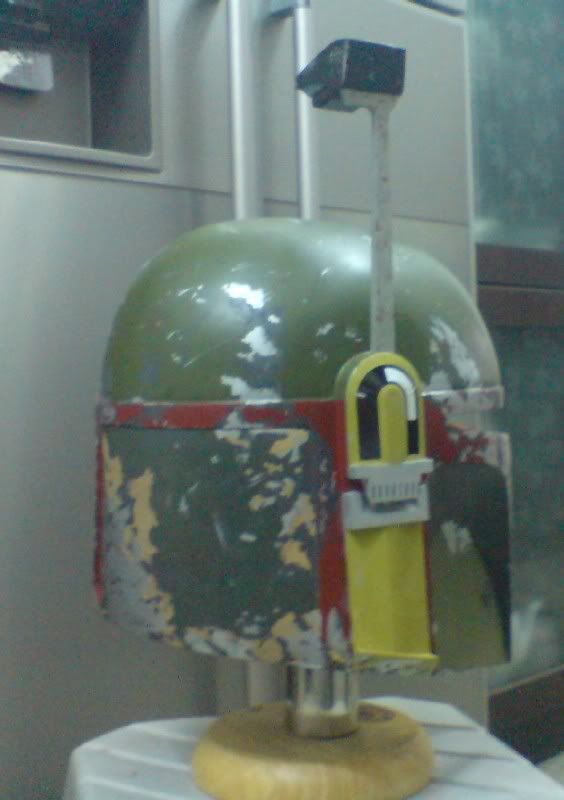
Here's where it is now:
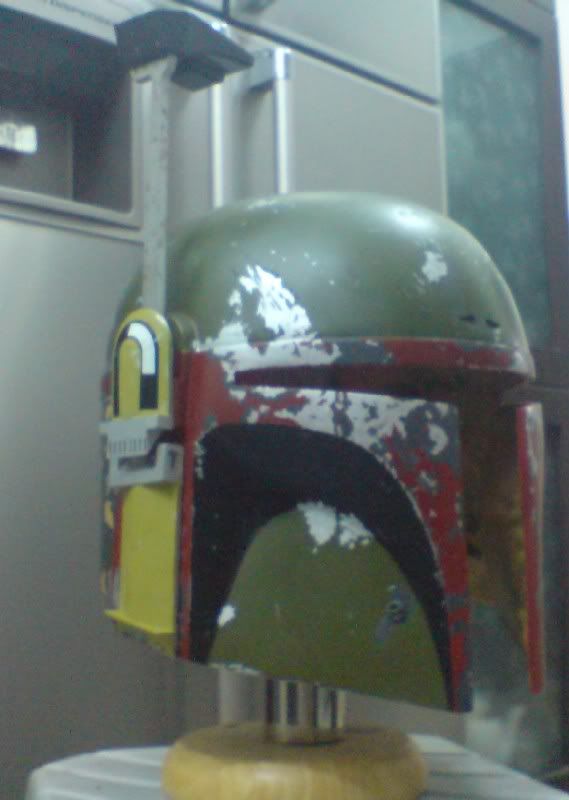
Last night I painted the ear pieces and the rangefinder stalk:
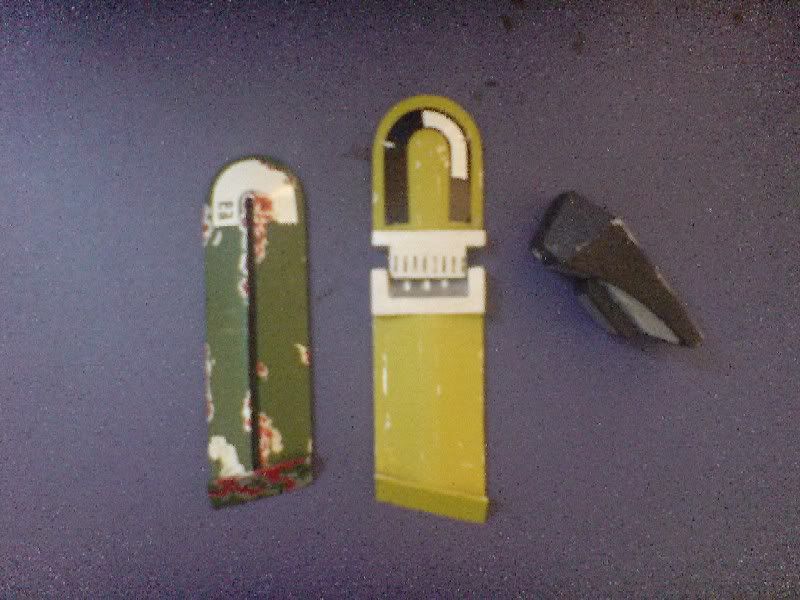
I still need to figure how to attach the stalk to the helmet. Any ideas? And I'm still on the lookout for a dark green visor (can't seem to find any here). Once all the parts are attached, I'll give the whole helmet a good grimming.


Here's a pic of the ear pieces and rangefinder:

The kit didn't come with any rangefinder stalk so I got mine from BKBT. His is cold cast aluminum:

The lid was very cleanly cast so I just cut out the visor and keyslot holes, sanded it down and cleaned it with warm soapy water. I also gave it a good wipe of acetone to get rid of any residual mold release.
I then primed it with Krylon Grey primer. And then left it on a shelf gathering dust for over half a year. :rolleyes
Two months back, I saw the preview pics of the upcoming MR Boba Fett LE/SE helmet Jez posted here and was suddenly inspired to start the paintwork on my lid. I had done some research on the TDH on the types of paint to use, particularly Lee's (Rogue Studios) suggested paint scheme. I couldn't find the recommended paints here in Malaysia so I opted for an assortment of Tamiya spray paint cans and acrylic paints instead.
I've never done complex weathering like this before so I was kinda nervous. Lucky for me, Superjedi had posted a step by step weathering tutorial on the TDH so I used that as a guideline (thanks, Eric!).
First I masked off the helmet rim, the mandible edges and the keyslots (a lot of masking tape was sacrified during this entire procedure, and many more will share that fate
The cheeks were painted with Flat Black and then the final major color application, i.e. the Dull Red on the rims, mandible edges and key slots was painted on. Boba is starting to surface!
Here's the progress at that stage:
View of the front, all major colors applied:

Side view, showing the contrast between the Olive Drab of the dome and the dark green at the back:

"Fjords" weathering on the left side of the helmet back:

And the right (you can see the pencil marks!):

I masked the killstripes (14 for ESB), added masking fluid for the weathering details and then painted them Camel Yellow.
I then weathered the helmet stage by stage based on Superjedi's pics. A bit here and there day by day. I used different brush sizes, some toothpicks and crumpled tissue paper ends for the nicks and scratches and different types of paint, ranging from gun metal, silver and german grey (for the scorching). Two months later, the painting/weathering of the helmet is more or less done.
Here's where it is now:


Last night I painted the ear pieces and the rangefinder stalk:

I still need to figure how to attach the stalk to the helmet. Any ideas? And I'm still on the lookout for a dark green visor (can't seem to find any here). Once all the parts are attached, I'll give the whole helmet a good grimming.
Last edited:


