Sorry man I didn't use foam files just the normal pep ones. I did see on here a while ago that someone was doing some but I forget who. I don't like foam file conversions they just don't work for me. Have a little search and you should fine the thread though.
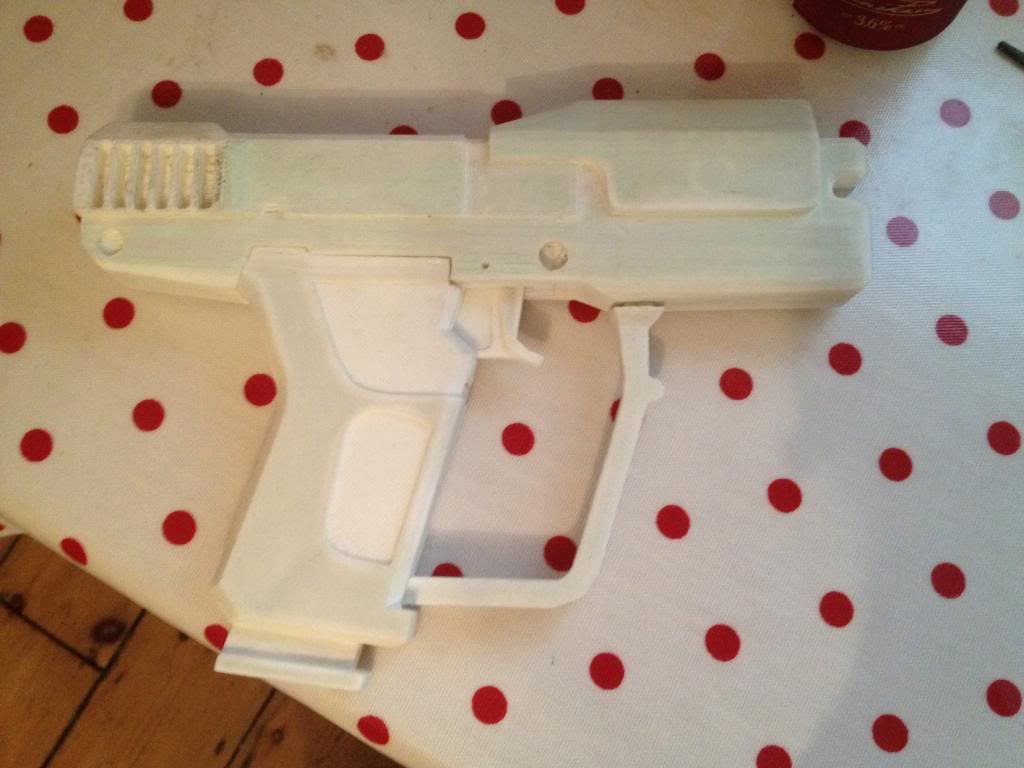
Hey guys thought I would show you all what I have been up to lately. Was going to make a separate thread for this but as its another addition to the suit I may as well put it here. I made the 3D file for the gun and a friend of mine kindly printed it out for me. He doesn't have the highest quality printer but I knew with a bit of filler I could bring it to life. I designed the gun to have a sprung trigger as I couldn't handle not being able to pull the trigger
Raw print (one half of the gun).
Two halves together and a bit of filler added.
I wasn't happy with some of my scalings so added some plastic to the barrel cover and that vent bit at the back to bulk it out a bit.
More filler and sanding.
Next I hit it with some red primer so with a bit of sanding I could see the low spots and bubble pits.
My next jobs will be to fill the imperfections and drill the holes for screws/bolts/details to go in.
")