Darktrooper Progress Thread update: 4/7/13

Re: Introduction and My Darktrooper Project

My only concern looking at this is that the dome seem to be to short in proportions to get a good eye possition inside the helmet.
Have you tried with the helmet on?

Anyway, a very cool project.


Thanks

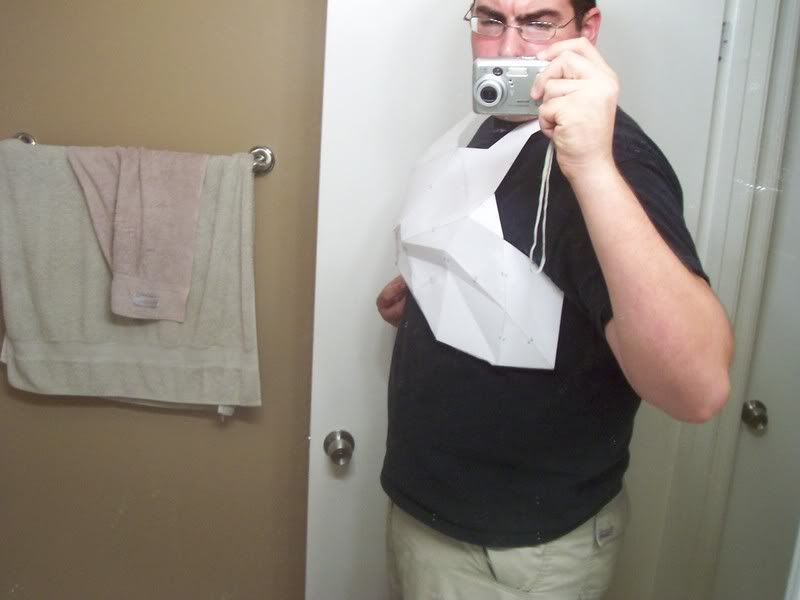
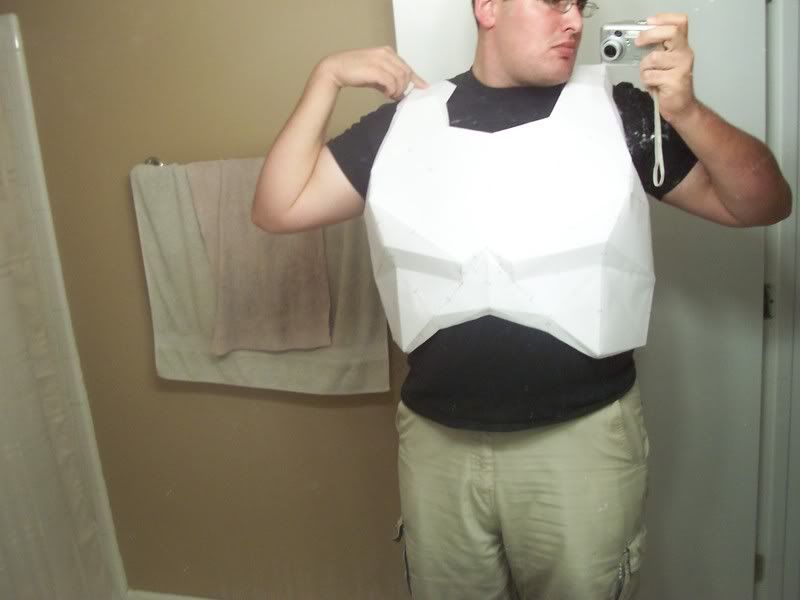
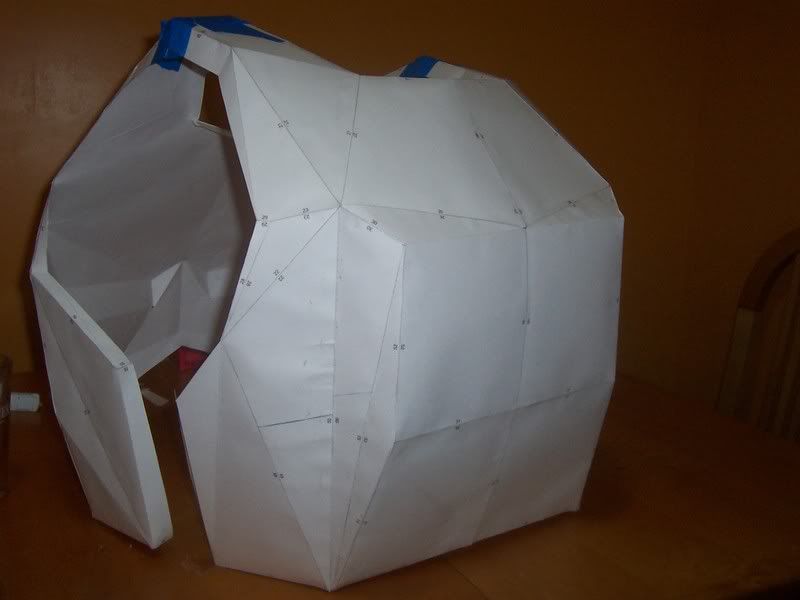
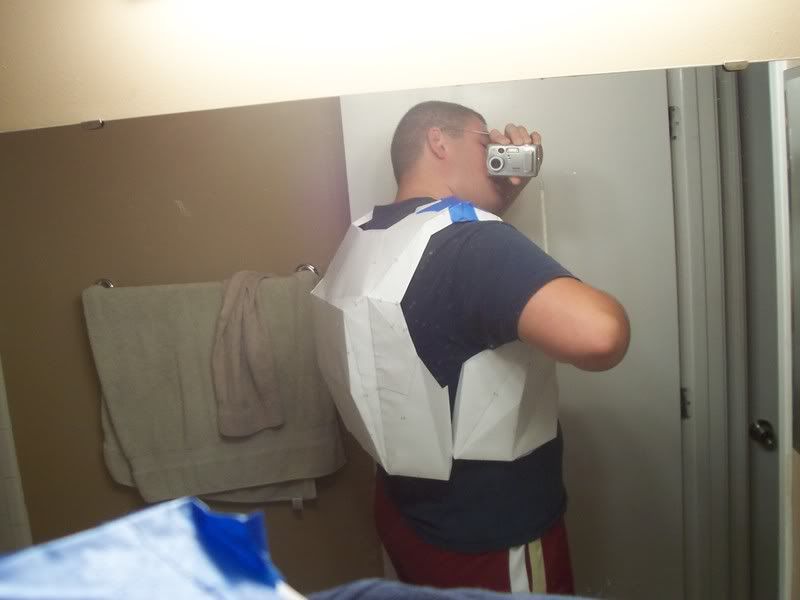
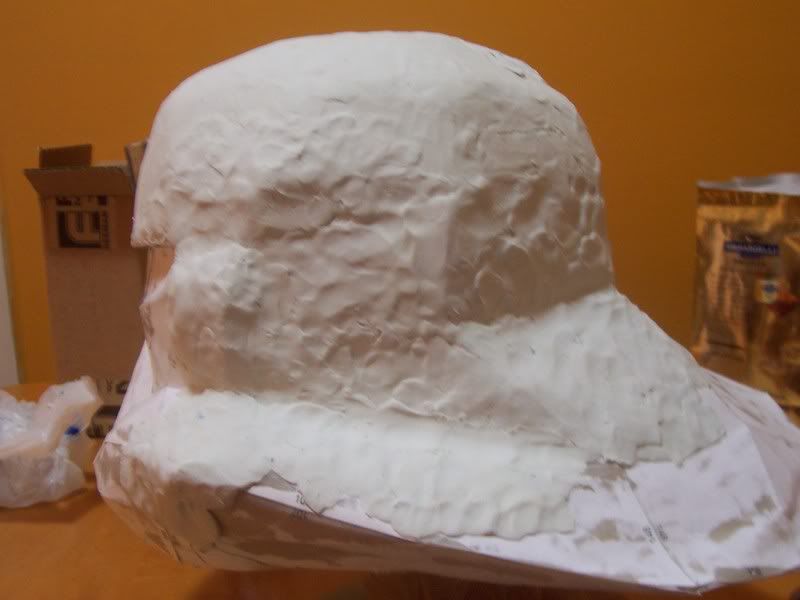
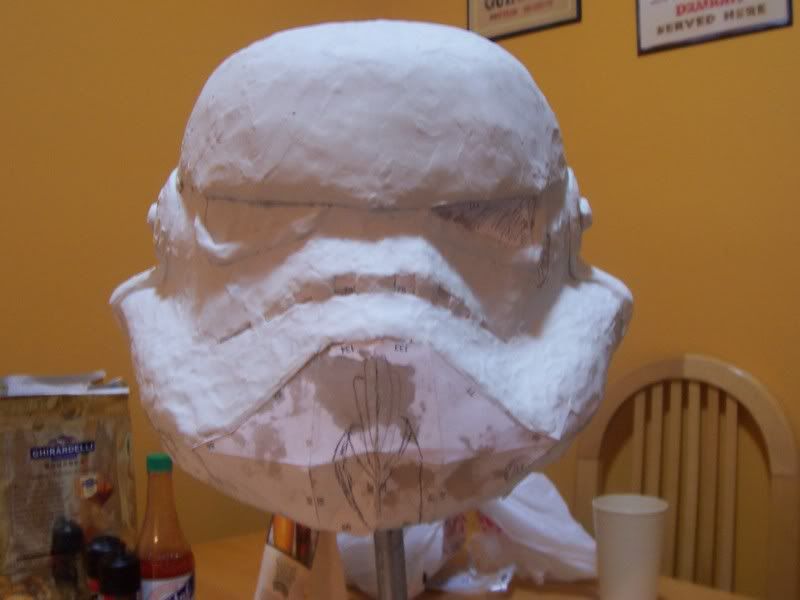
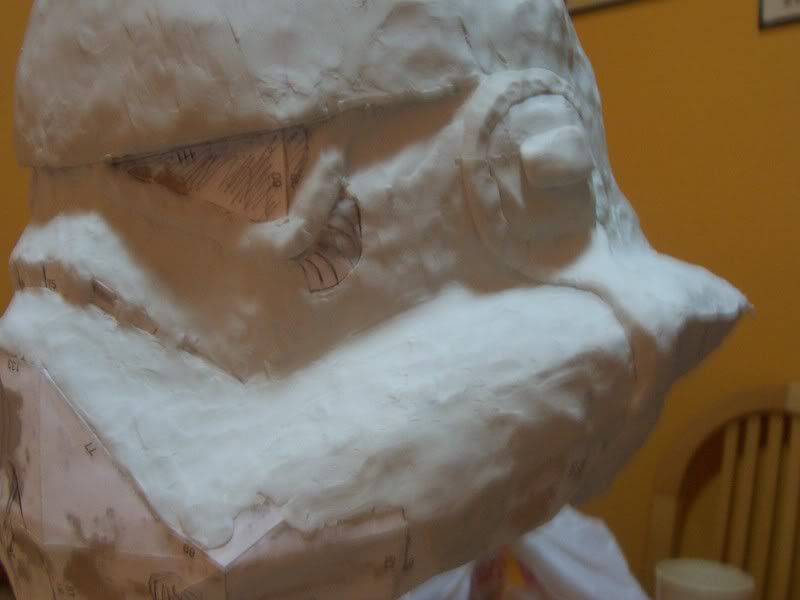
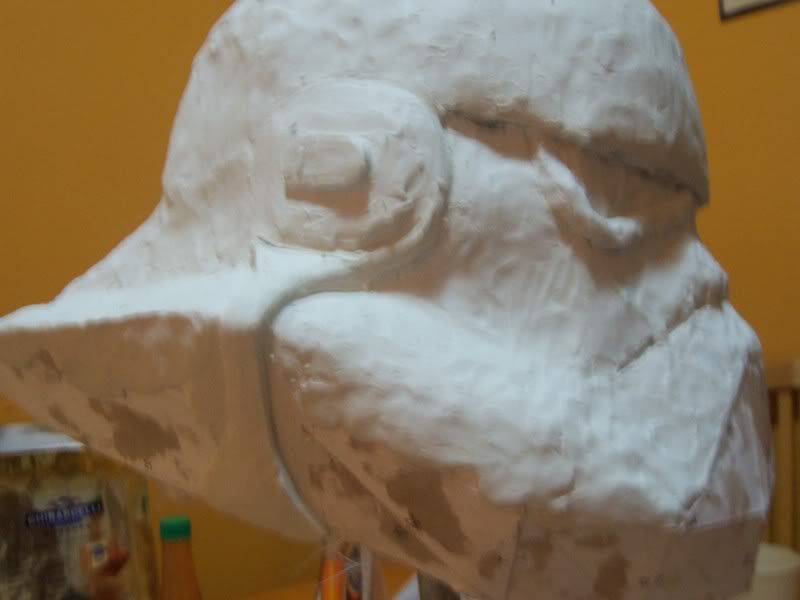
Yes, after I first constructed it, I put it on, and it's actually pretty well proportioned. They eyes were a concern for me at first, as they are pretty far apart, in comparison to a regular TK helmet. I was able to see the markings I made as to where the eyes will be. It wont be ideal, but it will be accurate in the end.

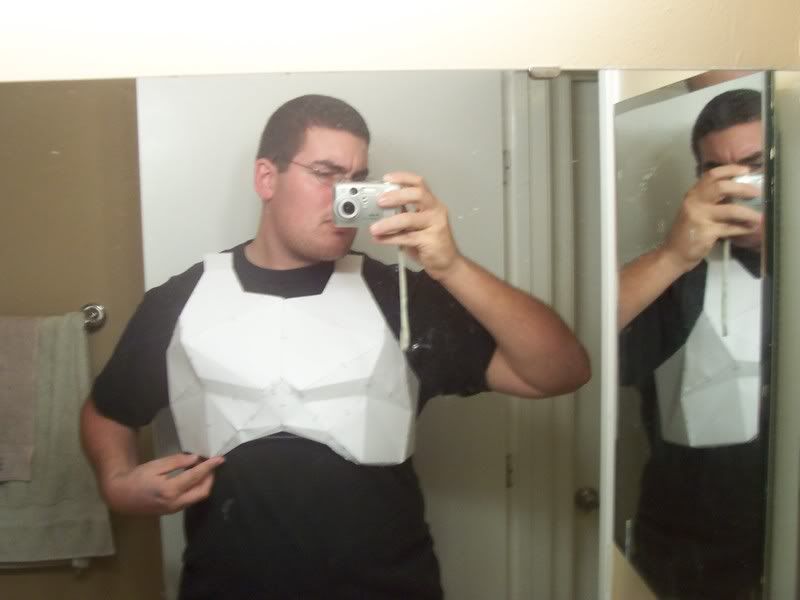
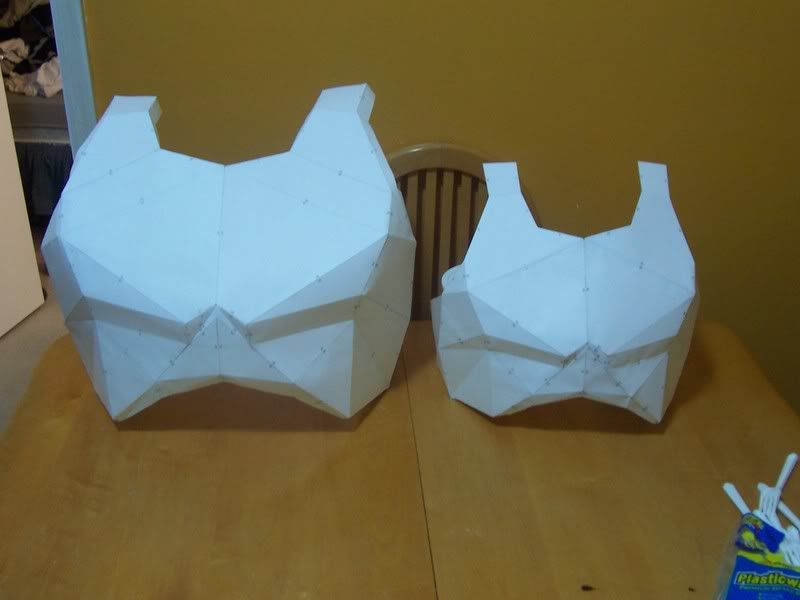
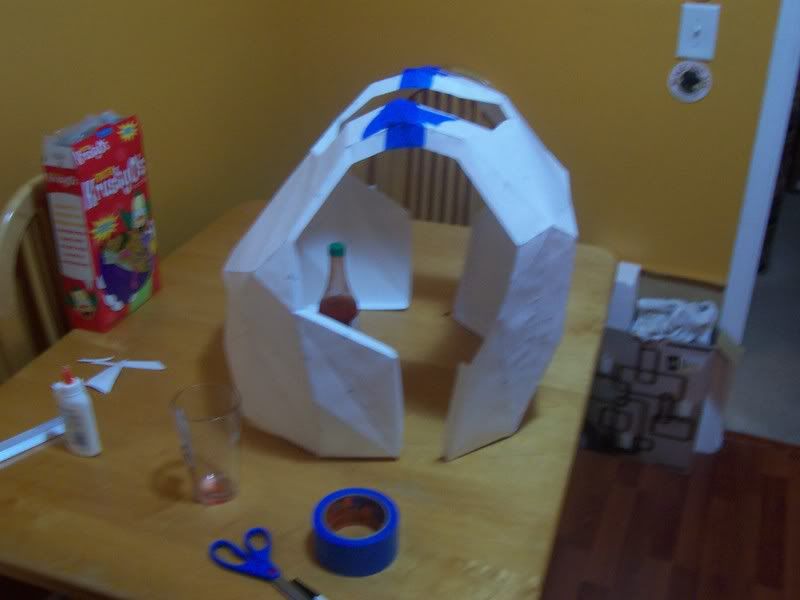
I honestly think that this will be the roomiest helmet, lol. Huge in there, can stuff all your favorite electronics and then some. Pluse, the bottom is so open, it will really reduce the amount of hot air that can fog the lens (later on of course).

Just cant wait to get it finished
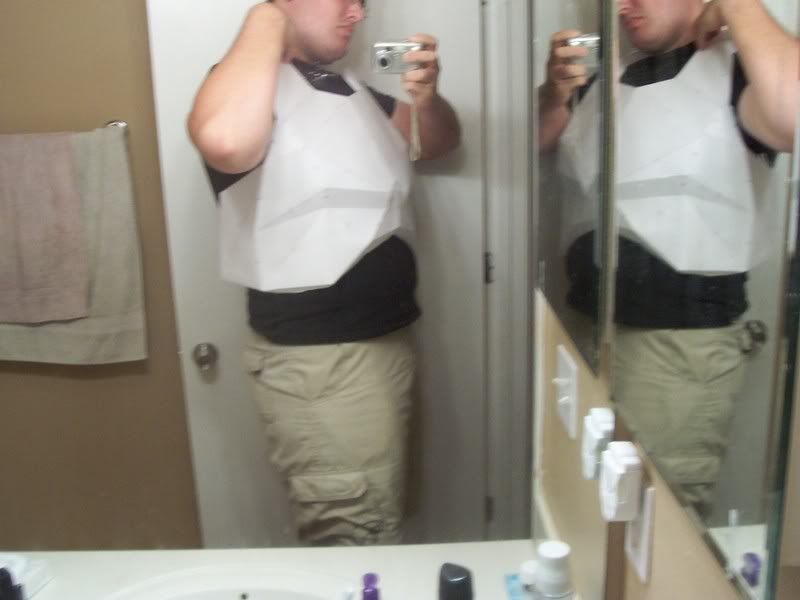
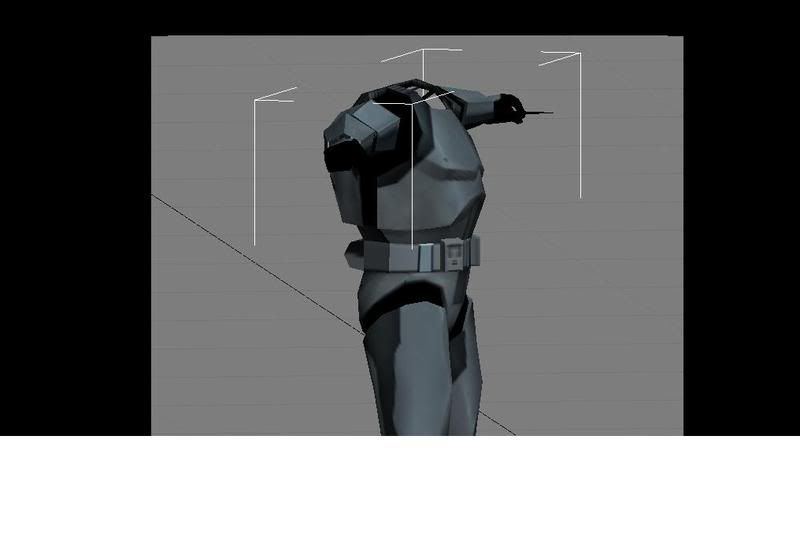
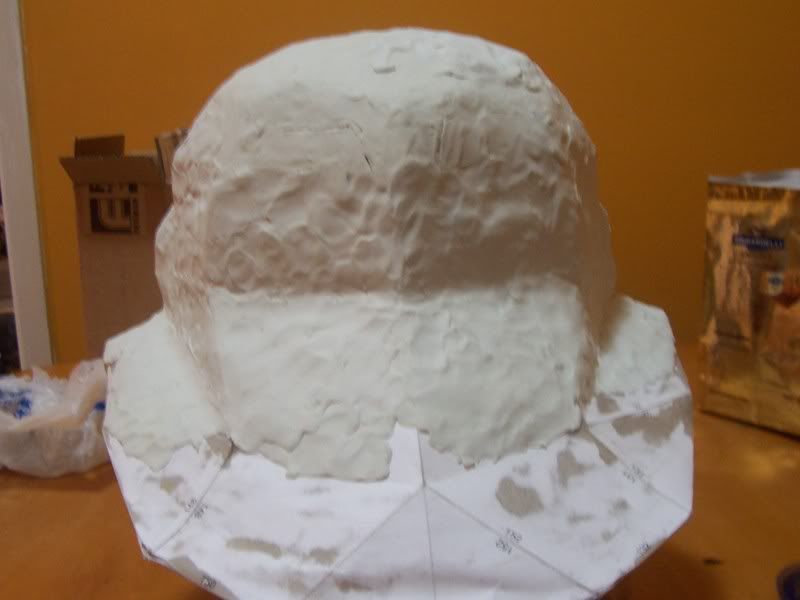
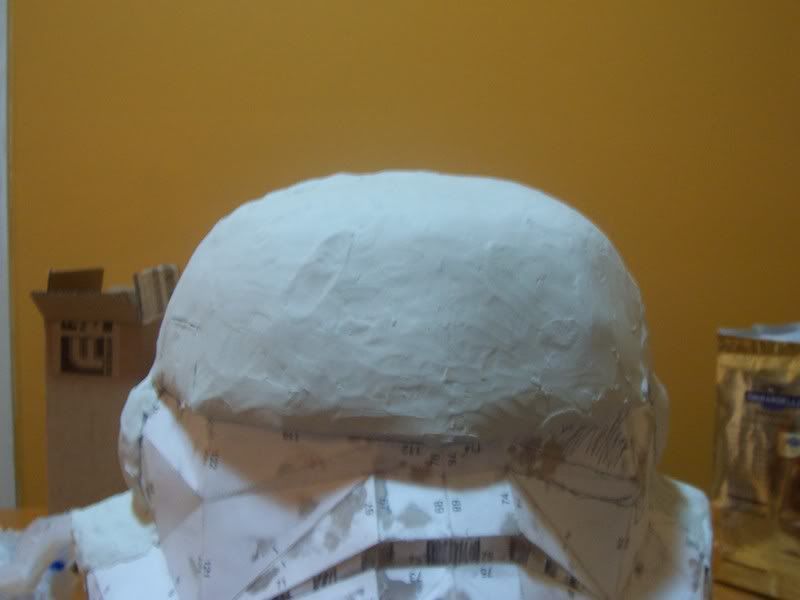
 
Re: Introduction and My Darktrooper Project

Alrighty then. With help from a 405th member, I learned how to convert the 3D model into pepakura! This will help making the rest of the armor easier for me. What I did was first do the shoulder bells. I decided to spend some time, and make a minature shoulder bell, the right one if your looking at the front of it. Not 100% perfect, but small stuff is hard to build if you have huge hand/fingers rofl.

Its hard to make out, but this is the best angle to really recognize it. You can see how much the model looks without smoothing.

002-40.jpg


003-34.jpg


I just need to figure out the scaling thing. I am only guessing, but I printed these out without modifying anything, and would venture to say its scaled for probably a 12 inch tall figure

-TC
 
Re: Introduction and My Darktrooper Project

Well, I couldnt wait, so I decided to put this together. I think it came out pretty well. Ive decided that Im going to be molding the armor pieces that I make myself, and cast in a plastic resin. Of course, I'll be adding bondo and or clay before to make it all smooth!

002-41.jpg


003-35.jpg


-TC
 
Re: Introduction and My Darktrooper Project

Cripe, I just compared the size next to the helmet, and compared it next the the 3d model. I will have to increase it's size a bit to make it proportional. Plus, I felt it is a bit snug. I just need to figure out the proper proportions. I really dont want to re-do the helmet, after getting this far with it
 
Re: Darktrooper Progress Thread

I resized the chest piece from 14 1/4 inches to 20 inches, about 50cm. I measured from the top of my shoulder, down to where it should go, the bottom side of of the chest piece, being the lowest point. I printed it out, but I still have to cut and assemble :ugh: going to take awhile.
 
Re: Darktrooper Progress Thread

Alright. Just finished assembling this sucker. No other word I can say about this, then that its huge, but i fits in the sense that it falls into place where it should. I'll get a pic of it on me sometime..lol

006-22.jpg


-TC
 
Last edited:
Re: Darktrooper Progress Thread

Here it is on me. Ignore my face lol

007-21.jpg


008-15.jpg


I have these up for comparison, to show how it should 'look' with everything else

darktrooperview1.jpg


darktrooperview2.jpg


The actual pep appears wider on me because it's not secured in anyway. It actually extends a bit around, and is supposed to be a bit more tight around me then it is.
 
Last edited:
Re: Darktrooper Progress Thread

It won't look as large with the rest of the armor on, looks MUCH better than the first! :thumbsup
 
Re: Darktrooper Progress Thread

Back plae/piece/armor/thingy is done. Matches the height with the chest, so its all proportioned evenly. I think it came out pretty well for what it is as of right now. Here are some pics:

001-58.jpg


003-39.jpg


The armor is supposed to lay just like the TK chest/back is, where it is seperate, where as a clone is connected at the sides. In this pic, is was hard to get a decent shot on my own, so thats why it looks 'off.'

005-24.jpg


One thing that Ive been doing lately has been volunteering at the FSU Master Craftsman studio-they do all the primary artwork you see around the campus, as well as America's 3rd largest stain glass window on Doak Campbell stadium. Well, Ive been talking to a few of the guys that work there about molding this, and they've been telling me that there are ALOT of various ways to mold something like this, for alot cheaper then the methods that I have been *Thinking* of using.

Ive been throwing around the idea of using plaster, so I can at least get a good cast for myself at this point, but I'll be talking further with them hopefully. So thats what's going on. LOL learned how to put on a mother mold today over a bust, but they used this polyurethane gel like material that burned like napalm if you got it on your skin.


-TC
 
Last edited:
Re: Darktrooper Progress Thread

How about just making a quick duct tape mannequin of yourself? It never comes out quite right, but it really helps to use during armor construction.
 
Re: Darktrooper Progress Thread

How about just making a quick duct tape mannequin of yourself? It never comes out quite right, but it really helps to use during armor construction.


I have actually thought about this recently. lol I would just need alot of duck tape and some people willing to help me out on that.I'd love to right now get a torso just to put the chest piece up with the helmet on top to show how it looks.
 
Re: Darktrooper Progress Thread

Great work, I have the PEP virus myself, tweaking a 3D model I did of a helmet for quite some time now.

I have actually thought about this recently. lol I would just need alot of duck tape and some people willing to help me out on that.I'd love to right now get a torso just to put the chest piece up with the helmet on top to show how it looks.

About two rolls of duct tape, and I suggest using several layers of aluminium foil as a base, folded and a bit crumpled up to make it more rigid.

Have someone wrap the foil around you , but be careful not to cut yourself on the edges. You can do this piece by piece, first setting up the torso like an armour, and then go around everything with tape again. then you cut everything up and step out of the "shell". Make sure to not bend the edges too much. I filled everything with non pressing expanding foam, using styrofoam pieces to fill the larger areas.

I´ll post pics of the one I did of myself later on.

Michael
 
Re: Darktrooper Progress Thread

Great work, I have the PEP virus myself, tweaking a 3D model I did of a helmet for quite some time now.


About two rolls of duct tape, and I suggest using several layers of aluminium foil as a base, folded and a bit crumpled up to make it more rigid.

Have someone wrap the foil around you , but be careful not to cut yourself on the edges. You can do this piece by piece, first setting up the torso like an armour, and then go around everything with tape again. then you cut everything up and step out of the "shell". Make sure to not bend the edges too much. I filled everything with non pressing expanding foam, using styrofoam pieces to fill the larger areas.

I´ll post pics of the one I did of myself later on.

Michael

Wow, thanks for explaining how to do it properly. I'll be looking forward to seeing the pics. Thanks!
 
Re: Darktrooper Progress Thread

Oh boy, I dont know what I got myself into..

006-24.jpg


007-23.jpg


I added more clay to try to level out the dome

008-17.jpg


lol this takes awhile to put on
 
Re: Darktrooper Progress Thread

Just some pics of the helmet sculpt progress. I think it's actually starting to shape up a bit. Just need to try out the various smoothing techniques, and I'll be good to go from there.

In this, I started the face, added some rough details, such as under the eyes, the teeth, and really worked on the ears tonight as well

006-25.jpg


004-30.jpg


003-41.jpg


002-47.jpg


-TC
 
Re: Darktrooper Progress Thread

a quick tip: don't work out ANY details yet, finish the sculpt first (smoothing and everything) then you'll make the details... It will help (and works most of the time!:D)
 
Back
Top