Darth_Knight1
Active Member
Greetings all!
Even though I've browsed many times before, this is my 1st post here on the RPF.
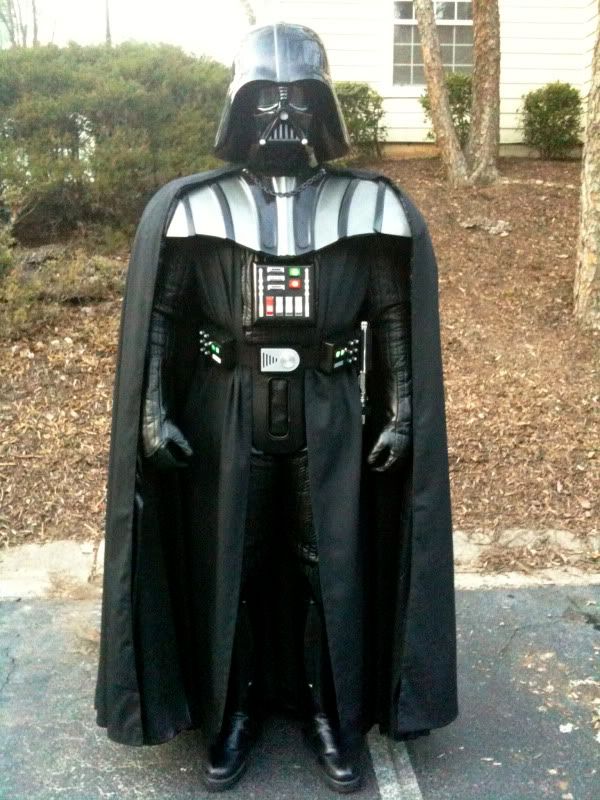
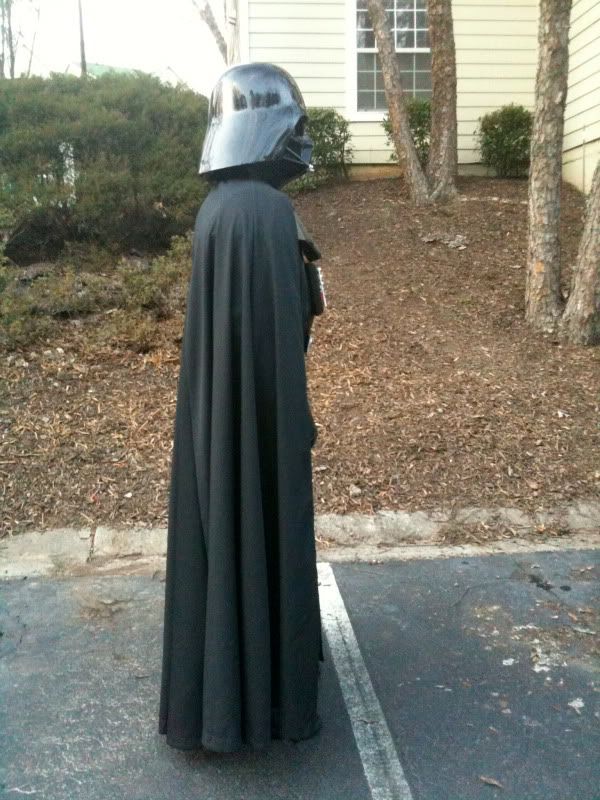
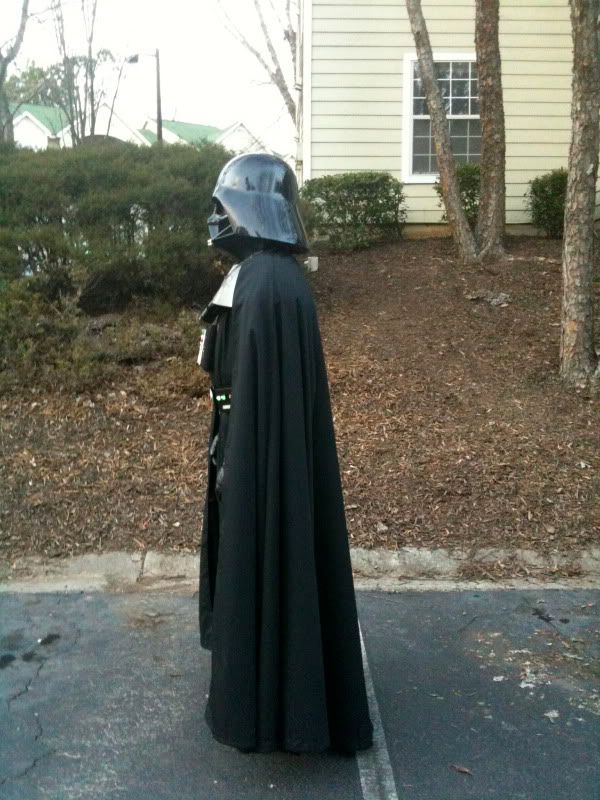
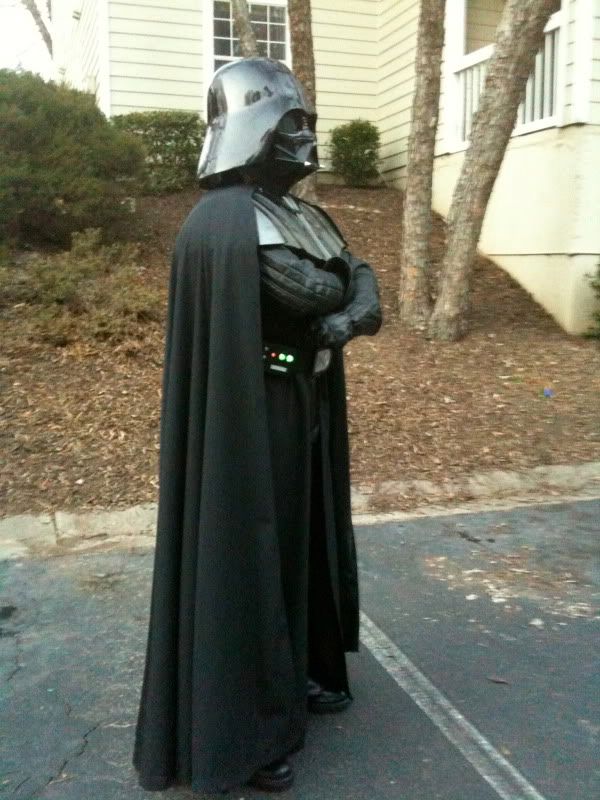
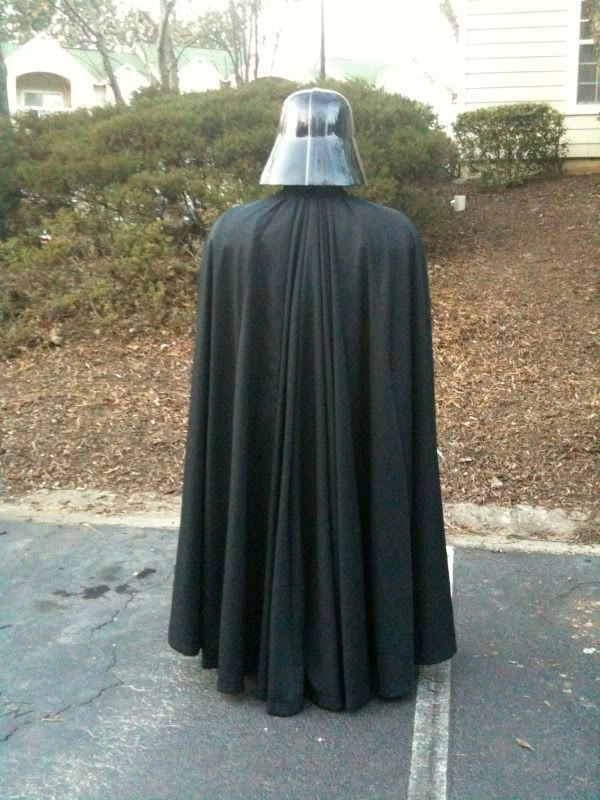
I started this project back in October 2009, and after several months, I'm glad to finally share some pics of my ROTS Vader. I started with a stock Rubies costume, but ended up replacing almost all of it, save a few pieces. Here are the main pics, along with some close-ups and a run-down of each piece and it's origins. Hope you like them!
Front View:
Side Right View:
Side Left View:
Arms Folded:
Back View:
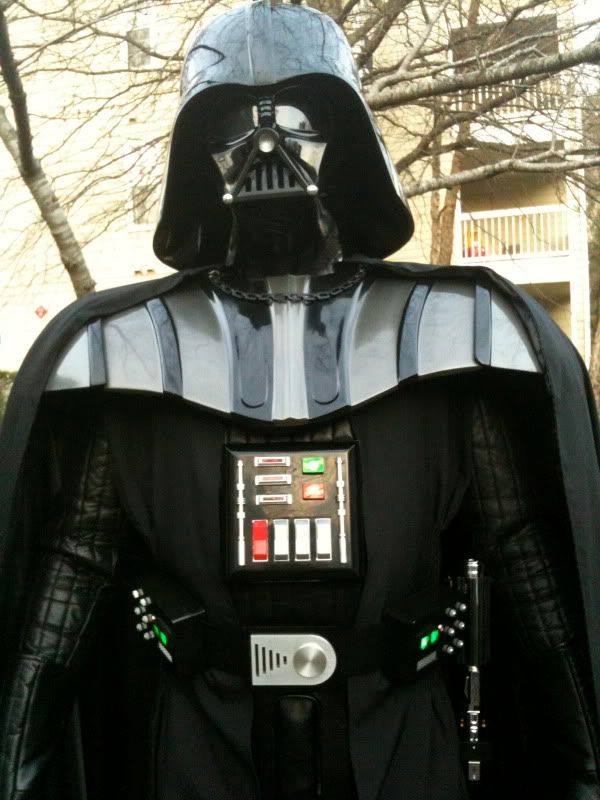
Close-Up:
The Official "Nooooo!" View: :lol
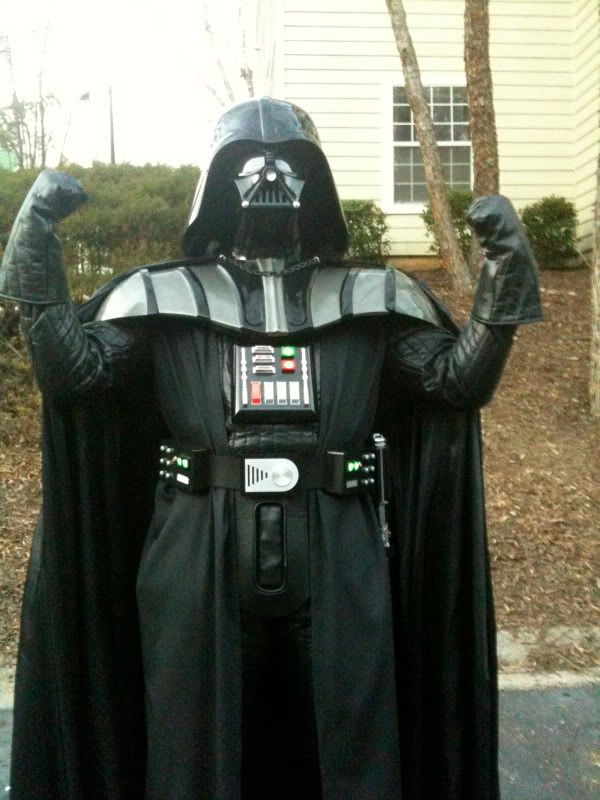
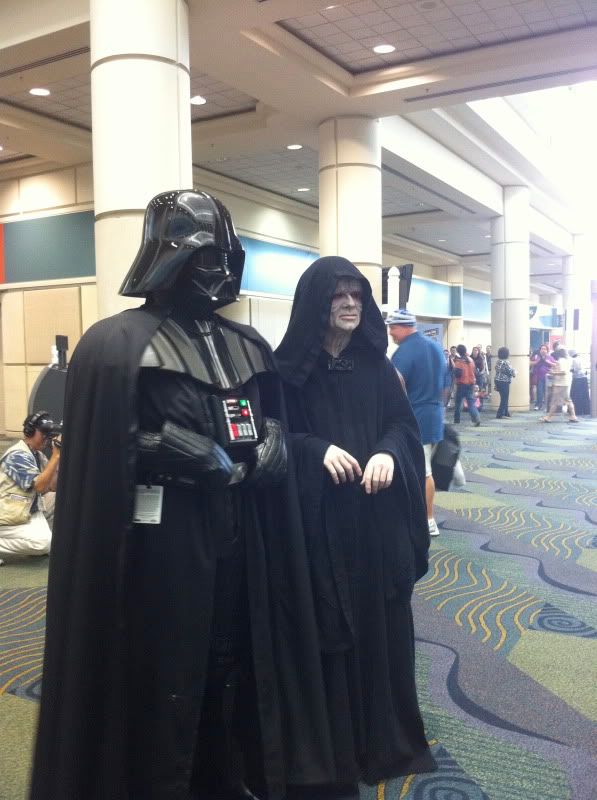
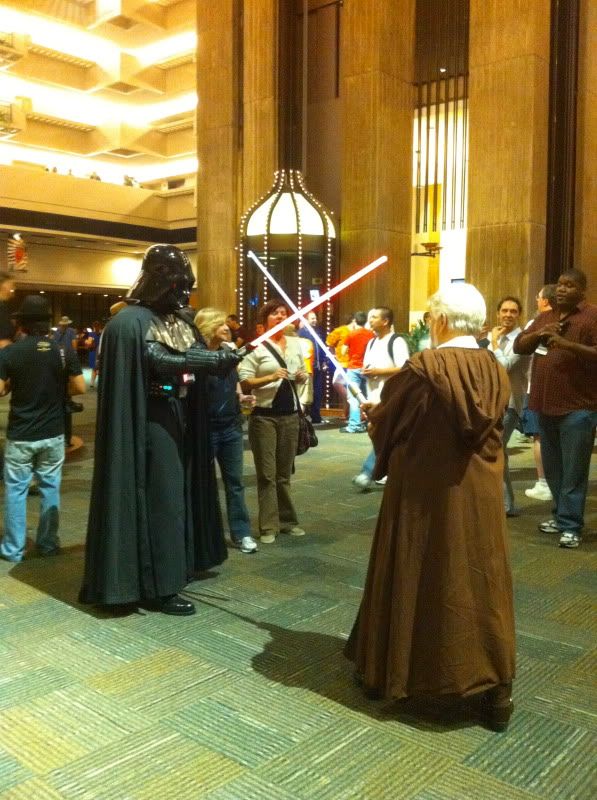
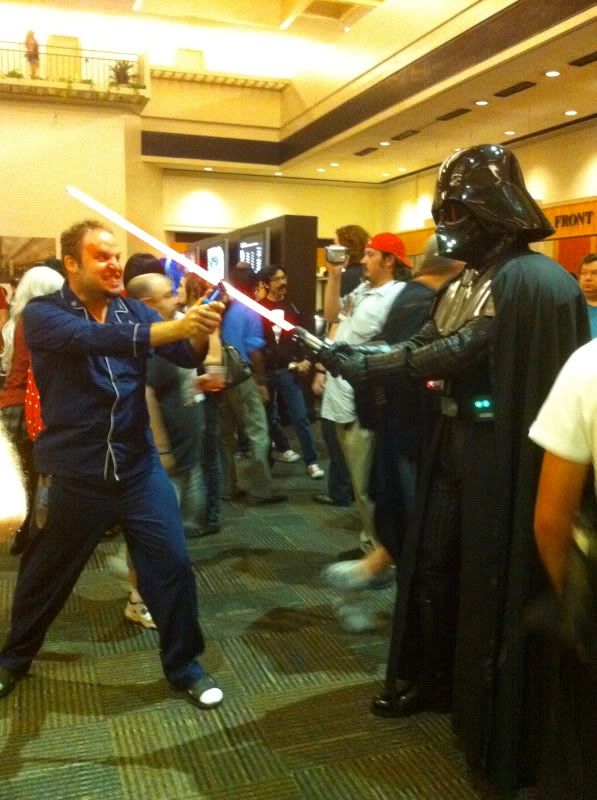
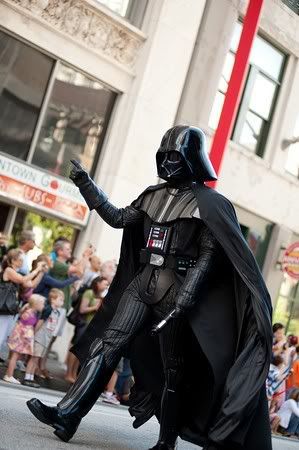
For those interested, here's the breakdown of the costume parts and modifications:
HELMET - Master Replicas ROTS Vader Helmet.
CHEST ARMOR - Modified Port**** ROTS Armor. I had him modify the shoulders to create more symmetry between shoulder bells and front ridge of armor. Also added some foam padding to interior to create right lift/placement, etc.
CAPE/ARMOR CHAIN - Chain is screen accurate ROTS chain. Painted it black using four (4) coats of black Plasti-Dip, then attached it to the cape via small looped metal rings, two (2) on each side.
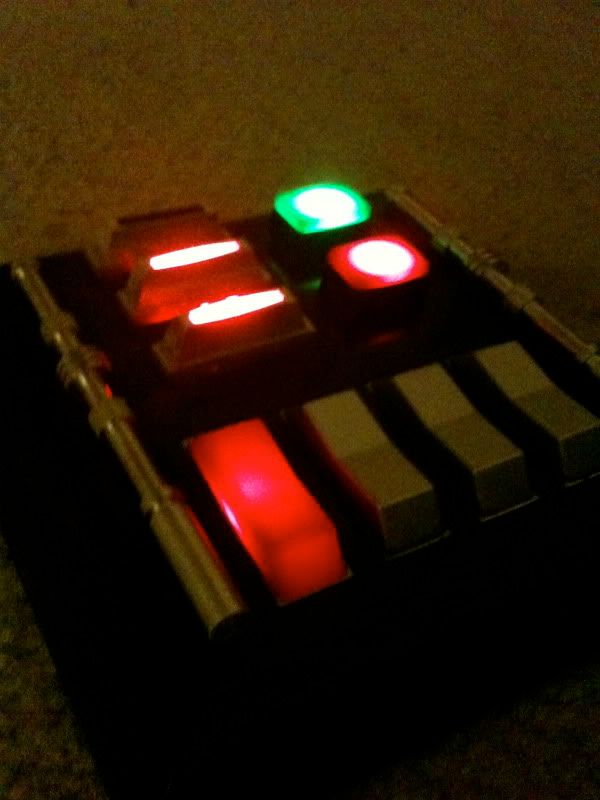
CHEST BOX - Modified Rubies. Started with the stock chest box, then replaced the plastic rods with aluminum ones. Used a Dremel to grind off the original plastic coin slots, then attached new aluminum ones. Both aluminum coin slots and rods are from FP. Ripped out the stock light sequence circuitry and added a new circuit board with a slower, more accurate blinking sequence. Added additional LED lights on the inside of the box behind the red rocker switch, and attached new covers for the static green and red lights. Chest box is attached to suit via industrial strength velcro. Here are some close-up pics of the chest box before it was velcroed on:
Chest Box - Side View:
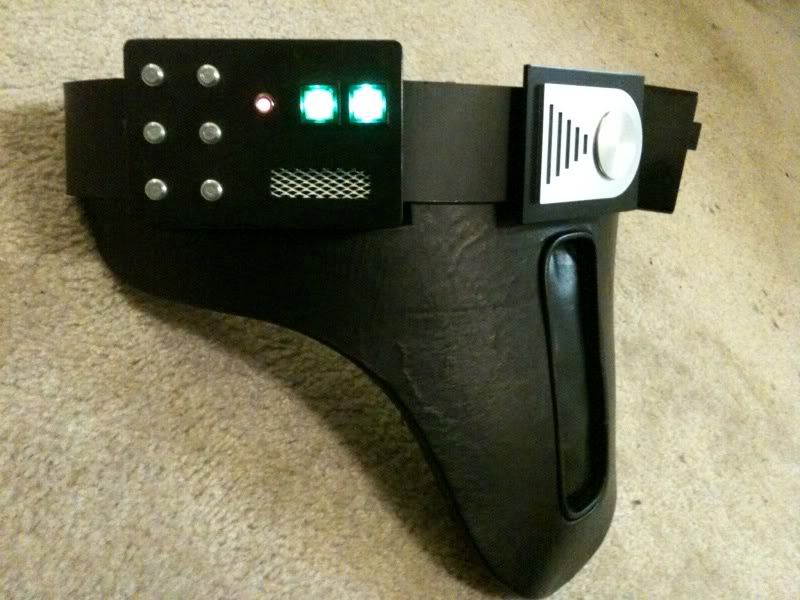
BELT - Slightly Modified Port**** ROTS Belt w/ Covertec Clip. Belt itself is mainly all Porty, except I took off his stock buckle and added a new one purchased from one of the guys over at the SLD members who does great aluminum machining work. See pics below of belt (attached to cod piece with velcro):
Belt & Cod Piece Together - Side View:
LIGHTSABER - Master Replicas ROTS Limited Edition Episode III Lightsaber. Purchased off eBay.
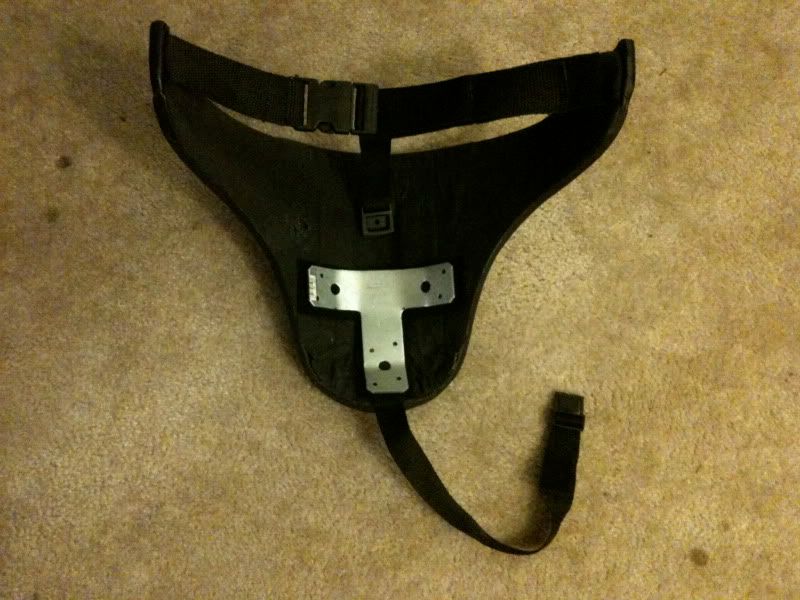
COD PIECE - FP/LA Cod Piece. Modified it to include strap going from bottom of cod piece through to the back, plus deepened belt box cut-out slots to fit perfectly with the Porty belt boxes. On back of cod, used velcro and epoxy to add a rounded T-shaped metal piece on inside of cod to create rounded look seen in ROTS (see pics below):
Cod Piece - Back View:
BODY SUIT, CAPE & SURCOAT (INNER CLOAK) - Custom by FP/LA. Excellent craftsmanship.
BOOTS - Black Costume Boots. Purchased online via costume apparel company. Once received, I had a local cobbler add small inner and outer lifts to increase height. I'm about 6'1" w/o shoes, so all suited up I'm about 6'4 or 6'5".
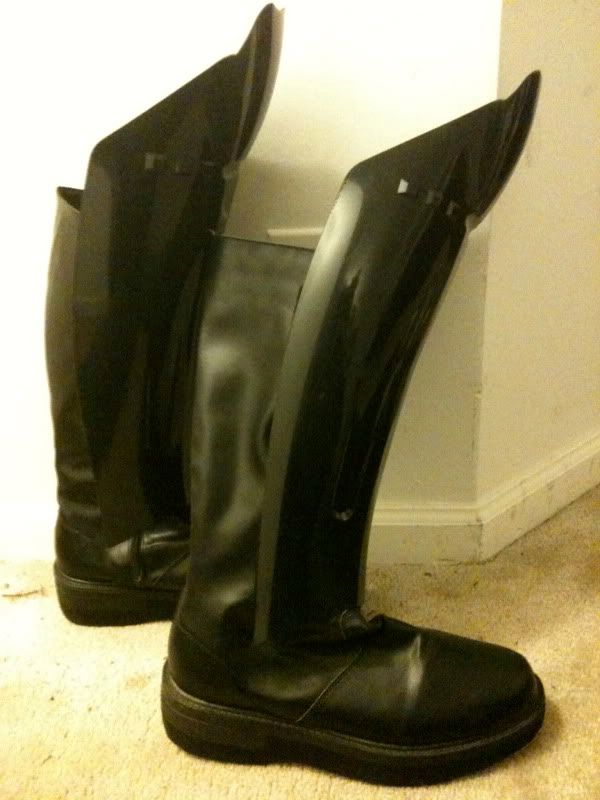
SHINS - Modified Rubies. Ripped off stock cloth and zipper attachment mechanism, used an X-acto knife to cut off black excess plastic "tabs" on side of shins and used velcro to attach directly to boots (see pictures below):
Boots & Shins - Side View:
Well, I think that's it....whew!!! Needless to say, this whole experience has been a labor of love, but a very rewarding one. Moreover, I couldn't have done it without the resources, tutorials and help of all the Vaders and costume enthusiasts that went before me. Feel free to add comments, and hope you enjoy the pics!
Nothing but the best,
Darth_Knight1
Even though I've browsed many times before, this is my 1st post here on the RPF.
I started this project back in October 2009, and after several months, I'm glad to finally share some pics of my ROTS Vader. I started with a stock Rubies costume, but ended up replacing almost all of it, save a few pieces. Here are the main pics, along with some close-ups and a run-down of each piece and it's origins. Hope you like them!
Front View:

Side Right View:

Side Left View:

Arms Folded:

Back View:

Close-Up:

The Official "Nooooo!" View: :lol

For those interested, here's the breakdown of the costume parts and modifications:
HELMET - Master Replicas ROTS Vader Helmet.
CHEST ARMOR - Modified Port**** ROTS Armor. I had him modify the shoulders to create more symmetry between shoulder bells and front ridge of armor. Also added some foam padding to interior to create right lift/placement, etc.
CAPE/ARMOR CHAIN - Chain is screen accurate ROTS chain. Painted it black using four (4) coats of black Plasti-Dip, then attached it to the cape via small looped metal rings, two (2) on each side.
CHEST BOX - Modified Rubies. Started with the stock chest box, then replaced the plastic rods with aluminum ones. Used a Dremel to grind off the original plastic coin slots, then attached new aluminum ones. Both aluminum coin slots and rods are from FP. Ripped out the stock light sequence circuitry and added a new circuit board with a slower, more accurate blinking sequence. Added additional LED lights on the inside of the box behind the red rocker switch, and attached new covers for the static green and red lights. Chest box is attached to suit via industrial strength velcro. Here are some close-up pics of the chest box before it was velcroed on:
Chest Box - Side View:

BELT - Slightly Modified Port**** ROTS Belt w/ Covertec Clip. Belt itself is mainly all Porty, except I took off his stock buckle and added a new one purchased from one of the guys over at the SLD members who does great aluminum machining work. See pics below of belt (attached to cod piece with velcro):
Belt & Cod Piece Together - Side View:

LIGHTSABER - Master Replicas ROTS Limited Edition Episode III Lightsaber. Purchased off eBay.
COD PIECE - FP/LA Cod Piece. Modified it to include strap going from bottom of cod piece through to the back, plus deepened belt box cut-out slots to fit perfectly with the Porty belt boxes. On back of cod, used velcro and epoxy to add a rounded T-shaped metal piece on inside of cod to create rounded look seen in ROTS (see pics below):
Cod Piece - Back View:

BODY SUIT, CAPE & SURCOAT (INNER CLOAK) - Custom by FP/LA. Excellent craftsmanship.
BOOTS - Black Costume Boots. Purchased online via costume apparel company. Once received, I had a local cobbler add small inner and outer lifts to increase height. I'm about 6'1" w/o shoes, so all suited up I'm about 6'4 or 6'5".
SHINS - Modified Rubies. Ripped off stock cloth and zipper attachment mechanism, used an X-acto knife to cut off black excess plastic "tabs" on side of shins and used velcro to attach directly to boots (see pictures below):
Boots & Shins - Side View:

Well, I think that's it....whew!!! Needless to say, this whole experience has been a labor of love, but a very rewarding one. Moreover, I couldn't have done it without the resources, tutorials and help of all the Vaders and costume enthusiasts that went before me. Feel free to add comments, and hope you enjoy the pics!
Nothing but the best,
Darth_Knight1
Last edited:


