drjag
Well-Known Member
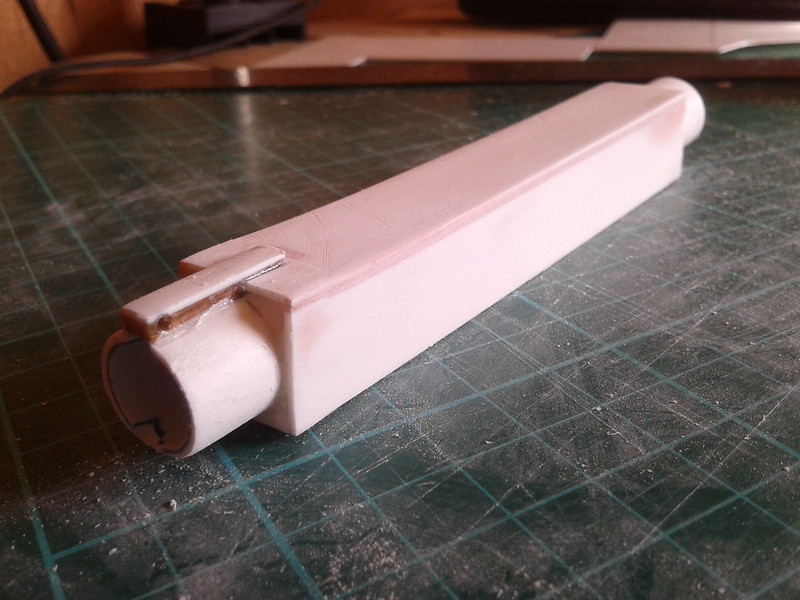
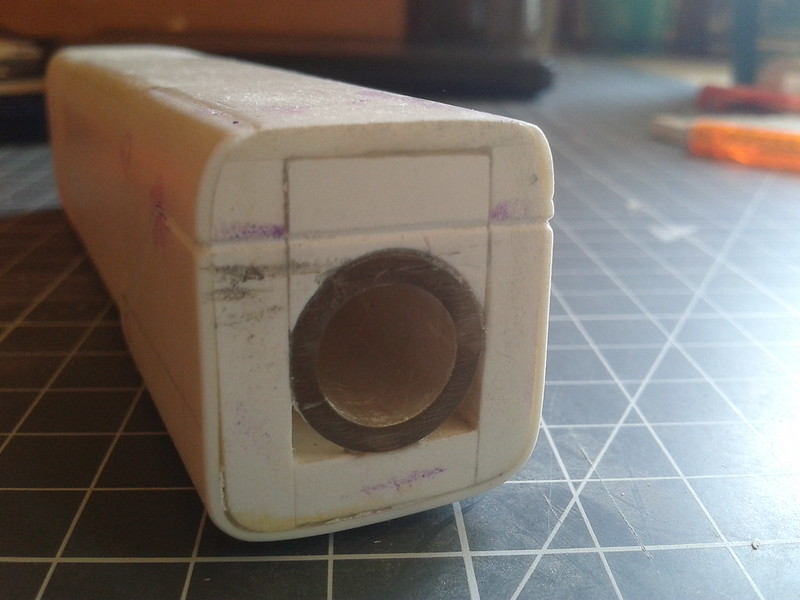
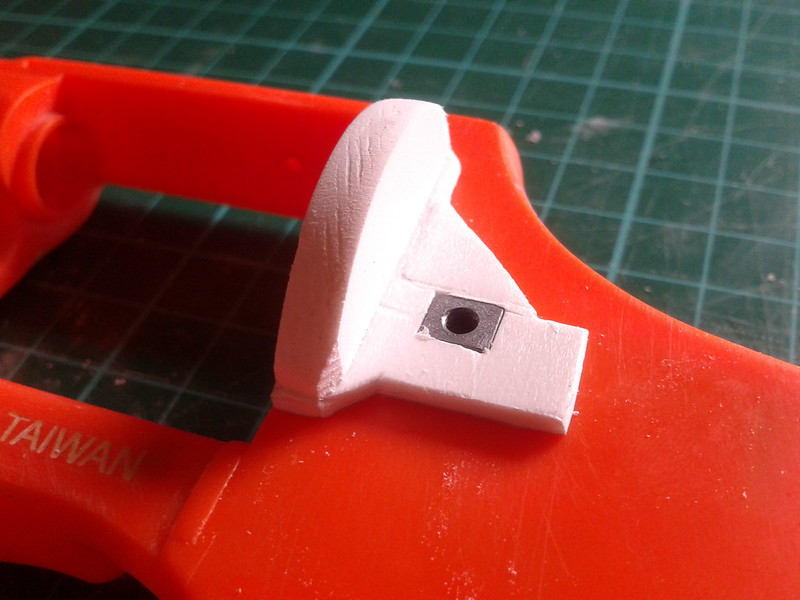
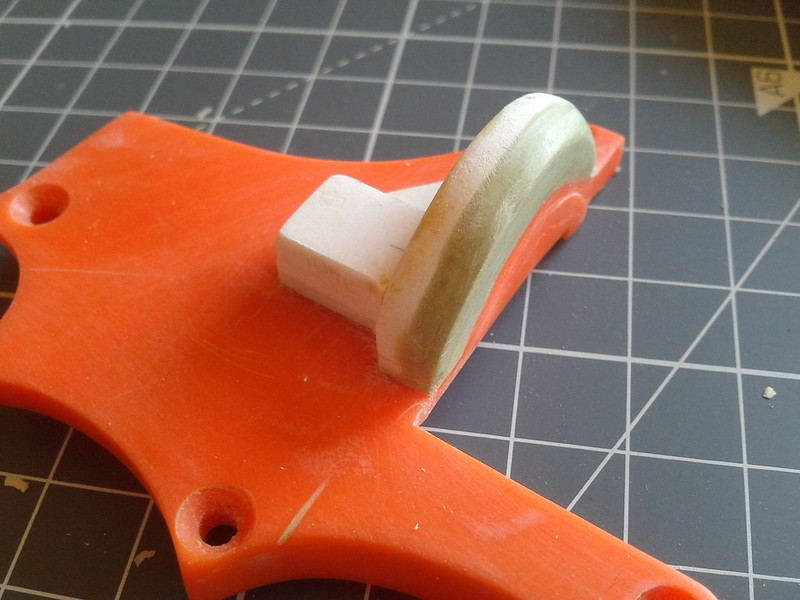
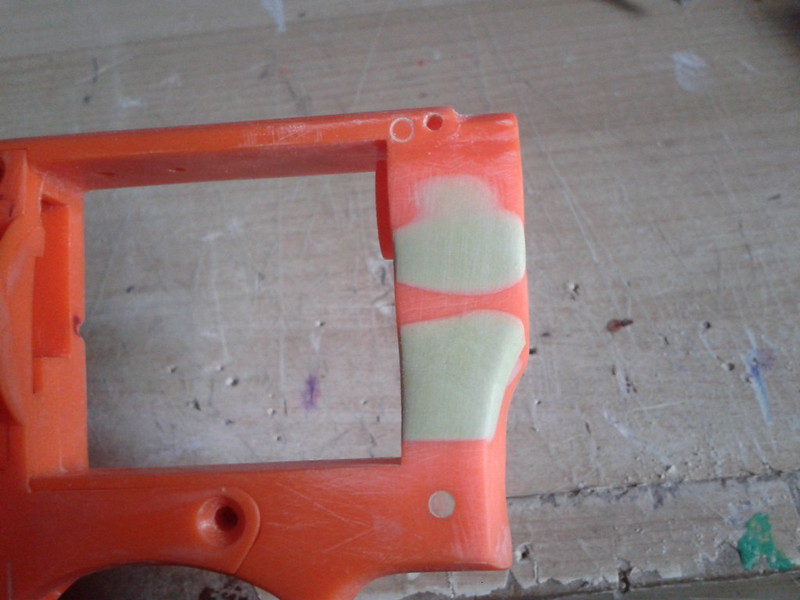
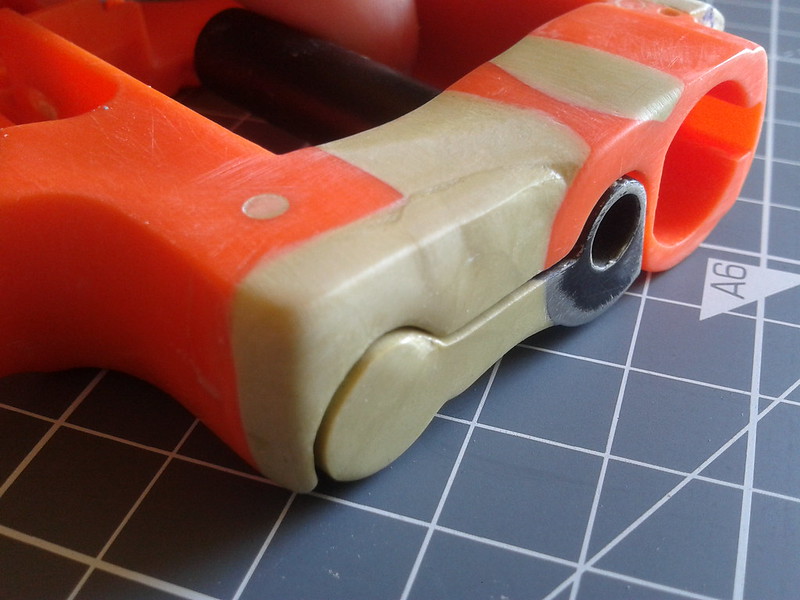
Hello all! It's been over a year since I have started a new thread for a new project but now I finally have the time to share some of the work I've been doing over the past couple months. As the title says, this thread is to show the process of making an actual functioning airsoft Hand Cannon from the video game Destiny! I've been planning this one for a long time to work out how to approach this ambitious project and with some research and tinkering of my own, I figured the best way to approach this was to build on top of an existing gun; this saves building a working mechanism from scratch.
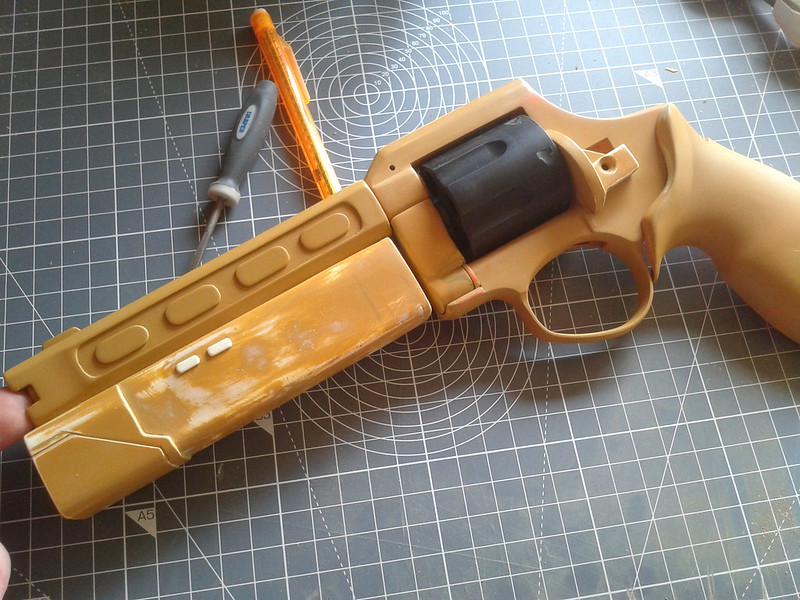
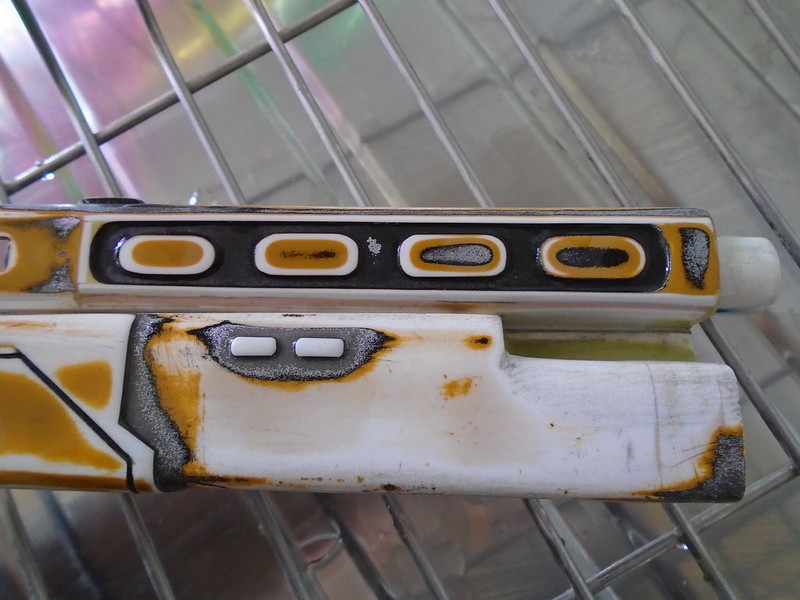
Because of the way I'm building this, it isn't going to be "100%" accurate because I have to work around the mechanisms of the revolver, instead, I'm trying to make it look as close to the Hand Cannon as possible based around the model.
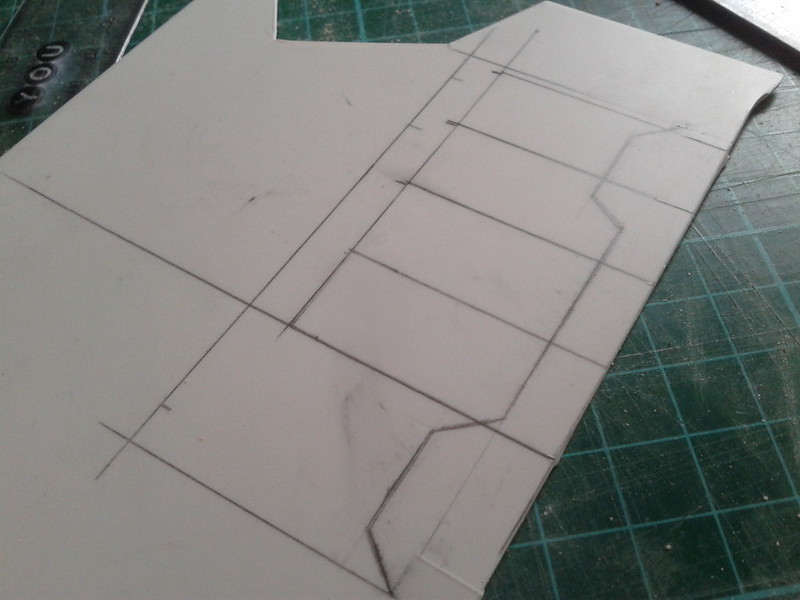
Before I even start with how I approached making this, I gathered two vital references: The official Hand Canon references released by Bungie, prior to Destiny's release and Bill Doran's FREE Hand Cannon template that's based off the official references. The official reference gave very good up close views of the gun and the template let me scale it to my choice of airsoft gun. (Link to Bill Doran's Free template) http://punishedprops.com/shop/destiny-hand-cannon-blueprint/

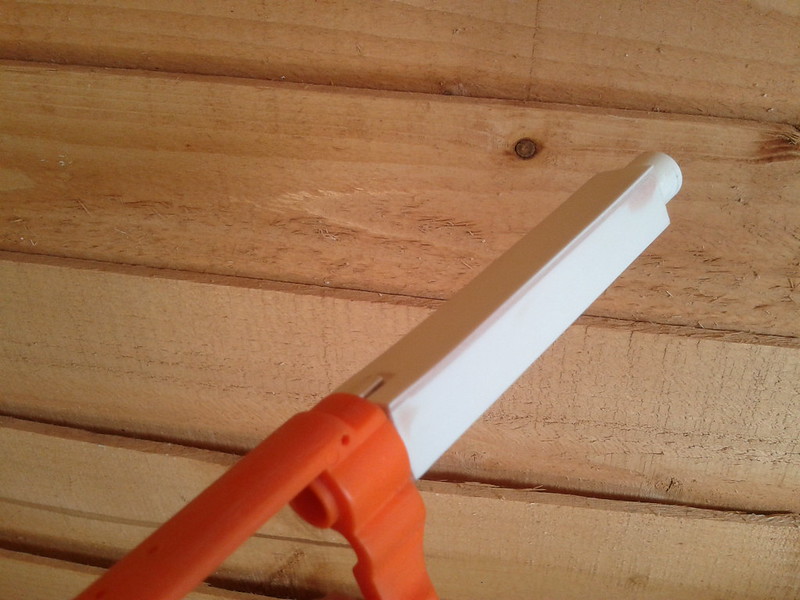
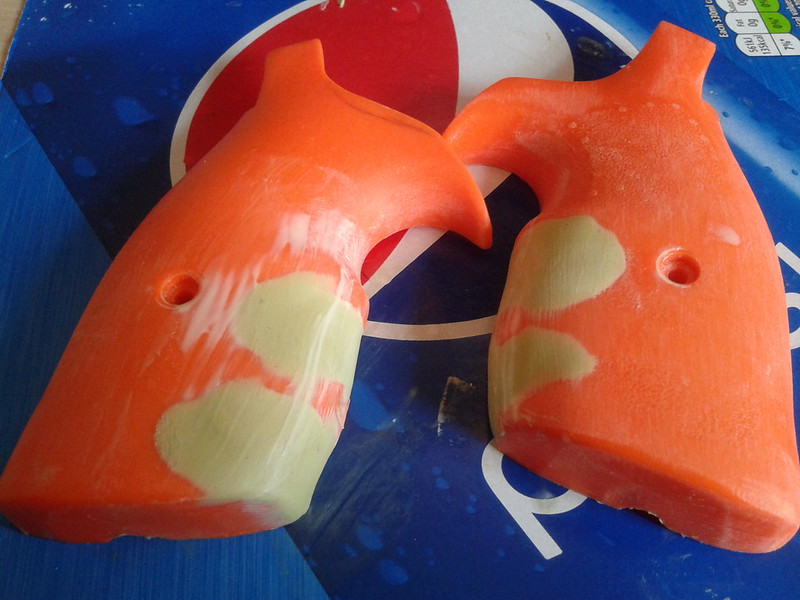
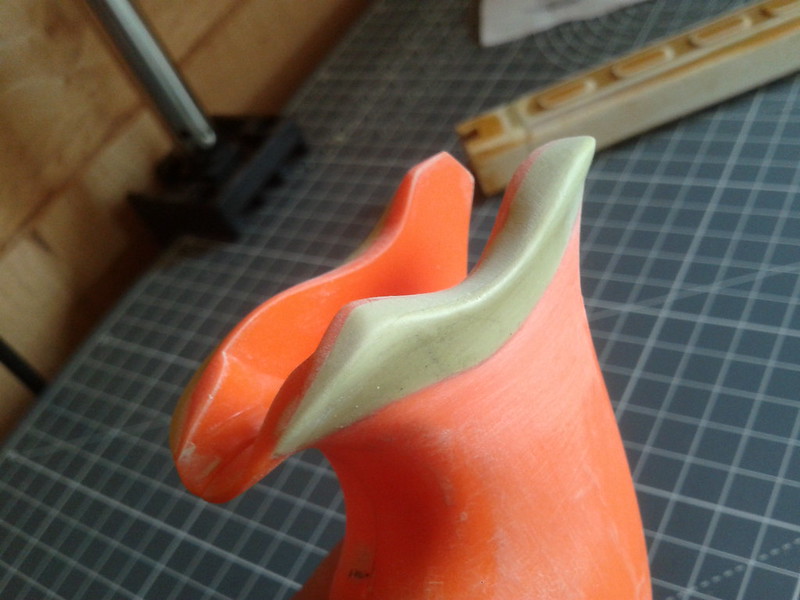
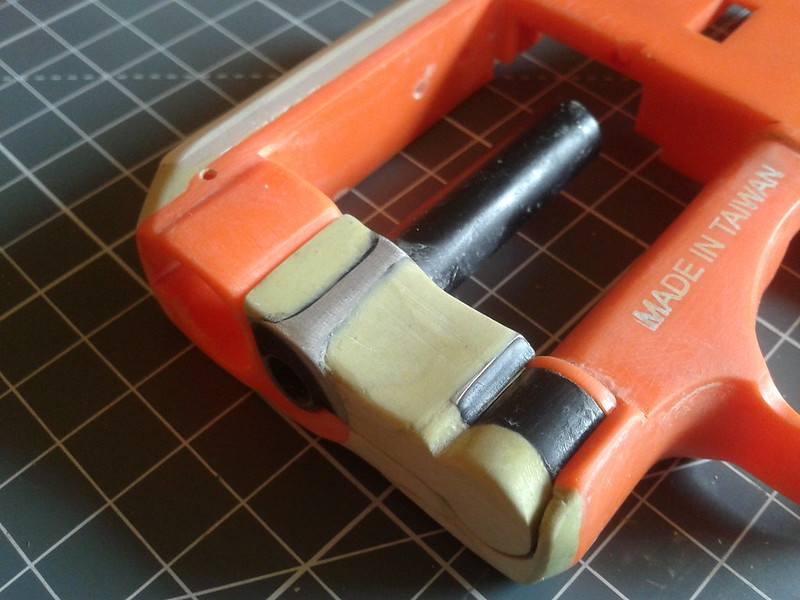
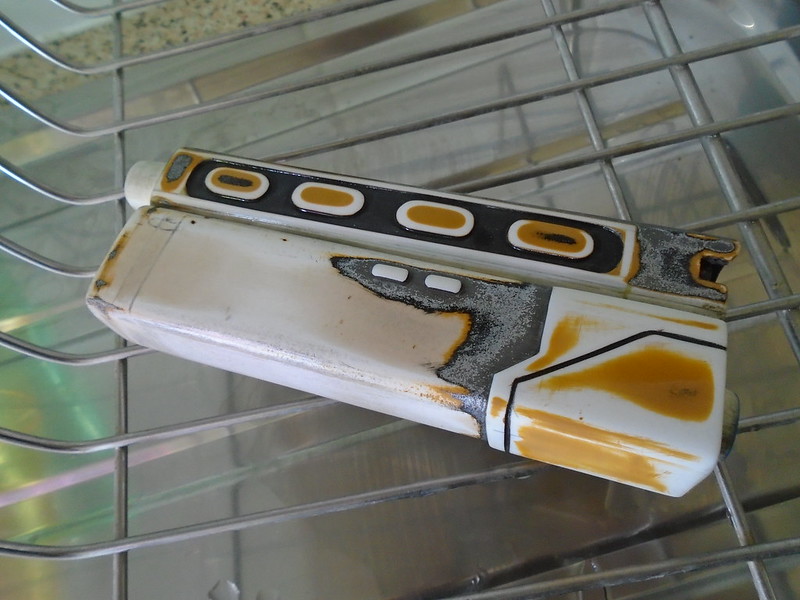
The gun I have chosen to base the Hand Cannon off is a HFC HG-133 gas airsoft revolver, as I had the opportunity to buy a semi working one for really cheap so I didn't mind messing around with it, since it already needed tinkering with in the first place. For those wondering why it is orange instead of black, silver or whatever, that's because I live in the UK and if you're just a regular citizen who's over 18, you can only own "2 tone" or clear guns, unless you're a member of an airsoft site which allows you to own and use black airsoft guns.

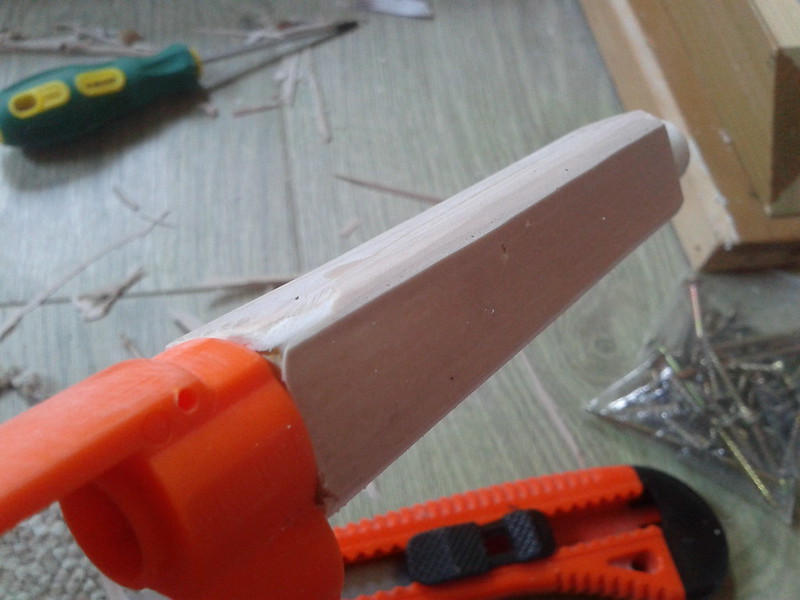
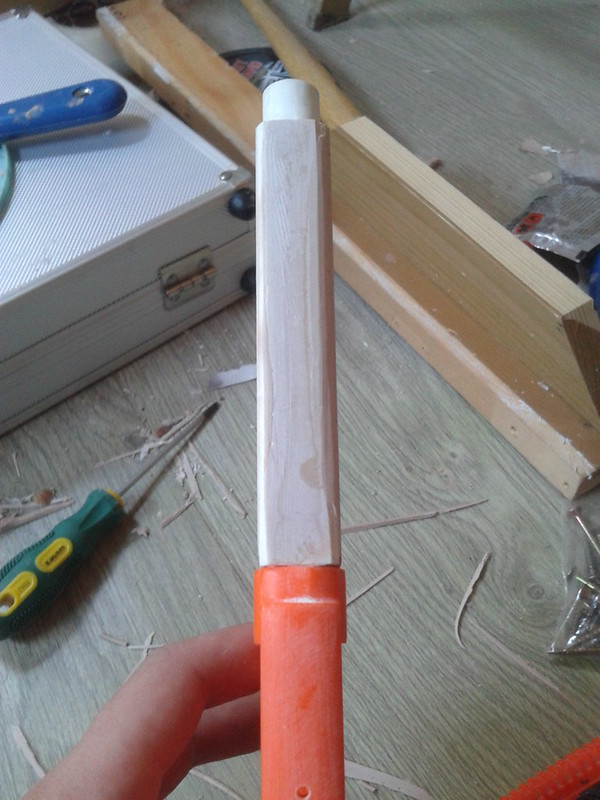
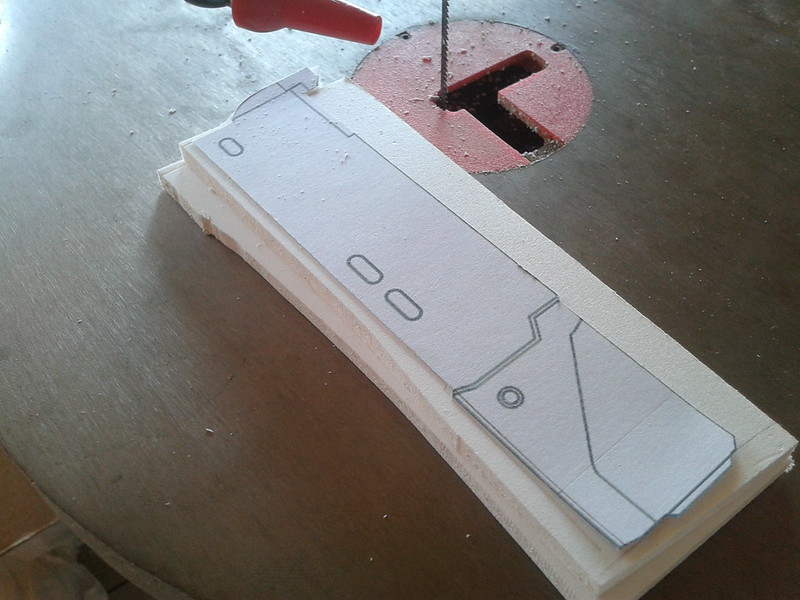
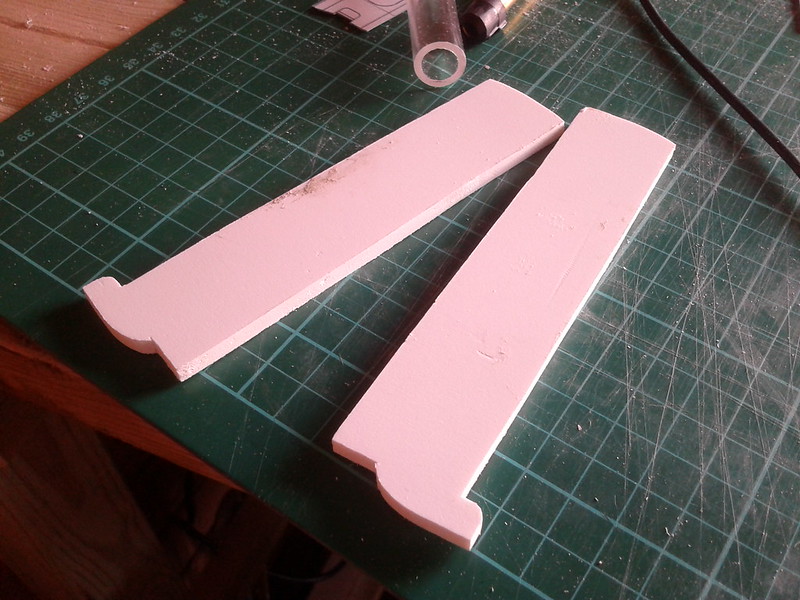
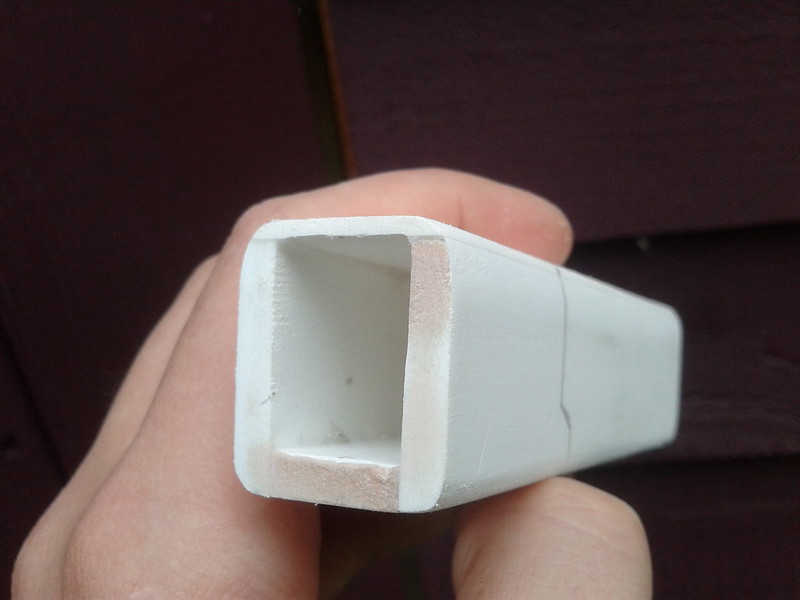
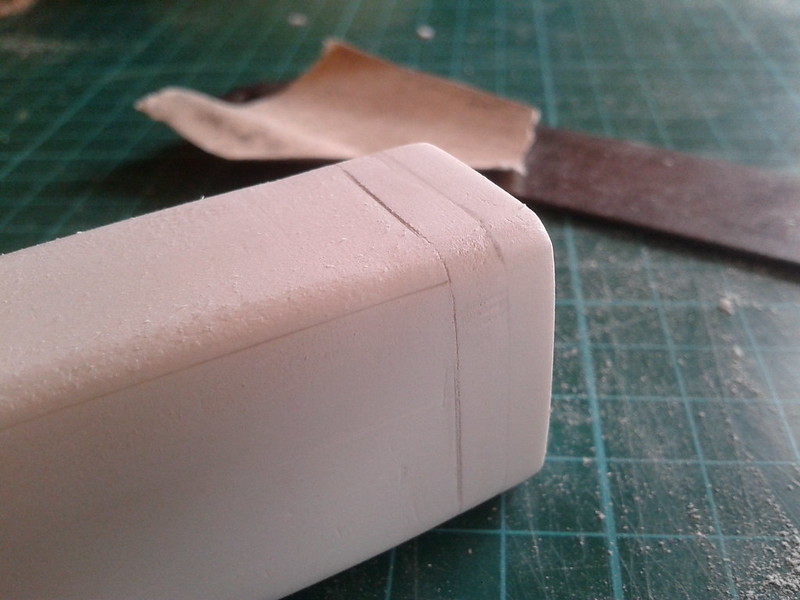
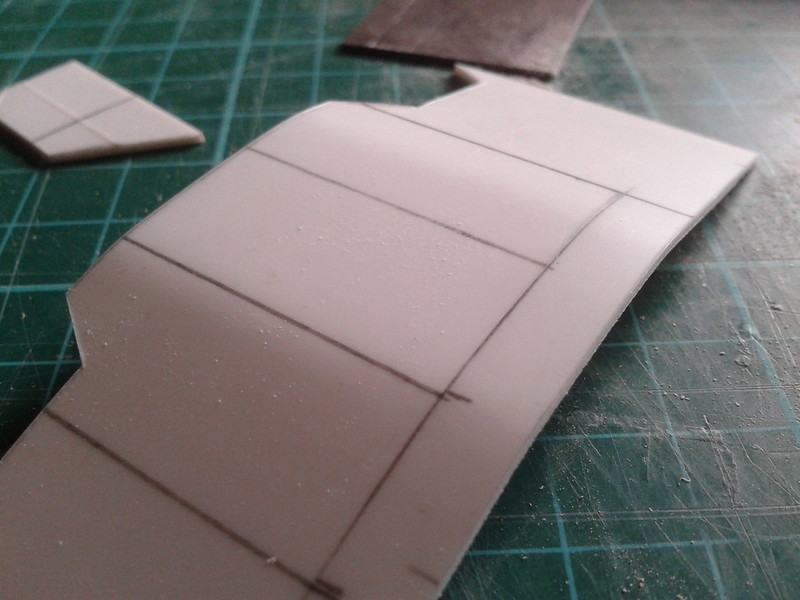
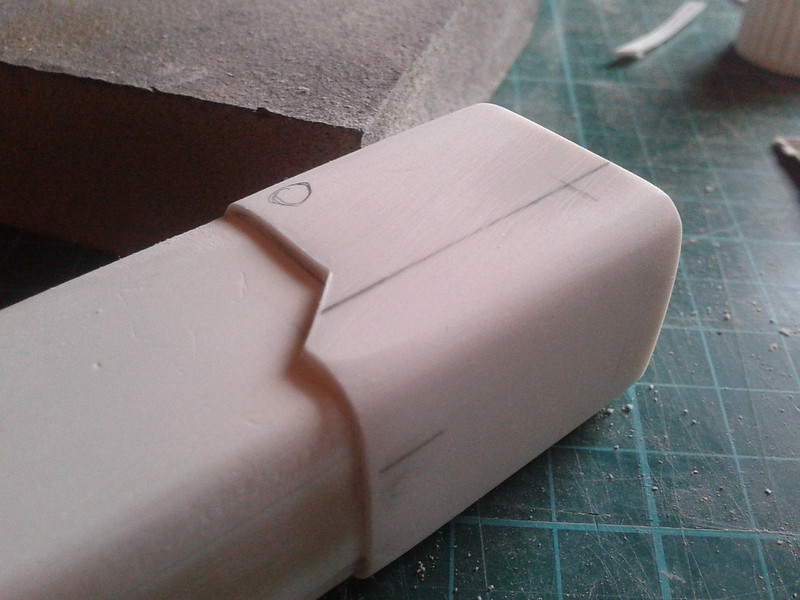
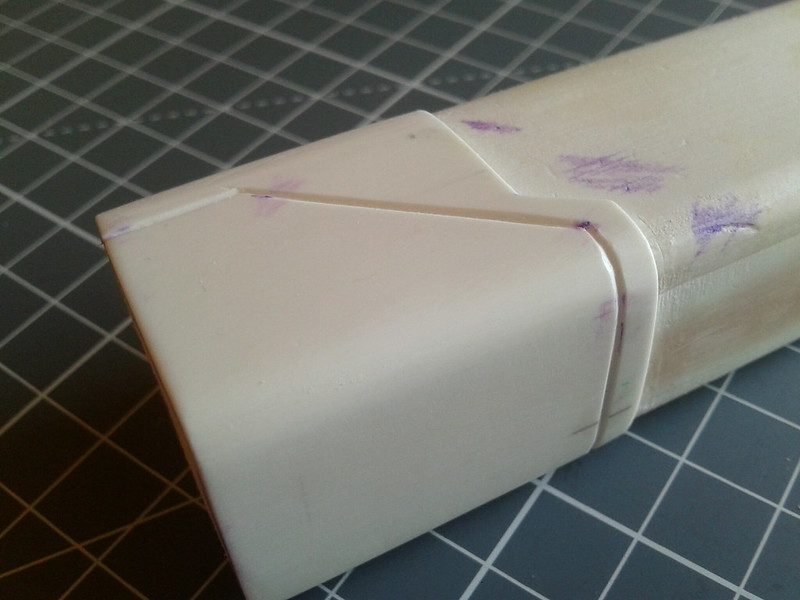
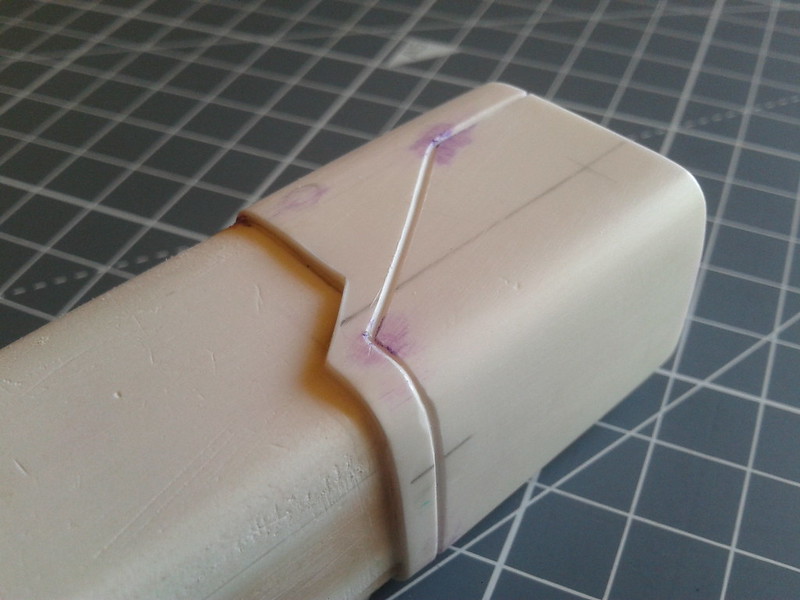
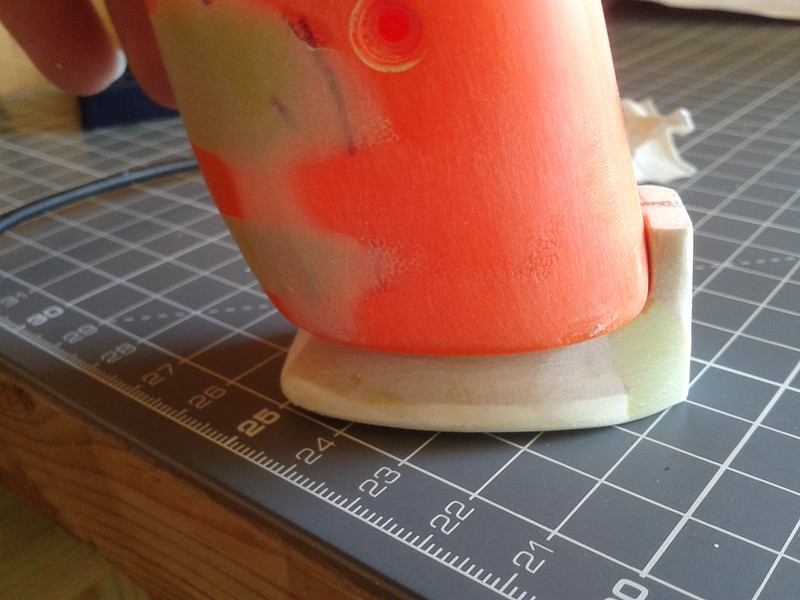
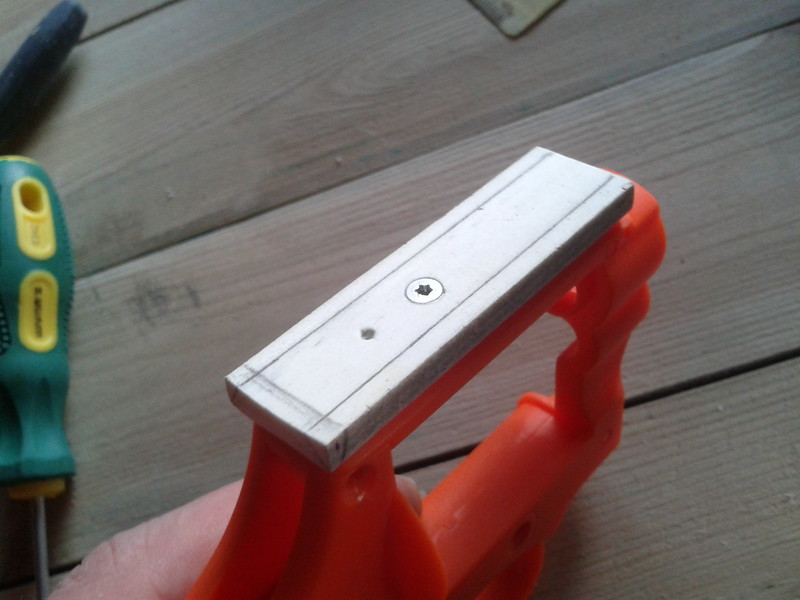
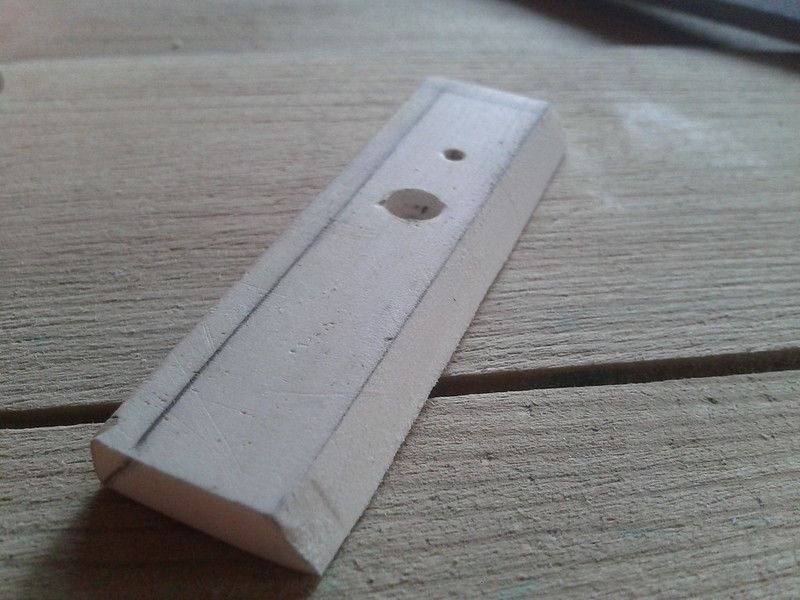
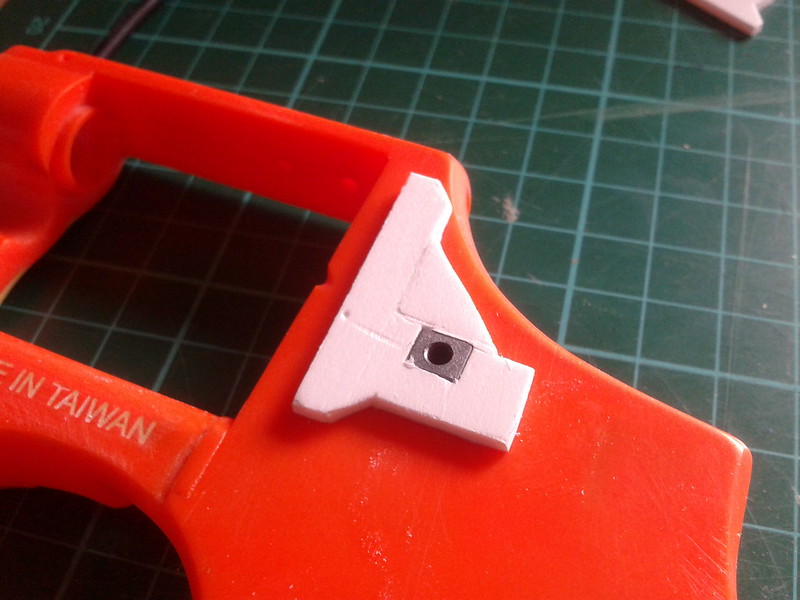
With my airsoft gun chosen, I needed to work on the free template to scale and work out how long pieces were and how I would fabricate them (if possible); I had to scale it down to 11 inches to fit the model profile.

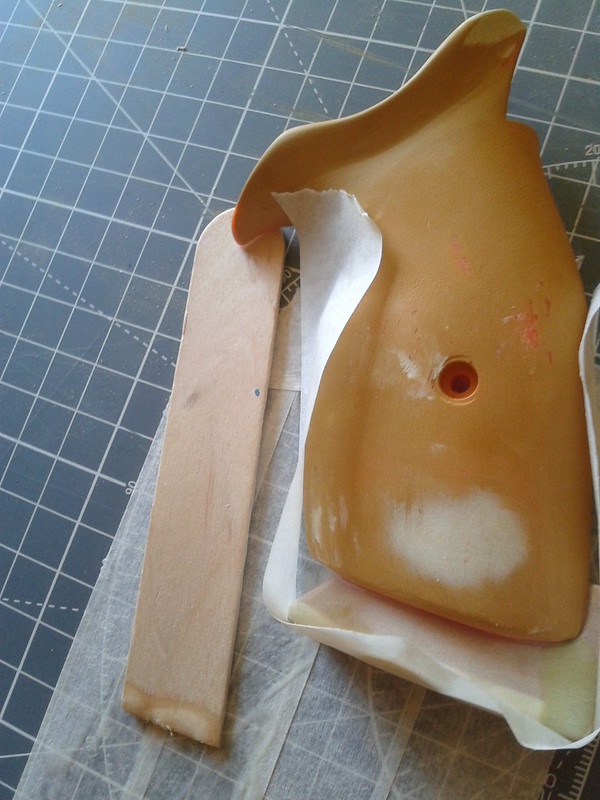
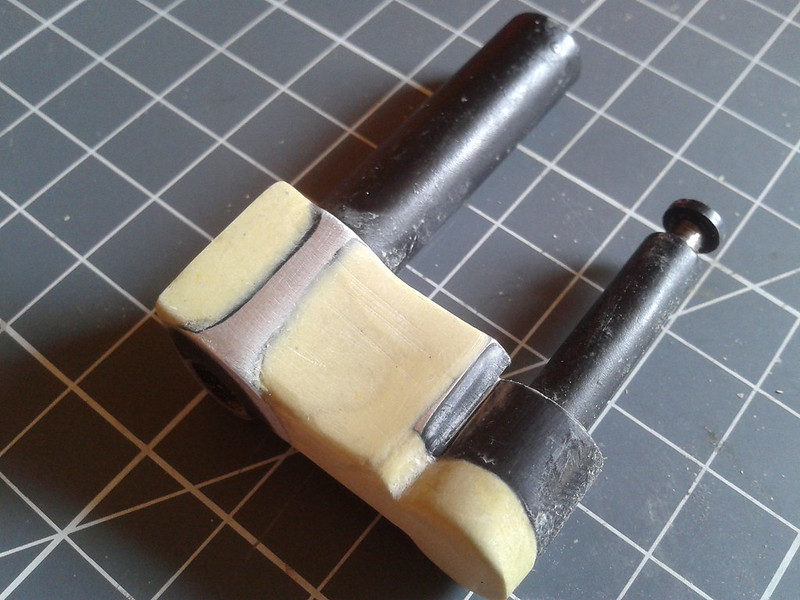
Lastly, before I could start fabricating pieces, I needed to break down the gun to its core components to separate the functioning pieces from the body and learn how each piece fits together; I used this handy schematic guide to help with the disassembly process.

That's all for now, next post will show a lot of the fabrication of pieces as I don't want to post too much on the opening post.
Until then...
Because of the way I'm building this, it isn't going to be "100%" accurate because I have to work around the mechanisms of the revolver, instead, I'm trying to make it look as close to the Hand Cannon as possible based around the model.
Before I even start with how I approached making this, I gathered two vital references: The official Hand Canon references released by Bungie, prior to Destiny's release and Bill Doran's FREE Hand Cannon template that's based off the official references. The official reference gave very good up close views of the gun and the template let me scale it to my choice of airsoft gun. (Link to Bill Doran's Free template) http://punishedprops.com/shop/destiny-hand-cannon-blueprint/
The gun I have chosen to base the Hand Cannon off is a HFC HG-133 gas airsoft revolver, as I had the opportunity to buy a semi working one for really cheap so I didn't mind messing around with it, since it already needed tinkering with in the first place. For those wondering why it is orange instead of black, silver or whatever, that's because I live in the UK and if you're just a regular citizen who's over 18, you can only own "2 tone" or clear guns, unless you're a member of an airsoft site which allows you to own and use black airsoft guns.
With my airsoft gun chosen, I needed to work on the free template to scale and work out how long pieces were and how I would fabricate them (if possible); I had to scale it down to 11 inches to fit the model profile.
Lastly, before I could start fabricating pieces, I needed to break down the gun to its core components to separate the functioning pieces from the body and learn how each piece fits together; I used this handy schematic guide to help with the disassembly process.
That's all for now, next post will show a lot of the fabrication of pieces as I don't want to post too much on the opening post.
Until then...
Last edited: