You are using an out of date browser. It may not display this or other websites correctly.
You should upgrade or use an alternative browser.
You should upgrade or use an alternative browser.
A lil Speeder
- Thread starter DarthDuck
- Start date
DarthDuck
Active Member
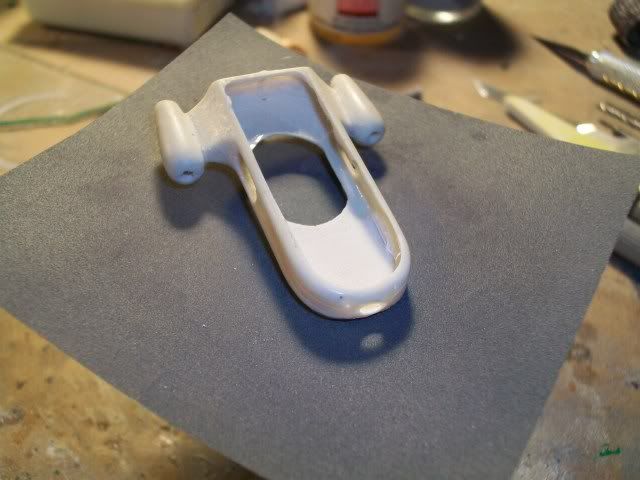
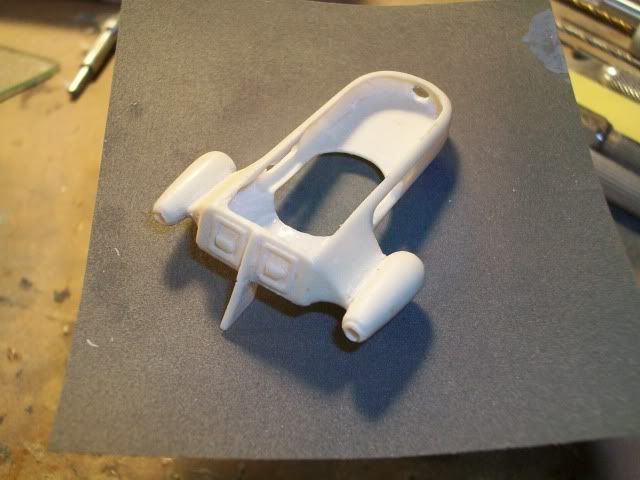
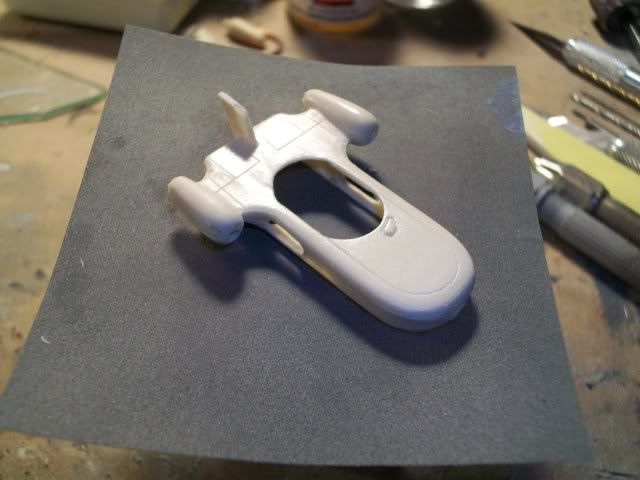
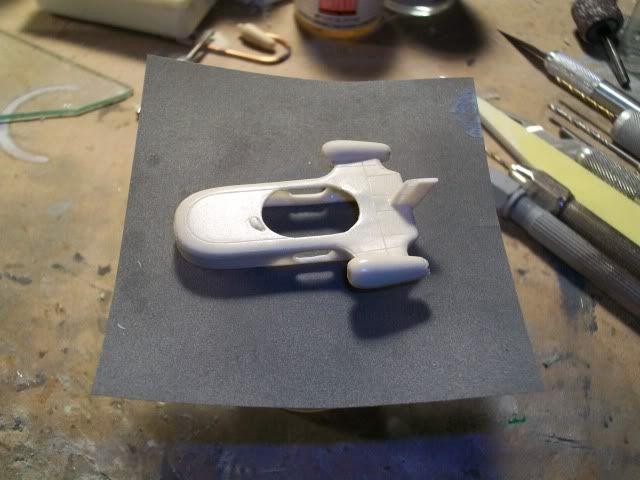
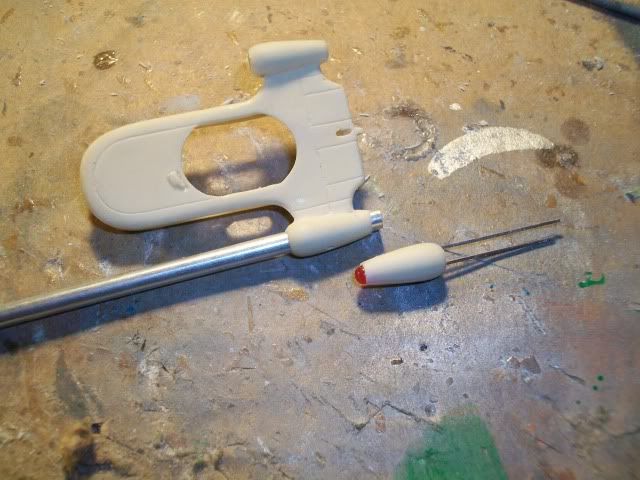
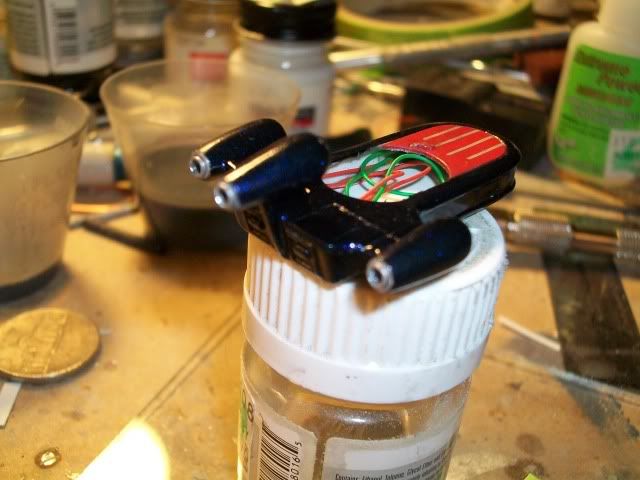
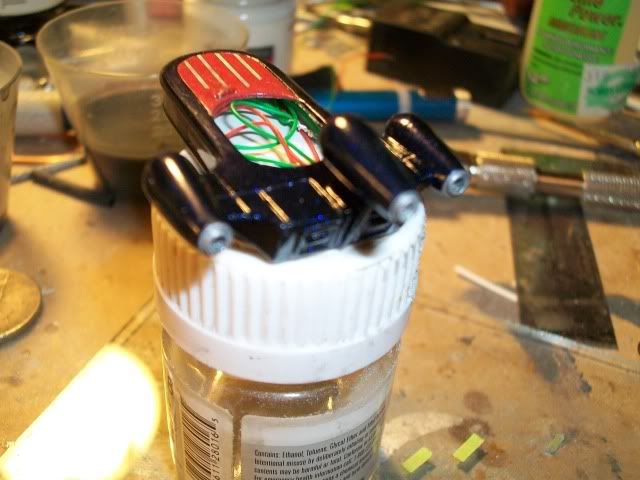
I've already hollowed out the engine pods and made wire channels to them.
Looking at the side trim that was rendered into the kit I thought I'd "upgrade to chrome"! I carefully carved a channel in that area and then trimmed some corrugated aluminum to fit within. This is only taped in place but once glued it will fit in nice and recessed.
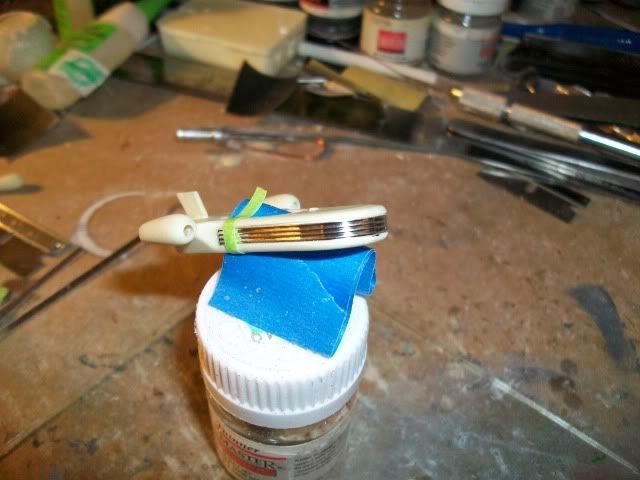
Looking at the side trim that was rendered into the kit I thought I'd "upgrade to chrome"! I carefully carved a channel in that area and then trimmed some corrugated aluminum to fit within. This is only taped in place but once glued it will fit in nice and recessed.

DarthDuck
Active Member
Thanks gents.
Yes, rather than just a utilitarian transportation device I am going for that look of someone who has "pride in their ride". Hence, the flashier chrome-like trim and a "nice" paint job still to follow.
Right now I'm pondering how to stuff the electronics into it and I have one more "functional" feature, a trick if you will, up my sleeve. We'll see if it works.:confused
Smiling Demon
Sr Member
Holy Crap!!
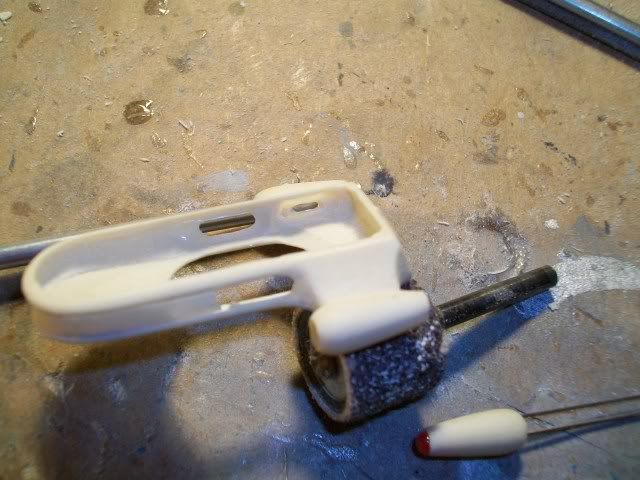
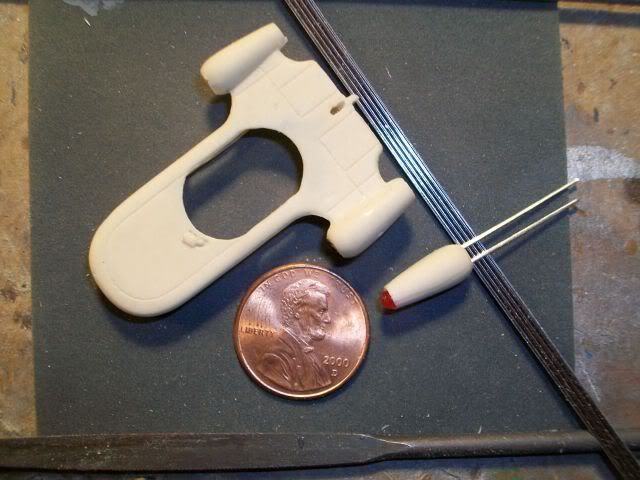
I didn't realize how small this thing really was until I saw the dremel sanding drum!:eek
I didn't realize how small this thing really was until I saw the dremel sanding drum!:eek
DarthDuck
Active Member
Holy Crap!!
I didn't realize how small this thing really was until I saw the dremel sanding drum!:eek
Oh yeah, here ya go:
DarthDuck
Active Member
WOW! :eek
Very impressive, looking forward to seeing this completed, well done!
Thanks for that Zodou!
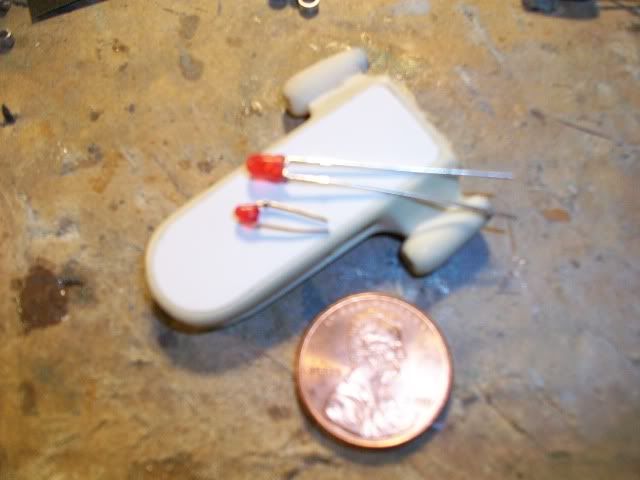
A new bottom plate was fashioned and I believe I will be going to "mini" LEDs rather than the T1 size for the engines. I had hollowed out enough room for the T1s but where the leads come off of the base puts them far back in the nacelles and it's easier to solder then route wiring with the overall shorter "bulb body" of the minis.
DarthDuck
Active Member
^^^
Thank you very much for the kind words and encouragement gents. This one is just an exercise in "fun" for me and I'm glad you can appreciate the direction it's going in.:cool
BTW: I have an email addy to the kit creator if anyone needs to contact him:
bern@pennyhill.madasafish.com
Thank you very much for the kind words and encouragement gents. This one is just an exercise in "fun" for me and I'm glad you can appreciate the direction it's going in.:cool
BTW: I have an email addy to the kit creator if anyone needs to contact him:
bern@pennyhill.madasafish.com
Too Much Garlic
Master Member
Really some interesting builds being done here as of late. The all metal scaled R2 and 3-PO and now this. Looking forward to seeing more.
DarthDuck
Active Member
And thank you "TMG". Well, here's a lil bit more.
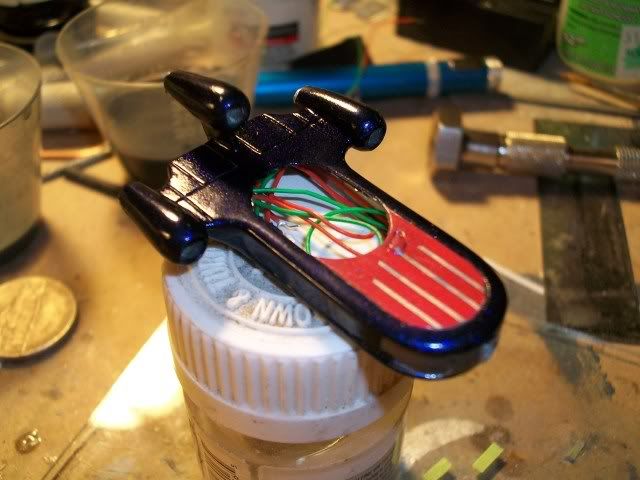
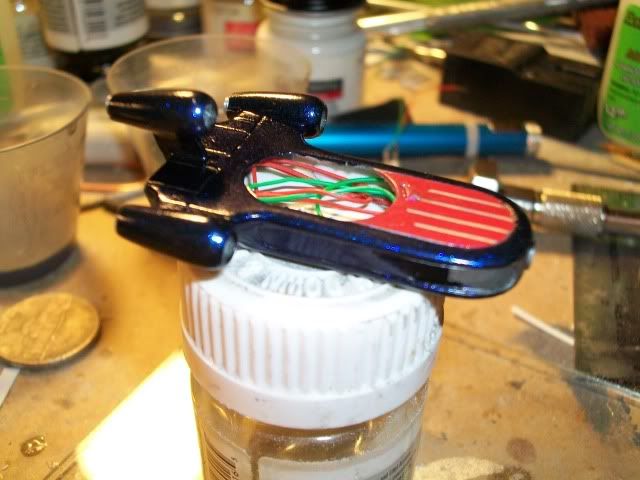
Up front I whittled a T1 LED to fit within an aluminum "headlamp bezel" which itself was carved and turned to give a contoured lip. This then sits within a new front fascia I made to break up the side trim. Then of course the obligatory light test although none of the engine's aluminum bezels are in place yet.
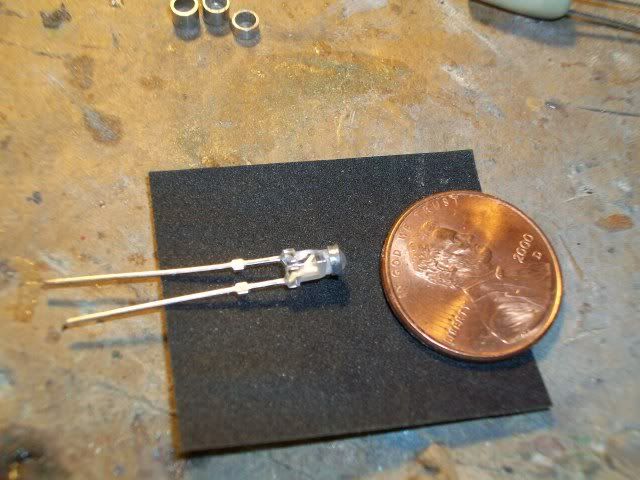
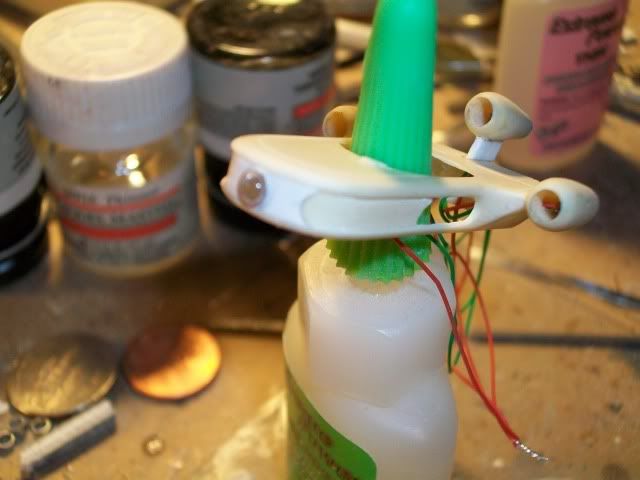
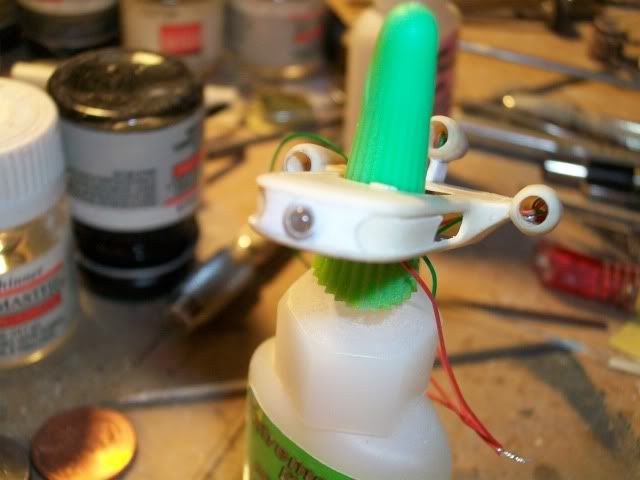
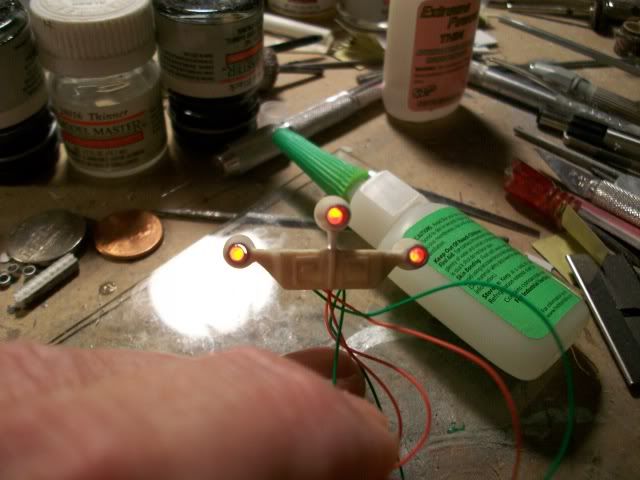
Up front I whittled a T1 LED to fit within an aluminum "headlamp bezel" which itself was carved and turned to give a contoured lip. This then sits within a new front fascia I made to break up the side trim. Then of course the obligatory light test although none of the engine's aluminum bezels are in place yet.


SUPERprops
Sr Member
NICE! Looks great!
DarthDuck
Active Member
NICE! Looks great!
Thank you very much.
The interior (cut out before) was thinned and then some "legroom" added under what would be the hood. Also the dash was carved down and the center divider to make it a "floating" style. This sandwiches tightly against the new base (floor/bottom panel) already made.
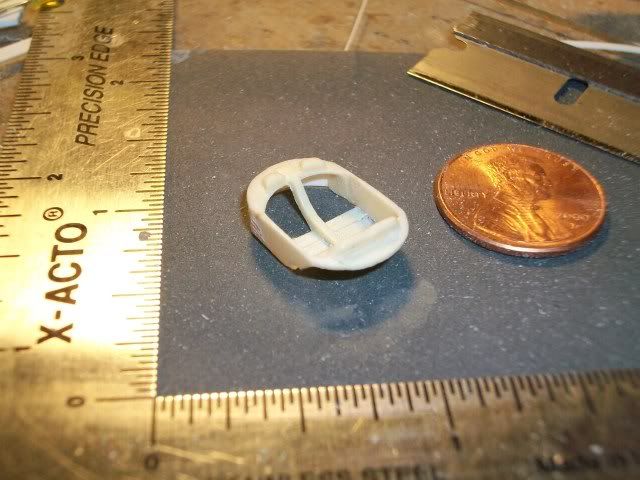
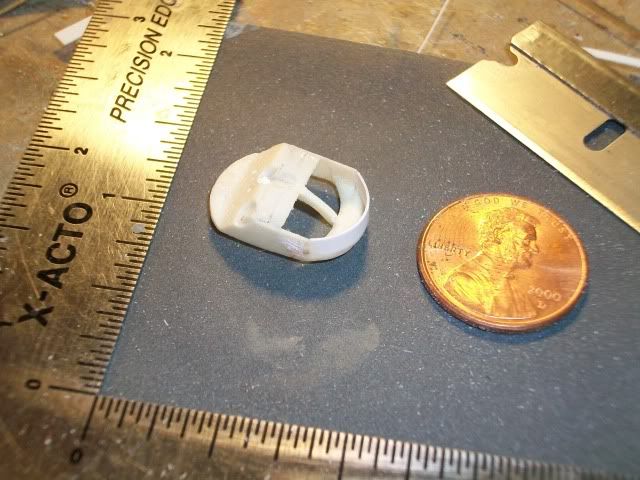
tubachris85x
Master Member
MAN that thing is tiny! I'd probably accidentally step/sit on something like that, good work!
DarthDuck
Active Member
MAN that thing is tiny! I'd probably accidentally step/sit on something like that, good work!
Well,
I've already broken that high mount engine off three times! But after paint I will pin and fill the wire run channel with CA which will solidify and strengthen it greatly.:rolleyes There simply wasn't, IMHO, enough room to pin it and run wires ahead of now.
Such is part and parcel of something this small although I have not YET sat on it!:lol
Similar threads
- Replies
- 22
- Views
- 2,837
- Replies
- 1
- Views
- 818

